Large Scale Central

Mik 2018 - Outside the Box - Jon Radder

John Caughey said:

I’ve always brushed the stain on board by board, I think your recessed corners should be near dark instead of near white …

Looking real nice.

Thanks. That’s my sloppy glue work. I cleaned the excess off, but it seals up the wood against the stain. I might brush paint some grimy black in the lower side of all the recesses.

looking great.

Jon Radder said:

John Caughey said:

I’ve always brushed the stain on board by board, I think your recessed corners should be near dark instead of near white …

Looking real nice.

Thanks. That’s my sloppy glue work. I cleaned the excess off, but it seals up the wood against the stain. I might brush paint some grimy black in the lower side of all the recesses.

oil paints make nice greasy paint. Burnt umber is a good blackish grease color and it will cover the glue.

Acrylics will cover too and they’re water soluble.

I’ve used thin acrylic washes like the ink to build up faded colors…

Don’t forget the “Telltale” watching your Mik budget buddy!

(https://www.largescalecentral.com/externals/tinymce/plugins/emoticons/img/smiley-wink.gif)

" Rooster " said:

Don’t forget the “Telltale” watching your Mik budget buddy!

(https://www.largescalecentral.com/externals/tinymce/plugins/emoticons/img/smiley-wink.gif)

That’s on the plan, but for another time - not part of the challenge. Yesterday I cleaned up the garage and put my saws away. As far as budget goes - My only cash outlay was a little over $8 for a can of denatured alcohol at Lowes. Wanted to get the 90% at Walmart for under $3/Qt, but as usual they were sold out. I’m not sure what the locals use it for, but Walmart can not keep 90% in stock and 70% sells out quick too.

For wood budget, I think I “net out” OK. I did go to the reserve pile for some extra 10x10 because what was left of my 2x4 was too short, but I still have a good size chunk of that 2x4 left plus some cut pieces from the original 2x4 I didn’t use - I estimate that I could have cut all the lumber I used from the allotted 2x4 had I planned better or was willing to have joints in my 10x10’s (https://www.largescalecentral.com/externals/tinymce/plugins/emoticons/img/smiley-surprised.gif)I’ll take a penalty for poor planning!

You could make an article out of your demonstration on wood staining. And the whole dang build is impressive, Jon. I have a spot on my layout that needs an entrance like this and if I ever get there, I’m stealing your plans. (And, by the way, if there’s a penalty for poor planning, there’s more than one of us who’s in big trouble!)

Besides stain I’ve been working on the supporting background. Over at the paneling joint I had not been able to find any scraps of the black plastic trim, so I improvised with black vinyl. Then the return wall was glued on to cover the exposed framing…

I stained the inside of the plywood box as far as my hand could reach. Pictures are all out of focus so none to post. I also glued some foamed PVC board scraps on the wall as a basis for some future scenery. Once the glue set up I test fit the main section. Also took a look with my Fn3 clearance gauge…

I knew it wasn’t going to fit, just wondered how undersized it really is. It would have been possible to get the height, but the plywood box didn’t have it so why bother. Width was dictated by concrete and wood framed walls. Here is a wide shot with full light. I started fooling around with stain on the inside edge that’s out of view. Will probably go with some Polyshade grimy black paint in the corners. Still pondering that. I also used black vinyl to cover the wood wall framing until I get something else to cover it. It’s too glossy, but looks better than raw wood…

Man Jon,

That really turned out good! I think it gives the buildings, perspective. Showing how big a railroad car or engine is, even when no railroad stuff is around. I’m also kind of seeing a framing effect, kinda like a diorama or a shadow box. Impressive structure.

Very nice. I hope to make some solid progress on mine this week!

Looking sharp Jon! The color even helps blend the panel wall into the scene.(https://www.largescalecentral.com/externals/tinymce/plugins/emoticons/img/smiley-cool.gif)

that really finished off that area giving it a real purpose. trains are now officially arriving from some where not just coming out of a wall. Nice work.

Thanks Devon - Coming from you that means a lot. Your attention to detail on the scenes you have created are always spectacular.

No so sure a train will ever arrive from here; the best I can do is two short (2-bay) hoppers and my Porter completely in the tunnel. and then it’s headed away or shoving toward the opening (hoppers first) as they come from, or go to the industry that is of the switch right in front of the tunnel entrance. I could always stage it the other way for a video.

Ah well whether imagined or for real they look like they are coming from somewhere. Can’t wait to see what you do for the landscape. I nice big cut rock face. . .blasted granite. . . ???

Devon Sinsley said:

Ah well whether imagined or for real they look like they are coming from somewhere. Can’t wait to see what you do for the landscape. I nice big cut rock face. . .blasted granite. . . ???

Landscaping will probably be some real rocks. I built the portal sturdy enough to support a lot of weight. The rest of the backdrop is a long way off. I need to cover the block wall with some very thin material first. I have some .040 polystyrene in 24 x 48" chunks, but it’s not enough for the entire layout. Was going to have rolling hills and sky printed on vinyl to apply to the polystyrene. Again - this is a long way off. I’ve had trains indoors for almost 18 years and this is the first actual start on any type of scenery other than a few buildings on grass mat.

I’m really sharp! I just got that the station was named “Wall”.

Ah, but that’s not the wall it was named for - This is…

Wall station winters in South Willow Hill where it sits next to the tunnel named Box.

Lou Luczu said:

I’m really sharp! I just got that the station was named “Wall”.

Jon just shot you down so now you are about as sharp as me Lou !

The last few days I have been pondering the backdrop for the scene. I have a bunch of heavy polystyrene sheet scraps. I tried one to round out that cement block column…

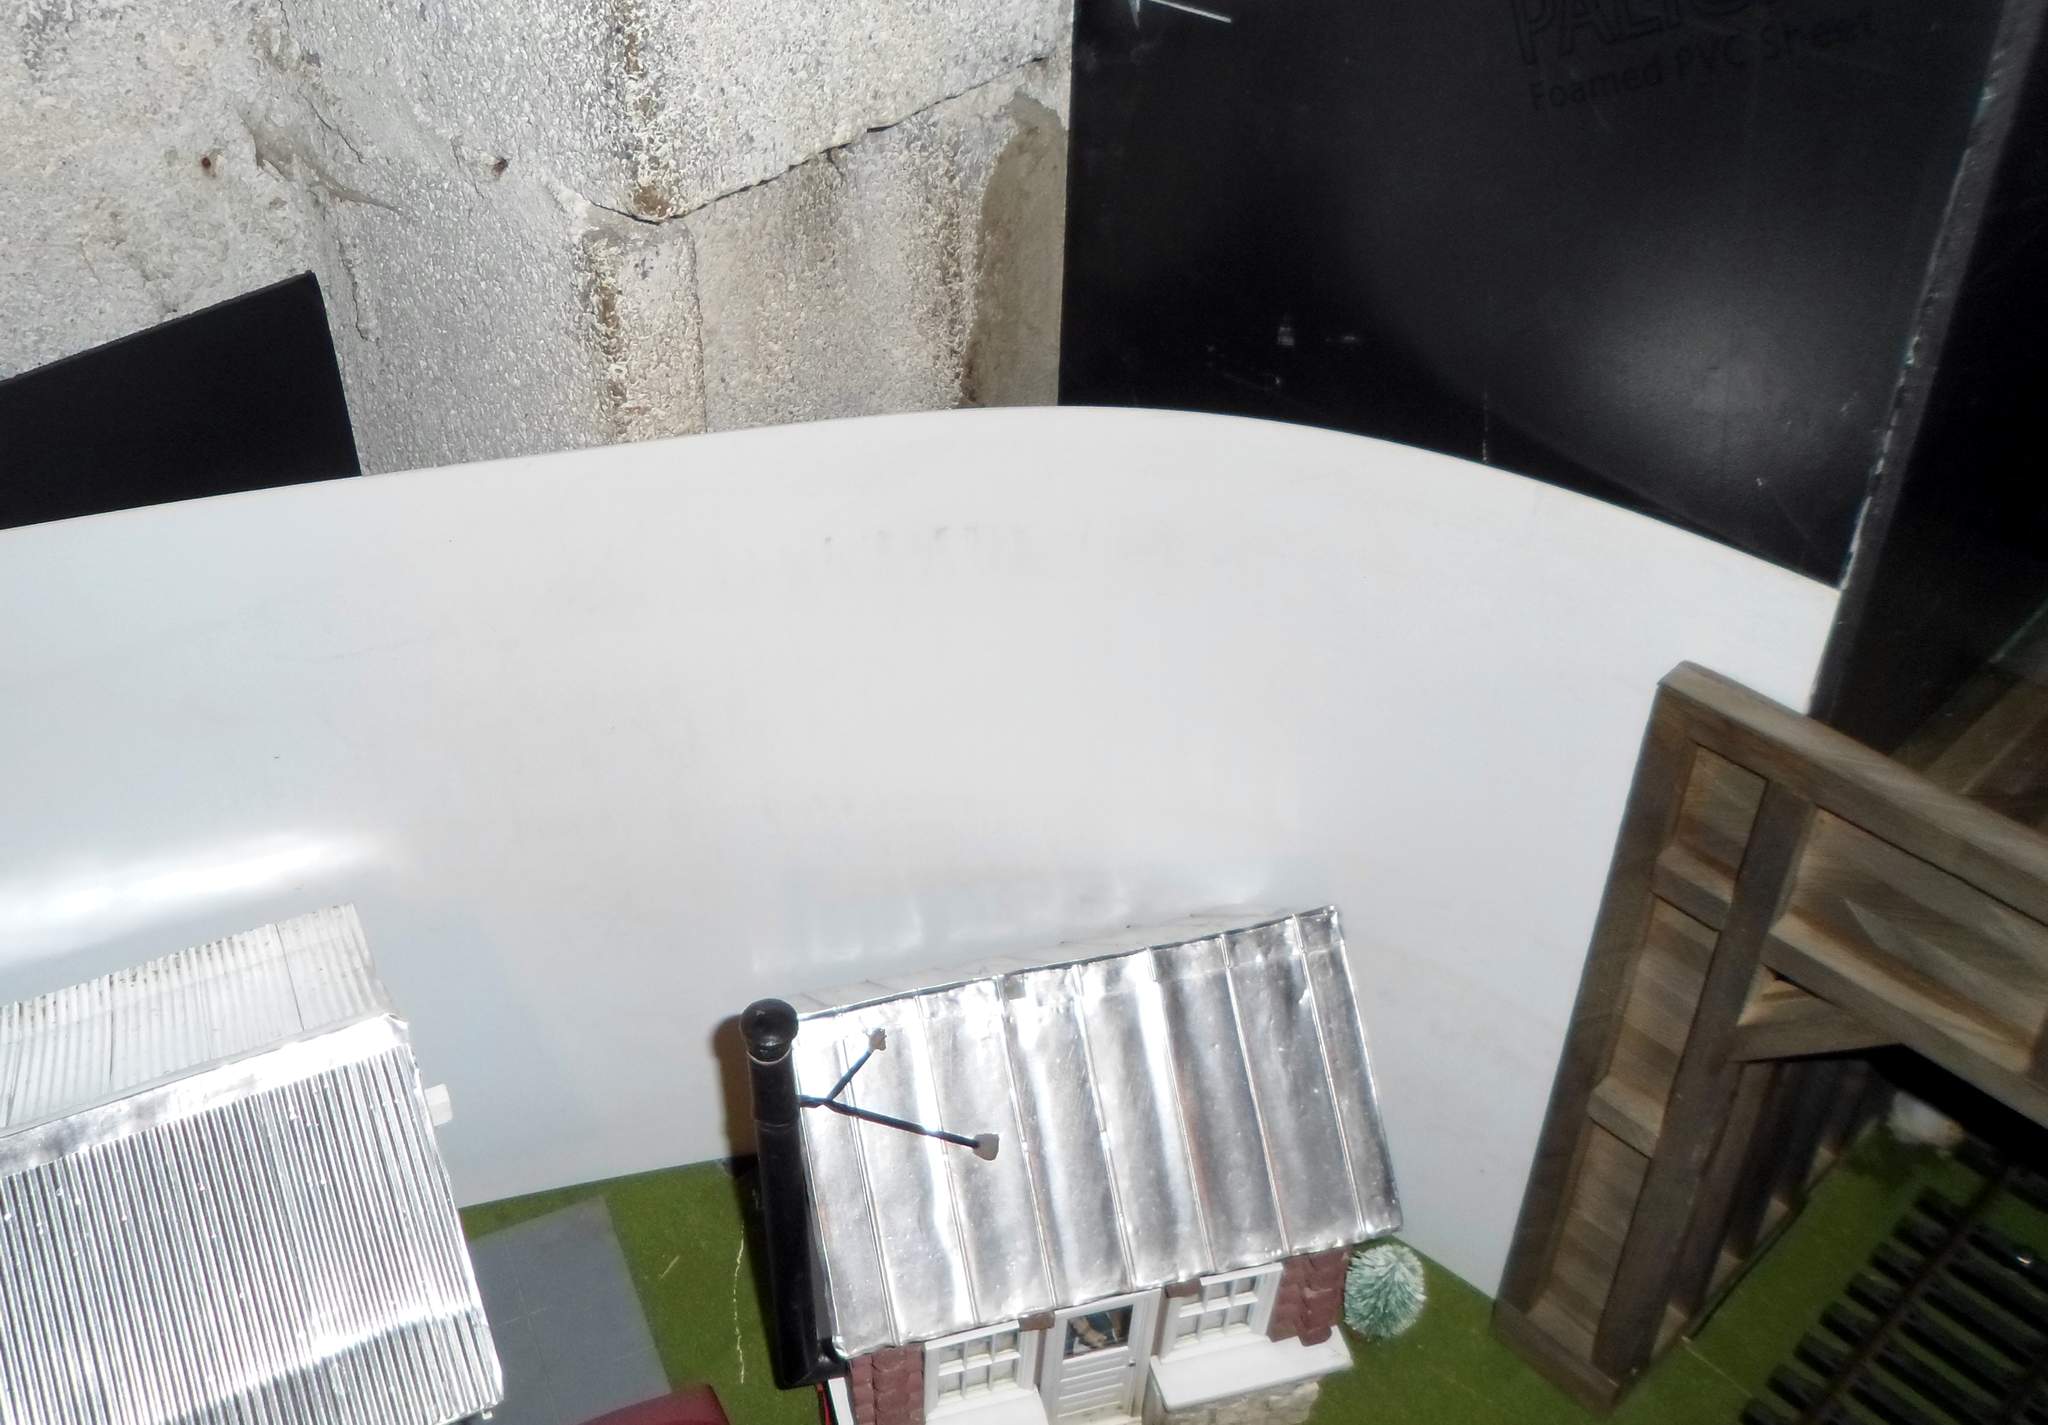
It looks like that material will work well for corners. I need to come up with a design to get printed on vinyl someday. In the mean time, it will be flat black and I’ll concentrate on night photography.

Had a lot of shop time today. Decided to try and help the stain job along with a little acrylic paint. I pulled out all the acrylic RR colors I have and attempted to mix something usable…

It took a lot of experimenting, but I finally settled on a gray mix and used that where the glue had prevented stain from coloring the wood. I blended it with washes of ink and alcohol and then clear alcohol to blend thinks. It looks good if you don’t look too close (https://www.largescalecentral.com/externals/tinymce/plugins/emoticons/img/smiley-undecided.gif)

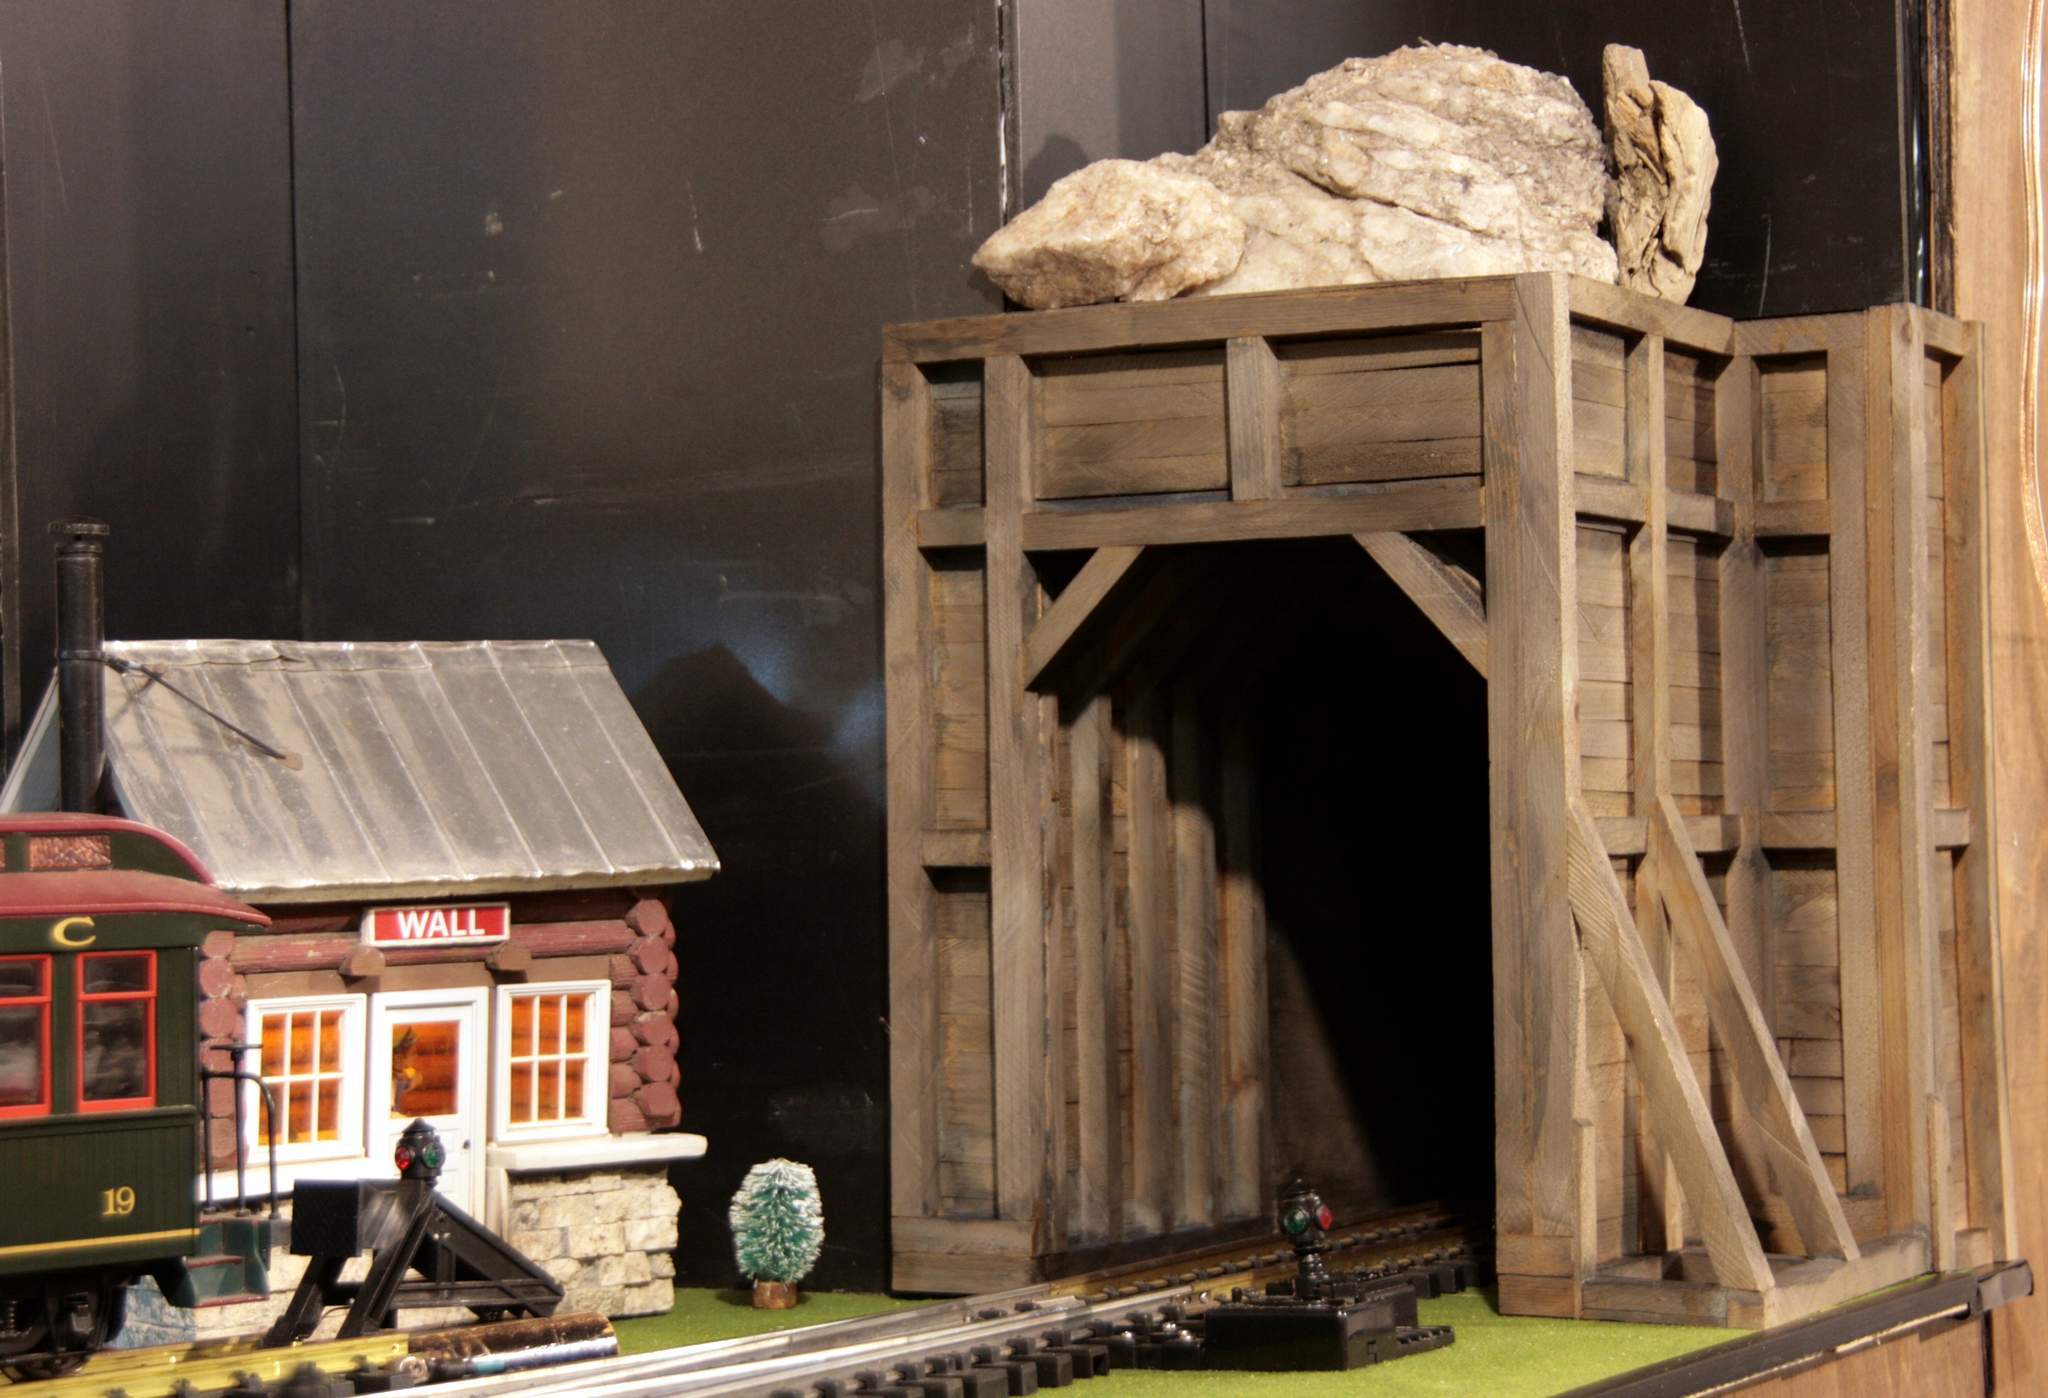
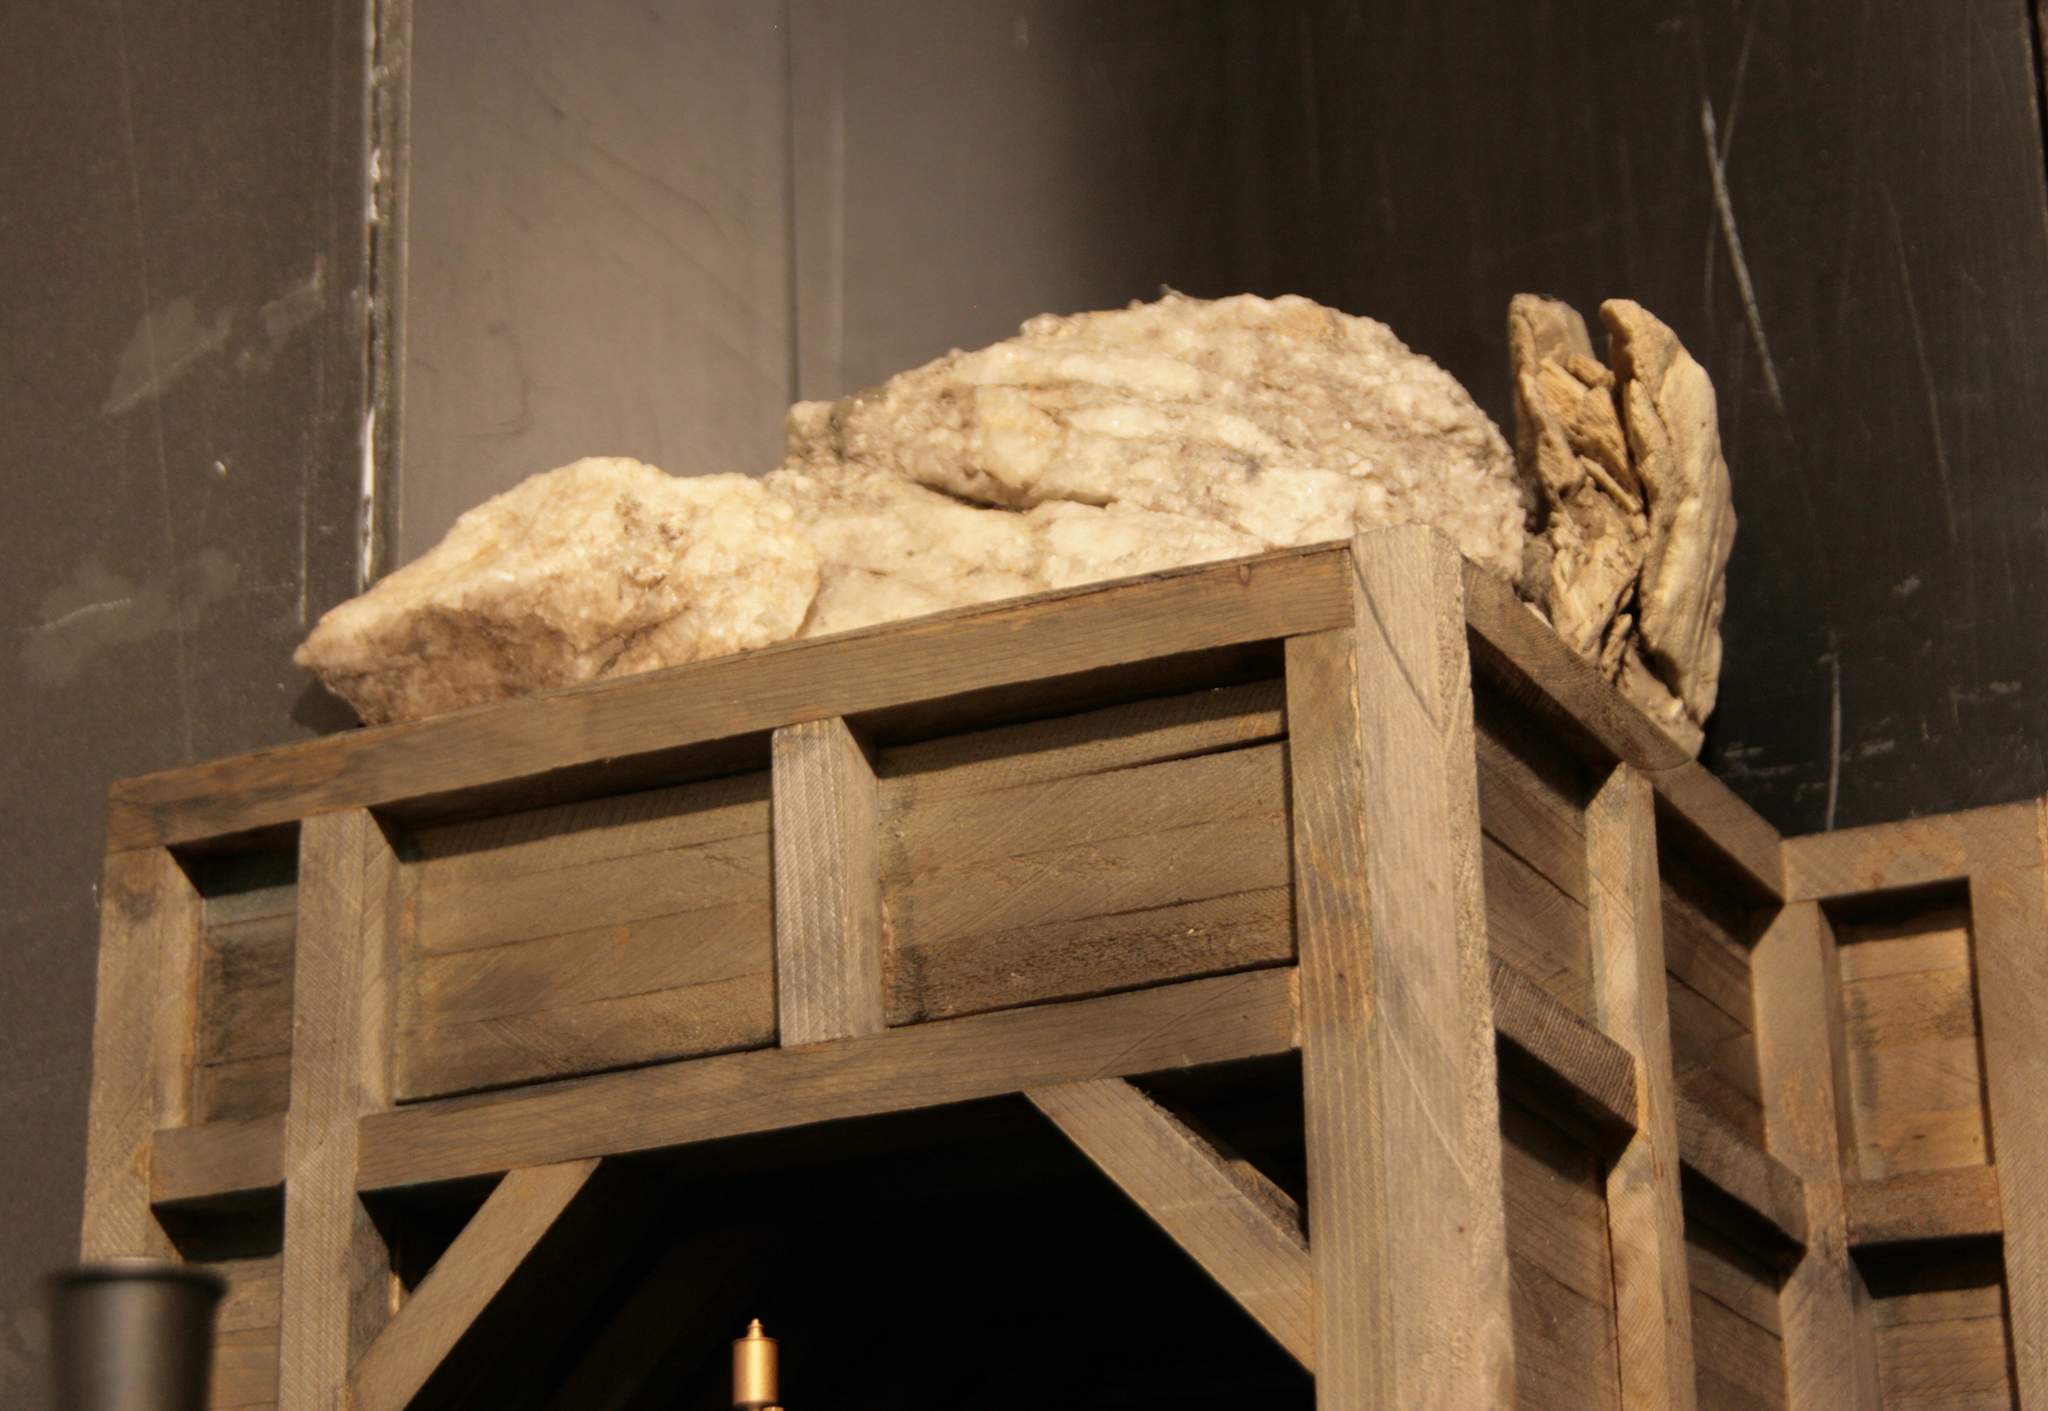
Billy turned out to be a rock that was laying around the basement. Ethel is a fossil growing out of Billy’s right shoulder…

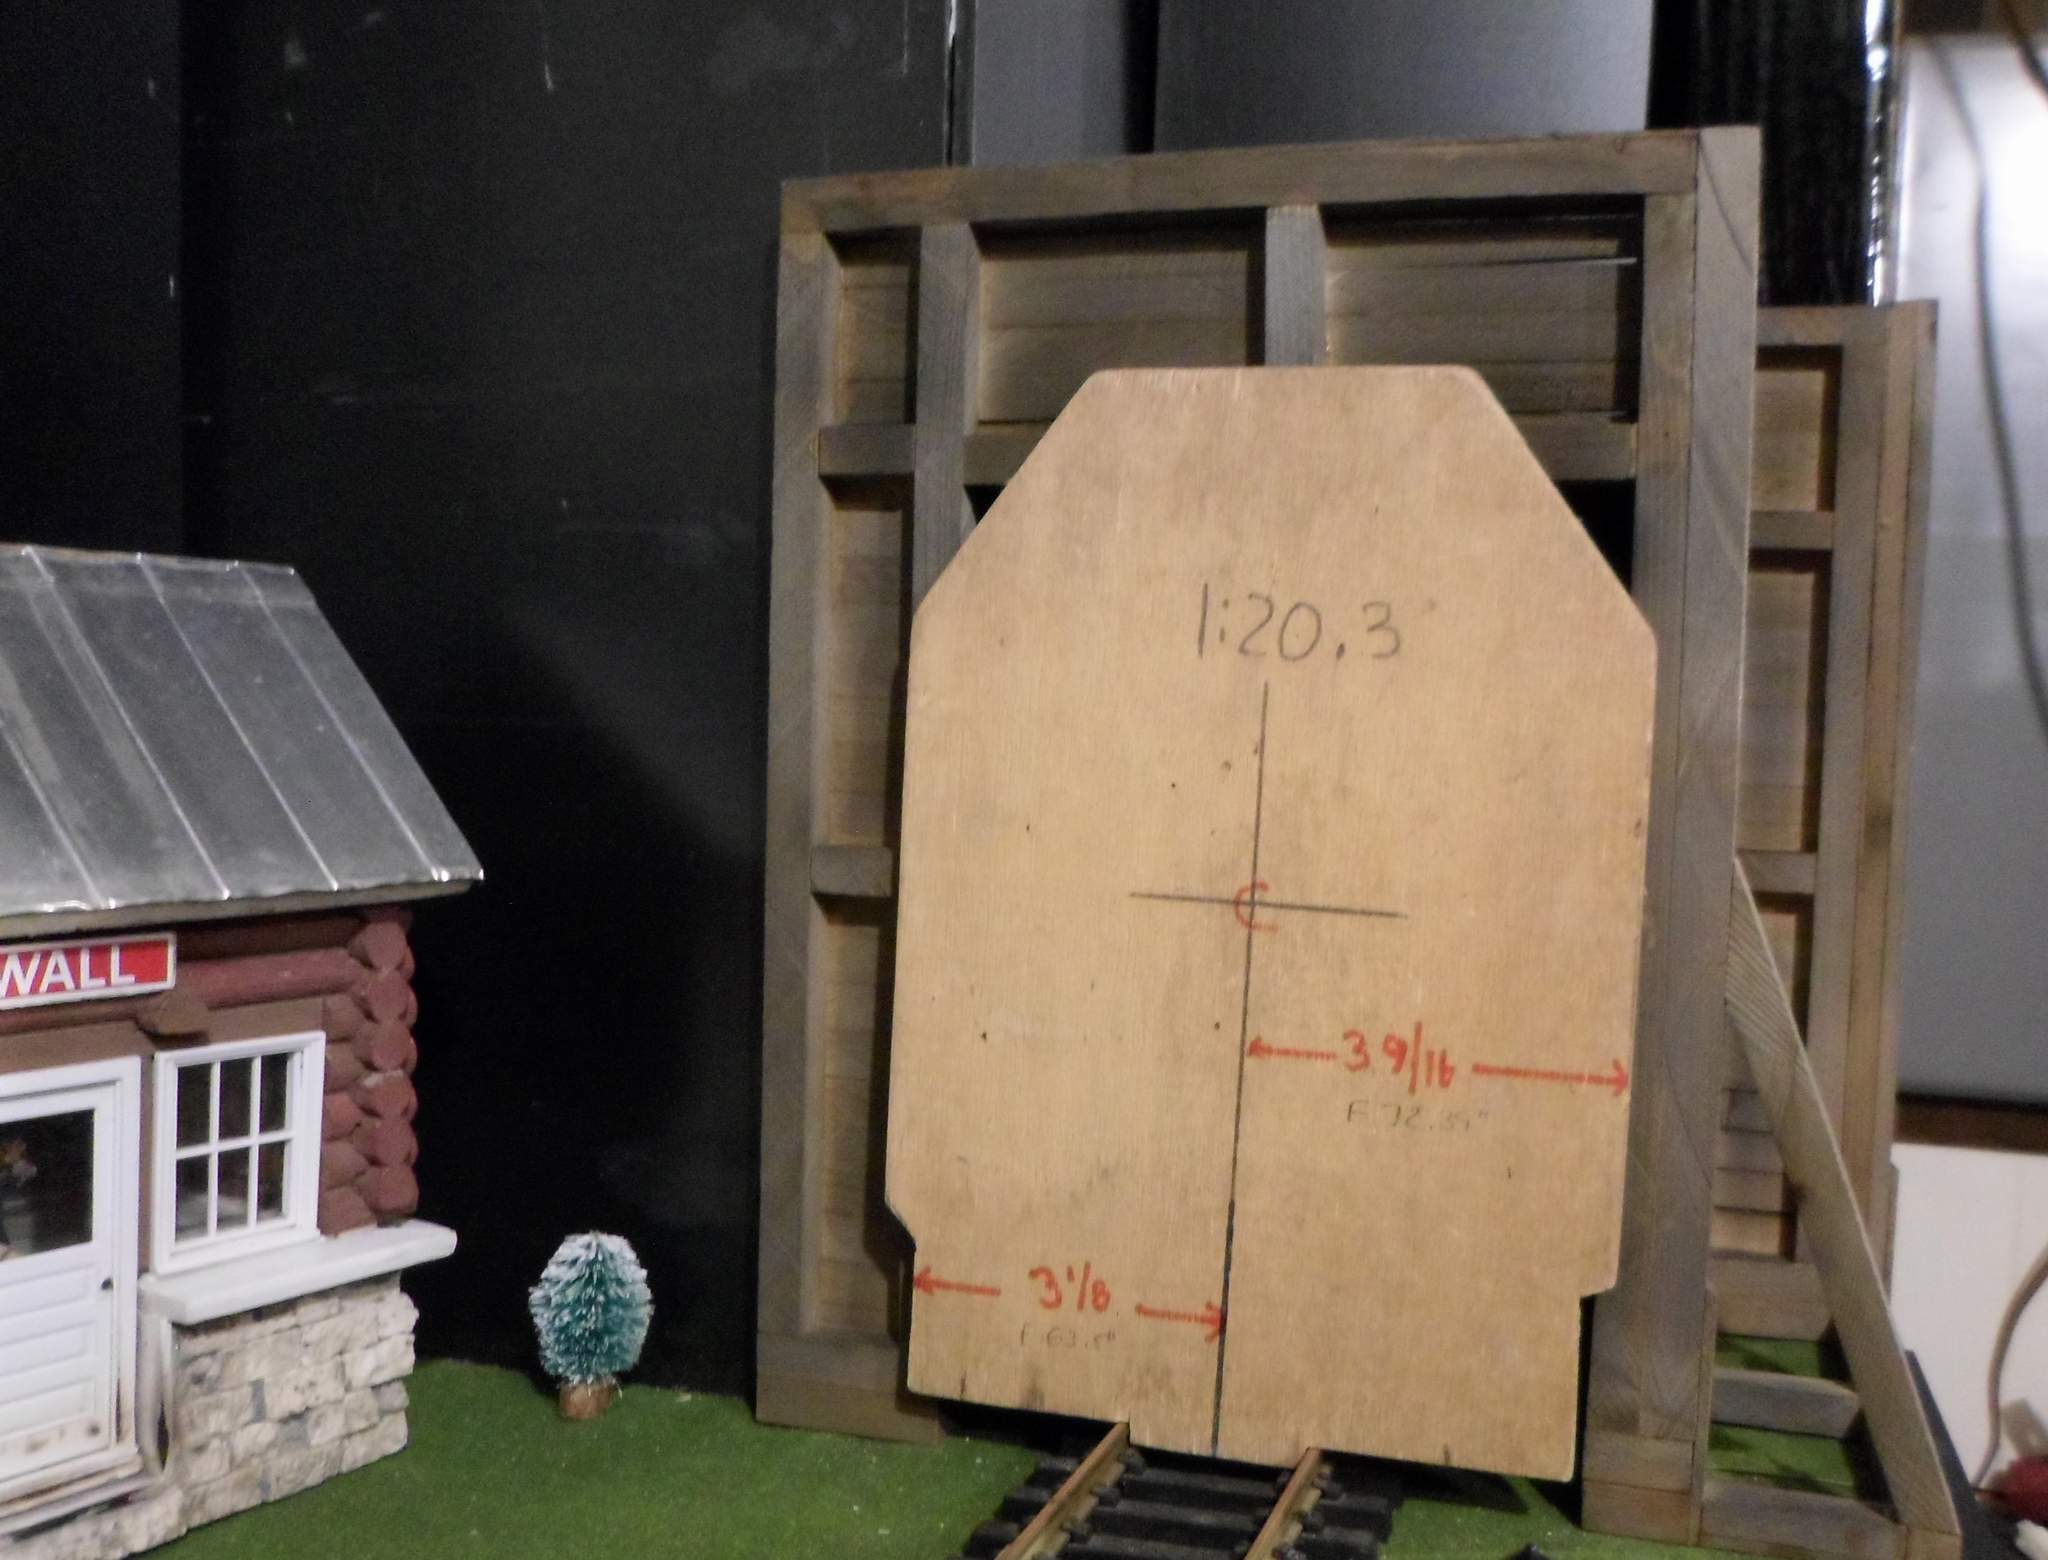
The grass mat I am using can be heated and it will bend and hold a shape. It will probably be the basis for something behind Billy & Ethel.

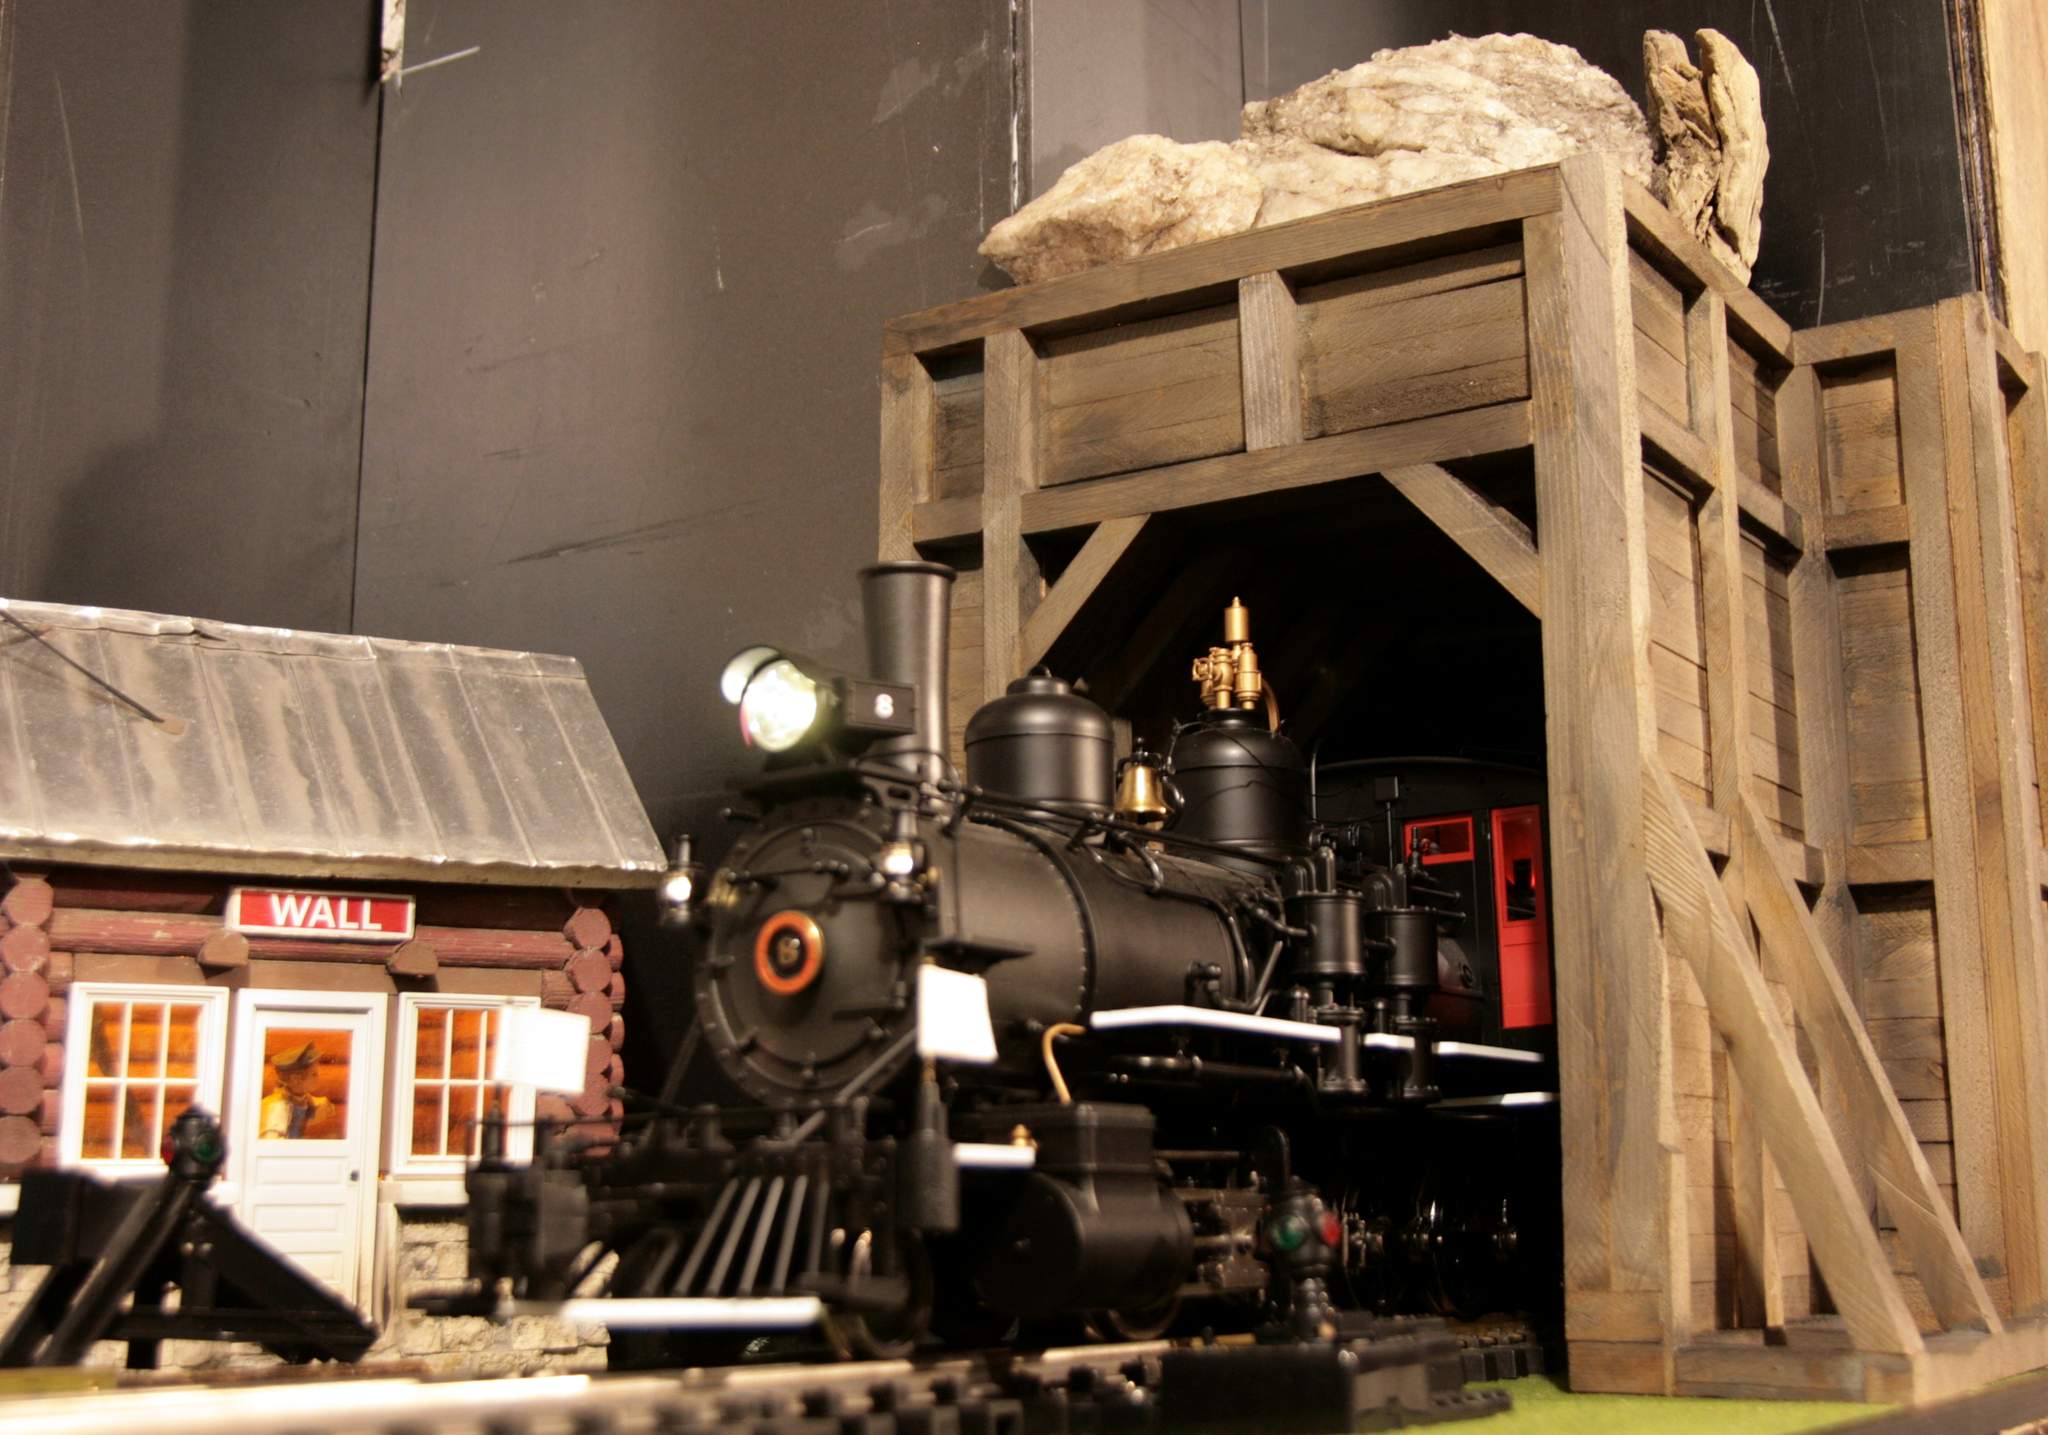
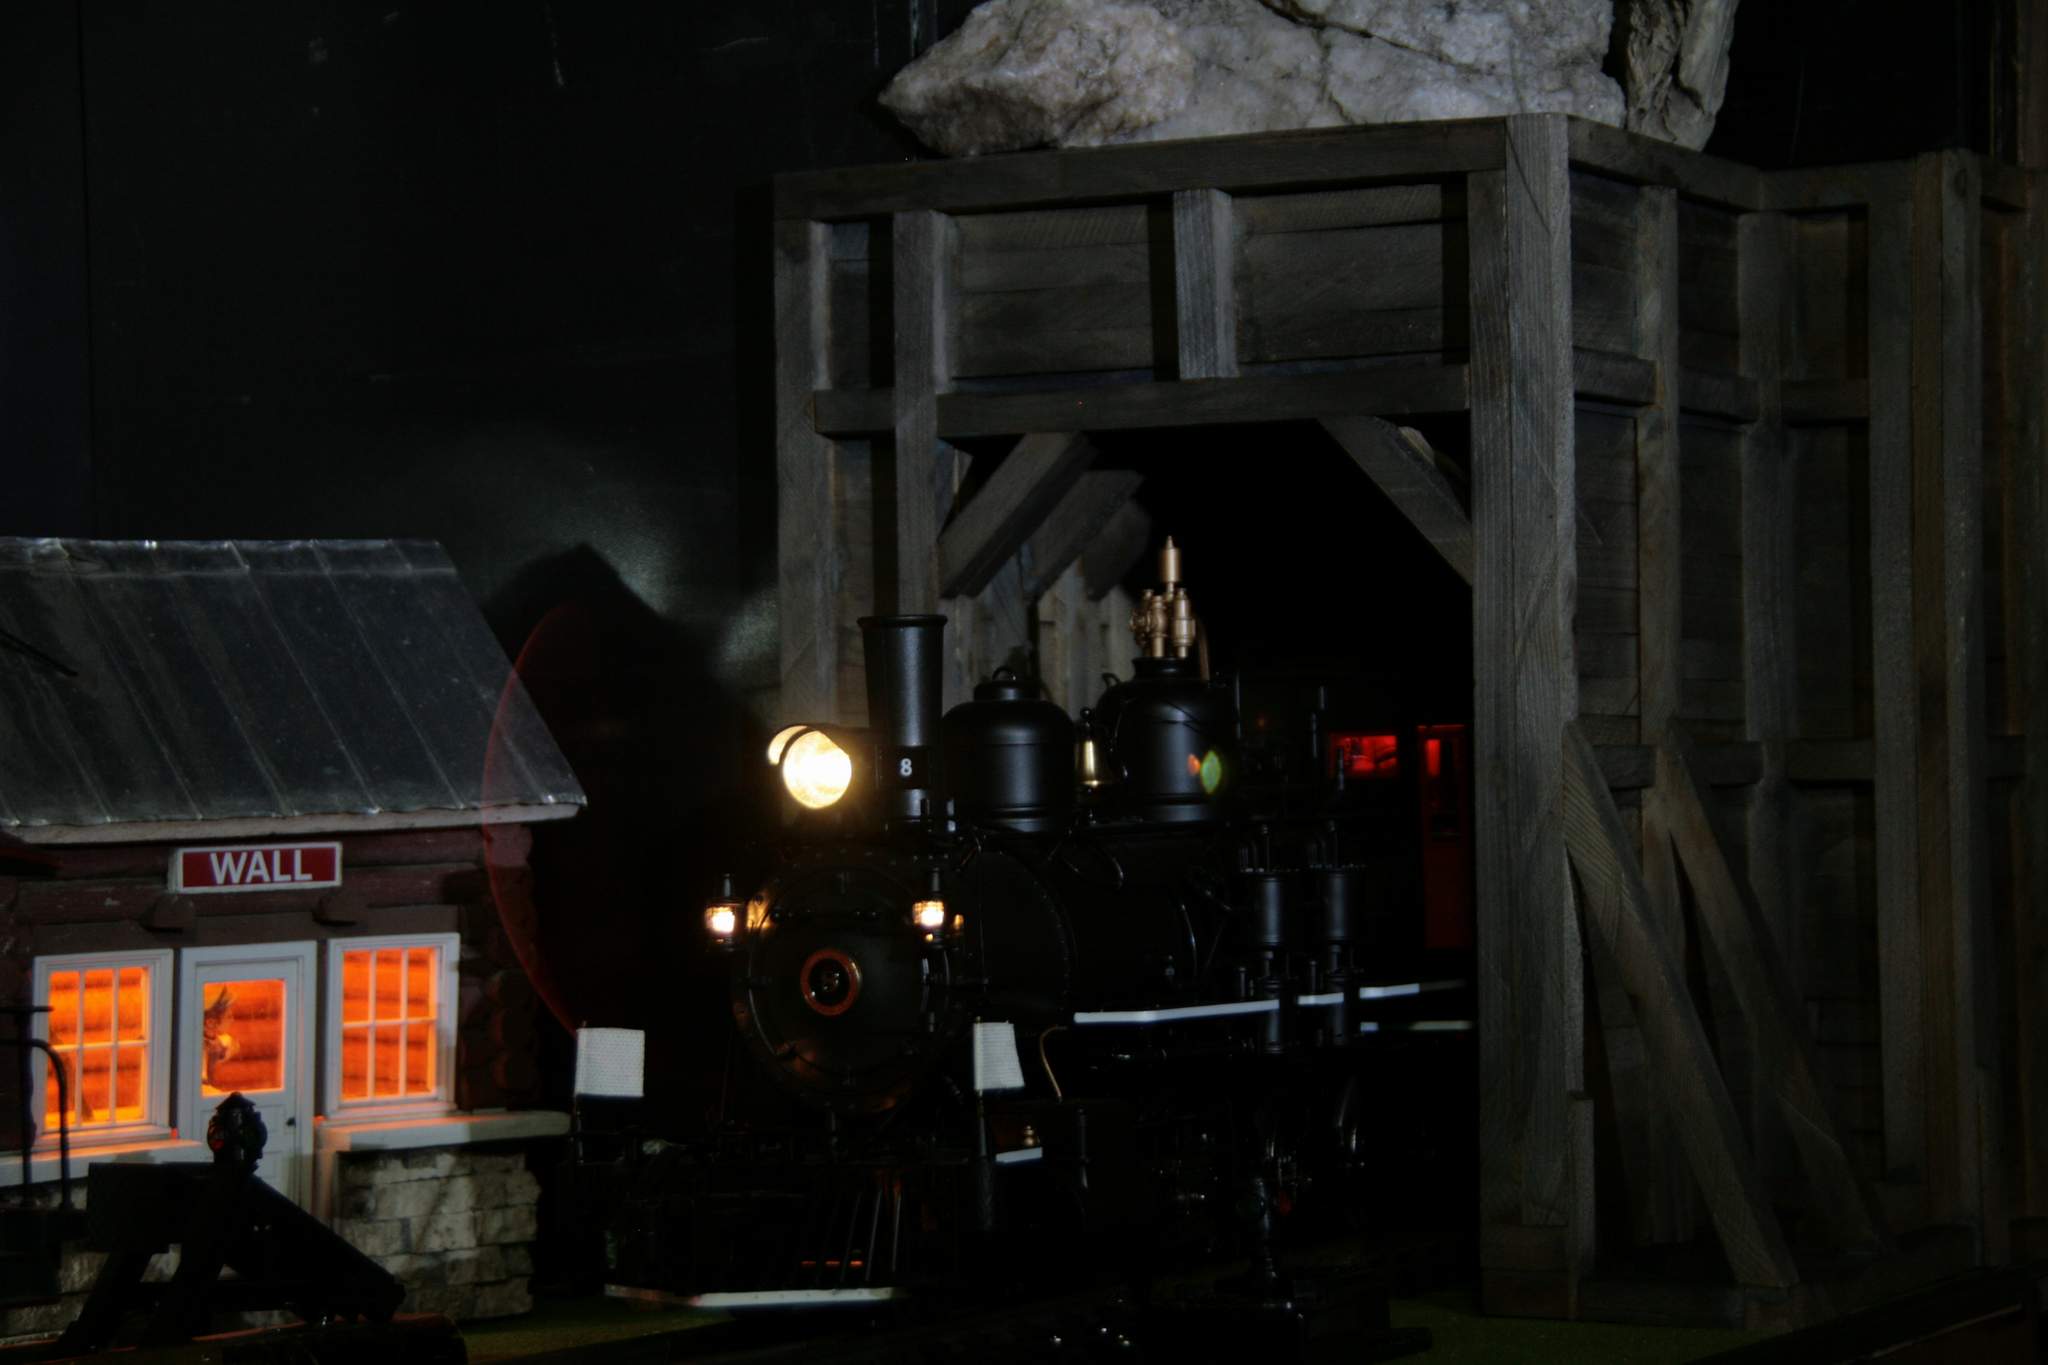
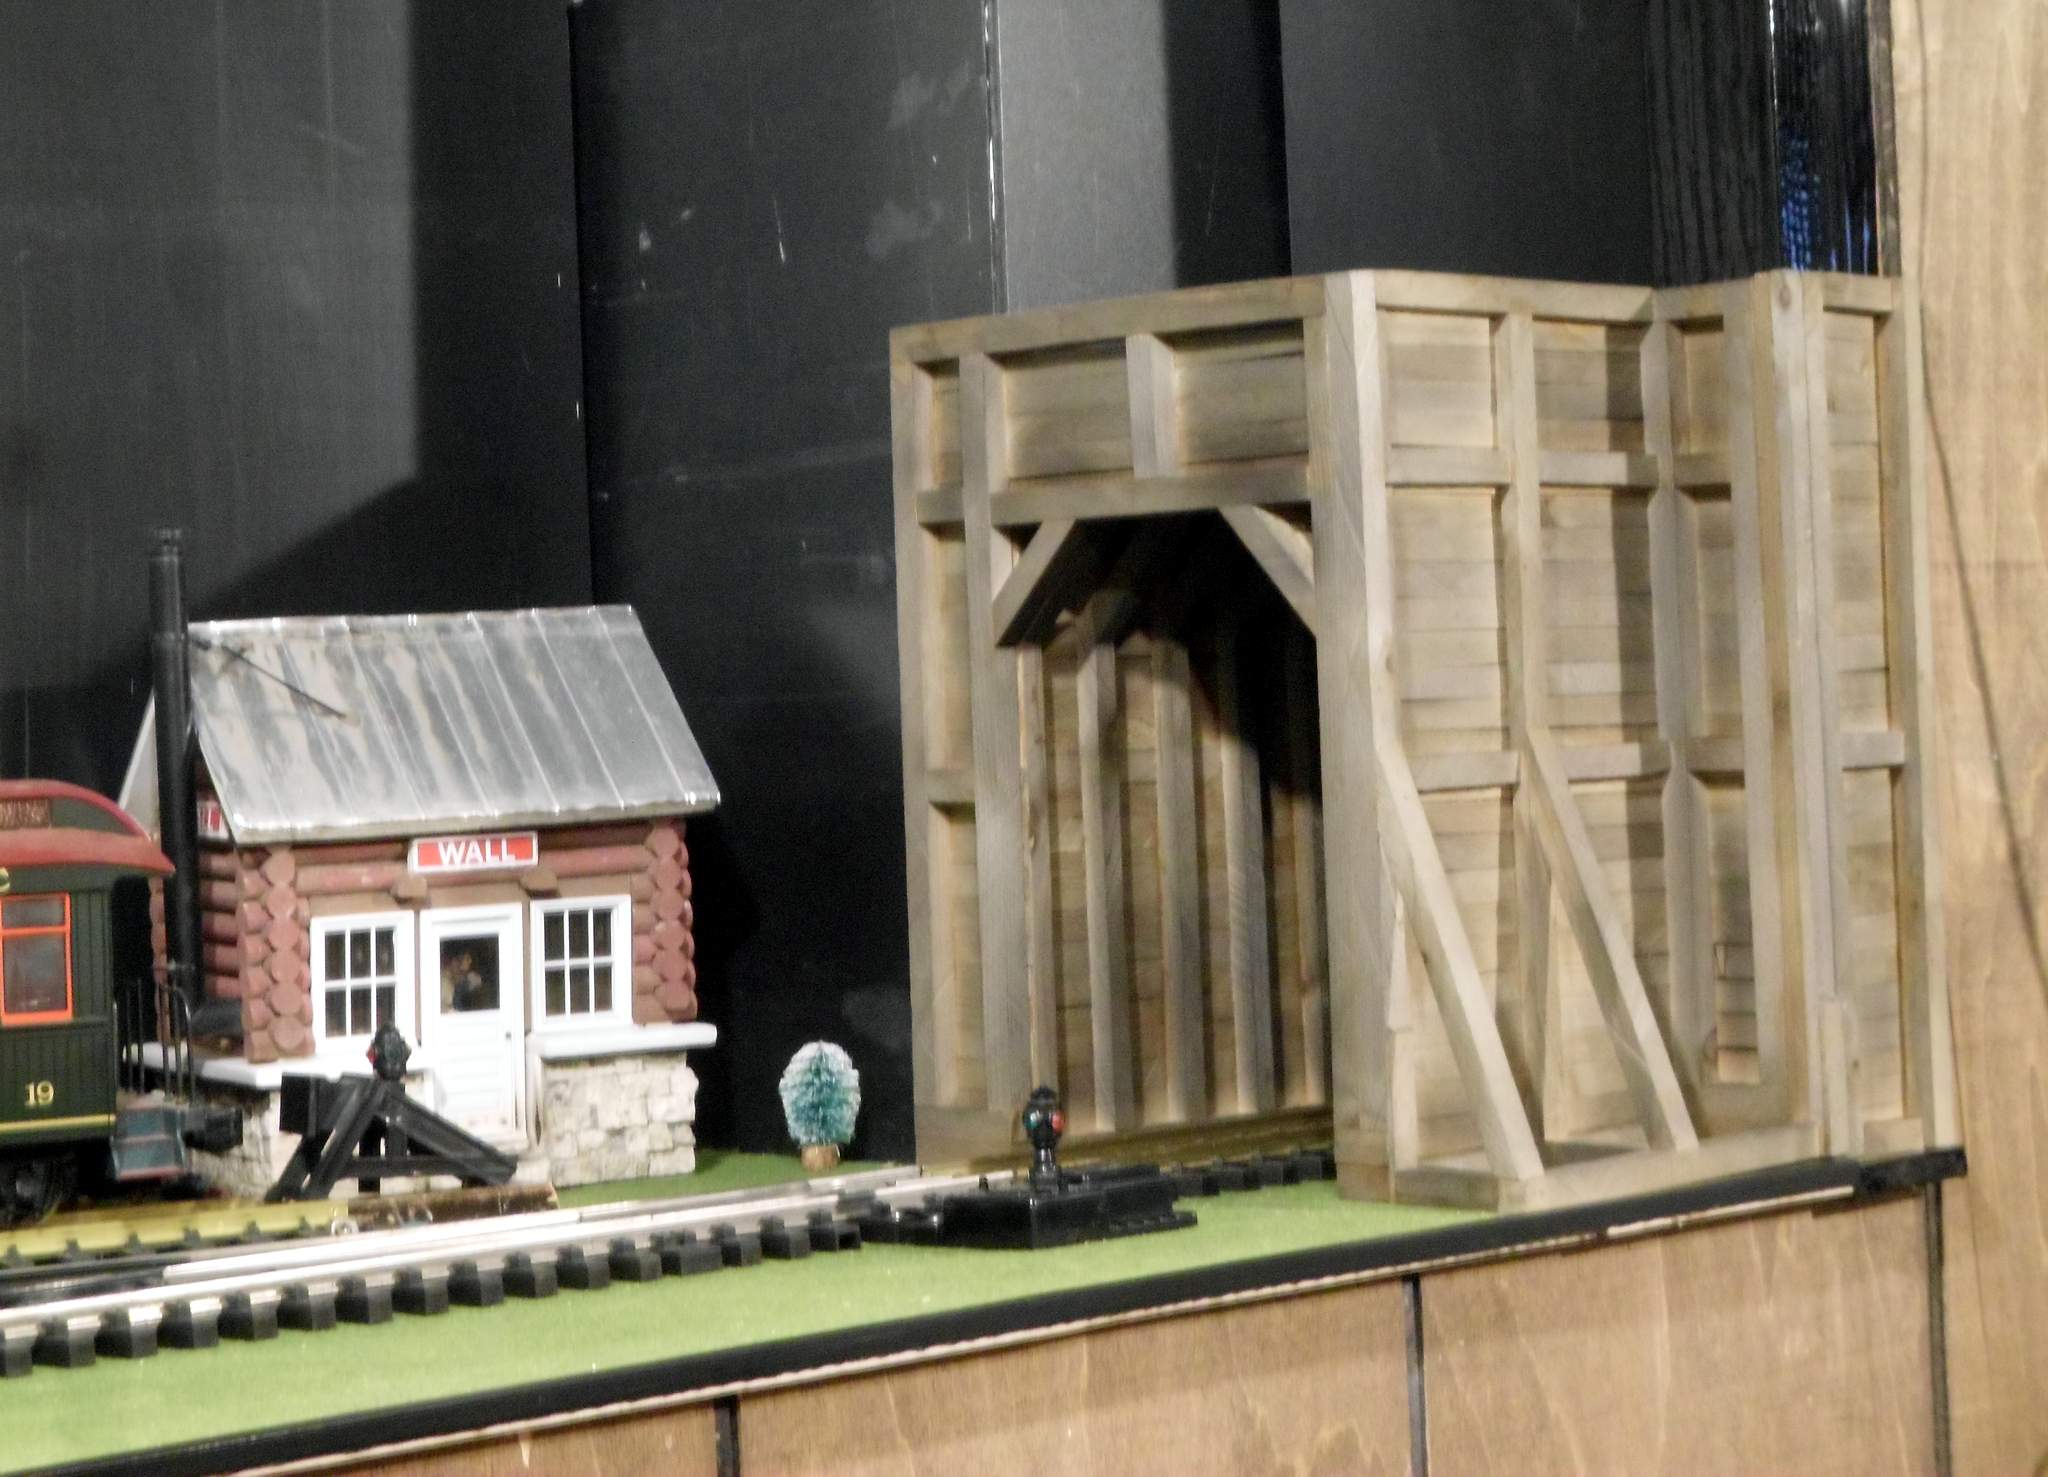
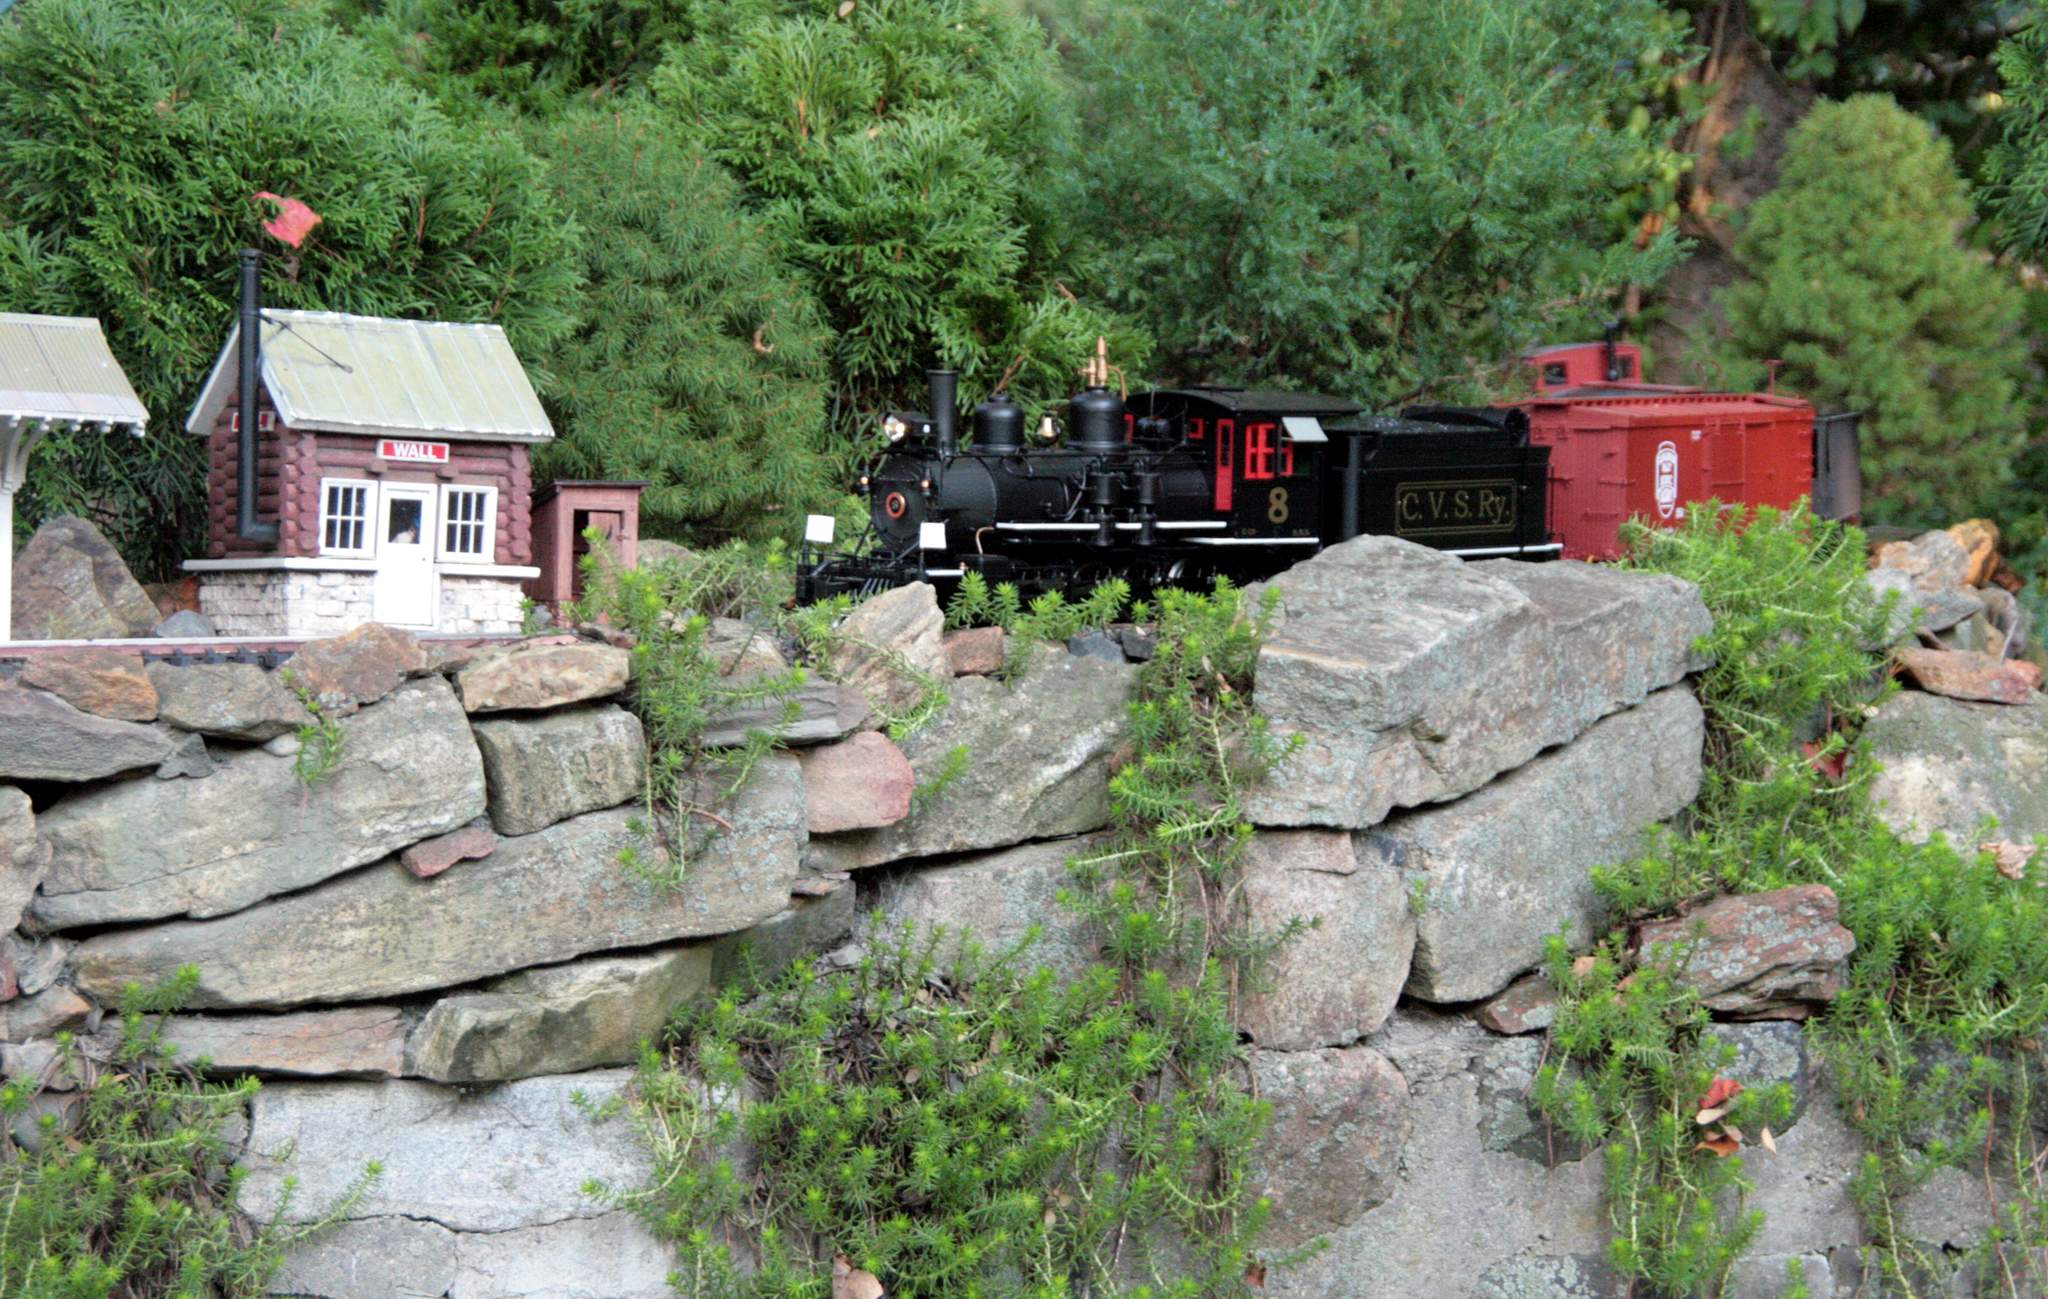
C.V.S.Ry. #8 showed up to pose…

Did I say Night Photography? Let’s turn out the work lights and see what we’ve got…

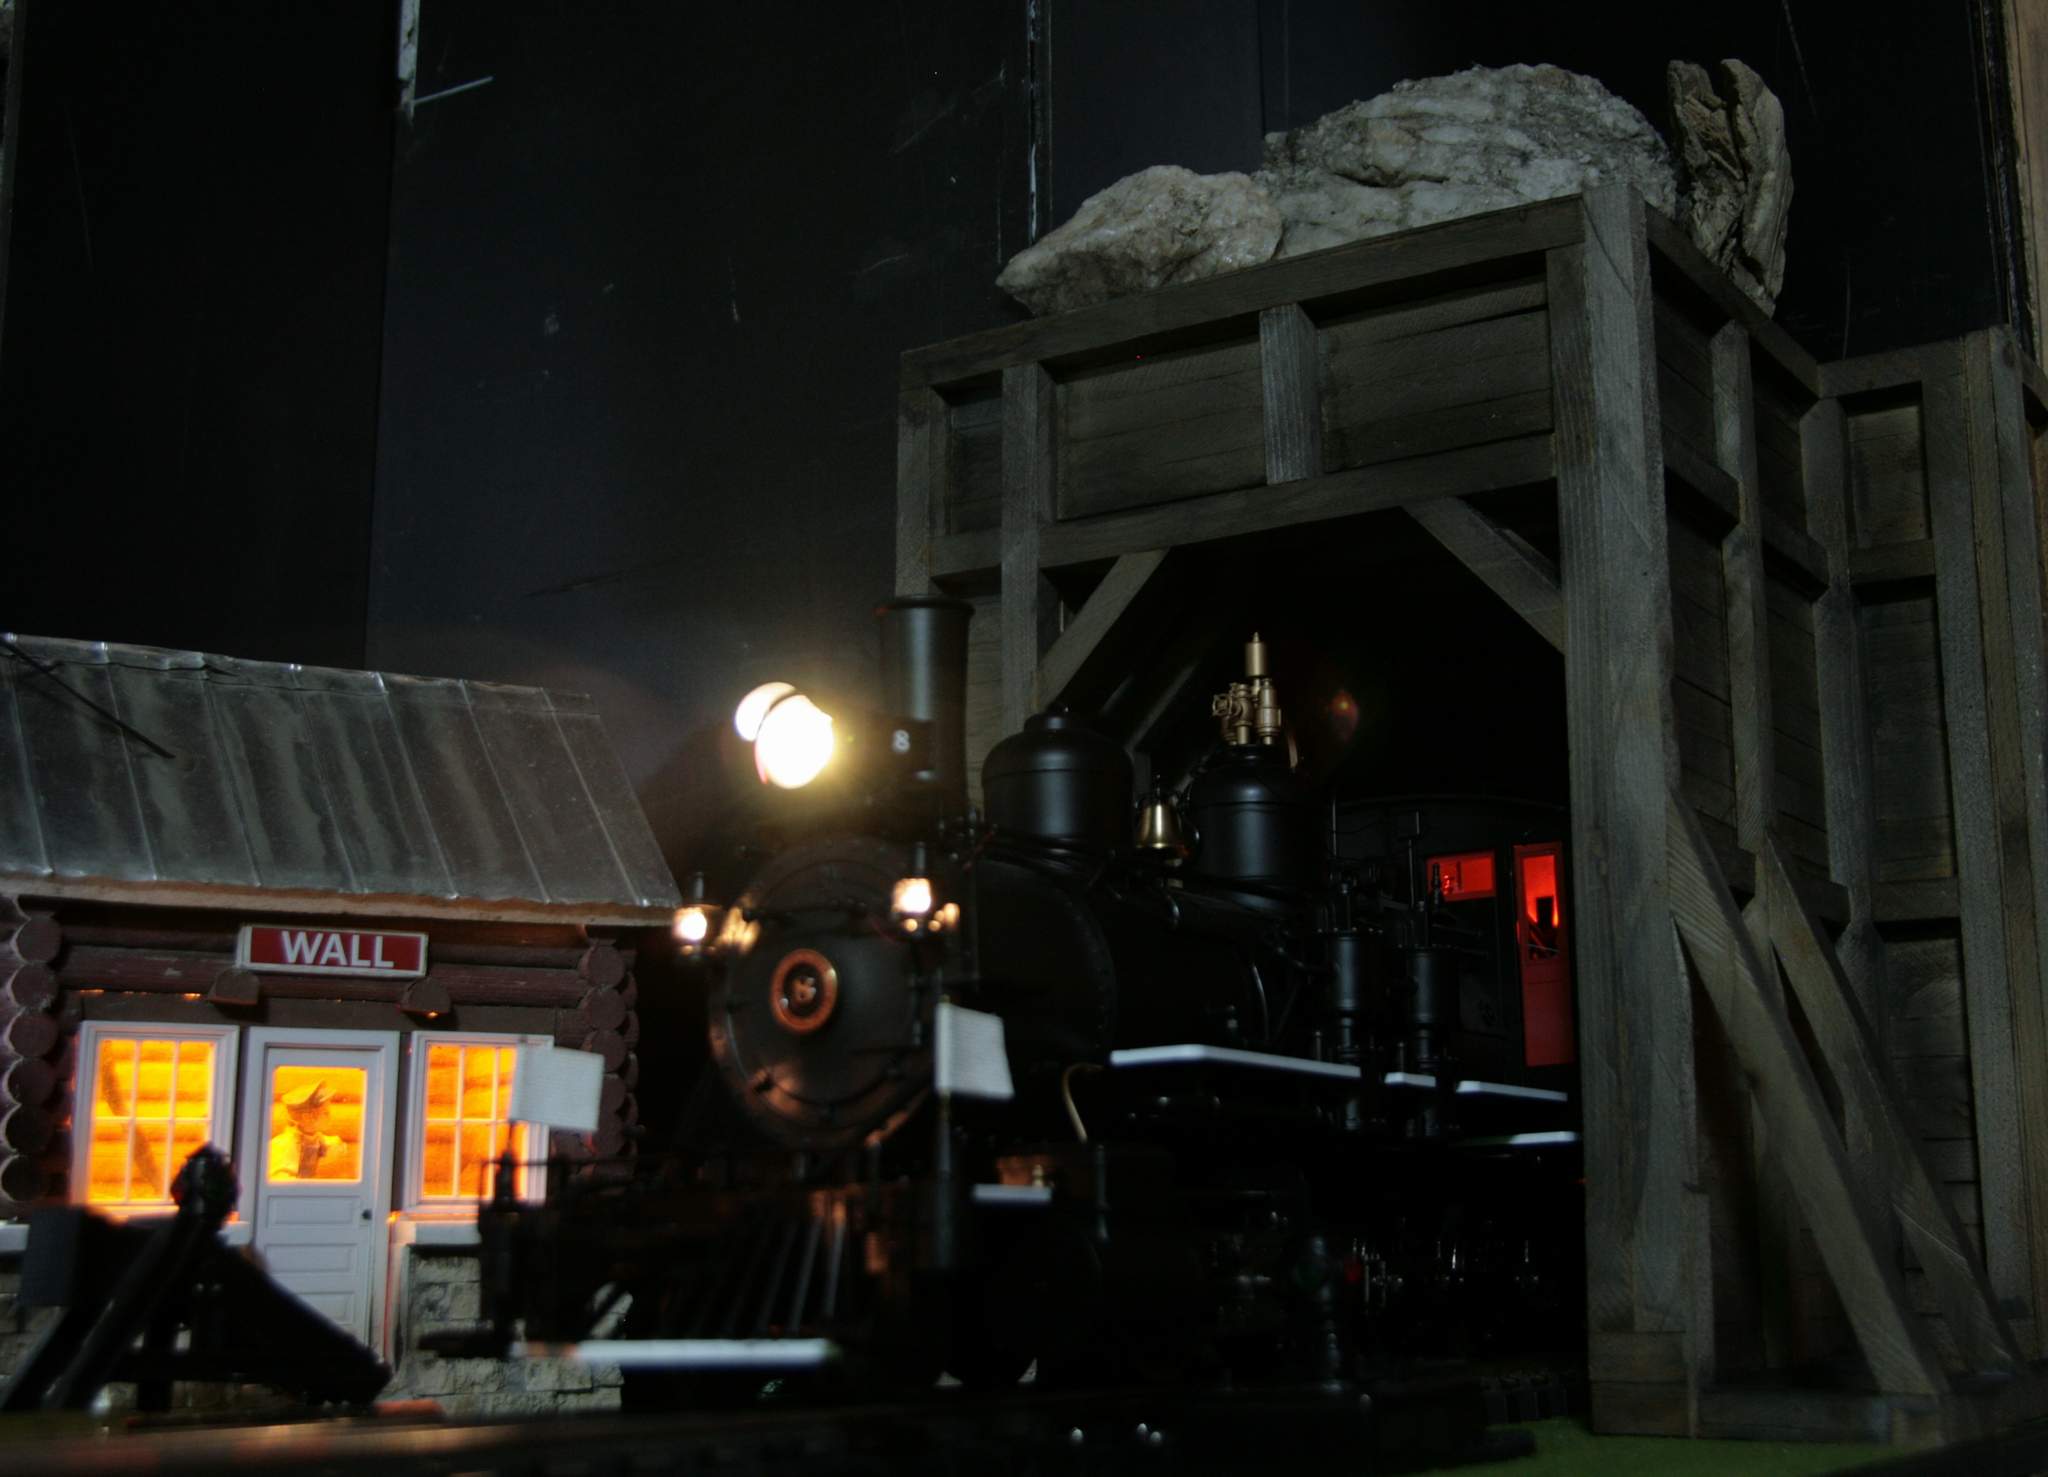
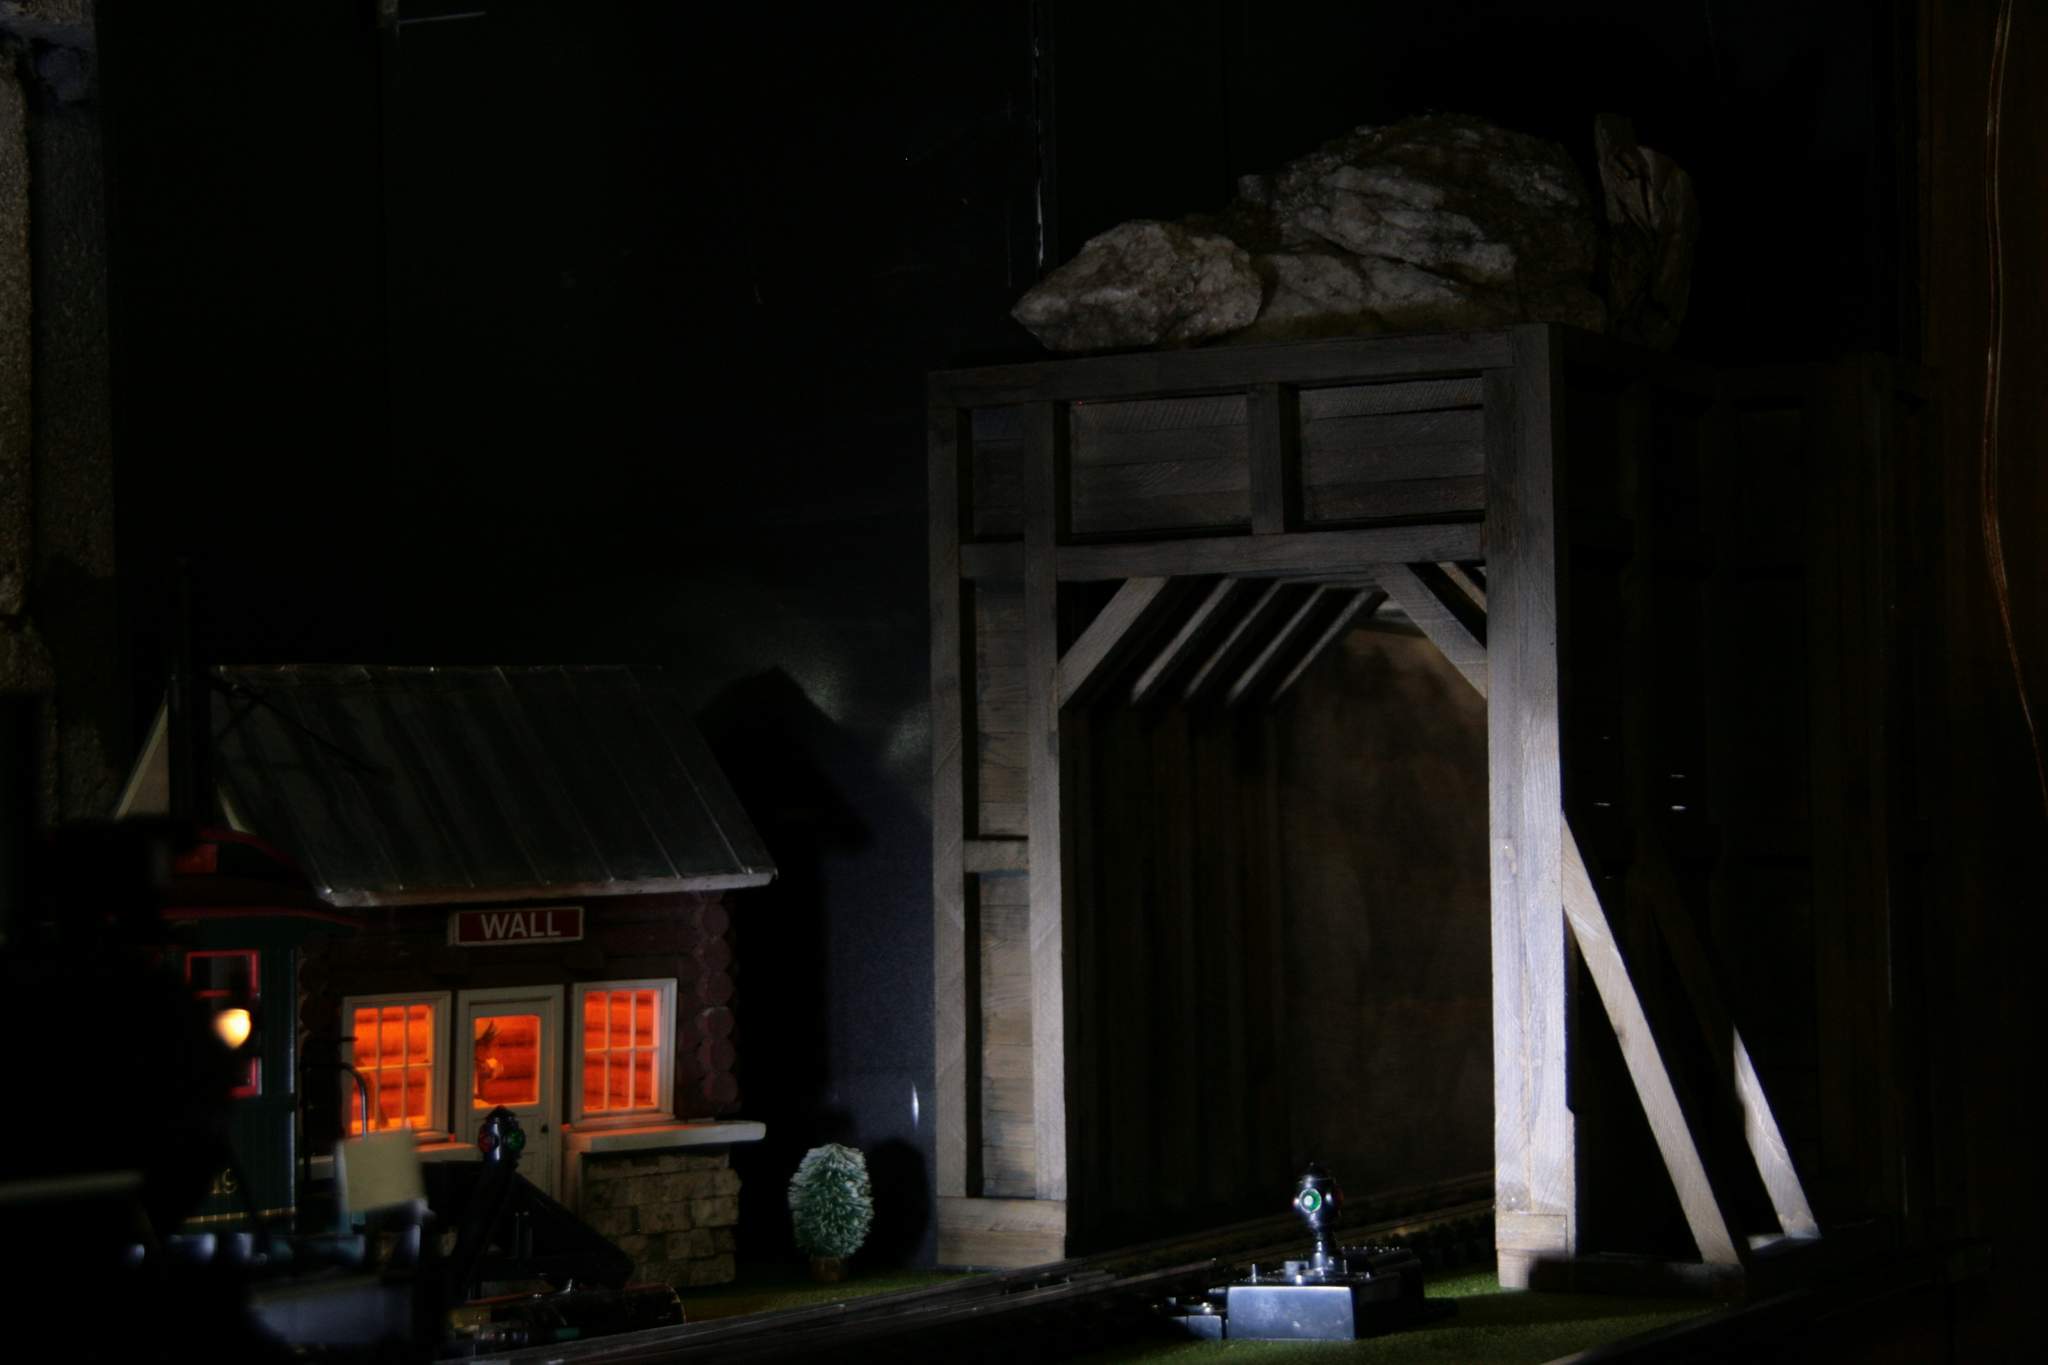
And with the lights back on…

Next up is signage and some ballast for the track then cue the fat lady.

That really turned out well, Jon. Billy and Ethel look like they have been there for eons. And the night shots, man, those bring the scene to life. Job well done!!