That is just very nice. I am loving the joinery. I know your taking your time on this with the details but its looking verysharp
Devon Sinsley said:
That is just very nice. I am loving the joinery. I know your taking your time on this with the details but its looking very sharp.
Your,you’re,yore (http://largescalecentral.com/externals/tinymce/plugins/emoticons/img/smiley-wink.gif)
Wow Jon you outdid yourself. The roof with the rafters etc…looks great.
Very nice John, Get well soon.(http://www.largescalecentral.com/externals/tinymce/plugins/emoticons/img/smiley-cool.gif)
Thanks guys. I just called out from work, but I don’t know if I will feel up to spending any time in the shop today.
That should make for some nice photo ops!
WOW look at that. The details and workmanship are great.
Question is will you leave it as is or stain or paint it?
The plan is to paint it gloss white with a rattle can to match the trim on the station. The station has barn red walls, but I couldn’t figure a way to incorporate the red that I liked. The prototype is a very faded and dirty off-white. Was painted when built 20 years ago and not since.
I finally feel like myself again today. So after my first meal in 48 hours I got to work. First I created enough rounded end rafter pieces to make the balance of the wedges. Then carefully applied my templates to about 35 of them…
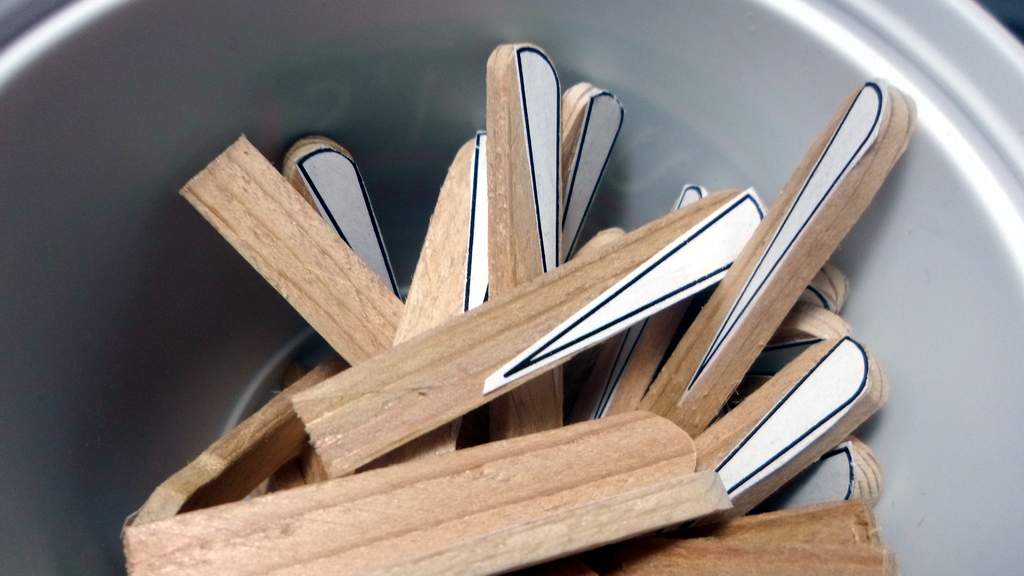
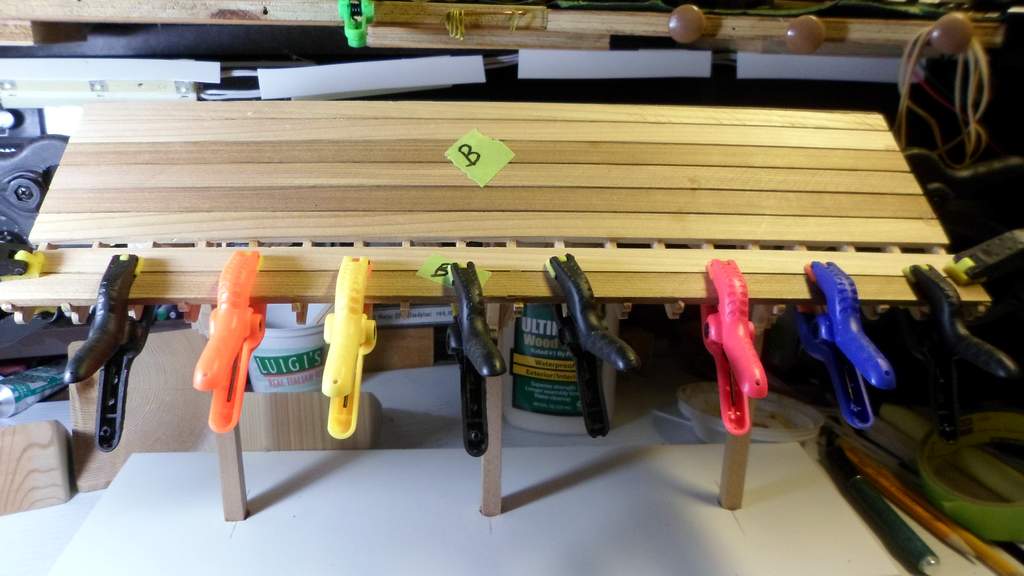
Spent another couple of hours carefully sawing them out and gluing them to the roof planks started last week…

Once the glue dried, that section of planks was attached to the main roof and clamped to dry…
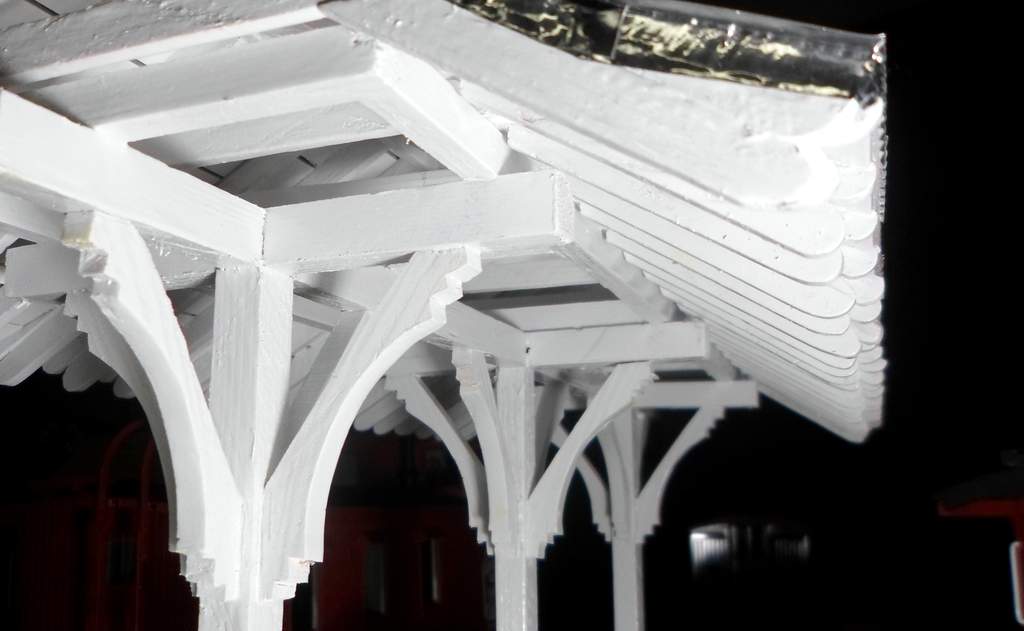
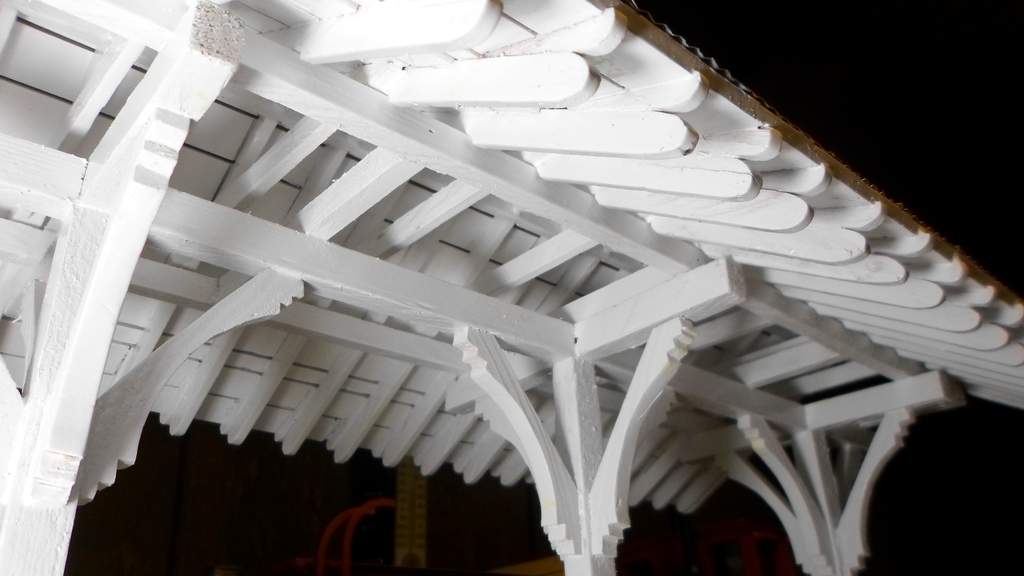
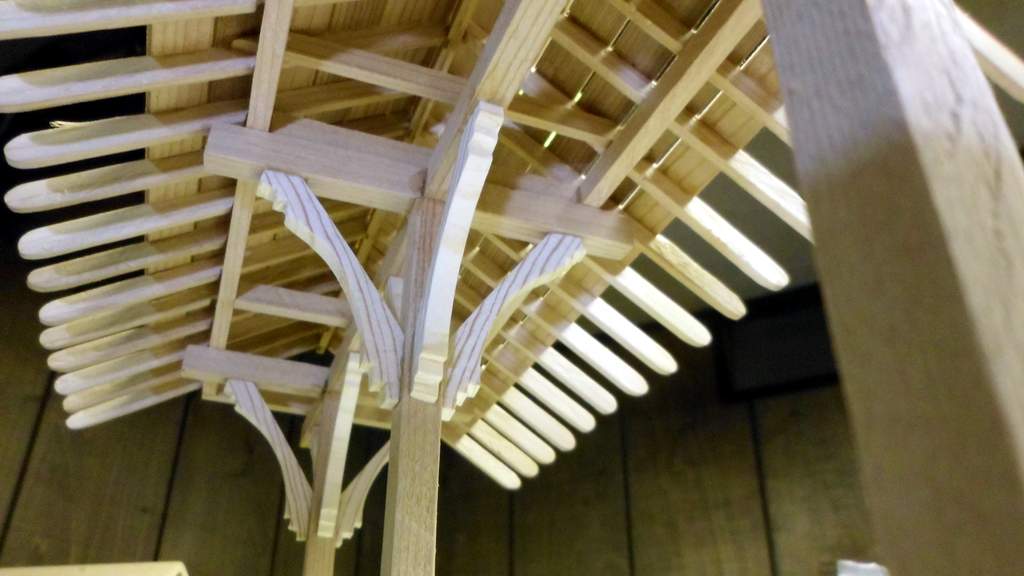
I really love the way the ends of the rafter and wedge look. It was worth the extra effort. Thanks for the encouragement to do it…

After dinner I’ll glue on the “A” side then cut the two planks to fit in the gaps. I think I need some trim on the ends to hide/seal the roof planks and my crooked ridge board. Hopefully I can finish that up tonight so I can take the whole mess to work tomorrow for paint. It’s way too cold to paint outdoors and I plan to use a rattle can.
Really nice work from one of the few that talked me into building what you want.
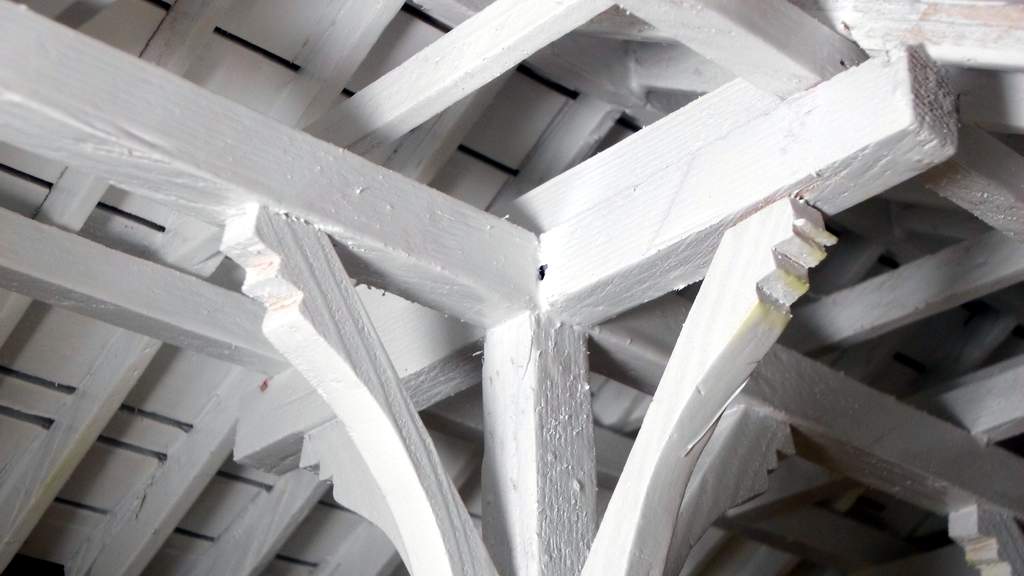
Love the modeled rafters and brackets.
That looks really Nice. The view from below looking in looks cool too. Keep up the great work!..
You do know that this requires the proper 3 color paint scheme
Not this week it doesn’t (http://www.largescalecentral.com/externals/tinymce/plugins/emoticons/img/smiley-cry.gif)
Down to the wire. I stayed up late last night finishing the last details before paint. Marilyn rewarded me for ignoring her on Valentine’s Evening by accepting my gift of the stomach virus. Sorry kid. Now it’s my turn to nurse you back to health (http://www.largescalecentral.com/externals/tinymce/plugins/emoticons/img/smiley-frown.gif)
I took it to work today so I could spay paint in the workshop. I’ve done better jobs with spray paint but I couldn’t take a lot of time. Picked it up on the way home along with a tube of E6000. I’ve never used it and wanted to check it out.
You know when the best time to shop at Walmart is? 5:15 PM in a snowstorm - nobody in the place (http://www.largescalecentral.com/externals/tinymce/plugins/emoticons/img/smiley-cool.gif)
As soon as the shop warms up I’ll install the tin and take the final photos. Stay tuned!
Hang in there John.(http://www.largescalecentral.com/externals/tinymce/plugins/emoticons/img/smiley-cool.gif)
Daktah John said:
You know when the best time to shop at Walmart is?
Yes, during the super bowl when the home team is playing. We had the whole store to ourselves. Well almost. There was a young mother grocery shopping with her toddler, and one weird guy in the paint department having an involved, silent, conversation with…
OK - I think I’m done with 4 hours or so to spare before local sunrise.
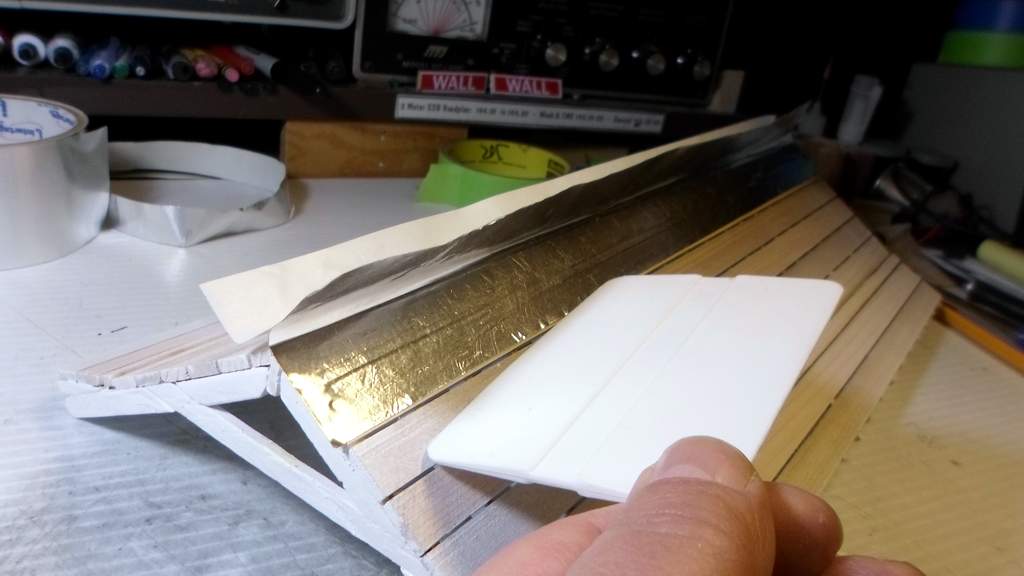
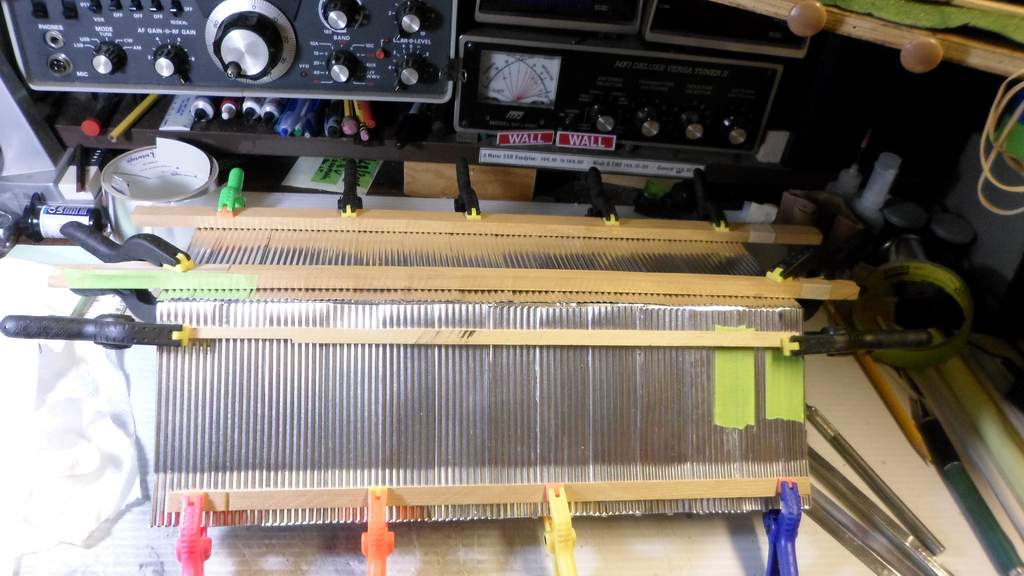
I had a few minutes of panic when I realized the E6000 I bought for the tin is not tacky enough to hold the seams closed if there is even slight warpage on the panels, but I finally just came up with a production method and went for it. Earlier, before the panic set in I started metal work. each tin panel will need a 10 degree bend so I made a quick and dirty bending jig from some scrap, tape and a clamp…
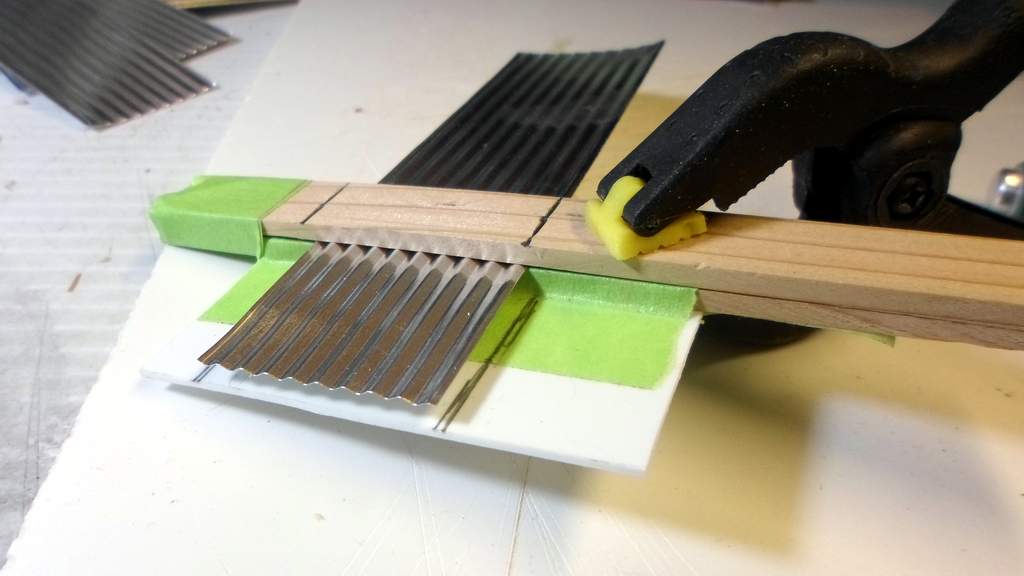
I went with a heavier clamp for production and used my vinyl squeegee to act as the brake…

The results were pretty good, so I bent up almost enough to do the job…
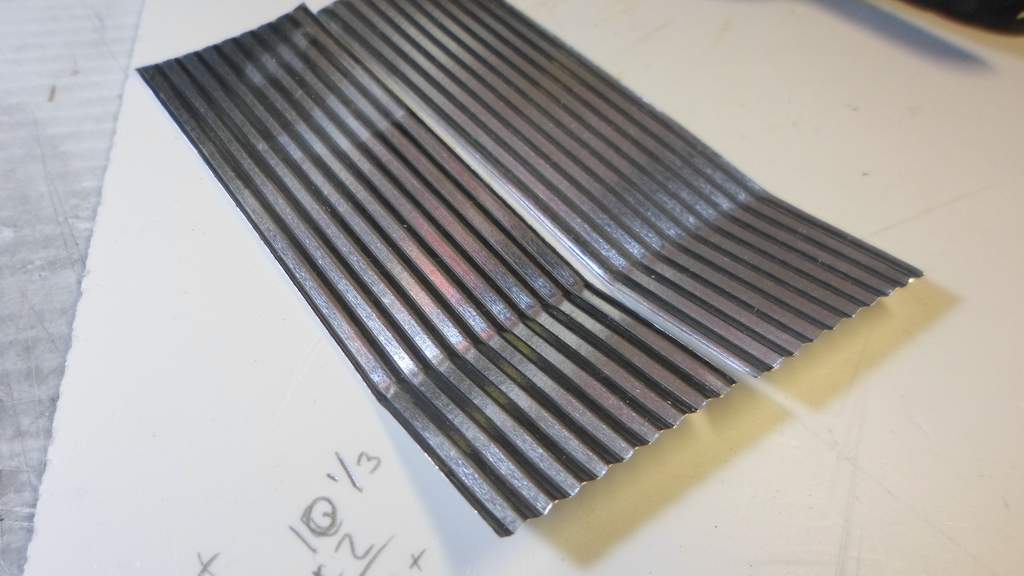
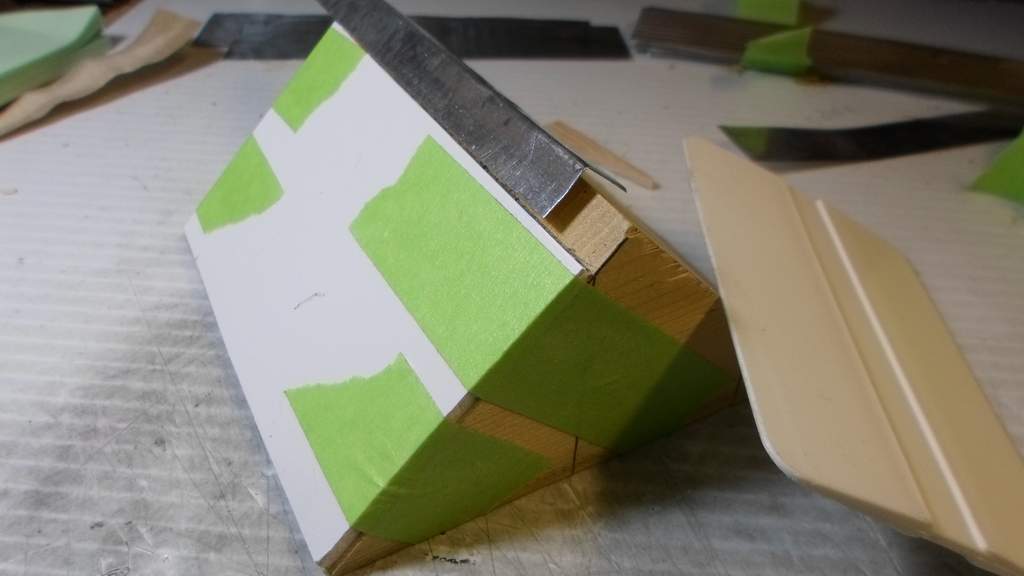
Almost, because my pencil math there to the left didn’t account for the overlap. I needed to bend a few more before I was done. Another simple bending jig was used for the peak flashing…
I used some self-adhesive aluminum duct tape to cover the peak seam as additional weather proofing under the tin…
And did the same for the ends. In the case of the ends, the tape will show where it covers the roof board ends…
Then, after the E6000 Panic Attack had subsided, I solved the problem by pre-taping the panels at the top edge, then flipping them up to apply the glue…
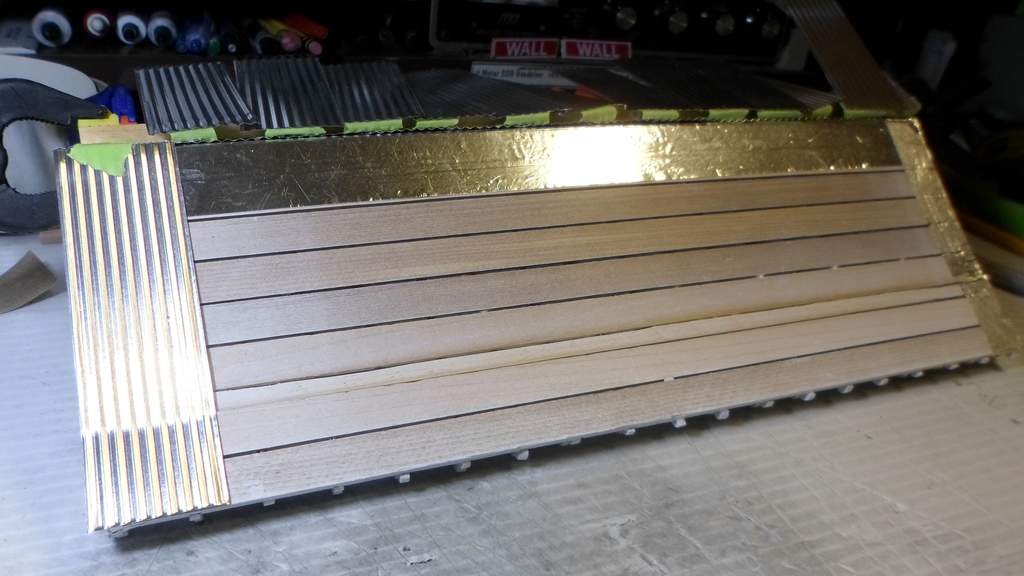
I put a line of glue on every board from end to end then began flipping the panels, putting another line of glue on top of the panel at the seam line. In retrospect, I should have only pre-glued about half the roof at a time to keep the glue from setting too quick. Hopefully they all stay stuck…
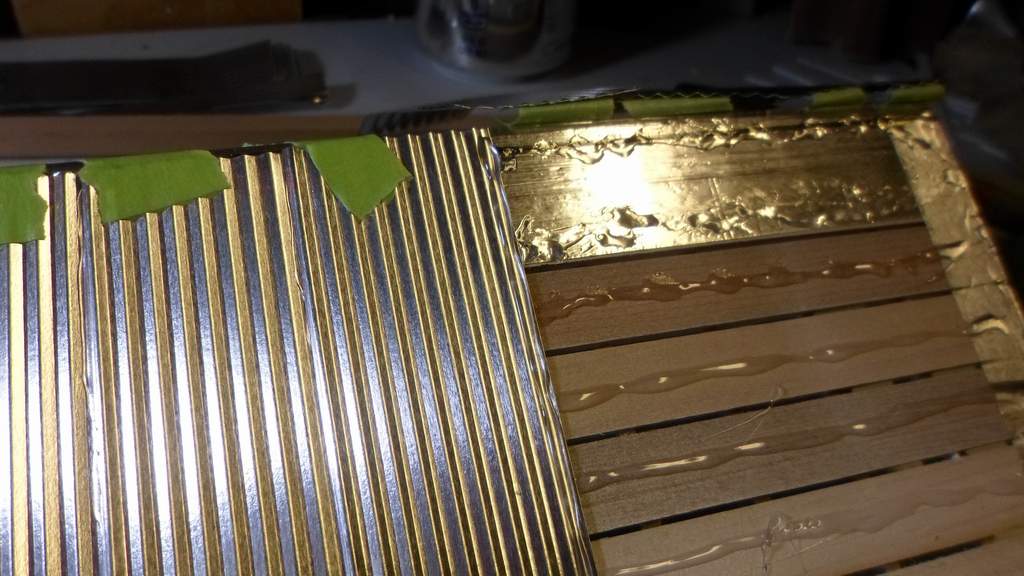
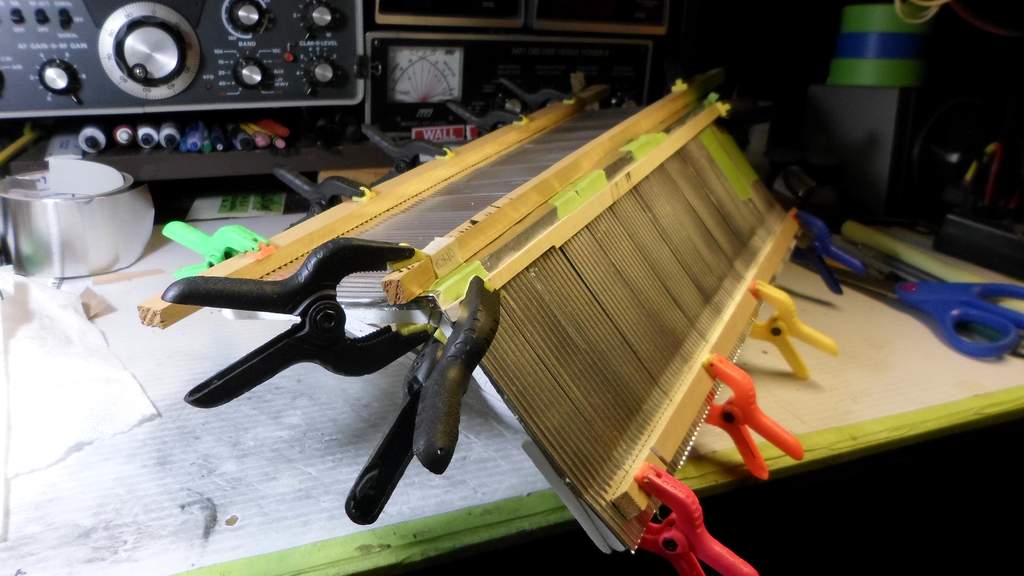
Once a side was done I used a couple of sticks to put as much pressure as I could on the joints. The moment of truth will be in tomorrow morning when the sticks come off…
The peak flashing was installed and the sticks moved higher…
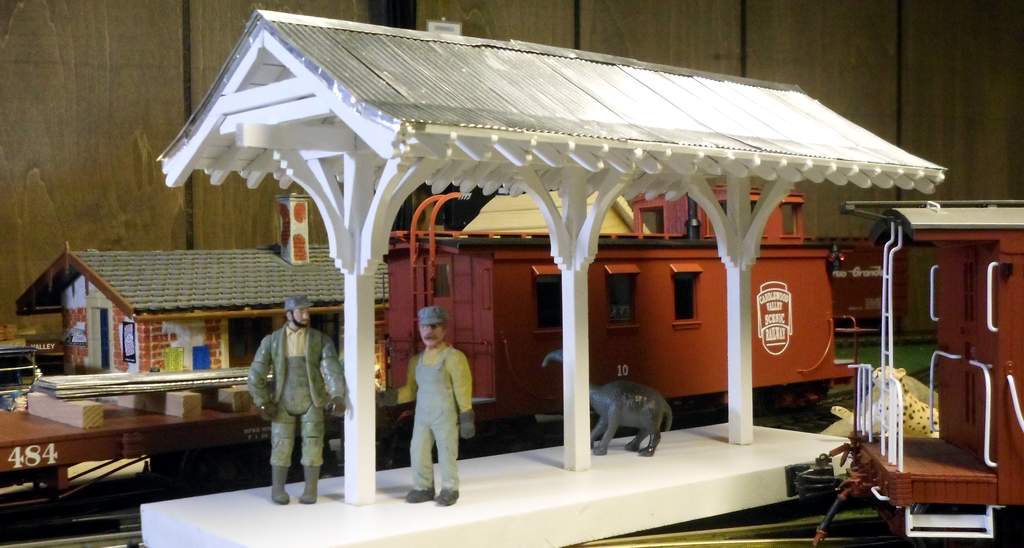
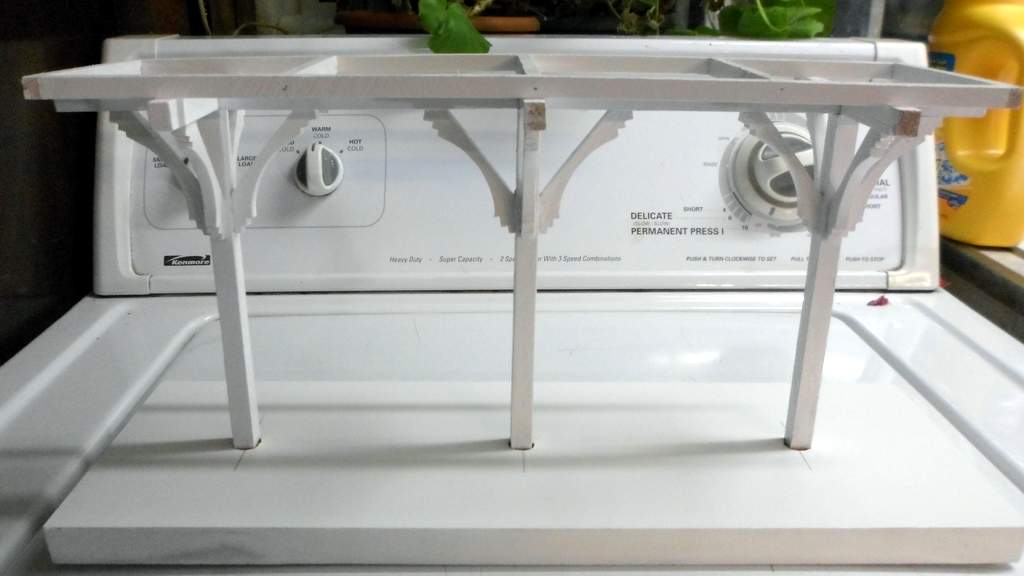
Here’s a shot of the painted base to prove it was done by deadline (http://www.largescalecentral.com/externals/tinymce/plugins/emoticons/img/smiley-smile.gif)
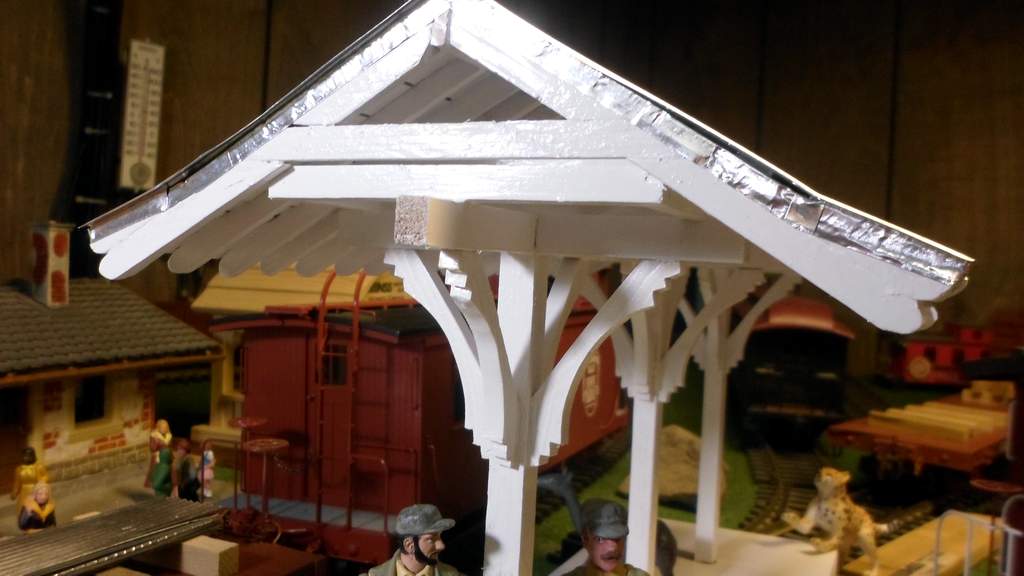
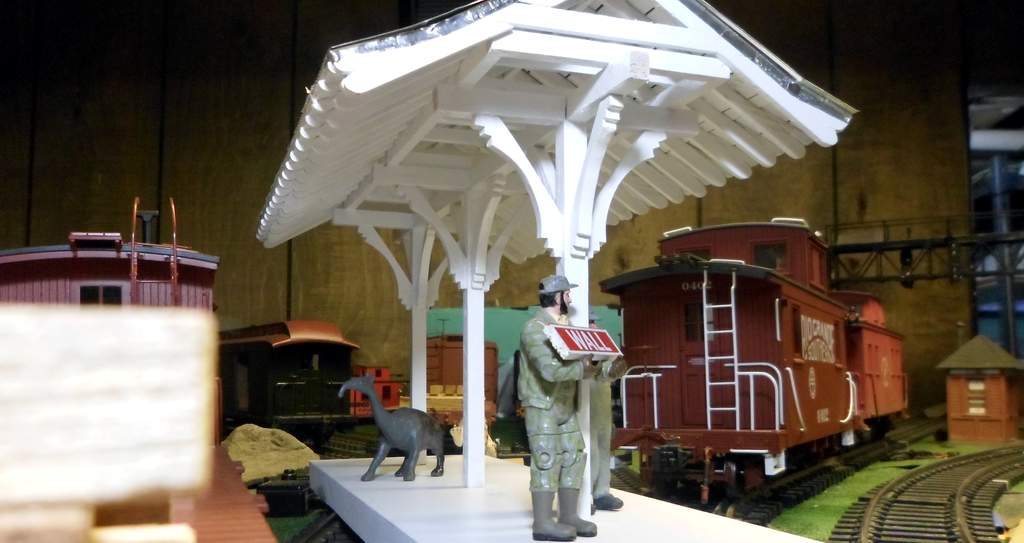
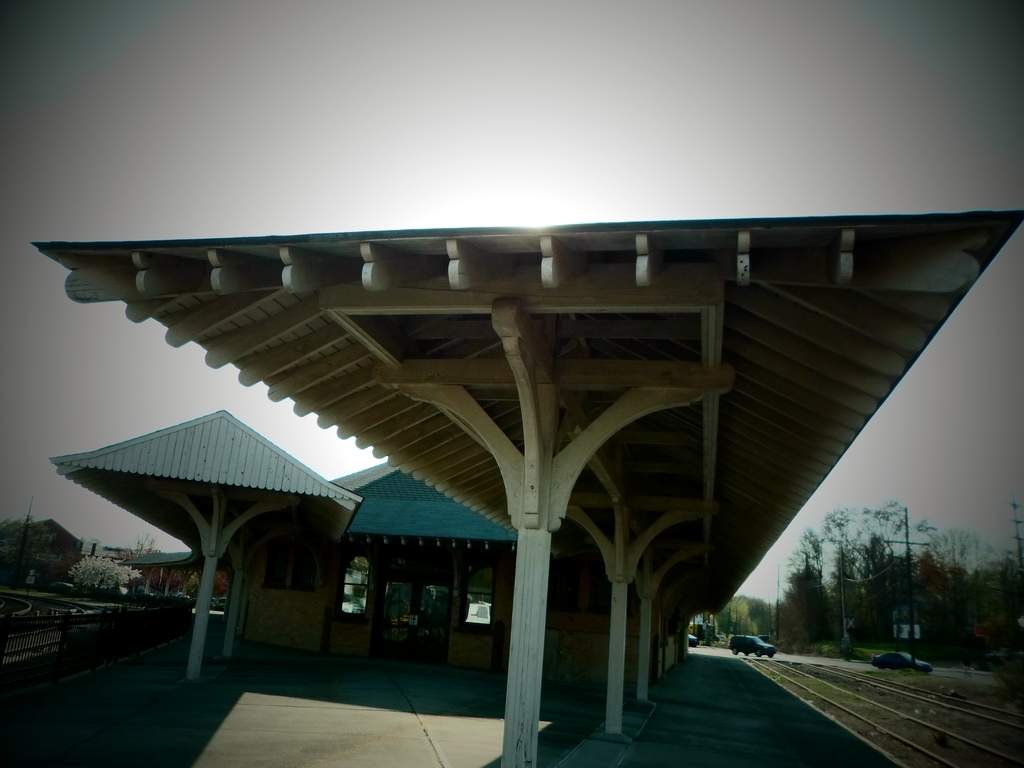
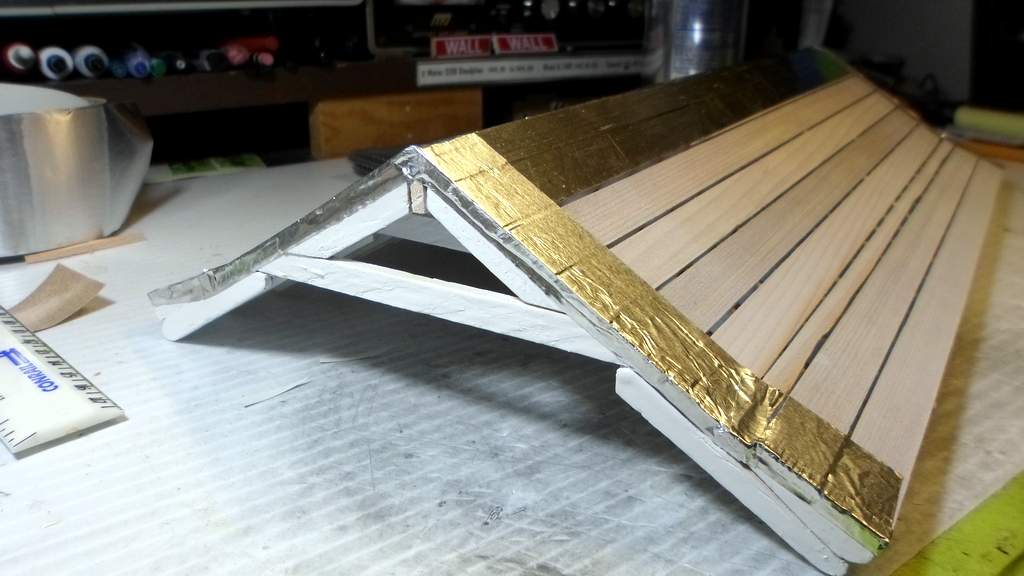
And with the roof in place…
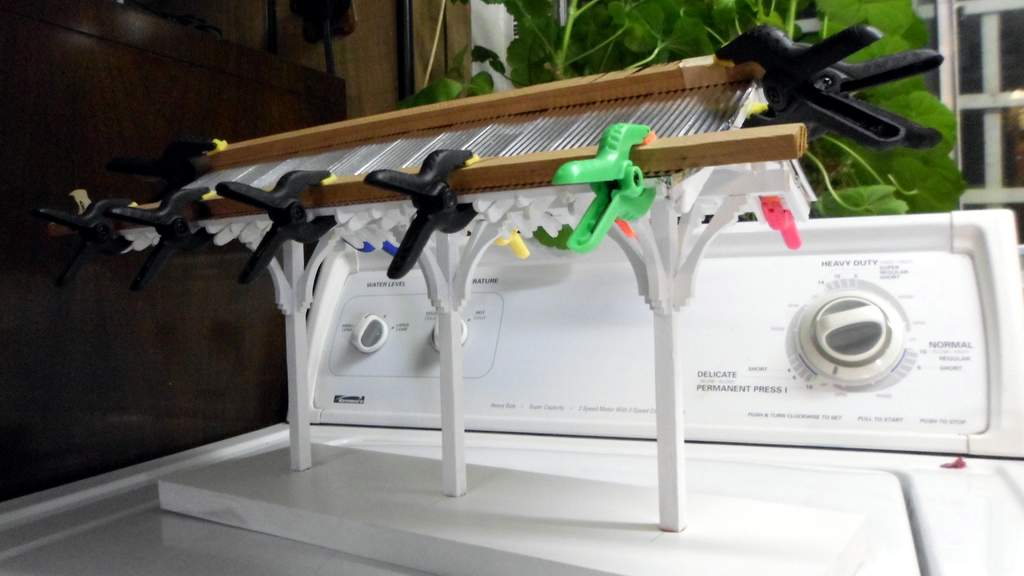
The roof will not be attached to give me some future options for paint (see Roos, ya got me thinking). An end view…

And right about here is where I stick the fork in!

Yes Virginia, I do believe I’m done. I’ll clean up the track area and stage some nice finish photos tomorrow after work.
I’m impressed. I really like how your supports turned out, as well as your neat little bending brake. Glad you were able to get better to finish it in time.
Great work!
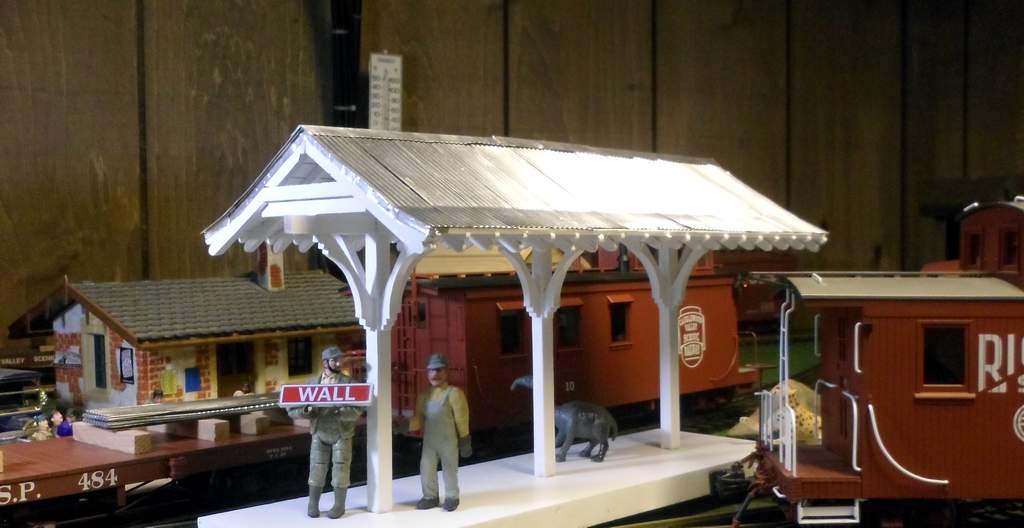
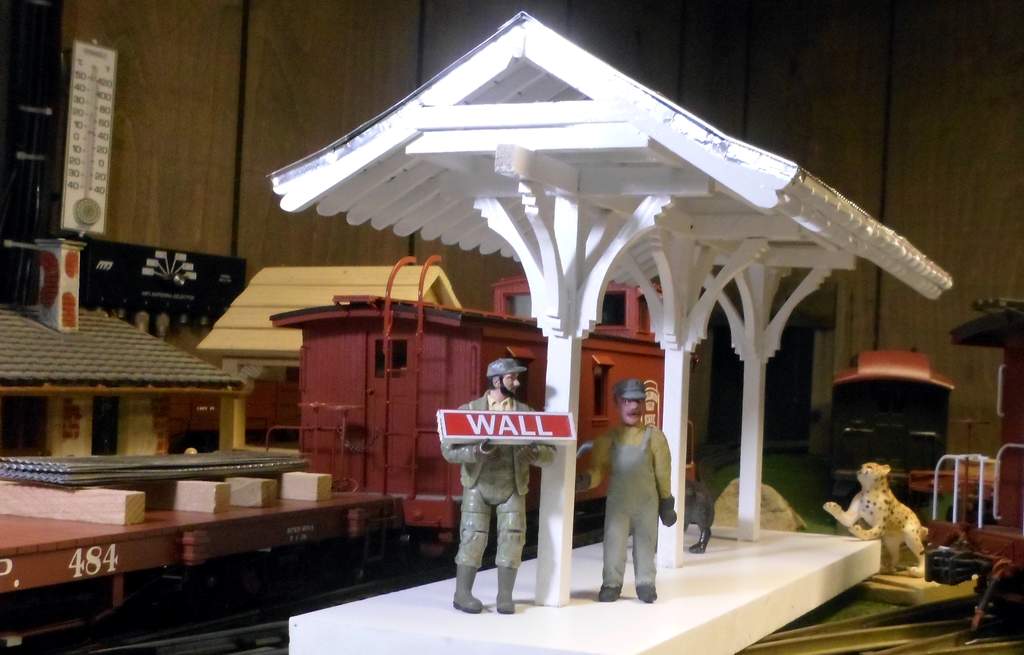
Thanks Bruce. I really had a lot of fun. The official entry photos have been posted. I’ll repeat them here, without the narrative, along with a few that didn’t make the cut on that thread.
Thank you to everyone that read this thread, commented, encouraged me and gave me more bad ideas. A special thank you to Dave Taylor for everything he has done to keep Mik’s legacy alive. Here are the photos…