Since I am not in the Challenge and just reading your blog as it is a wealth of information on how to add items until it overloads your time frame( the sinceuwassyndrome) since you are doing this , you might as well do…I have to say I am really learning on this build and love the look of your station. You are probably going to hate this next question, is the platform going to be brick or planks, of a slab o concrete? Looking forward to the finished product Pete
Thanks fr your comment Pete. Just a slab o’ simulated concrete for now. When I plant it outside that may change, but probably not. I want to be able to bring it in during the winter.
I really like the idea of a brick platform, but it would be difficult to keep looking fresh. I use stone dust for ballast and when it rains the dust splash gets on everything. Maybe I can get the wife to paint bricks over the summer (http://www.largescalecentral.com/externals/tinymce/plugins/emoticons/img/smiley-surprised.gif)
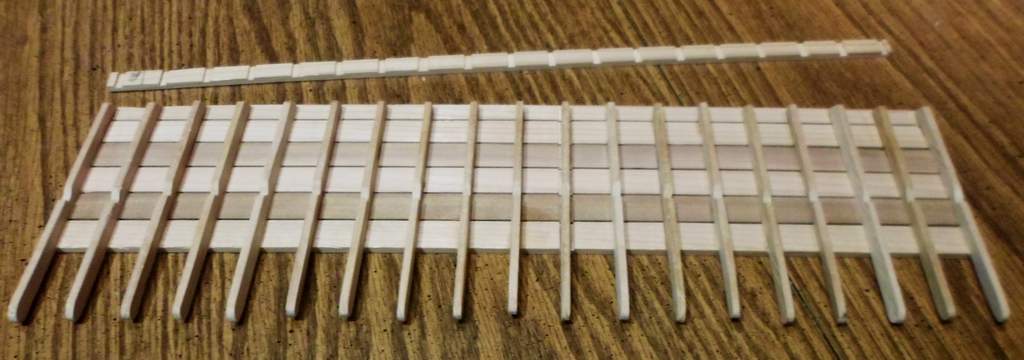
Continued working on the roof today. First job was to cut the slots in the roof planks for the rafters to be glued in to…

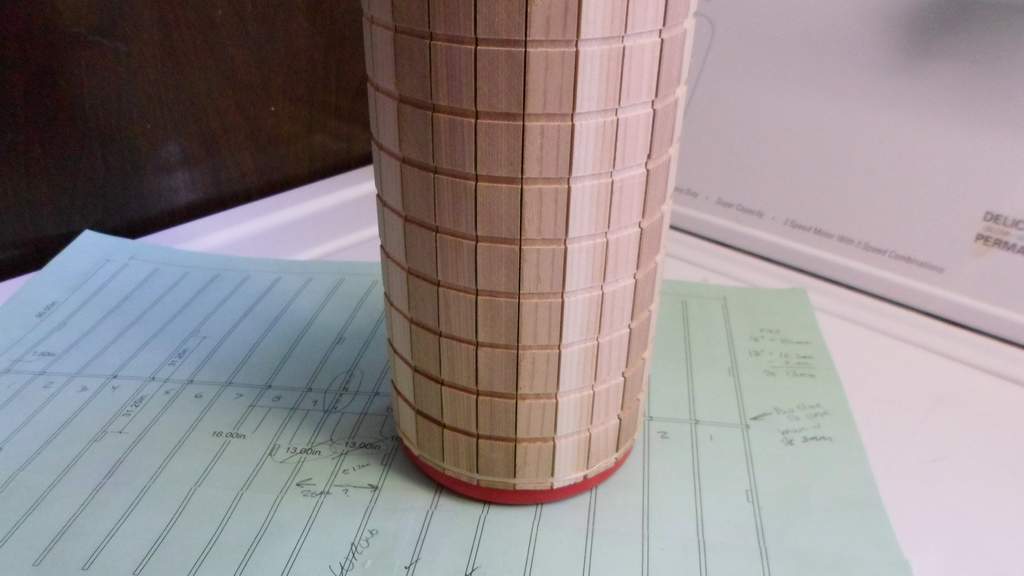
An interesting side effect of applying vinyl to the planks is the ability to curve the group of planks, This might be a neat to quickly build a tank…
Next up was cutting the rafters and cross braces to length with the proper angles mitered in. The rafters were easy at 32 degrees, but the cross braces need to be mitered to 58 degrees. Not so easy on a saw that only cuts to 45 degrees. My solution was to cut a block of 2x4 to 32 degrees then use it as a fence, then just set the saw to 90 degrees - the result was the difference of 58 degrees. I cut about 45 rafters and about 10 cross braces. I forgot to get pictures of the set up or the results.
With rafters cut to length I needed to cut a notch where they will rest on the frame. I set up a test truss and cut the notches with my Xacto…
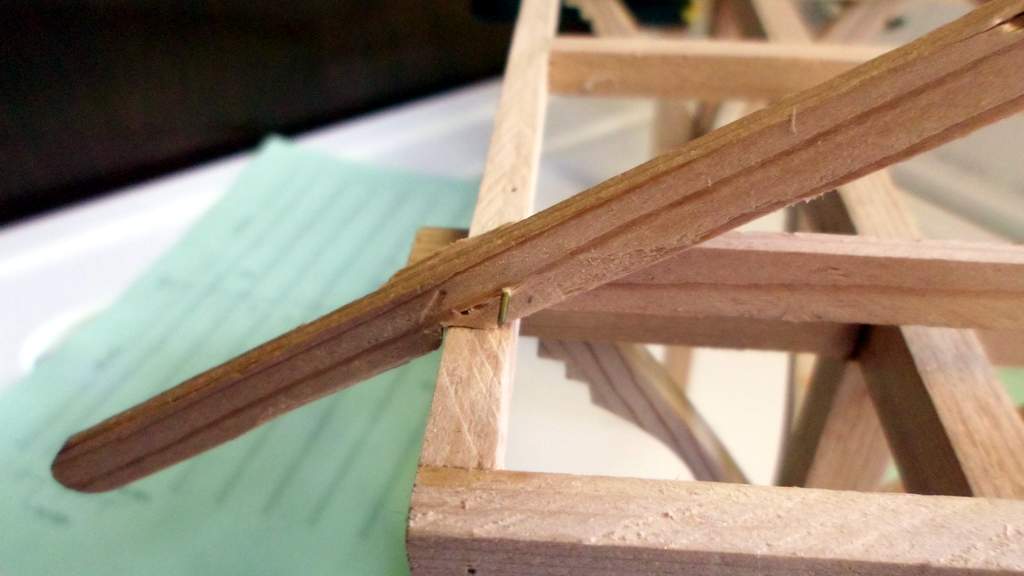
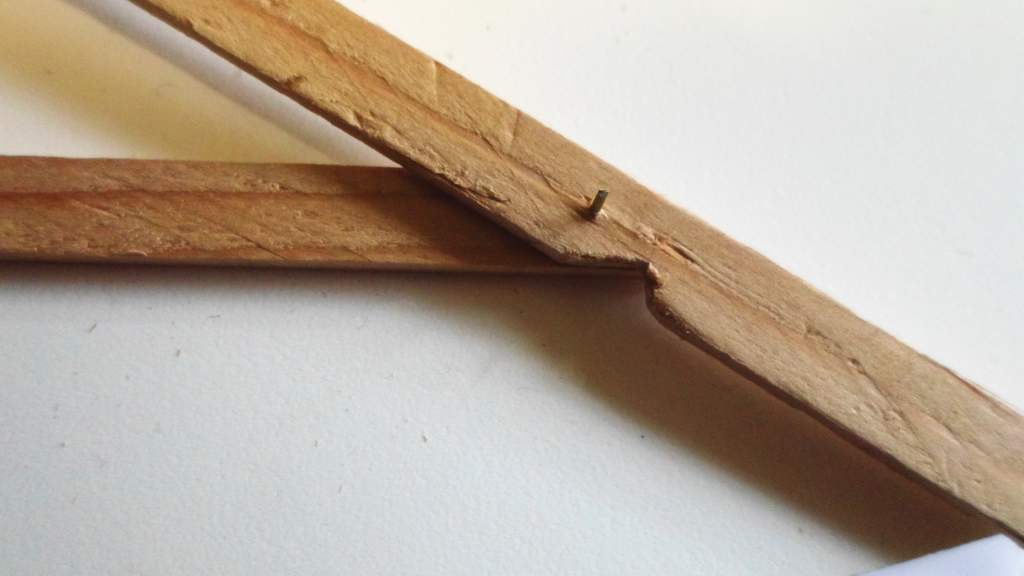
Using the hand notched rafter as a template, I grouped them in bundles of 10 and cut the notches with a razor saw…

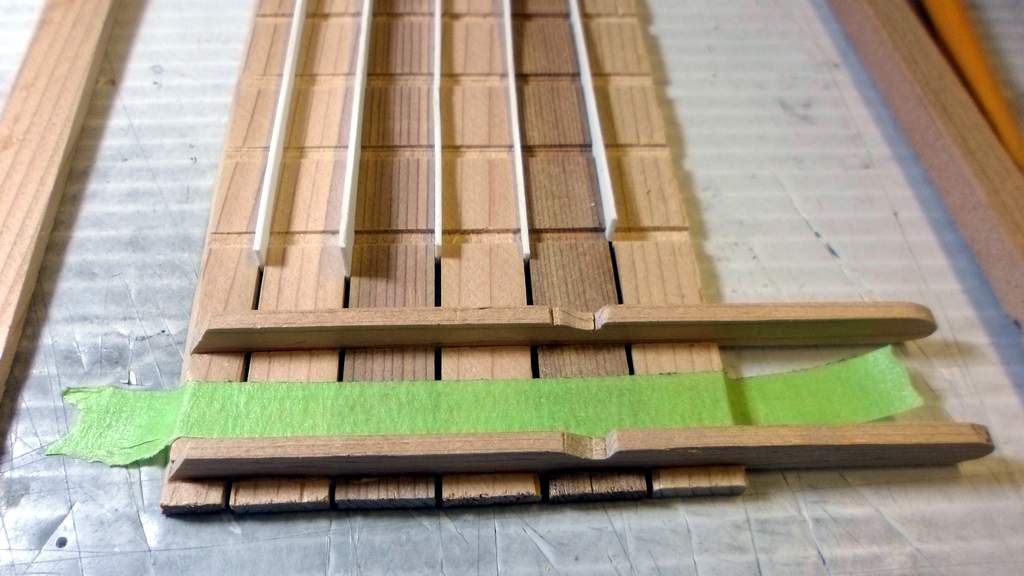
With that job complete it was time to start attaching the rafters to the roof planks. I wanted a bit of air space between planks, so I removed the vinyl then used some scrap styrene as spacers and taped the planks to my work surface to hold them in alignment while I glued in a few rafters…

And that brings you up to date on my progress. I need to think about painting the uprights and frame before the roof goes on. I should have done that today with temps in the 40’s. I plan to do a simple gloss white with rattle cans to match the trim on Wall Station.
I vote for the 4th brace too.
Your details are great.
Todd Haskins said:
I vote for the 4th brace too.
Don’t just vote for the brace, vote for the whole thing - but not yet (http://www.largescalecentral.com/externals/tinymce/plugins/emoticons/img/smiley-surprised.gif)
You will all be happy to know the 4th brace was added on Saturday completing the frame. Just the roof to go now, but it’s still a bunch of work, especially if I include the pitch change in the roof at the eaves. Cutting those little angled joists will be a royal PITA.
But, if you want it to look right…
David Maynard said:
But, if you want it to look right…
GO AWAY
“GO AWAY”
That is a fun button to push!(http://www.largescalecentral.com/externals/tinymce/plugins/emoticons/img/smiley-laughing.gif)
Stack 'em up and you can use my band saw!(http://www.largescalecentral.com/externals/tinymce/plugins/emoticons/img/smiley-wink.gif) OK? or shape a board and … Groundhog day all over again(http://www.largescalecentral.com/externals/tinymce/plugins/emoticons/img/smiley-surprised.gif)
Looking so good, you earned this!
I’m way behind, but I fulfilled another T. Taylor fix; I’ve got more Power! 50 Amps now and 50 more in reserve!
John
Go away? And here I thought you was my friend. (http://largescalecentral.com/externals/tinymce/plugins/emoticons/img/smiley-frown.gif)
I’m OCD enough on my own. Don’t need help. Now I must get down to the shop and leave this fun for the night.
Only one picture tonight. Must keep working (http://www.largescalecentral.com/externals/tinymce/plugins/emoticons/img/smiley-surprised.gif)
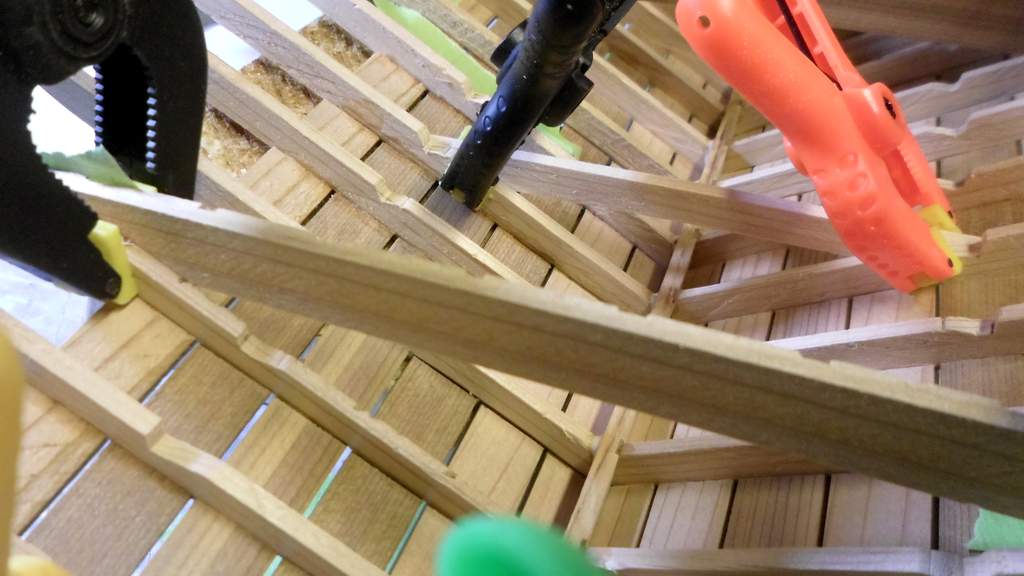
The dado slot idea for the rafters worked out pretty well. If I were to do it again I’d make them just a little deeper and be more careful to get them perfectly aligned, but even as-is they made setting the rafters fairly easy work. I have both halves done, one is drying, but it looks just like this one…
Not the best picture but you get the idea. The next major hurdle is the little wedges to change the pitch from 32 degrees to 22 degrees for the last two courses of roof boards. They are way too small to cut in a full size power saw so I will end up cutting them with an Xacto. I need to slice off a few (30) more of the rounded ends so I can carve them. I think I will use a trick I developed when building “Shorty” - my battery/sound car: print templates on self-adhesive paper. Cut them out, stick them on and carve away!
For someone who “HATES” being detailed oriented, you seem to be well on your way to passing a building inspection. I can’t wait to see how all the parts fit together. I’ve liked the looks of your prototype all along, and, whether you like it or not, the attention to details is working well.
Your workbench is as cluttered as mine. Hey, at least the top of the washer is clear.
Thanks John. It’s a love-hate relationship (http://largescalecentral.com/externals/tinymce/plugins/emoticons/img/smiley-undecided.gif)I love how things turn out when I spend time on the details, but I hate that I need to do all the details. It would have been done 4 days ago with the planned PVC roof with no rafter detail, but you guys wouldn’t let me settle for that (http://largescalecentral.com/externals/tinymce/plugins/emoticons/img/smiley-wink.gif)
I printed out 42 of the shapes for that little rafter wedge last night on self adhesive paper. I’ll use them as a template to cut the angle from a pre-shaped rafter. Still working out if I’ll glue the wedges to the roof boards first, or glue them to each rafter. I think to the roof boards will be faster, but I’m sure to get a little alignment error. I may have to live with that in the interest of time. I need to be done by Friday night so I can go play steam trains and trolleys this weekend!
@David - Yes, we are still friends. But you made me do it.
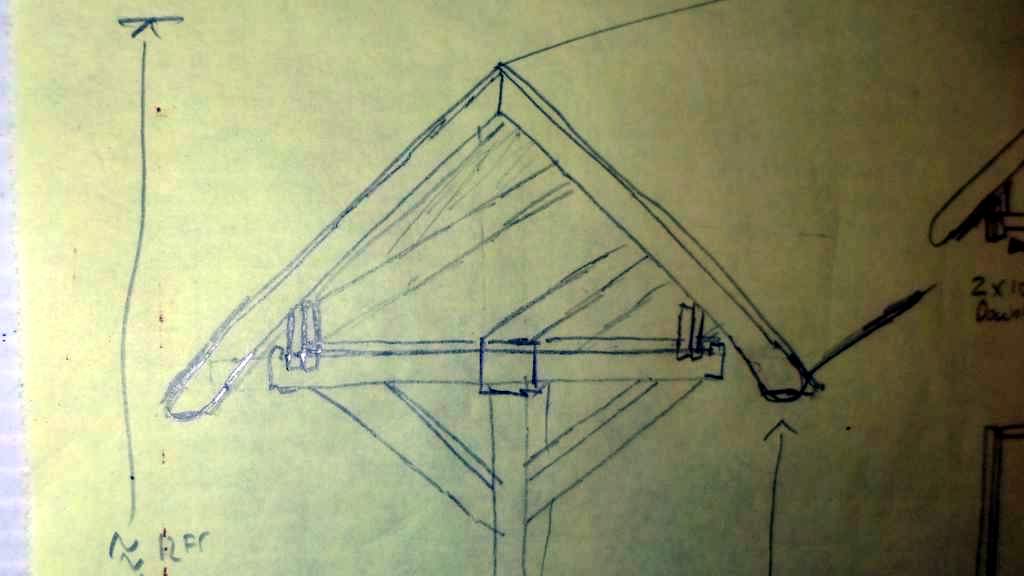
BTW - This was what it was supposed to look like when I joined this fiasco…
I wanna model like the best of the best and be a detail freak someday myself!
Nice work John
Edit : Cause I need a new washer and dryer first!
John I hear you. As I worked on mine the detail grew to a point where I am finally having to say just get it done and then fix the details later. But the question is are you having fun? because that really is the only important rule. I think you are.
David Russell said:
I wanna model like the best of the best and be a detail freak someday myself!
Nice work John
Edit : Cause I need a new washer and dryer first!
That’s the beauty of scratch building in my opinion. The details. I am a detail freak as well and I marvel at guys like Ray and Eric and now the New Old Man from New Mexico (NOMFNM) and Dave and the list goes on. Great modelers and have an eye for detail and love to share what they know. Welcome to the OCD crowd.
Thanks guys.
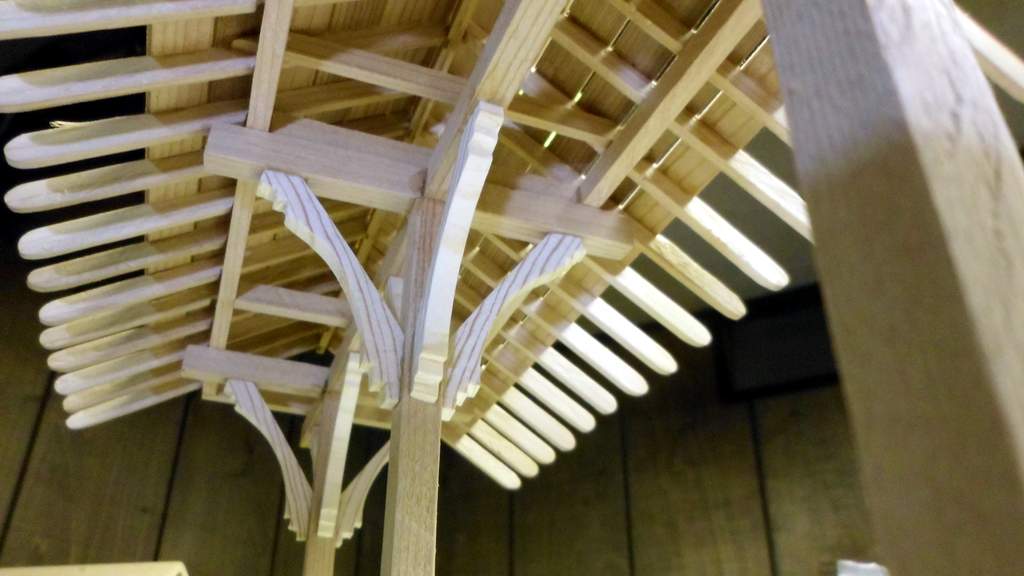
Got the roof halves together tonight. They are only glued at the ridge for now. I need to confirm placement of the truss braces with the frame before attaching them.
Here’s where I’m at with the roof…
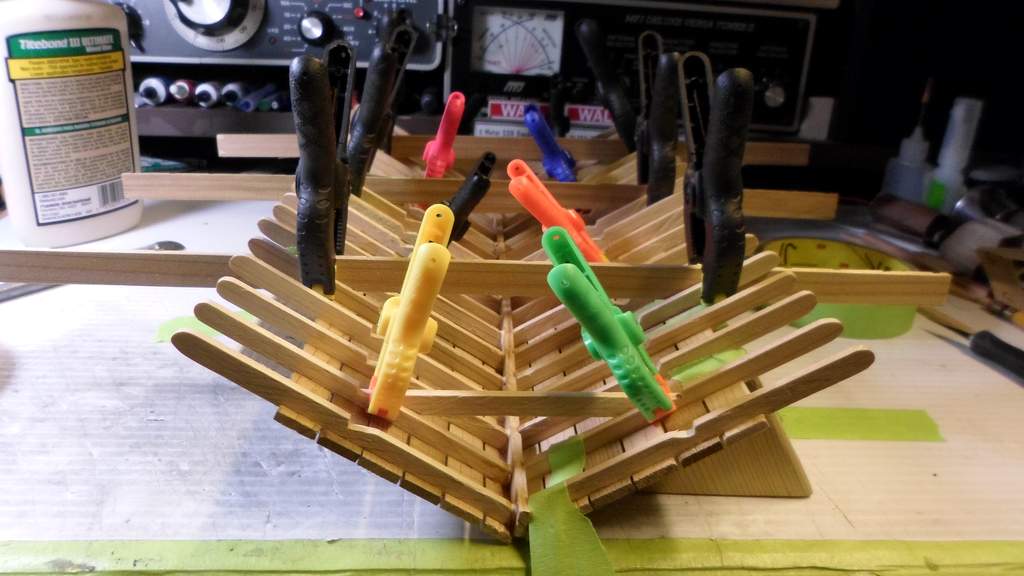
And a little fun with the Macro Mode on my little Point-N-Shoot…


Need to take a break for food, then cut out 40 of those little paper wedges (http://www.largescalecentral.com/externals/tinymce/plugins/emoticons/img/smiley-surprised.gif)
Way to go John, you and I are both wrestling roofing members tonight. I’m glad you decided to model the framing structure, it really looks nice. Good luck with all those little wedges. Just think Scranton can be your reward for doing your homework!
At this point it looks like I will not finish. I had a long to-do list and got right to it as soon as I got home, but soon started feeling poorly and did not want to run power tools without being 100%. Some kind of stomach bug I think.
I did manage to glue on most of the trusses, cut some of the wedges and start attaching wedges to roof planks. I quickly ran out of steam, but did get some progress pictures before I quit. First up; the wedges. Last night I cut about 50 of these templates that had been printed on self-adhesive paper…
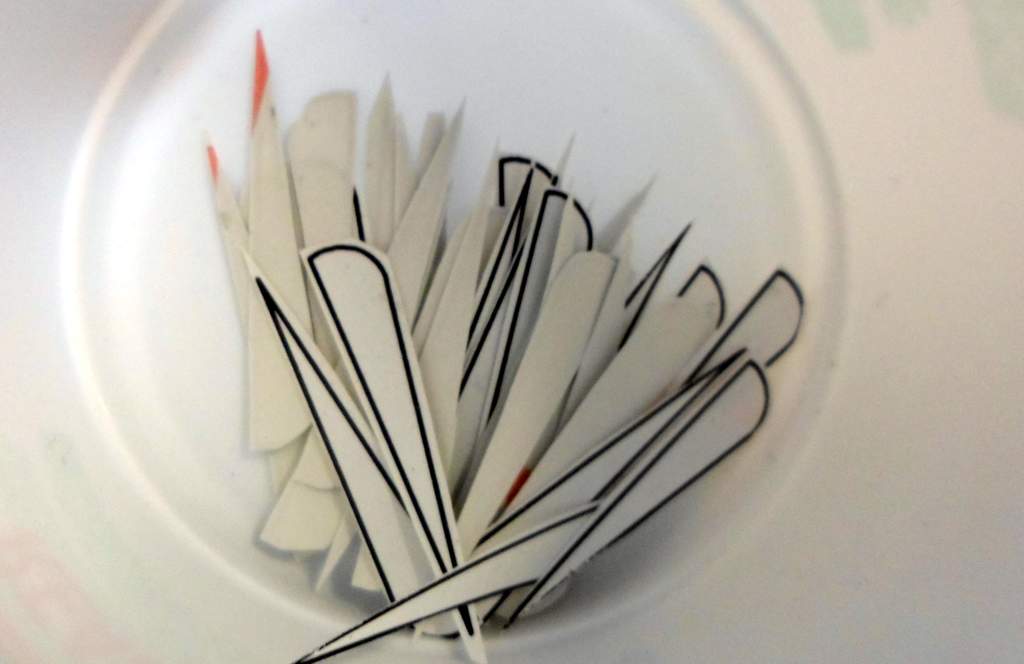
Next I applied them to what I had left of the round end rafter stock…

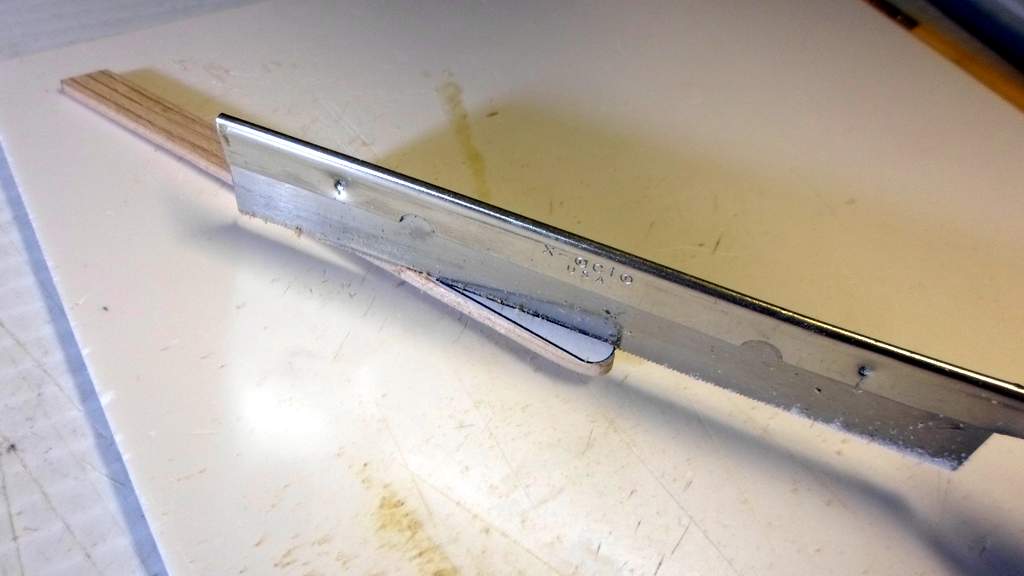
Then I carefully cut the angle with the finest razor saw blade I have…
Here are some wedges in various states of completion with a penny for size comparison. These little suckers are small…

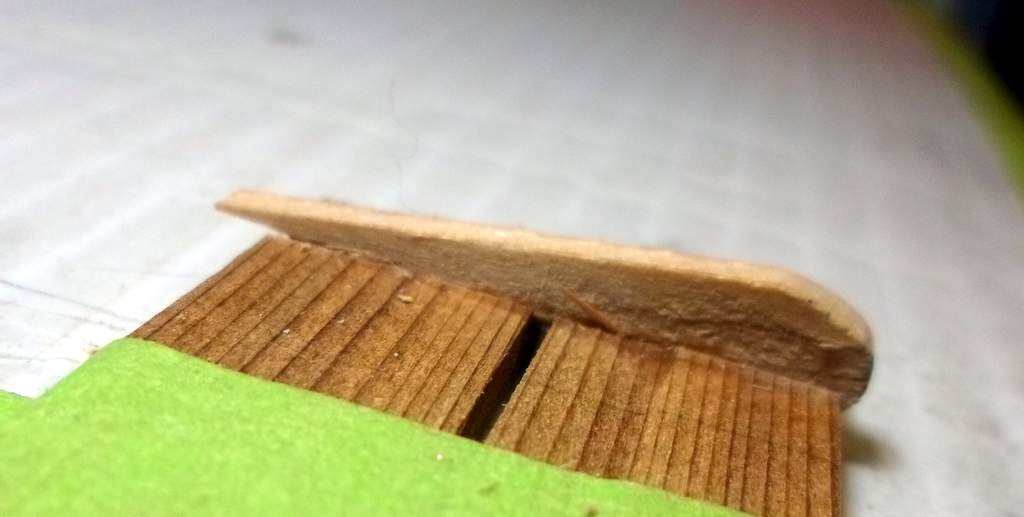
Then I glued a few to some roof planks…
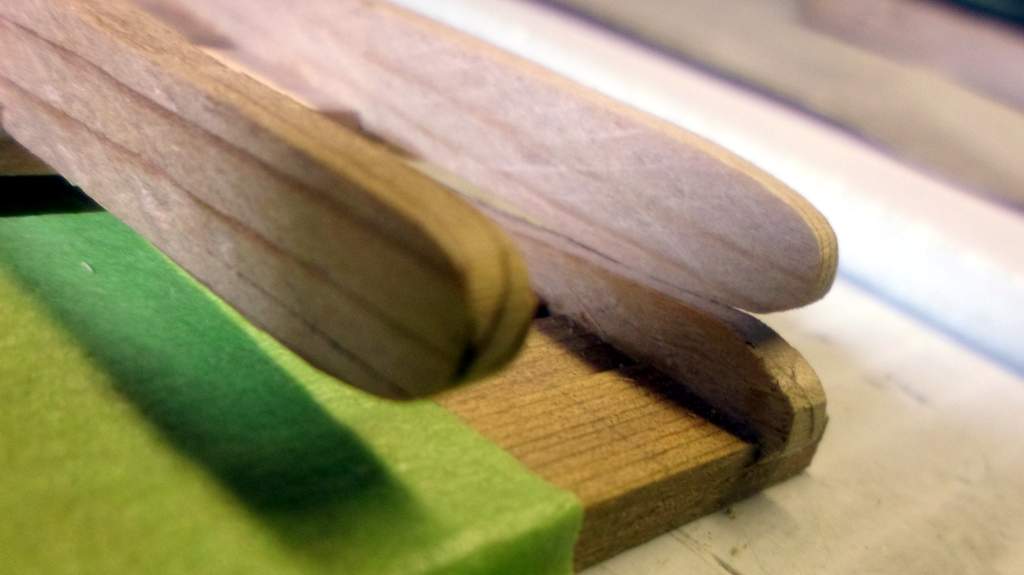
And a preview of what they will look like when assembled to the rest of the roof…
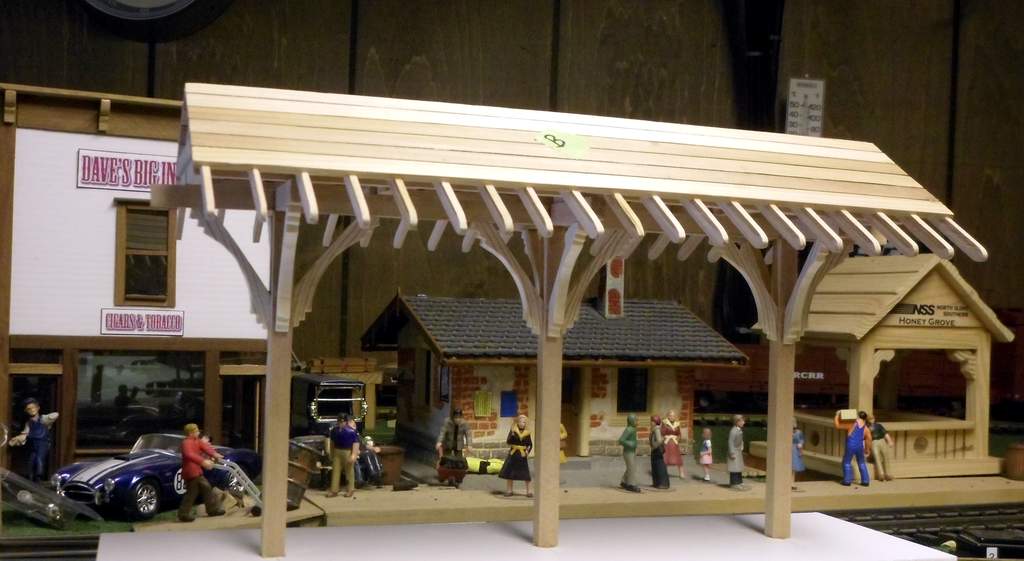
And speaking of the rest of the roof, I got most of the truss braces glued on and was able to do a test-fit on the frame. Finally, a glimpse of what the finished product will look like…
That’s it until this bug passes (http://www.largescalecentral.com/externals/tinymce/plugins/emoticons/img/smiley-cry.gif)