Large Scale Central

Major update on the RGSNH

As you can see from the previous photo, there is this long silver fin thing hanging down in the field of view.
Yesterday Phil And Bart assisted in helping me move it out of view.!


View from inside the crawl space:

It has been poorly supported all the time I have owned this place, going on 25 years, but had been inaccessible with the old engine house in place.

Now the round house construction can begin.

Al P.

Al,
This is incredible work! I cannot wait to see the roundhouse in there as well. And, whats more, come see it all in person sometime.

Roundhouse construction has started. as with everything i do i make a cad model first. this will be a facade, as i will not build the back wall’s for now, but have made provisions to do so later.


this first photo shows the test fit of the stall 4 doors.

this shows the 3d printed hinges and pivot points after painting.

The doors were made up of laser cut1/16 MDF and 1/32 plywood.

some of the assembled doors awaiting paint on the far side.

a pair of doors with the hinges assembled.

the finished doors were top coated with an alcohol/shoe dye to achieve the weathered well worn look.

one of the features of the door hinges is the thru holes for the hinges, on the back side they are simulated carriage bolts.

next up i need to finish the roof trusses, so i can mount the doors.

Al P.

3 Likes

Al, what created this texture? will it stay on the model or was it unintentional?

Roundhouse is a real eye catcher.

2 Likes

David,

that is the honeycomb side of the laser cutter, or down side of the material. i initially thought i would get the same result on both sides making a universal center section, but ended up cutting opposite hands in the final result. i had enough spares in the final cuts to make all the cuts on the outside ecept for a couple that i enhanced the cut on.

AL P.

1 Like

Great technique Al, I love the hinges and how you’re connecting them. The assemblies are beautiful.

1 Like

Al, These look great. Thanks for explaining what you’ve done. The dye you used for weathering seems to work really well. I’m still in the ‘wish I could build a single-engine shed’ phase, so this I am quite jealous of.

Well i haven’t built the trusses yet. I decided i really wanted to put in the inspection pits, which required ripping up some ties and cutting some suitable wood that would take Spikes. I was able to use the remnants of a ceder 2 x 10 to cut these pieces. i then layed them out in position and marked the pit area. I then cut the pits out down to the base plywood with one of those oscillating saws.
This is the end result of a fulls days worth of work.

I have also been working behind the scenes getting the upper and lower siding that goes above the doors prepped for installation, as well as the door posts and the windows that go over the goose doors.

Trusses next I promise!

Al P.

7 Likes

That’s the first time I’ve seen someone model the inspection pits Al, nice detail!

I gotta ask, are you able to pull out the base to do things like this, or do you have to crawl into the space to do so? Just curious.

The door parts are looking great!

1 Like

Cliff,

I will be able to reach some areas from the outside, but most construction is in the crawlspace.

AL P.

Here is the first Truss. I am going to let the glue set up overnight and then pin nail the angled beams, then apply liberal amounts of my stain. I am not going all the way to the back wall for know, but have made provisions to add. i also added a lot more gussets than the prototype as i was concerned about rigidity.

Al P.

2 Likes

Looking great, Al.
I keep thinking I’d try to make the whole thing slide out somehow for construction & maintenance.
But then I remember your reach is probably almost twice mine. :grinning:
I’m really looking forward to your progress postings, keep 'em up!

Al,
Just make sure you have a phone that is within reach in that crawlspace in case you get jammed up in there, been there done that.

Small update. the trusses have been done for about a week but got caught up in the camera problem on my phone. i installed a micro sd card in my phone when i did the battery replacement. when i opened the camera app it asked me if i wanted to store the photo’s on the card. so i did. photo’s on the card sometimes work but at other times are not readable. i have switched back to on device storage. So today’s photo is the doors now installed on the trusses. tomorrow hopefully will be the test fit. I will still need to make up the brick wall sections out of layered PVC.

Al P.

1 Like

Looks great Al. Did you print your hinges in Tough 2000 as well? Perhaps with a brass pin?

Cliff, Exactly what i did. it is my go to resin for most parts.i used the regular grey for parts like widows that have bigger cross sections.
AL P.

Today’s progress. i mounted the remaining foundation pieces for the last truss, and placed them all in position, and started attaching the upper trim to test fit. by this time i was dripping from everywhere and decide to wait for a dryer day to continue as all these upper trim pieces need to be fit end to end.

AL P.

2 Likes

Aren’t you in the basement :thinking:

Today i finally got downstairs and attached the upper sheathing today. had to trim a few pieces along the way. i still need to add the battens at the joints but I am going to work on the side walls next. i purchased the PVC at the home depot the other day and am going to make a sandwich to get the proper thickness (close enough anyway)

Al P.

3 Likes

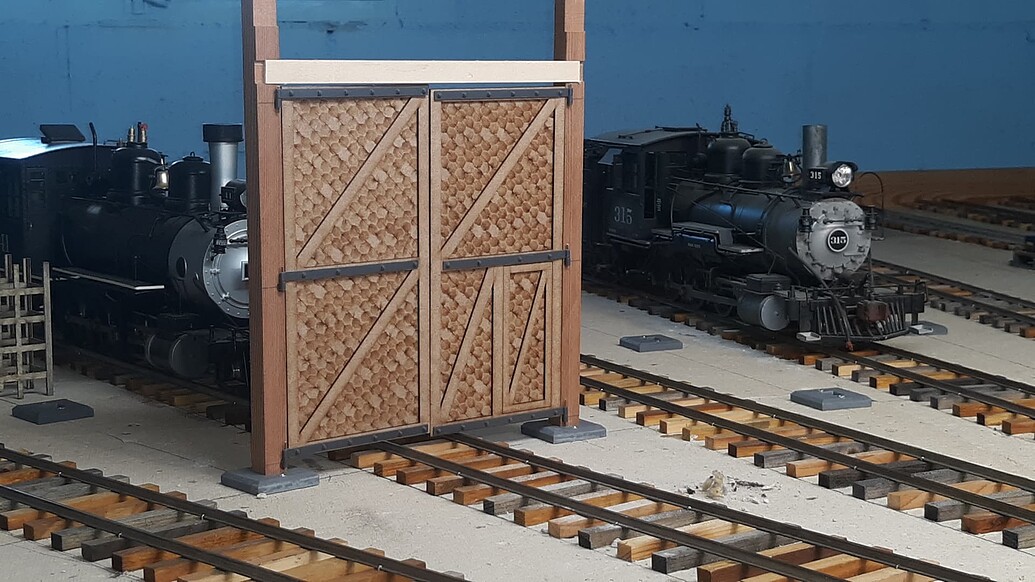
Today i finished cutting and assembling the wall adjacent to stall #1 and got it coated in primer.

Later i test fit the windows and doors:

once the paint drys overnight the top half will be painted a red brick color. while the real wall was brick with a stone foundation. this is going to have to settle for now. if i get real ambitious later i can engrave the brick and stone into it as it will be removable.

The other project of the day is an EBT water column in 1:20.I had a request to model in the smaller scales , and since i work in full scale it was a simple conversion. although it might have fit in the printer in one piece, i wanted a working unit:

Raised Position

Lowered position:

A 3 inch long steel slug is hidden in the brass tube and a slot in the brass tube allows it to move up and down with a .040 dia pin thru it all. the brass tube is a slip fit in the base casting. allowing it to turn. I am still working on getting the base details from Jon.

If this is something you might be interested in send me a PM. I have not priced out yet because it is not completely done.

AL P.

5 Likes