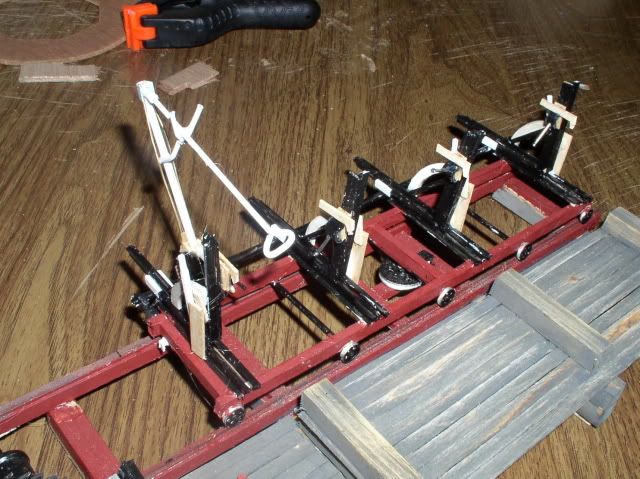
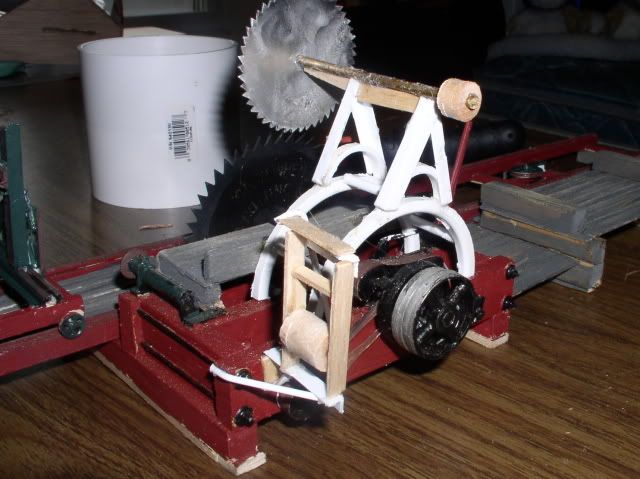
I got a little more work done to the sawmill. I got the dolley all set up with the cables and log holders. I used the backs of a picture frame holder for the gips that will hold log in place. I also used some picture frame wire as my cable. I still have to get the saw part done but found the dremmel saw a little too small. Have to look around for a larger blade. I also found that taking apart a pulley I can use the pulley as my wheels that propel the blade. The last step will be getting the steam donkey built or wait until Bachmann comes out with theirs. Im not going crazy with detail since it will be left out year round and due to the spot it will be in.
Really coming along great there Shawn
Shawn, Toe kick saw blades (could probably get a dead one from someone that installs hardwood floors) are in the 3 1/2" range. Some of the High Speed Air Cutters use a 3" blade. Chicago Electric (no intended plug for that company) makes a bench top cutoff saw that uses a 2" steel blade. I am not sure what size you are after, so thought I would throw the different sources our there.
The dolley is looking good! The picture frame cable looks like it is going to be just right for that use…
Shawn,
Looking good.
Where did you get the figure with the flannel shirt and goatee?
Ralph
Ralph Berg said:They came as set of three. They are woodland scenic and I got them from Ridge rd.
Shawn, Looking good. Where did you get the figure with the flannel shirt and goatee? Ralph
Don thanks for the other scources anything between 2-3 inch blade should work perfect. thanks again.
So far im happy how it is turning out especially when Im trying to use whatever I have around the house. Keeping with my low budget RR theme. LOL
Did somebody say portable sawmill?
(http://i397.photobucket.com/albums/pp52/steamnut1917/sawmill/P6220011.jpg)
(http://i397.photobucket.com/albums/pp52/steamnut1917/sawmill/P7050017.jpg)
(http://i397.photobucket.com/albums/pp52/steamnut1917/sawmill/P8040001.jpg)
(http://i397.photobucket.com/albums/pp52/steamnut1917/sawmill/P8040003_01.jpg)
(http://i397.photobucket.com/albums/pp52/steamnut1917/sawmill/P8050001.jpg)
(http://i397.photobucket.com/albums/pp52/steamnut1917/sawmill/P8110004.jpg)
(http://i397.photobucket.com/albums/pp52/steamnut1917/sawmill/P8110002.jpg)
(http://i397.photobucket.com/albums/pp52/steamnut1917/sawmill/P8110005.jpg)
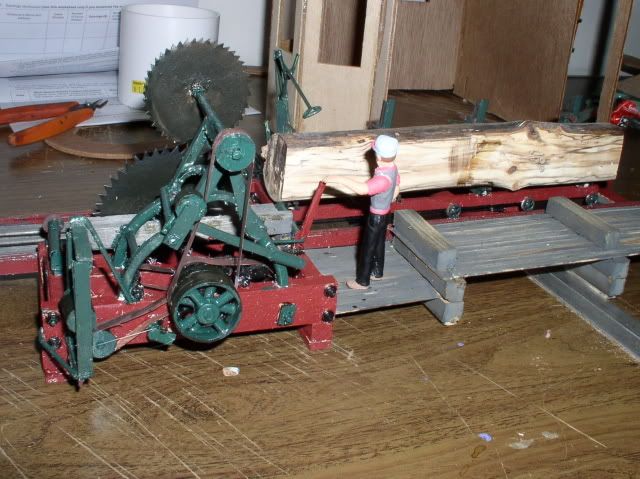
I got the main blade off feebay (3") and the 2" topsaw blade from Ozark. The carriage wheels and return pulleys are Ozark as well. The rest is mostly wood and styrene.
Don Pearson said:Why does no one tell me about these tools!!!!!! I thought I had or seen almost everything!!!! Shawn, From Miks post it appears that he is already building what you asked for picture wise or do you need more? Settle down Mik as your outta control and you never cease to amaze me with your models!! ;)
Shawn, Toe kick saw blades (could probably get a dead one from someone that installs hardwood floors) are in the 3 1/2" range. Some of the High Speed Air Cutters use a 3" blade. Chicago Electric (no intended plug for that company) makes a bench top cutoff saw that uses a 2" steel blade. I am not sure what size you are after, so thought I would throw the different sources our there. The dolley is looking good! The picture frame cable looks like it is going to be just right for that use..
Here is a photo essay I did on our club’s Frick mill. Might be of help in your build.
http://www.the-ashpit.com/mik/sawmill.html
Very cool link Mik. Lots of data for a scratch build. The floor pulley and cable drive are real interesting.
Mik
That sawmill looks great. Wish i had that kind of talent especially to detail. Thanks for the pictures. That will help me with mine.
Shawn, You DO have the talent. Confidence is something you’ll build by doing. Breaking down a complex shape into simple ones takes practice as well.
Yours will be perfect for outdoors. Mine was designed to be a display model for viewing from a few feet away. Different purposes require different levels of detail. If I put mine outside the chipmunks would probably destroy it in less than a week.
Of course I could always build you one like mine… for about $450 (I won’t work for free, except for me). But yours also fits your budget. lol
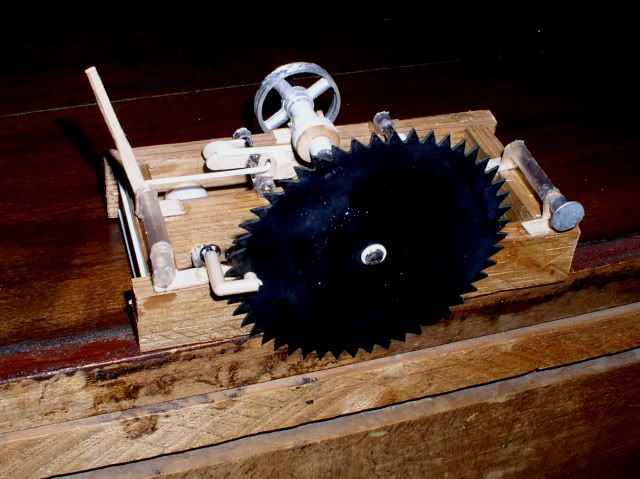
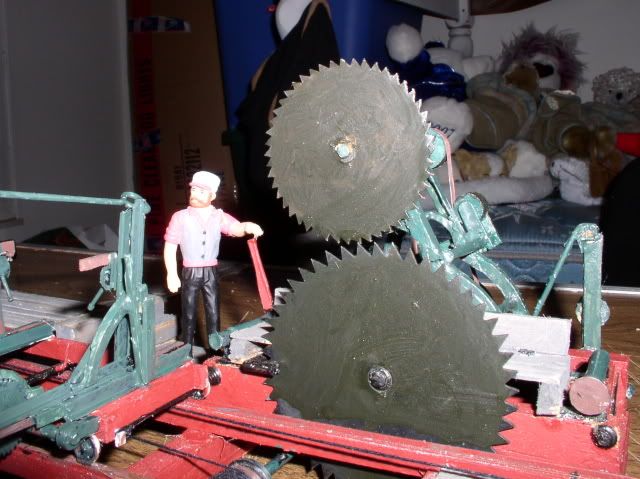
I started work on my steam donkey and so far I came up with this. Still have some detailing to do and add cables, roof etc… Im not going too crazy with details but just enough to look decent. I also decided rather then buy a saw blade for the sawmill I will make one. It was very easy I took a piece of styrene and cut the edges with craft scissors (scissors with different blades to add designs to borders). It worked out great and cost almost nothing. The steam part is made from a soda can. Then I glued a film canister to the top and the screen is from a garden hose nosel. The cable rolls are the spools from sewing thread. (talk about using whats around the house LOL) The cable is going to be picture frame wire. Should rust nice.
Shawn,
That is a talent in itself. Being able to visualize and use common items to create something else.
Looking good.
Ralph
WoW! perfect timing for me. Thanks for the great pics. Nicely done.
Looks good Shawn and I’m sure you will capture nice shots of this when it has weathered nicely on you RR.

Coming along great Shawn
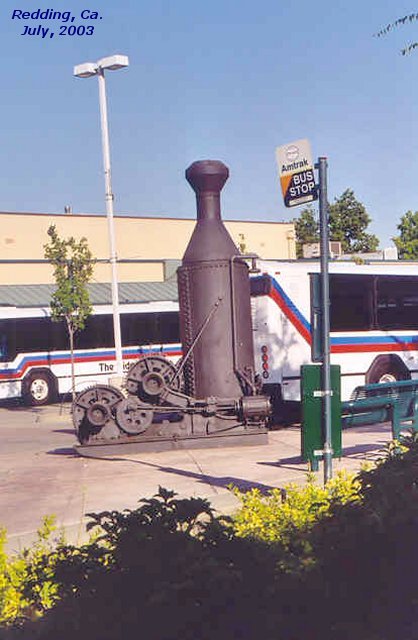
This may give you some idea of how they looked.
(http://www.trainweb.org/rgs/redding01.jpg)
This was on display at the Redding, CA bus station.
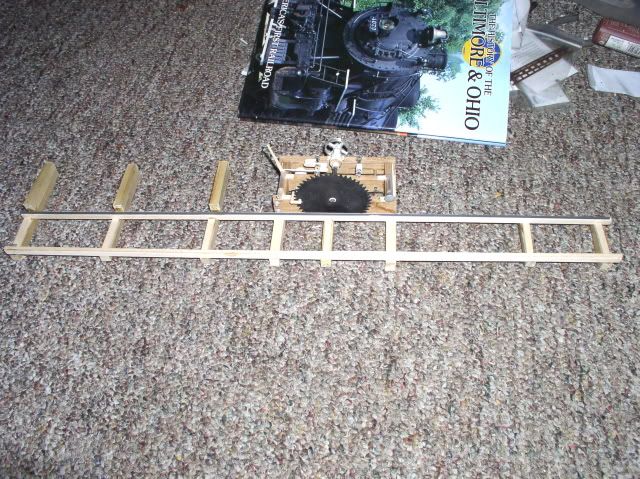
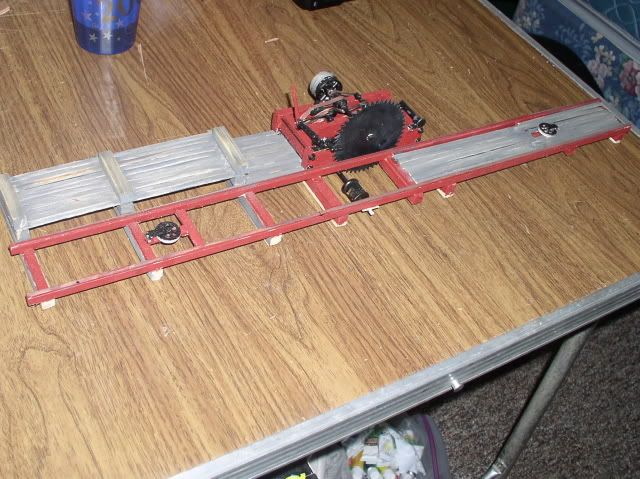
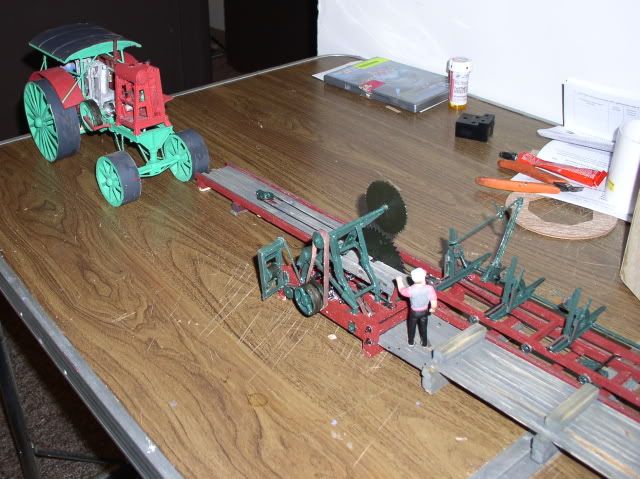
I got the bulk of the sawmill done. Just have to add details and a roof to the steam donkey. The details wont be done until spring. I put everything up today to get an idea. Not the most detailed but this will be staying out year round.
Looks good to me Shawn, and I don’t even need to ask what it’s supposed to be. Are some stacks of lumber on your todo list or is this a sawdust mill?