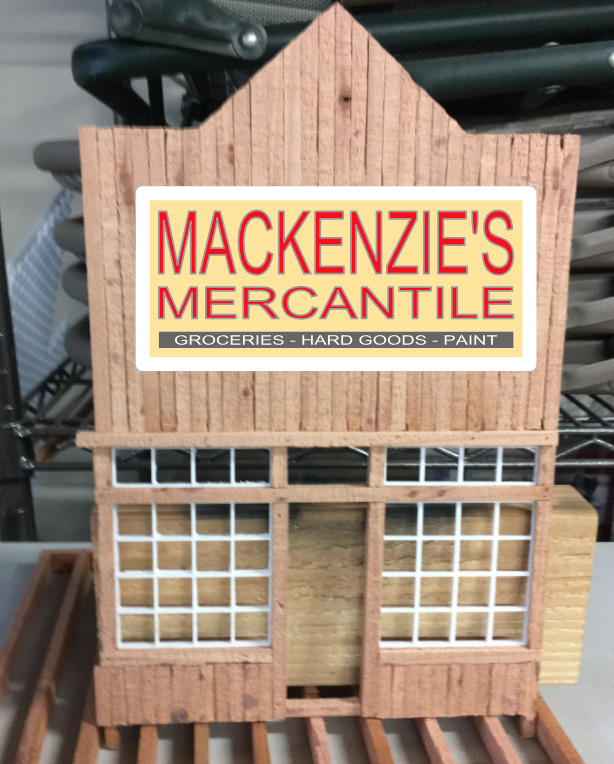
Boy o boy … that sign is almost as large as Jon,s…
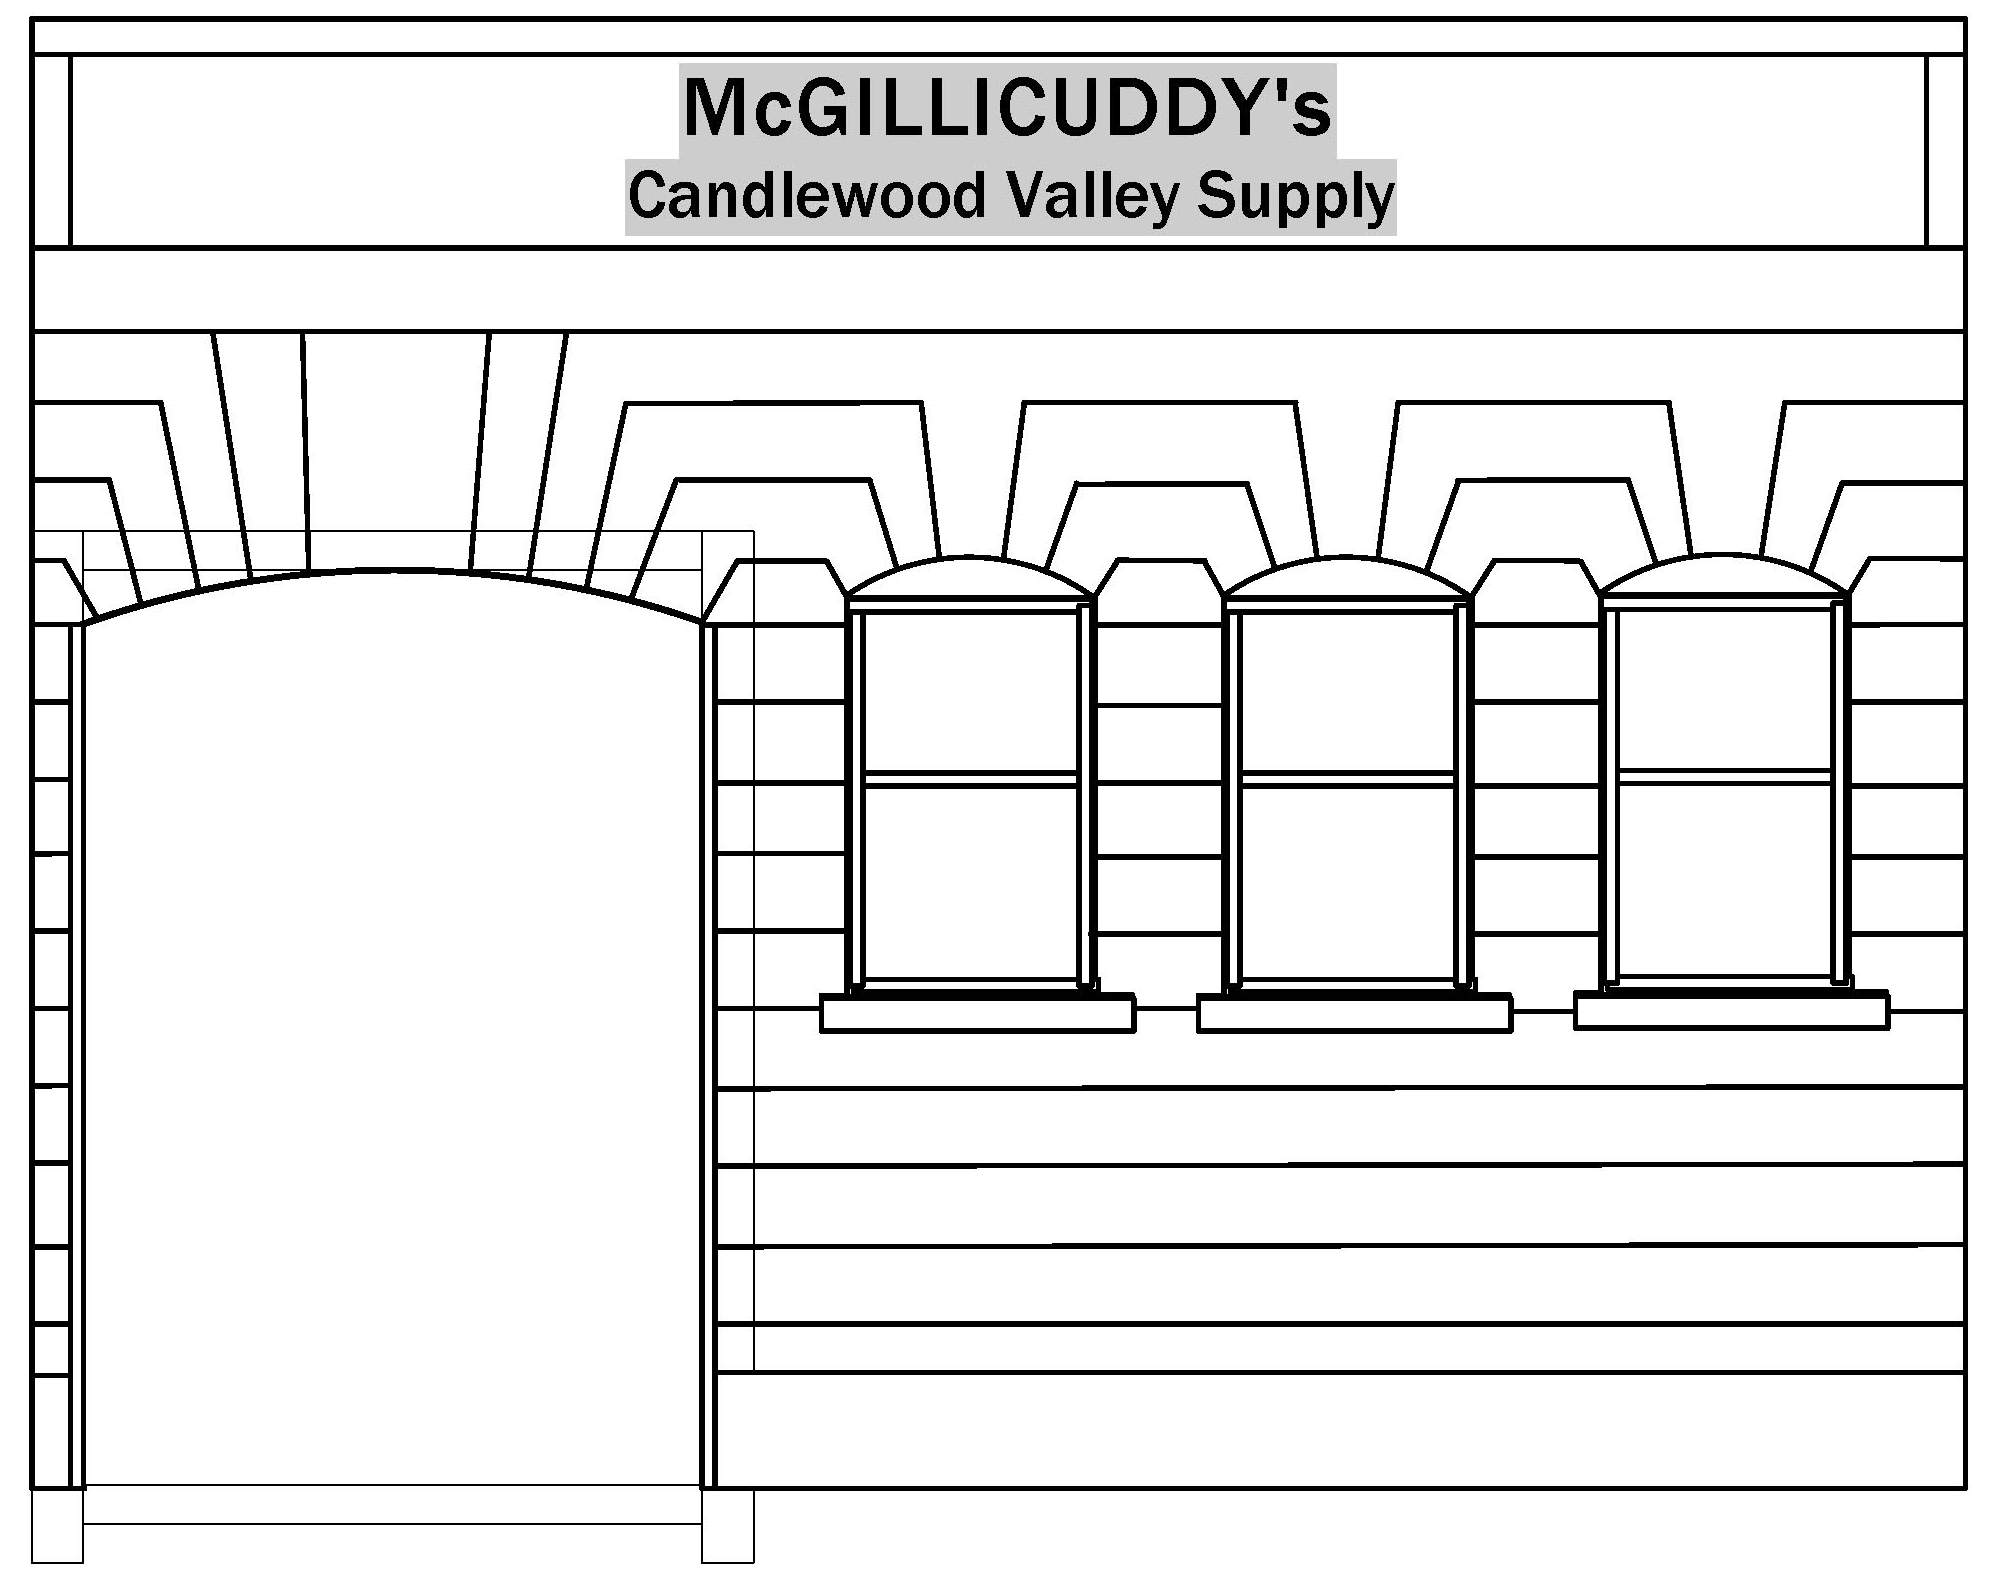

Boy o boy … that sign is almost as large as Jon,s…

Jim,
Here’s a bunch of examples of old signs that may help with the style of your sign. I think your prototype is a little large, check out some old mining town shop signs. You’re making good progress.
I spent the entire morning building a door and fiddling with details (sanding, trimming) the front and back walls. Just started building the side walls (post while the glue dries!).
Here’s a back view of just the door showing where I’ll insert the “glass” (the top bit broke but is not visible so I didn’t bother fixing it):
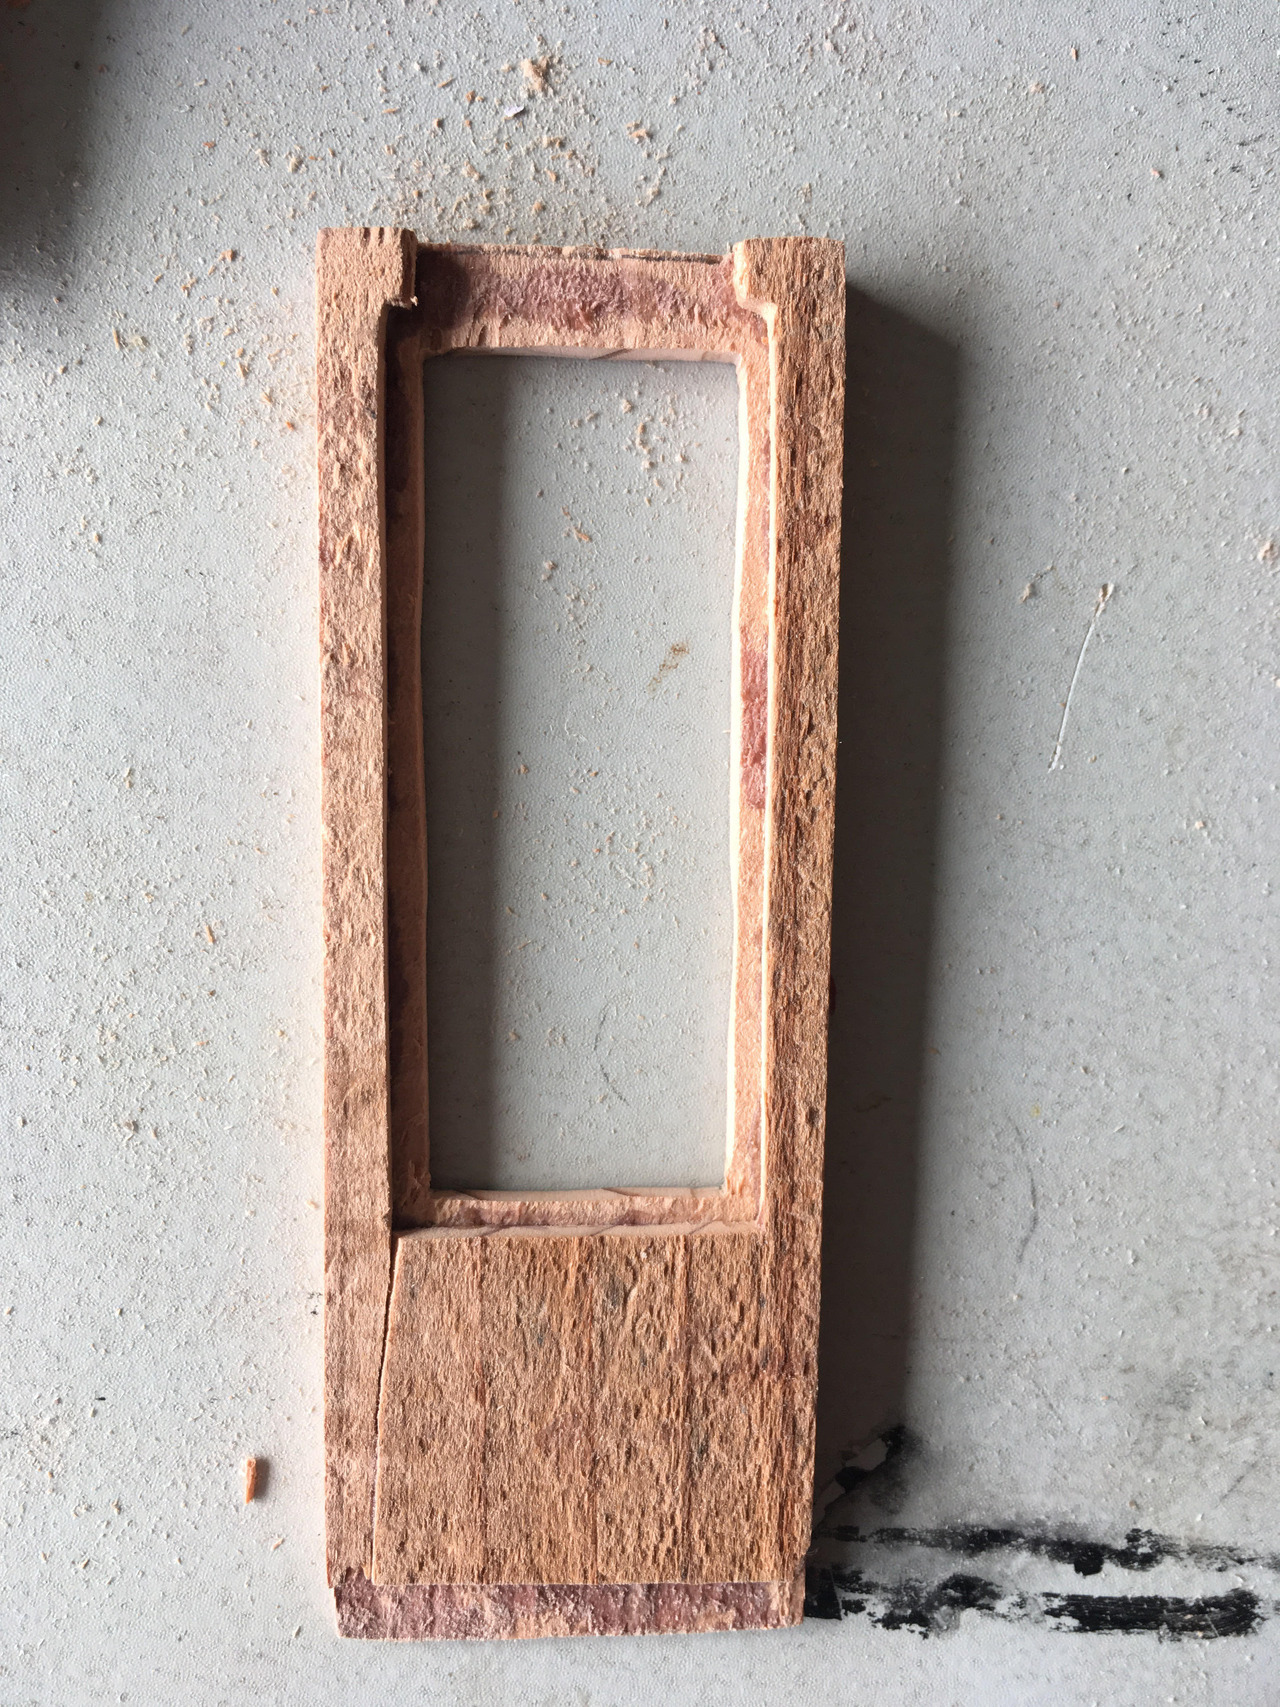
And here’s the door sitting loosely in place in the front wall:
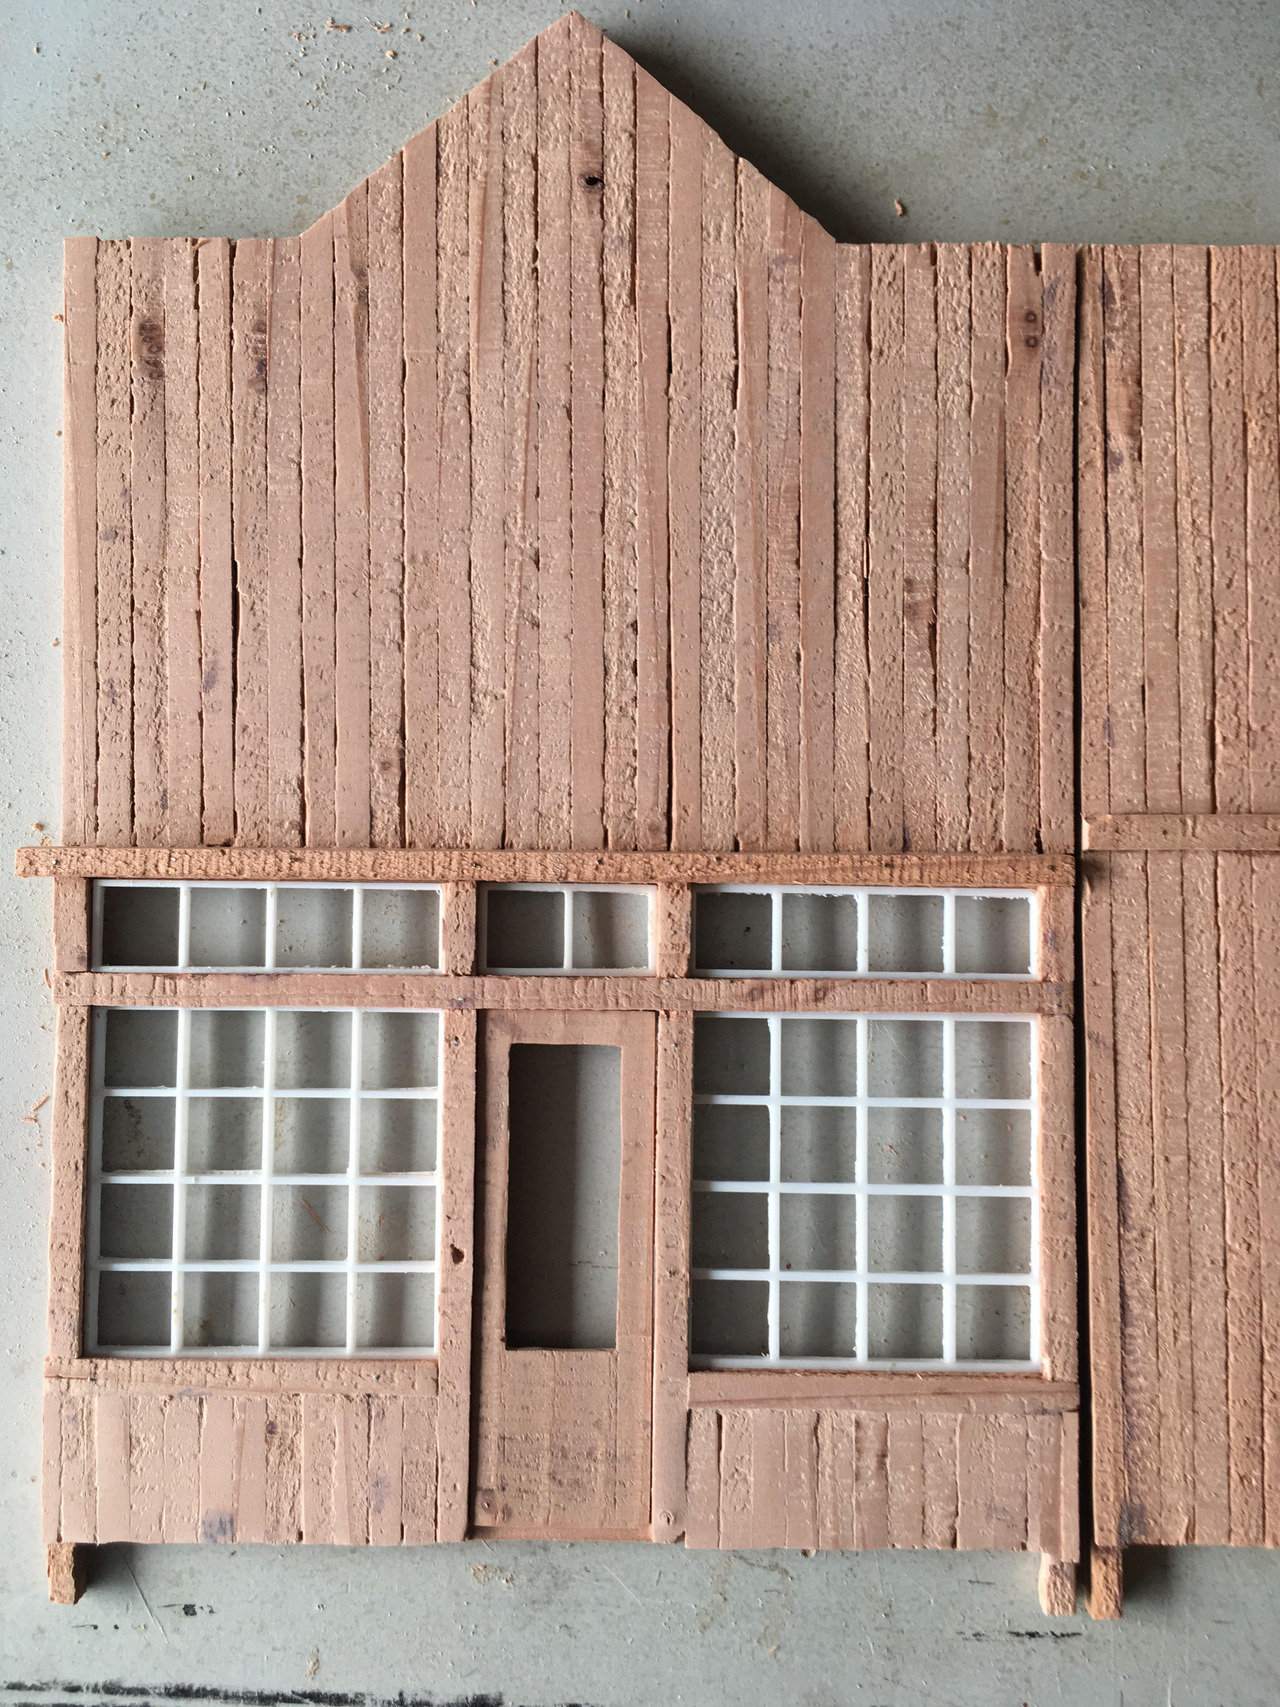
Hopefully this will look ok when all is done…
Starting to like like a building, Jim. I like the door. Will this be an operational door?
Dan: Nope, not operational. I have too much else to do. Gotta build a dormer, peaked roof, tank, flooring, paint, signage… gack!
Testing the first side wall. Now I’m trying to puzzle out how to build a dormer on the other side (there’ll be a tank on the roof on this side, which is further away from viewers).
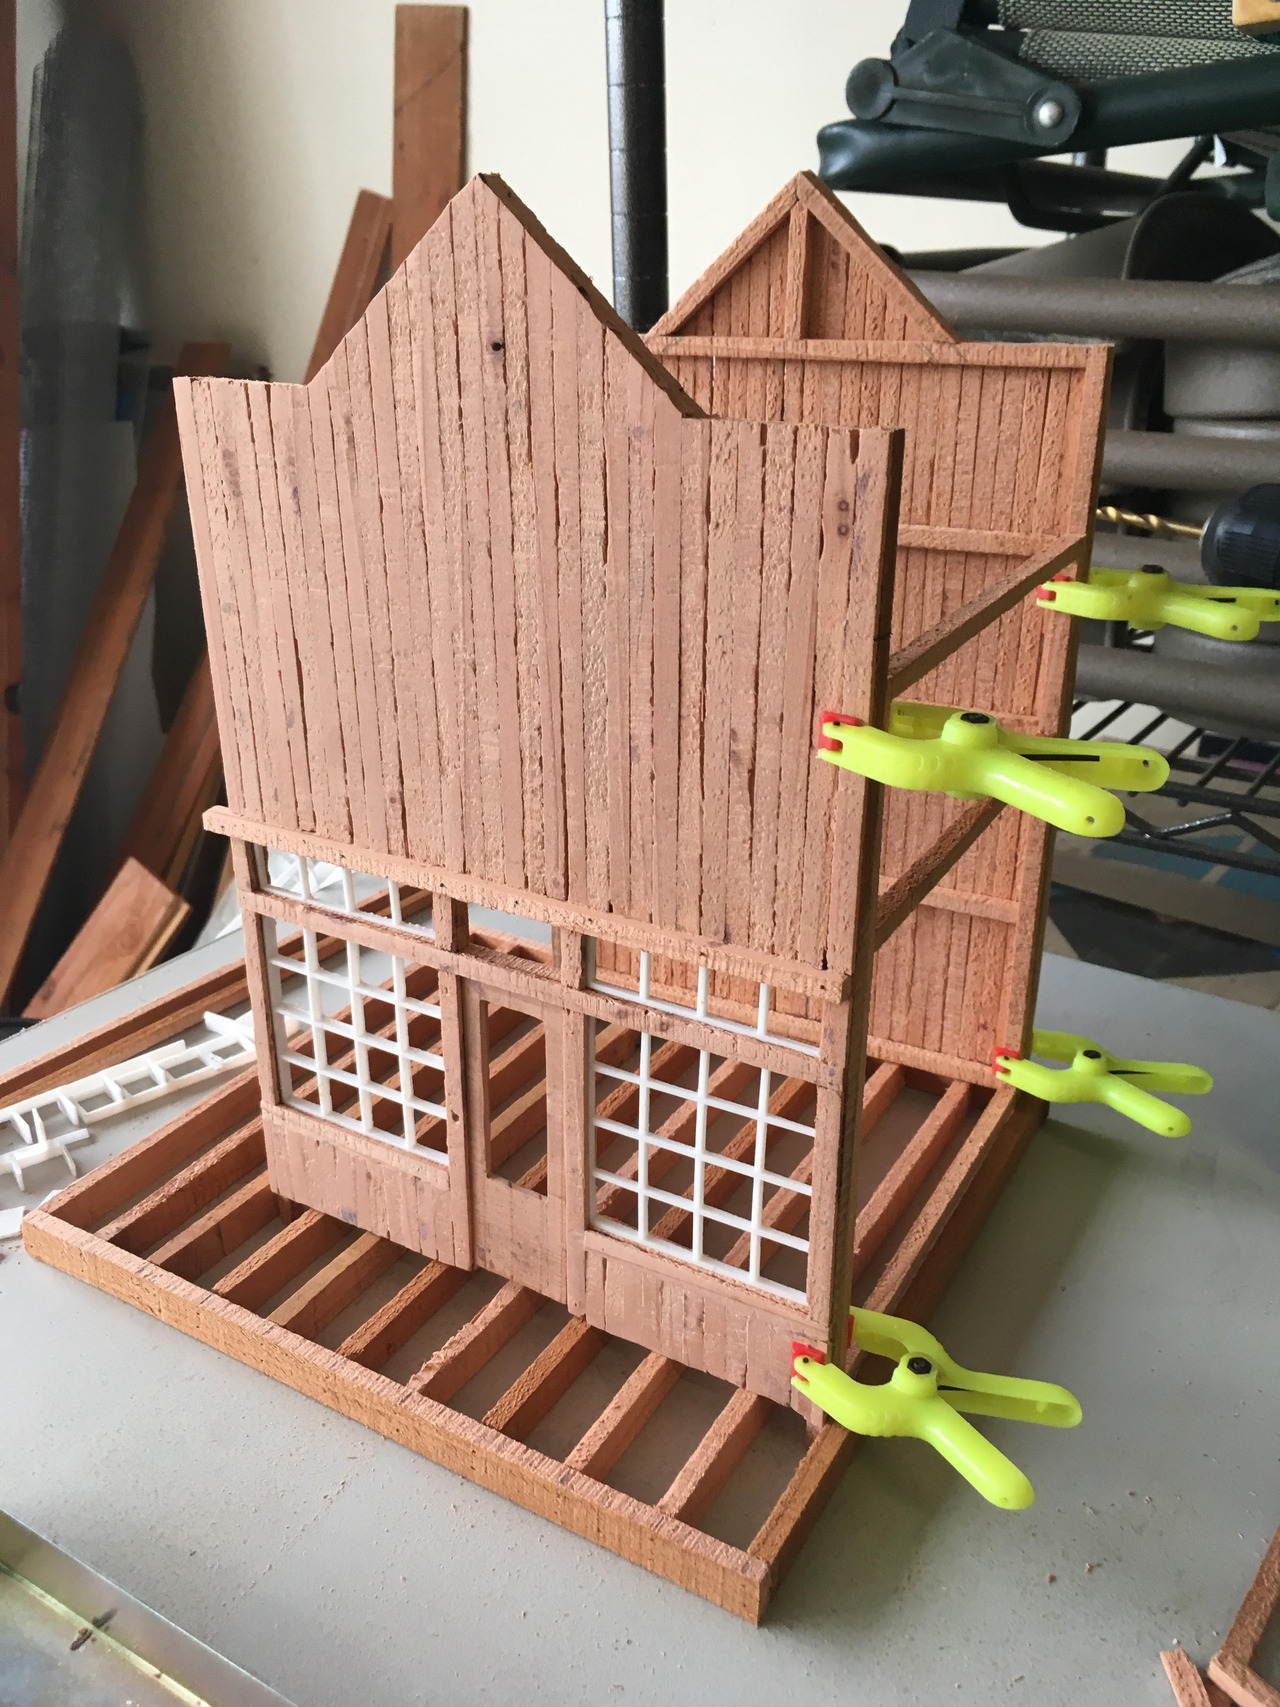
Now it’s starting to look like a building. Sort of…
Happy Miking!
Suggestion: cardboard mock up
Well, today was a little unproductive. Been puzzling out how to do the side walls, including the dormer/hoist to the 2nd level. I skipped the cardboard (sorry John) and am thinking hard enough to cause smoke…
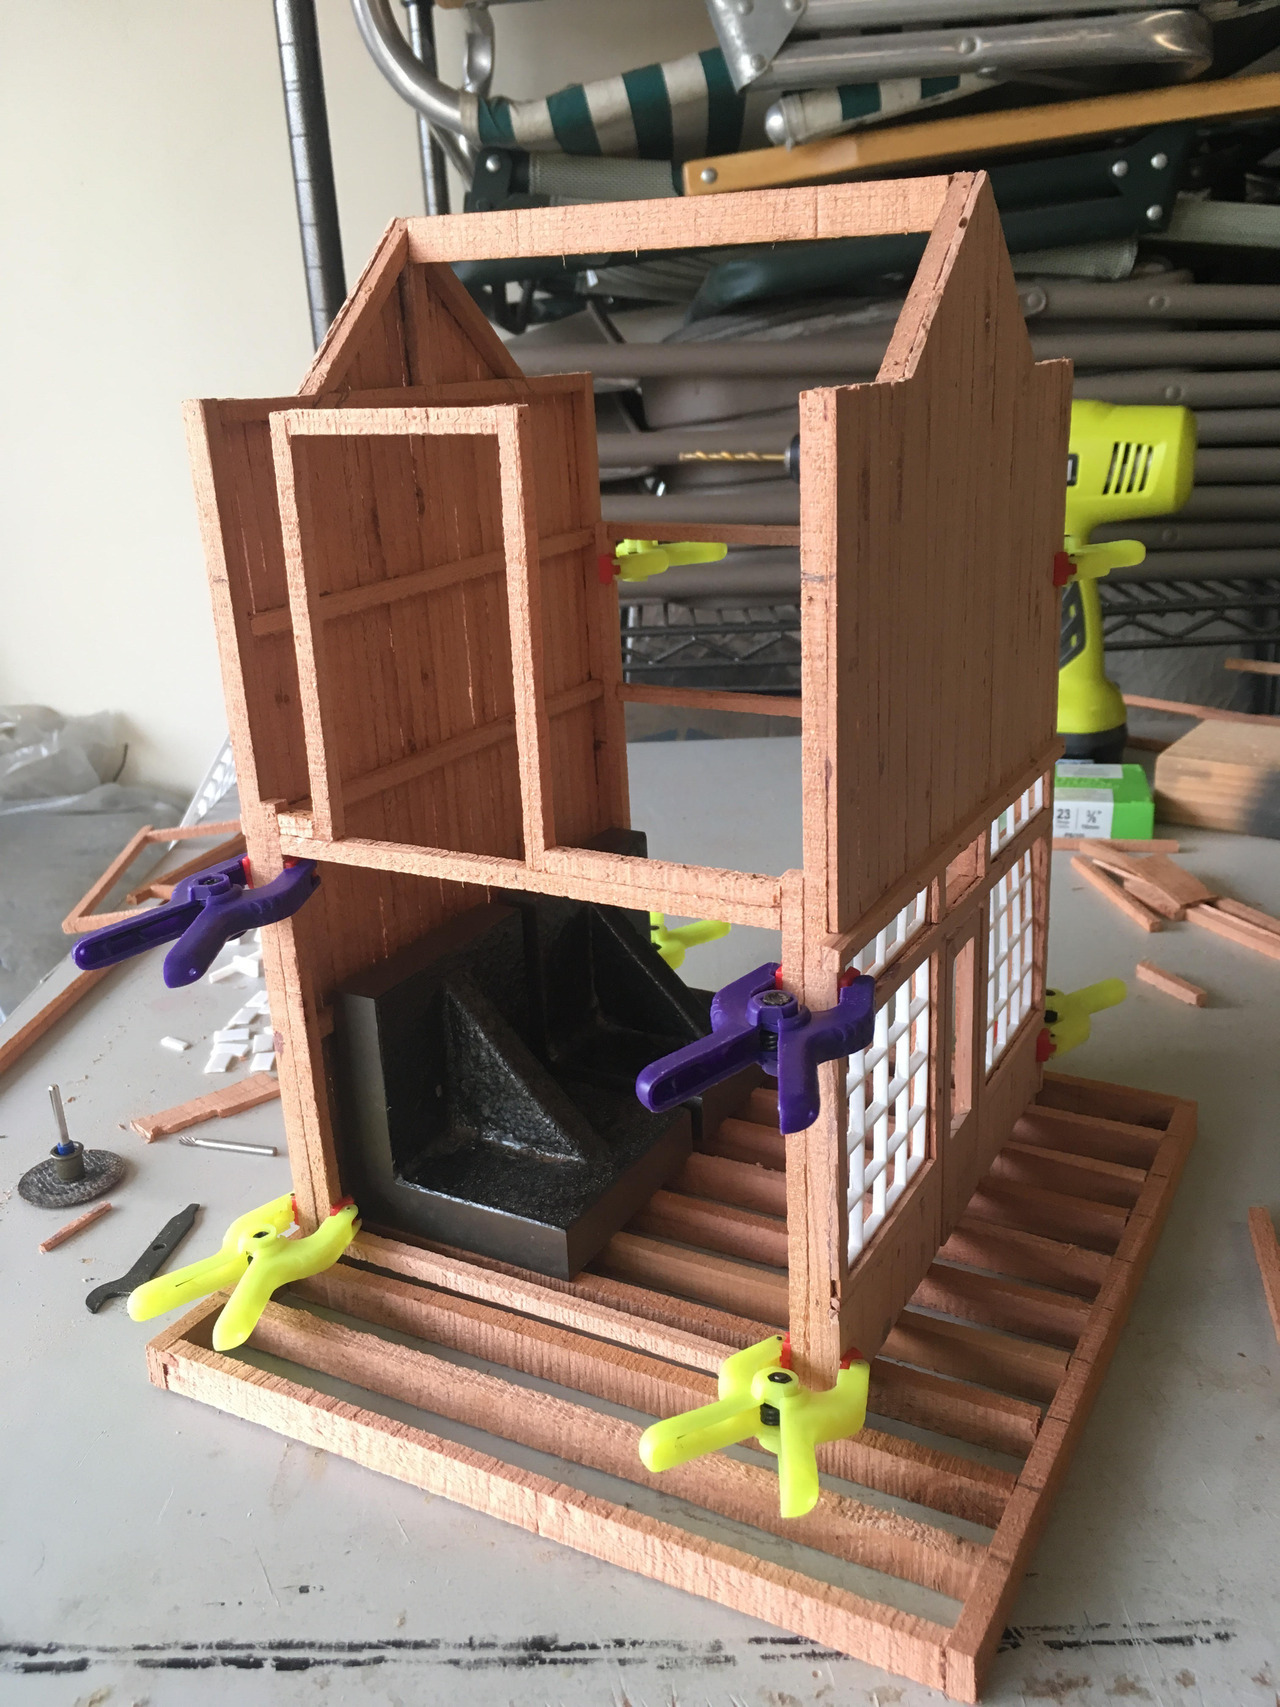
Jim,
You are screaming right along. Looks great. You are building a duplicate at the same time, right. One to send to me.
Well, we can talk about barter: I’m lusting after your steam engine…
I love a good horse trade
Devon Sinsley said:
I love a good horse trade
Who said anything about horses (https://www.largescalecentral.com/externals/tinymce/plugins/emoticons/img/smiley-surprised.gif)
Better horses than the stuff that comes out of them. Horses are harder to ship. Does FedEx make a horse sized box?
Actually, they do. My cousin used to run the FedEx special projects facility at San Jose Mineta airport and they would ship just about anything, including race horses and the killer whales from SeaWorld.
As a teenager, I worked at a cardboard box company. Wayne Corp. was down the road a bit. We built boxes to ship Street Sweepers in on flatcars. Big heavy monsters.
Anything could be put in a box.
OK, I am learning new things in all kinds of subjects, not just modeling and trains :-).
Looking good Jim. The wood that you use in your projects has a very interesting texture; unlike most stuff we see out East. What species is it?
Jon: I mostly use redwood though I have a bit of cedar (the upper part of my mine complex is mostly cedar). This building will be all redwood except for a cedar tank on the roof. I’ve been slowly using up the redwood leftover from the roadbed work. The redwood is very easy to work with. It cuts relatively well. Cedar is a bit more brittle it seems (the edges tear more than the redwood does). Of course, I’m using a bandsaw which is a lot more rough on the wood than, say, a circular saw. I like the texture I get for the era I’m modeling.
A bit of progress today. First of all, finished framing for a downstairs door and window on the side wall:
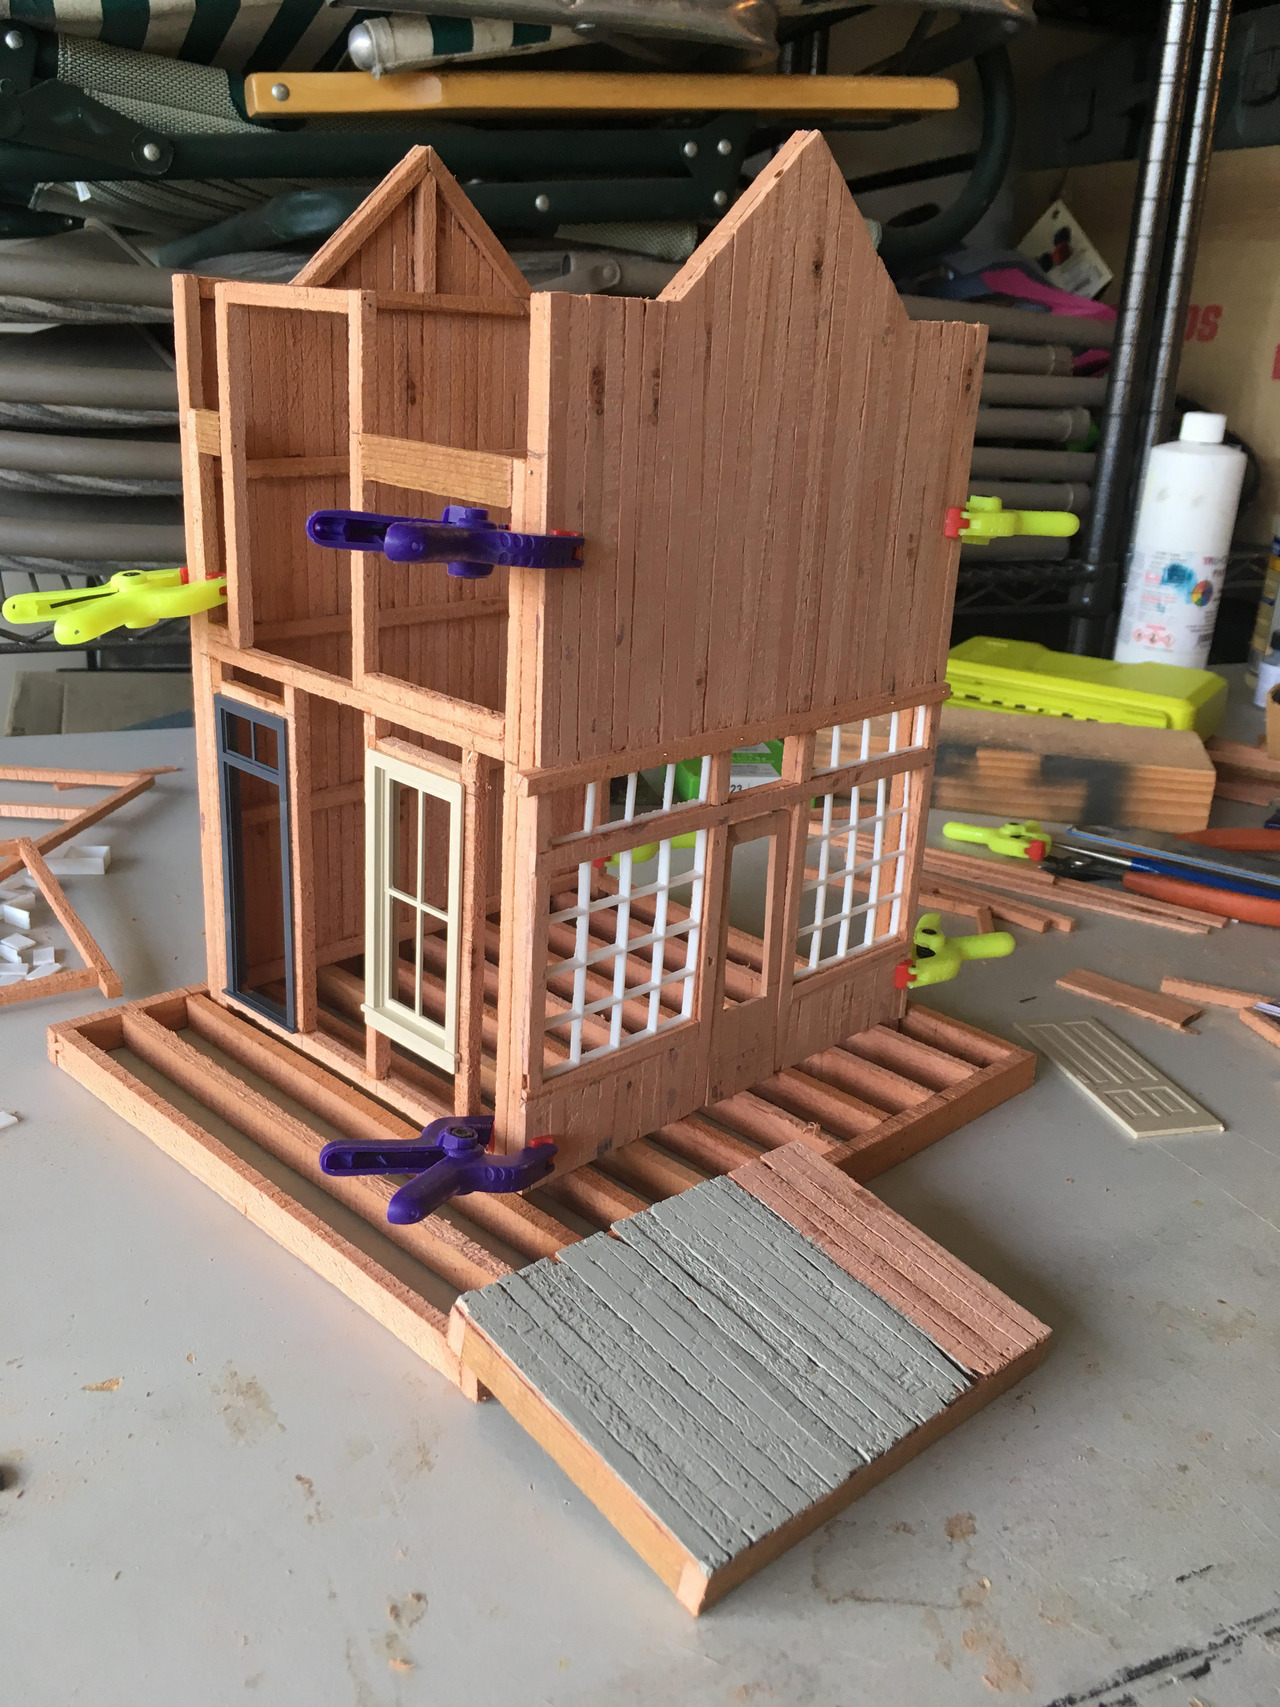
Also in that picture is a small bit of example wall partly painted. That color is what I intend to paint this store. I’ve created this as a testbed for doing transfer of images directly onto walls. Devon told me I had to try a technique, so this is my test. The plan is to do a transfer technique that pulls toner off a laser printed page directly onto the wood. I’m going to try 3 different backgrounds: the paint color, bare wood, and flat white. We’ll see if it works.
Here are the signs I’m thinking about possibly transferring, though some of these might get made into a decal and put onto styrene for “tin” signs. These are reversed because that’s what I need for the transfer method:
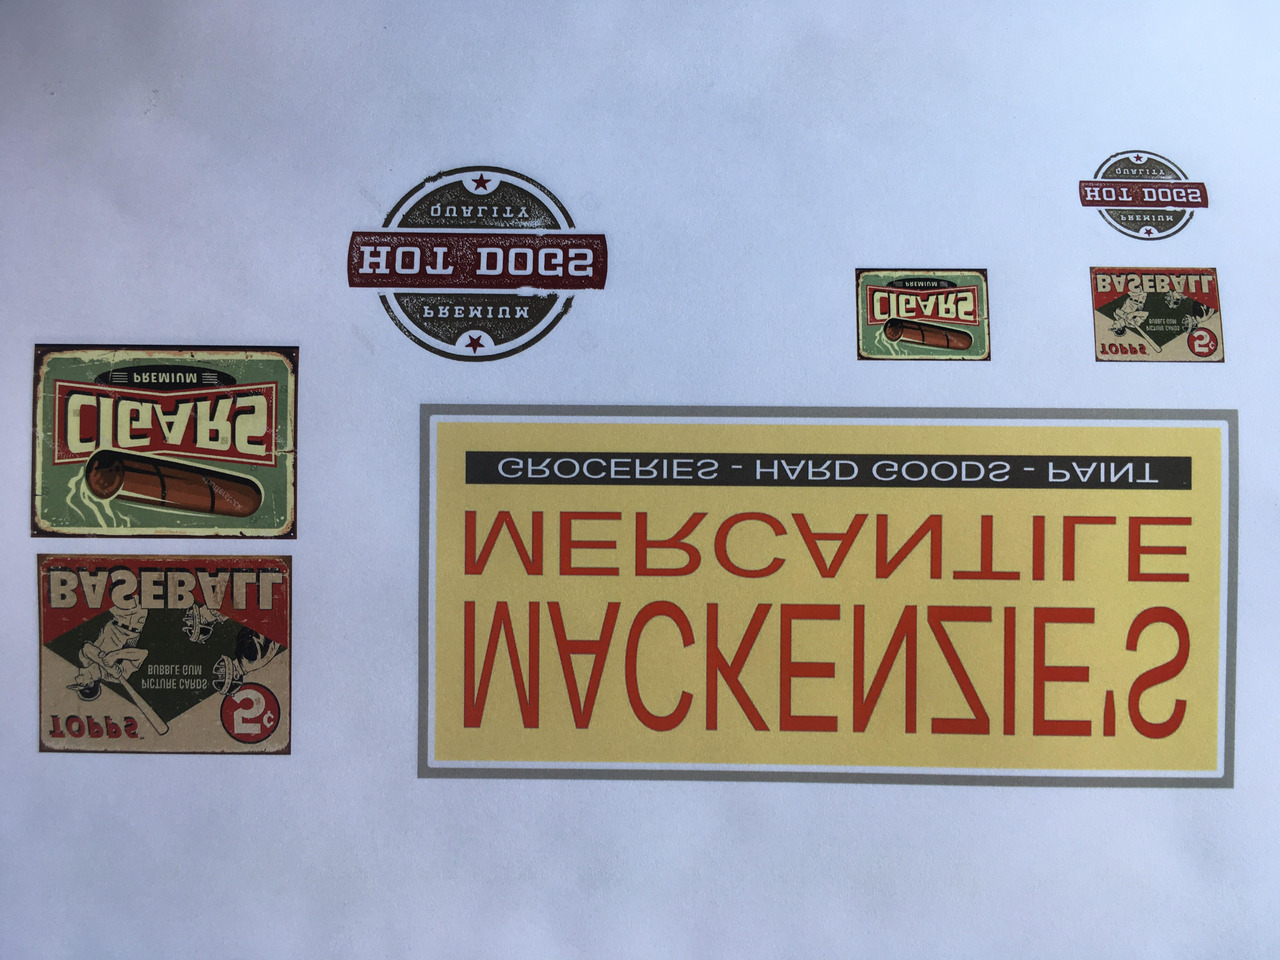
[edited to correct mangled english]
With luck we’ll see results tomorrow…
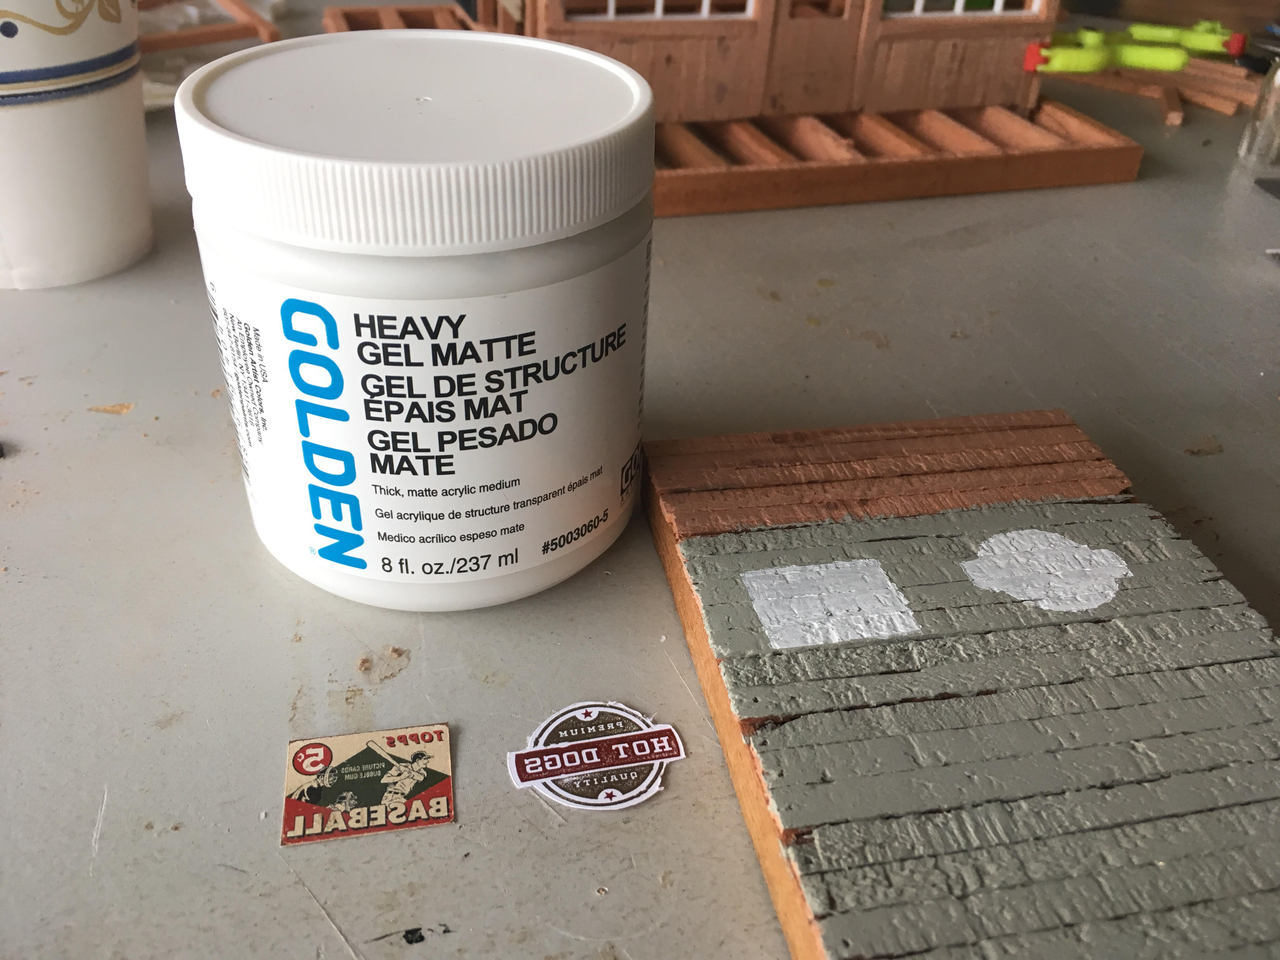
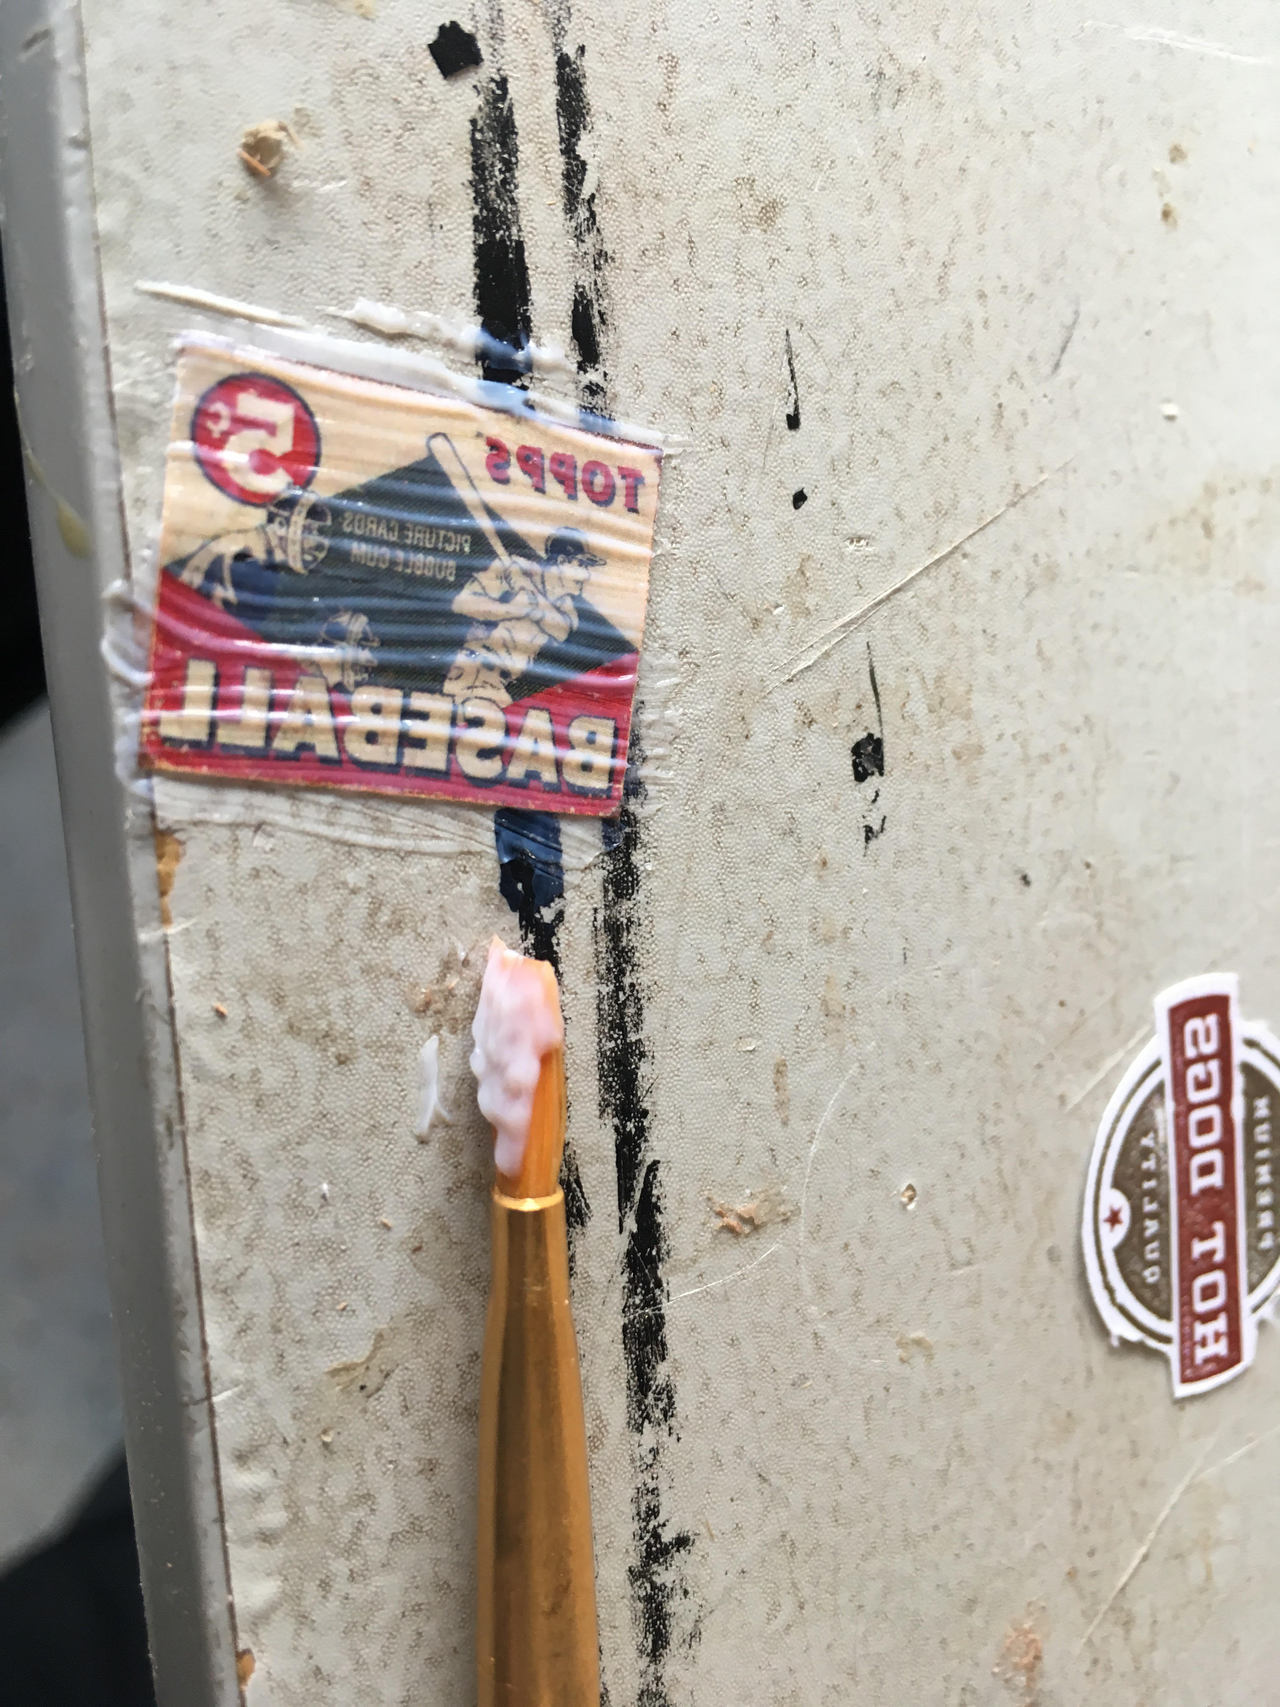
Here are a few pics of the image transfer process on this test piece. First, cut out the images. I’ve painted a white background for one of the test cases. This is the gel I found at Michael’s that I’m using. The process is: put gel on top of the reverse image toner, flip over and put gel side down where you want it removing all bubbles, wait for 12 hours, wet the paper backing and gently rub it off, exposing the toner embedded in the gel and attached to the wood. We’ll see how it works!
Putting the gel on the image:
And here are the 3 test cases ready to wait for 12 hours:
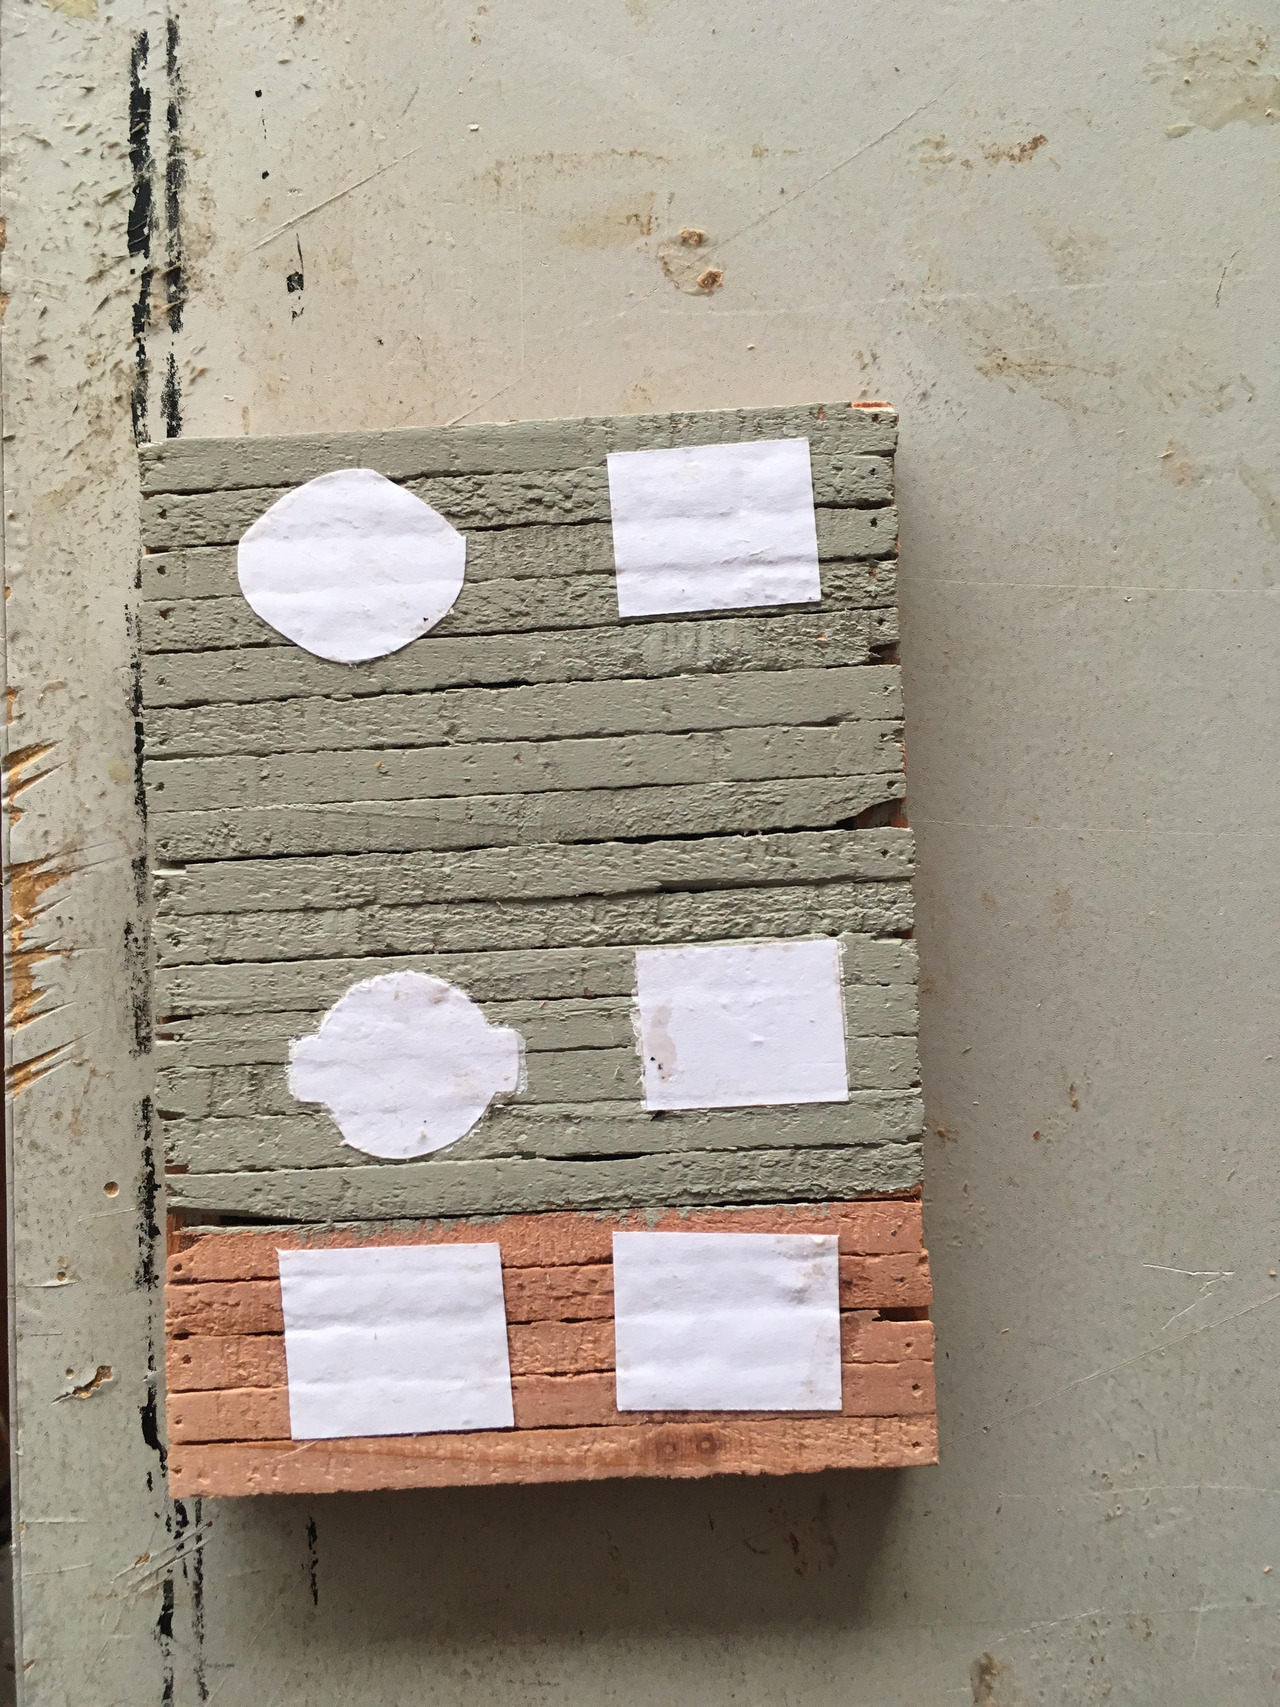
Note that you don’t have to be terribly precise about cutting the image out since it is only the toner that survives. You will just have more paper to remove if you leave extra. I’ve tried several different methods here, from very closely trimmed to less closely trimmed.
Crossing fingers that this works and looks good 
[edited for typos]