Large Scale Central

Jim Rowson's 2019 Mik challenge build log

Jim Rowson said:

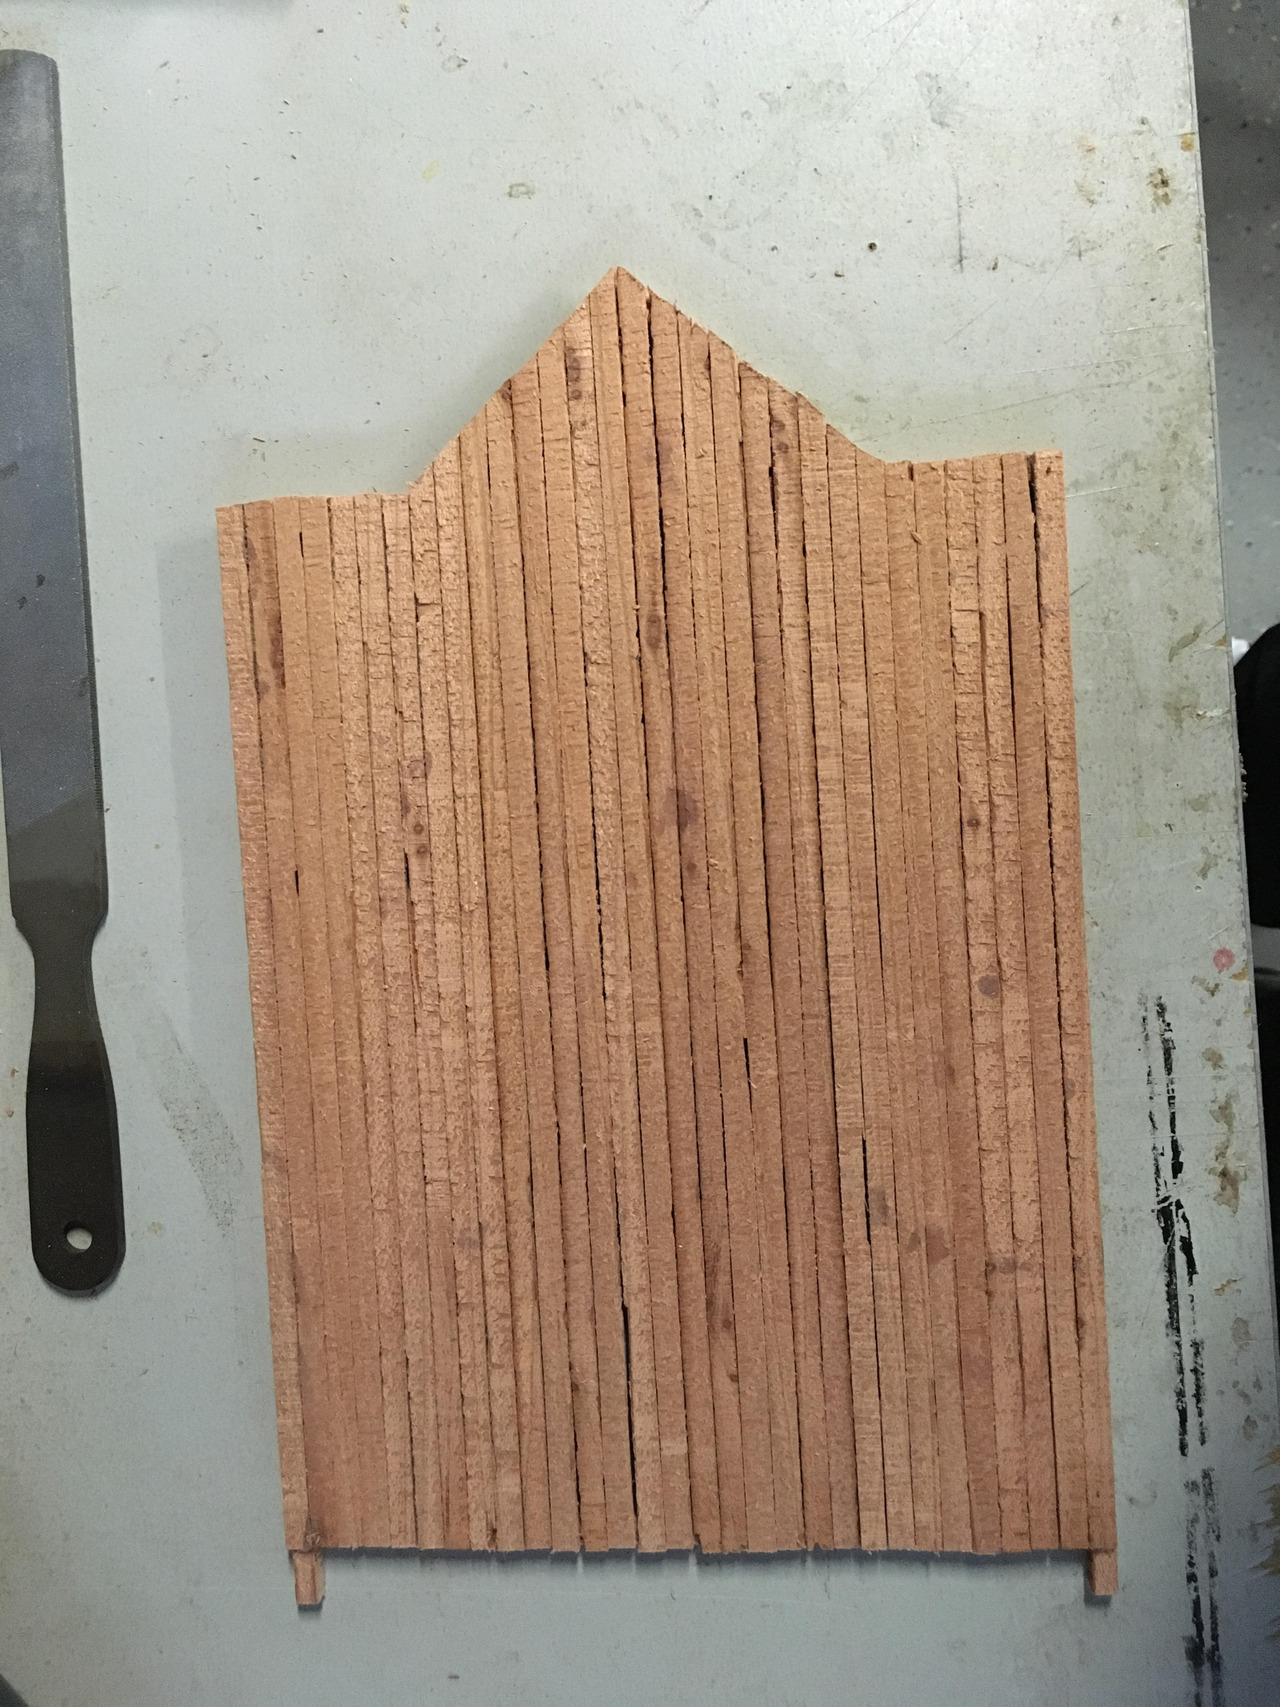
I actually used my band saw to cut it approximately 1/3 thick and then sanded it a bit more. Not totally uniform so I still have a bit more to do there but so far it isn’t too bad. Glad to hear this isn’t a completely stupid idea!

Stupid? its genius if you ask me. Now I tried doing it with my band saw both with a coarse tooth blade and also with a fines scrolling blade. Both times I tried it they shattered. Thats why I went to sanding. My materiel is old and may be to brittle, it just went poorly for me.

Not a stupid idea.

Nice example David and for some reason I believe you shared this with me before, at least it looks familiar. Did I get this idea from you? Wouldn’t surprise me. I am sure I was given the idea by someone on here.

I got it from Yogi Wallace. And yes, I did a rebuild thread on that saw mill here on LSC.

Here’s David’s sawmill rebuild with the light diffuser windows: [link].

Just for grins, here’s where I found this technique:

Jim Rowson said:

Just for grins, here’s where I found this technique:

U B Railroad: “Check me Out”. Watched a lot of his videos. I think he and Mik would have gotten along very well. Winders are looking good, Jim.

JIm, if you ever want to do windows the easy (Read: PITA) way, here are some I built a few years ago.

Well, Dan, that is beautiful, but it does look like a PITA. I’m going to stick with this lazy method for now :-).

I made those before I knew there was an easier way. I like your use of the diffuser panels. They do make good looking windows. Now I cheat and print them. Mik would probably not approve of that method (https://www.largescalecentral.com/externals/tinymce/plugins/emoticons/img/smiley-wink.gif)

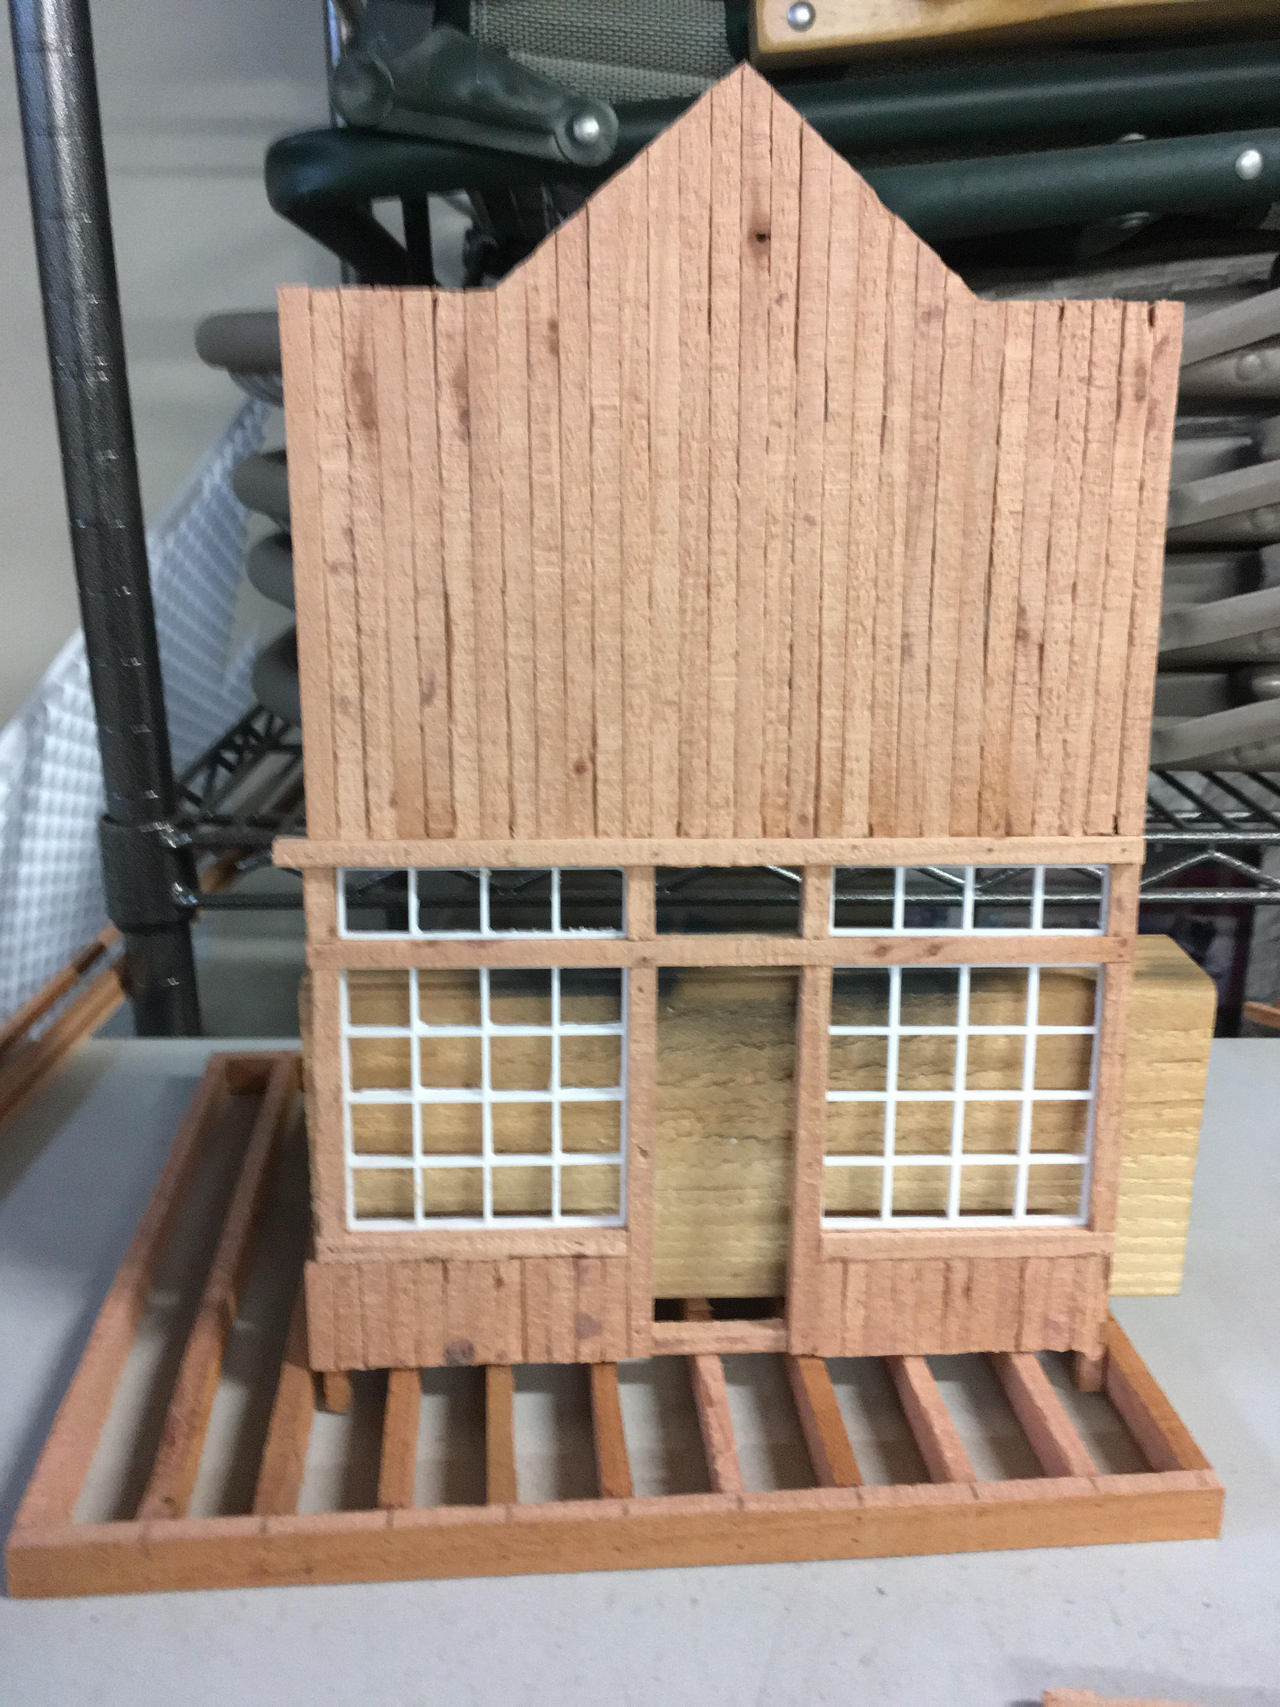
A bit more progress today: siding on the front and back walls:

Some more work to do here (trimming, sanding) and I obviously still need to build the door (currently thinking about how to do that and what kind of door I want). There will be an awning (hence that thicker board above the windows on the front that sticks out a bit to the left) and above that a big sign (similar to the inspiration photo in my first post).

The roof will be peaked (you can see it will partly stick up) and on the left side I’ll have a hoist. On the right will be a tank on the roof. Plus some exhaust stacks and/or a chimney.

There’s also a fancy set of trim across the top to do. I’m hoping to make this look a bit more professional and neat than everything else I’ve built. We’ll see how I do…

For a neater look, you need finishing lumber, you’ve been using rough cut and it will never look smooth.

Ah. Well, one lives and learns. I’ll sand it a bit and see how far I get. It isn’t going to be the worst thing in the world if it is still rough and ready.

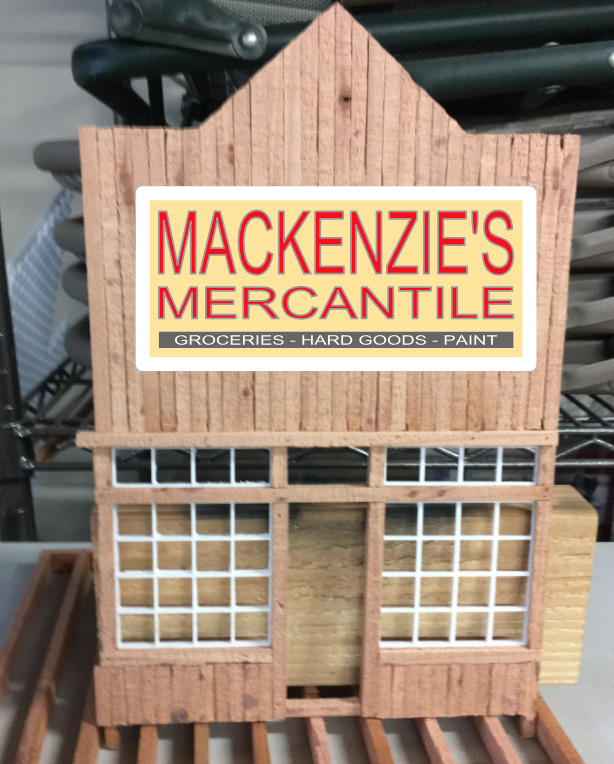
I spent a bit of time on the computer trying to design a sign for the store. I decided to name it after my daughter. WDYT?

I like that a lot

Jim, that looks pretty darn good. what Is the sign printed on? I ask cause it looks like a hard material since paper would tend to reflect the roughness of the wood.

Well, blush, that’s just a mockup done on the computer. I haven’t actually created the sign yet. But yes, my plan is to have it as a separate item that is attached over the wood surface. I’m currently thinking of creating a decal and putting it on some thin styrene, then building a frame around it…

Sorry I wasn’t clear…

Now Jim,

I have an idea that I fully, 100%, EXPECT you to follow. There is a technique where you print photos on regular paper backwards (I think this is how its done) and then using some sort of goop the ink is transferred to wood leaving the image correctly on the wood. This would give you a correctly “painted” sign on wood. Then a little distressing and you would have a weathered painted sign.

Jim, I like what you got going there, looks good!

Devon Sinsley said:

Now Jim,

I have an idea that I fully, 100%, EXPECT you to follow. There is a technique where you print photos on regular paper backwards (I think this is how its done) and then using some sort of goop the ink is transferred to wood leaving the image correctly on the wood. This would give you a correctly “painted” sign on wood. Then a little distressing and you would have a weathered painted sign.

Devon,

That reminds me of a technique I used years ago in O scale where you took a colored ad out of a magazine and coated it (with I can’t remember what) placed it face down on a glass surface. When dry used a wet rag like in your video to remove the paper layers on the back then scraped it of the glass. It left you with a sorta vinyl sign that could be glued to smooth or rough surfaces.

OK Jim, I’ll get out of your build now(https://www.largescalecentral.com/externals/tinymce/plugins/emoticons/img/smiley-foot-in-mouth.gif)