Thinking along John’s line, what about scuffing the styrene with sand paper.
Thanks for the suggestions on decals. I’ll see if I can do some (all?) of those after I get a clean inkjet print…
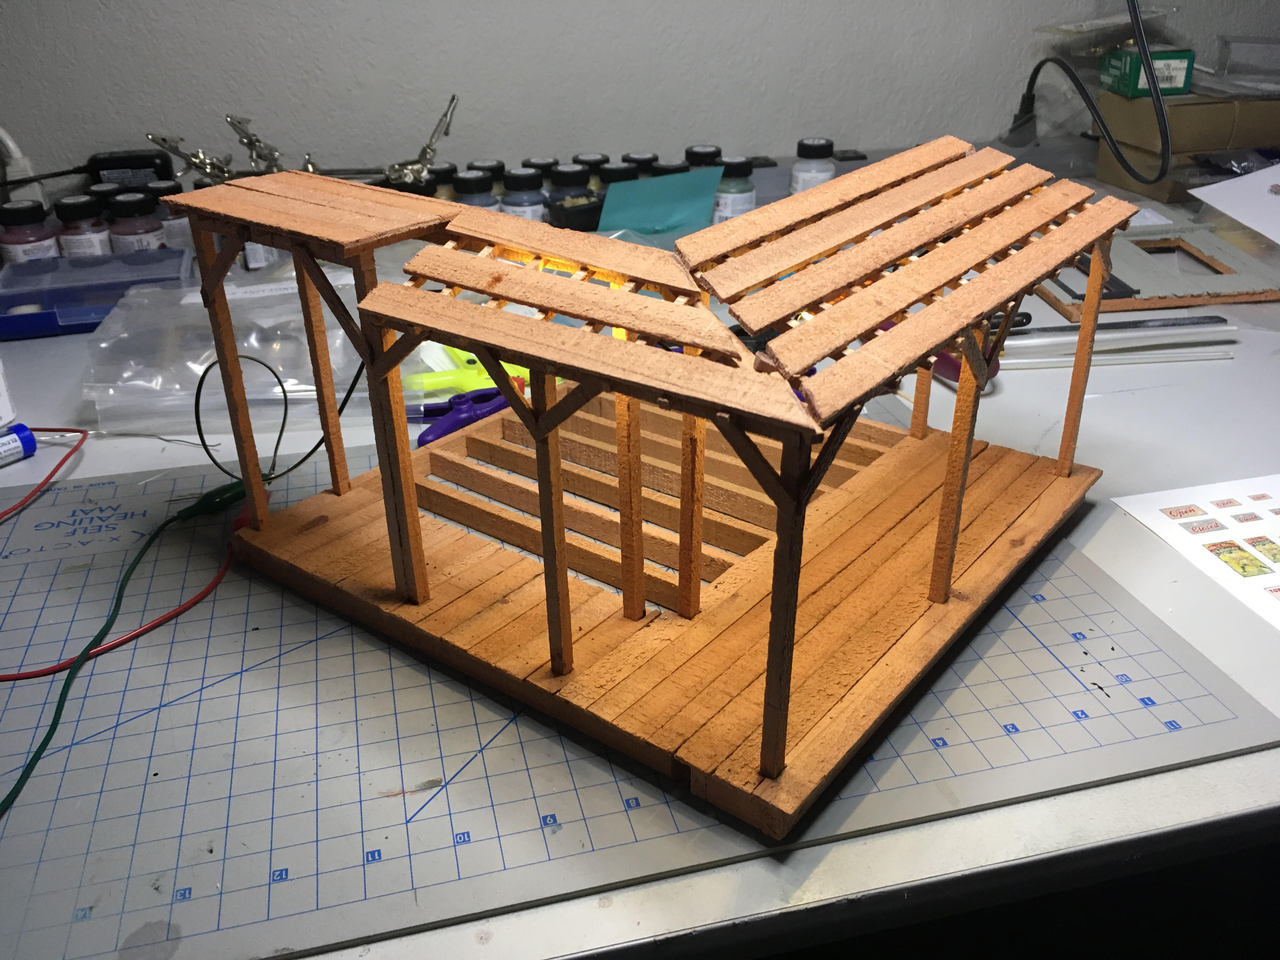
Meanwhile I’ve been finishing up the planking on the deck and adding the awning framing:
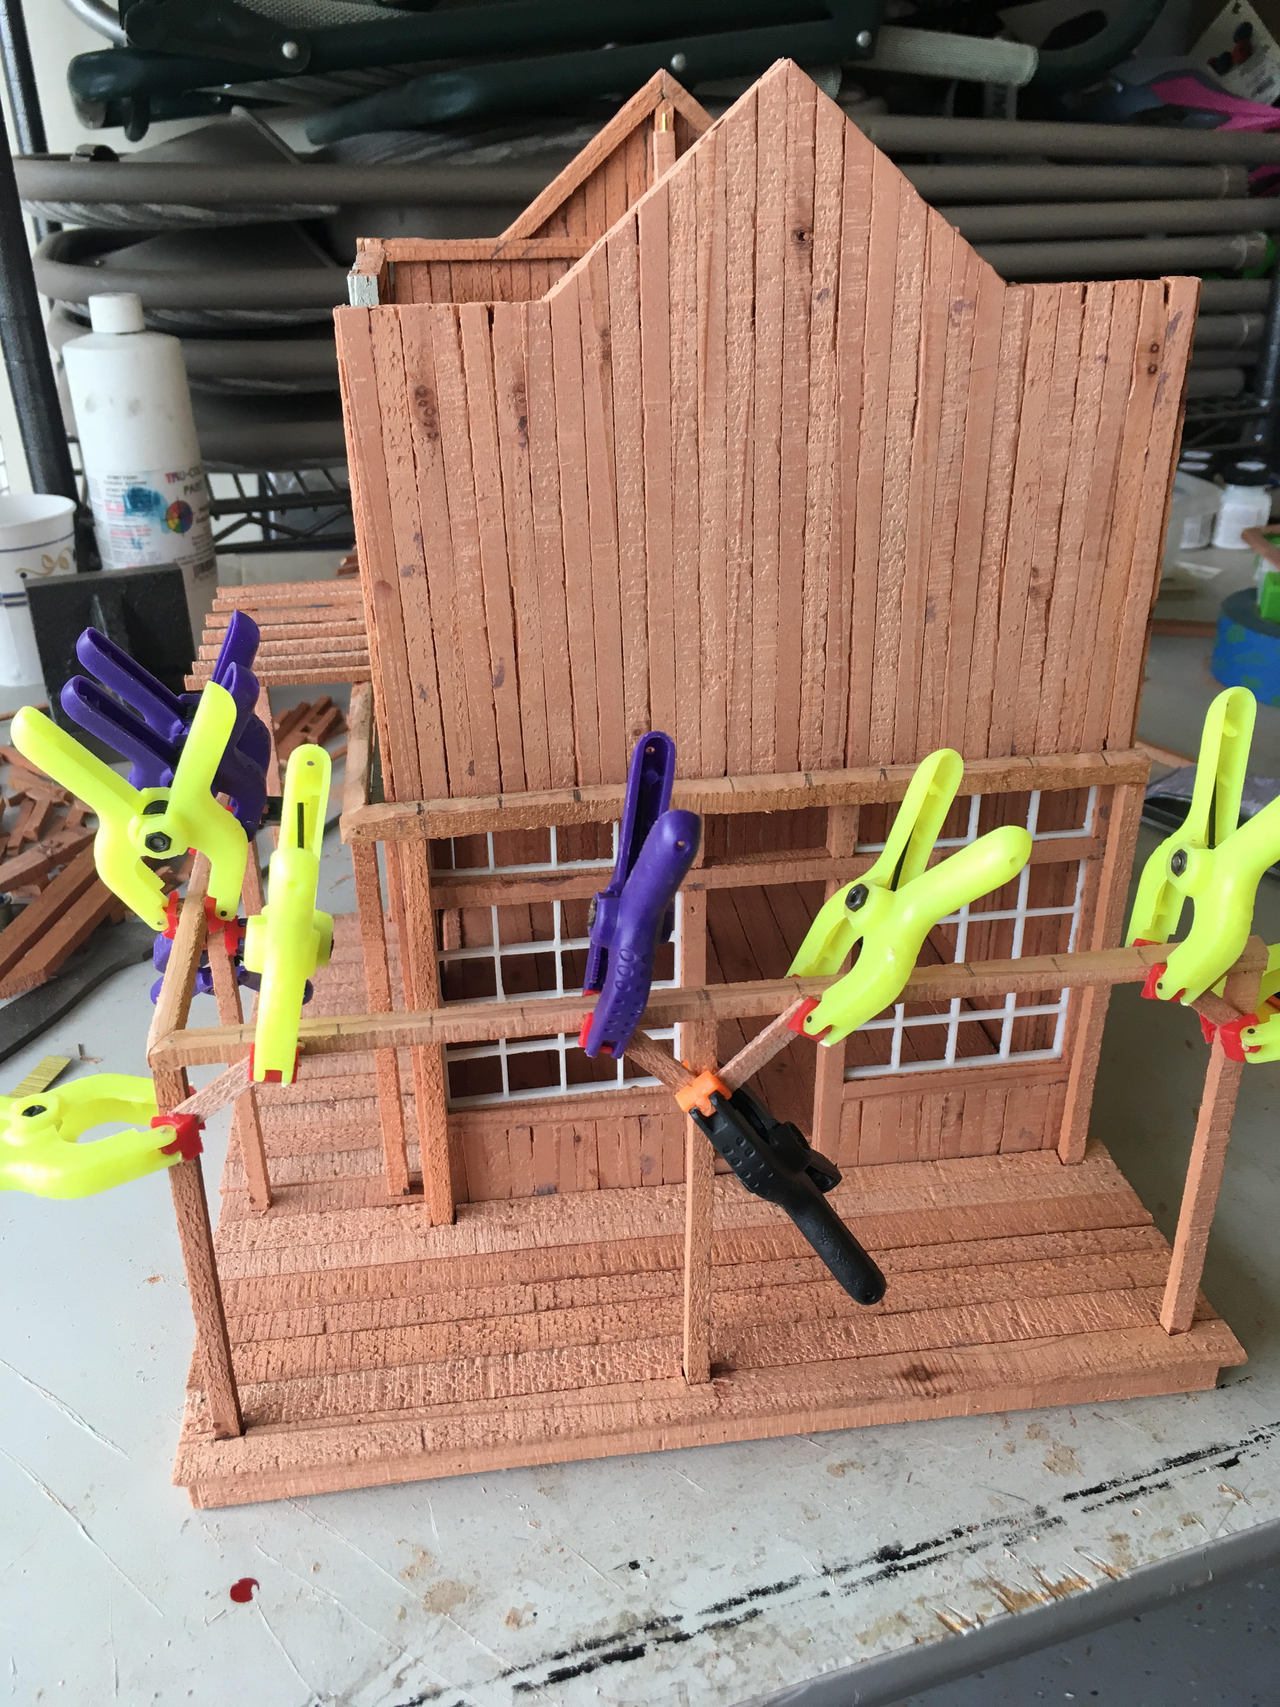

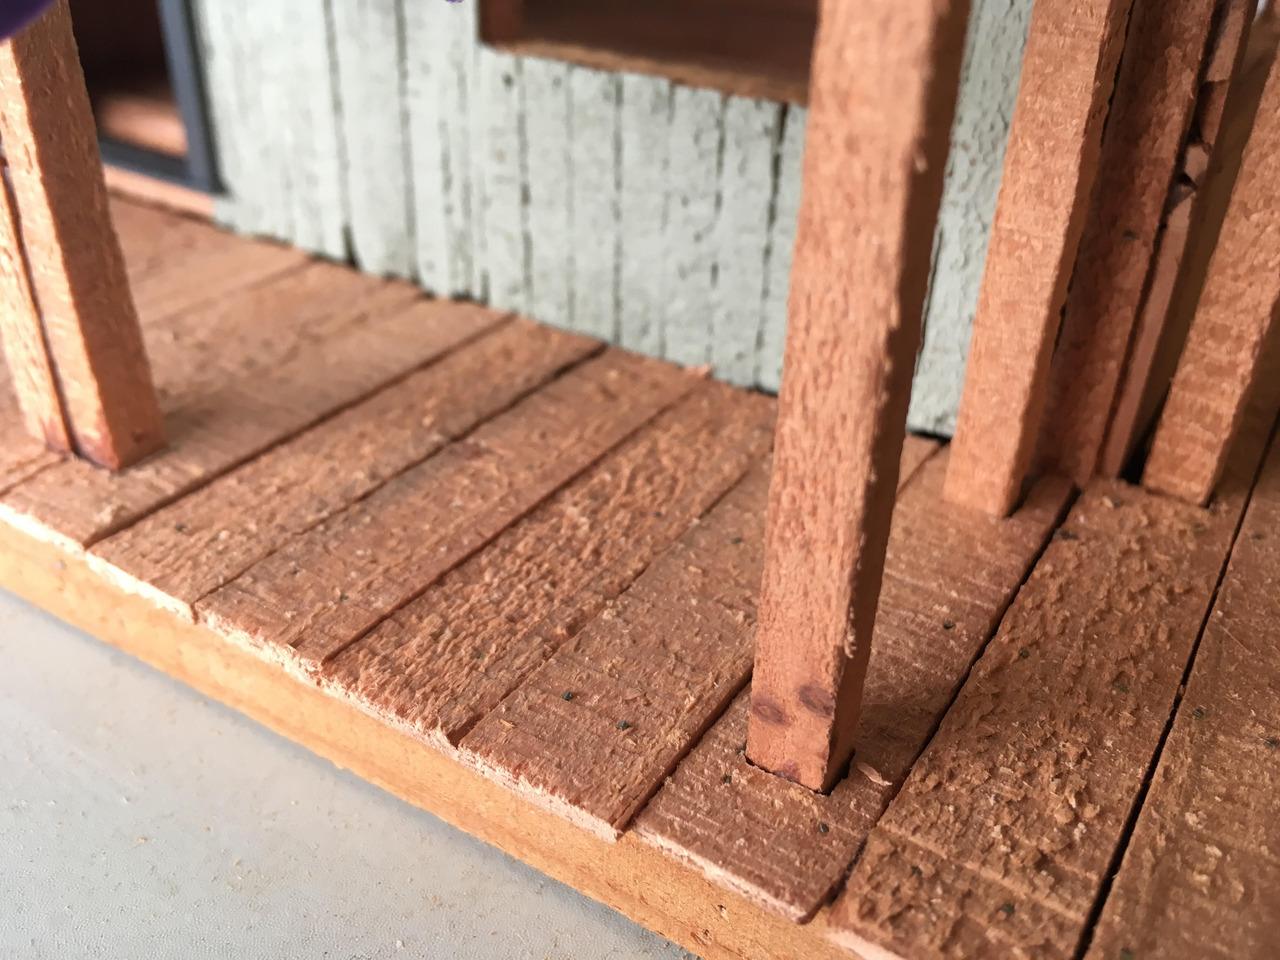
The support posts and decking interact in a fiddly way that required a lot more time than I had hoped, such as creating holes for the posts so they can be glued/pinned to the underlying structure for stability:
Happy Miking!
A thought. Would it work to scuff or vinegar wash a sheet of .005 plastic and print them direct. I don’t know if the heat would be to much or not (https://www.largescalecentral.com/externals/tinymce/plugins/emoticons/img/smiley-cool.gif)
Well, inkjet isn’t a hot process so that might work. But at least my inkjet printer needs to bend the paper around a fairly small roller (maybe 1" in diameter? haven’t actually looked). It is certainly possible to get flatbed inkjet printers but they tend to be pricey and I don’t have one (even though I used to work in the inkjet division at HP!).
It is what might be called an “out of the box” idea for sure. Not sure I can even attempt it though…
[edited to correct bad grammar after I changed my mind about what I was trying to say]
.005 is less than paper
Here’s a [link] to something I found with a possible technique. The important part is this:
Get some normal dollar store hair spray and spray it on the surface of the plastic sheet. You may have to do a couple of coats (allowing it to dry completely between coats) until you get a smooth finish. Once you got a good smooth finish it can be printed on just like paper with no bleeding whatsoever. However, the ink is still not water proof… when done, must let the ink dry completely (usually overnight I’ve found to be best) and then when its dry, spray some Krylon satin clear coat over it very lightly from a distance. Like a dusting of the coat. Let it dry completely between coats again, but keep doing it until you have a nice smooth finish and you’ll be all set to use it. Ends up being a very stable and durable job as well.
[edited for a typo]
You guys think too much
Use this for the clear coat, it atomizes into a fine mist. Other sealers were blowing the rust off my rail. I found I could get a complete cover fog with this:

Also comes in gloss.
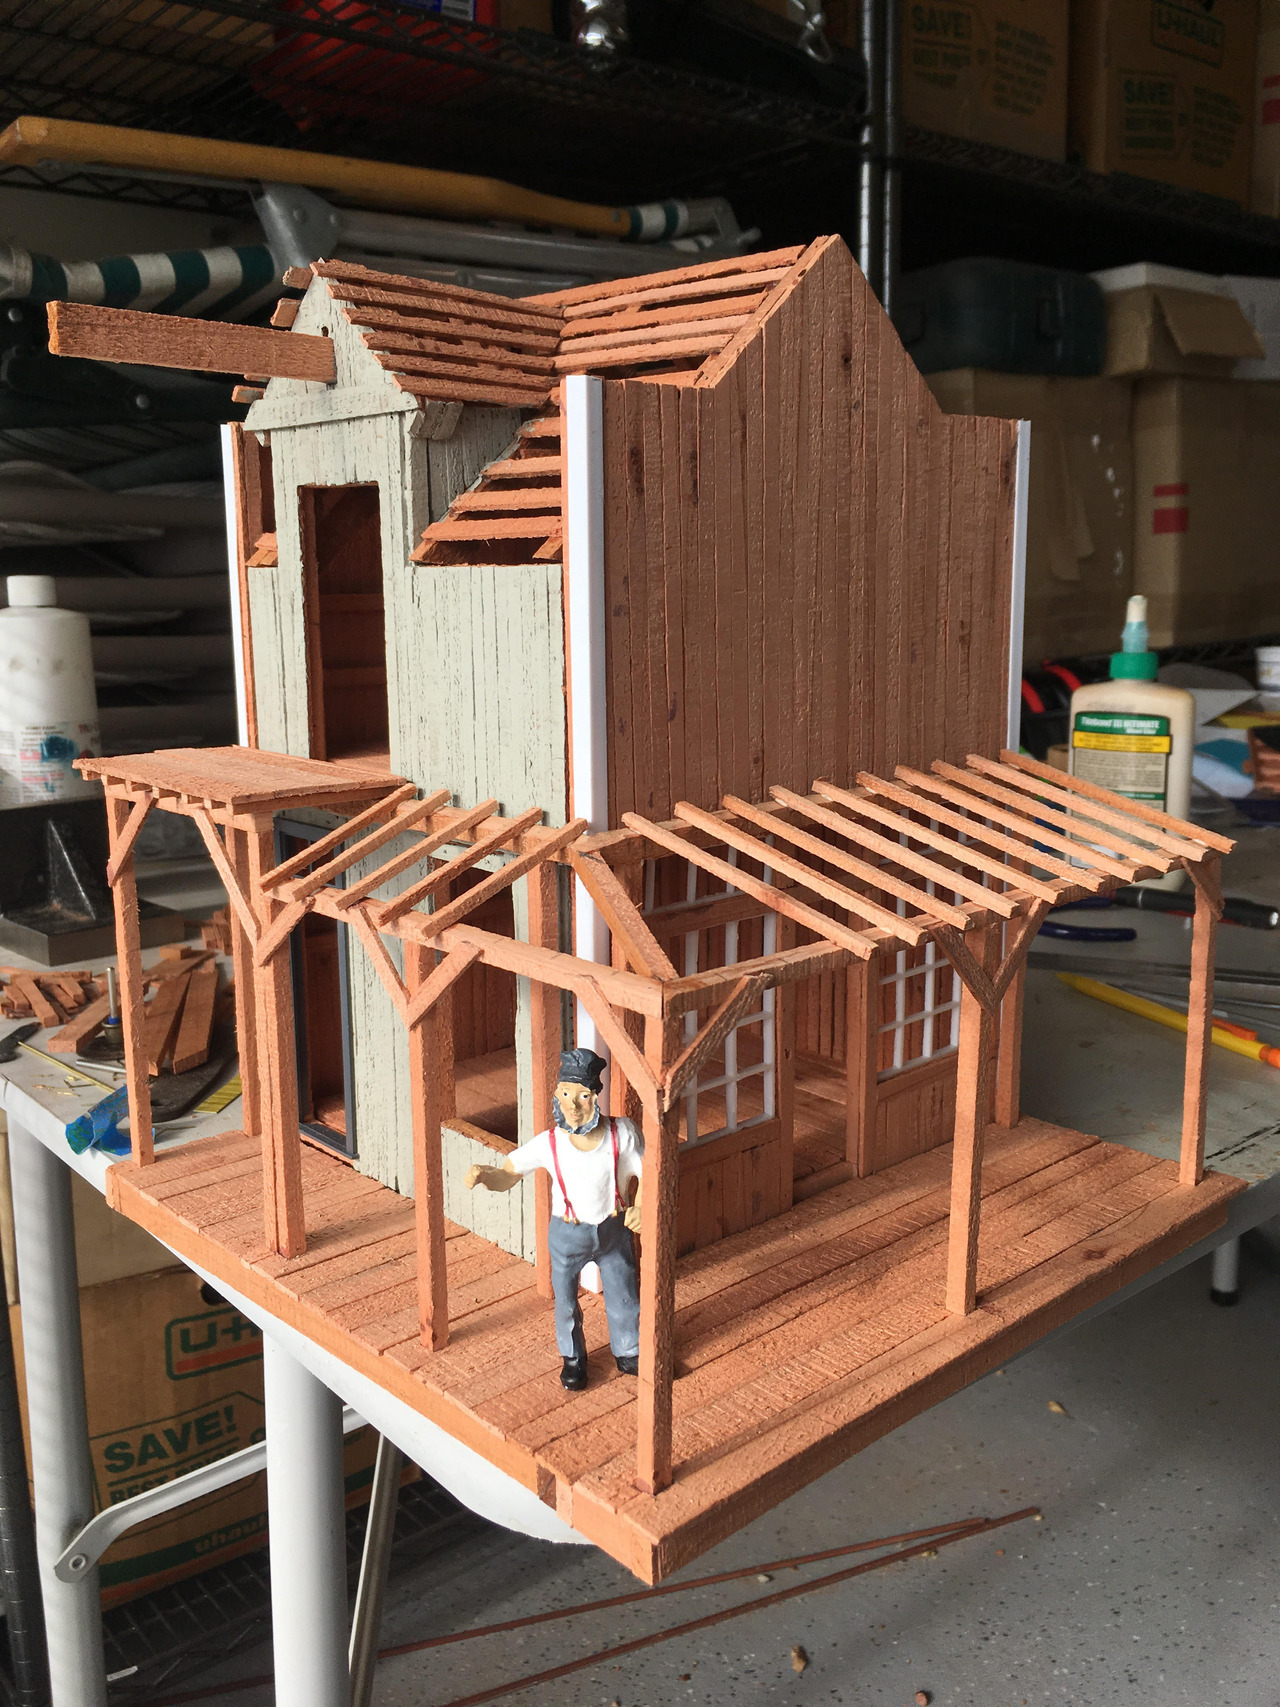
A bit more progress this morning. Posting a progress pic as I wait for glue to dry. Deck on hoist platform, corner trim, framing for awning (just a little bit of a tricky corner left).
Looking good Jim!
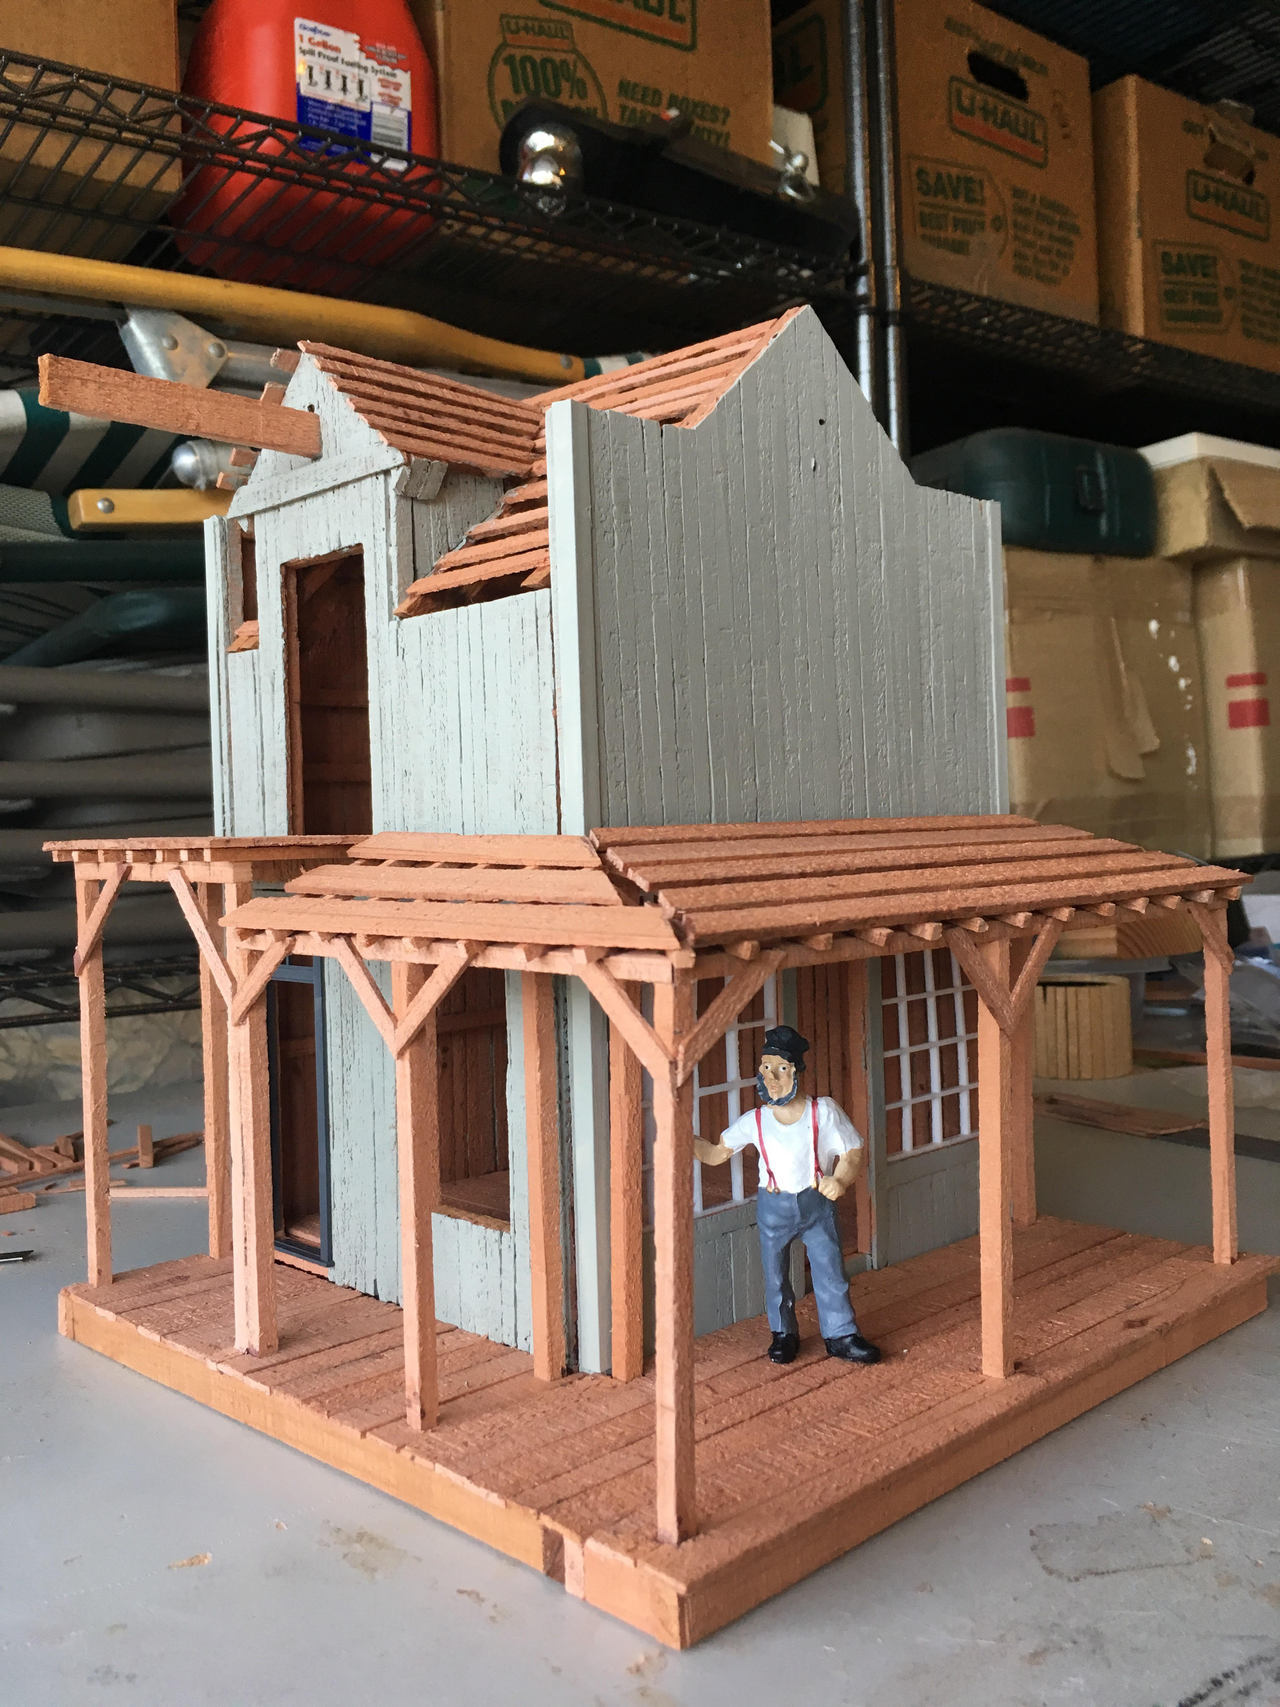
Sadly I go back to work tomorrow. Last progress for today/this staycation. Main paint on all walls:
That dang work getting into the way of modeling.
That’s going to be a cool building when you get done, Jim.
Made a tiny bit of progress today. LED strips for lighting under the awning:
I also have been trying to do the “print directly on styrene using hairspray as a coating” thing. It turned out a bit ugly, but may work for a backwoods set of signs:
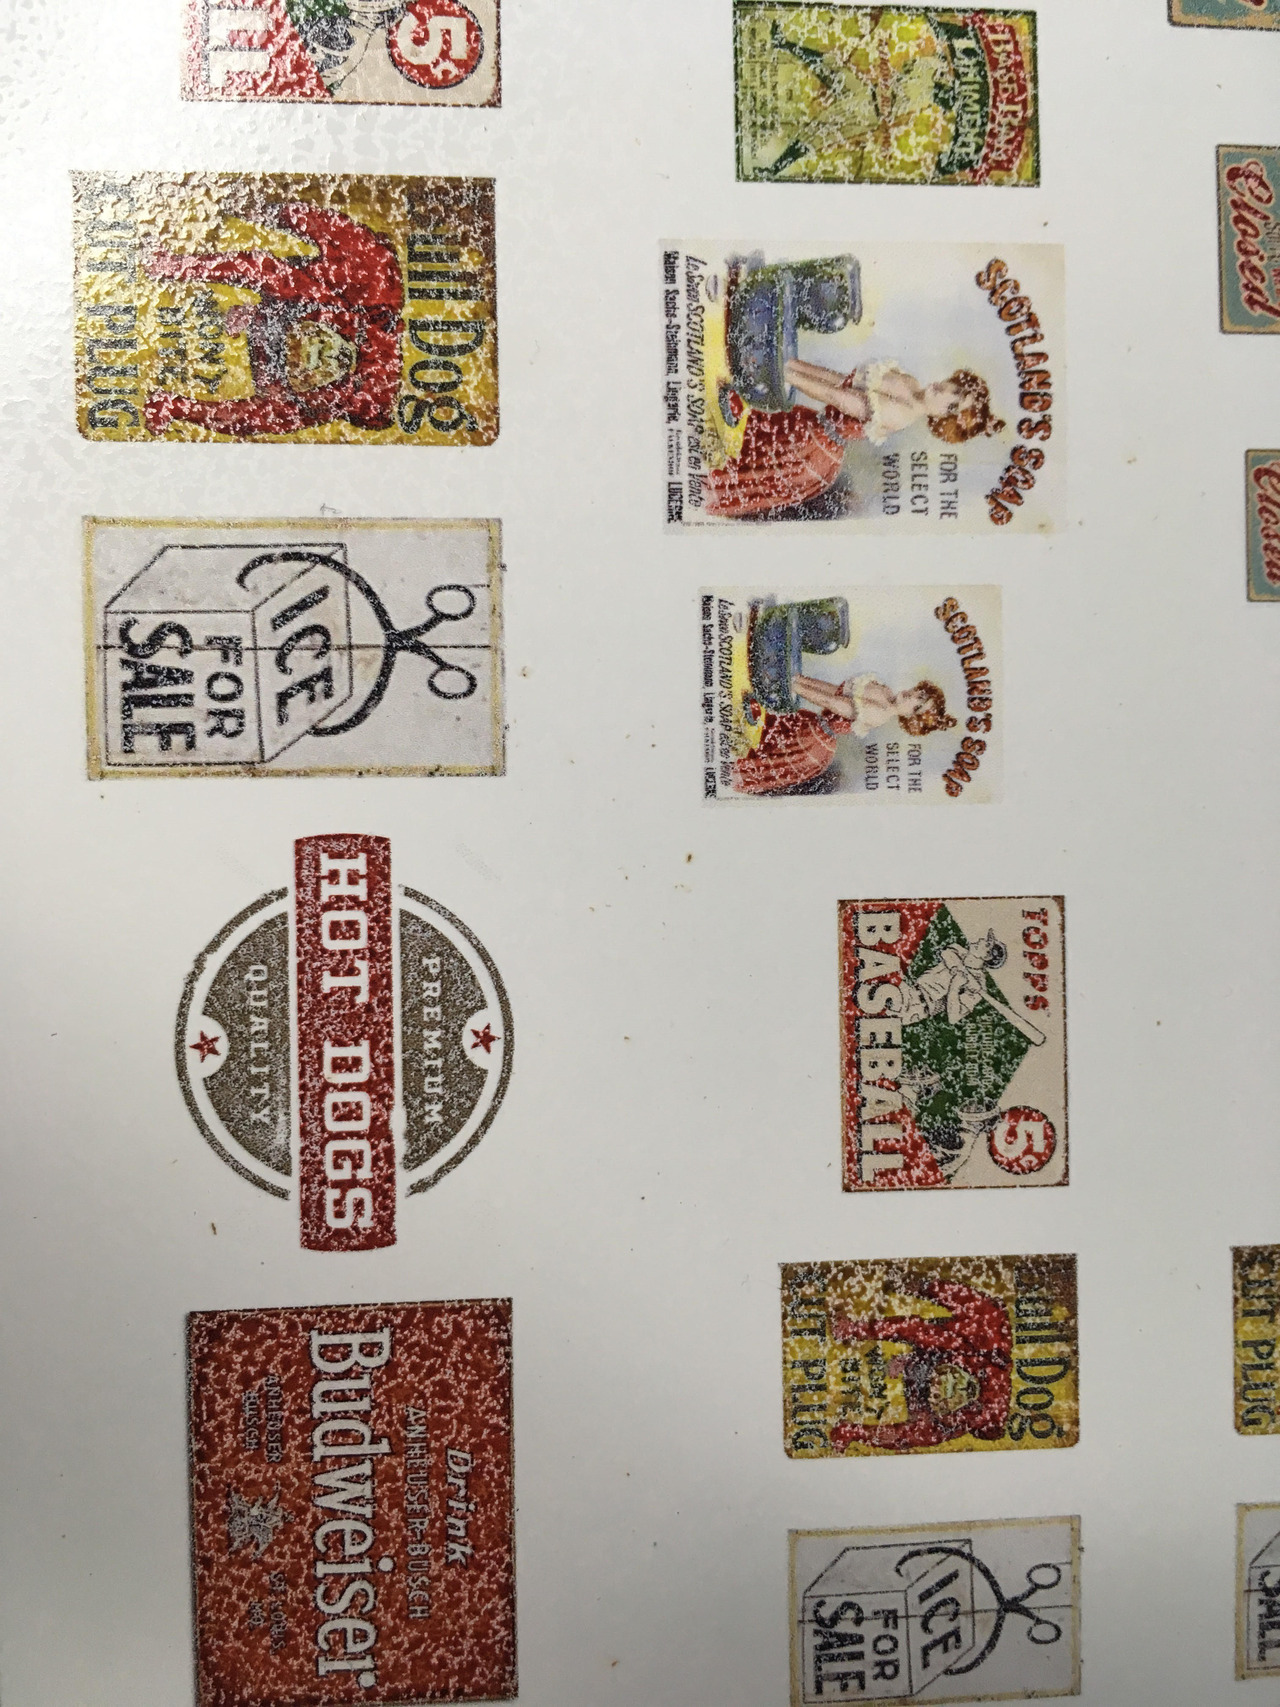
I actually kind of like the crackle sort of look. Gives it an old feel. Weathered.
I actually kind of like the crackle sort of look. Gives it an old feel. Weathered.
Awning roof on, main signs on, test fit one of the top lights. Still more weathering to do on the signs.
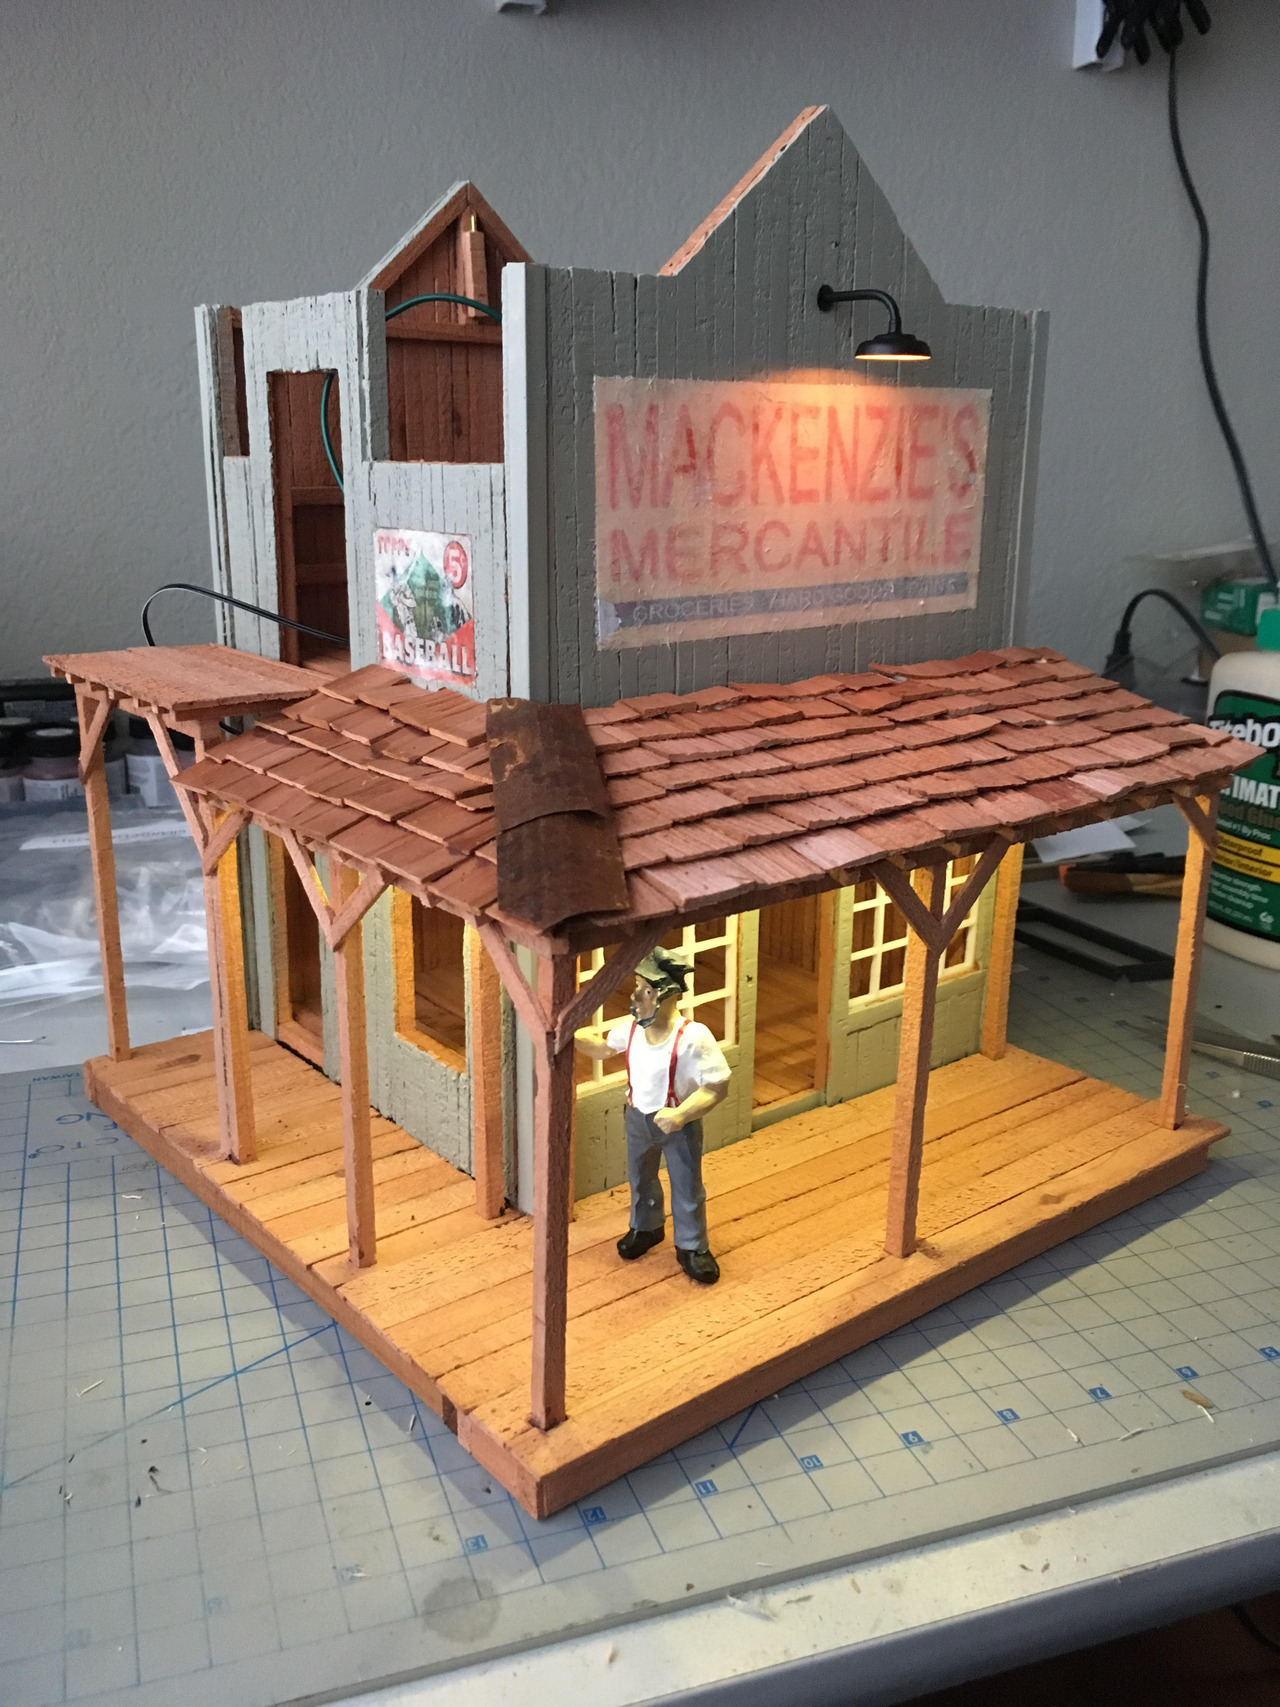
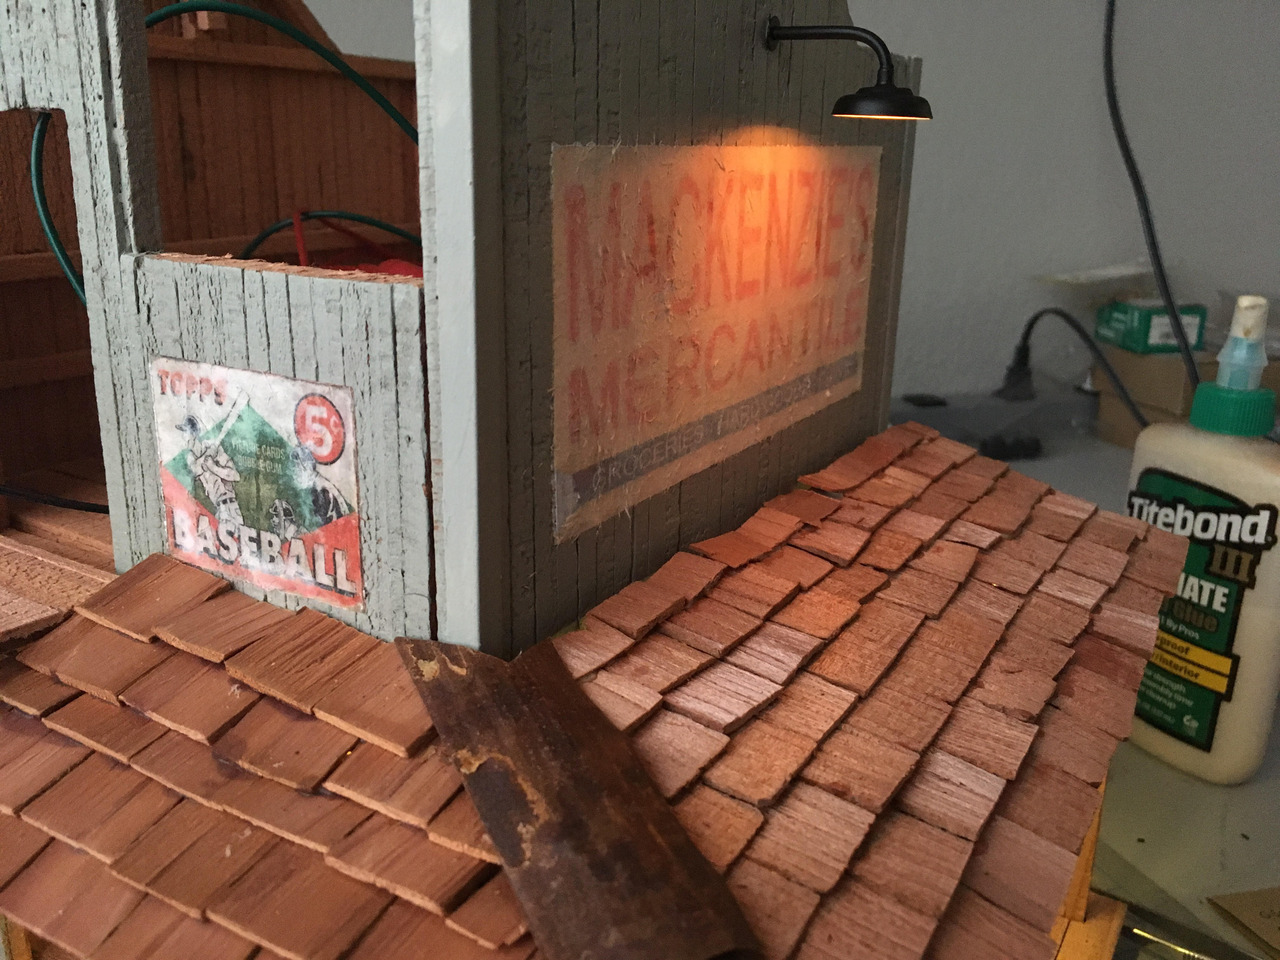
Not totally happy with my gel-toner-transfer signs. We’ll see how they survive more weathering…
Great job, Jim. Are you doing the building roof in wood shingles also? They really look good on the awning.
Thanks Dan. I’m actually thinking of changing it up on the main roof: right now tar paper (wet/dry sandpaper) on the big peak and corrugated metal on the dormer. My thinking is that, with roofs being so “in your face” in models (since you are looking down at it), having a variety of colors, tones, and textures makes them more interesting. We’ll see how it works.
I’m also toying with trying out a “metal” roof. If I have time and it works, I’ll possibly use that instead of the “tar paper”.
Looking great.