Large Scale Central

First LS hand laid turnout

Definitely a work in progress but the main parts are all there. I need to fuss over the points themselves a little more, especially the one for the diverging route. I looked at a few dozen prototypes but I can’t seem to get that same look to where the points lay over the rails but for now the cars seem to roll through just fine.

I worked on the frog for quite a while trying to get the bend in the rail as sharp as possible. I discovered that a small cut to the base of the rail allowed a sharper bend as opposed to the kind of kinked curve I was getting before. Also I realized because of the amount of “slop” between rail width and wheel width, there is no way to get as tight a frog as the prototype. I am getting just a little bump through the frog but I think I am being very fussy about it.

I do know that large scale is much more forgiving than N scale, as far as hand laid turnouts go.

And the guard rails are not tacked down yet, either. I think I will use my thin sheet steel to concoct some turnout tie plates and it might be fun to do some other detailing down the road.

Next step is a switch stand and a proper signal. Something “old timey” but lit up, not just a target. Again, I’m not so concerned about mixing up eras a bit, just don’t want it to be too obviously modern.

What do you guys think?

Any input or suggestions to make the next one better?

BTW, this was all done completely free hand but it turned out to be a #6 right on the nose.

Looks great to me but then again I am only in the process of making my first turn out as well,

How did you do the frog point. This is aluminum rail if I remember right? If so did you bend one rail into the point or braze two pieces together.

Sorry the picture is blurry but this is what I came up with. Now this is a “toy” switch in that it curves through the frog and is only 30"diameter curve so what like a #2 or something. I am considering making #4s and #6s as you are doing for the outdoor. But I might be lazy and at least buy the frogs pre-done.

I admire your determination and tenacity for hand laying your entire RR. Very cool and you will be immensely satisfied when done.

Patrick,

a good first try. a couple of comments if I may. the thing you need to do with your points is to thin out the contact side. I use a 4" disc type sander with 220 grit paper to do this. you will want to keep a supply of cooling water close at hand. your frog looks like it has a big bump on the diverging side that will need to be smoothed out, otherwise you will have derailment problems. what are you using to determine frog angle? what are you using for gauges to set clearances at various locations on your turnout. I have a brass gauge that was made by old Pullman many years ago that is in effect a NMRA standards gauge for large scale. not sure if it is still available but is very useful in building turnouts. when I built my initial templates for turnouts I used the NMRA stds. for ON3 turnouts and scaled appropriately to 1:20.3. it has worked out well for me.

Al P.

Thanks Al, for the observations. Yes, I need to make the contact side, as you say, make better…well…contact. I see the prototype seems very flat and comes to a very sharp point and I plan to work on that.

As for the frog point, well, it’s not so much of a bump as it is an accidentally rounded off point, so what looks like sticking out is a bit of an optical illusion. But I know that little extra gap from shortening the point is what is giving me that little bump when I roll cars through. I did tack down the guard rails at one point and literally shoved cars through (picture your younger self flinging your Hot Wheels cars down the track!) without incident.

I have a couple of pieces of scrap wood measured 45mm to keep the rails in gauge as I go. But that’s it. Probably should invest in something a little more professional at some point.

Devon, yes aluminum rail brazed together. I found my angle and then filed both rails until they mated. As I explained above, I botched the point by rounding it over when doing the finish filing.

If anything it will be a place holder while I continue laying the rest of the first phase of track. Everything is laid in such a way as I can easily go back and take it out and try again.

Not bad for a first try. One suggestion I might make is to grind the base of the stock rail down where the points meet it. It’ll give you a tighter fit. You may have done that already, but it’s tough to see in the photos.

I usually have the tie bar back one more tie than where you have it. The rail is a bit beefier there then right at the points.

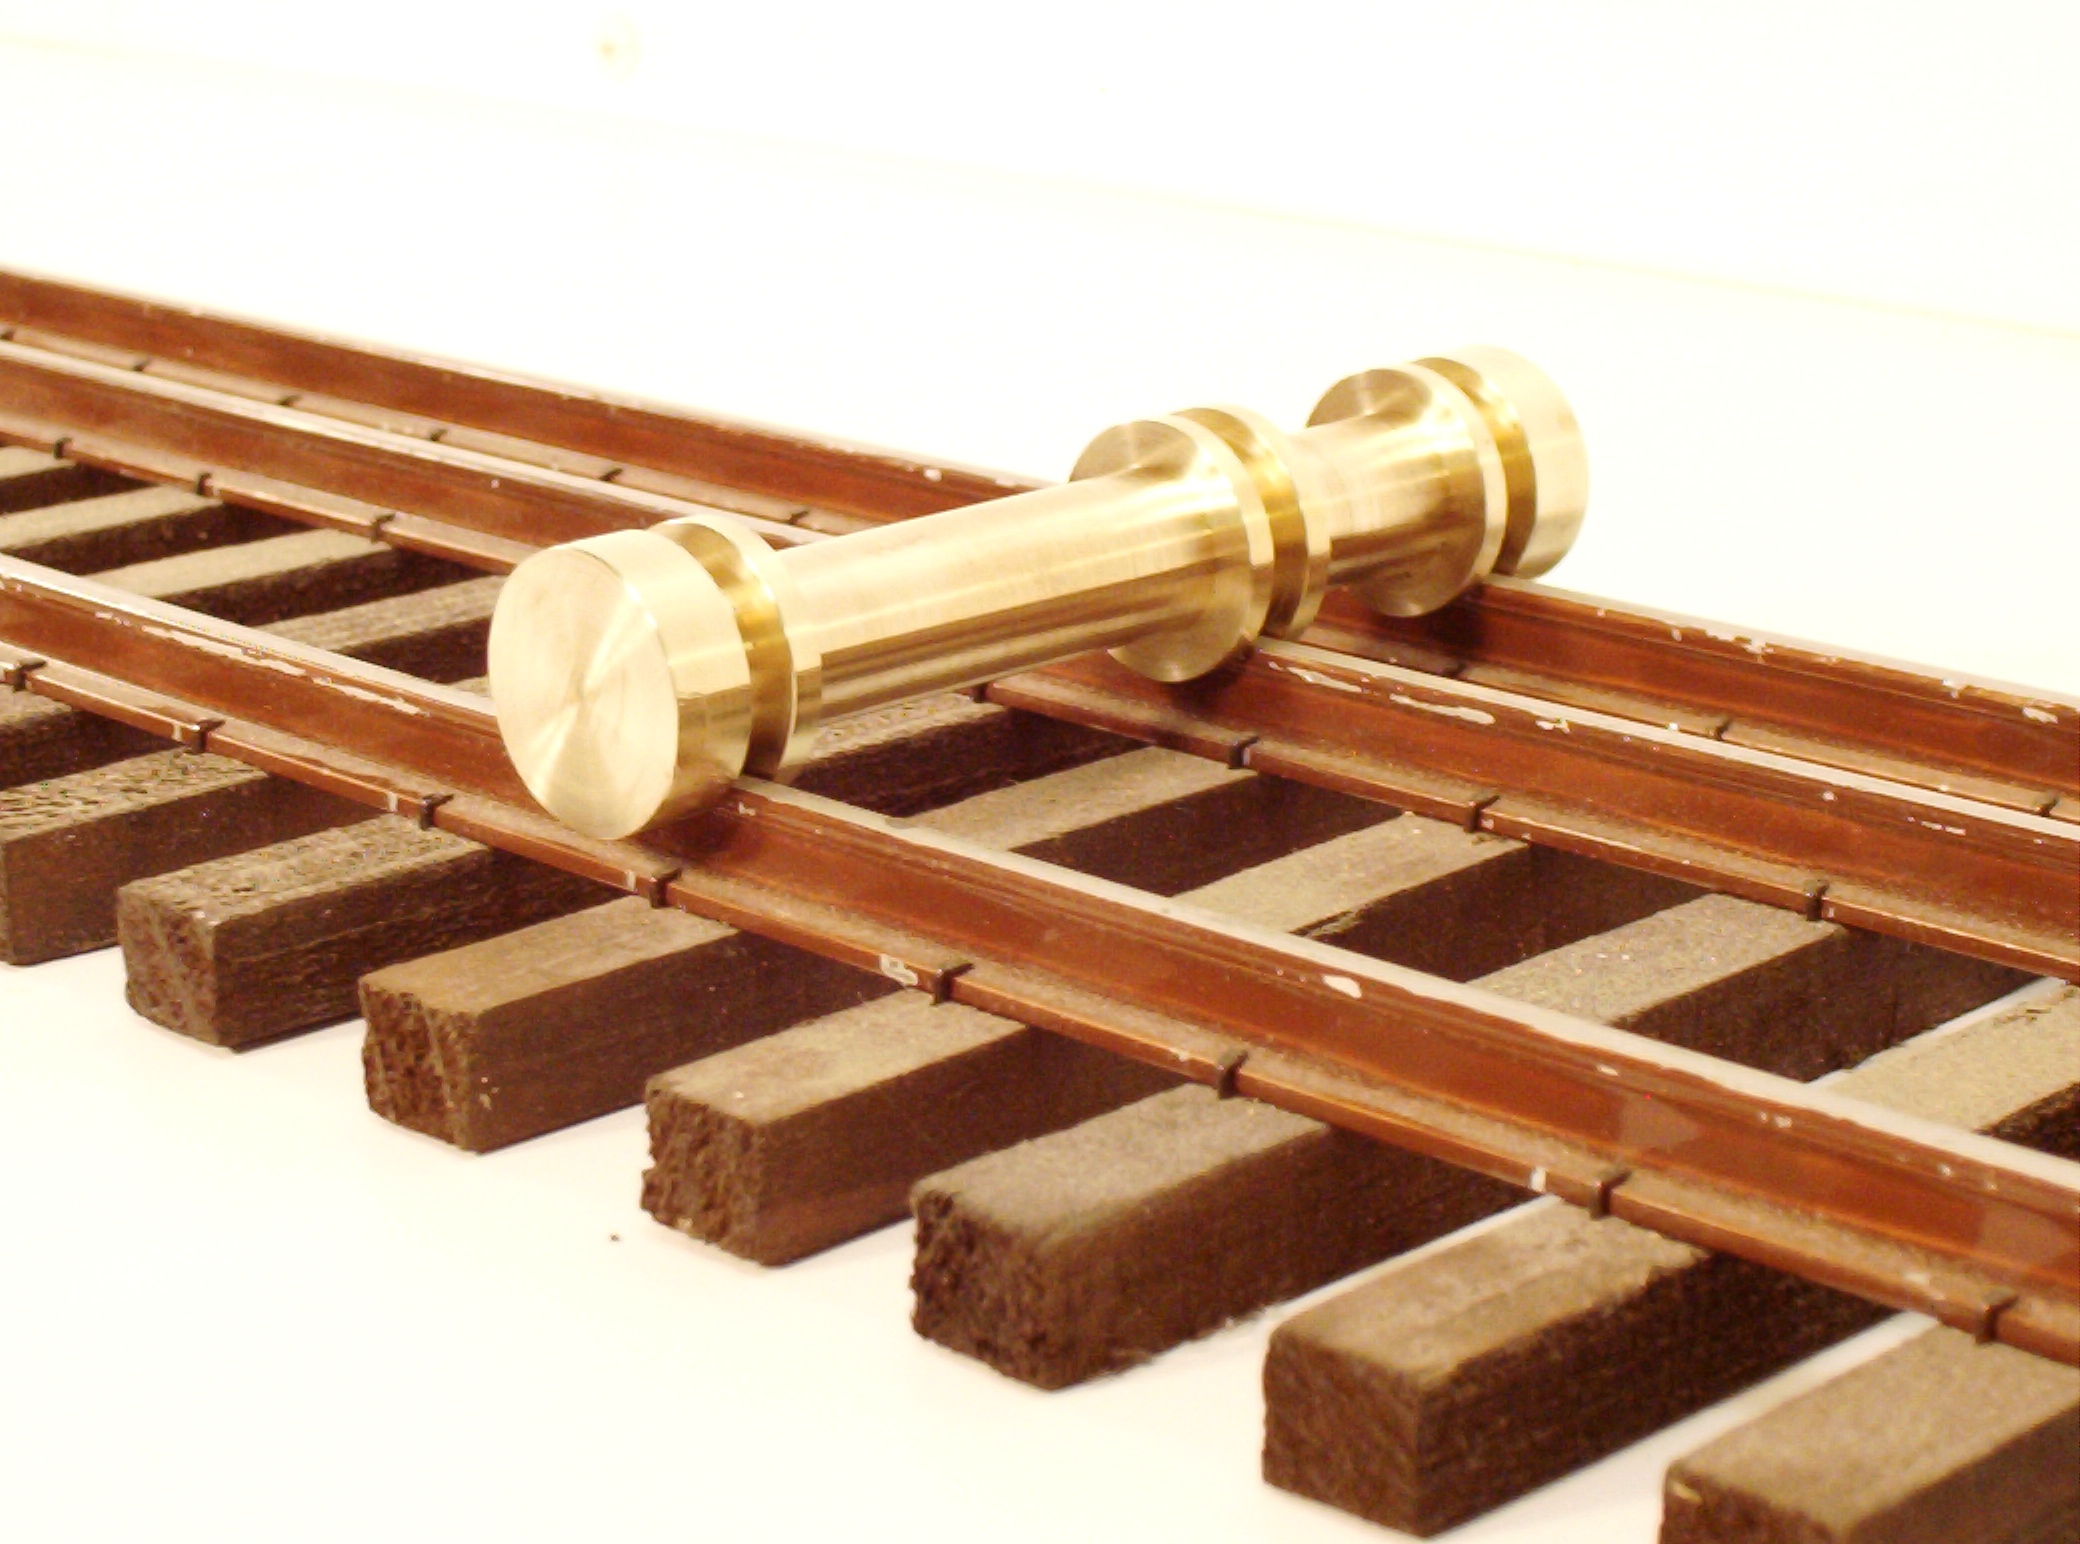
Here’s the track gauges I use:

http://www.switchcrafters.com/ez-catalog/X381875/16/ME42-122

I also have a set of metal ones I bought from Rodney Eddington.

I use a B’mann pilot truck from an old 10 wheeler to test the switch when I’m building it. It usually finds the trouble spots while it’s still on the bench.

Good luck, you have a lot more patience then I do, hand laying your track. It does look good, though!

I’ve been looking for track gauge in code 332. I started using code 332 before I knew anything else existed. I got the code 250 gauges from Switchcrafters, widened them a bit, keeping gauge unmolested. It works OK, but I’d rather have gauges made for 332. Anybody know of a source?

If you own a KD height gauge, it has a track gauge on the base. (And a wheel gauge).

I’ve got several, John, and have used them in the past. The only down side is they don’t lock the rails in gauge while driving in the spikes. I find I need four hands when using the kadee to build turnouts.

Thanks, though.

Steve, why not the Aristo Gauge, it’s actually quite accurate. You can verify this by seeing that none of the Aristo track and switches meet the specs of the gauge ha ha!

I made my own, using a drawing from the Saskatoon Railroad Modelers.

Steve, you could make your own with some all thread, some washers and nuts. A nut and washer set to the insides and outsides of the rails. Just glue or solder the nuts and washers in place when you have it adjusted. That should help hold the track in gauge while you pound spikes.

Greg Elmassian said:

Steve, why not the Aristo Gauge, it’s actually quite accurate. You can verify this by seeing that none of the Aristo track and switches meet the specs of the gauge ha ha!

Oh my. Had to laugh at this one. For a lot! It’s just too true, except I used it with one of their locomotives. My experience with an Aristo Pacific:

That was my experience, too, ‘cept I wasn’t laffin’.

Patrick McGrath said:

Definitely a work in progress but the main parts are all there. I need to fuss over the points themselves a little more, especially the one for the diverging route. I looked at a few dozen prototypes but I can’t seem to get that same look to where the points lay over the rails but for now the cars seem to roll through just fine.

. . . .

What do you guys think?

Any input or suggestions to make the next one better?

Patrick,

The PRR track standards are online, so it is possible to figure out how the prototype does what it does.

http://prr.railfan.net/standards/

The switch rails are overlapped, not filed until they are too thin.

What I took from this drawing is that the pointed end of the rail is bent upwards and twisted just a little, so the base of the rail fits over the base of the stock rail. Then the top of the rail sticks up above the stock rail and is filed down - almost to the thin web above the base. Here’s an annotated version:

Steve Featherkile said:

I’ve been looking for track gauge in code 332. I started using code 332 before I knew anything else existed. I got the code 250 gauges from Switchcrafters, widened them a bit, keeping gauge unmolested. It works OK, but I’d rather have gauges made for 332. Anybody know of a source?

Being basically cheap, I made my own using threaded rod and nuts. Since I am mating to Aristo track I used the Aristo track to set the gauges. So, they are not exactly to spec, but they build sections that work…

So my lesson from this first build is I have a lot to improve upon in regard to the finer points (pun intended).

On a related note, in the real world just how tight are the tolerances for things like track and wheel gauge?

My guess is much tighter than the min/max is see from the gauges displayed in this thread.

The tolerances are spelled out clearly in the standards.

Read this page, and follow the links to the G1MRA or the NMRA standards…

http://www.elmassian.com/index.php?option=com_content&view=article&id=85:track-and-wheel-standards&catid=20:track&Itemid=110

Greg

Greg, I think he was referring to the 1:1 tolerances. And since the wheel treads on the 1:1 stuff are proportionately smaller, then I would think the tolerances would be too.

Yeah, I guess I should have been clearer. I meant real, full size railroads.
Not looking for an exact answer really, just conversing.

Sorry, yes they have tolerances, but do not map to ours since we cannot run scale track dimensions outdoors, or scale wheels.

So it’s difficult to compare.

Greg

Steve Featherkile said:

I’ve been looking for track gauge in code 332. I started using code 332 before I knew anything else existed. I got the code 250 gauges from Switchcrafters, widened them a bit, keeping gauge unmolested. It works OK, but I’d rather have gauges made for 332. Anybody know of a source?

Steve

Cumberland engineering makes rollers in both code 250 and code 332.

I use these together with brass ones I made myself

Stan