Todd Brody said:
Very convincing!
Yep !
Pretty much says it all.
Nice work Cliff !
Todd Brody said:
Very convincing!
Yep !
Pretty much says it all.
Nice work Cliff !
Great! Only 10,000 sq feet to go!
Well are ya done yet?
Thanks Rooster!
John, no, it’s 9,998 now. (http://www.largescalecentral.com/externals/tinymce/plugins/emoticons/img/smiley-laughing.gif)
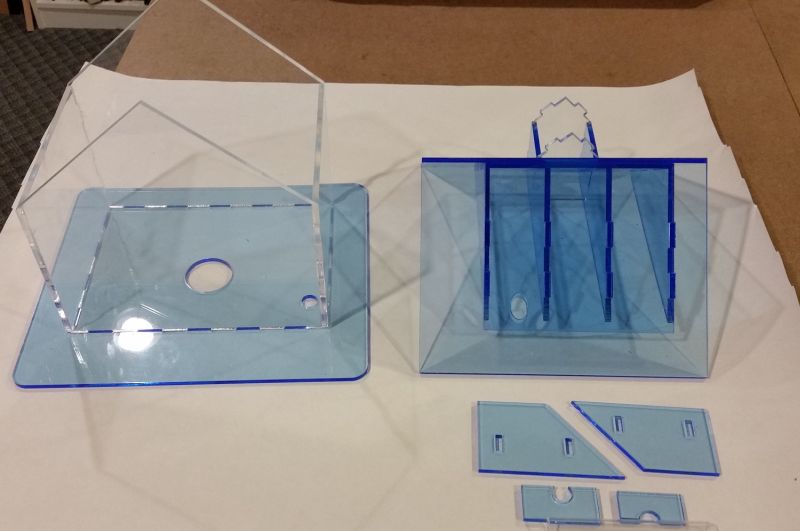
Finally got back to this. The building has its two main assemblies, and here’s how their structures looked after assembly.
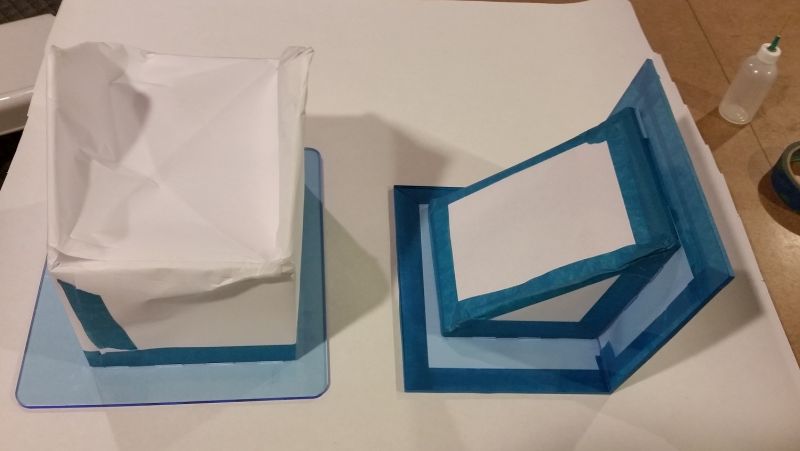
Next came masking for painting of the “dirt” and “under the eaves” areas.
I did more spraying of the detail bits…
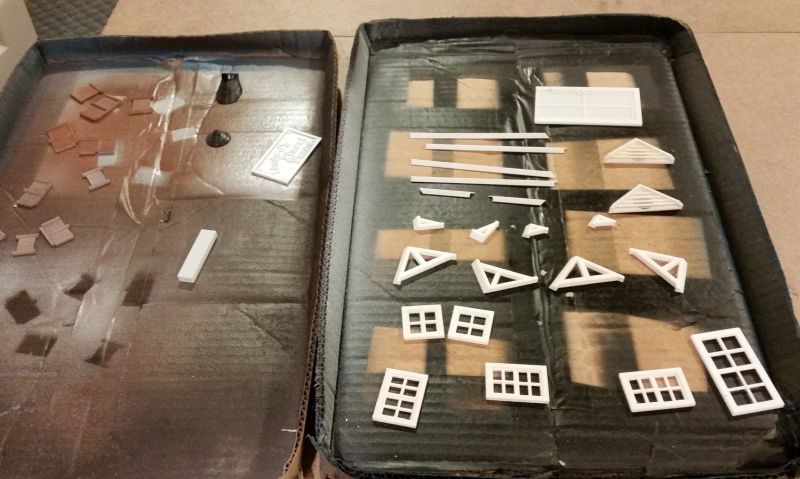
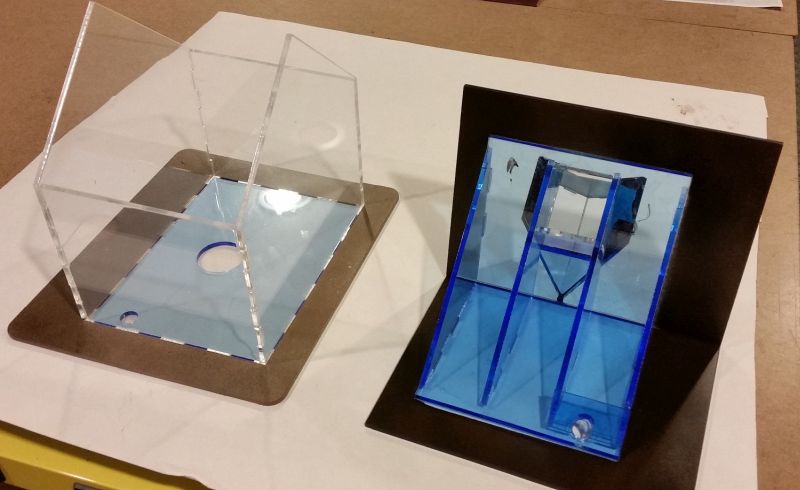
…but mainly focused on painting the main structures. Here’s how they looked.
Then came gluing the exterior styrene sheathing on to the acrylic structures. Here’s an example of one wall’s sheathing being installed.
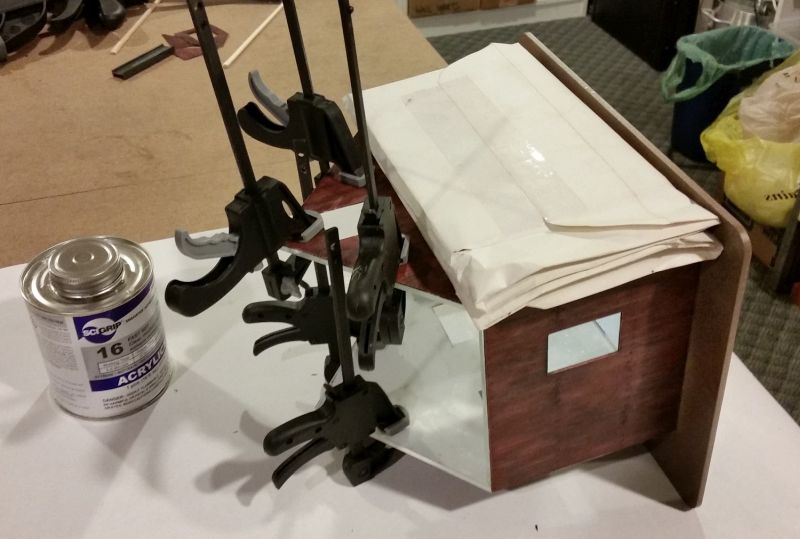
The white things on top are pieces if 1/4" steel plate (wrapped in paper). The clamps on the top are clamping what the plate weights can’t cover; the clamps on the bottom are just supporting the assembly.
Here’s how the thing is looking at the moment.
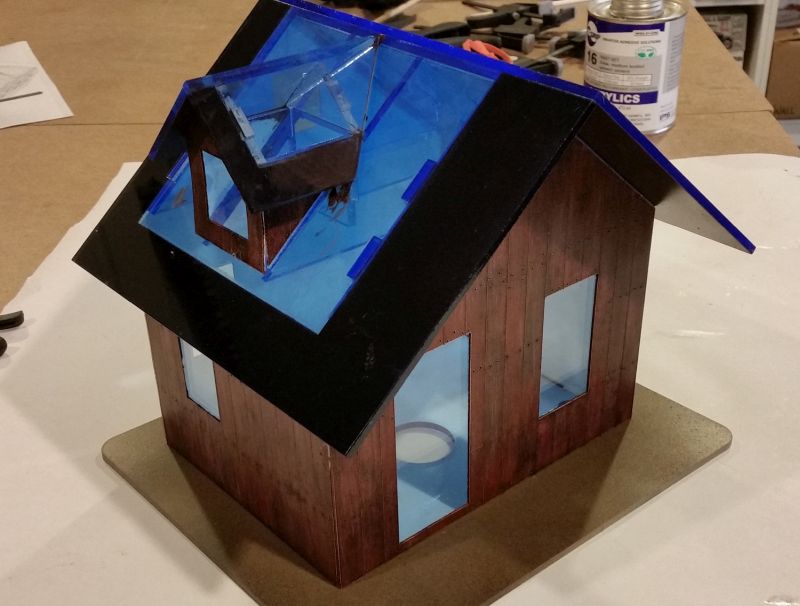
CJ
You are moving along, Cliff. Looks good
Jerry
Very nice!! I need a laser cutter…
Thanks Jerry, thanks Travis!
Today I had fun installing some detail bits. But first came the realization that the later door widening didn’t get conveyed to the sheathing people. I tell ya, you just can’t find good help anymore.
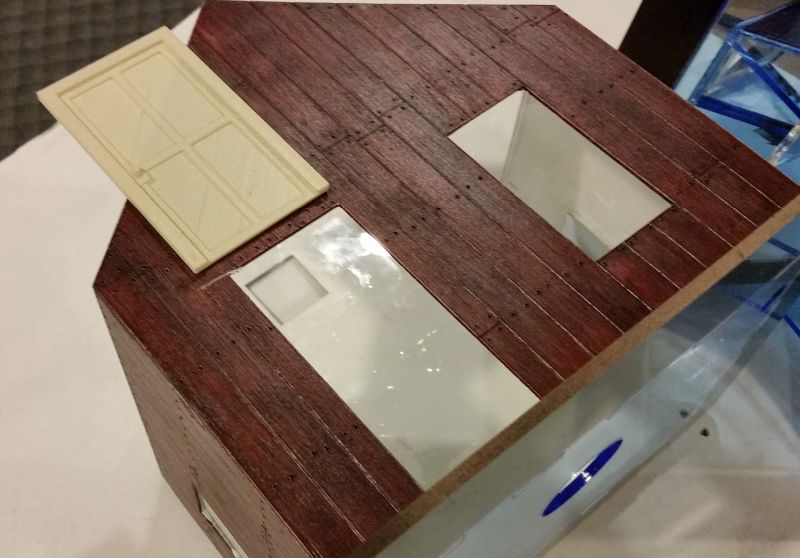
But that was solved and the door and windows got glued in fairly rapidly. Next came the corners, where I had to scrape away some paint. I had best success for that with a swivel debur tool.
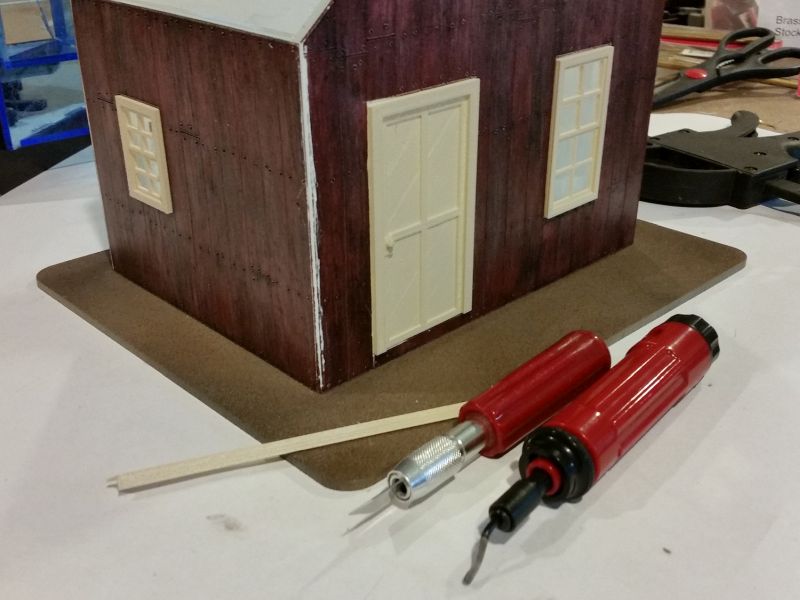
Since the building is fairly weathered, I painted the “white” trim with ‘almond’ spray paint. Here’s how the thing looks at this point.
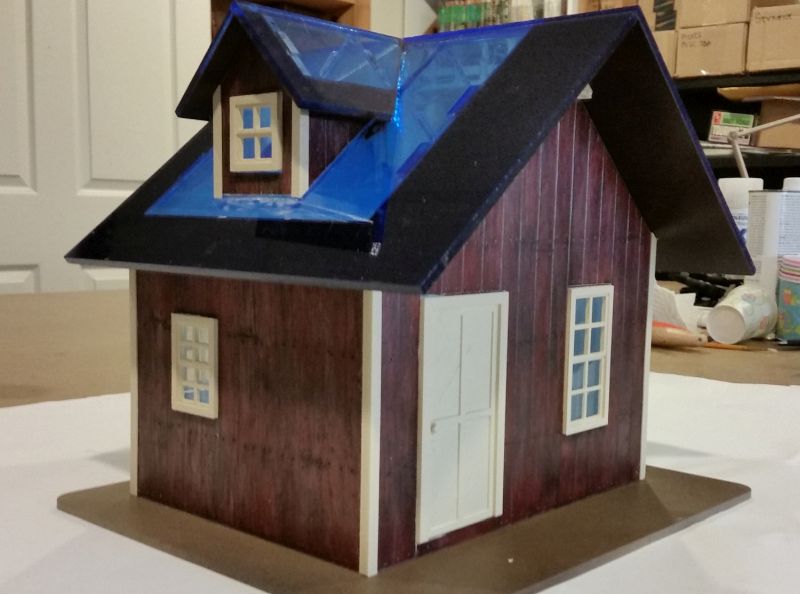
The other side, showing the stack assembly.
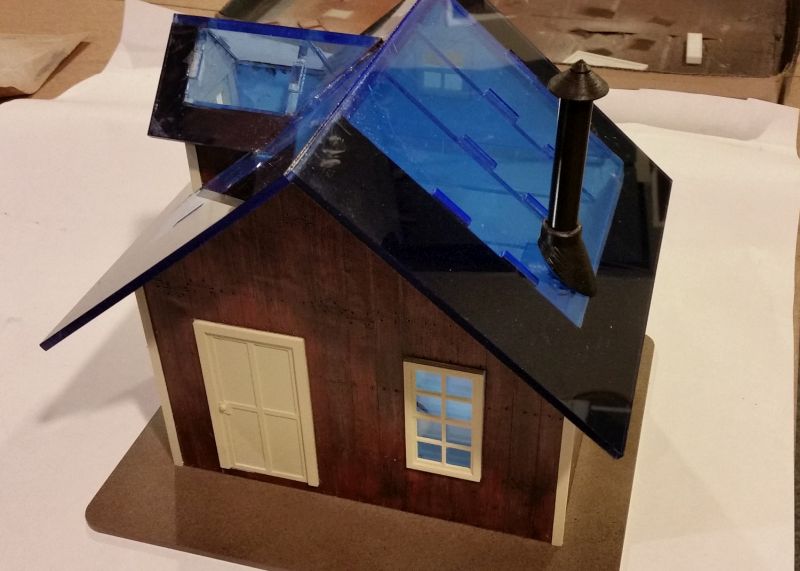
I was going to install the roof braces, but found that the carpenters totally hosed up the left side… sheesh… so some 3d printing is now taking place, the results of which will have a brief spritzing with some almond Krylon.
Thanks for viewing!
===>Cliffy
Love the skylights!
Sean McGillicuddy said:
Love the skylights!
(http://largescalecentral.com/externals/tinymce/plugins/emoticons/img/smiley-laughing.gif)Yep, that almond will turn out to be a good choice over stark white.
Yeah Forrest, the white sure looked way out of place! 
Glad you like the skylights Sean, haha! Stupid me though, I should have only masked the back of the window, and sprayed all the underside black. Otherwise I’ll have nice glowing shingles when I put a light in! Same with the main building, too much bleed around the window & door frames. So I’ll need to mask just the window insides and spray all the interior black.
Are you going to laser your shingles Cliffy?
Chris
I sure hope to, Chris. I’m almost done with this trim business, and need to start making patterns for the shingle strips.
You should chat with Dennis, he has some special stuff he lasers his shingle strips out of that he says works really good.
Chris
Thanks for the tip Chris, will do.
About the glue. I’ve been using Sci Grip #4 (water-thin) and #16 (thick). Thin is for smaller detail parts, thick for where gap filling is important. The problem is with large areas of styrene to acrylic. Here’s some comments I passed on to Sci Grip, hoping they give some recommendations.
I’m cementing large amounts of .04 stryene sheet to 3/16 acrylic sheet. I’ve been testing with #4 and #16.
#4 is good around the edges, but it’s tough to brush onto the main area to be adhered.
#16 is better for brushing on, and helps where I need filling.
However, the #16 tends to set very quickly, almost like the styrene is soaking it up. I need a little longer working time, because the pieces can be as big as 2’ square.
Also, the styrene tended to melt a little and buckle, producing undulations on the exposed surface.
So, we’ll see what they say.
[edit] The reason this is an issue is because it was difficult to brush the #16 onto the entire back surfaces of the styrene without it beginning to kick. This is spite of a 4-5 minute working time (for acrylic); I had only 1 minute max. So I had to re-brush over areas where it looked dried. It was almost like the styrene was soaking it up; and in fact, it is almost foamed in some areas (looking from the rear, through the clear acrylic). This resulted in a lot of buckling. So. I need a different formulation that will be kinder to the styrene, yet still weld it to the acrylic.
Yeah, I could have done more research on the Sci-Grip site, but I’m lazy, and so I’m letting them make the call. Also, the cans can be expensive, so I’d like advice before committing to ordering.
I use Loctite GO2Glue for acrylic.
The working time is ~1/2 hour and you can wipe away excess without “marring” the acrylic. It is a flexible bond much like a thin coat of Crafters Goop, and you can “peal” away excess.
Thanks Todd, I’ll have to check that out. But if it peels away, it’s not chemically welding.
Maybe not, but it sticks. Crafters Goop and those types of adhesives will also peel.
Cliff the #4 numbering system doesn’t really apply to your application … Don’t try and finesse the glue for outdoor use .
Check out the contact adhesives (which opens up another can of worms)
(http://www.largescalecentral.com/externals/tinymce/plugins/emoticons/img/smiley-wink.gif)
Thanks guys, all good thoughts.
I heard back from SciGrip (same company as Weld-On), and they recommended #4052. It has 3 times the working time as the #16, is slightly more viscous, and is formulated for both styrene & acrylic (and other plastics). So I’ll give that a test.