Thanks Todd and Dennis, I always value your insights. Todd, I did do a test joint pair of pieces, and here’s a pic of that. The fit was loose…
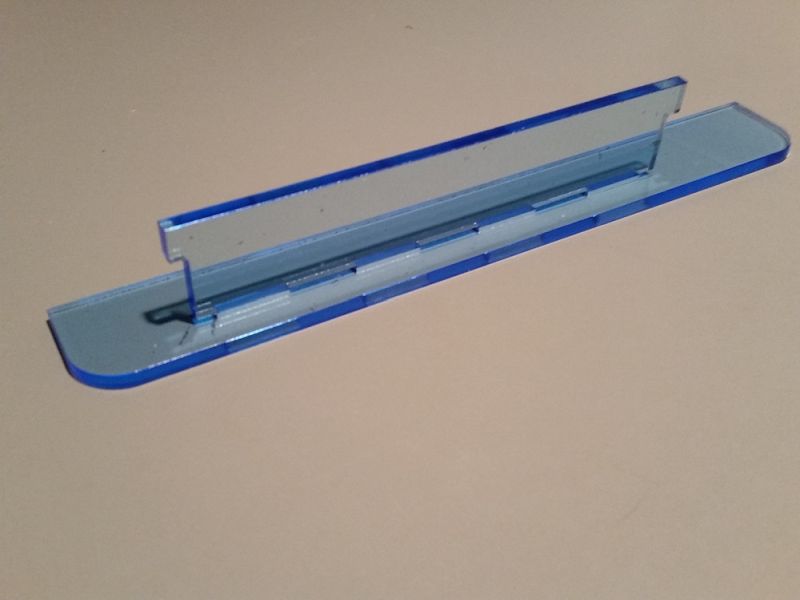
… however, it was loose because I didn’t account for the paper thickness when doing the design! So, .006 thinner in the cad model. It will still be loose, but not so much.
Here’s the parts all cut out. It took about 50 minutes to do this, at 4.5mm/sec.
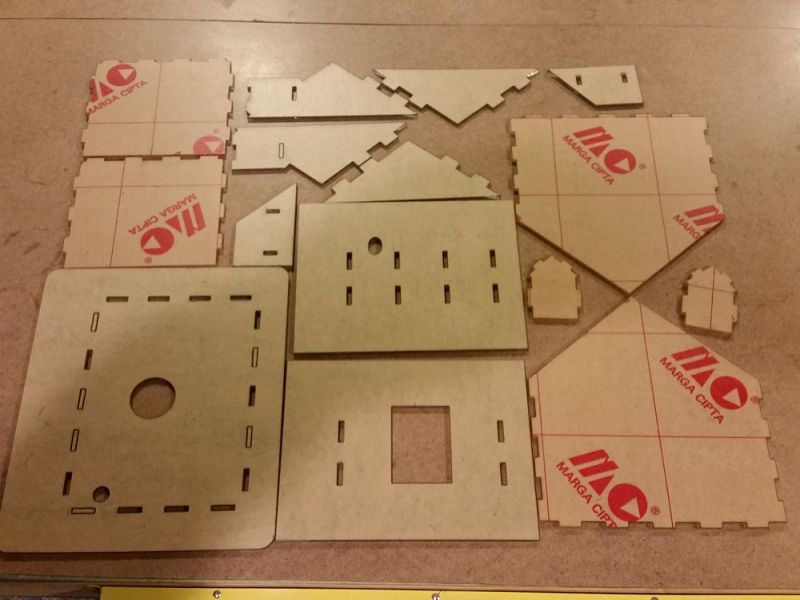
It took quite a while to peel off the paper, maybe 45 minutes. I’m not posting this as a gripe, I’m only informing people who may be interested in getting into the process. I found the paper peeling, with the radio on, to be quite enjoyable. (http://www.largescalecentral.com/externals/tinymce/plugins/emoticons/img/smiley-laughing.gif)
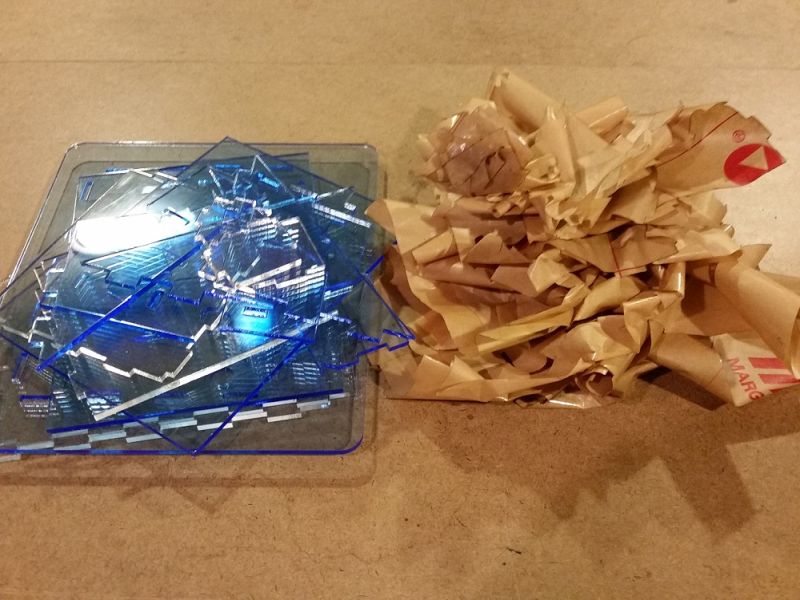
Just as a reminder, the blue plex is stock I got cheaply, and don’t need to be transparent. How I got it is this. I called the local plastics place, and asked for sales. And I asked if there was any stock of acrylic in the 1/8 to 1/4 range that they needed to get rid of. The answer was a very enthusiastic “Yes!” In slight blue, .160, 5 4x8 sheets, half price. I took it all, and had them cut the sheets to a size my cutter could handle. And I got a sheet of clear, for windows. So that’s my story.
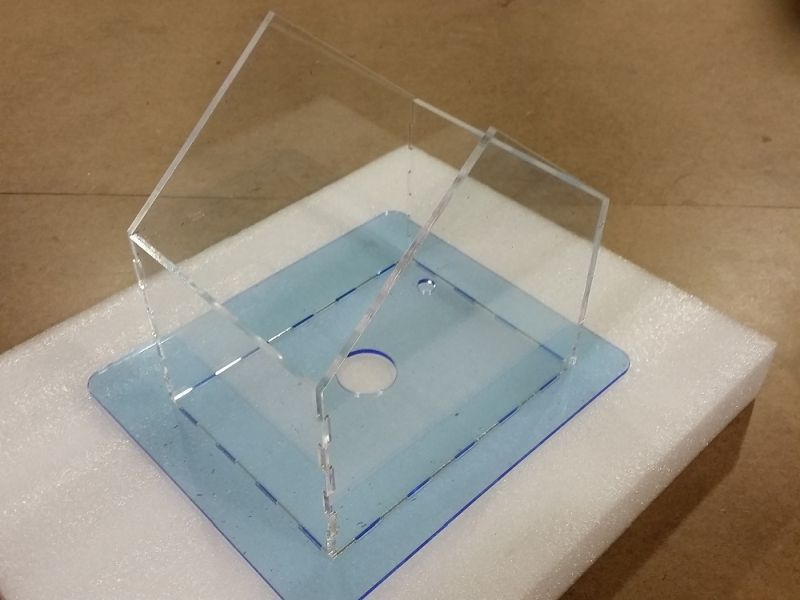
Anyway, I couldn’t wait to see if the parts fit together. And for the main structure, they did just fine.
To clarify, I’m using the line-to-line method, where you expect the laser to cut on the line for both male and female features. Just as Todd was saying, though with different vocabulary (http://www.largescalecentral.com/externals/tinymce/plugins/emoticons/img/smiley-laughing.gif). The other method, which I’ve used in the past to prep files for our plasma and water-jet cutters at work, involves taking into account the kerf (width) of the cut. That makes the 3D modeling way more difficult, and I’ll settle for line-to-line any day. [edit: What I’m trying to say here is that, with the line-to-line method, the width of the laser’s cut is your clearance between parts. Anything else requires a lot more labor on the computer end.]
The question in my mind was how well the wall and base parts would index, and if the result was ok for just solvent-welding in place via self-fixturing of the tabs. The answer is: emphatically Yes. There was plenty of clearance for the base / wall assembly parts to fit together. It wasn’t overly tight though, and they will require taping or clamping together when I do the adhering later.
For all these joints, I’m intending to use the thicker gap-filling solvent cement, Sci-Grip (Weld-On) #16. #4, the usual, is just too viscous.
The removable roof situation was more difficult. For starters, I’d forgotten to “print” a sub-layer to the roof, and screwed up on a dimension on the roof ribs that also formed the dormer side walls, making them not fit thru the roof openings. So I had to cut 4 more parts: 2 new, 2 re-do’s. After that, with some forcefulness, the roof assembly fit together.
The stacked tolerances on all these fits quickly eats up the nominal clearances. In other words, with all these fitted parts, I really had to work to get them clicked together. Moral of the story: The more the parts involved with the fit, the looser the fits should be. E.g., in complex multi-part joints, the kerf of the laser may not provide enough clearance. One or more parts may need breathing room, and additional bit removed from the joint. Maybe in the cutting pattern, or maybe just with a file. Literal file.
Dennis, by the way, on that last run of parts, I allowed the lines to coincide. And you’re right, it didn’t make a difference (that I could notice). The second-time beam just shot through where it had been before.
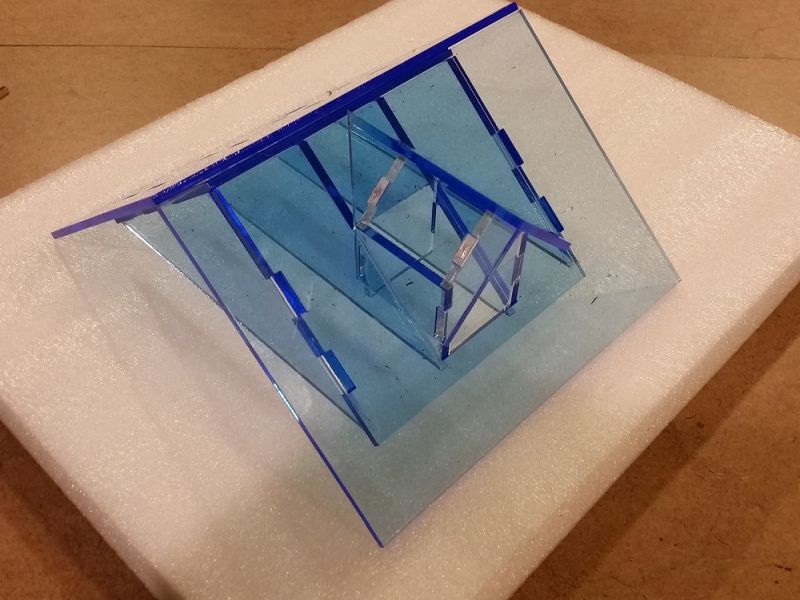
That sub-layer of roof was supposed to help index the roof assembly to the walls. But additional geometry on the roof ribs would obviate that. So, shed V2, if there is one, should have only 1 roof layer of plex, and not have that lower layer. Stupid idea in the first place. I was excited by all this I guess.
Here’s the building put together.
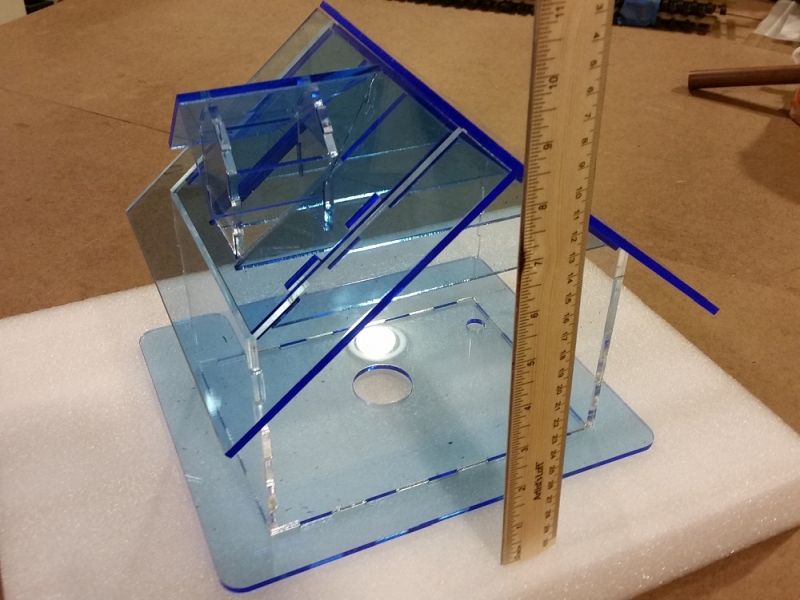
Chris, I can sure see how your recommended backup strips can help, especially at the base and main corner joints. Very easily cut with the rest of the parts, and just as easily adhered.
The next step will be to develop the sheathing…
===>Cliffy
![]()


