Shutup Sean and let the man build !
Edit for page for,four,fore,4
Shutup Sean and let the man build !
Edit for page for,four,fore,4
Ten 4 good buddy ! … (https://www.largescalecentral.com/externals/tinymce/plugins/emoticons/img/smiley-wink.gif)
Time for some update photos. As of this evening the Shadow Box level is pretty much complete. Effort can now concentrate on the stair box and a false front for the Mik Challenge. Here is the latest overall view with some test track in place…
And a close up of the Shadow Box. The tint on the right hand window looks great as a mirror at night, but is too difficult to see through during the day. I will experiment with lighter tints since I do like the day view to the garden. The wooden door at left opens to the ceiling. It will provide access to storage above the soon to be enlarged BOX tunnel. It, along with a mate and two nice round top glass doors were left by previous owner of the house. Not sure what the final finish will look like on it. I may go with a flat black; or just leave it in “early basement”…
After much gnashing of teeth I have decided that the suggestion to trim a corner of the stair box was a good one. These photos show a piece of blue tape where the inside wall would be. The track would rise about 1/2" as expected. There is enough room for my biggest box car. Not sure about the 45 Ton yet…
The red line on the blue tape is bench top level
This is the new plan for the Stair Box now if all clearance tests pass…
And Sean will be happy to know that I didn’t forget electric while I had the wall open. Another convenience outlet and a switch for the LED wok light now permanently wired on the ceiling…
I forgot the fixtures in this room are brown and bought a white plate - so back to the Depot I go.
Next up …A trestle would look awesome here … A great place for the hobo’s to hangout! … with some magic John maybe you could change that cap to look like this …
Use a sleeve to extend it out, and paint the inside of the sleeve and cap black .
I don’t disagree Sean, And I’ve had similar thoughts. The practical side of me says just get it built so Ops can continue. I’m not to good at getting scenery done once the track is operational!
Jon, With your attention to situations and going into a blind hole, maybe a sensor circuit that will turn on a viewable or audible signal just before you hit the wall, or couple to a car in the hole, may prove to be a helpful addition. (https://www.largescalecentral.com/externals/tinymce/plugins/emoticons/img/smiley-cool.gif)
Paint the window frame black ?
Jon Radder said:
I got a kick out of this. The TX is bigger than the engine…(https://www.largescalecentral.com/externals/tinymce/plugins/emoticons/img/smiley-wink.gif)(https://www.largescalecentral.com/externals/tinymce/plugins/emoticons/img/smiley-cool.gif)
Coming along nicely, Jon… The incline doesn’t look so bad as it’s now visual, but reading it, it seemed real steep… (http://www.largescalecentral.com/externals/tinymce/plugins/emoticons/img/smiley-cool.gif)
David Marconi,FOGCH said:
Jon, With your attention to situations and going into a blind hole, maybe a sensor circuit that will turn on a viewable or audible signal just before you hit the wall, or couple to a car in the hole, may prove to be a helpful addition. (https://www.largescalecentral.com/externals/tinymce/plugins/emoticons/img/smiley-cool.gif)
I already have two similar situations (dead-end tunnels). My solution is to make a mark on the ties at the depth of the blind hole. I then stop before entering and note where in the train that mark falls. I then advance carefully up to where that mark was noted. The ‘stair box’ will be fully enclosed, so no problem banging a coupler against the end wall, so long as it’s not at speed. If a car does derail inside it can’t fall out of the box and it’s not too deep to reach into. The more problematic area will be where the current BOX tunnel is That will also be enclosed but it will have a switch inside and is deeper than I can reach. My disaster recovery plan is to have the cover easily removable after emptying out the storage above the cover. With it open I should be able to reach everything.
@Sean - I’ve had that thought as well. I’d have to pull it out. Too difficult to paint wheher it sits; and if you don’t paint bith sides the white would still show. Probably an if I get a Round Tuit project.
@ Ken - But it weighs less 


Today at work I needed to cut up some 1/2" black PVC. I ended up with some thin strips that were headed for the dumpster, so I built a short section of ladder roadbed with it. I normally use 1.5" x .75" with wood connector/spacer blocks. This is 1.5" x .5" using the same material as connectors. It has much better longitudinal stability than I expected. It should be no problem supported on 16" centers. Nice that it’s black and won’t glare out through ballast. I’'ve painted the white stuff, but it doesn’t last. Here is a few shots of it and a test with track and a short train.
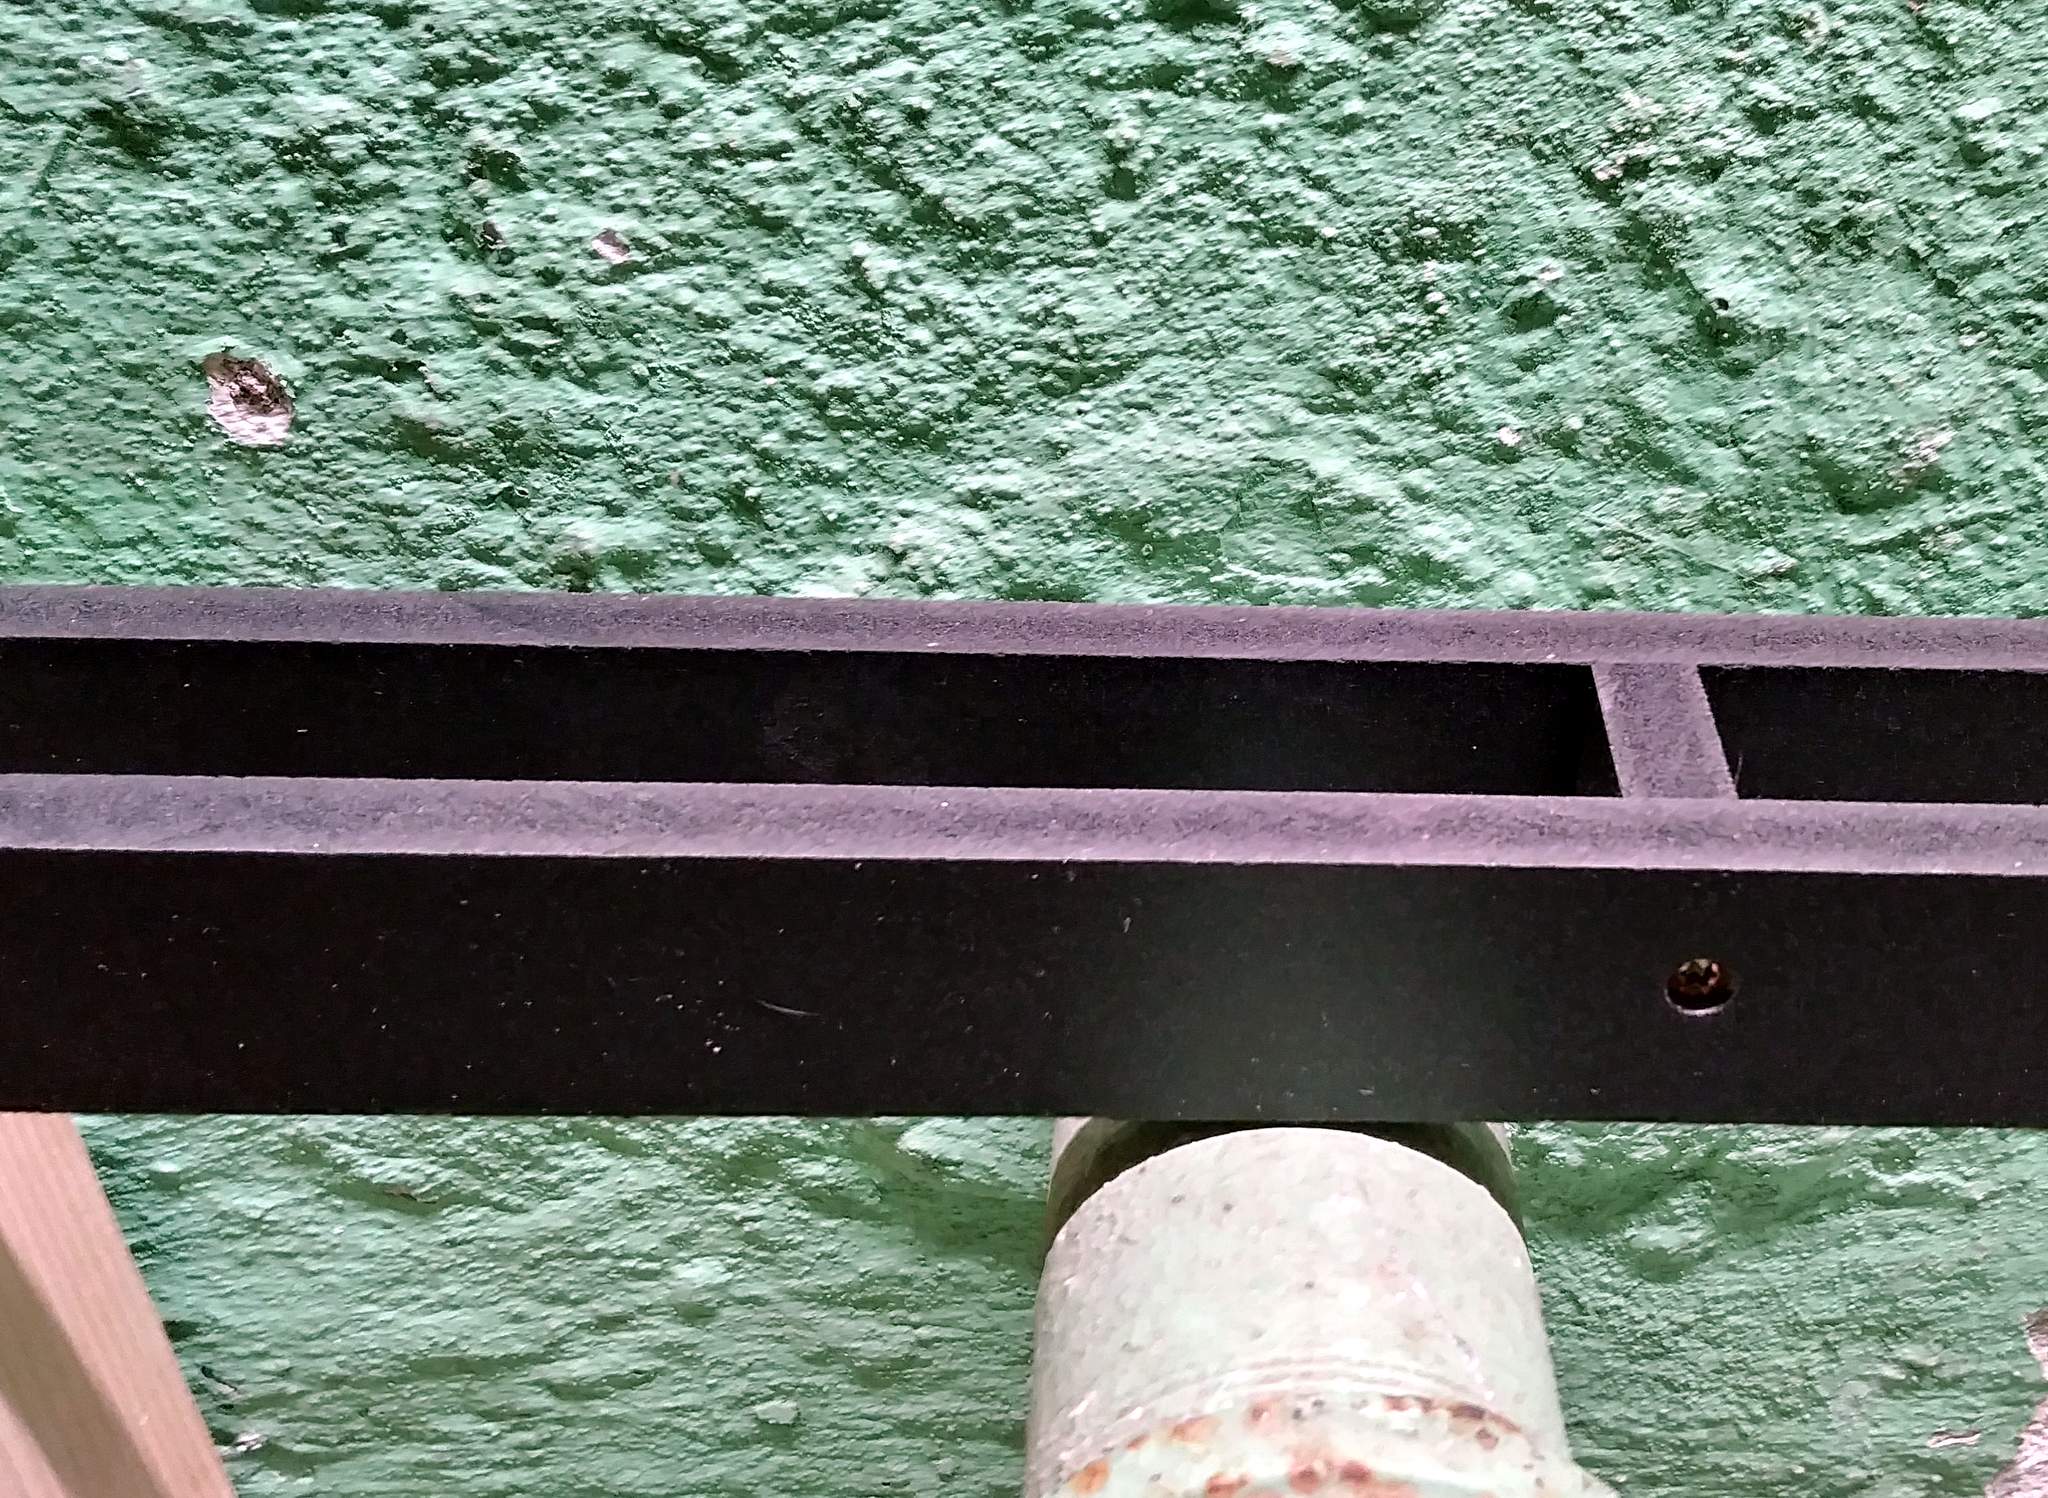
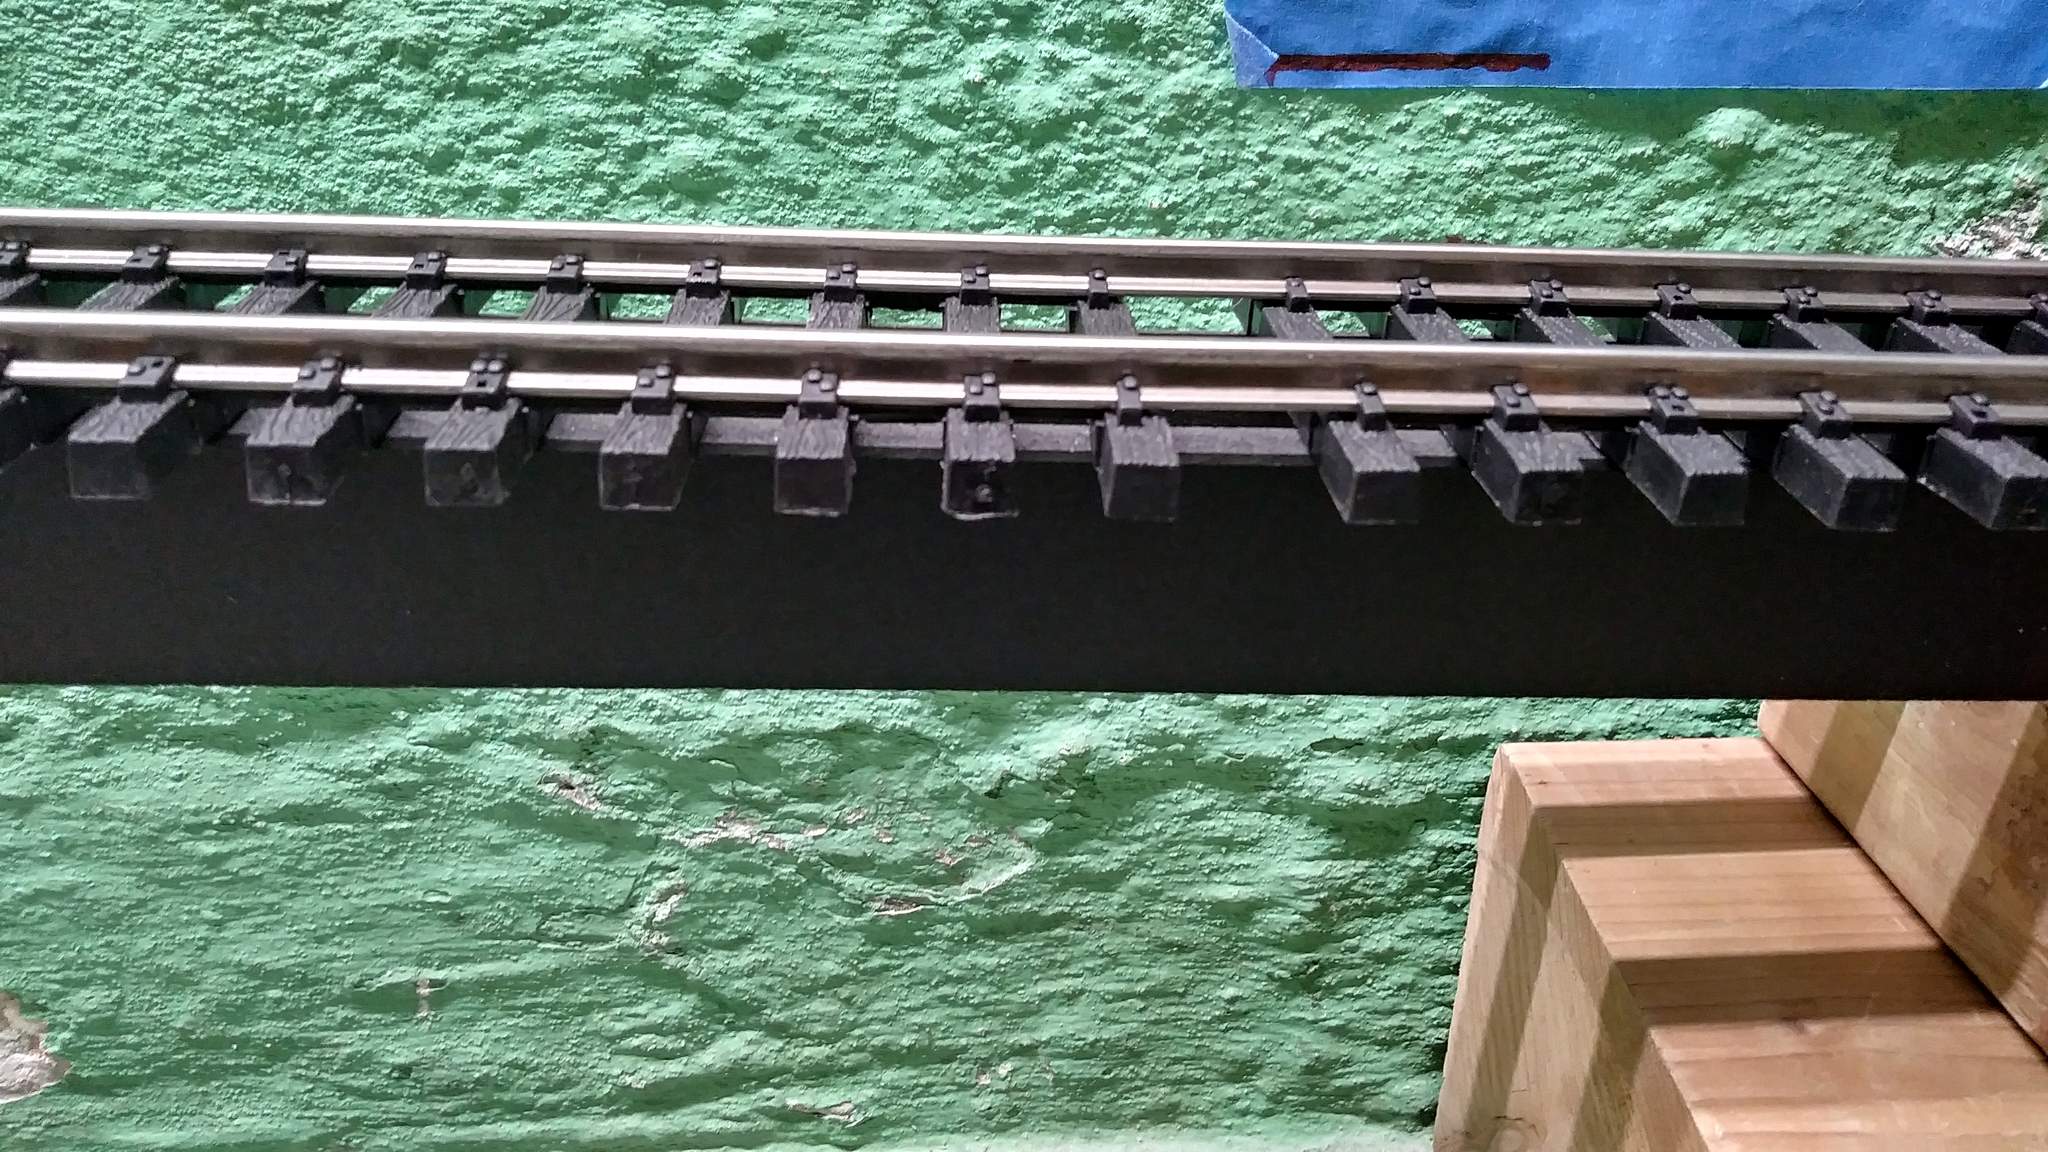
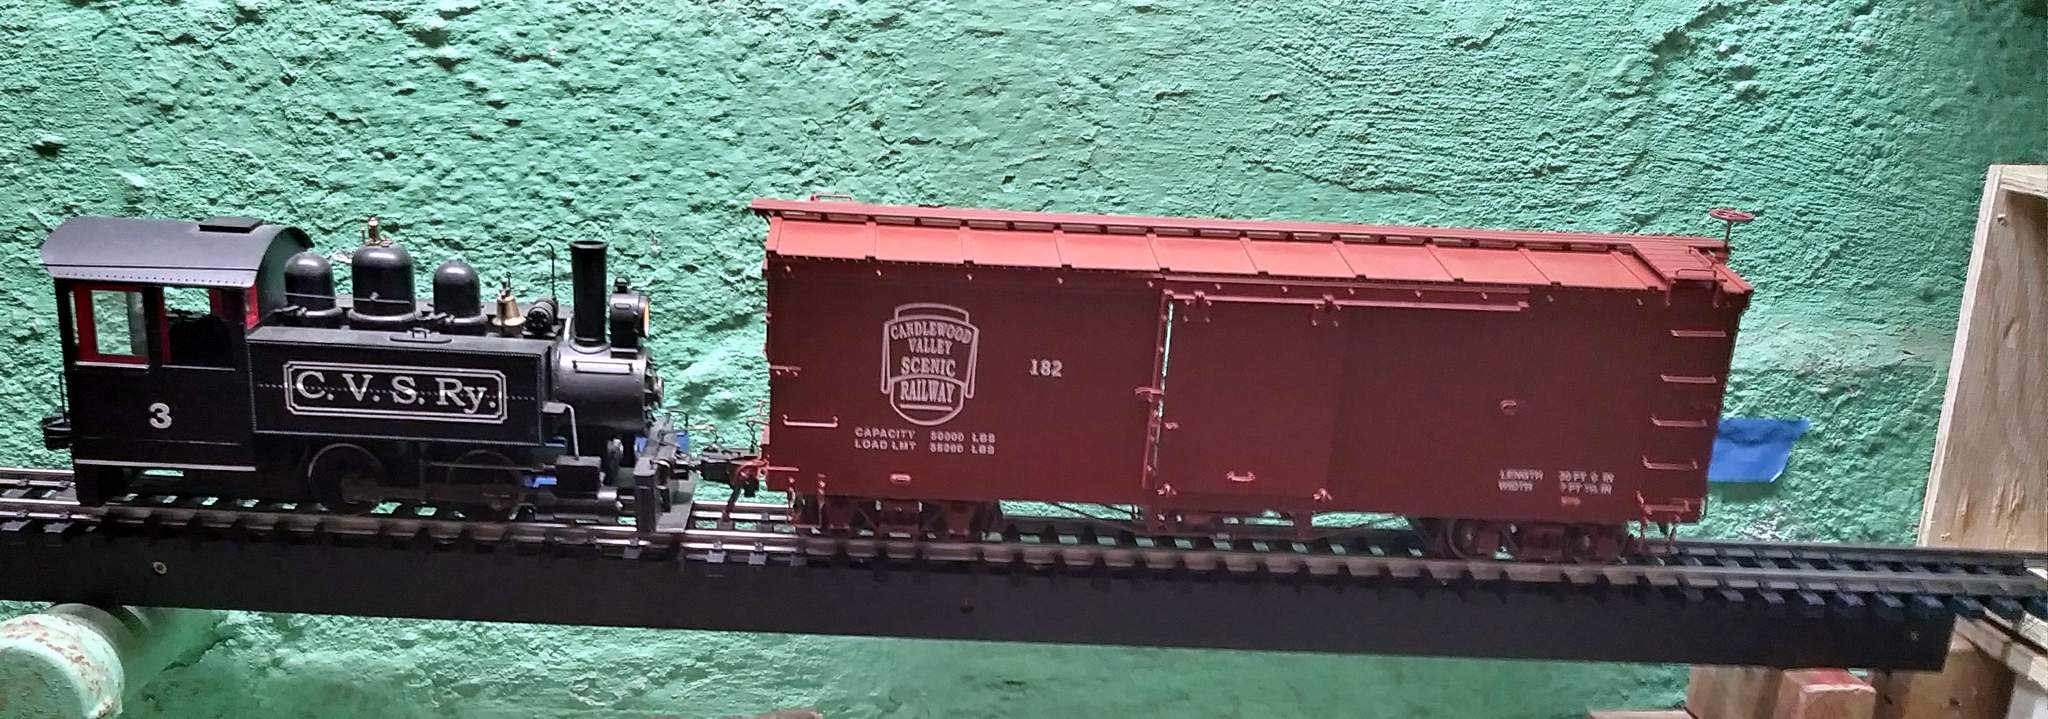
I’ve not done anything other than flat deck inside. Roadbed will be an interesting change.
Jon Radder said:
David Marconi,FOGCH said:
Jon, With your attention to situations and going into a blind hole, maybe a sensor circuit that will turn on a viewable or audible signal just before you hit the wall, or couple to a car in the hole, may prove to be a helpful addition. (https://www.largescalecentral.com/externals/tinymce/plugins/emoticons/img/smiley-cool.gif)
I already have two similar situations (dead-end tunnels). My solution is to make a mark on the ties at the depth of the blind hole. I then stop before entering and note where in the train that mark falls. I then advance carefully up to where that mark was noted. The ‘stair box’ will be fully enclosed, so no problem banging a coupler against the end wall, so long as it’s not at speed. If a car does derail inside it can’t fall out of the box and it’s not too deep to reach into. The more problematic area will be where the current BOX tunnel is That will also be enclosed but it will have a switch inside and is deeper than I can reach. My disaster recovery plan is to have the cover easily removable after emptying out the storage above the cover. With it open I should be able to reach everything.
I was just thinking ‘Ken might join you one day to run trains’ and I’ve seen pics with the two of you as a team moving bricks with a train(https://www.largescalecentral.com/externals/tinymce/plugins/emoticons/img/smiley-cool.gif)
Jon Radder said:
David Marconi,FOGCH said:
Jon, With your attention to situations and going into a blind hole, maybe a sensor circuit that will turn on a viewable or audible signal just before you hit the wall, or couple to a car in the hole, may prove to be a helpful addition. (https://www.largescalecentral.com/externals/tinymce/plugins/emoticons/img/smiley-cool.gif)
I already have two similar situations (dead-end tunnels). My solution is to make a mark on the ties at the depth of the blind hole. I then stop before entering and note where in the train that mark falls. I then advance carefully up to where that mark was noted. The ‘stair box’ will be fully enclosed, so no problem banging a coupler against the end wall, so long as it’s not at speed. If a car does derail inside it can’t fall out of the box and it’s not too deep to reach into. The more problematic area will be where the current BOX tunnel is That will also be enclosed but it will have a switch inside and is deeper than I can reach. My disaster recovery plan is to have the cover easily removable after emptying out the storage above the cover. With it open I should be able to reach everything.
Jon you could just glue some foam, just above your couplers , so the sill or box hits the foam .
The AngleFinder got me close, but it took 5 or 6 test cuts to get near perfect. Not sure I gained a lot, but it was a good exercise. The drop is now reduced to 1.5". I still measure 4% on my test track, but it is 1.5" above the pipe and does not need to be. I think I can drop the left end at least an inch and I could extend it as well to further reduce the grade. I just need to stain or paint the inside black and then I can build permanent legs and close it it. Test fit…
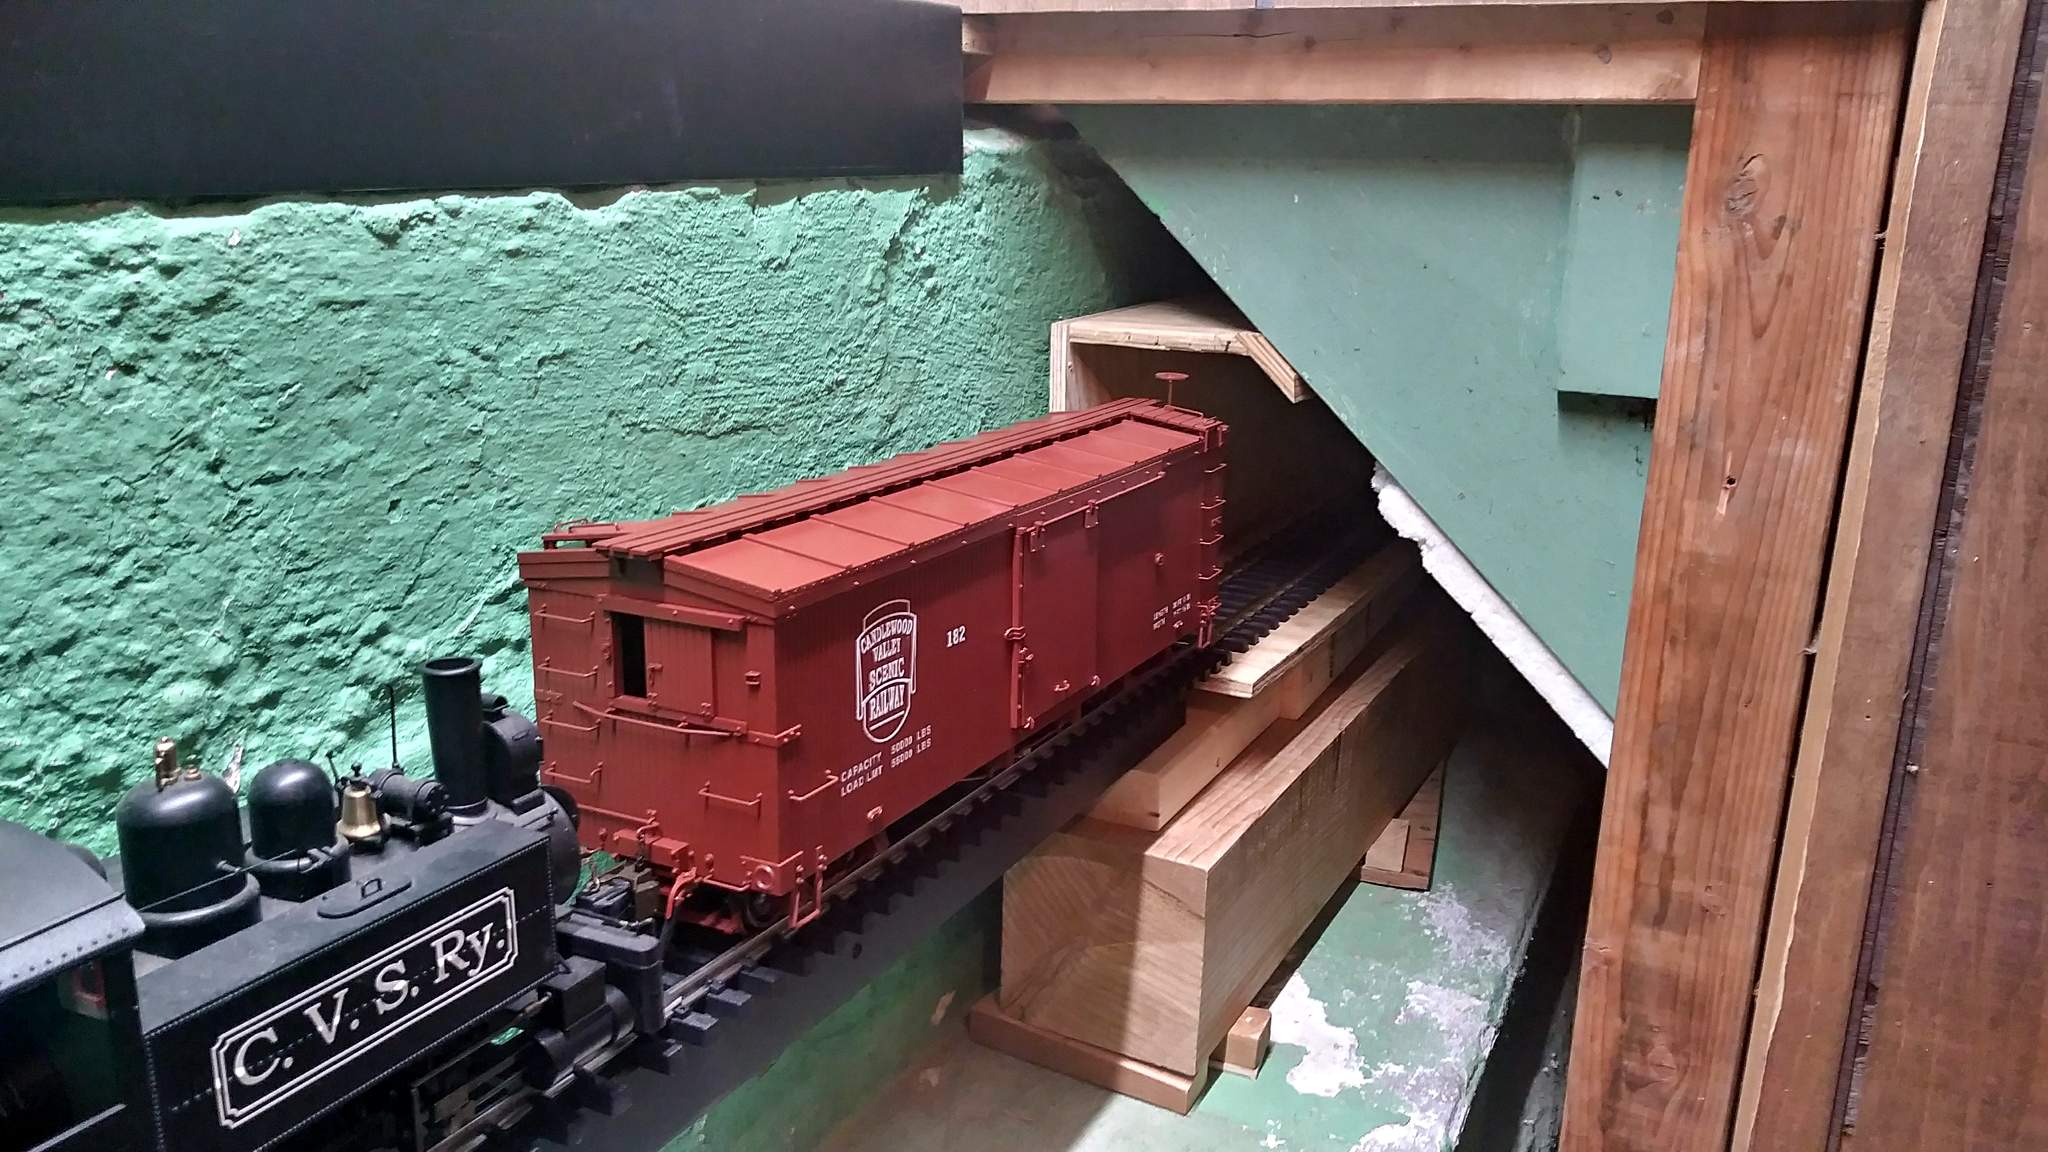
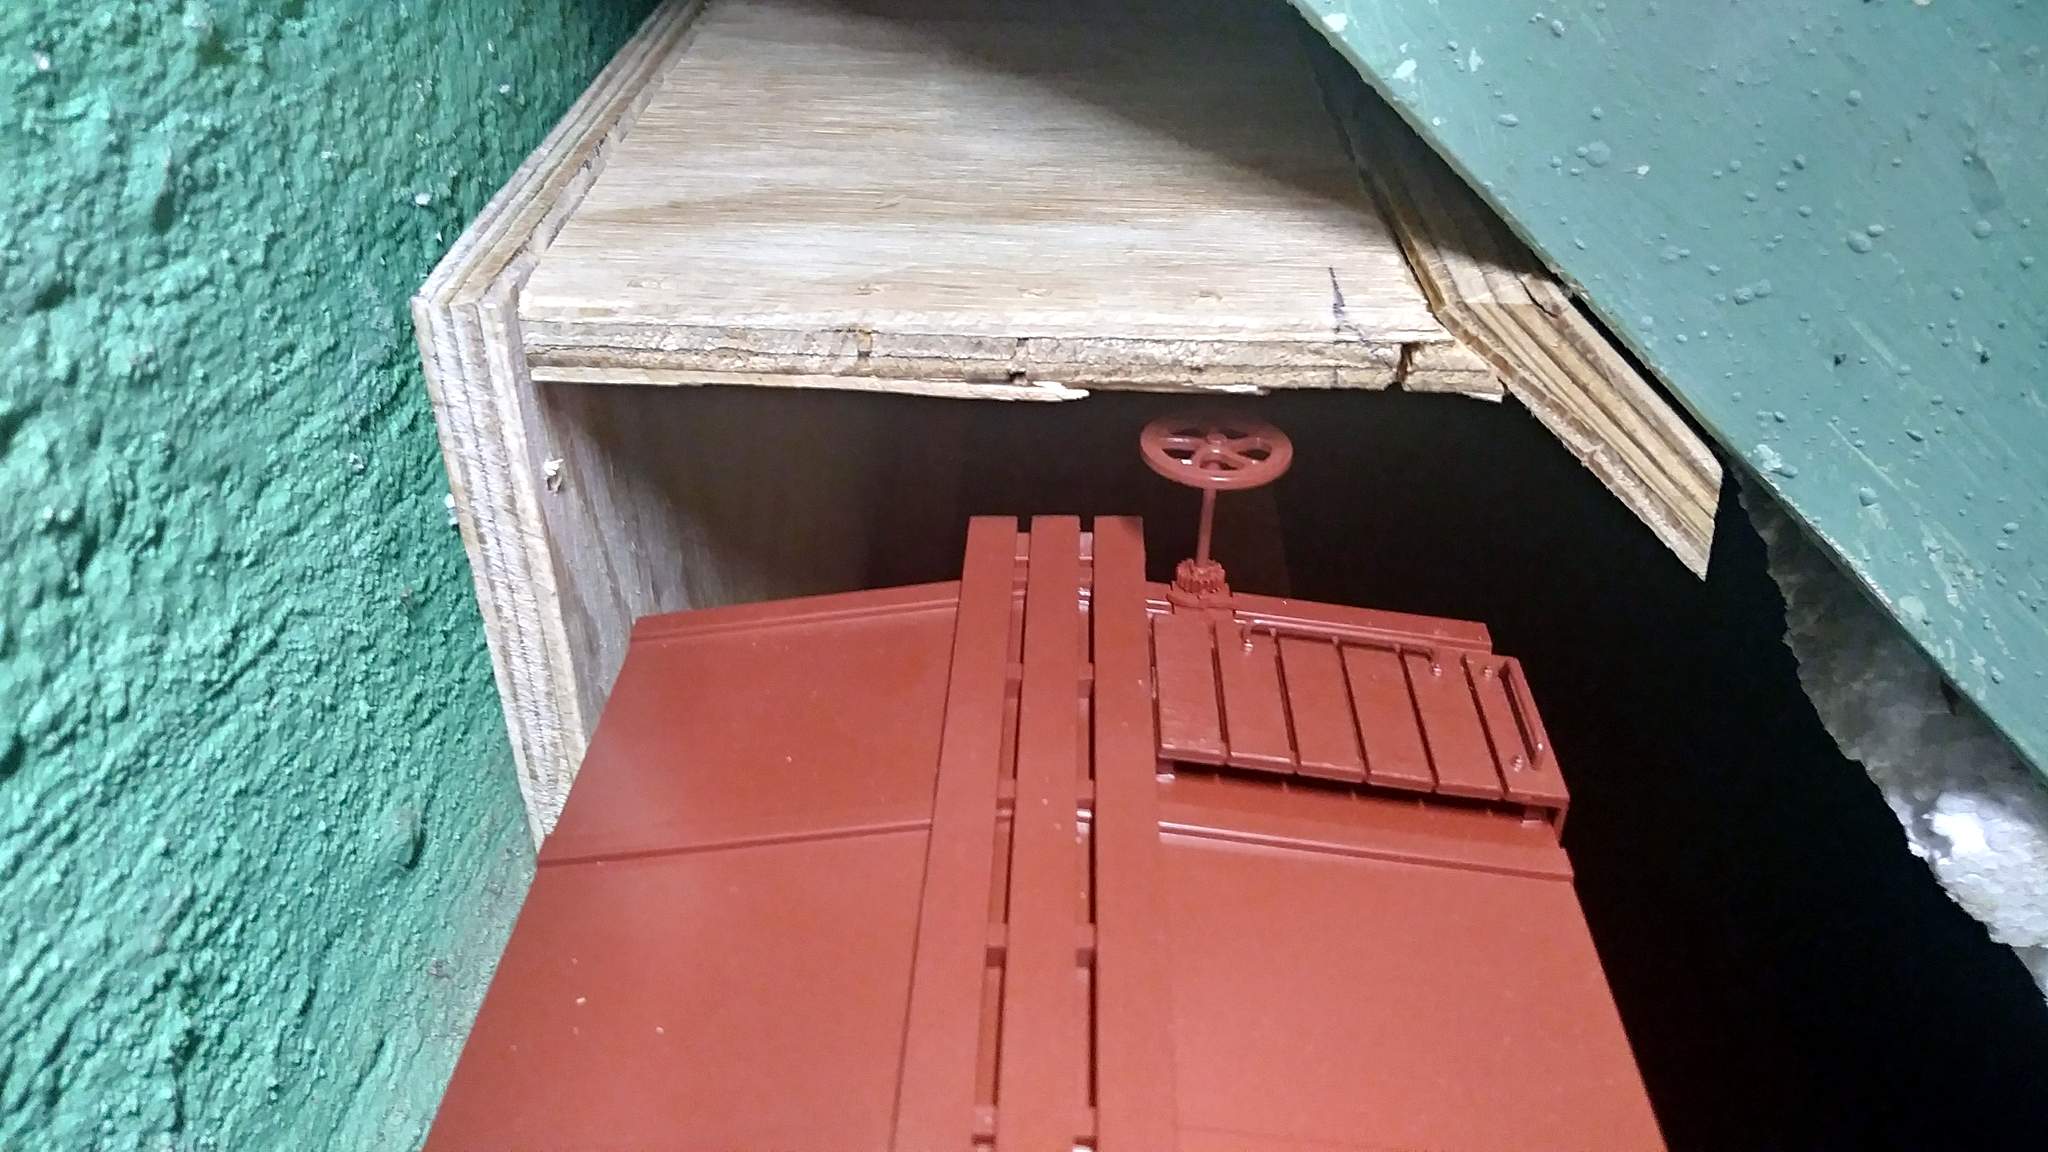
With room to spare (https://www.largescalecentral.com/externals/tinymce/plugins/emoticons/img/smiley-wink.gif)
Jon, not trying to belabor the idea but:

note the difference between the two builds. this will let you raise the box( lessen your grade and keep it wide enough for your car and retriever (https://www.largescalecentral.com/externals/tinymce/plugins/emoticons/img/smiley-cool.gif)

Yes David good catch …
Jon remove your original roof …and cut a new one ( it will be wider ) to sit on the upright piece of plywood on the left … and rest it on that new piece you just cut !
You guys are insane. If the vertical walls are fixed, and the angle is fixed - which both are: Changing where the joints for the angled piece are makes zero difference. Just the extend the lines on the angled piece in Hollywood’s drawing and you get what I built. Nothing moves.
Besides - those pieces are glued and brad nailed together - not changing.
I think you are just trying to distract me so I don’t have time to plan my Challenge build.
Jon Radder said:
You guys are insane. If the vertical walls are fixed, and the angle is fixed - which both are: Changing where the joints for the angled piece are makes zero difference.
Not so … if you did as we suggested you gain the thickness of that roof piece 1/4" …
Just look @ the pic … That piece above the brake wheel …
