Jon, that came out quite nice. A lot of work for three car spots, but in the end well worth the effort. When you get McGillicuddy’s facade and the trestles done you will have a great place for photos and videos. Thanks for allowing us to tag along on this journey.
Jon that’s coming along nicely…
Looks fantastic, Jon… (http://www.largescalecentral.com/externals/tinymce/plugins/emoticons/img/smiley-cool.gif)
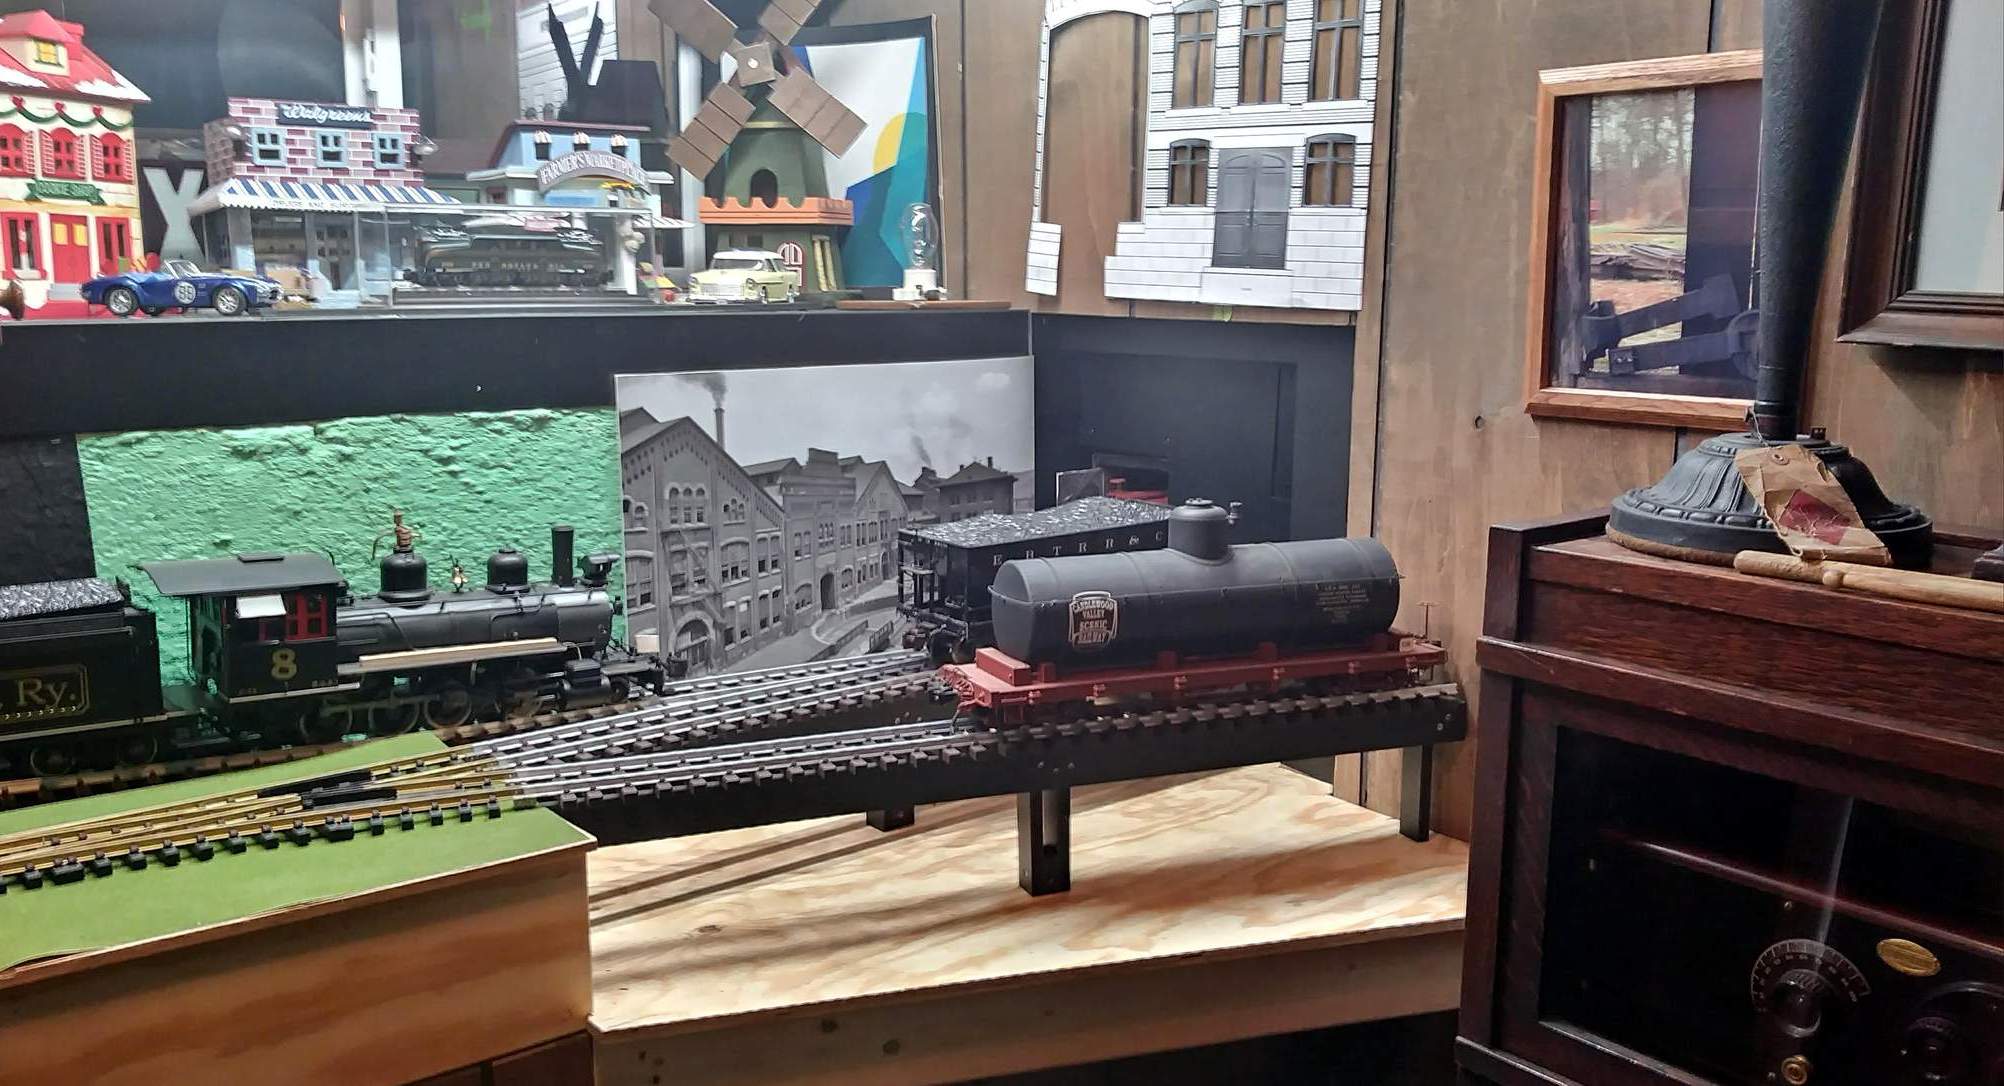
In this ^^^^ pic … how tall is the building originally going to be ? It looks like you can go as tall as you would like.
Sean - The original plan was to go as high as where the paneling ends and the black begins. There is room to go taller, but I’d like the keep the focus below the black trim on the upper shelf. I will probably go wider - or add a different flat to the right between the black and the book case.
I commandeered a few more square feet of black vinyl. The green will be gone forever tonight!!!
How often will you have cars set up like this ?

It looks like the building would be hidden. If it stuck up … Hey what that in the corner …(https://www.largescalecentral.com/externals/tinymce/plugins/emoticons/img/smiley-laughing.gif)
I haven’t decided on car spots yet. The coal hopper is on the main which may, or may not, be car spot. The foreground track will usually have one or two cars. The photo angle would not be blocked by the cars when taken from ground level near the right switch. In my mind, the world down at track level is completely separate from the whimsical world up on the shelf. For that reason the flats on the operating railroad stay below the shelf level.
Very productive evening tonight. The last of the green is gone and all but ceiling trim is done…
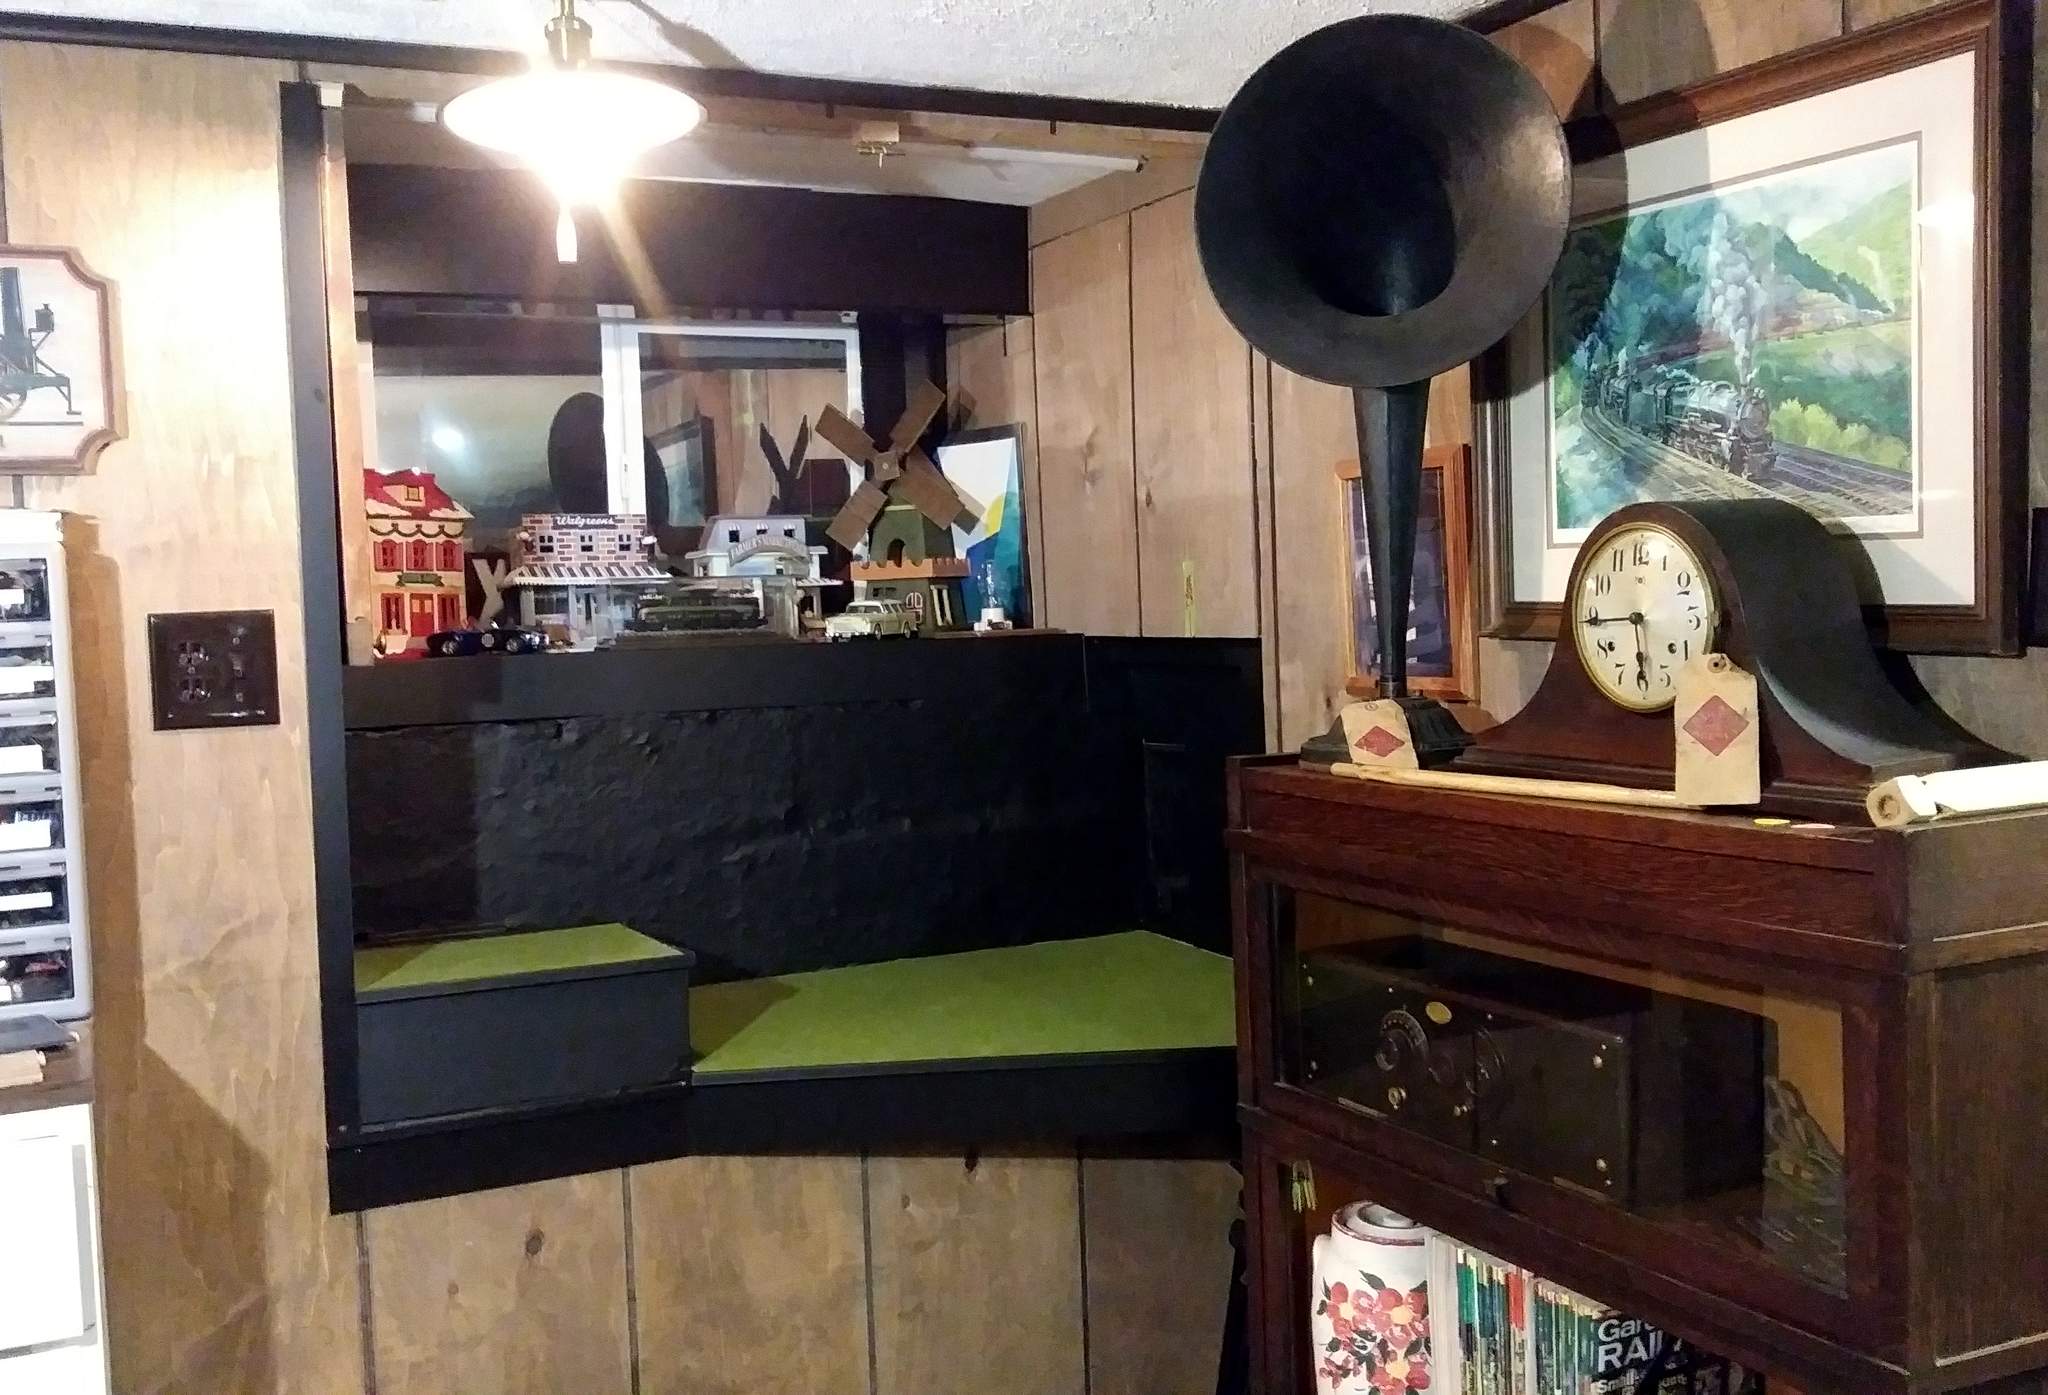
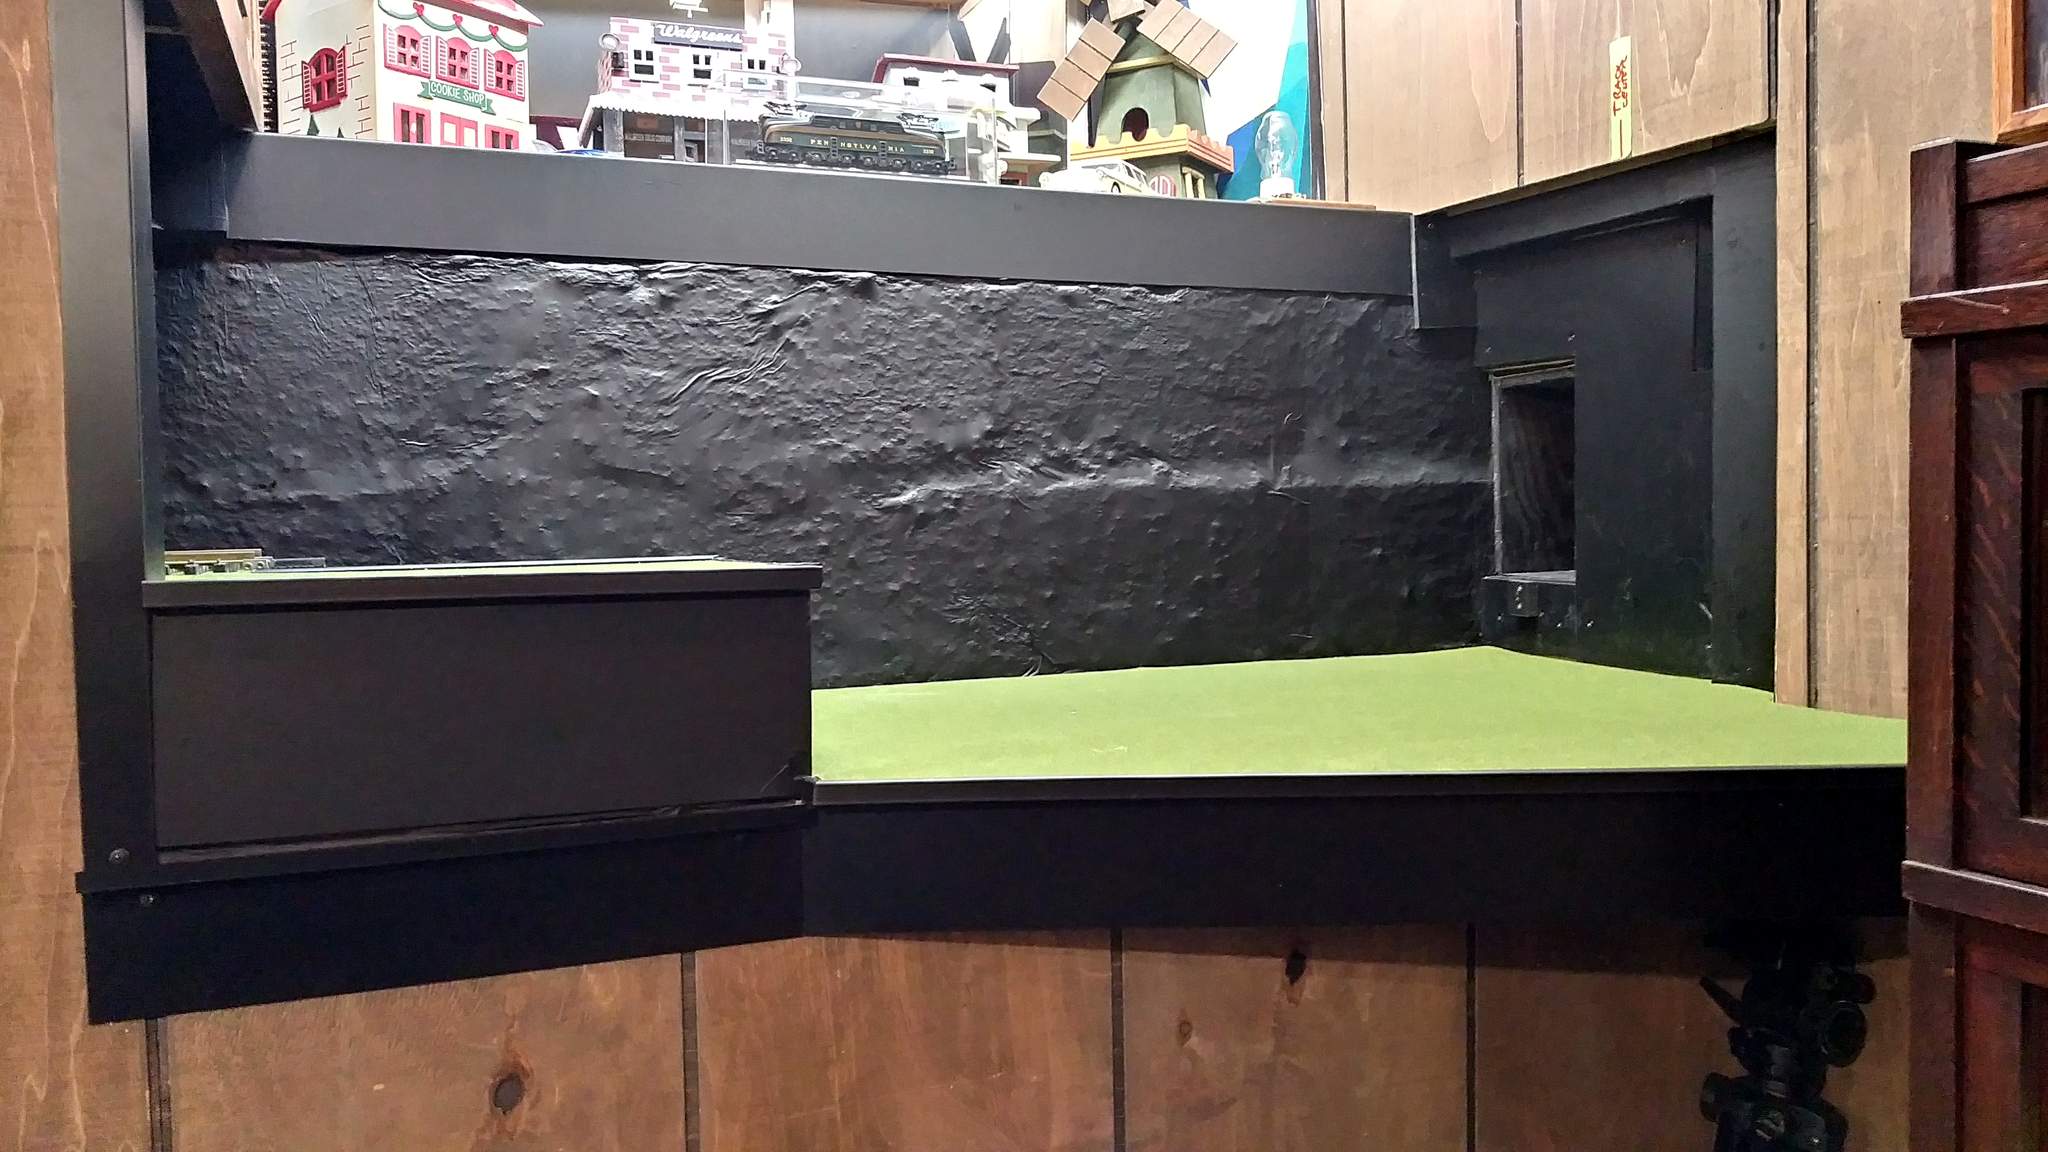
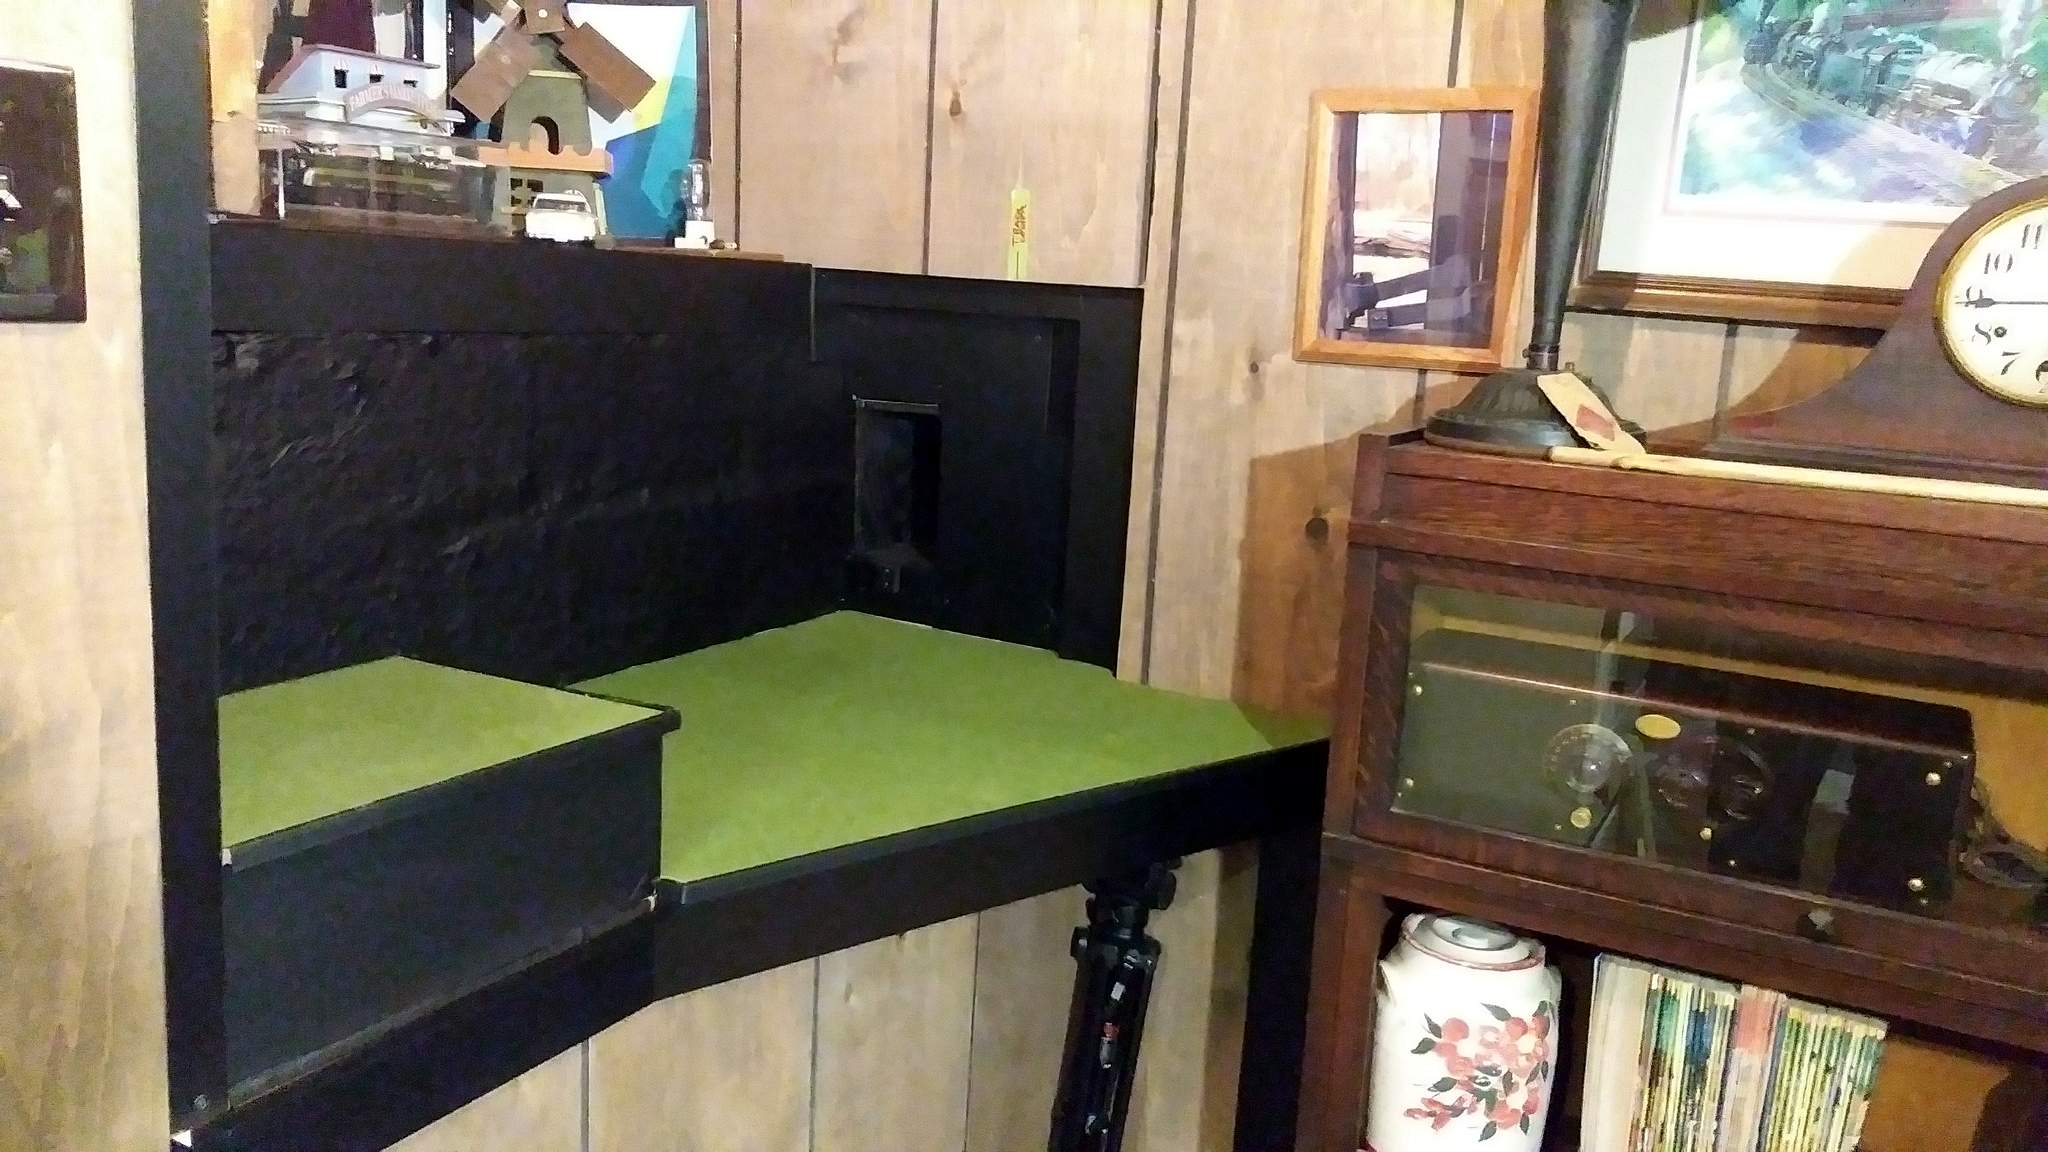
I think I need to work on lighting soon. I’ve had all the parts since Christmas (thanks Marilyn) - might make sense to do that before putting track back.

Jon when you install the stone wall on this piece ^^^^ It will really pop ! Every thing looks great !
Thanks. I don’t know if you noticed, but that bottom left piece of trim is a Z Bend with a 3/4" shelf, then a 1/2 inch rise to match the deck trim. It will serve as a shelf to support foam for the wall. Double sided tape will then keep it against the plywood now wrapped in black vinyl. Going to start on lighting tonight. I need to get my body in there to mount and wire it, so putting back the track will need to wait.
EDIT to add: The production manager at work gave me a good size scrap of gloss black wrap vinyl. That white window might just turn black before long.
Track placement has been delayed while I finish the lighting. I need to climb up on the lower bench to access the back side of the header where one set of RGBWW-CW LEDs are now mounted. They are up and working, but reflect in the mirror treatment on the window, so I need to add some type of deflector so they wash the area but cant be seen in the mirror. That will also require the ceiling of the shadow box to be white, rather than black as it is now. Another fun task as access is now more difficult with the bench in place. Hopefully I can do that without having to crawl through the window again!
Here is some of the prep work for the light strip I placed inside of BOX tunnel. Soldering leads to an RGBWW strip. Interesting that this is mislabeled. Grounding B lights the Green LEDs and grounding G lights the Blue ones. Had to swap connections at the controller…

I mounted the strip along with some Cool White LED modules on a piece of aluminum which was later installed on the wall inside BOX…
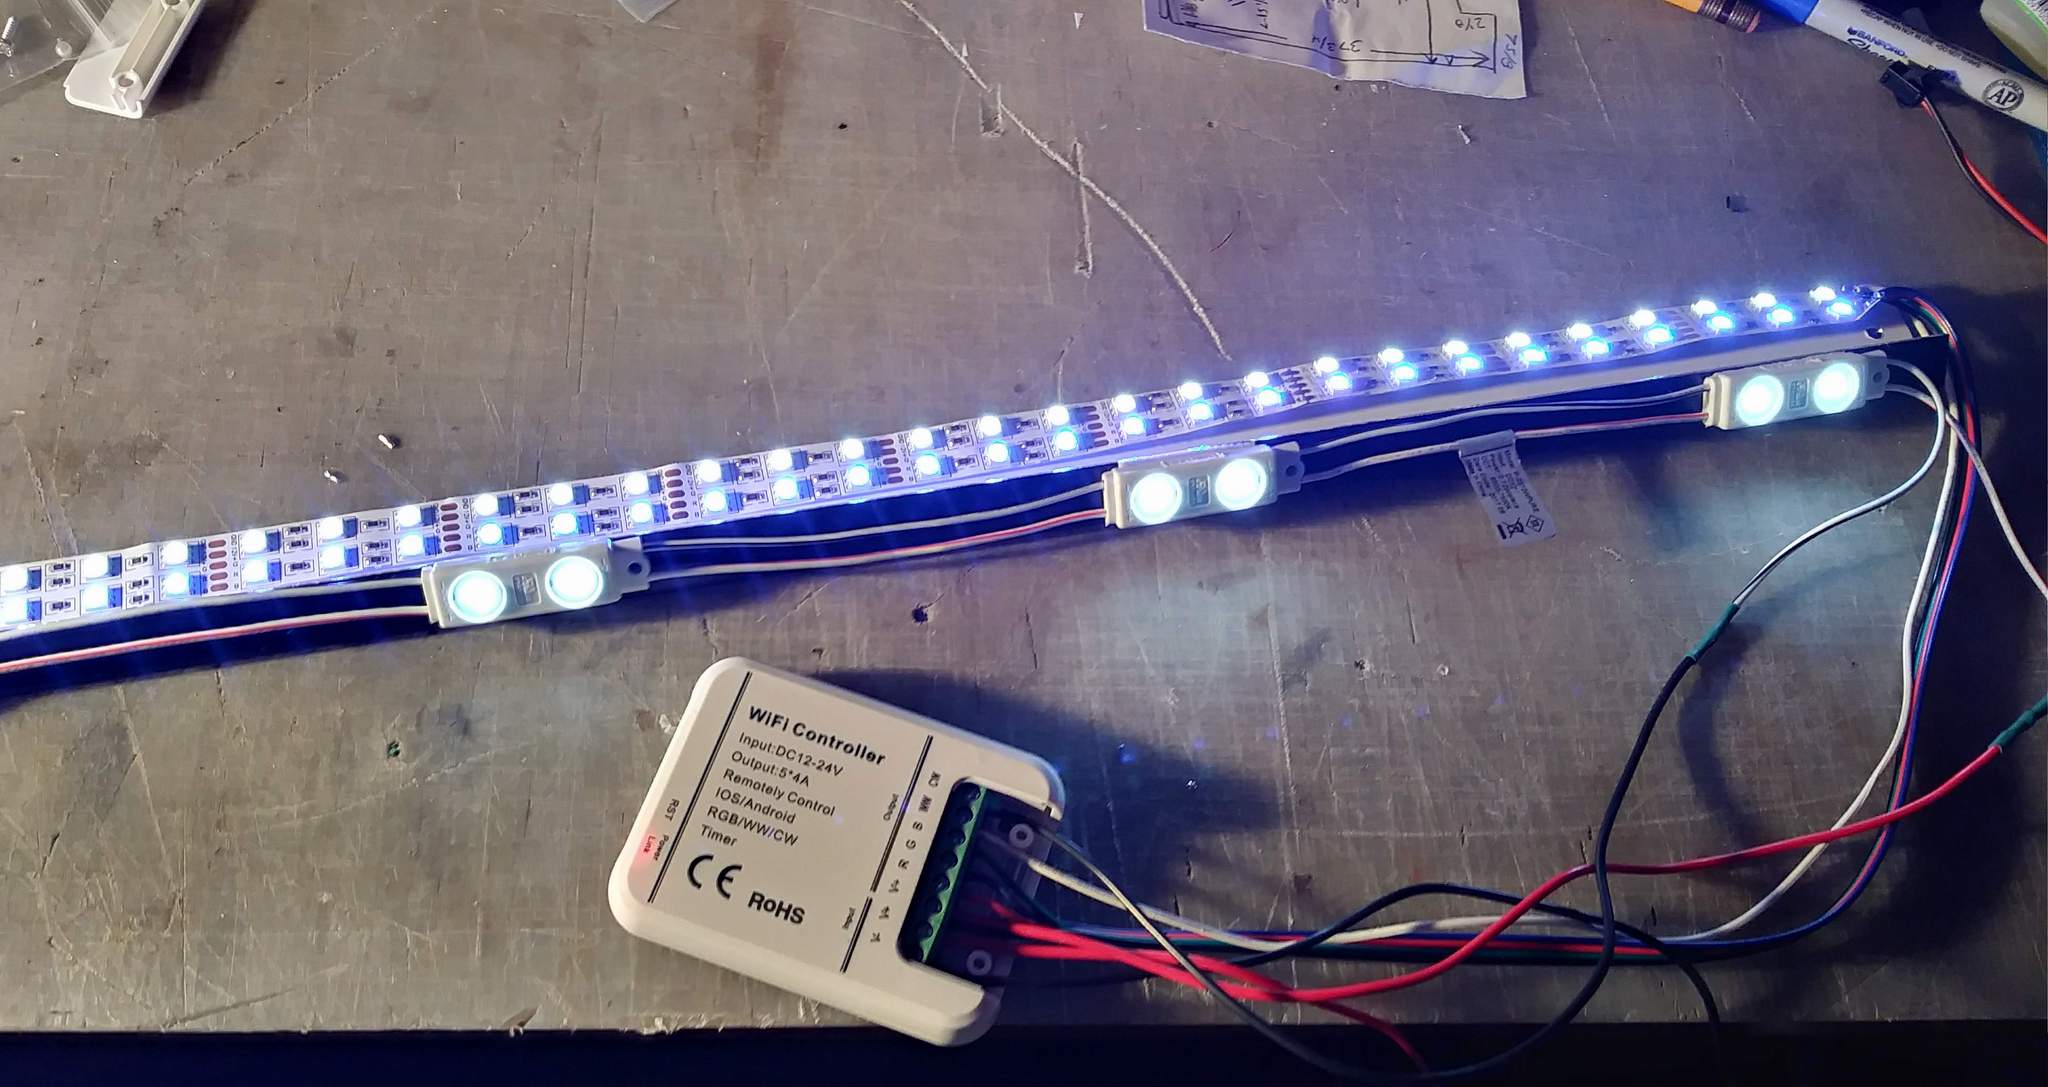
The entire railroad lighting system is controlled from either a tablet or my phone over WiFi in zones. These controllers are really cheap on Amazon from LEDnet. Probably because they call home to China every 15 seconds to report whatever they report and to get a time update. Very easy to block that in the WiFi router, the only down down side is that the clocks do not stay in-sync. Maybe I could somehow translate the call-back IP to that of a safe Time Server.
I’ll post some pictures of the effect once I get everything working and reflecting correctly.
Today I need to extend the timed 12v bus into the new area so I can power up the lights my buildings on the storage shelf have. I can also finally put the portal and details back at BOX.
Looks like tomorrow may be a snow day. I need to use the brake at work to bend up a deflector, so snow may delay progress another day.
Lighting tests. The shadow box in blue with very warm white ambient room light. Needs a deflector to block direct view of the LEDs…
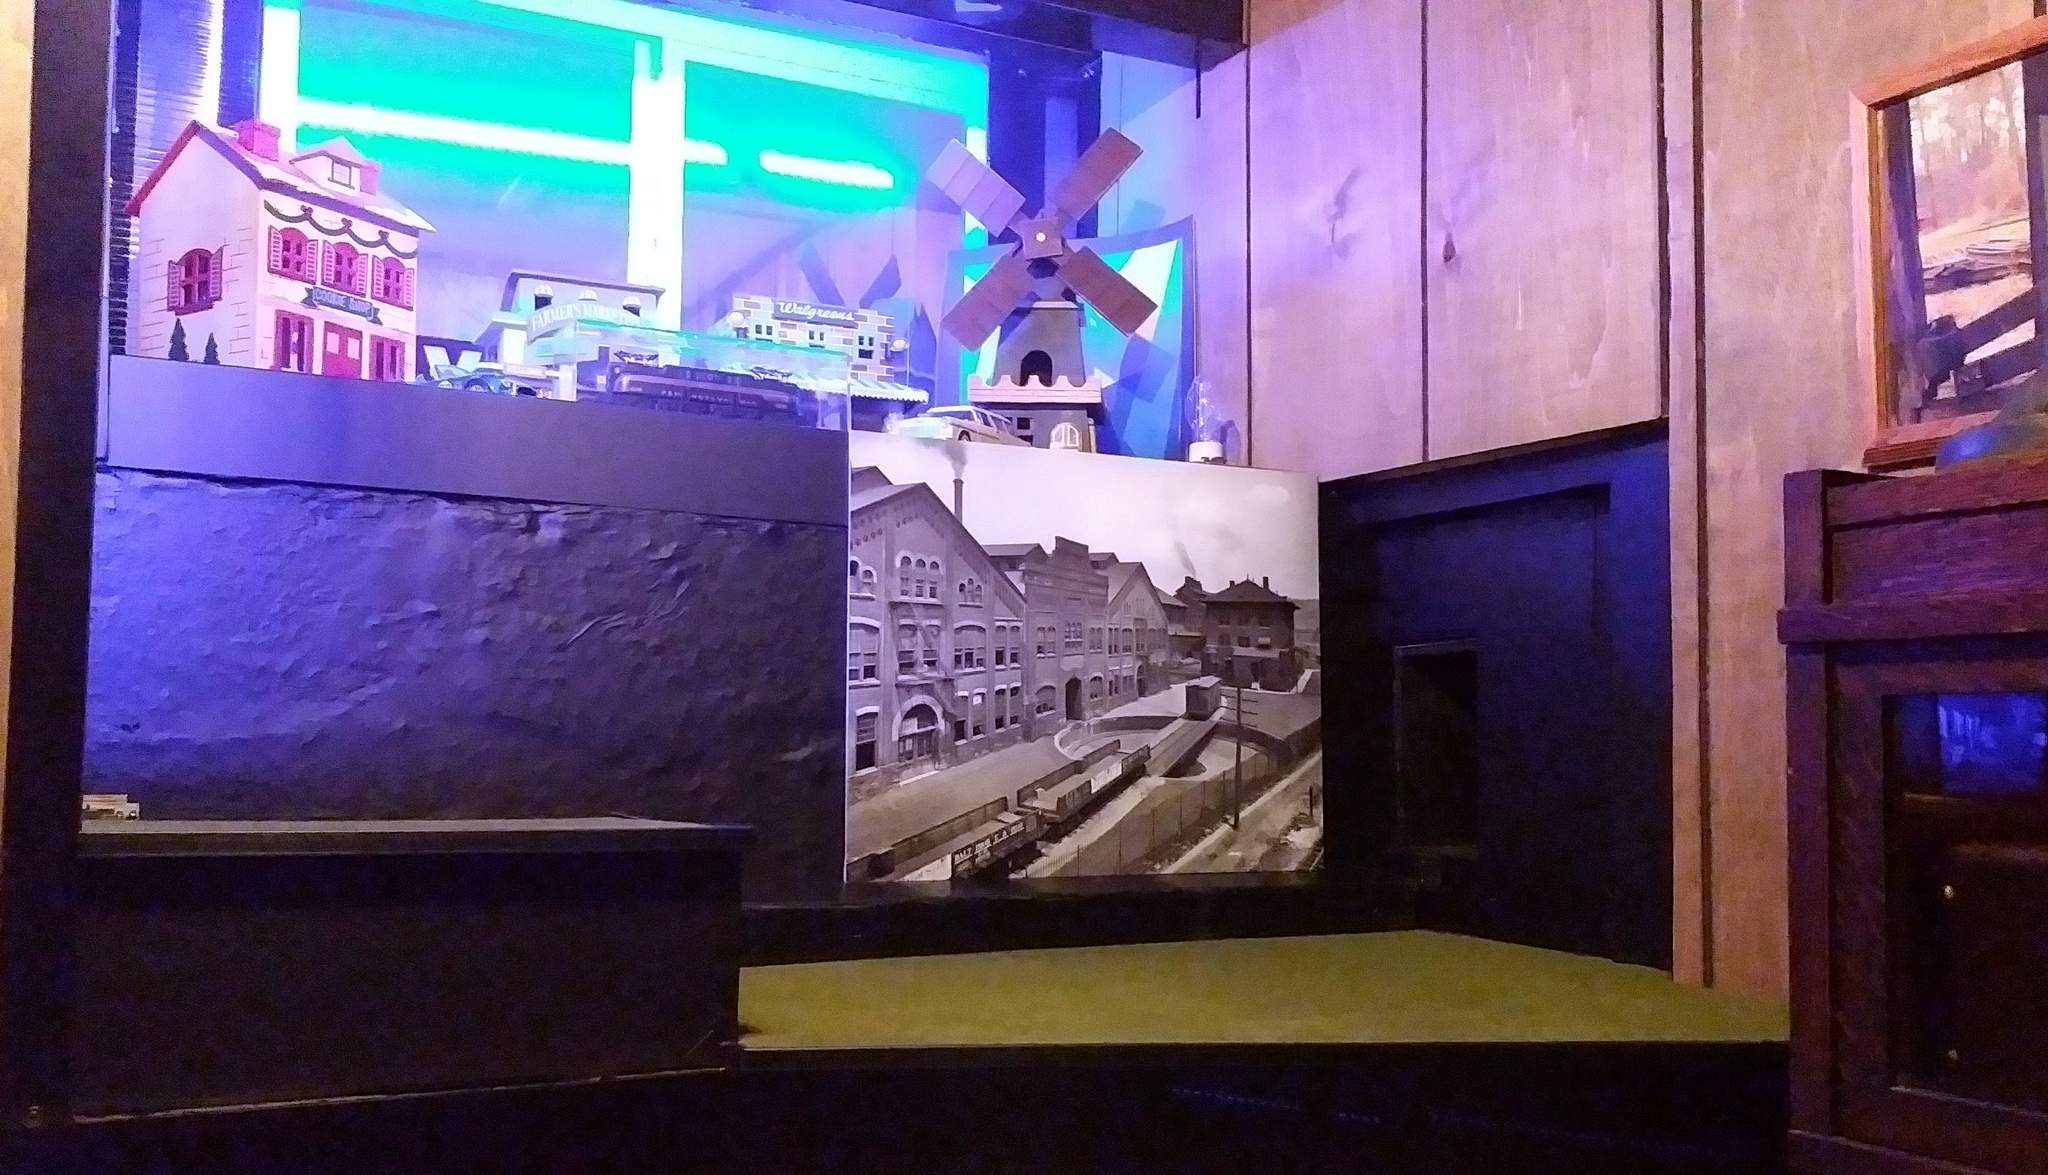
Inside BOX tunnel - lit in blue…
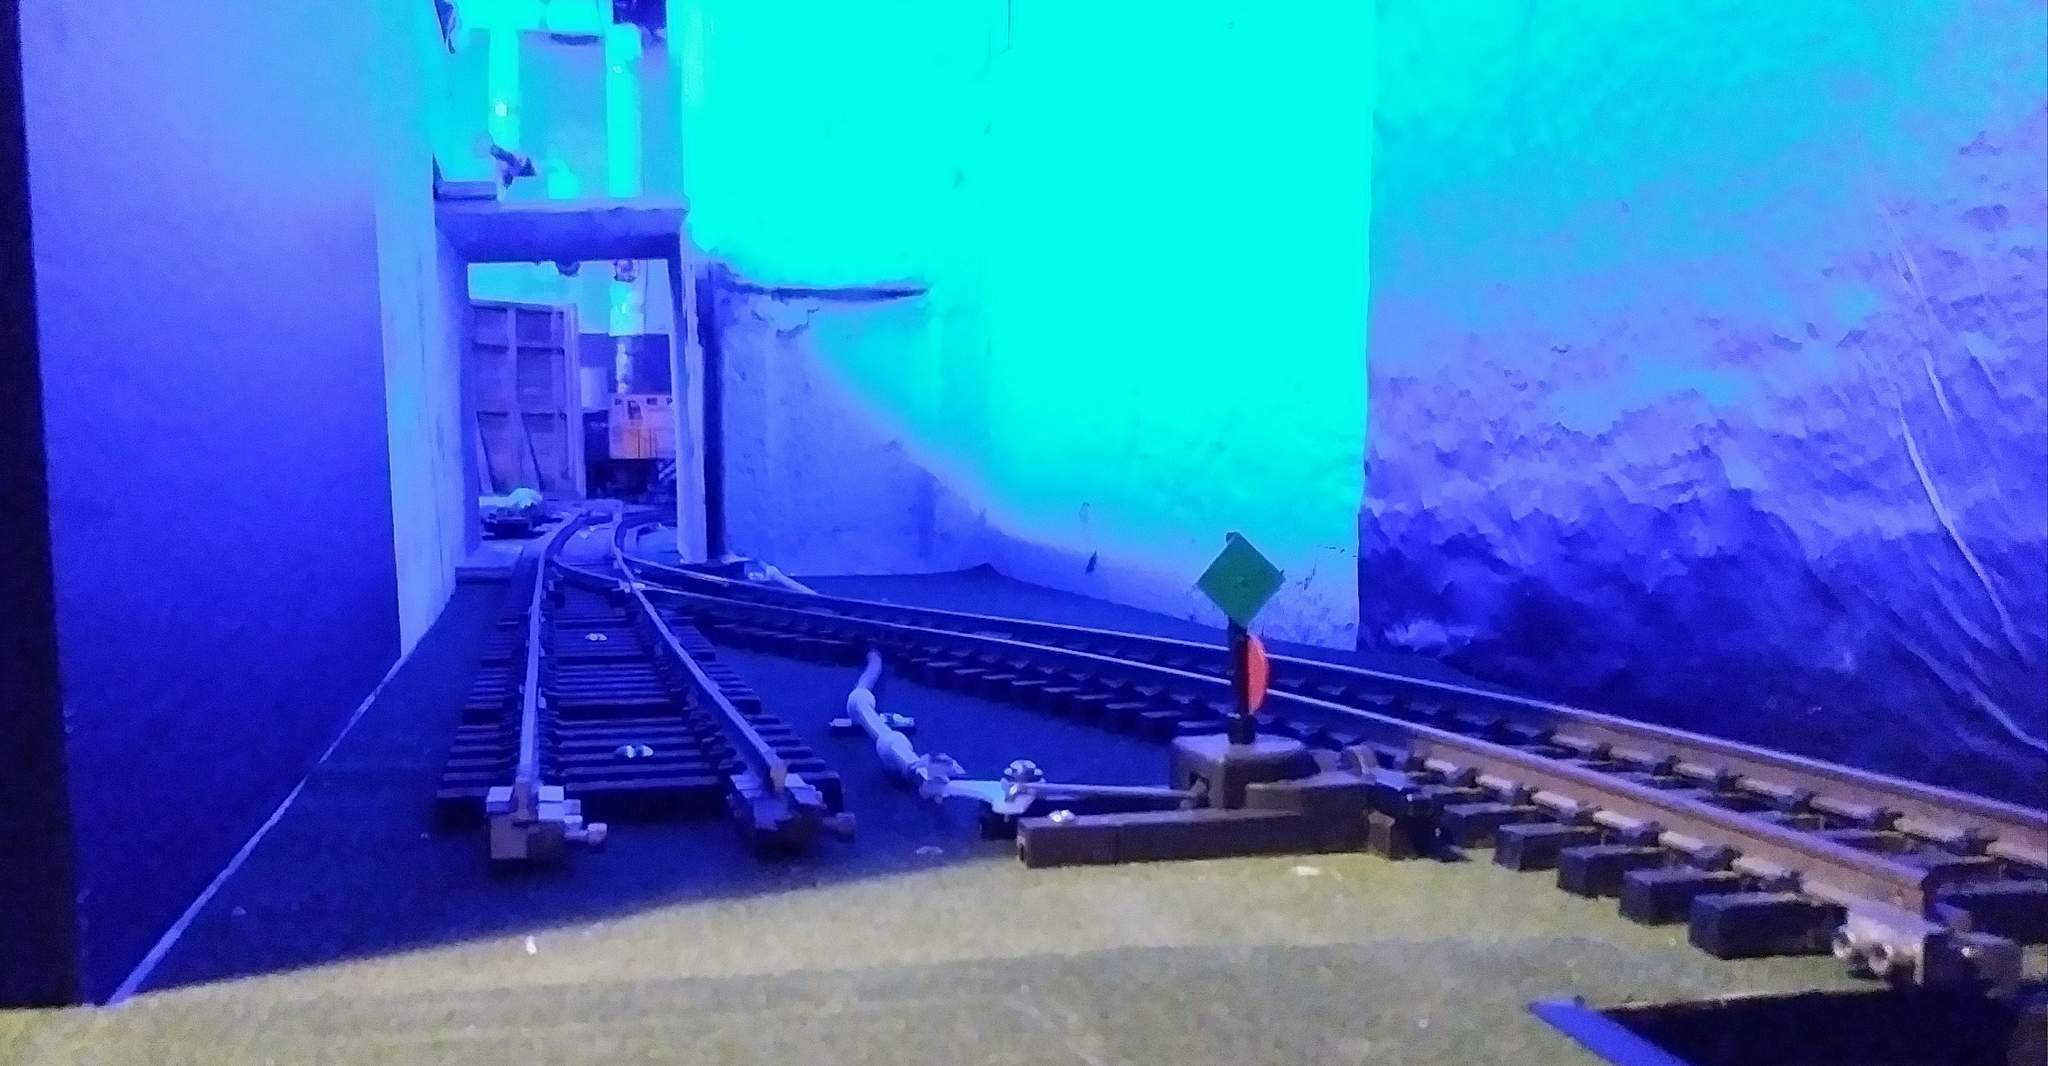
Turn on the whites…

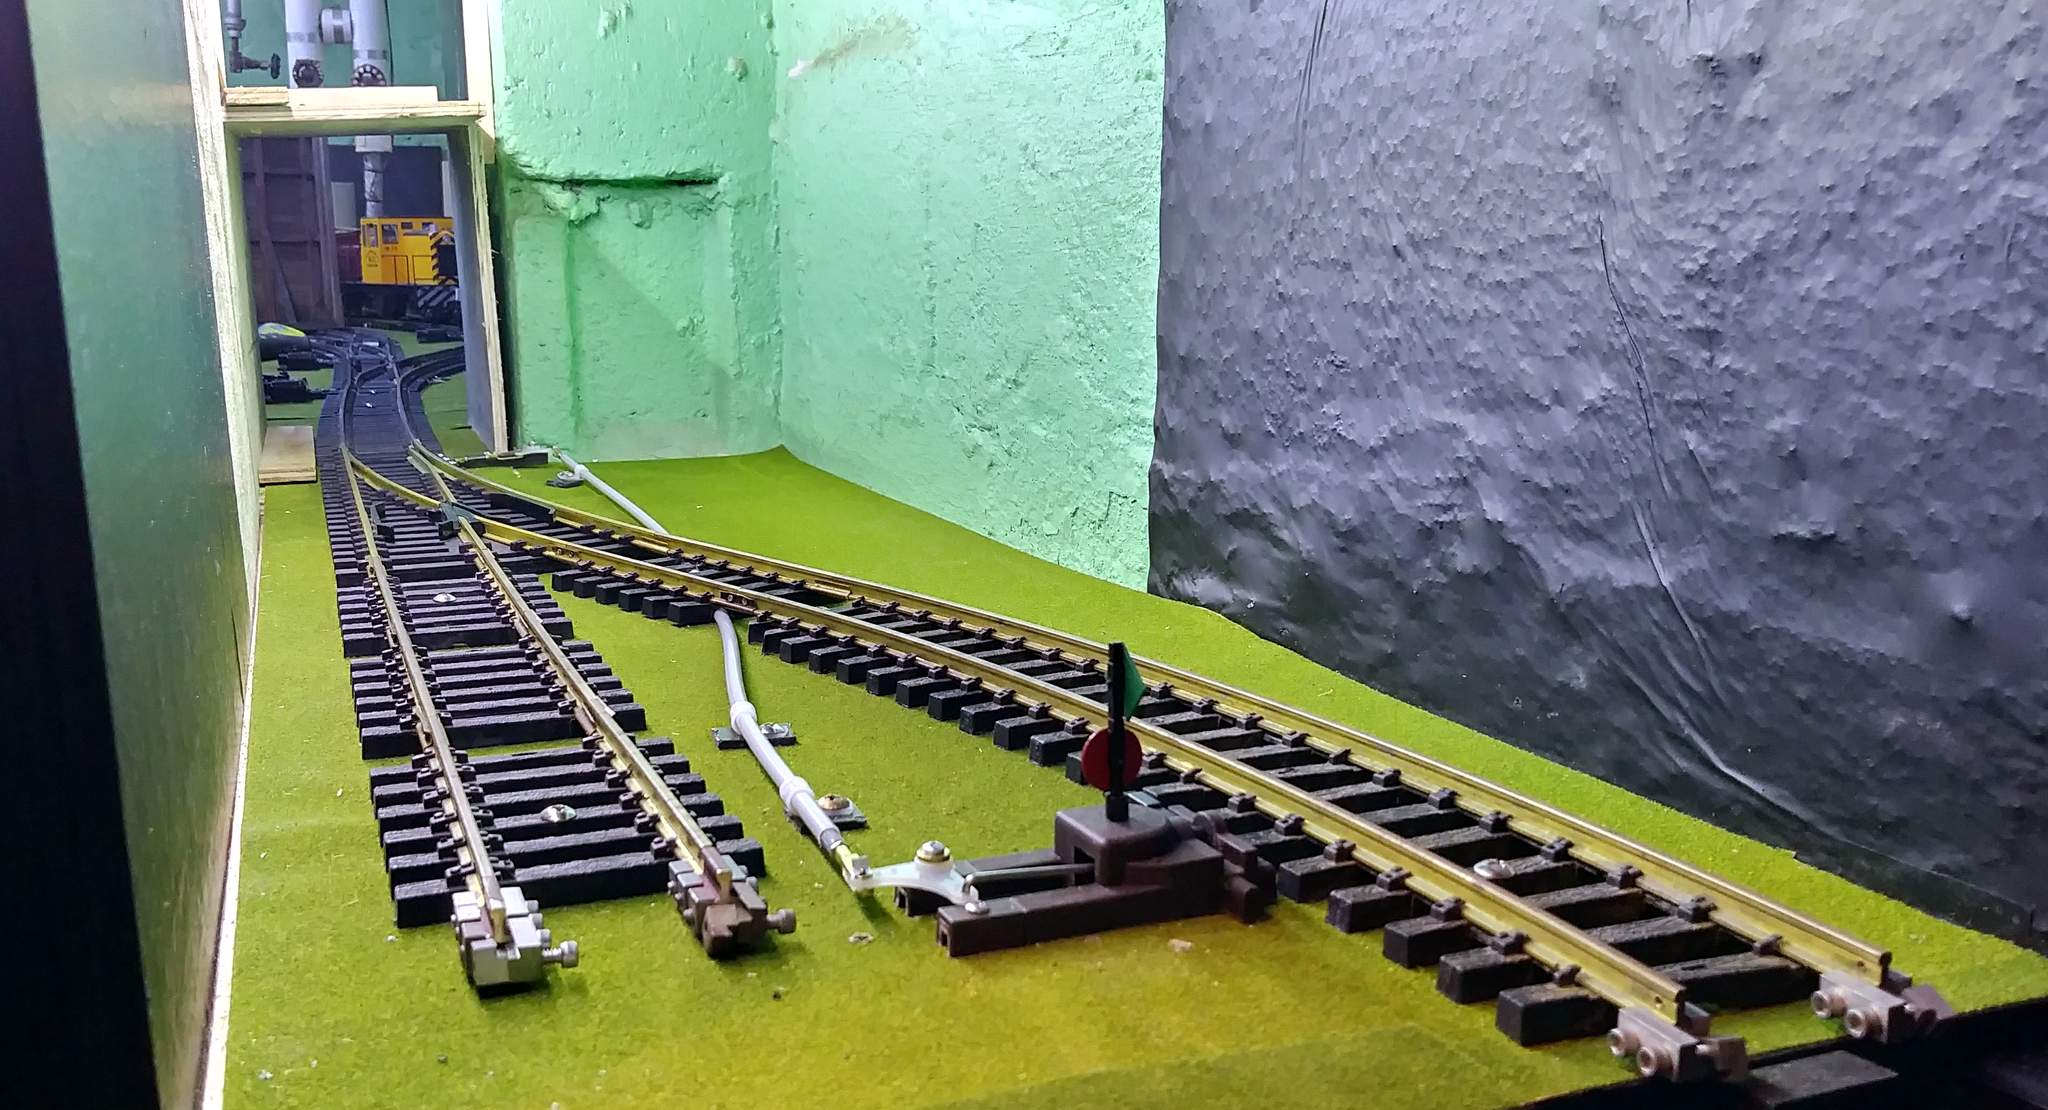
There will be one more level that hasn’t been built yet. I will continue the valance that runs around the balance of the layout. It falls about 6 inches in front of the wall - just clearing the ceiling lamp. It will have RGB, WW & CW LEDs as well to illuminate the foreground.
I’ve become obsessed with trim the last few nights. As of this evening I can’t find much else to tweak. I guess I’m ready for track…
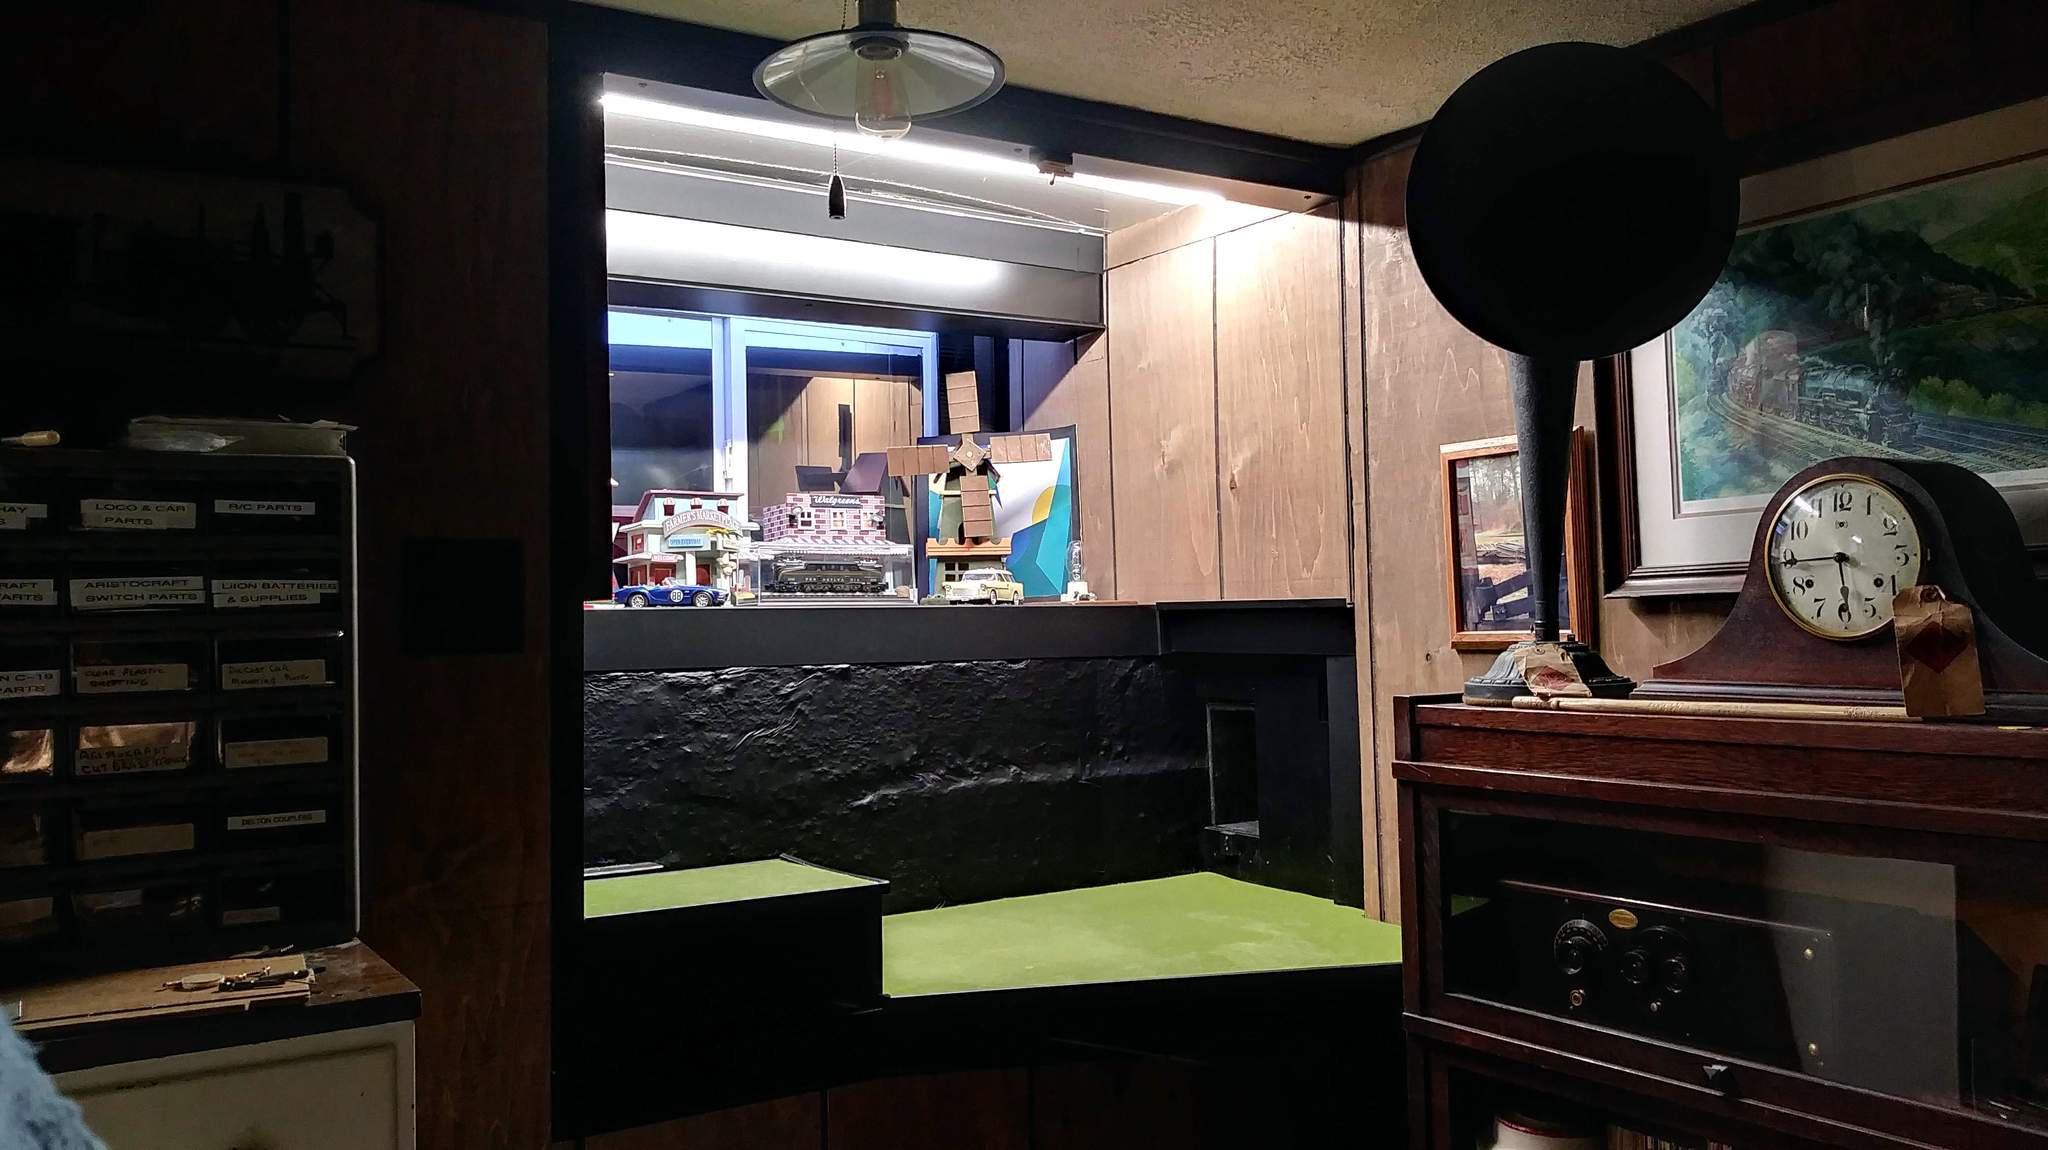
Most of the trim is .040 aluminum custom bent and cut to fit…
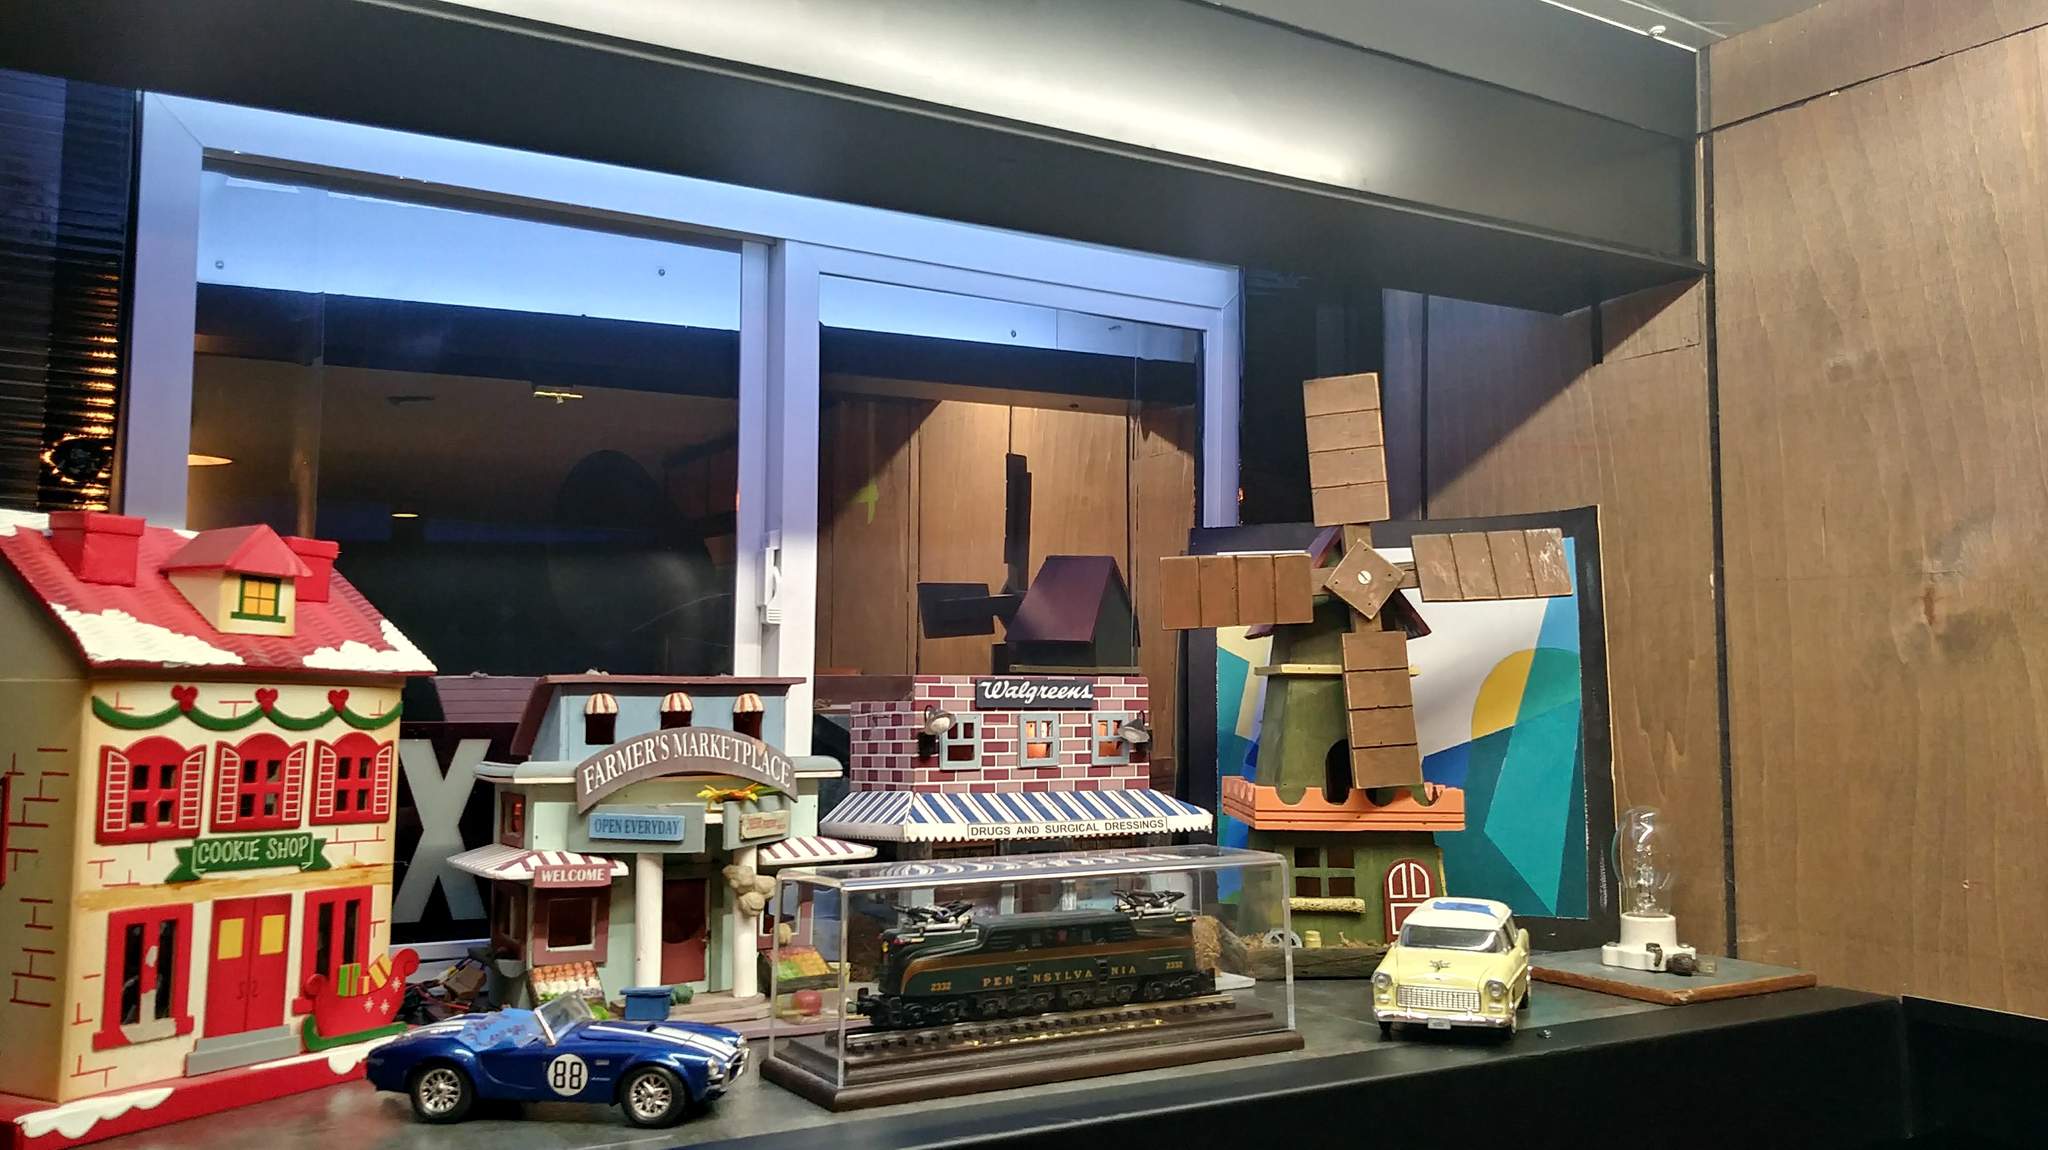
Not sure if I should continue to call this Shadow Box or maybe more appropriate Window Box. Whatever - The center two and the cars are in just for winter. Part of this project was extending the lighting buss up here - hard to see in this light but they are lit…
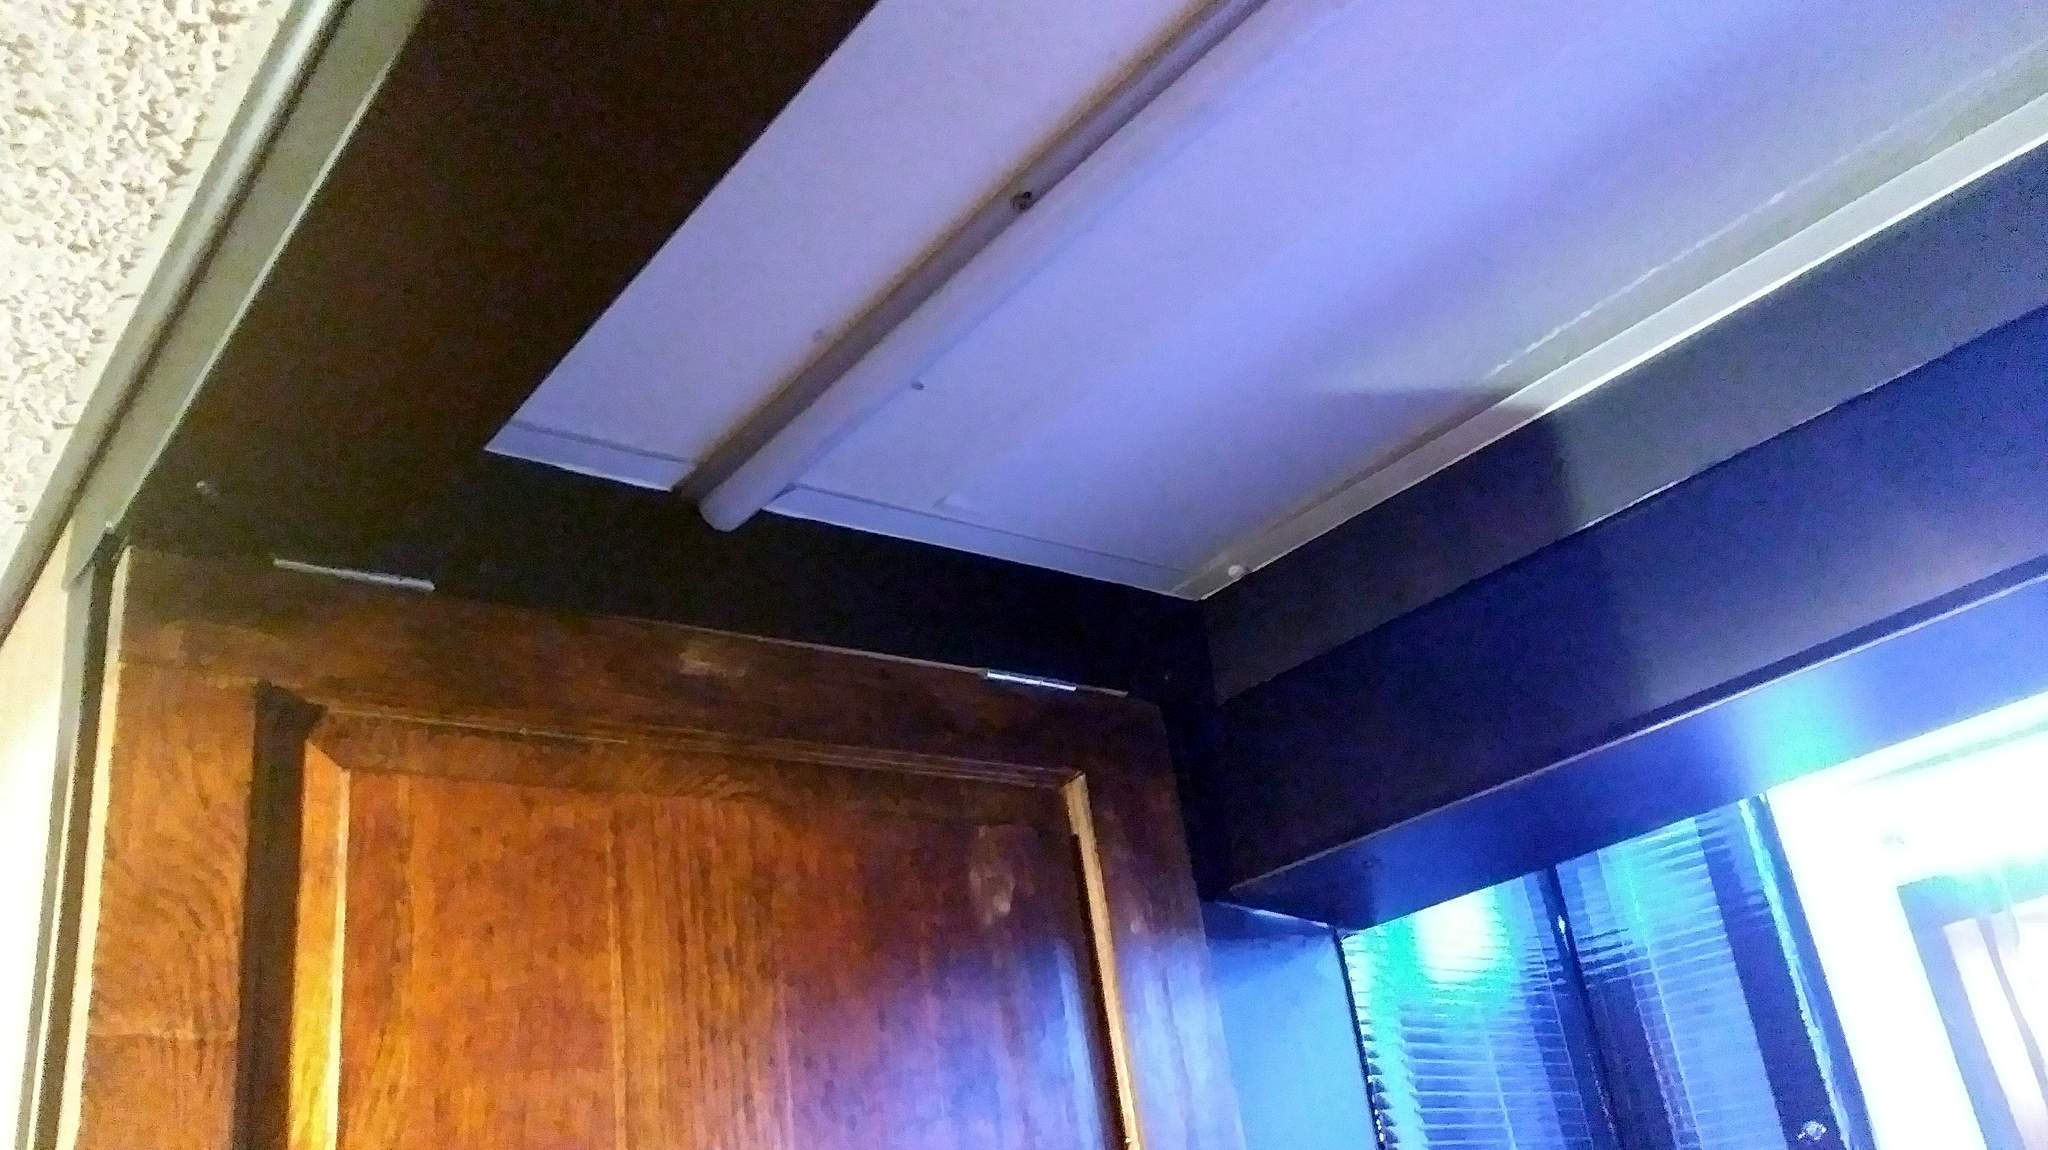
I finally sealed up the cold air leaks in this area. Oh, and added some aluminum trim!
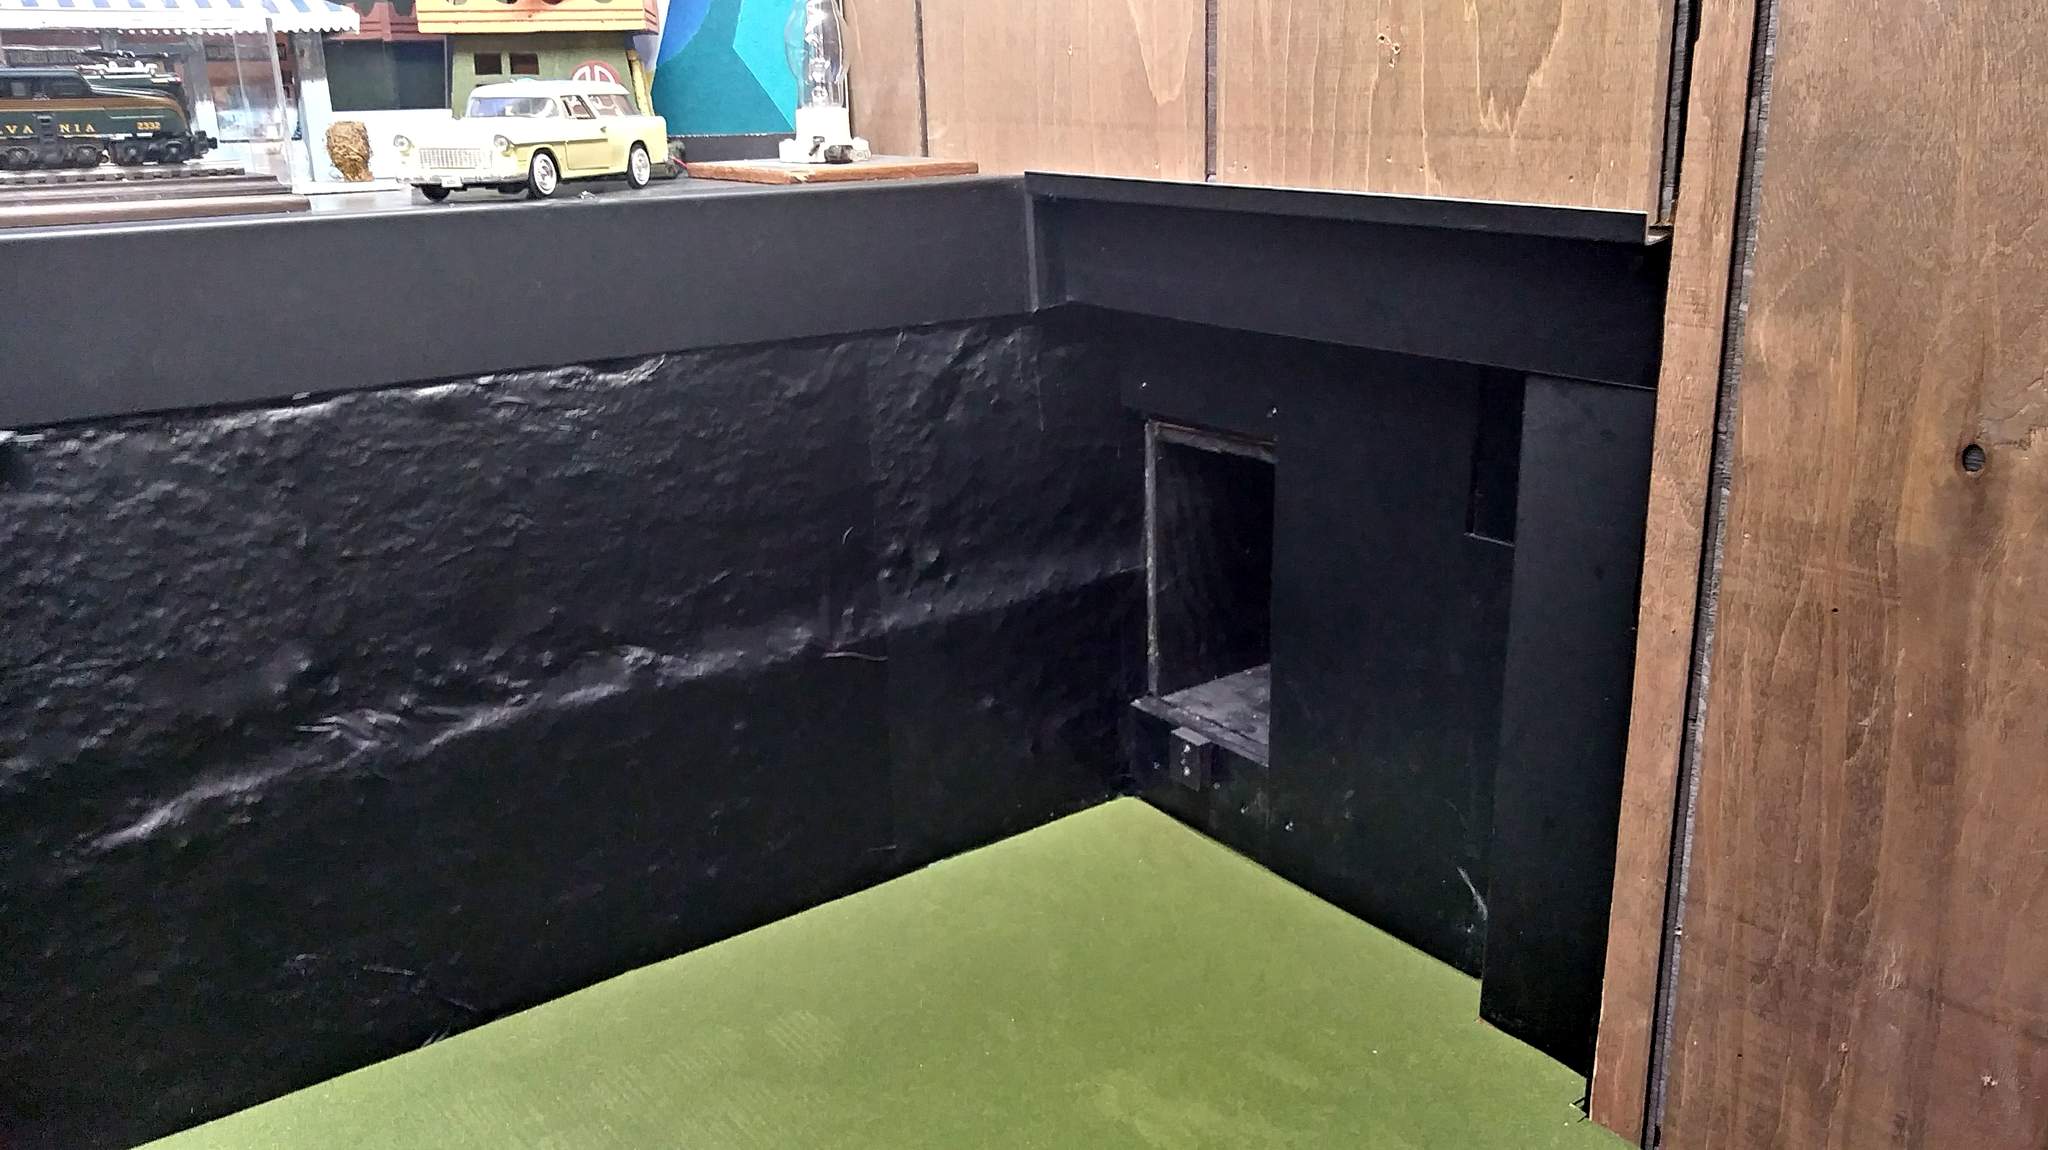
So far I have resisted the temptation to wrap the framing and electrical box inside the door. Probably will give in (https://www.largescalecentral.com/externals/tinymce/plugins/emoticons/img/smiley-undecided.gif)
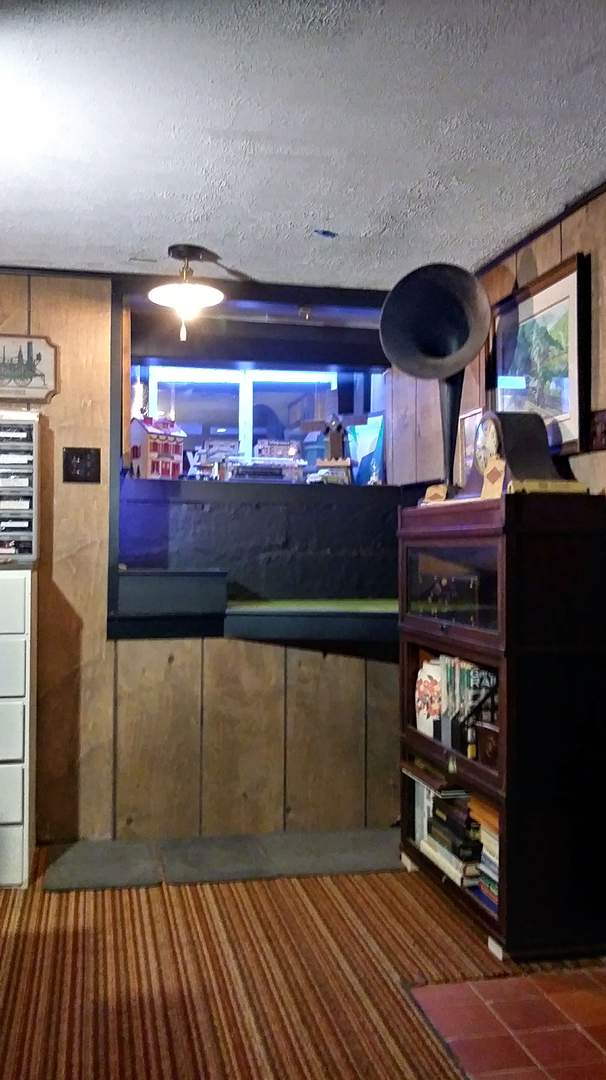
And the obligatory long shot…
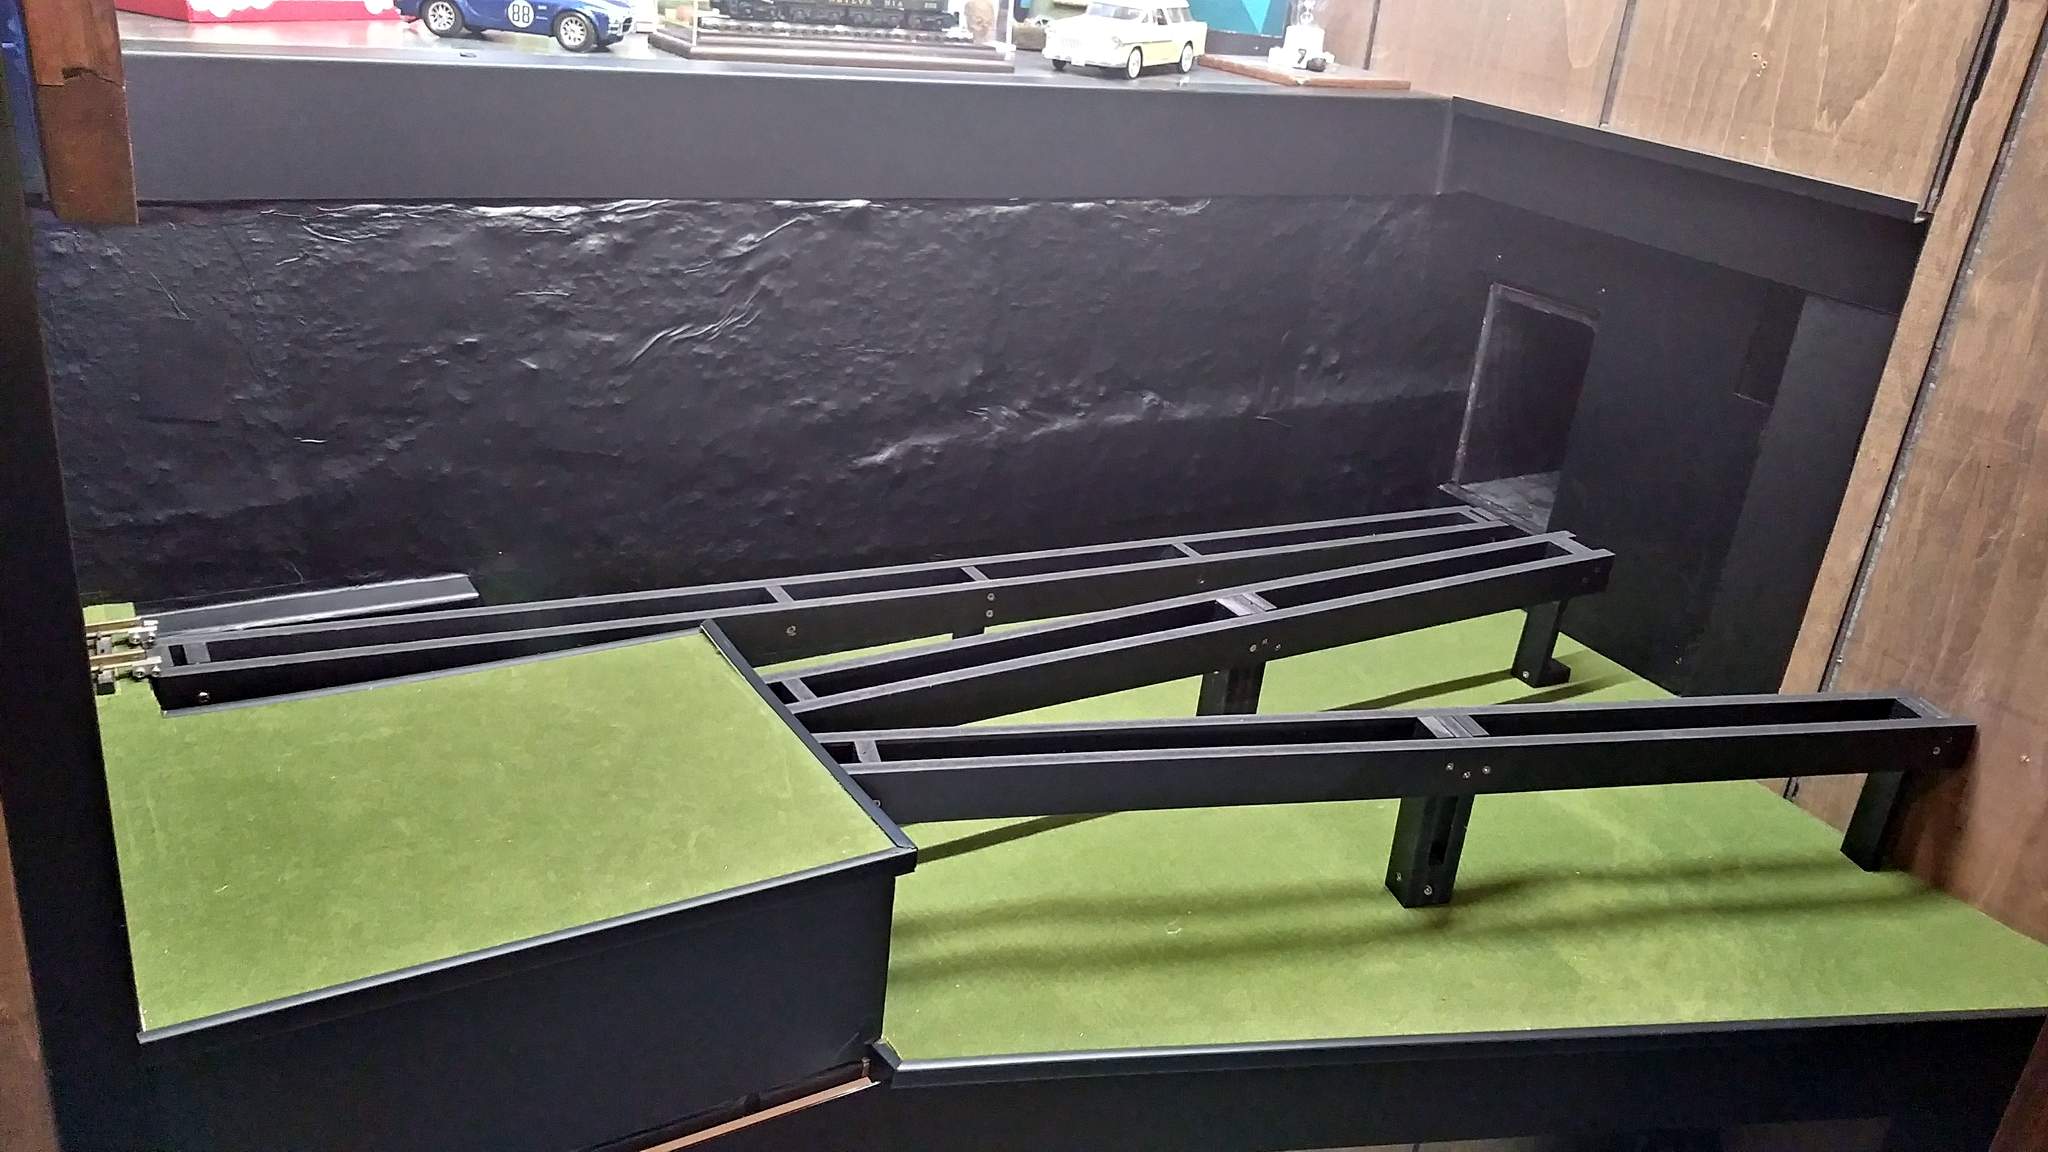
Track by the weekend I hope!

Have you found another pic to extend this, to cover the open area ?
 Looks great !
Thanks Sean. I haven’t yet, but have toyed around with the idea of trying to flip that picture and seam it together making a wider picture without the abrupt end to the building! I need to spend a Sunday morning browsing Shorpy for more images. I have a few I haven’t shown yet. Maybe one of those will do (https://largescalecentral.com/externals/tinymce/plugins/emoticons/img/smiley-cool.gif)
I ran out of places to install trim, so this weekend I concentrated on clean-up and track install. First I put back the PVC ladder roadbed that will serve until I can get some trestles built. These are all the same roadbed sections used here during track tests, so they just screwed right back into place…
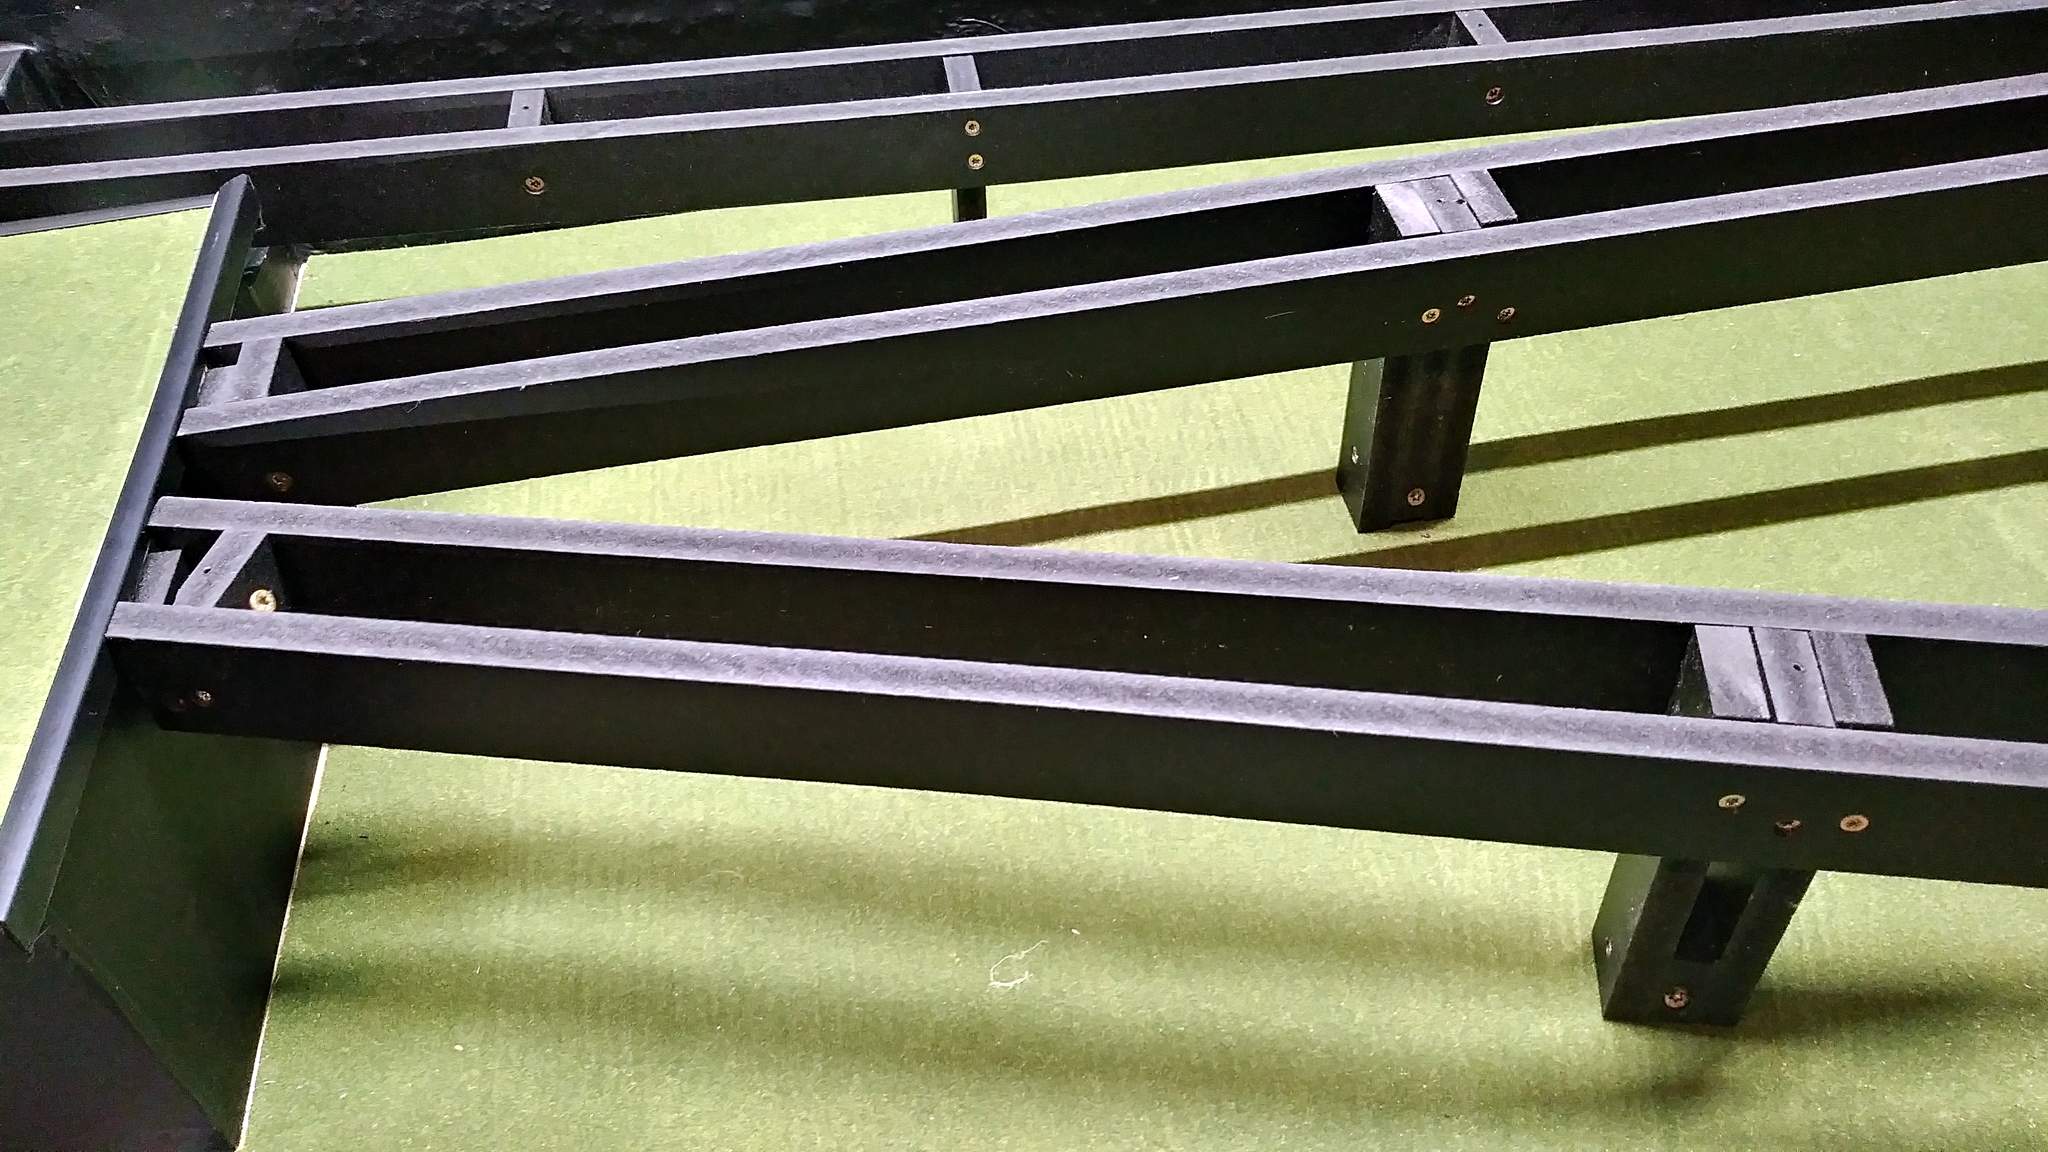
I needed a method to keep the track firmly centered inside the stair box. I could have used spacers and screwed the track down - but I wanted something that would make maintenance a little easier. I decided mounting the track on a base that had a tight fit would be best. Not wanting to loose any overhead clearance I chose .020 styrene as my base,. I covered it in flat black vinyl (this is SO much faster than paint) then attached the track with some machine screws…

On the back side I used some foam tape to counteract he pivot point created by the screw heads…
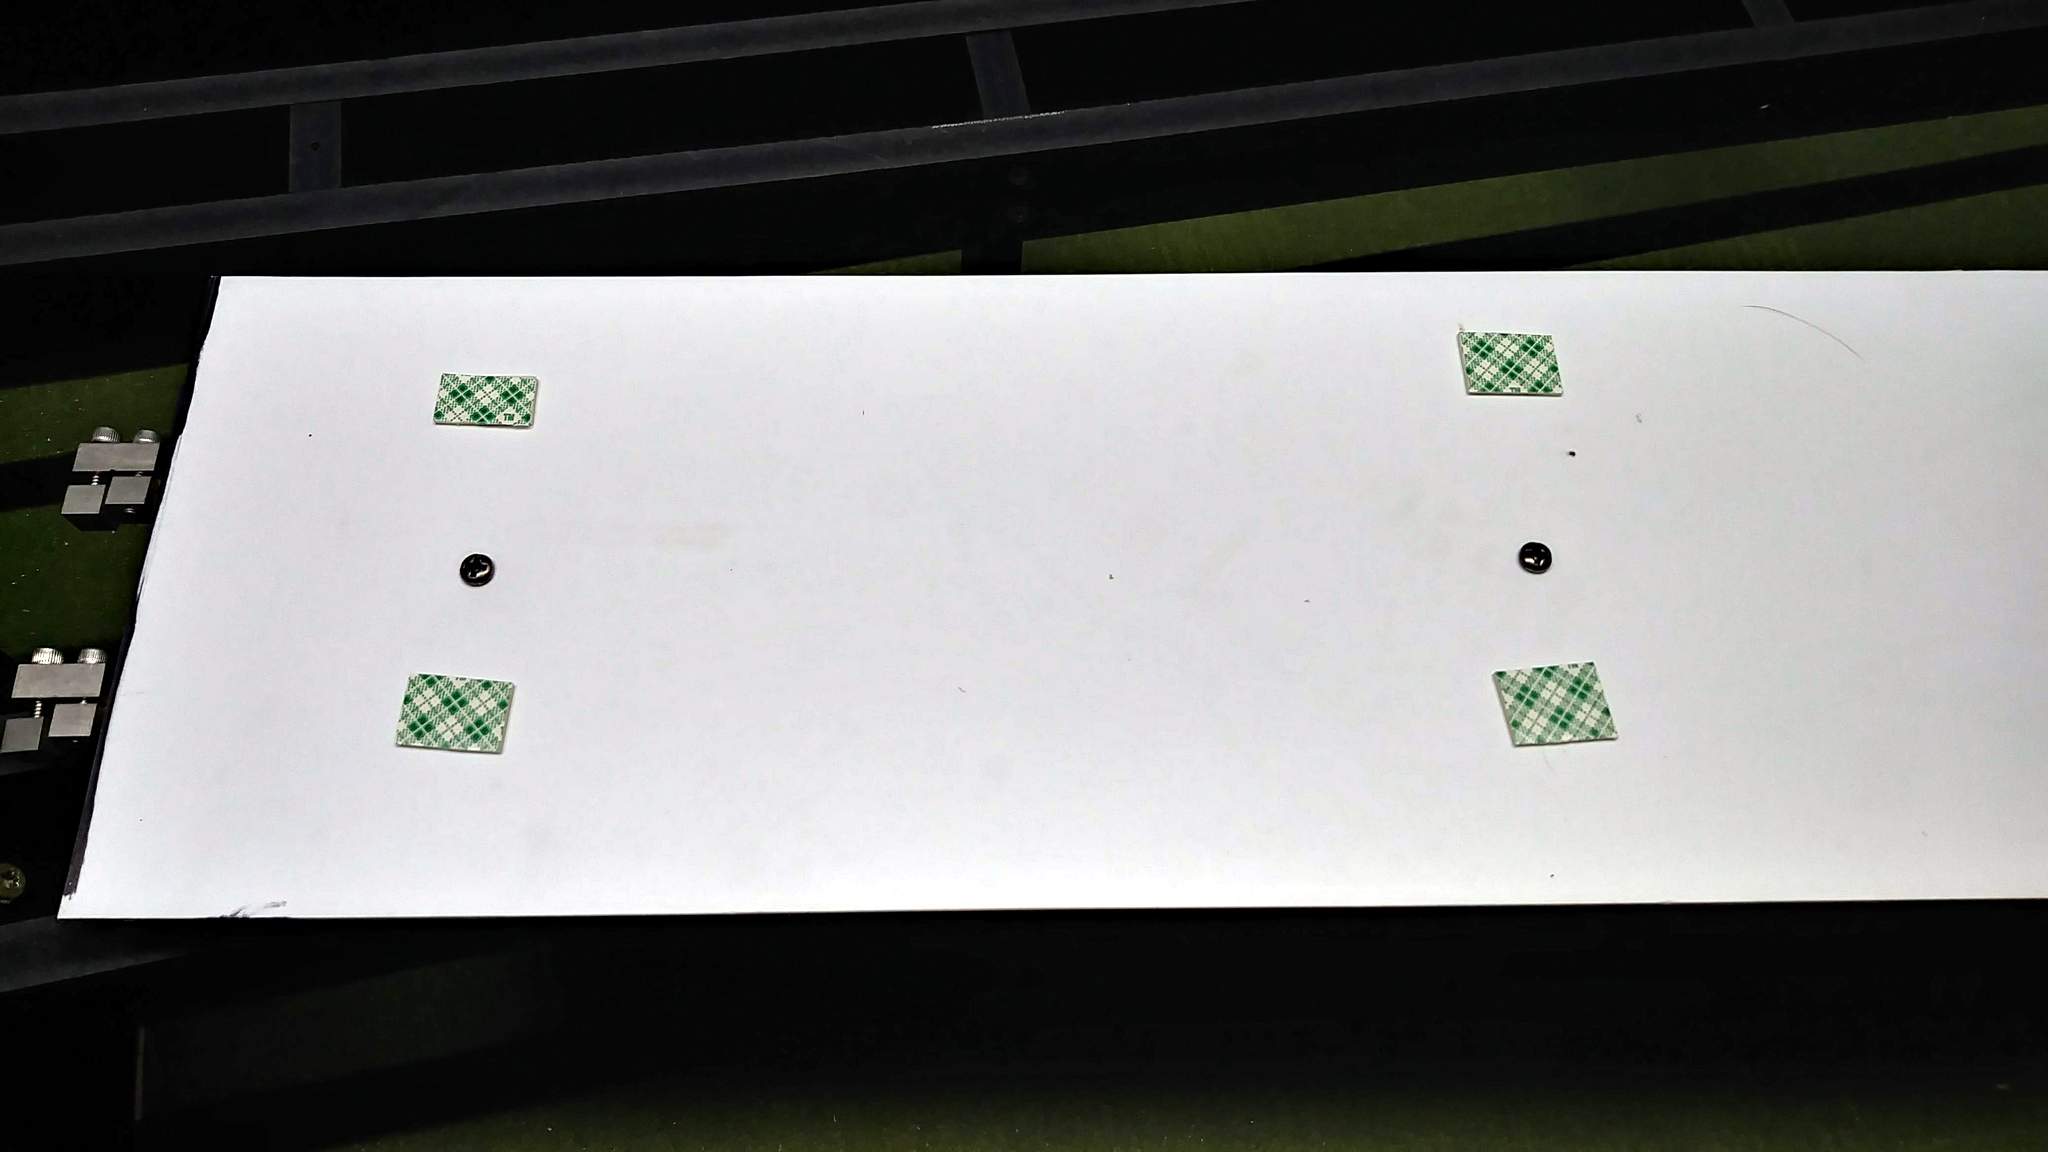
The track easily slides into the box with about a 1/16" wiggle room…

If it turns out the machine screws are visible I’ll pull this out and trim them down. Track in place ready for testing…
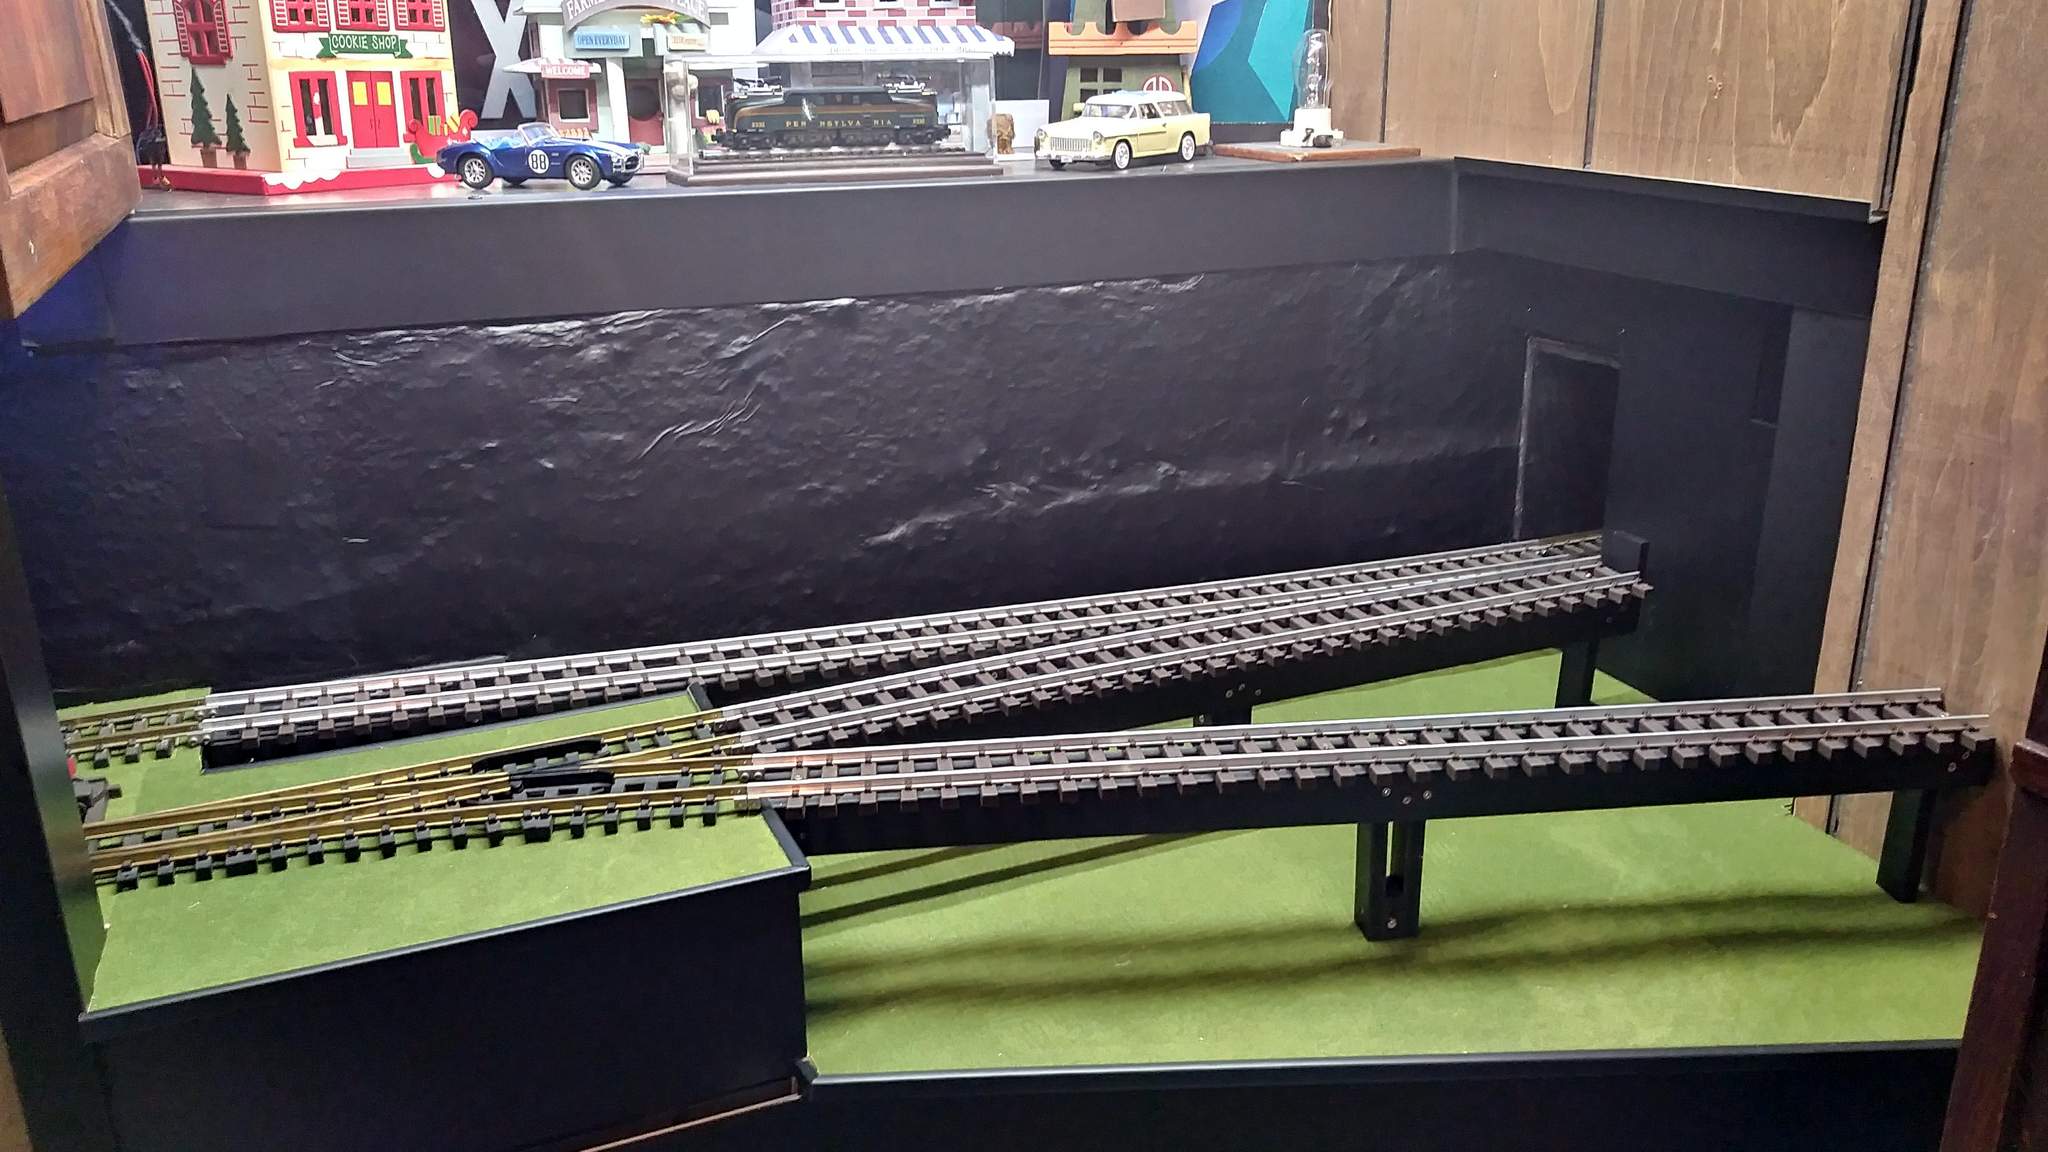
Followed by car spot tests…
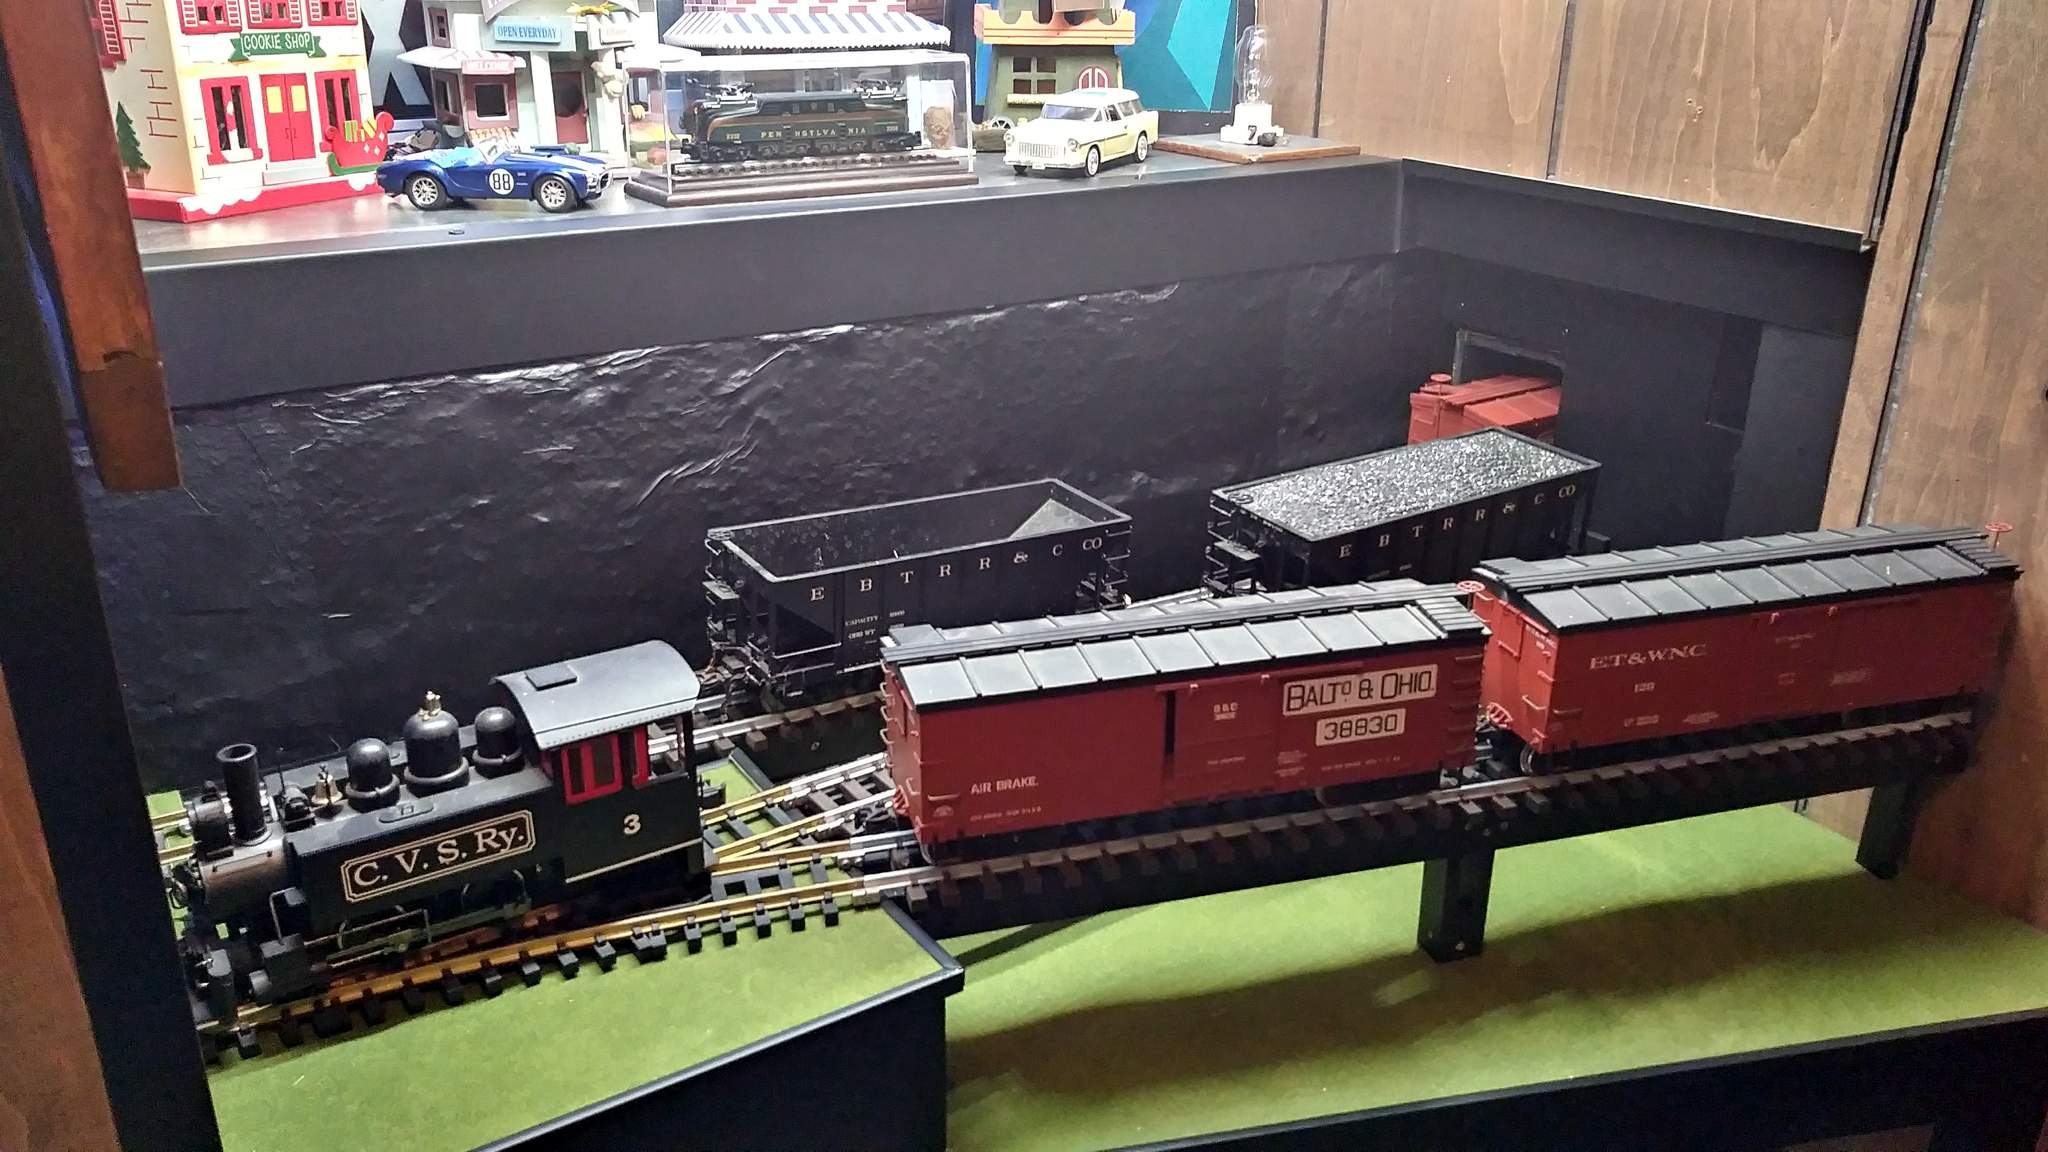
The aluminum colored track will stay as-is until trestles are built - then I will hand lay and weather the track. That will probably be a mid summer hide from the heat project.
Jon Radder said:
I’ve become obsessed with trim the last few nights.
That single quote has plagued man for many years!
" Rooster " said:
That single quote has plagued man for many years!
Oh crap - haven’t used it that way in years!!! ROFLMAO.
damn near died laughing when I read these last 3 posts!!!(https://www.largescalecentral.com/externals/tinymce/plugins/emoticons/img/smiley-foot-in-mouth.gif)(https://www.largescalecentral.com/externals/tinymce/plugins/emoticons/img/smiley-laughing.gif)