coming along nicely. I do like the use of jigs
Bruce,
You do beautiful work, thanks for sharing it with us.
I like your setup with the drill press vise and the slide guides,
“the poor mans milling machine” I have been doing similar for a long time.
Someday Im going to break down and get a milling machine.
Great job on prototype cars.
Rick
Good to see you building again 
They will be a fine addition to your fleet.
Ralph
Does anybody have any information on how the brakes were done on these hoppers? I have one tiny picture, but it provides no detail at all. I have a few split brake cylinder/reservoir coming from Hartford, but I’d like to know how to do the piping.
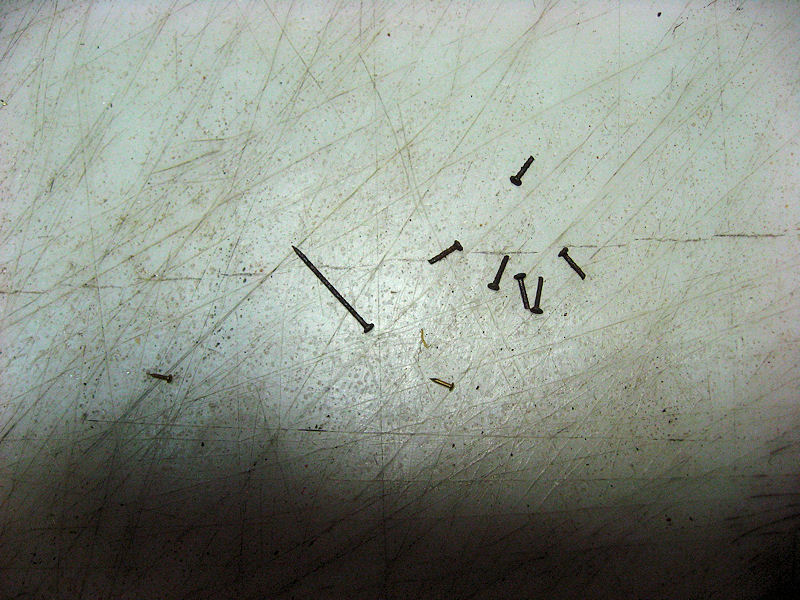
It takes awhile to build a side. I drill the holes in the stakes, sand and texture the wood and then glue it in place. I like to let it dry overnight. This means that I can only do one side a day. Now that I have a few sides built, I started working on the bolts on the inside. At first I started using some 3/32" brass nails from Micro-Mark, but these are VERY tiny. This means that when I pick them up with the pliers, there’s a good chance that the mini-nail will attempt to escape. I think I must lose about 1 out of every 10. After completing 2 sides with these little 3/32", I decided to try something else. I’ve got some 1/2" Lill pins - which are way too long, but I end up cutting them.
(http://www.jbrr.com/Pics/RollingStock/Hopper/ETWNC/IMG_9717.JPG)
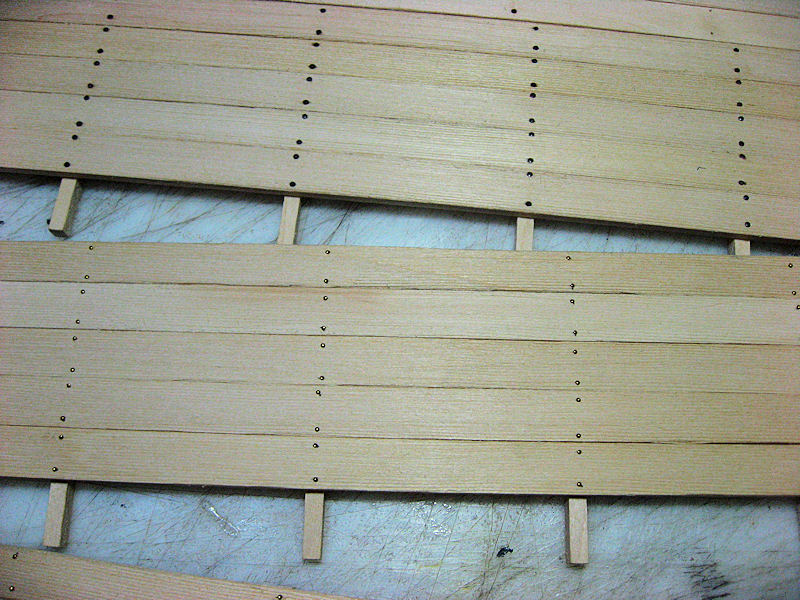
You can see one of the 3/32" brass pins at the bottom - compared to the uncut pin. I cut the 1/2" pins about 1/8" or so. Here’s a comparison of the two different sides:
(http://www.jbrr.com/Pics/RollingStock/Hopper/ETWNC/IMG_9720.JPG)
When I do the sides, I end up adding a bit of texture with the razor saw. I then sand it all down a bit, as I really don’t like too much grain - but I sure think that the texture adds a lot when compared to the plain bass wood.
(http://www.jbrr.com/Pics/RollingStock/Hopper/ETWNC/IMG_9718.JPG)
Looking good Bruce. Texture makes it look like rough cut wood instead of milled lumber.
Another great build!
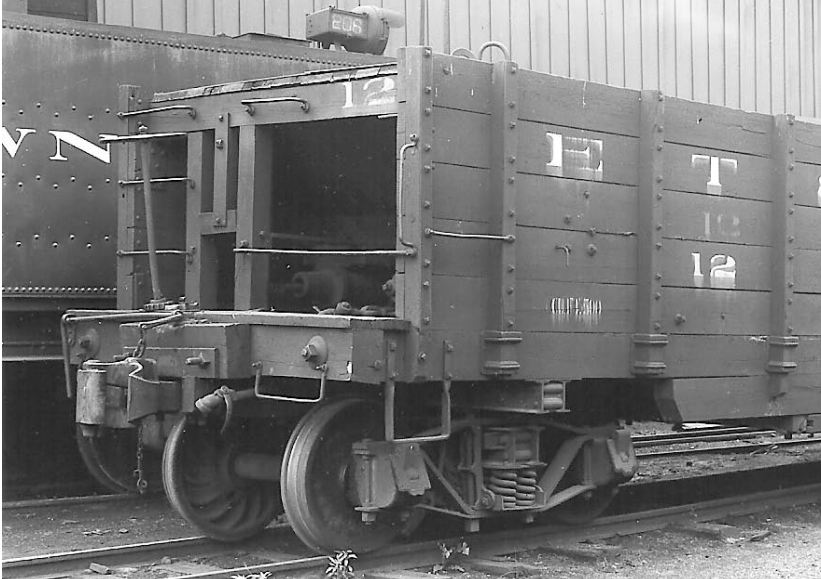
Bruce Chandler said:
(http://www.jbrr.com/Pics/RollingStock/Hopper/ETWNC/Hopper12End.JPG)
Bruce, is this an old picture or a picture of an existing piece of rolling stock. If existing, where is did you take the picture?
Ric, That’s an old picture. Not sure of the date, but early last century.
Why Ric…thats a picture of the one hopper he’s already finished!
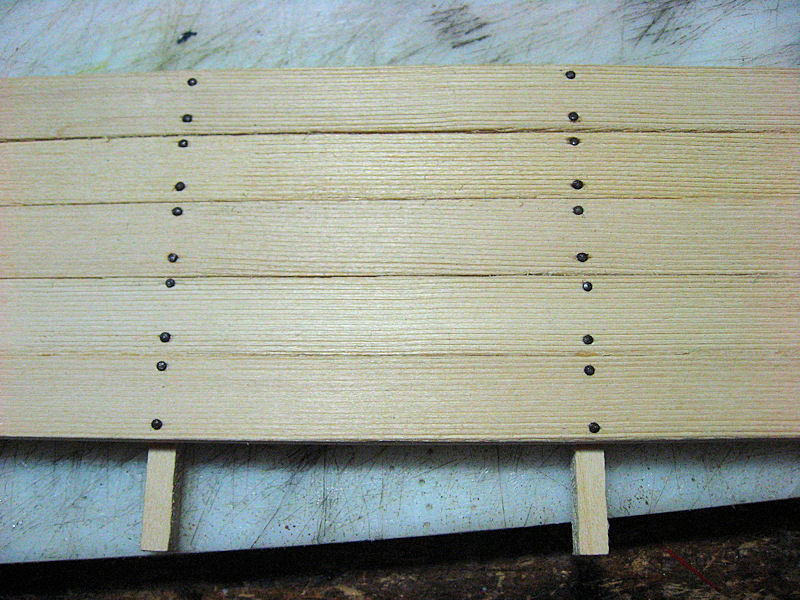
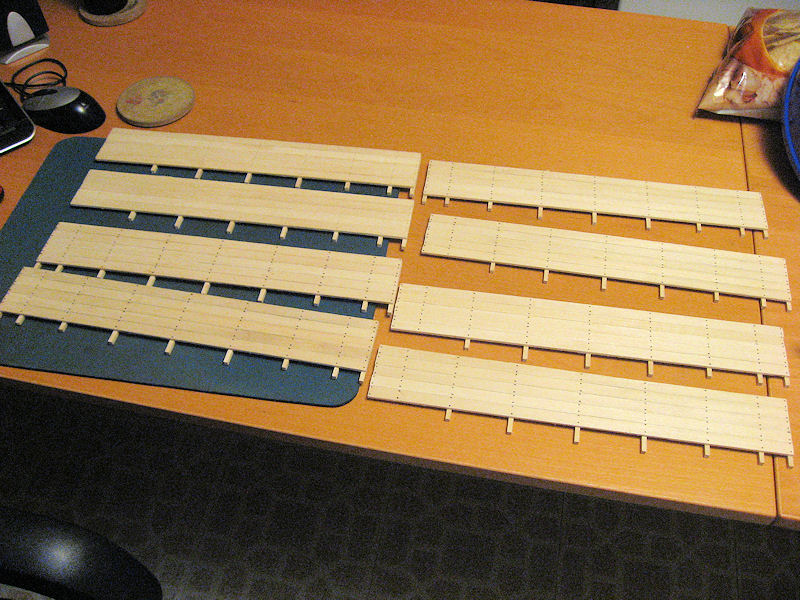
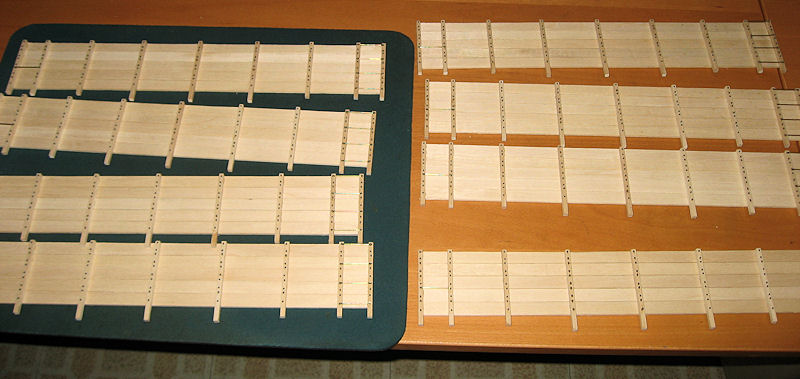
Ha! I wish!  I finally finished the insides of all 8 sides. Scale bolt heads - all 90 per side, but who’s counting???
(http://www.jbrr.com/Pics/RollingStock/Hopper/ETWNC/IMG_9722.JPG)
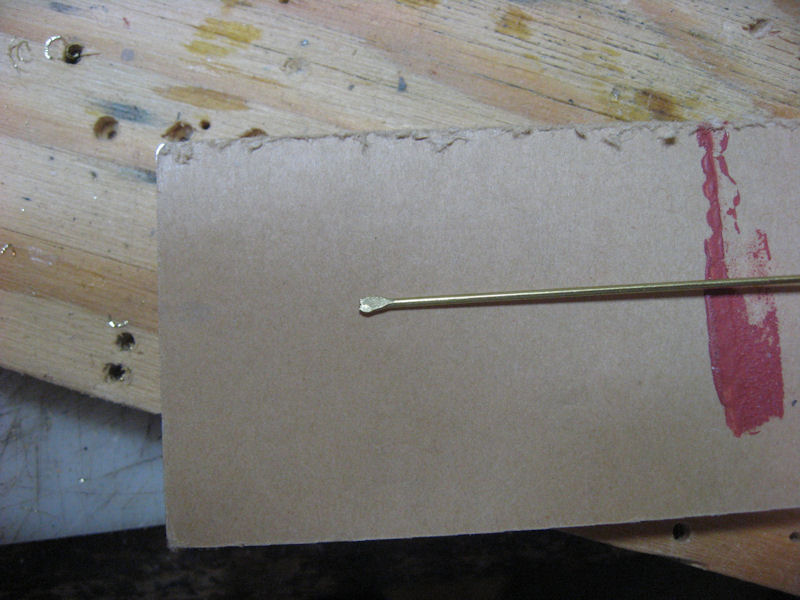
But, you might notice that there’s a few stakes missing. When I started adding the grab irons, I realized how critical my bolt spacing was! The way I had it spaced made for some VERY uneven distances between the grabs. Ugh. I decided to redo each end. That meant ripping off the stakes, building new ones, and then drilling them - this time with the right spacing. Sheesh.  I wanted the grab irons to look like the real thing. In my earlier model, I had used pre-formed grab irons from Phil Dippel. These extended out too far. I wanted to have them flat, like the prototype. I started with some 1mm brass rod. I pounded one end flat.
(http://www.jbrr.com/Pics/RollingStock/Hopper/ETWNC/IMG_9704.JPG)
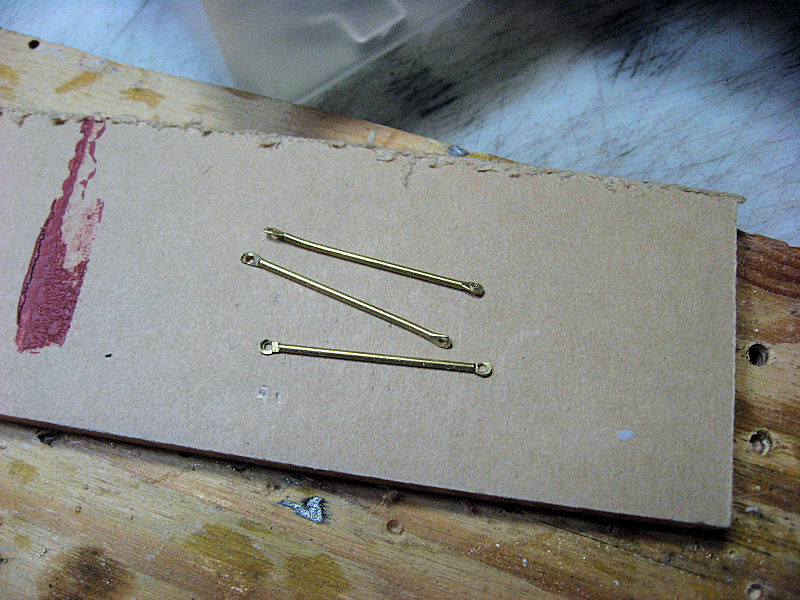
Then I center-punched the flat area and drilled a hole in it. Repeat the process on the other end and pretty soon I have a set of grab irons ready to go.
(http://www.jbrr.com/Pics/RollingStock/Hopper/ETWNC/IMG_9708.JPG)
In my earlier model, I used some brass NB parts from Phil, but I felt that these were just a tad too large. The nut scales out to 1.6" and the bolt to 1.11". Pretty large. Also, not cheap at $15 per 100. I took a look at Grandt Line. Not as sturdy, but a lot cheaper at a list price of $3 per 100. I settled on 82…2 1/2" SQUARE NUT-NO WASHER - these are 1/48 scale and end up as a bit over 1" for the nut. I think they look much more like the picture I posted earlier.
(http://www.jbrr.com/Pics/RollingStock/Hopper/ETWNC/IMG_9724.JPG)
Making the grab irons is rather problematic, as my failure rate seem high. It’s very easy for the drill to rip open one end. I think I’m getting better, but there’s a lot more to do.
Hmmmm, a new term…bolt counter…
Must still be hot down there if it has you in the shop.
Looks good.
Bruce, give this some thought…
Cut the grab iron rod a bit longer, begin pounding flat as usual, but flatten twice as much as before. Fold the tip back on its’ self, then pound it flat. You will have more meat so to speak. You want to end up with an end that is as wide as what you show above, just thicker, making it easier to drill. Try a pilot hole first.
I haven’t tried it, just thought about it, so I have no idea if it will work, but it might be worth a try.
I’ve seen blacksmiths do it with steel when they want a strong flat end for the piece they are working on.
Bruce,
What Steve said, but hard solder the folded part before drilling and it will act as a single solid part.
Bob C.
That’s a good idea, Steve. And an improvement, Bob. However, my blacksmithing skills seem to suffer on that 1mm rod.
The real key is getting the punch centered. Meanwhile, I seem to have lots of 1mm rod. :o
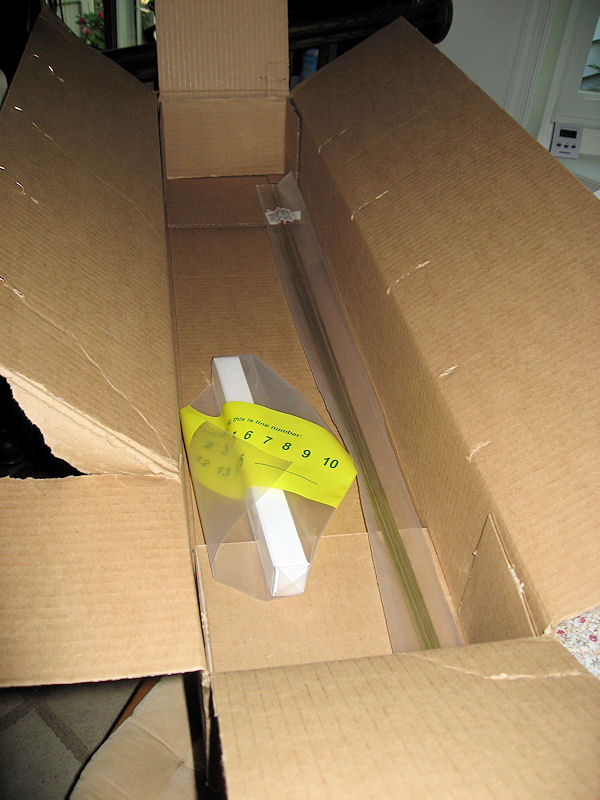
More parts. I needed some brass (1mm for the grab irons, and 1/16" for the truss rods) and ordered it from McMaster-Carr. Came the next day, and postage was under $5! I’m pretty sure the box was big enough.
(http://www.jbrr.com/Pics/RollingStock/Hopper/ETWNC/IMG_9791.JPG)
Meanwhile, I have finally finished the outsides of the eight side pieces. Talk about tedious. Cut the NB castings from the sprue, dip each one in some CA, fit into the hole, and finally give it a slight tap with a hammer to set it in place. 90 per side. Plus, I did all of the grab irons. I do like the look.
(http://www.jbrr.com/Pics/RollingStock/Hopper/ETWNC/IMG_9793.JPG)
Next, I’m going to tackle the doors. I have a sheet of .036" brass that I will use.
Nice progress Bruce. I’ve gotten a couple of those boxes in the mail, thought I had ordered packing pillows.
Looking real good, Bruce. Gonna have one finished to bring up here?
If it was just one, I’m pretty sure I would, but with 4, I’m not so sure. I’ll try. At any rate, I’ll bring up my EBT 3 Bay from Yoder for some comparison purposes.
Save the box, Bruce.
You can ship one of those cars to me when it’s done.
I’ll send you my address.