After a few month in the shop some news on early diesel projects:
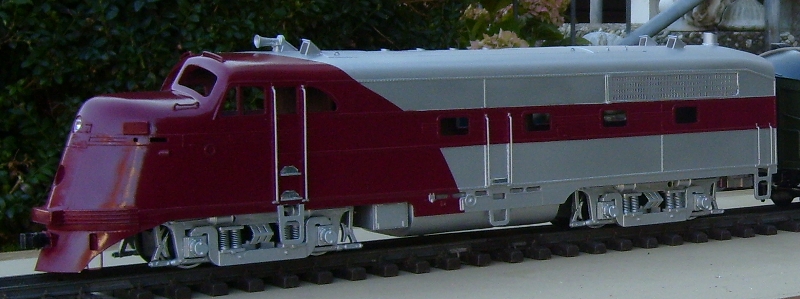
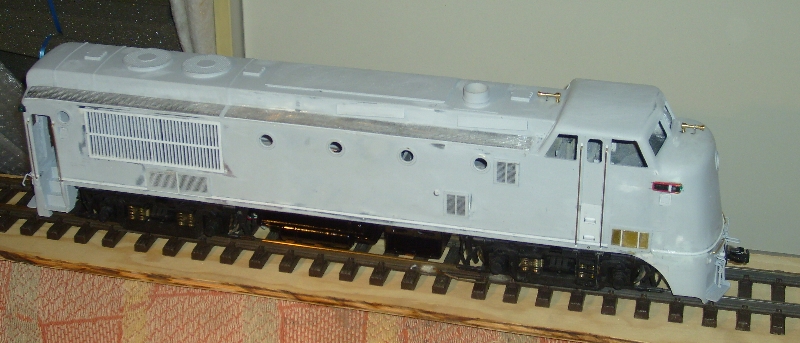
current status of the paint job on RI TA
And with aRI baggage and a (soon to be re-lettered) streamliner

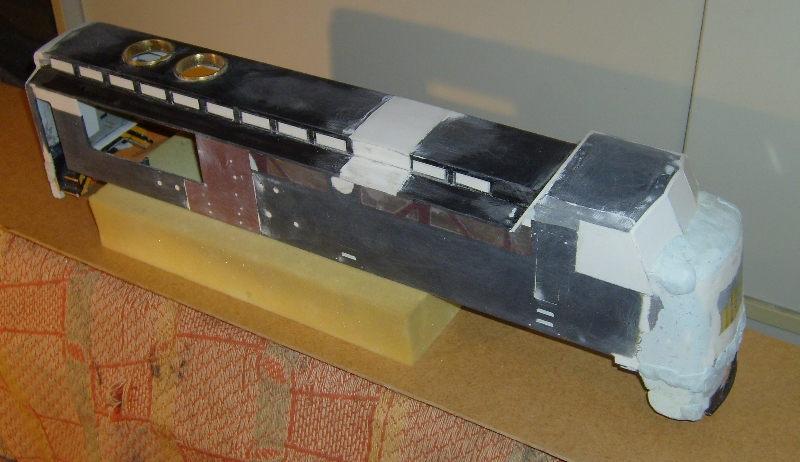
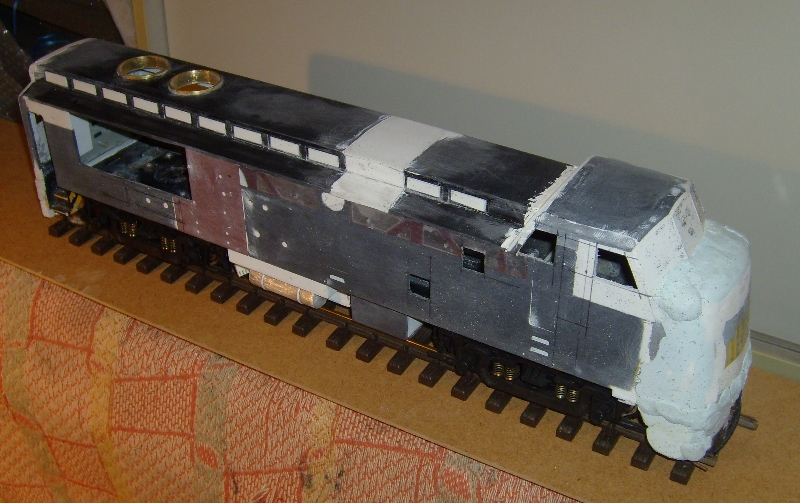
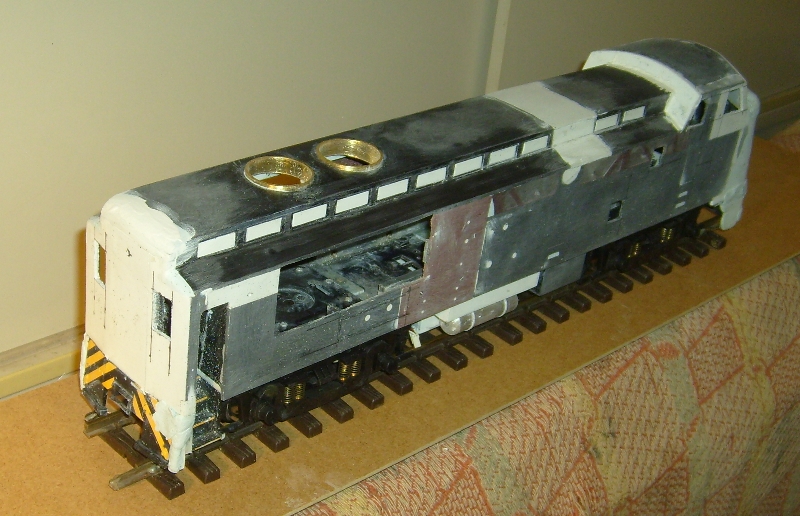
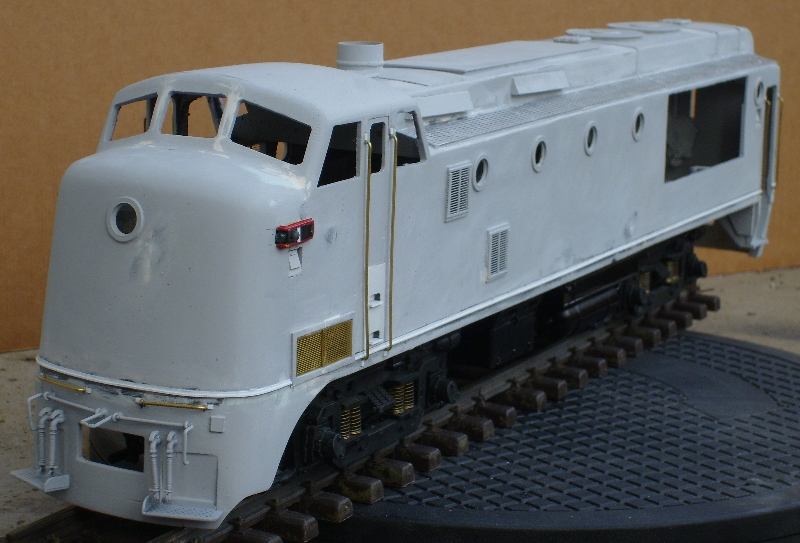
Meanwhile continued with an older project - Peoria and Pekin Union RY #200, a Davenport streamlined switcher of 1938
Started as an ugly ‘Frankenstein’-unit made of GE 44t -parts
And with a lot of putty, glassfiber layers and hours of sanding

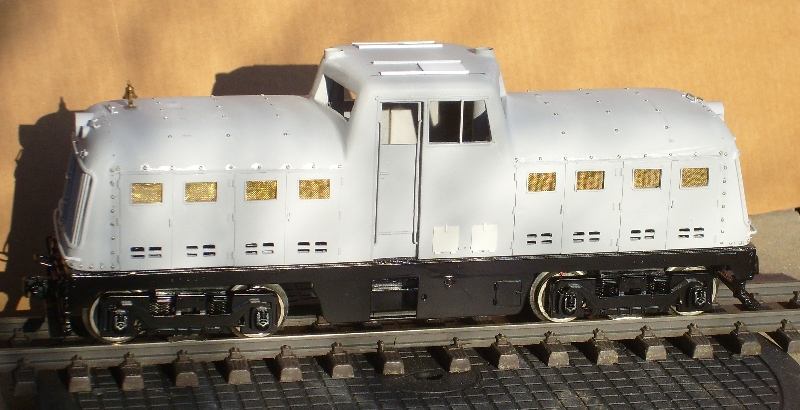
Currently I’m dealing with painting the unit - I’d like to get the shell in a slightly lighter black than the frame…haven’t found the appropriate paint up to now
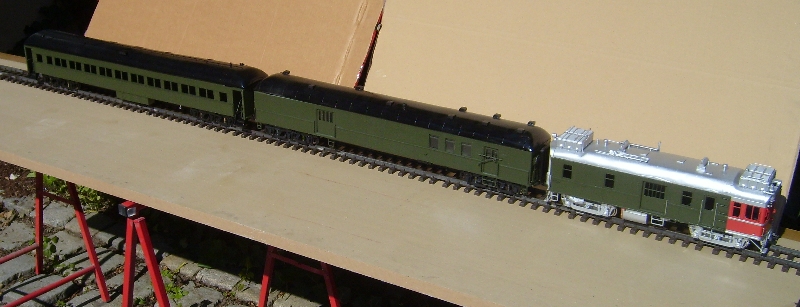
My RI #9006 with its prototypical short passenger train consisting on a baggage mail express and a coach
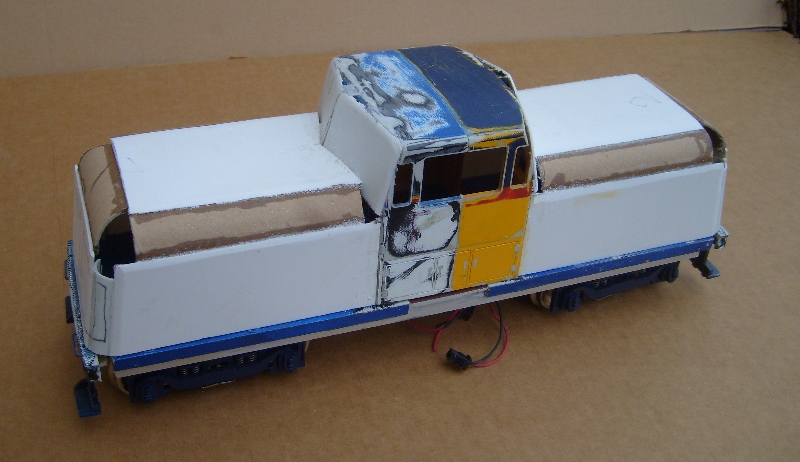
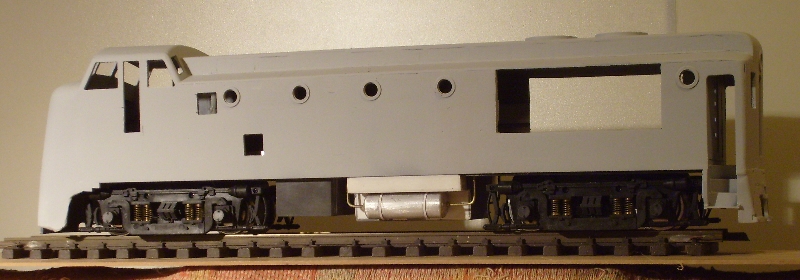
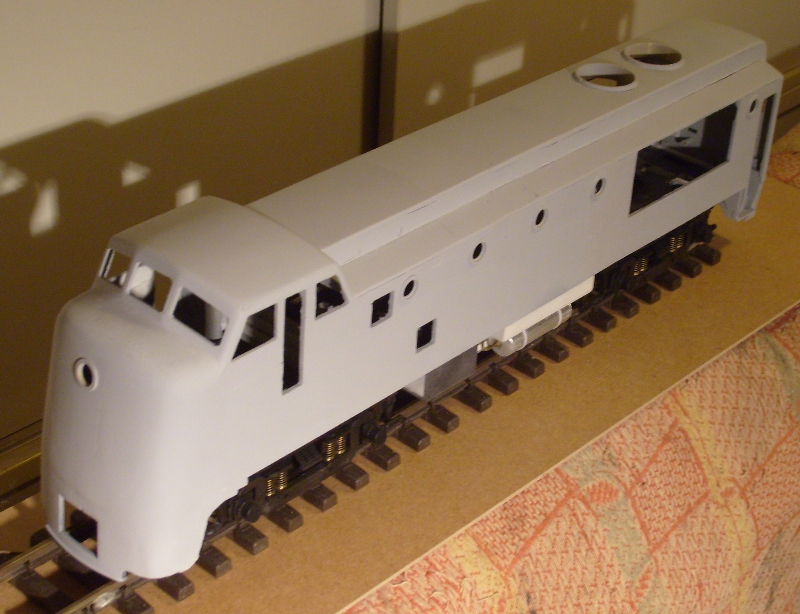
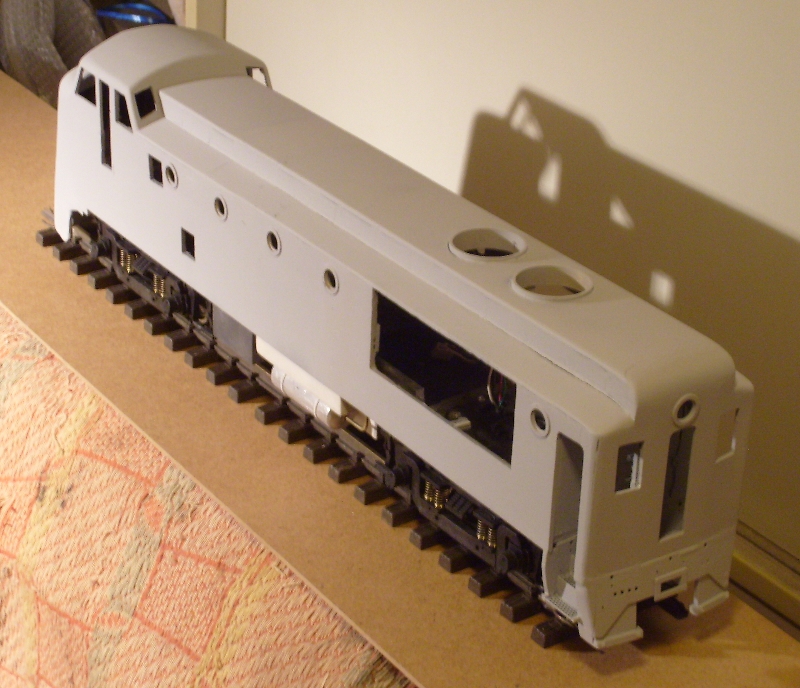
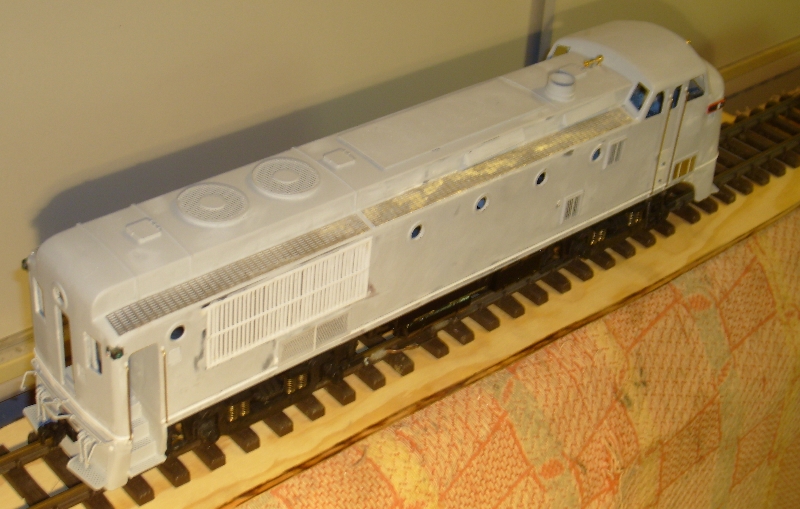
And started with GM&O’s #1900 - Ingalls’ sole venture in the diesel-electric market (1946)
Used an Aristo-Craft FA, a Bachmann coach’s monitor roof, parts from my scrap box, a good amount of putty and a lot of phantasy to receive an ungainly start
A few days later one can notice more resemblance with the prototype
And after several sanding-sessions (once again…)
Hope you’ll like it
Regards
Norman


