Large Scale Central

Durango & Jasper track plan and build

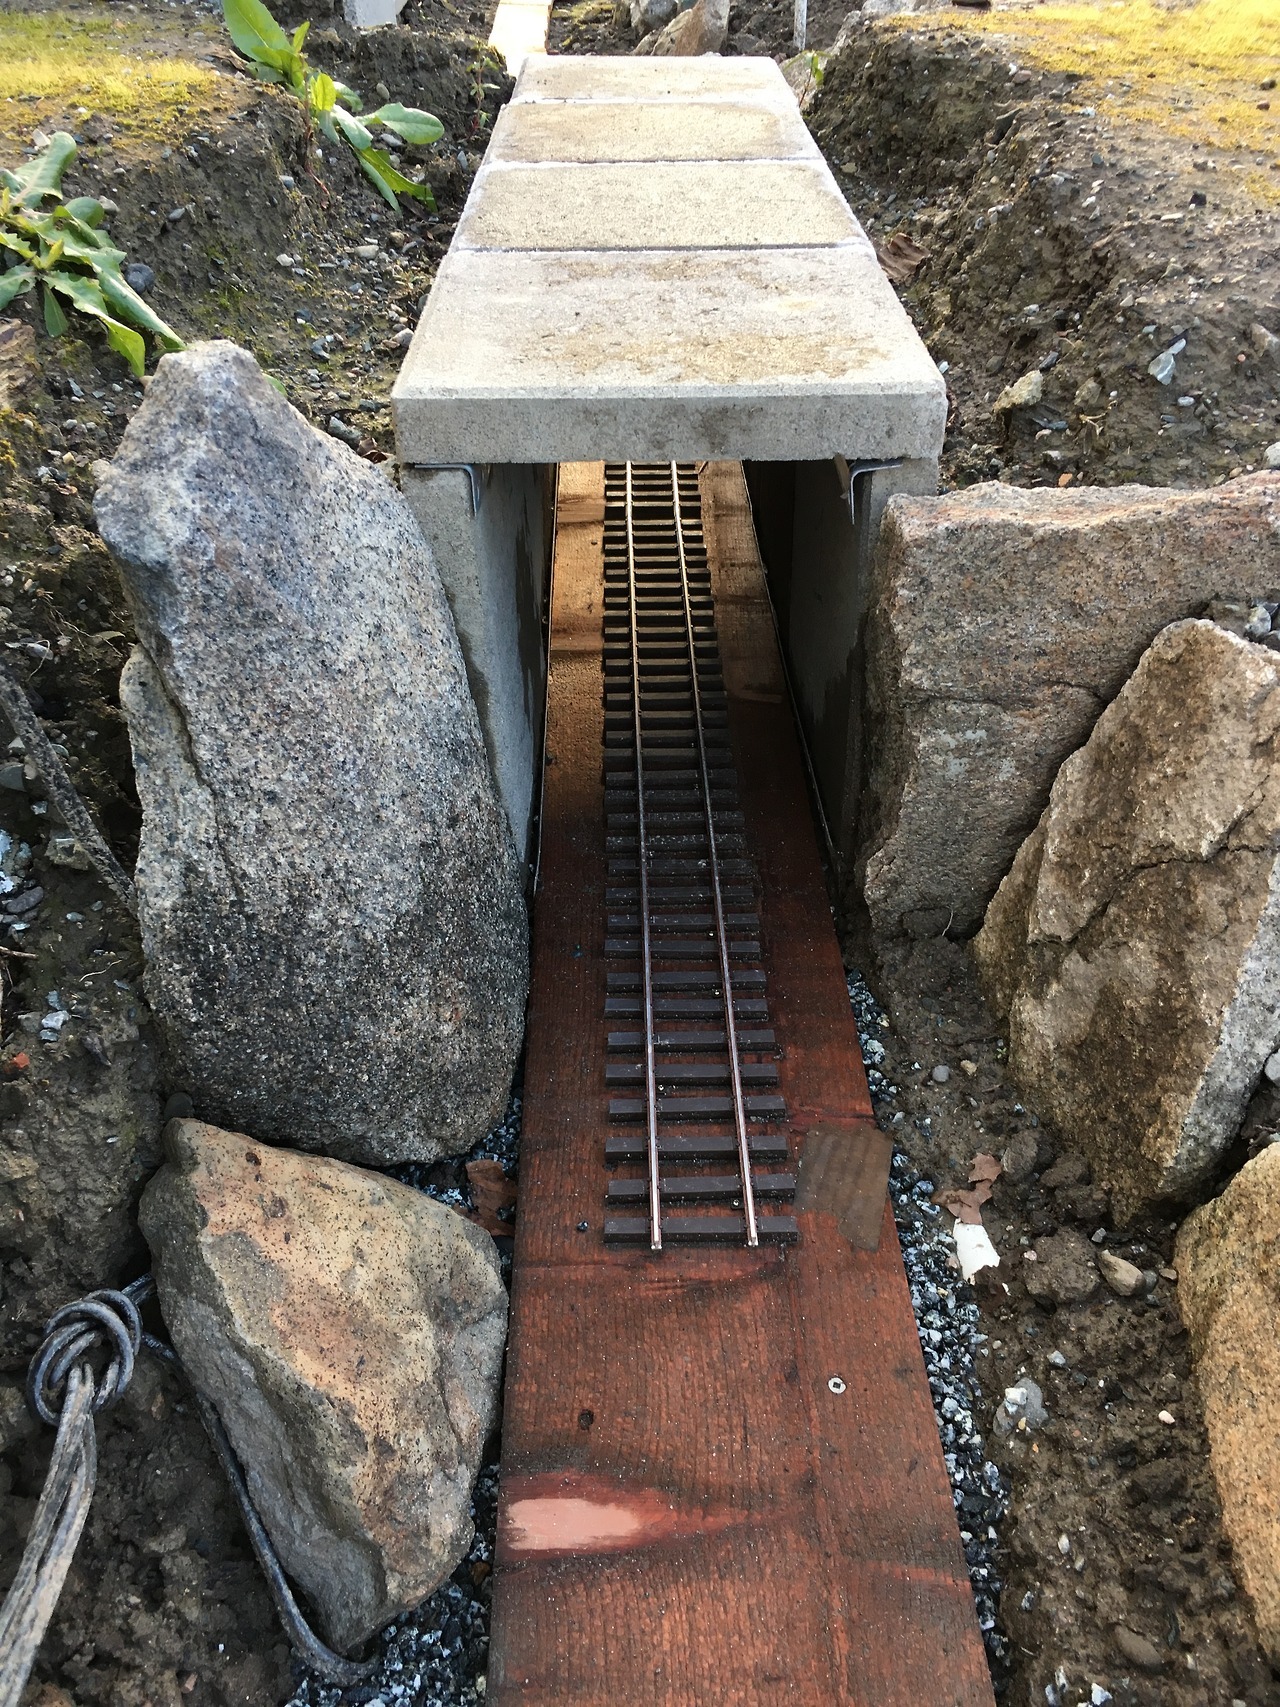
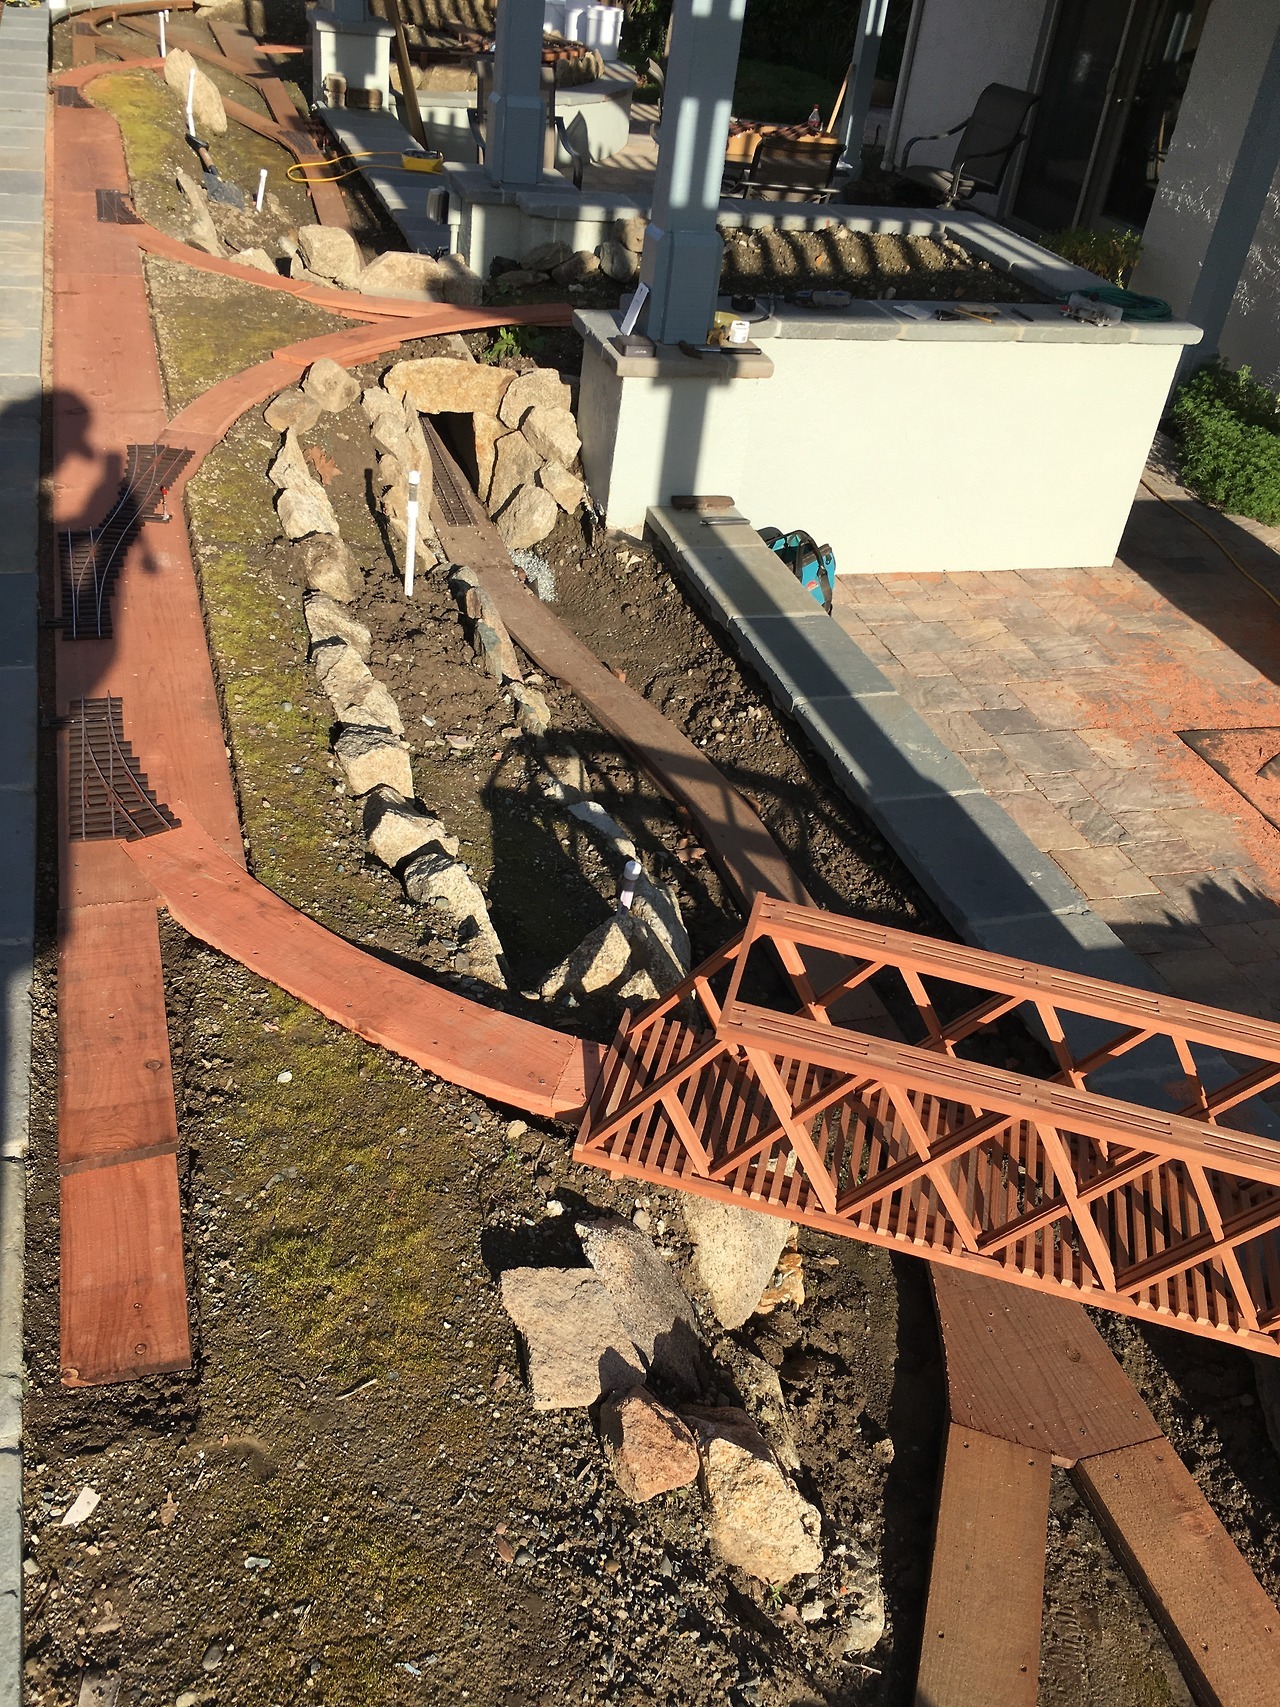
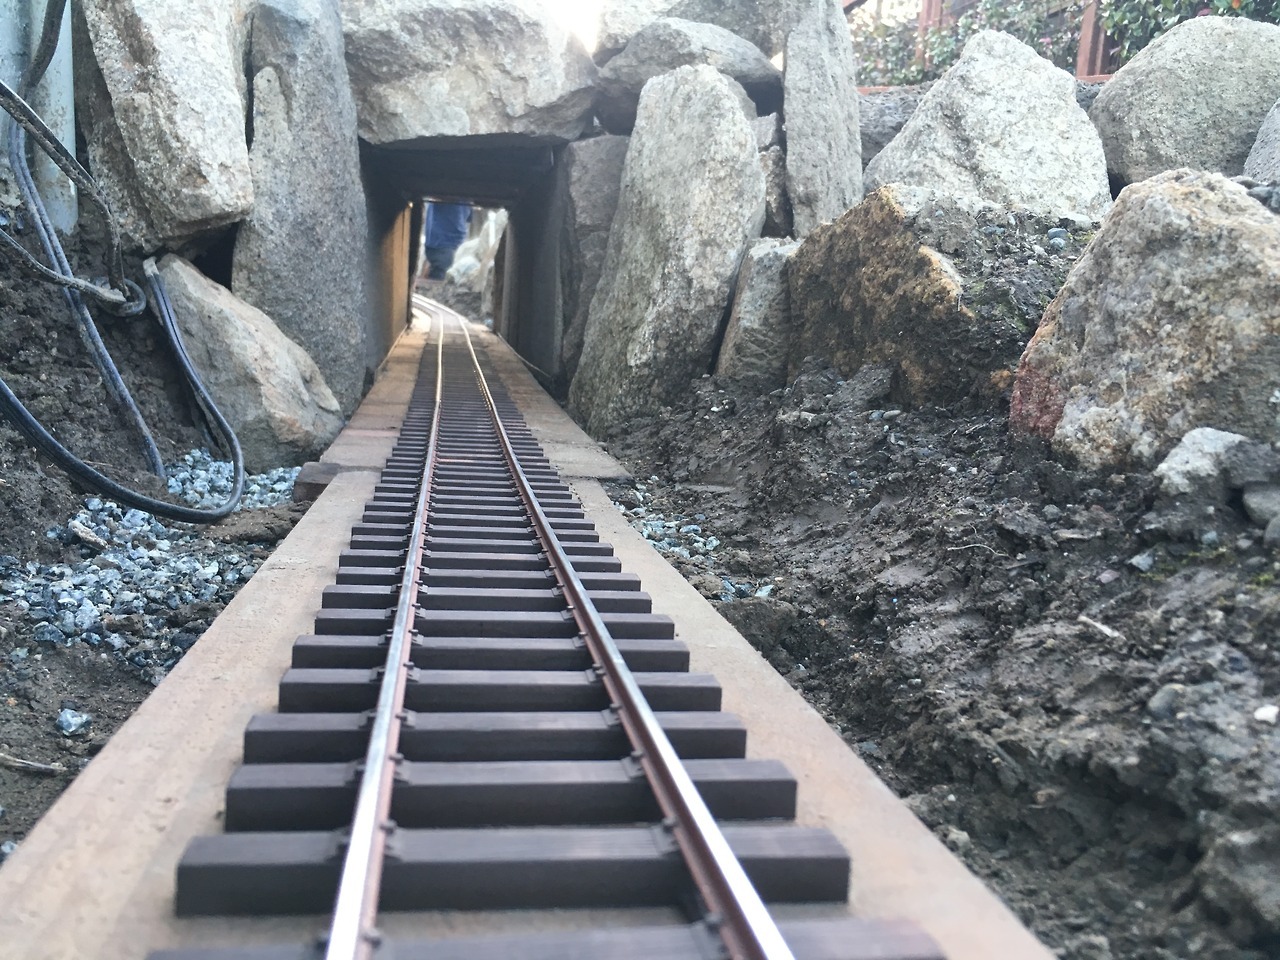
Got the tunnel roof on, glued down with Liquid Nails. Coincidently it rained (and hailed! that’s a rare one!) so I was able to check that the small French drains at either end of the tunnel did their job. Near as I can tell there’s no build up of water inside, which was our main worry.

Of course, plenty can still go wrong, particularly as things age (I have personal experience…).

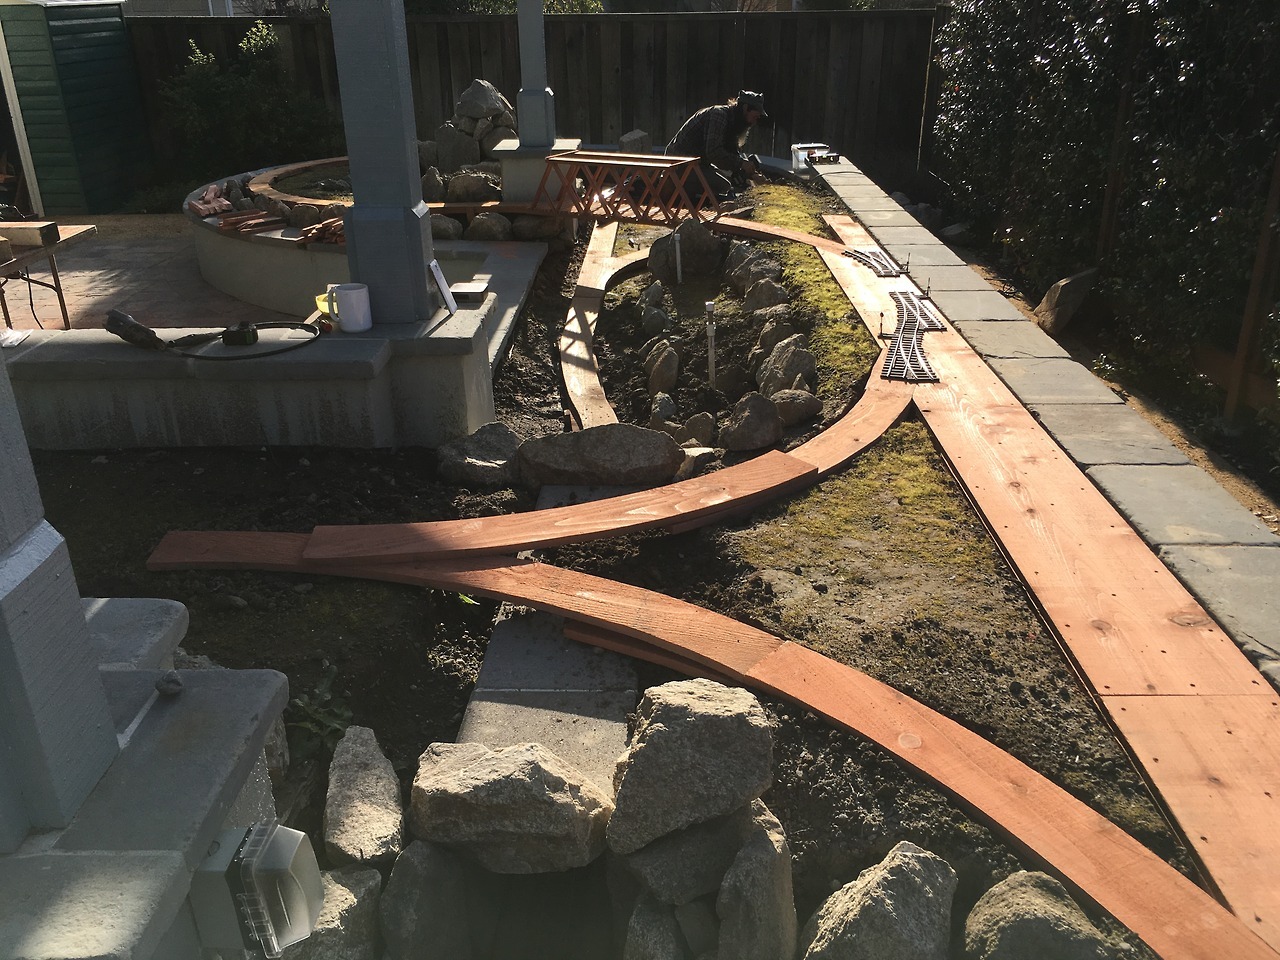
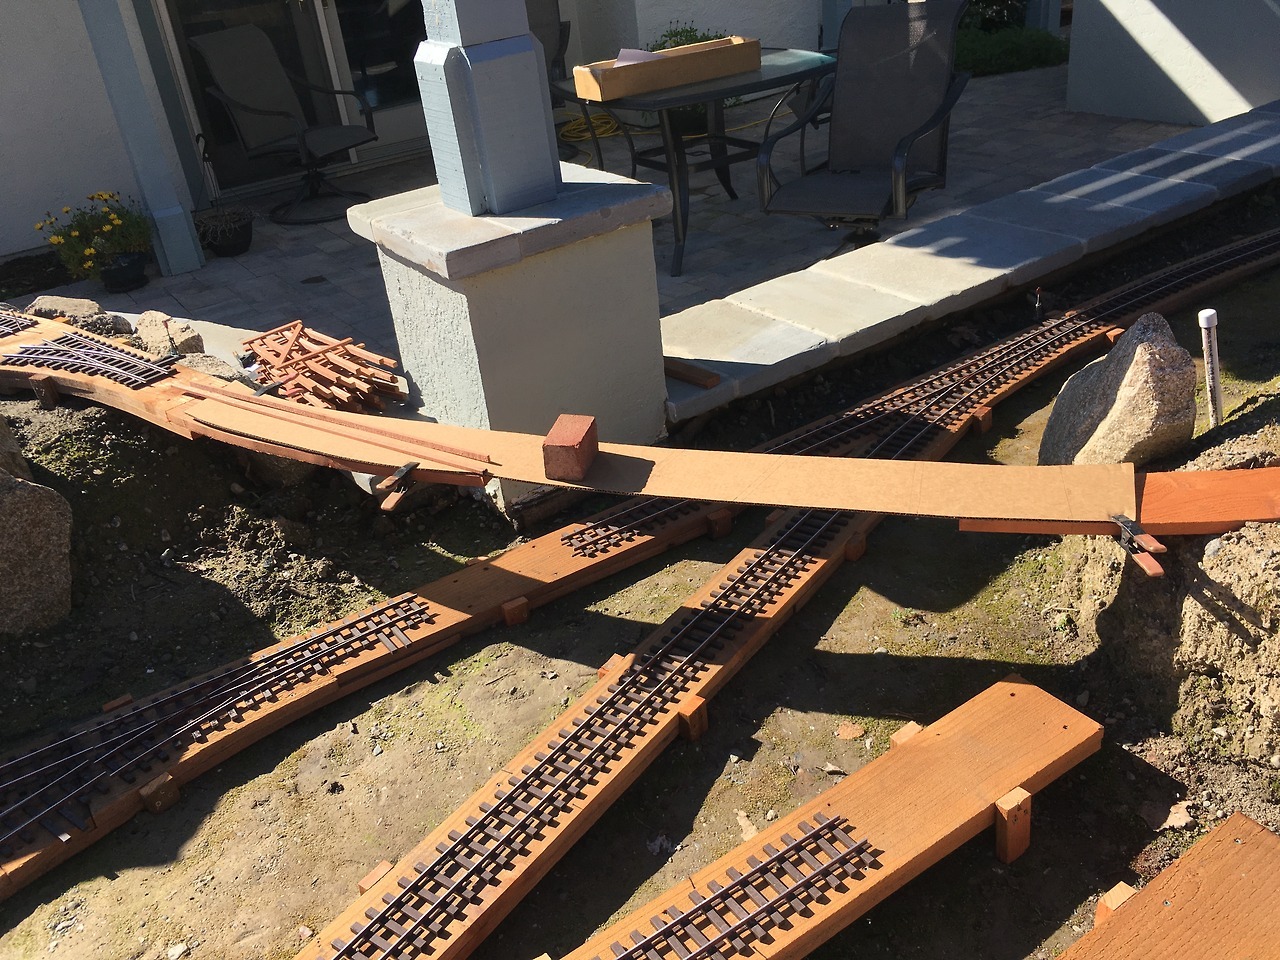
From the sawmill, Jasper side:

Tunnel closed, from Jasper side

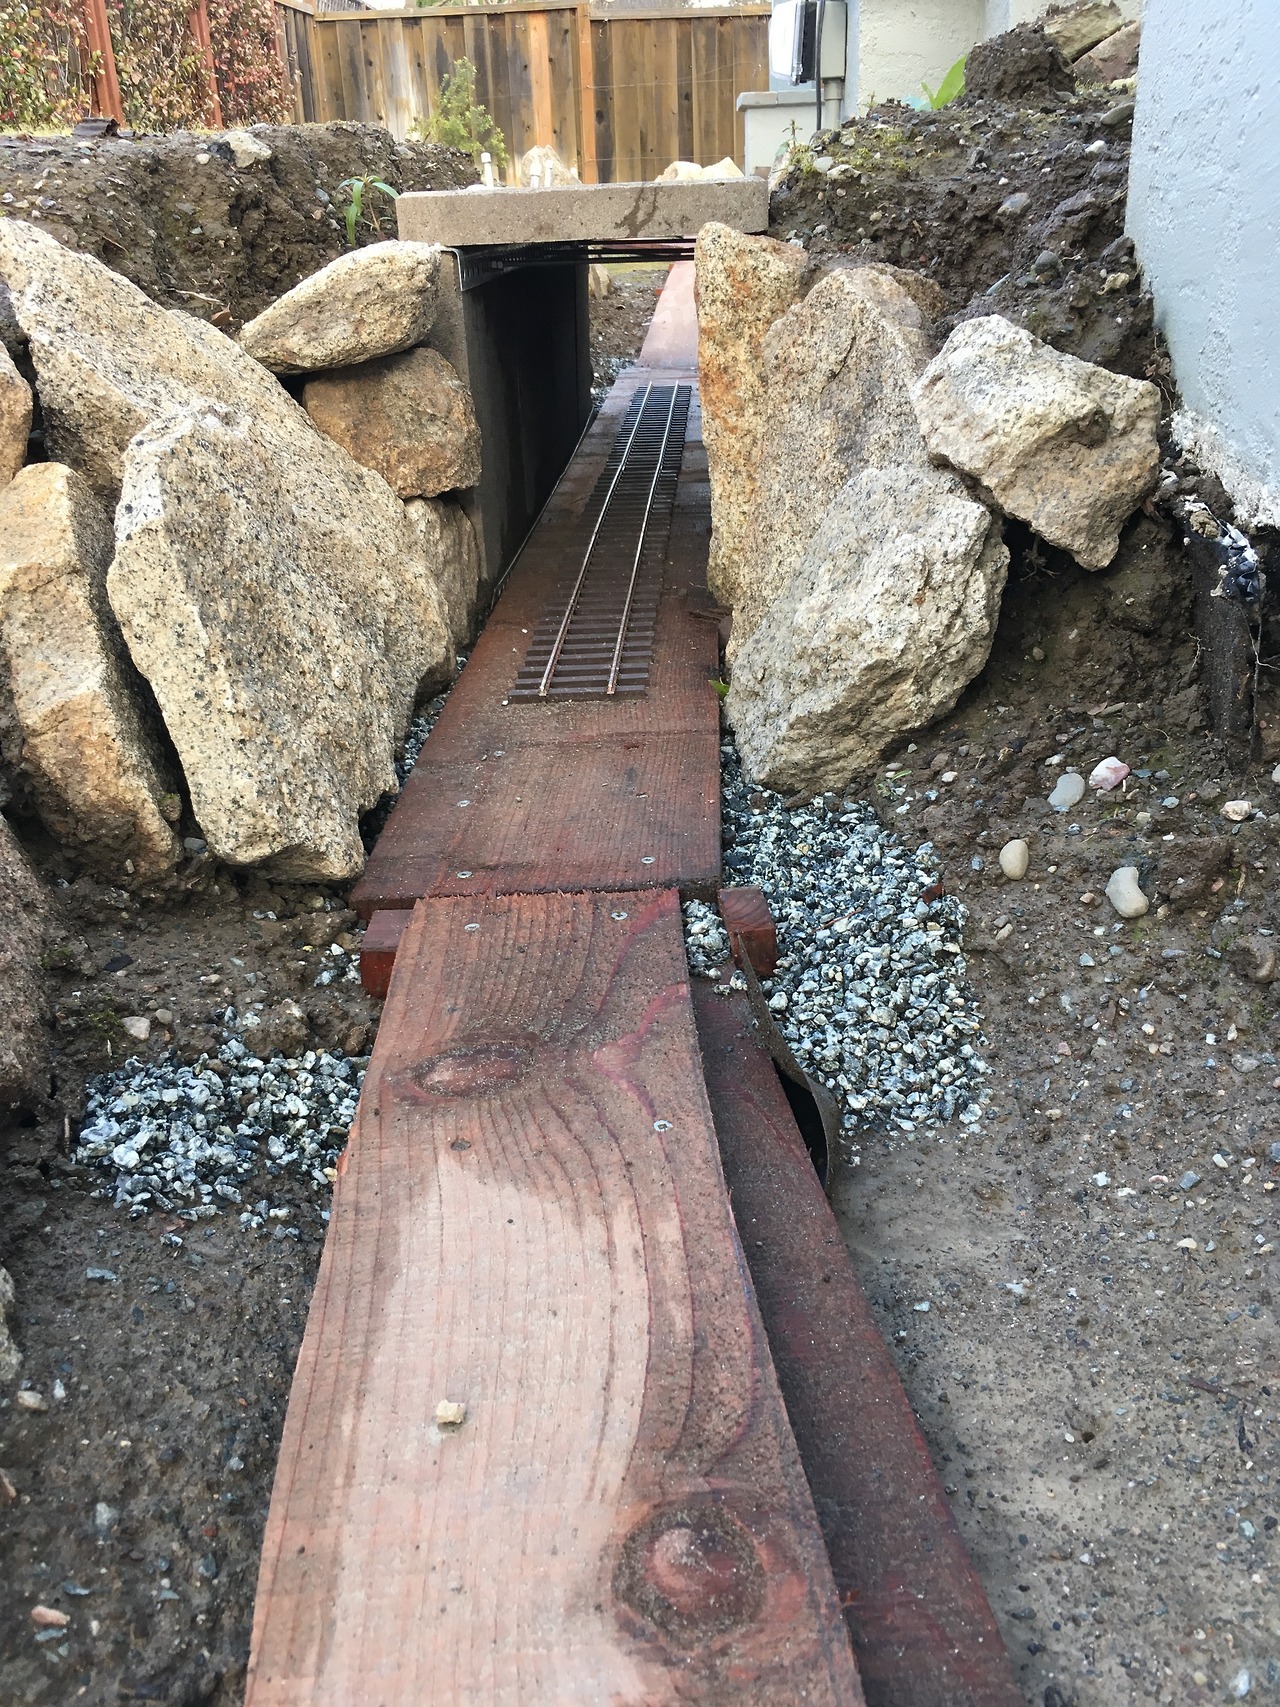
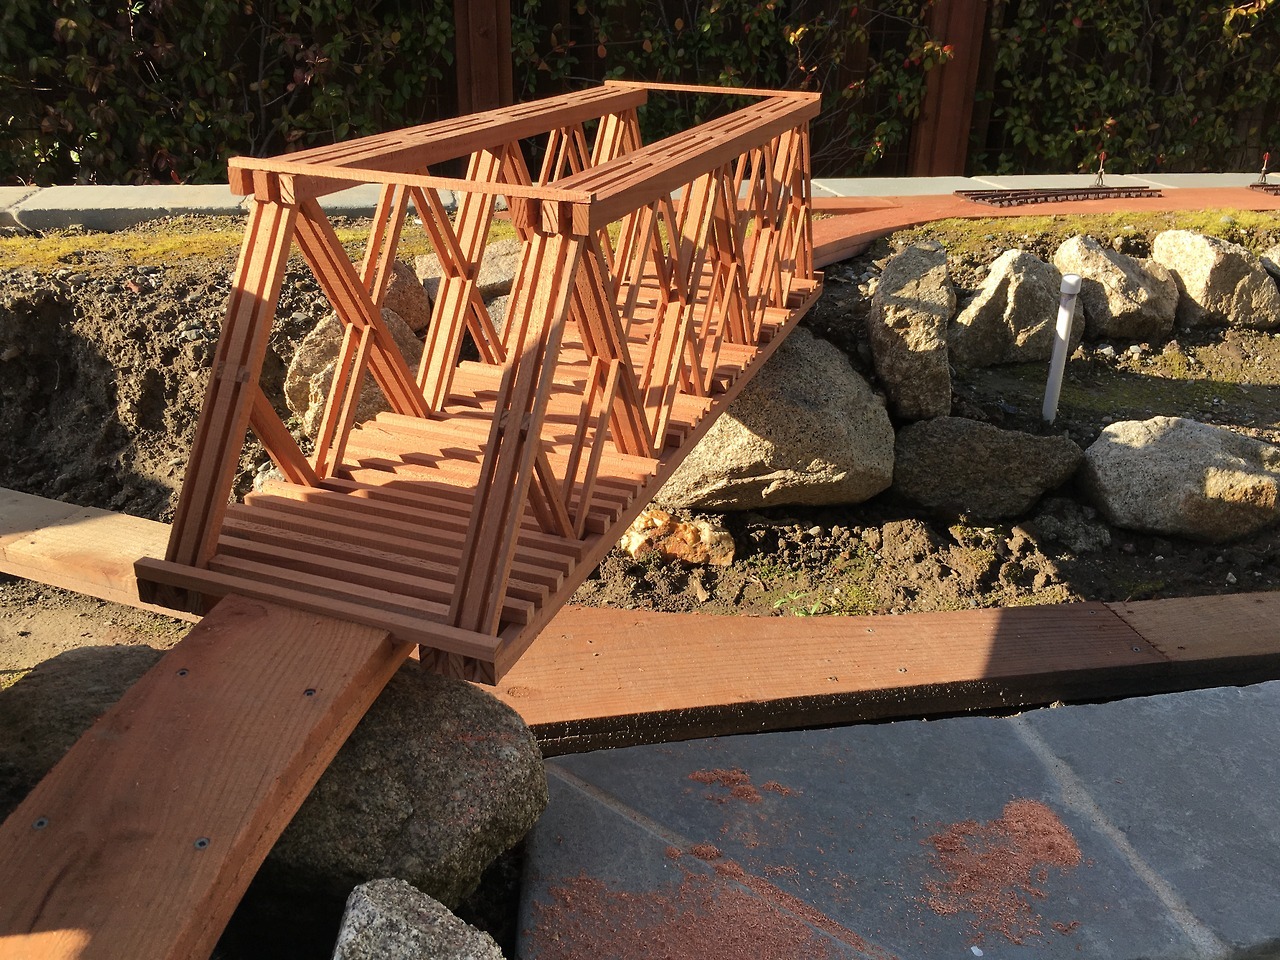
From the Durango side:

Tunnel closed, from Durango side

Daniel Smith returns tomorrow for another 2 days of roadbed, track, bridge, and trestle construction.

This morning he dropped off the Llagas Creek turnouts with switch stands, as well as a prebuilt bridge we are hoping to fit into the mainline crossing near the sawmill.

This is the Y for the logging area:

Y turnout with switch stand

And the bridge (not quite done yet):

Howe truss bridge

Cheers!

Daniel is here for the 4th day of track laying. Made a fair bit of progress: roadbed on the upper level, re-rocked the tunnel entrances, bridge loosely in place, some leveling and staking.

Here’s an overview picture looking from the Jasper side toward Durango:

From Jasper toward Durango

And this is a similar point of view, but in the opposite direction:

From Durango toward Jasper

The bridge loosely in place:

Bridge

Cheers!

nice work looks like trains will be running soon, before the heat of summer. Maybe discuss with Daniel about tunnel track being screwed down, I am thinking blocks screwed in place to hold track shown by Doc Watsons post, will be way better than dismantling things to fix issues that may pop up

Day 5 of track laying. A bit less than 100 feet of track and 4 switches are operational and work well.

Here’s a kind of silly test run of a log car showing the track:

And a few pix:

Durango

Durange loop

Tunnel portal on Durango side

I did the same kind of “silly run” when building my railroad. I put a Bachmann passenger car at the summit and let gravity carry it all the way down to the lower reverse loop. It scared the heck out of my neighbor’s dog.

Its coming along nicely.

Those ‘silly runs’ sound like fun! Am pretty sure a beagle from childhood would have chased the car.

That is one handsome turnout.

Finally got my Shay to run (stupid bad solder joint), thanks to help from folks here.

Day 6 of track laying: trestle (without track), remote switch mechanism (stiff wire in copper tube activated by ground throw), details in bridge (brass rods).

Here’s a quick video showing the trestle:

And a few pix showing the steps Daniel Smith went through to build the trestle…

Planning using cardboard to get bents, curves, retaining wall locations straight:

Planning

Retaining wall at one end:

Retaining wall

Test fitting of bents:

Test fitting

Final bent location with stringers:

Strings in place

Ties in place:

Ties

Final trestle (minus track):

Final trestle

Cheers!

Sigh. Suddenly the video I embedded didn’t work (at least for me). Trying again:

Very nice work, Jim. Love the trestle!

Wonderful design. I love all the woodwork!

Day 7 of laying track. Lots done today: Jasper loop, track spiked in to Howe truss bridge, back straight (hey, I did that!), and track spiked on to Durango trestle. Completed mainline loop!

Here’s a video:

And here I am putting in the golden screw (and yes, I did lay some track today and it was even straight…):

Now to get a beer and watch the shay go around for a while…

Cheers!

Great looking trestle, Jim. You and Daniel have done a wonderful job on the layout.

Beautiful work Jim!

Greg Elmassian said:

My concern about the redwood is that it can rot in the wrong climate/drainage, and it really depends on the quality of redwood.

You wood looks top quality, heartwood, not the crap many places try to sell, which is almost white and had little of the bug resistance redwood is famous for.

Pleasanton is indeed a “pleasant” “town” and has mild weather.

I do agree, NO screws in the tunnel, you want to be able to remove the track as a whole, unless you have the ability to daylight the entire tunnel easily.

Greg

I know the guy doing the work uses the same redwood on all the layouts he builds (he posts regularly on Facebook). He has built some amazing layouts and big. I don’t think he adds anything to the wood. He does beautiful work with wood and seems very knowledgeable. I know in my area it would be a roller coaster ride after one winter lol… I would be afraid to see the price tag for that much redwood out here.

Jim the layout looks great. Im a big fan of logging layouts. You have the best person for the job. Amazing talent. I have seen a lot of Smiths work on facebook and he has a lot of talent when it comes to building layouts. Some of the best woodworking skills I have seen.

. . . . . look’n WONDERFUL ! (http://www.largescalecentral.com/externals/tinymce/plugins/emoticons/img/smiley-smile.gif)

Jim,

With the 70’s and 80’s we’ve had here in P-Town for the last week progress is speeding along. You’ll have an operational railroad for the summer. Looking good!

You folks have raised very reasonable questions about dealing with heat expansion, and being worried about having everything screwed into place.

Daniel and I chatted about it, and he had his favored approach (of course). The current plan is to cut rails every 15-20 feet or so, and always between 2 switches that have any significant track between them.

Here’s an example of an expansion cut:

And here are the spots where I’m putting them (most are already in, some aren’t marked because we don’t have track there yet and I didn’t want to get ahead of myself):

These are being put in when the temperature is about 60, and I’ll be watching as we get to warmer weather, ready to cut more metal out if the gaps disappear. We don’t get above about 105 here.