Large Scale Central

Durango & Jasper track plan and build

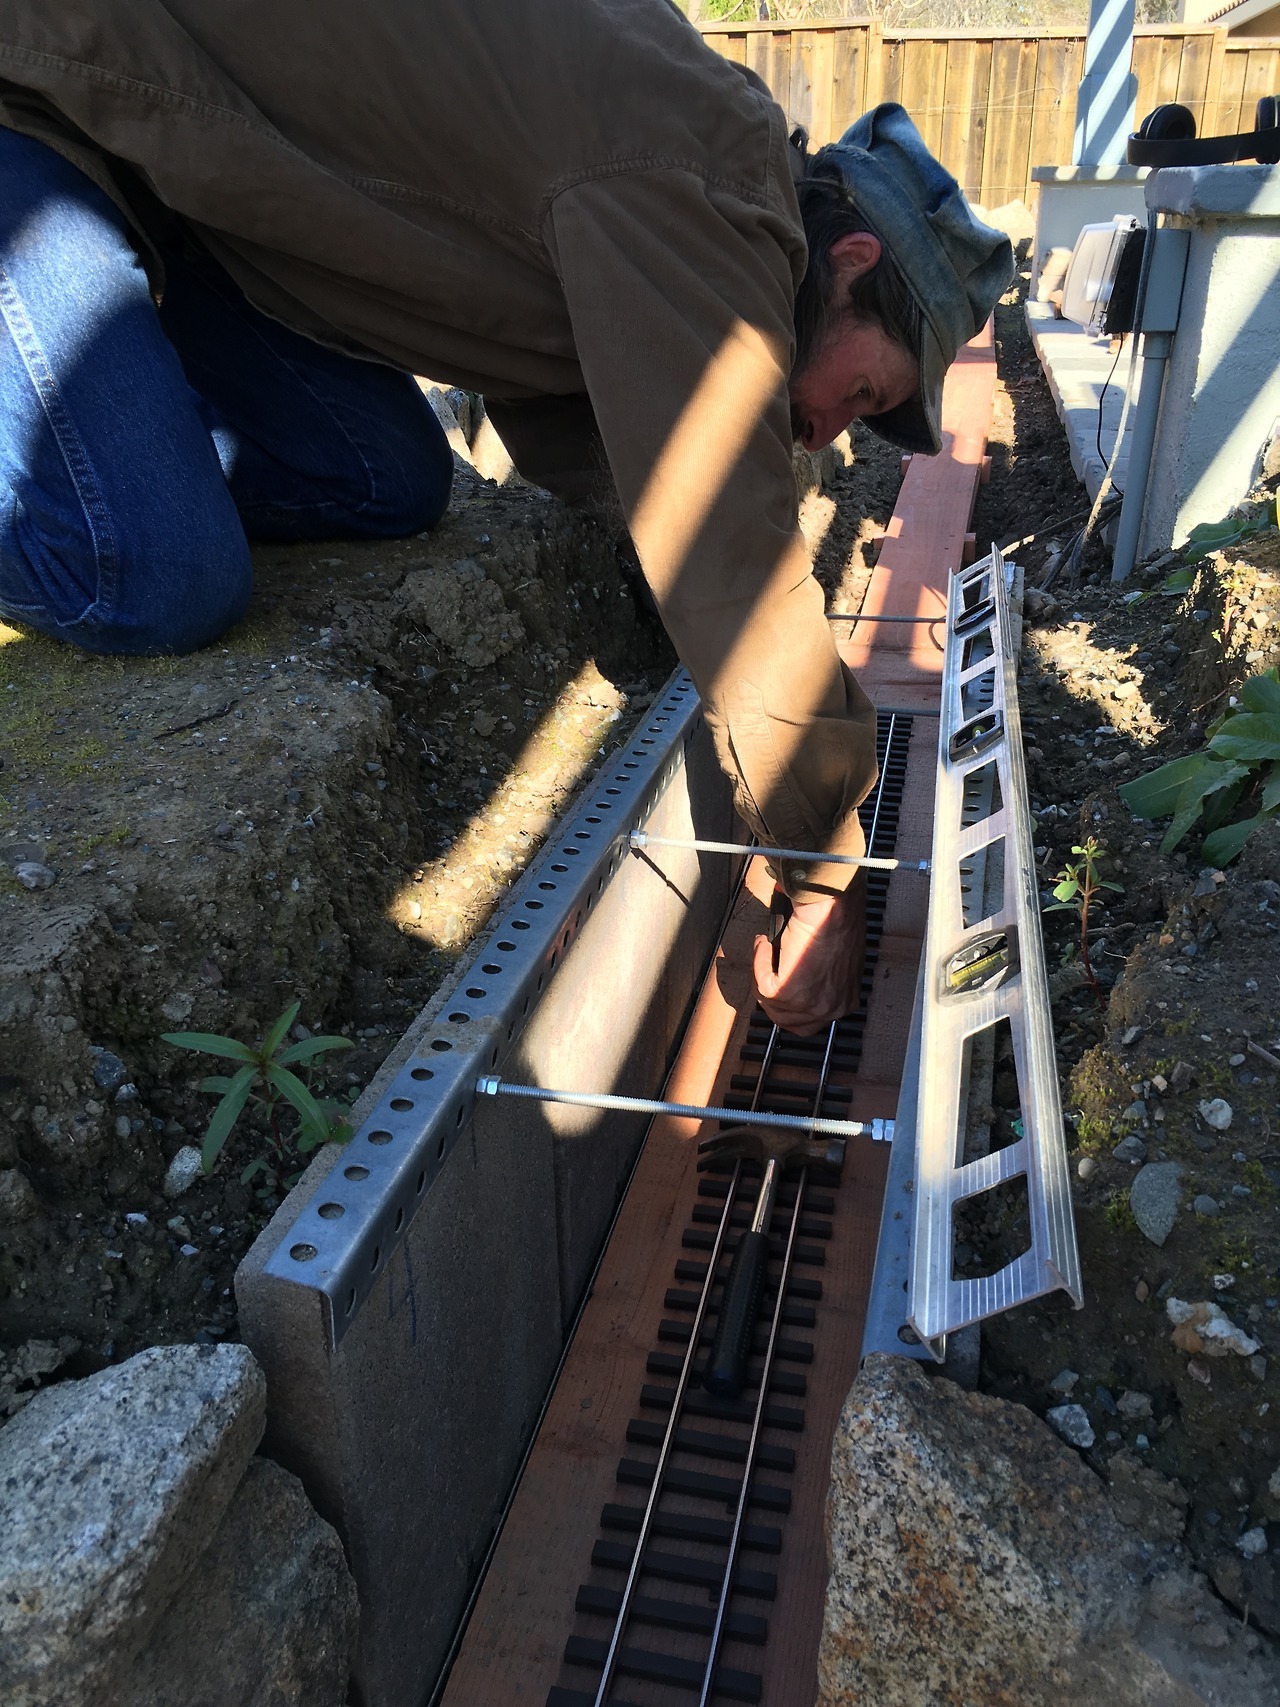
OK, day 2 of track roadbed with Daniel Smith. The lower layer of roadbed is in place but not yet leveled and staked in place. Tomorrow we will stake/level as well as laying down some track and closing over the tunnel.

We ran out of wood for the upper level and need to do some work on the switches, so Daniel will be coming back next week to get the mainline complete and runnable. There will still be some things left to do (of course), including the mine.

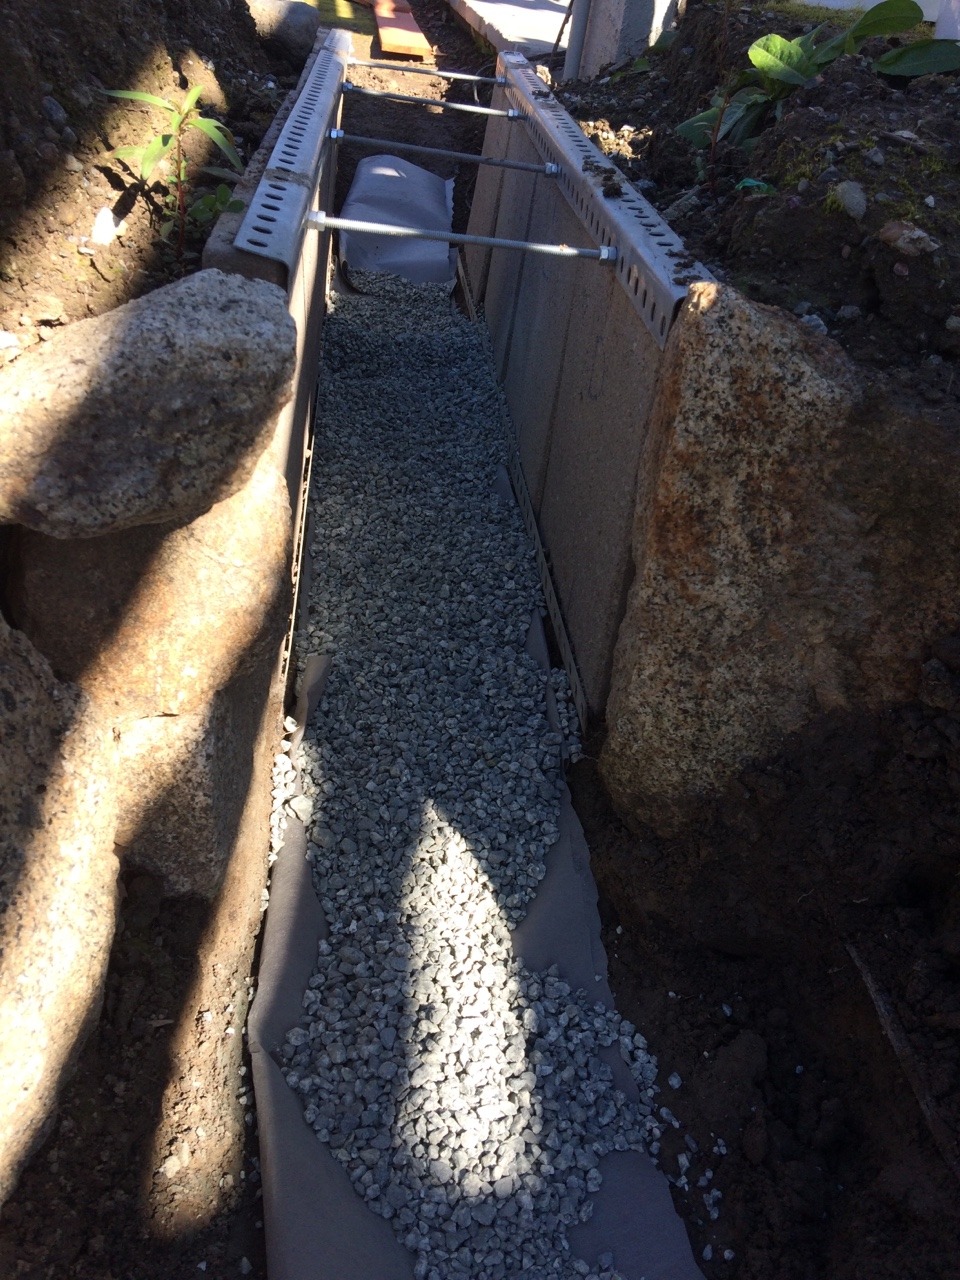
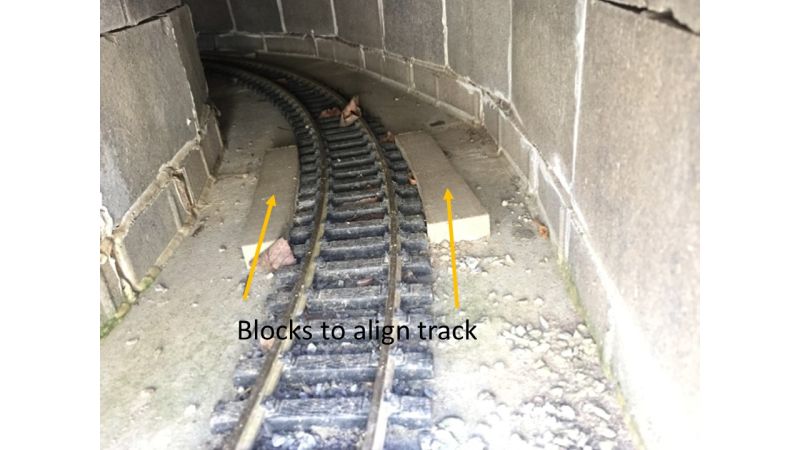
One thing that we decided today was that the tunnel was a low point on the railroad and pretty likely to be a water trap. We spent some time carefully sculpting the dirt profile to peak in the middle, and then leveled it with pea gravel. We also dug small “french drains” filled with pea gravel off to the sides of each end to provide a place to drain. Fingers crossed that this is enough.

Here’s the pea gravel poured into the tunnel, on top of some landscaping cloth. A piece of redwood will go over this for roadbed. Sorry for the low picture quality, too much contrast between sun and shadow here :frowning:

Pea gravel in the tunnel

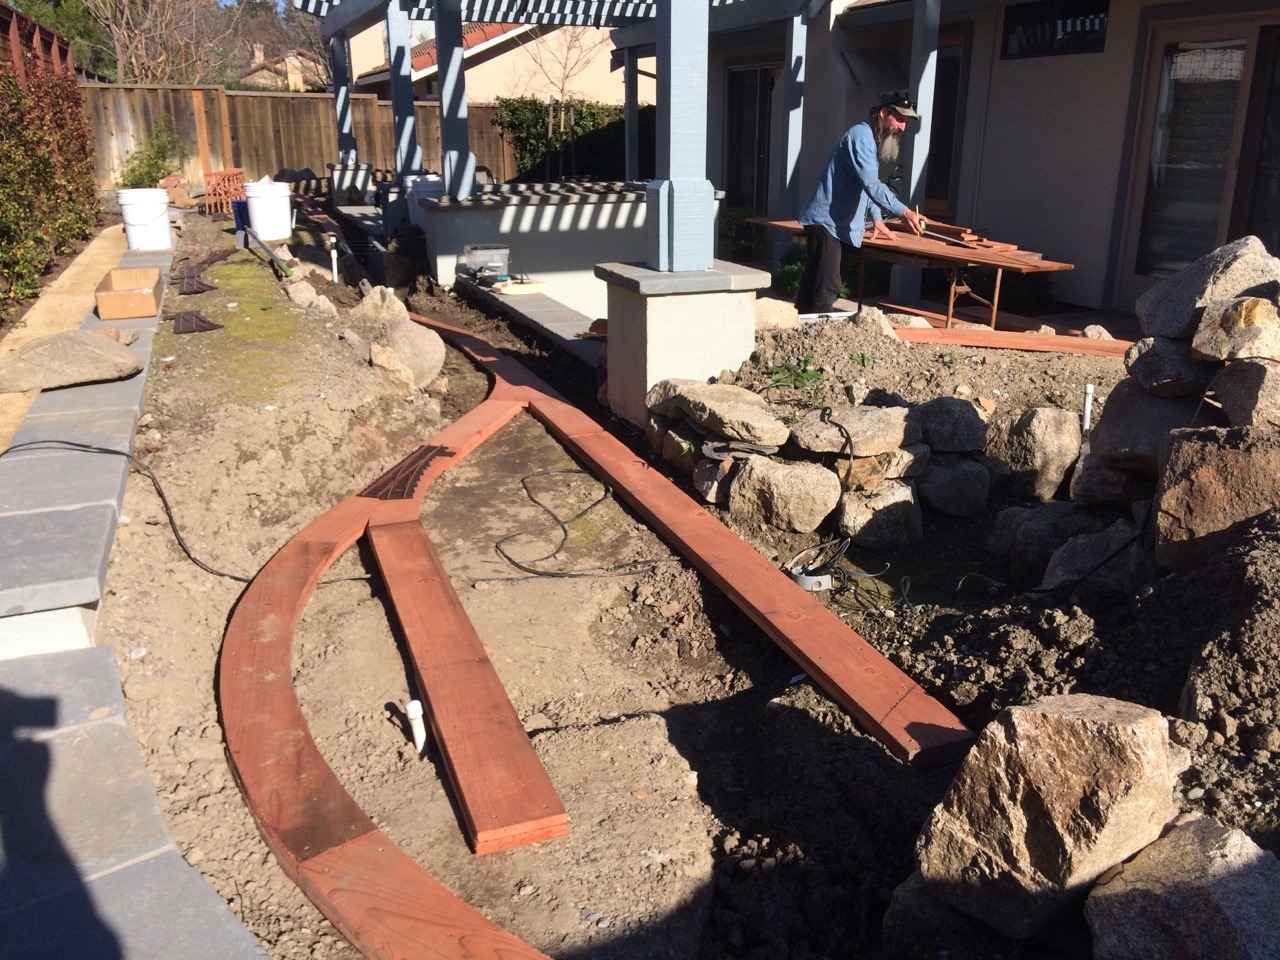
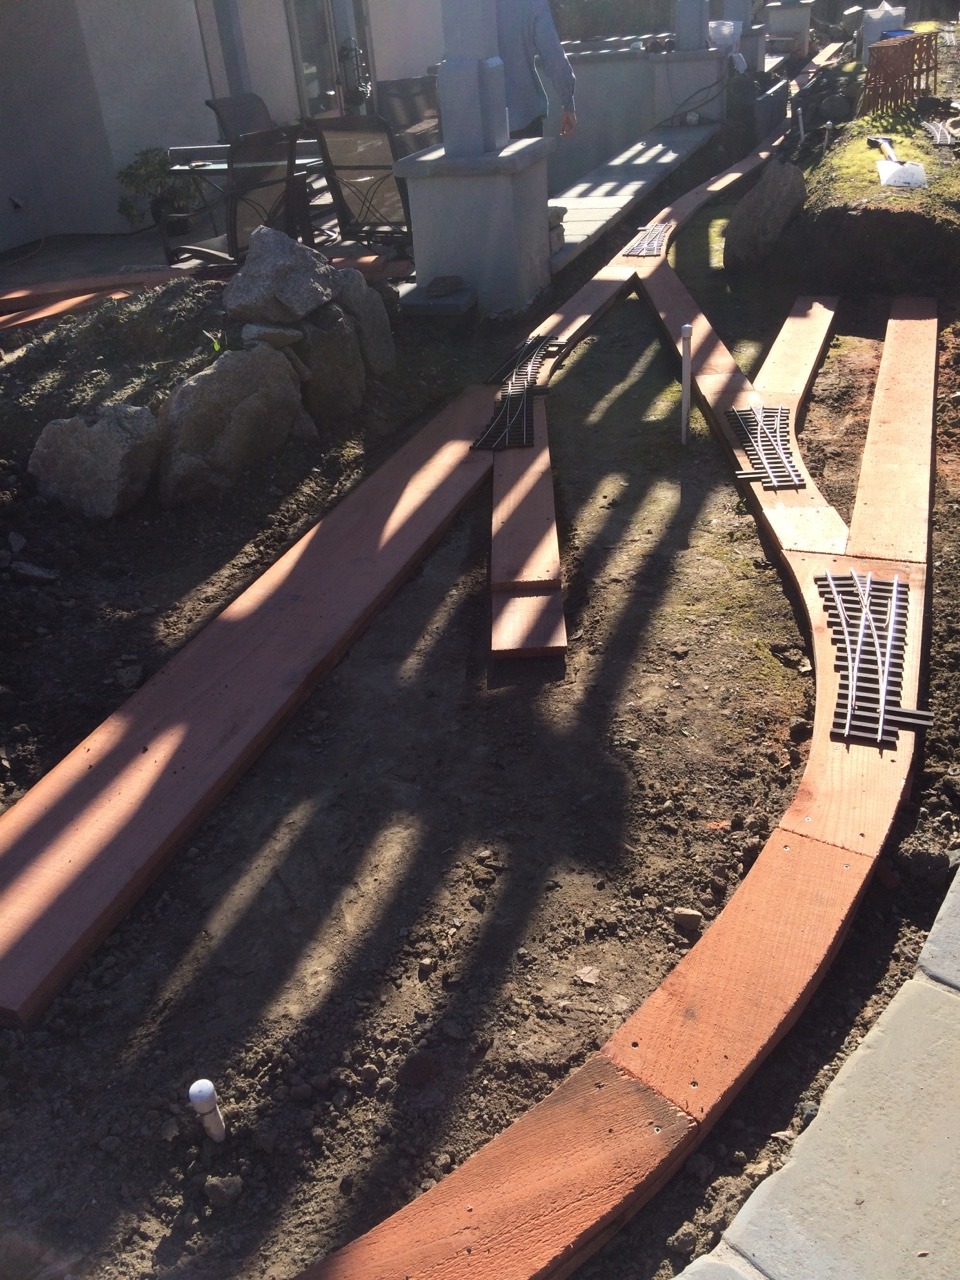
Here’s a view from the Jasper side, looking back toward the tunnel. The sawmill fits between those 2 sidings. That’s Daniel cutting some wood.

Sawmill area in Jasper

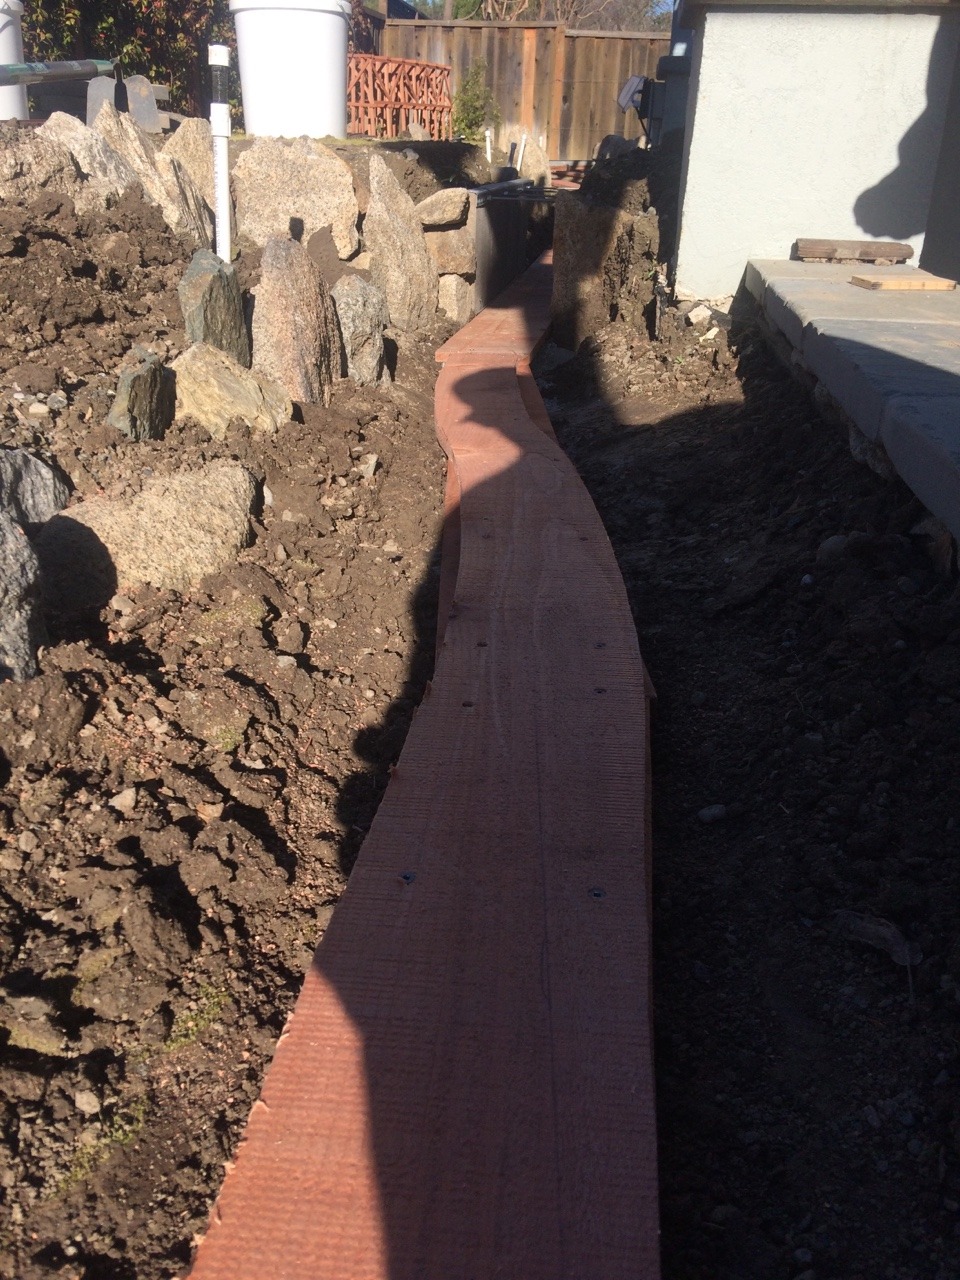
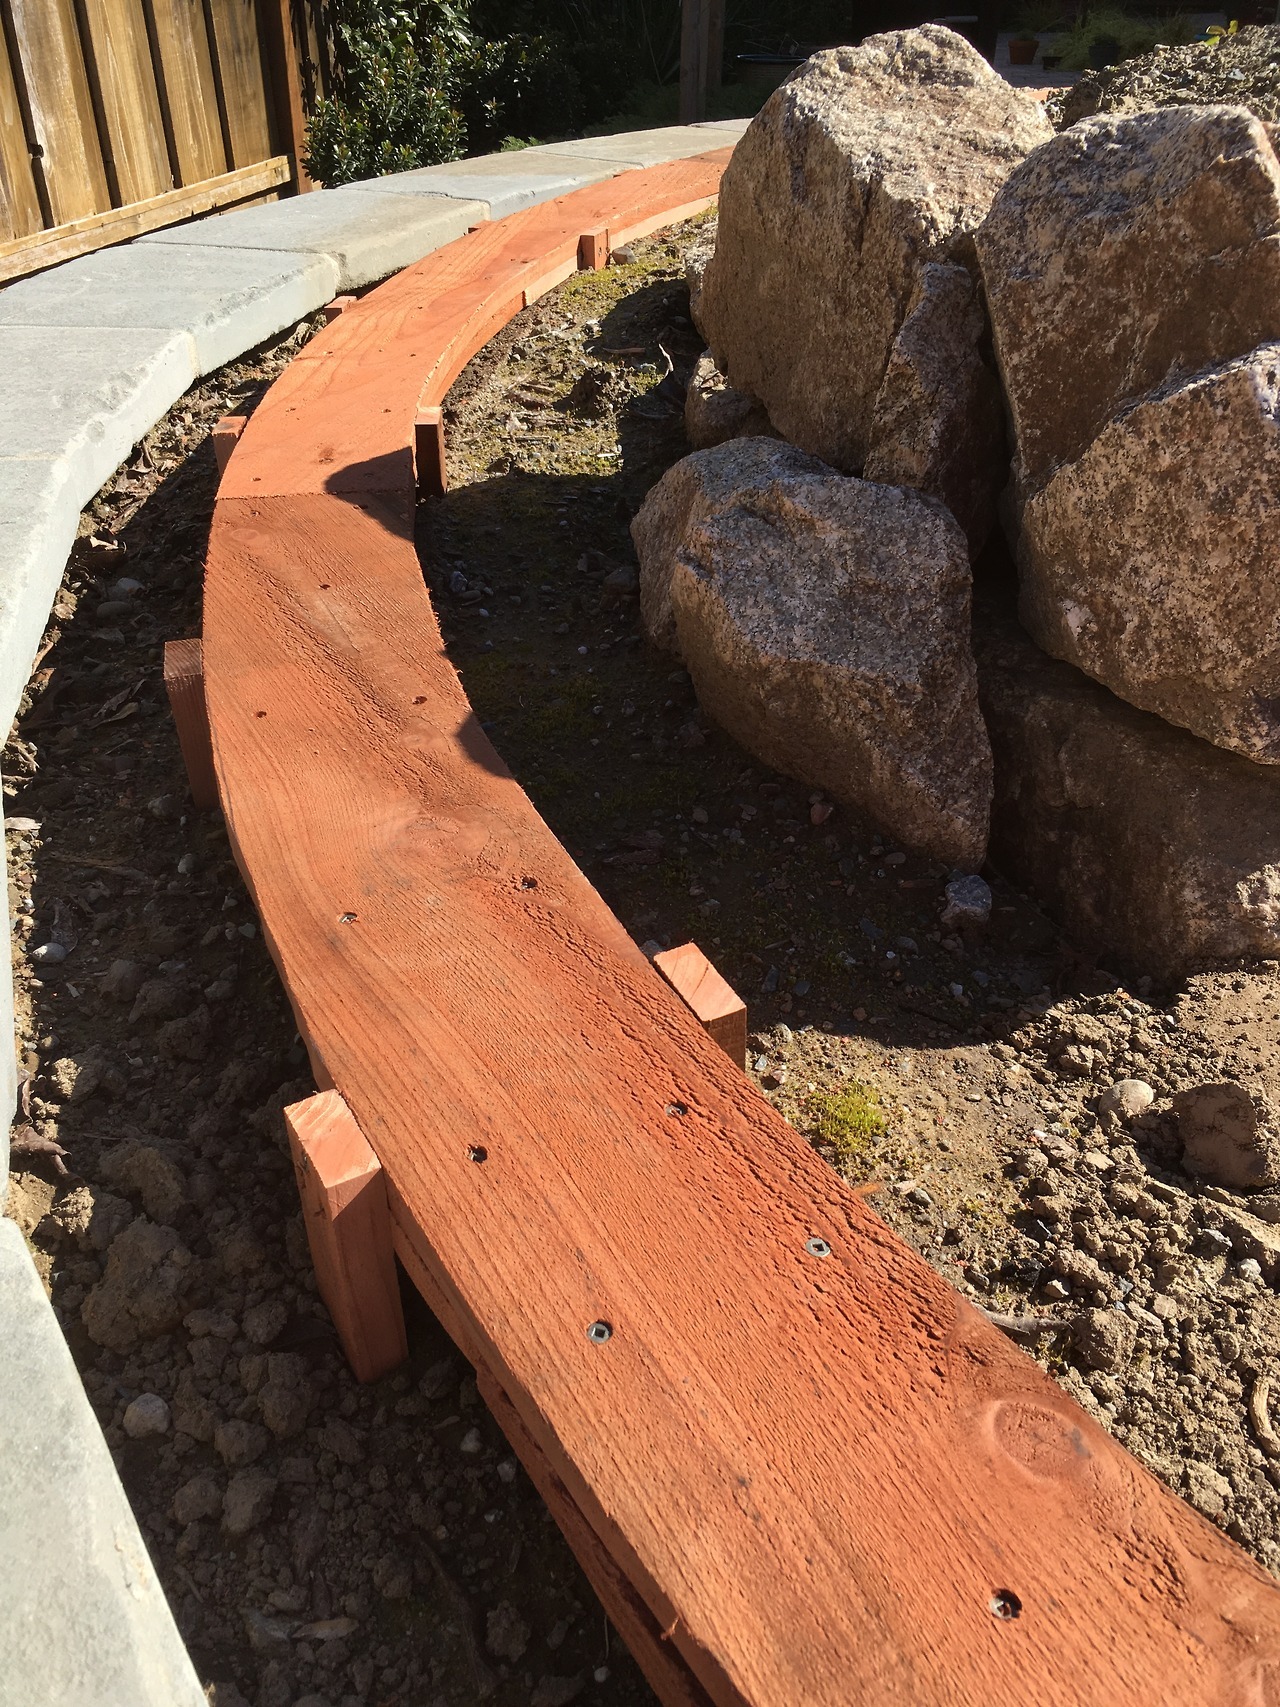
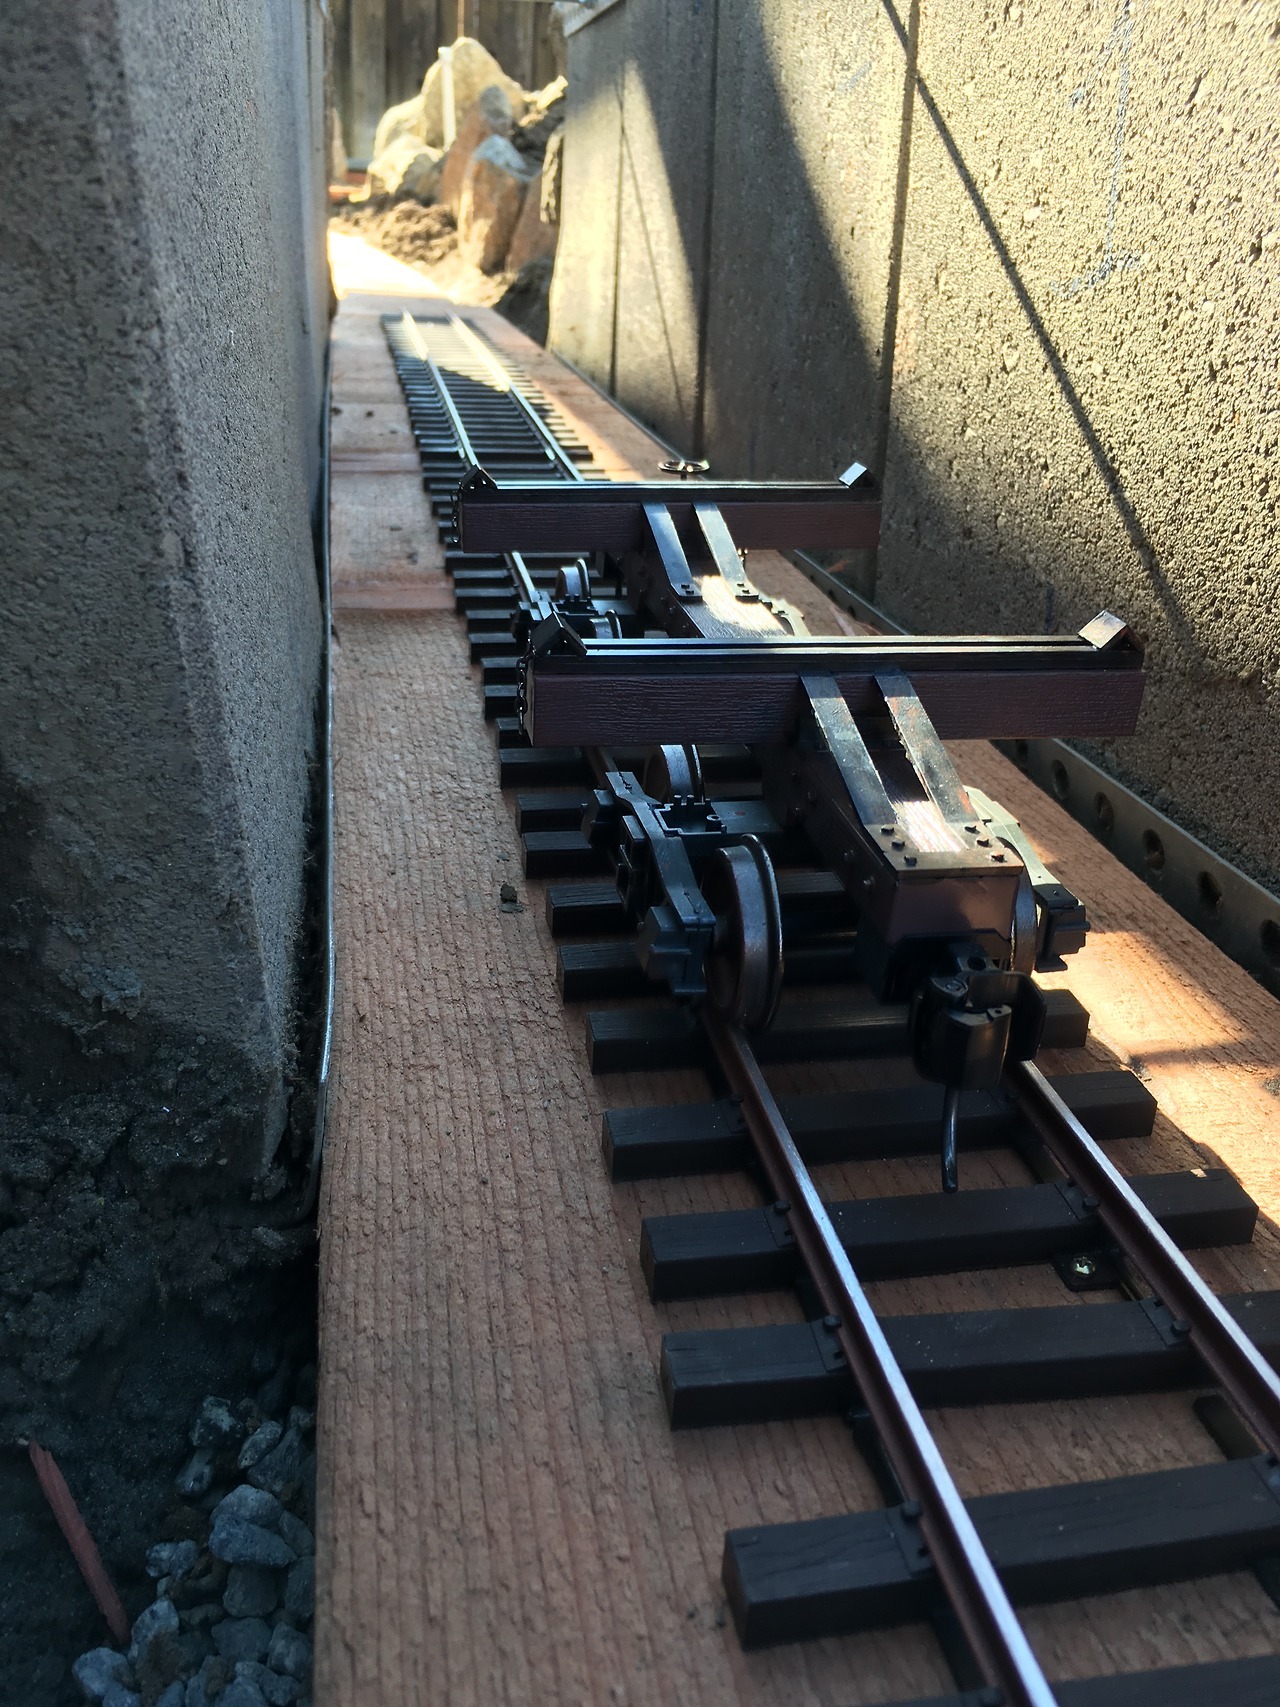
This is the gentle S curve that leads from the sawmill turnout into the tunnel:

S-curve leading from Jasper to the tunnel

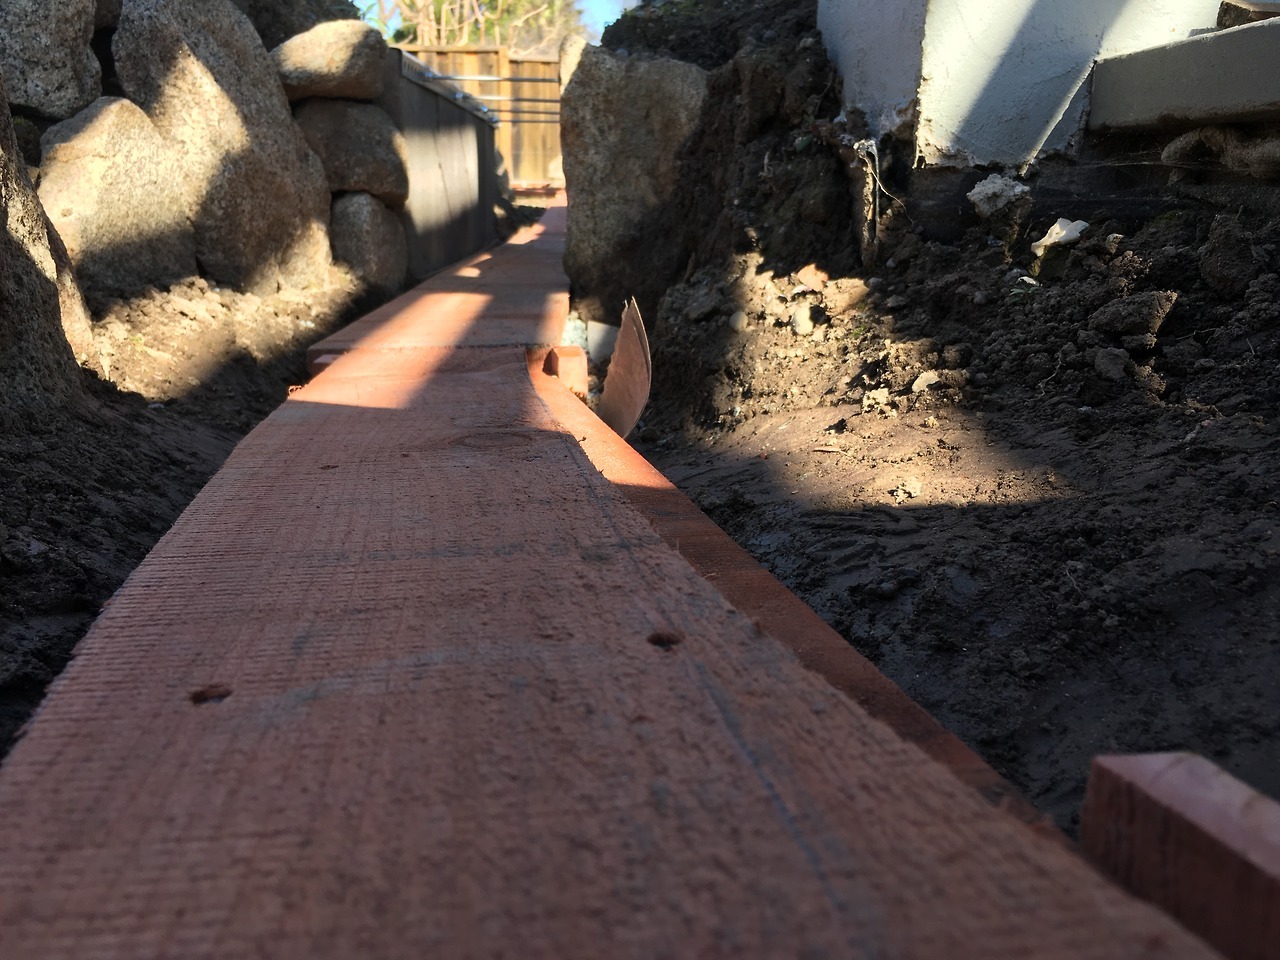
Here’s the Durango side of the tunnel:

Durango tunnel approach

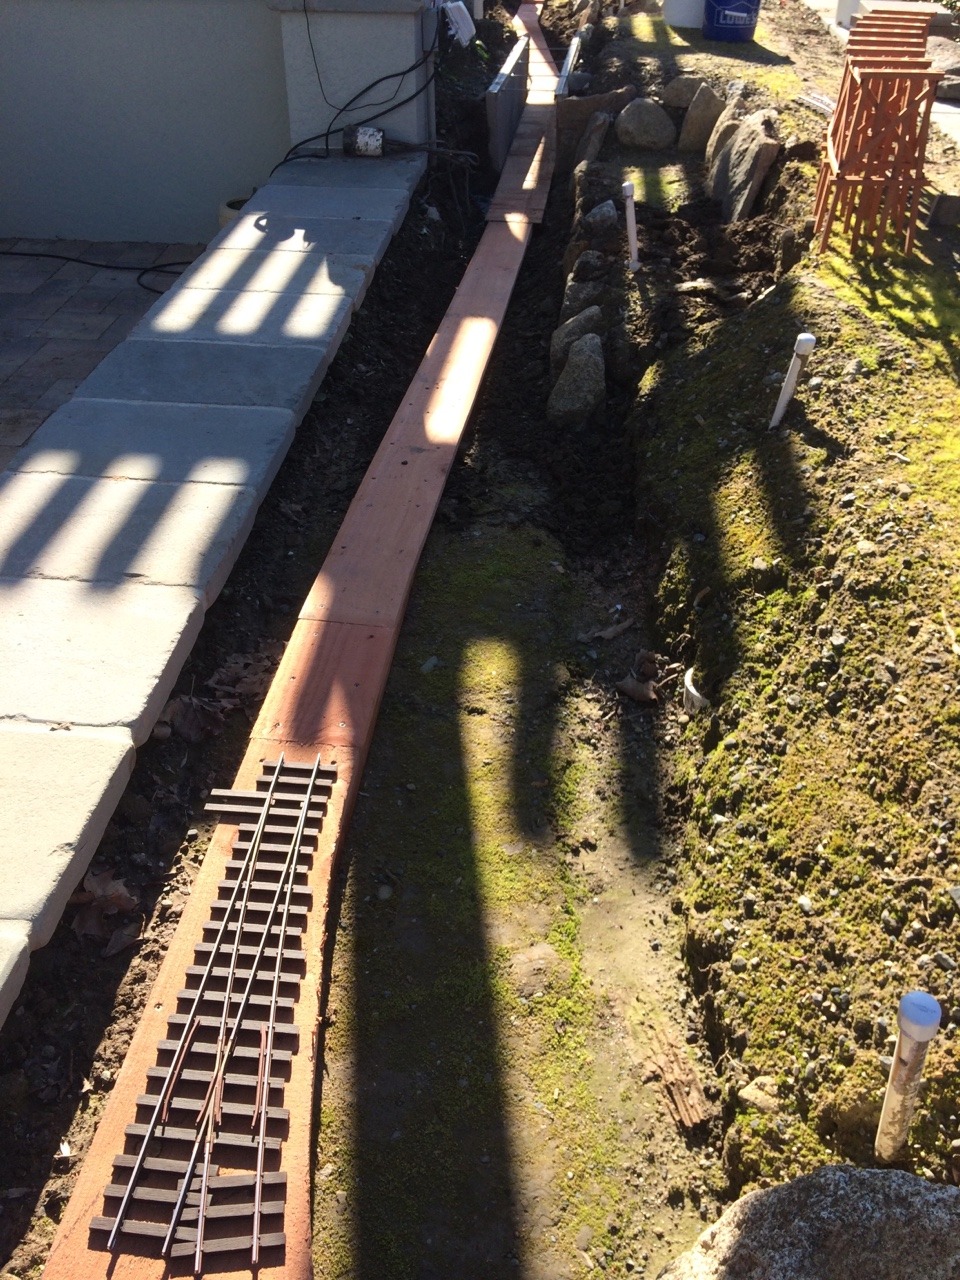
And here’s the yard in Durango (it got finished… I took the picture too soon :-)). The 2 tracks on the far right are for an engine house (the rightmost track will be inside, the other outside).

Yard in Durango

Cheers!

Are you going to put some preservative on the wood?

Greg

Greg:

According to Daniel Smith, the redwood is just fine as it is. Standing water is not so great for it, but the regular moisture in the ground is not a problem as I understand it. That’s why we went to the extra effort to drain the tunnel.

Get back to me in 10 years and I’ll let you know if this was a good idea :slight_smile:

Jim,

The redwood should hold up just fine. I used 1/4" thick redwood bender board cut into 1 1/2" wide strips and laminated with wood glue as roadbed for my last layout when I lived in California. Here is a photo of me (before my hair turned gray) and my two youngest sons working on the layout back in the early '90s. That is Micro Engineering code 250 aluminum flex track we are nailing to the roadbed. I still have that same track and am using it on my current layout. When we moved in 1996, I pulled up the track from the roadbed and cut the roadbed into eight foot long pieces. I moved the roadbed to Oklahoma and stacked it up outside behind my shop, thinking I would someday re-use it. I never did, but the pile of redwood roadbed is still there. Other than turning dark gray, it is still in pretty good shape. By the way, the baby dressed in red in the photo is now 25. The other son, nailing the track, is now 29. I wouldn’t worry too much about the redwood. It will probably outlast you.

Bob

Great pic and story, Bob. I love it! My kids are late 20’s early 30’s, but I do have a 6 year old grandson who I’m pretty sure is going to enjoy the trains when he visits (he’s in Florida so it won’t be often, sadly).

Good to hear about the redwood. I won’t stay awake nights worrying about it :slight_smile:

Cheers!

Day 3 of laying track with Daniel Smith.

Today was mostly about leveling and staking, the end loops and the tunnel. Also put in the short piece of track through the tunnel so we can close the tunnel up.

Here’s the loop around Durango after being staked:

Staking the roadbed

Here’s Daniel putting in the first screw in the first piece of track, kind of the opposite of the golden spike. What is that, the brass screw? Sounds vaguely bad…

Putting in the

The tunnel approach from the Jasper side (before track):

Tunnel approach from Jasper side

And the obligatory “first car on the first track” image:

Log car in tunnel

That’s all for this week. Next week: finish staking, roadbed on the upper section, lay the rest of the track on the mainline and possibly some of the sidings, build bridge and trestle on mainline. That sounds like a lot to do in 2 days, so we’ll see!

Cheers!

Jim, I don’t think I’ve seen so much progress on a railroad in so little time! You guys work fast! Are you working with Llagas Creek Code 250 aluminum with 1:20 scale narrow gauge, 1:32 standard gauge, or “G” scale ties?

The 1:20 scale narrow gauge ties on the code 250 aluminum track.

Daniel Smith is the reason for the fast progress. I’d still be cutting redwood and wondering whether I was doing it right after 3 days :-).

Good stuff and loving the thread!

Thanks for sharing!!!

Bob jacked up the thread first noting that he broke the rules on page 2!

This post has been edited by : Rooster

My track is on wood, but I have to let it float due to expansion and contraction. Good luck with screwing it down.

John

I think any screws in the tunnel is a bad idea.

If you need to take the track out you would have to remove the screws…could be tough .

A screw at the beginning and end of the tunnel would work.

Great progress!(http://largescalecentral.com/externals/tinymce/plugins/emoticons/img/smiley-laughing.gif)

To keep my track aligned and in place in my tunnel, I glued some wood blocks on each side of the track about every foot. This will allow me to remove the track if a problem occurs.

Doc Watson

Jim,

Great to see you making progress on your railroad, keep up the good work.

My concern about the redwood is that it can rot in the wrong climate/drainage, and it really depends on the quality of redwood.

You wood looks top quality, heartwood, not the crap many places try to sell, which is almost white and had little of the bug resistance redwood is famous for.

Pleasanton is indeed a “pleasant” “town” and has mild weather.

I do agree, NO screws in the tunnel, you want to be able to remove the track as a whole, unless you have the ability to daylight the entire tunnel easily.

Greg

A side note, and comment on one picture posted…Jim; so nice to see a B’mann log car with Kadee couplers properly installed…!! Properly installed, enhances the car and its operation.

Don Watson said:

To keep my track aligned and in place in my tunnel, I glued some wood blocks on each side of the track about every foot. This will allow me to remove the track if a problem occurs.

Doc Watson

OK, I’m a little dense this morning (shut up, Devon). (http://www.largescalecentral.com/externals/tinymce/plugins/emoticons/img/smiley-innocent.gif)

Doc, can you ‘splain this mo’ betta? Thanks.

All of this advice is awesome, thanks. I appreciate all the years of experience (not all good I’m guessing) that is behind it.

For now, I’ve decided that my tunnel is short enough that I can rip out that section of track and replace it if necessary, with only a few hundred swear words involved. I may regret that and, if so, will be back to pay proper respects to my betters. Meanwhile, this way the track is exactly where I want it.

Fingers crossed.

And Fred: thanks for reassuring me that body mounting those Kadee’s on the log car is the right decision. I was of several minds (sometimes at the same time which is a little scary), but ended up there. I think my radii are large enough to be ok.

I’ve got my Bachmann log cars couplers body mounted just like you do. My smallest curve is 10 ft diameter.

Steve,

Here’s a photo of the inside of my tunnel showing the 2 blocks (PVC decking material) that I glued to the tunnel bottom to help keep the track aligned.

(http://largescalecentral.com/FileSharing/user_2849/My%20Trains/Tunnel-7.jpg)

Hope this explains what I did. The tunnel was installed 8 years ago. Pardon my dust.

Doc Watson