Large Scale Central

Don't know if they'll get done for 2011 challenge

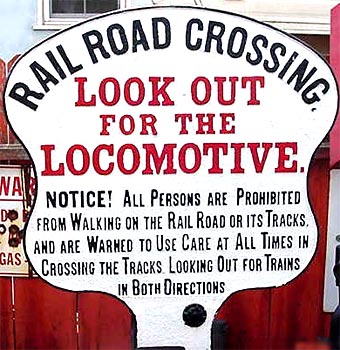
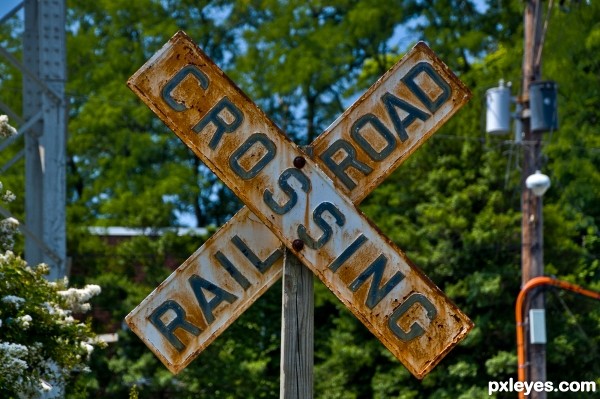
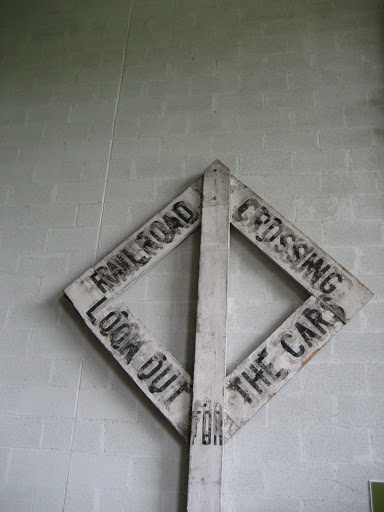
Don’t know if they’ll get done for 2011 challenge, but here are the beginnings a wood planked grade crossing and a ballasted deck through plate girder bridge of the “scenic props for carpet running” variety. Especially don’t know if bridge will get done for 2011 challenge, am not exactly drooling in anticipation of having the rivets done by Monday. Anyway, it all starts with a desire to have a country road grade crossing attached to this:

Of course with being designed for sitting on floor, bridge doesn’t represent full girder depth. Might be something like fish tank gravel used for ballast. Those two track sections will be glued to bridge. Basswood cross pieces don’t match anything visible on a real ballasted deck through plate girder bridge, but that’s not the point, resisting warping is.

Wife has said that middle granddaughter has said that she really likes covered bridges. When wives do such things, one always wonders if more is being said than merely what the words employed stated. Wait minute ladies, let’s not get in a rush.

lovely start!

Covered bridges are cool, I have two… And the Aristo ones are cheap enough used.

Thanks Mik.

Kathy, my wife, finally said this morning that she wants to make one herself, what is there in the box of model magazines about them?

She is a quite capable model railroader and she can do it.
Talk about challenges - I’m going to have to make one so as not to be outdone!

Was thinking about the size for it. Going to have to be a minimum of 10 inches wide, maybe 12.
Therefore, in order to not look square it will probably need to be a minimum of 2 track pieces long. Probably 2.5 to 3 to look better but still be manageable indoors.

And, again, it would only be from track level up.

I hope. Don’t you know the question is coming, “How would you make the track go up so there can be a trestle under the bridge?”

You got me to wander out in the snow to measure… Aristo bridges are 7" wide, 9-1/2" tall from the ties to the peak, and 18" long. Make it a smidge bigger for most 1/22.5 stuff to be comfy - I had to remove the end trim stuff to keep plows from hanging up.- Or about 15% larger for 1/20.3 This might come in handy

(http://1stclass.mylargescale.com/nbuchholz/images/DRGWstds20.3.gif)

Mik said:
You got me to wander out in the snow to measure...
Sorry about that, sort of ;)
Mik said:
This might come in handy
Yes it might, thanks :D Been looking for a clearance diagram without going through the exercise of fabricating the numbers from scratch.
Mik said:
Make it a smidge bigger for most 1/22.5 stuff to be comfy - I had to remove the end trim stuff to keep plows from hanging up.-
Except for that HLW Sparky in my avatar, our stuff is all Bachmann, which appears to fall in the 1/24 to 1/22.5 range. Haven't yet made or acquired a plow; after looking at this season's photos from those who do have plows, I want one.

Bachmann Long Caboose (EBT prototype–the 1:22.5 one) stacks get taken out by Aristo covered bridges.

Don’t ask how I know this.

Rule of thumb I use… Measure the widest and tallest piece you own… then add 1" in width and at least 3/4" in height … and have at least half a car length of straight track on either side of the bridge

It probably STILL won’t be enough if you ever get a good deal on a K, but everything short of that should be OK.

Robbie Hanson said:
Bachmann Long Caboose (EBT prototype--the 1:22.5 one) stacks get taken out by Aristo covered bridges.

Don’t ask how I know this.


That’s the other reason to take the end trim off :stuck_out_tongue:

Mik said:
It probably STILL won't be enough if you ever get a good deal on a K, but everything short of that should be OK.
That general guideline probably won't be an issue for us; if it won't take the 4ft diameter curves which fit in the family room floor, there's no point in acquiring it.

While we’re talking clearances, here’s another cardboard project being slowly nibbled away at. Is designed to fit corner of small deck we have, in good weather of course. Is also pretty well saturated with shellac just like above 2 projects.

(http://i196.photobucket.com/albums/aa309/FSW4picts/G%20gauge%20projects/IMG_5846.jpg)

(http://i196.photobucket.com/albums/aa309/FSW4picts/G%20gauge%20projects/IMG_5847.jpg)

Will be places for 2 smaller plants about halfway up front.

That’s cute… just don’t ever overwater the weeds :wink:

Progress on crossing. Tan is Elmer’s Carpenter’s Wood Filler. Mixed with sand to make a sort of “concrete” to build up edges of road. Time now to start noodling out the planking and signage. And what to use for ballast between crossing and second tie in from end. I come to model railroading from miniatures gaming and this is coming together in the same was as game scenery. Hmm, maybe the rest of the scenic props could be, should be, treated the same way for a temporary carpet railroad?

(http://i196.photobucket.com/albums/aa309/FSW4picts/G%20gauge%20projects/IMG_5848.jpg)

forrest it looks good with out ballest. IMO.

Forrest Scott Wood said:
Progress on crossing. …Time now to start noodling out the planking and signage. And what to use for ballast between crossing and second tie in from end. …

Coffee stirrers stained with raw umber I think I can probably find you a sign pic to print out and glue to a stick,

(http://www.the-ashpit.com/mik/P6240005.JPG)

and cat litter held in place with diluted white glue

Mik said:
I think I can probably find you a sign pic to print out and glue to a stick,
That would be cool :)

http://www.istockphoto.com/stock-photo-1277156-classic-railroad-crossing-stop-look-and-listen-caution-warning-sign.php

(http://www.railroadiana.org/featured/crossing_sign_b.jpg)

(http://www.pxleyes.com/images/contests/rust/fullsize/Railroad-crossing-4ceafd65d2bc4.jpg)

(http://lh4.ggpht.com/_n9YpDC81YDI/SIqTi_o-glI/AAAAAAAAFSQ/g8JPQ4_RpyA/88-railroad-crossing-sign.jpg)

(http://www.trainweb.org/chris/ebt81.jpg)

And I couldn’t resist…

(http://adaptershack.com/m/files/_tmp_php06Bom3_RailroadCrossing.jpg)

Thanks for the signs. First one is most interesting. Diamond wooden one is what was envisioned. Got outboard planking in place. Is 8mm wide slices cut from 1/4in balsa. Stained with Apple Barrel craft paint before assembly. Next thing is to figure out where bolt/spikes which hold it in place go and drill and stain countersinks for those. Then figure out what represent their heads with.

(http://i196.photobucket.com/albums/aa309/FSW4picts/G%20gauge%20projects/IMG_5849.jpg)

Form here to figure out what thickness wood to use between rails. Probably have it just a hair below railheads; but, just precisely what is the dimension of that hair?

You’d think with being snowed in a day and a half and these being simple projects, some good progress would have been made; oh well, the body had other ideas. Did get a couple minor things added to “bridge”. But it’s the crossing that is for the challenge.

(http://i196.photobucket.com/albums/aa309/FSW4picts/G%20gauge%20projects/IMG_5979.jpg)

Bridge is made out of 2 different thicknesses of some kind of grey cardboard sheet Hobby Lobby has in with their mat board. Bottom and sides are the thicker. Flanges, angles, and all will be the thinner. Flange on top and ends of girder is one strip with areas at bends spritzed with Windex to soften to bend. Glued on with Aleen’s Tacky craft glue. LOTS of little parts to make for bridge render it most unlikely to be finished by challenge deadline so I’m not even going to try. Just run with the crossing. Go back to first photo on thread then return here - If I’m on Google does that mean I’m important?

(http://i196.photobucket.com/albums/aa309/FSW4picts/G%20gauge%20projects/IMG_5981.jpg)

Forrest, I don’t know about important, but - it’s kind of annoying to do a search trying to find something to finish a project, and a bunch of the pix that come up are your own… Like who needs Google, just look on my hard drive?

Progress. Added planks to center of crossing. Are about one hair below flush with railhead. Building up dirt is next. Then sign. Still gotta figure out how planking is fastened down in the 12in = 1ft world.

(http://i196.photobucket.com/albums/aa309/FSW4picts/G%20gauge%20projects/IMG_5984.jpg)

Looks good. Perhaps a bit “Goofy”. :wink: