Devon, Jim has a point about centering the engine with the boom. You would not want to induce any lateral stress on the boom caused by the cables. Unless your prototype had an offset boom, but that wouldn’t make any sense. With all that being said, the engine looks cool. I do love the effort with the details. Shame to put side walls on and cover it all up.
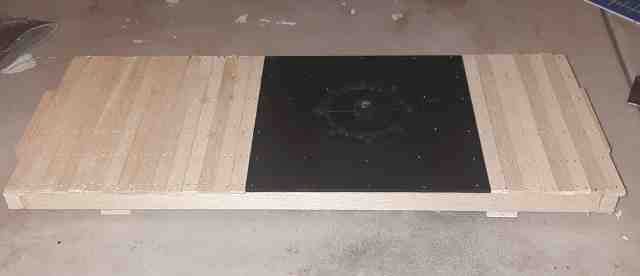
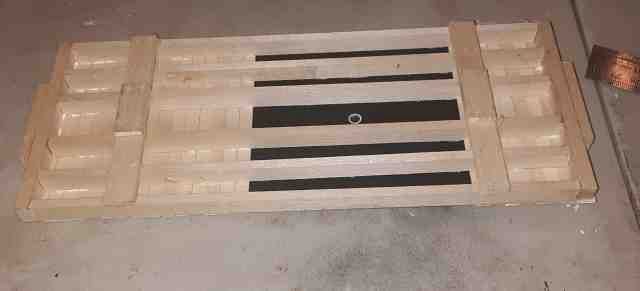
The engine is centered. The tank throws off the perspective but it is centered. I was going to originally put the tank in the back. But I came across pictures of two different small cranes with the tank on the side behind the winch drums. My theory (and I am sticking to it) is that the crane is operated from the right side and only the winch drum needs regular access on the left. As a wood or coal burner you would need easy access tot he fire door. So the area on the left and rear of the drum is a void area. Makes sense to put the water there. When you see my plan for the car under the crane my theory will male more sense as there will be an area to store wood on the deck of the car behind the fire door when the crane is forward. With the tank of tot he side he can open the fire door and throw wood in without the tank getting in the way. Thats how I see it anyway.
Edited to say that it may not actually be centered as this is a test fit and there is wiggle room. The intention is to have it centered and it is close now. If you look at the nail lines of the pin nailer the engine will sit just inside the two inside rows of nails. At any rate when it is glued down for good it will be centered.
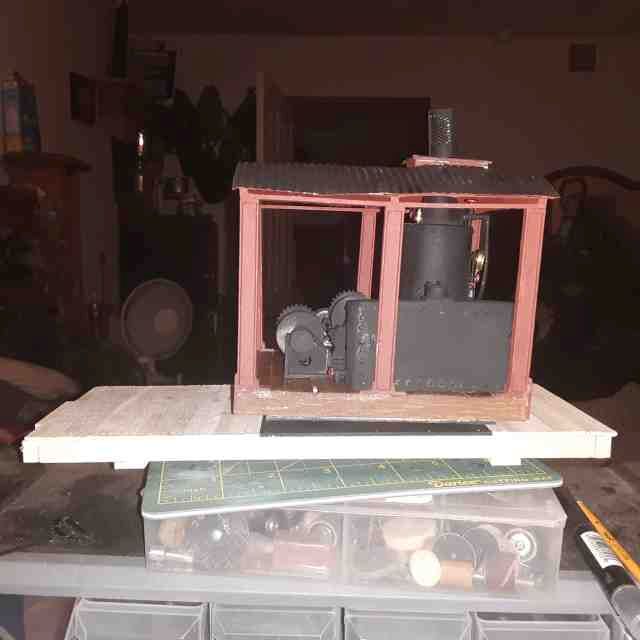
And to clear up any notion of me covering up details with an enclosed cab, from day one this has been intended to be an open sided cab or at least a semi open can. I am adding no sides. That is why all the details because you will see them.
Thanks for clearing that up, Devon  I was worried there for a moment.
This has real possibilities Devon! Very cool!
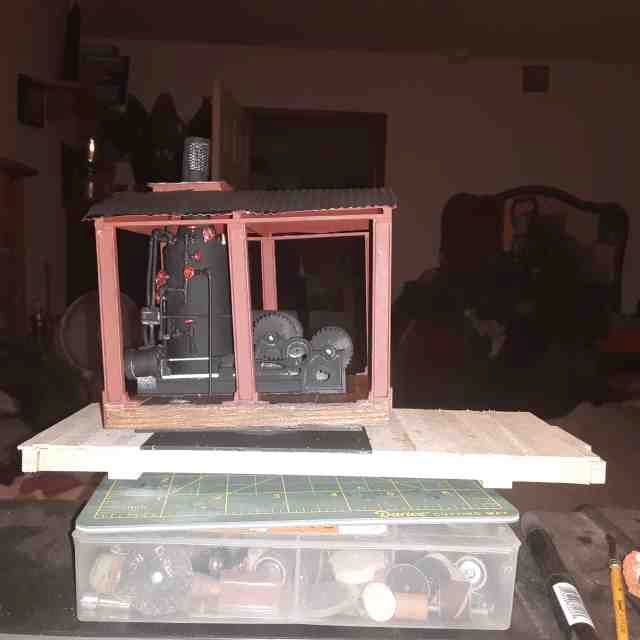
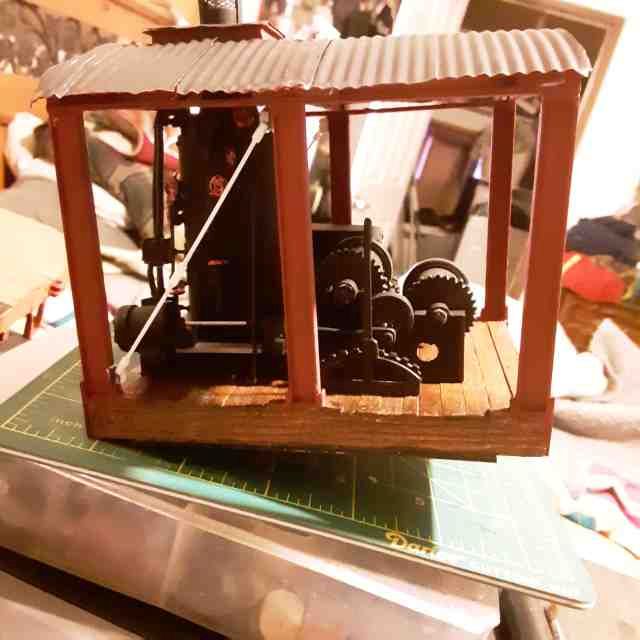
Taylor Tin on the roof. Engine Installed. Water tank Installed. Flat car mostly made. Its starting to look like something.
I love taking pictures shows me where all the touch ups need to be done
Looking great, Devon! Paint job on the engine is sweet (I’m sure there are places you want to improve).
Yeah I see white spots all over. I don’t see them until I take pictures then they glare at me. I am loving the chalk board paint. This is one of my better ideas and it was pure accident as my wife just had it laying around and I stole it because I couldn’t find my black primer I normally use.
I actually am just really really really really clever. You see I leave white spots all over to give myself a place for some weathering. Grease, rust, dead bodies, that sort of stuff.
Looking good Devon, like your open sides, that is what I have decided to do also.
The grease and rust will look great but maybe you should go a little easy on the dead bodies(https://www.largescalecentral.com/externals/tinymce/plugins/emoticons/img/smiley-tongue-out.gif)(https://www.largescalecentral.com/externals/tinymce/plugins/emoticons/img/smiley-laughing.gif)
Rick Marty said:
Looking good Devon, like your open sides, that is what I have decided to do also.
The grease and rust will look great but maybe you should go a little easy on the dead bodies(https://www.largescalecentral.com/externals/tinymce/plugins/emoticons/img/smiley-tongue-out.gif)(https://www.largescalecentral.com/externals/tinymce/plugins/emoticons/img/smiley-laughing.gif)
All depends on who, Rick (https://www.largescalecentral.com/externals/tinymce/plugins/emoticons/img/smiley-surprised.gif)
Looking good, Devon.
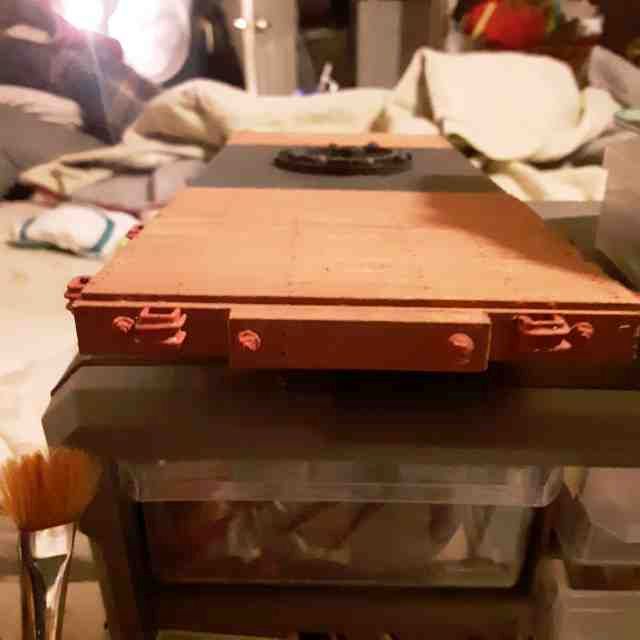
Added a stay rod to the side of the cab. Just needed something and I figured some support for the roof mounted boom pullies would be good. The car got painted and details added.
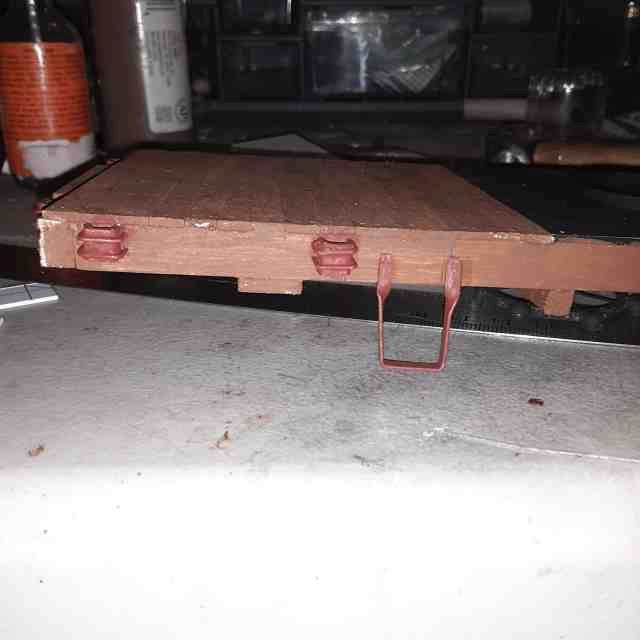
Nice work on the car, Devon. Some how I missed your discussion on the turntable so I scrolled back through and found it. It looks like it will work very well. Do the bearings actually roll, or are they glued in place and the cab just slides over them?
Just slides. I was trying to make them roll but it was proving to not work so well. If I am ever in need of this type thing again I would like to revisit it. But this works just fine
I think your method will work just fine. Its not like it is going to be running 10 hour shifts 6 days a week (https://www.largescalecentral.com/externals/tinymce/plugins/emoticons/img/smiley-wink.gif)At least I don’t think it is.
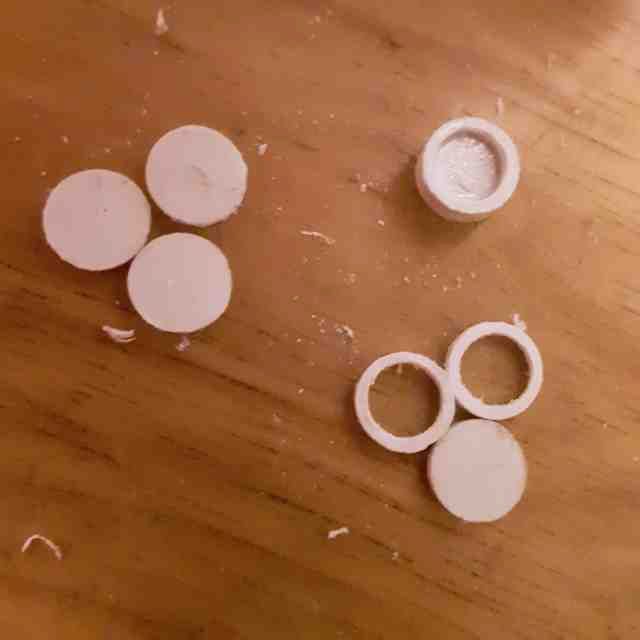
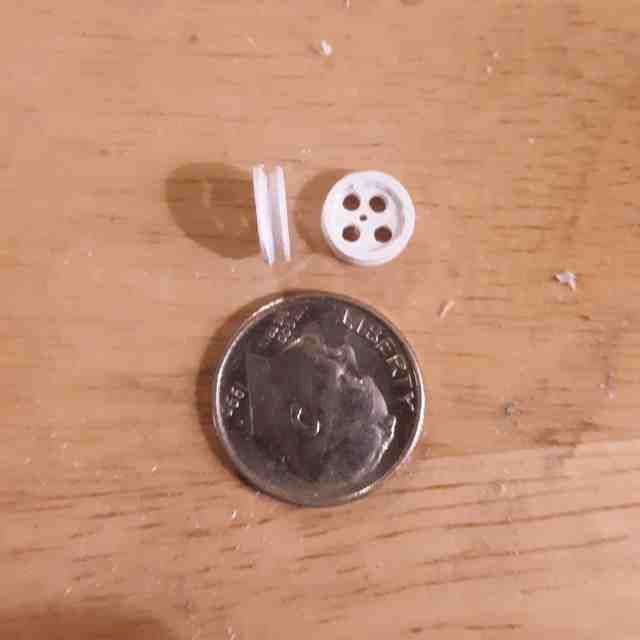
Getting start on the crane rigging. I am making 5 pulleys (6 actually, one will be a spare in case I mess one up). Using .40 styrene sheets, I punched out 3 disks per pulley with a leather punch. Two of the disks were drilled and filed to form the outer rims of the pulley. They were glued up and allowed to dry. Then they were formed with files and drill to finish them up. This is just the sheaves there will be more to them.
Hey, good job on those sheaves Devon. The fiddely bits are the most fun but oh so time consuming (https://www.largescalecentral.com/externals/tinymce/plugins/emoticons/img/smiley-laughing.gif)
I cheated I had sheaves in stock for this build, and several more(https://www.largescalecentral.com/externals/tinymce/plugins/emoticons/img/smiley-foot-in-mouth.gif)
I agree Rick, I enjoy making the little detail parts. I find the most satisfaction in making the small details, especially if I can make them functional
Those sheaves look good! Lots of fiddly work pays off in the end.
Devon, your detail works is fantastic. I love the way you take bits and pieces and make into something useful. You almost make me feel guilty using the 3D printer … but not guilty enough (https://www.largescalecentral.com/externals/tinymce/plugins/emoticons/img/smiley-wink.gif)Looking forward to seeing the boom come together.
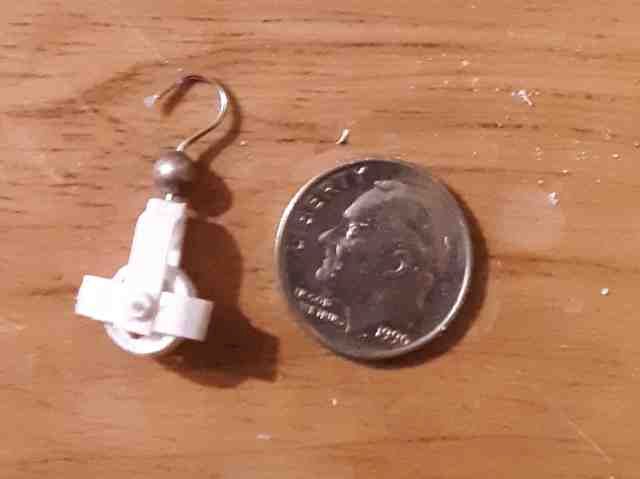
Here is the completed crane hook
Eric Schade said:
Those sheaves look good! Lots of fiddly work pays off in the end.
I am beginning to think I need to move to 7/8ths so I can at least try and hold this stuff better.