Yep that’s awesome Dave. I love learning new things. Now how did they handle it on the external braced cars, the same way?
I can only guess… I have never personally inspected a wooden outside braced boxcar. The Standard Gauge outside braced D&RGW boxcar in Antonito is metal braced, and has no truss rods, as the metal braces worked as the trusses.
I spent the day building doors:
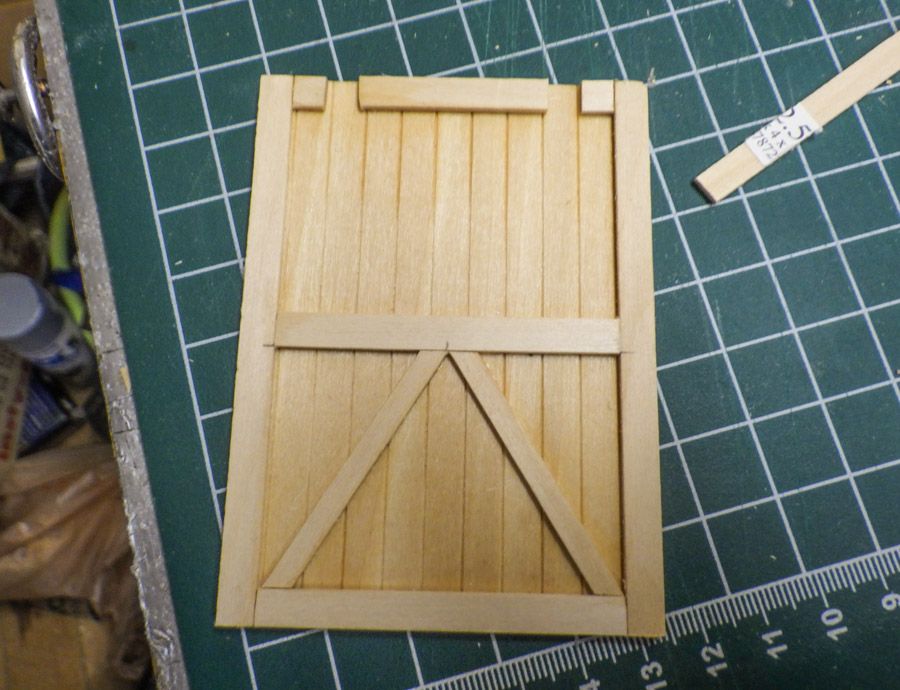
Tested for fit and placement.
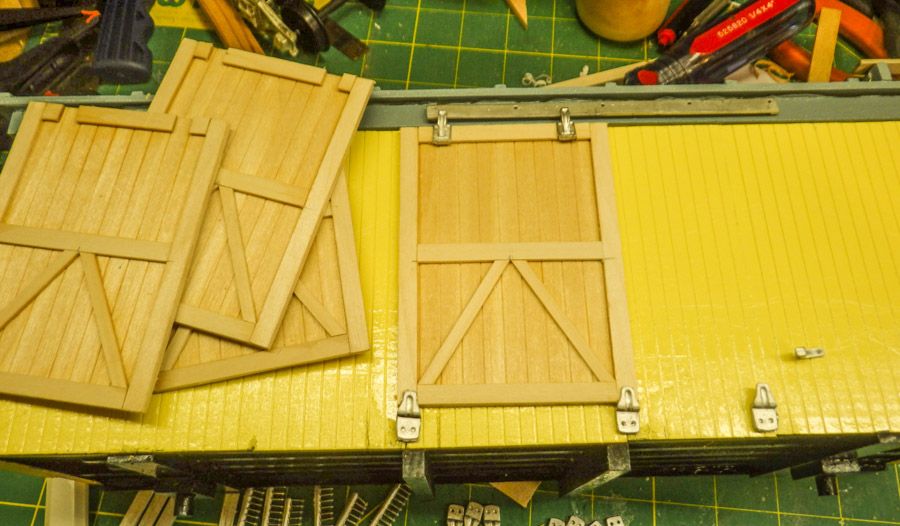
And got them painted up just fine.
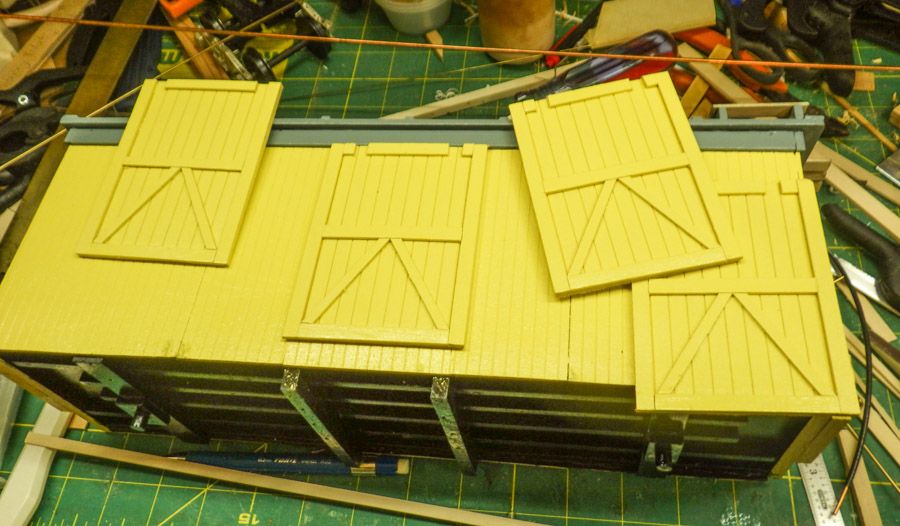
Now how to figure out how to mount them.
Beautiful Dave, I really like your choice of colors. Were these colors from a prototype?
@Rick The colors are made up by a friend. I gave him a “Prototype” to build a boxcar from pieces years ago, and those were the colors he painted it.
With the lipstick on the pigs, it was time to hang some jewelry on and dress them up. Started with the truss rods, and mounted the trucks so the car had something other then the trusses to set on.
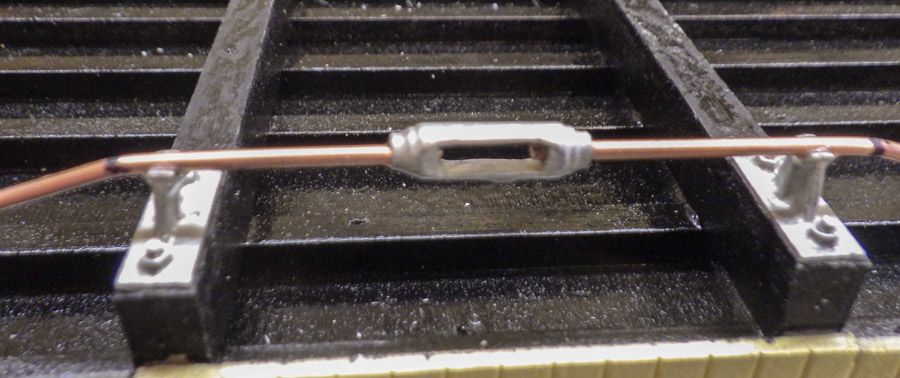
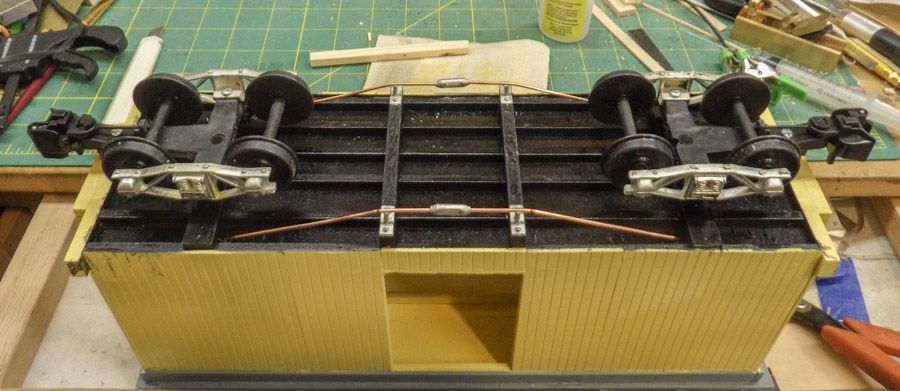
Before anybody fries me… I am NOT a big fan of super detailing the underside of everyday rolling stock that nobody will see… I have done that, and it looks nice, if you want to study all the little bits and pieces. I have also did every little bit and pieces, bolts, washers, piping, lines, pivots, keepers, and all the stuff under a real D&RGW reefer, including new needle beams, bolsters, knuckle pockets, and complete brake rigging, and helped build the inside brake trucks from scratch.
“B” end with all the stuff, except the cut rod.
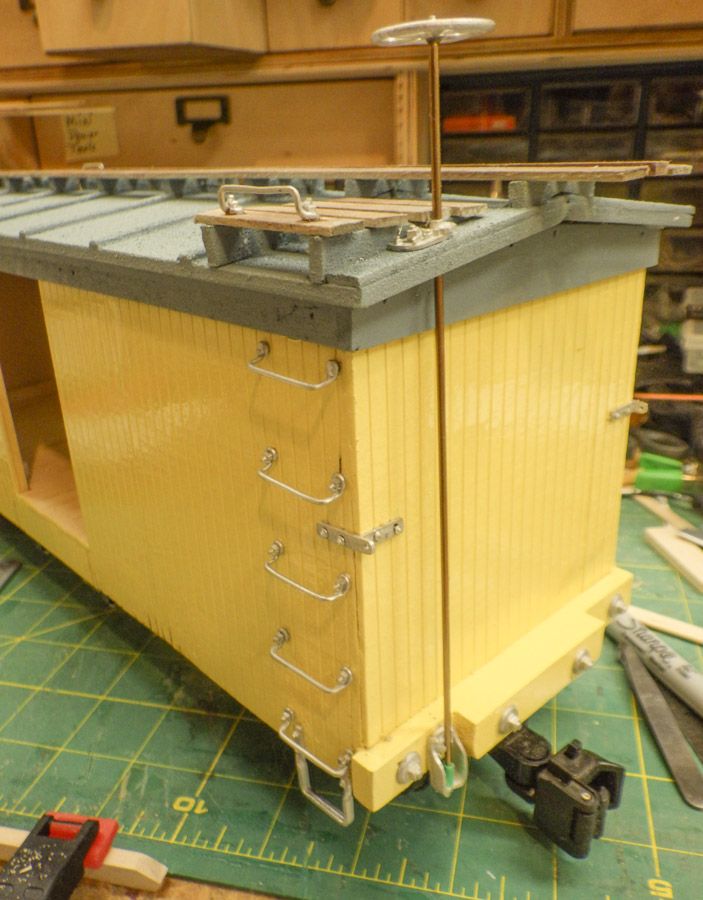
And the “A” end
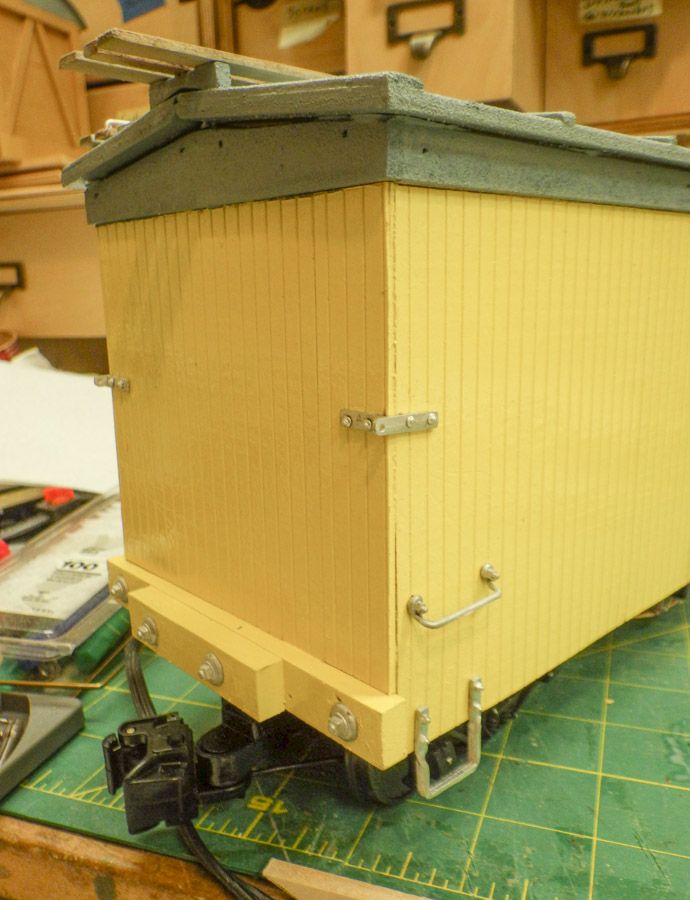
I have adapted the policy of all cars having working cut levers, working from both sides of the car.
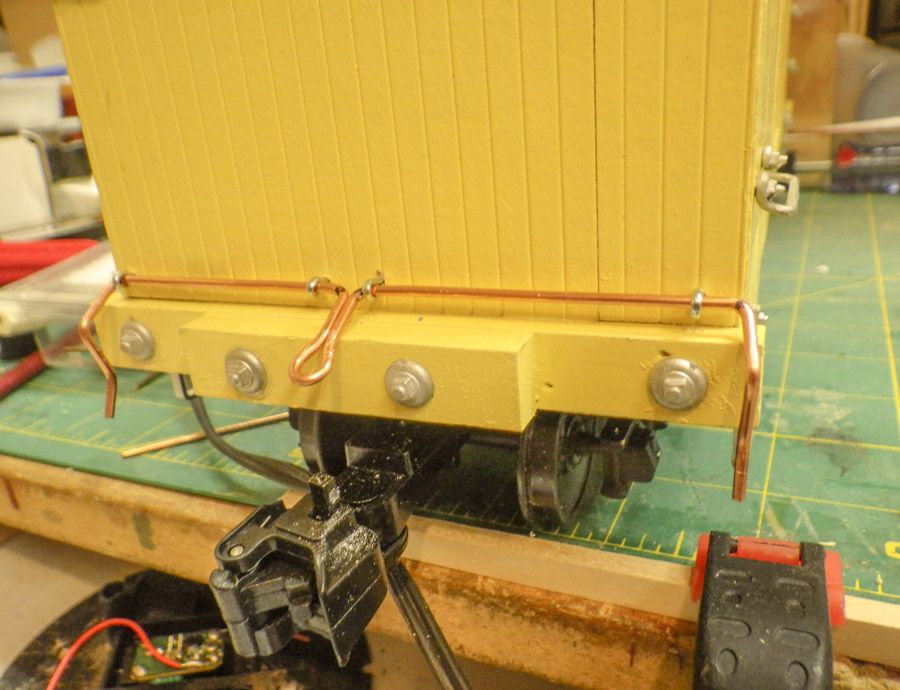
Got the “A” end folded and mounted using cut down cotter pins to mount.
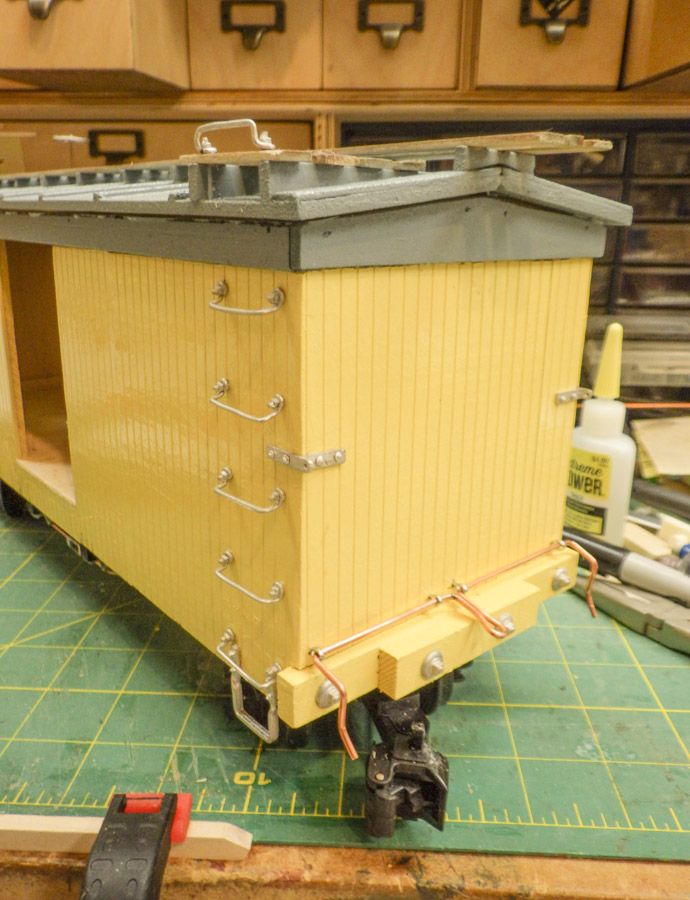
Comming right along, Tomorrow the other car’s jewelry and then the doors. I’m feeling pretty good that I’ll get them all done before next Sunday.
Great looking jewelry! Clean and precise.
Great looking car Dave, The Gray top trim is a nice touch, so the yellow isnt overpowering. good detailing too
Nice work on the ”jewelry”. How are you bending the cut levers so precise And consisten?
Looks great Dave
The wire for the truss rods and the cut levers is 14 gage copper wire, just striped the insulation off. It is very soft, and easy to bend. And easy to un-bend straighten out and do over, and in some cases over.
In the end I will paint it silver to match the rest of the hardware.
Dave Taylor said:
I have adapted the policy of all cars having working cut levers, working from both sides of the car.
Oh, I like that idea!
The boxcar is great but the details really make it something special.
I got the doors on and opening and they close also… Milestone passed.
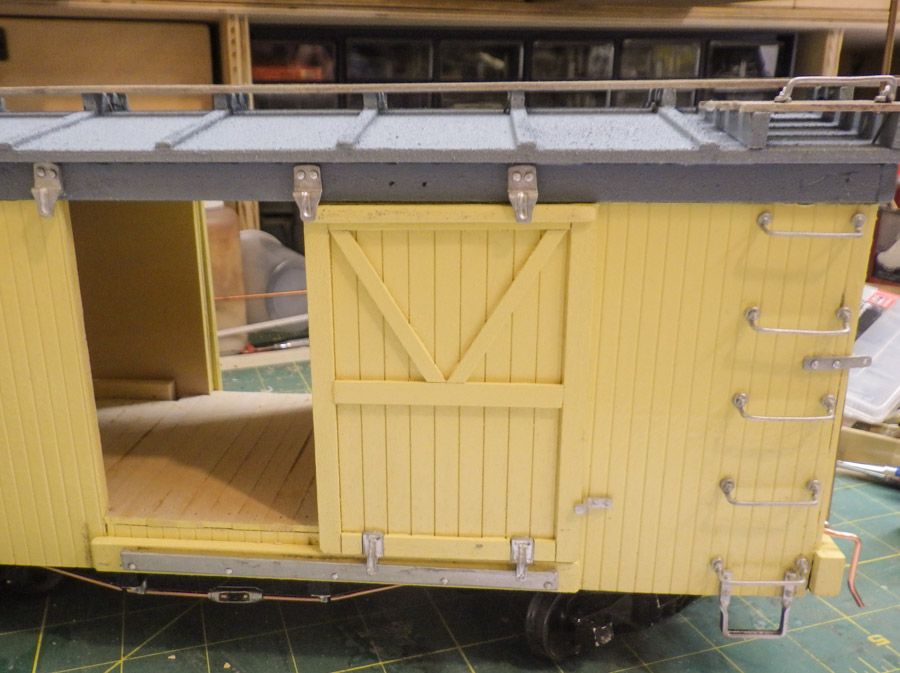
Got all the "Jewelry on and basically Done!!! with one, except lettering and touch up…
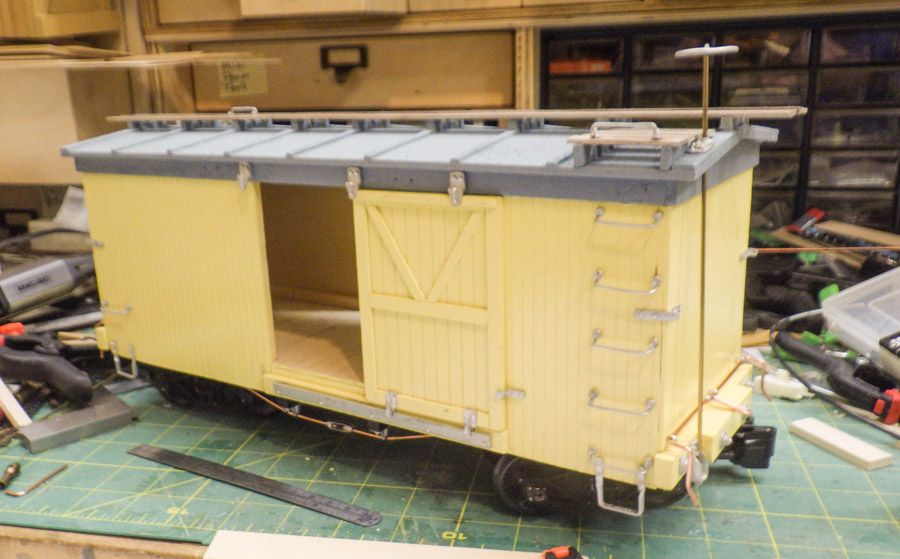
One Done!!! Two to go…
And the total mess of the work bench…
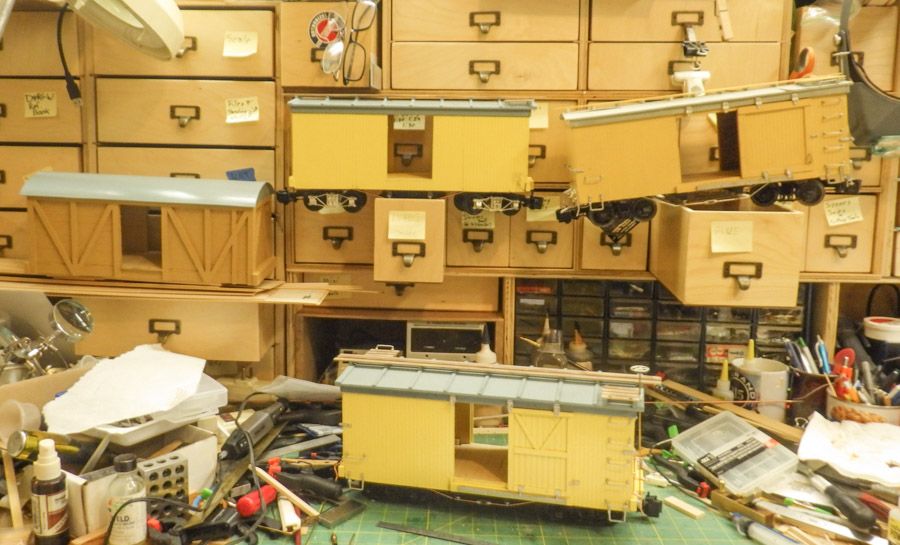
AND I DISCOVERED… If I pull a drawer out it holds an in progress car just nicely…
My plan is to Finnish the next regular car, and then push thru to the end on the outside braced car.
Finished the second boxcar today… two down and one to go.
Got the doors made for the wagon top boxcar. I’m making this one into a ventilated boxcar. 4 doors, I guess that makes it a sedan.
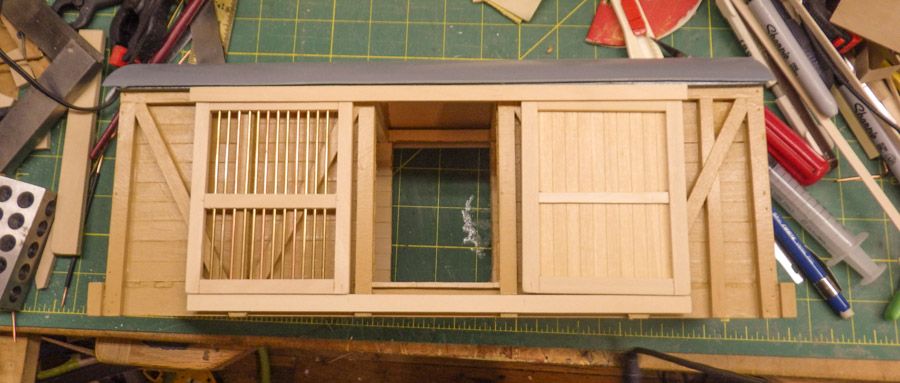
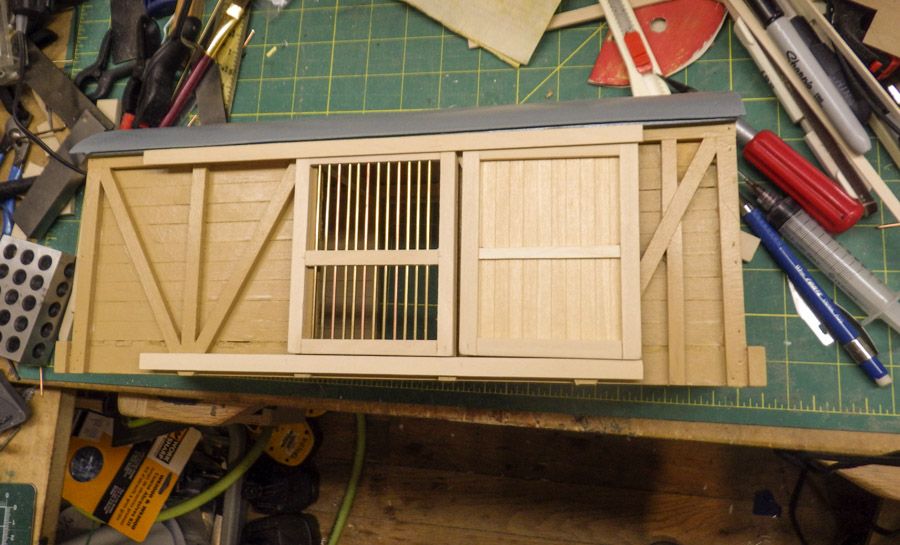
The vented door, would be used for fruit and those shipments that had to be kept cooler then in a sealed car in the summer.
Three possible combinations, Both doors open.
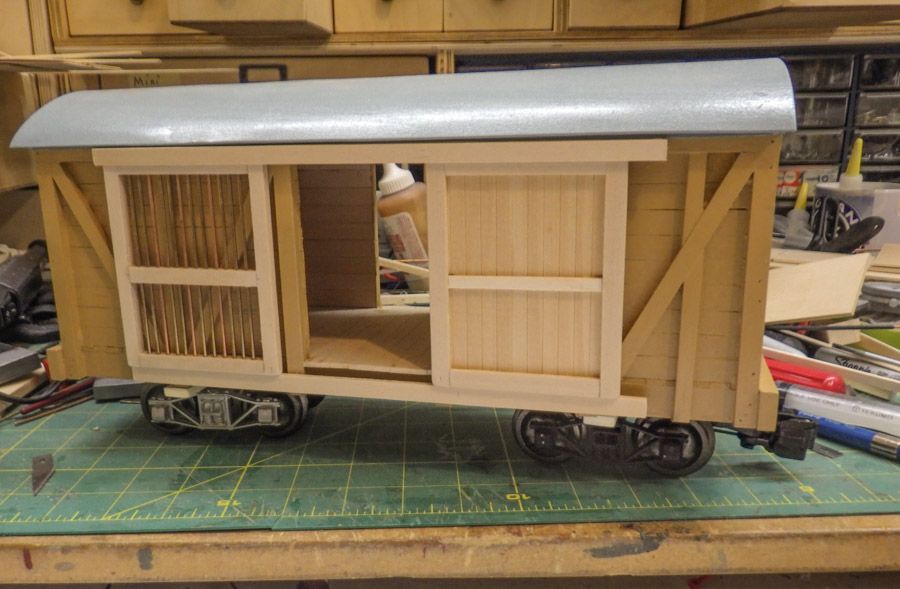
Solid door closed.
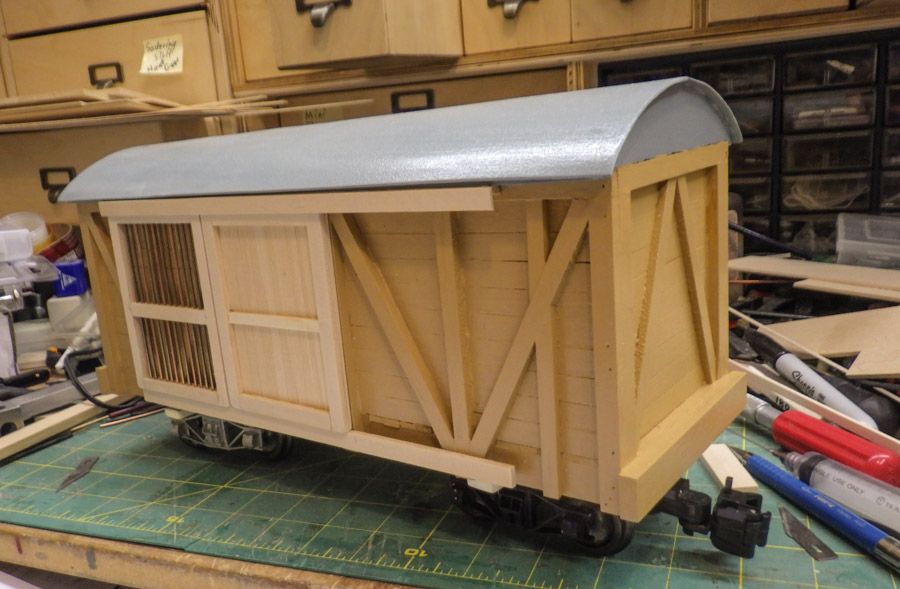
Vented door closed.
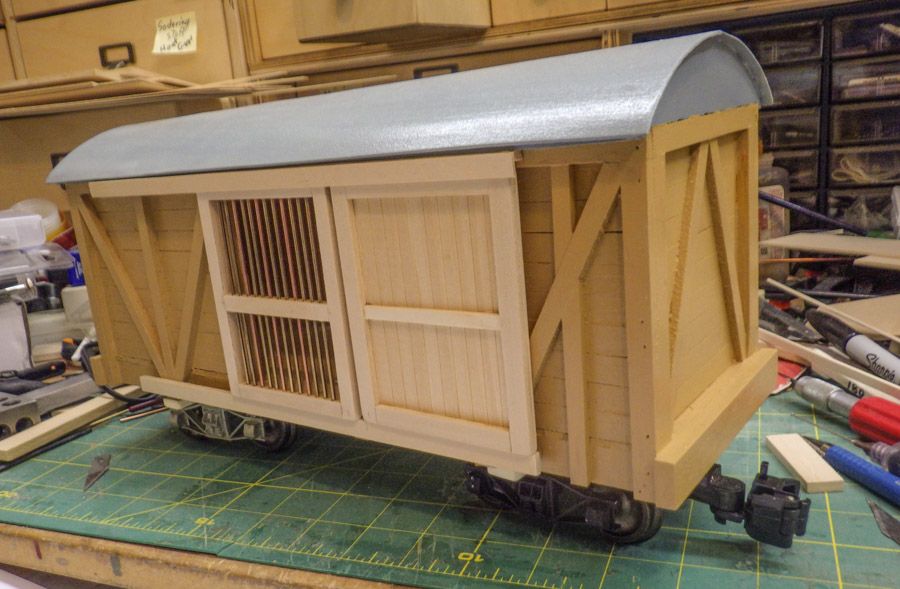
Time for some paint, and then start detailing… I think that I can get it done by the end…
Thats a cool design Dave.
Love the doors, Dave.
Got to work on the third boxcar… nearly finished .
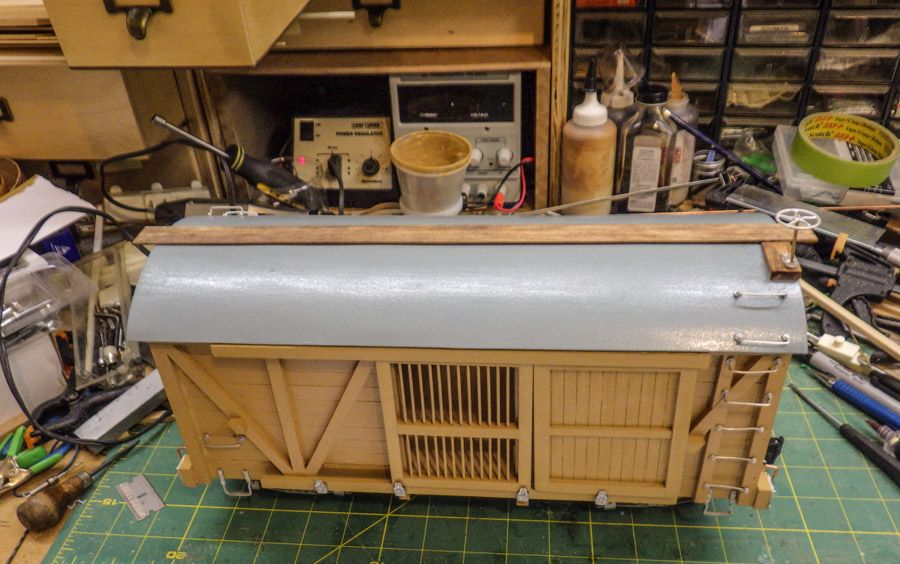
I want to put some seams in ht e roof, but i’m not sure how to achieve them. These wagon top roofs were typically painted canvas, and they had sewn seams.
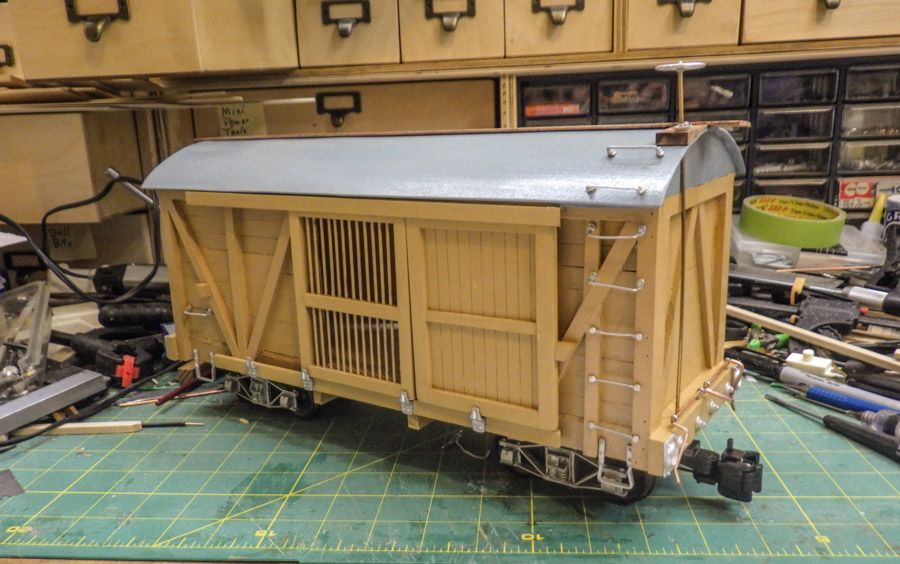
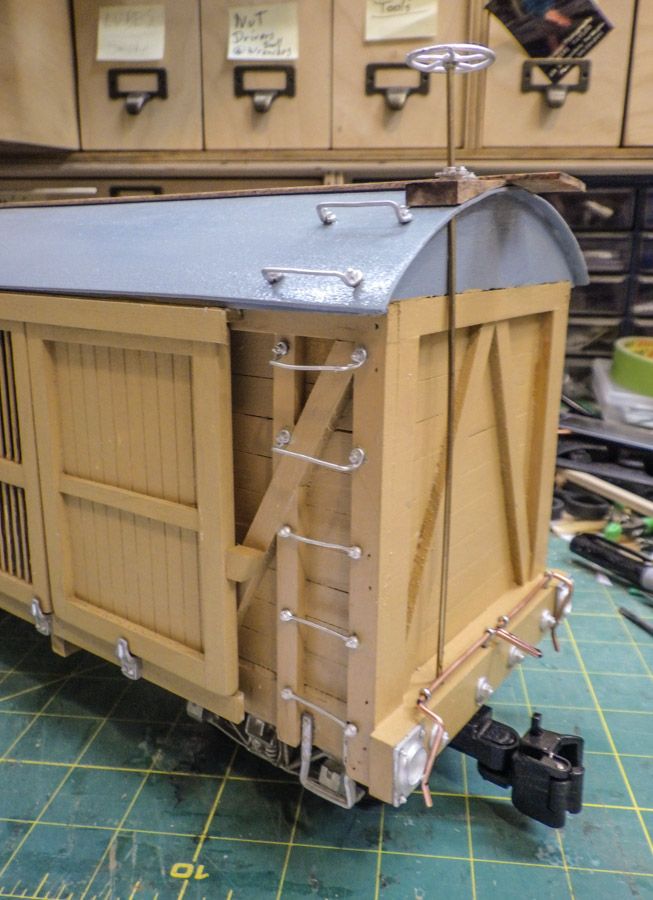
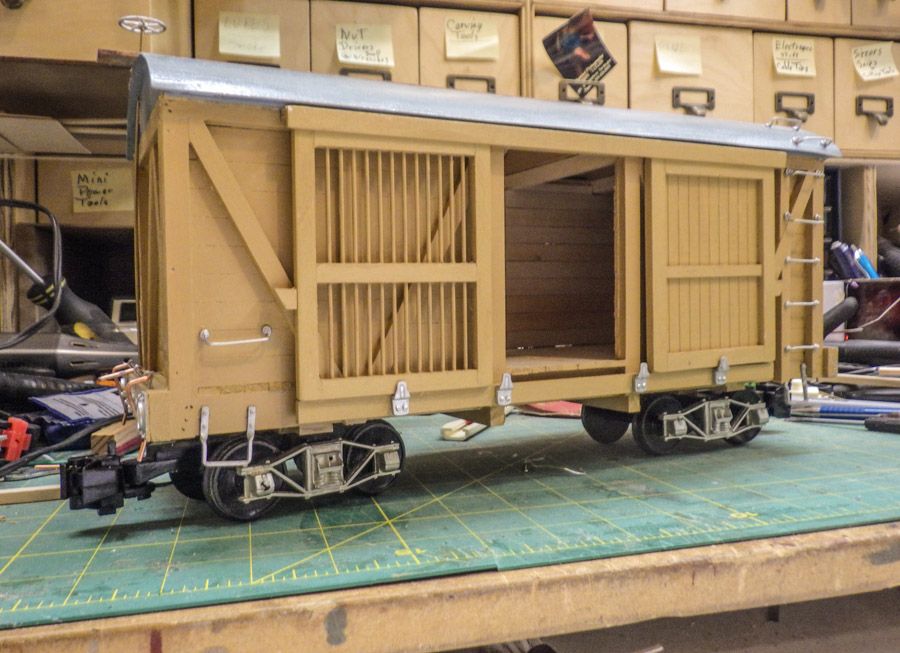
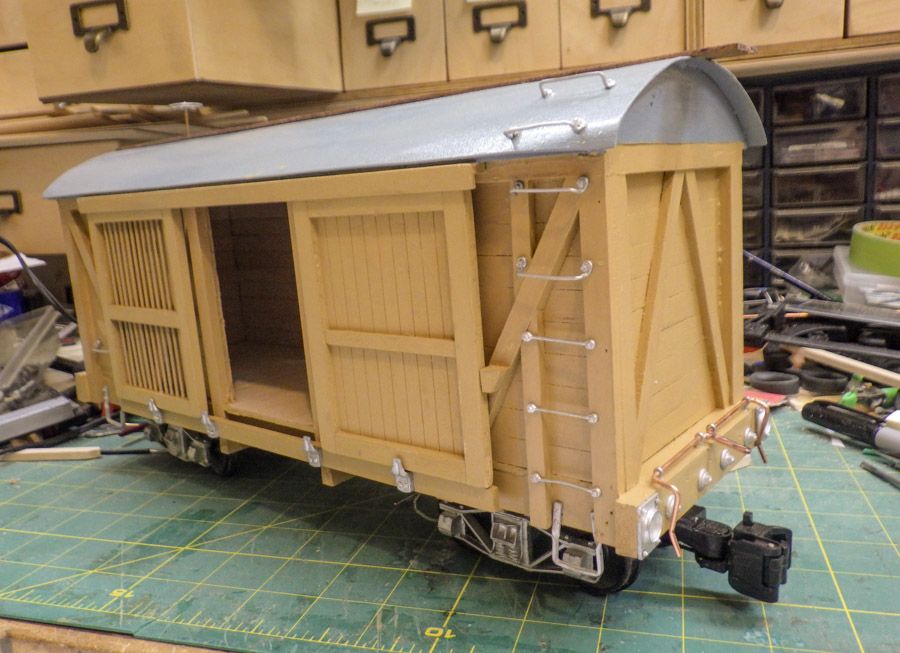
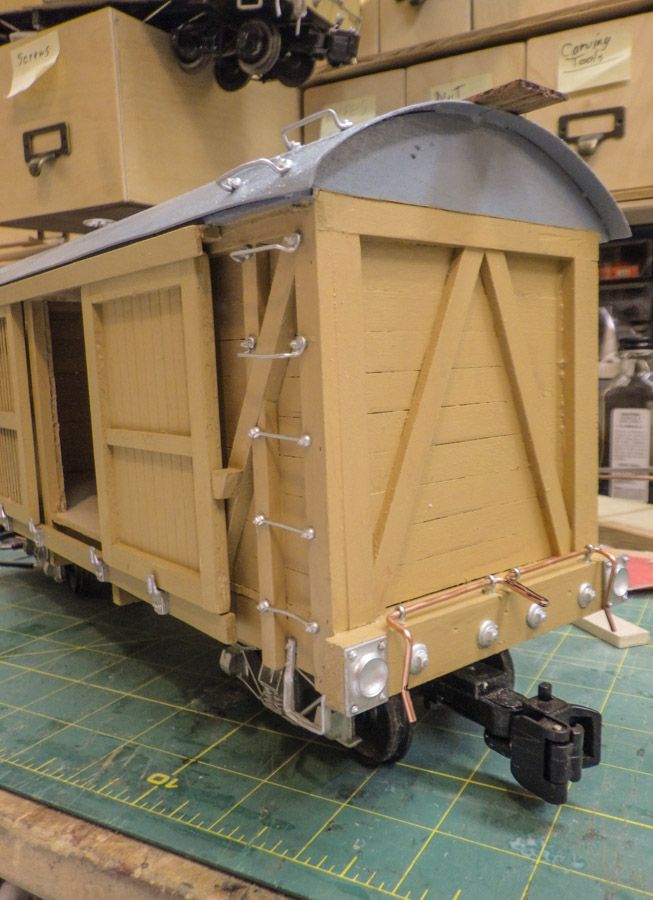
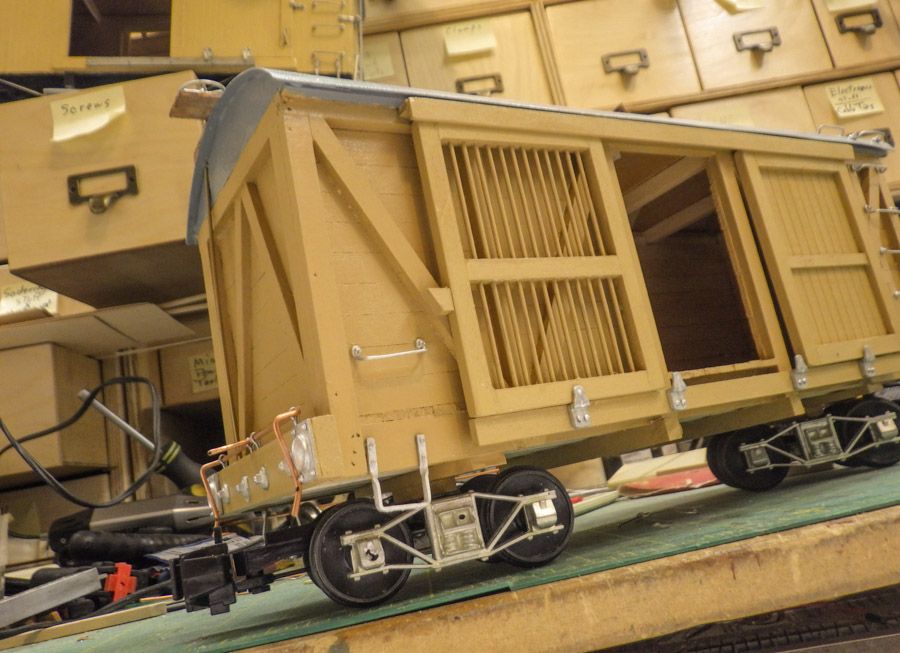
Need to build the truss rods and paint the underside.
Then do touch up paint on all three and that would get it done…
I am in love with that wagon top. I think that would be perfect for what I have envisioned for my little indoor layout.
That is an interesting car, love the prison door! As i havent been watching with sufficient attention, i missed that you are building a whole train of cars, well done!
Got the underside painted today, waiting for it to dry before tackling the truss rods.
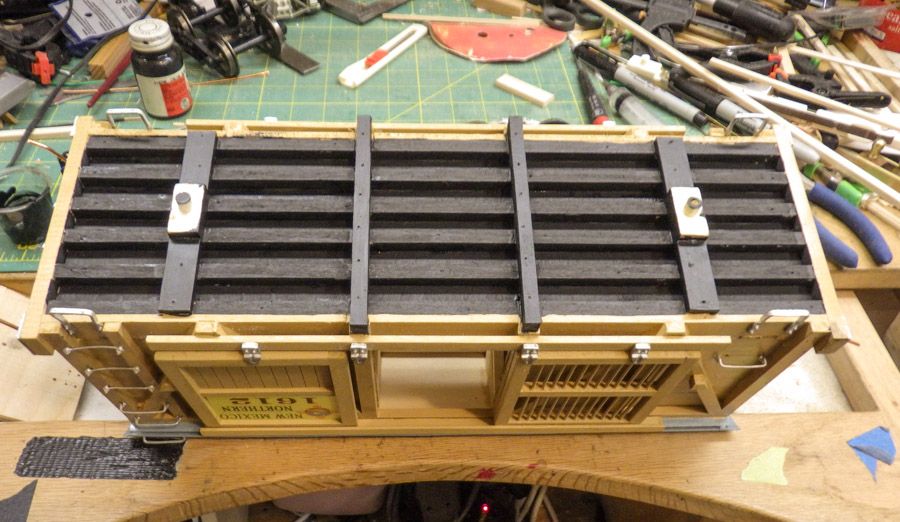
Trying something new. I have a Dye Sublimation printer and heat press. For these cars, I’m going to try to letter them with what would be a metal sign attached to the car.
Logo, RR Name, and car number, for the car sides and a car number for the ends.
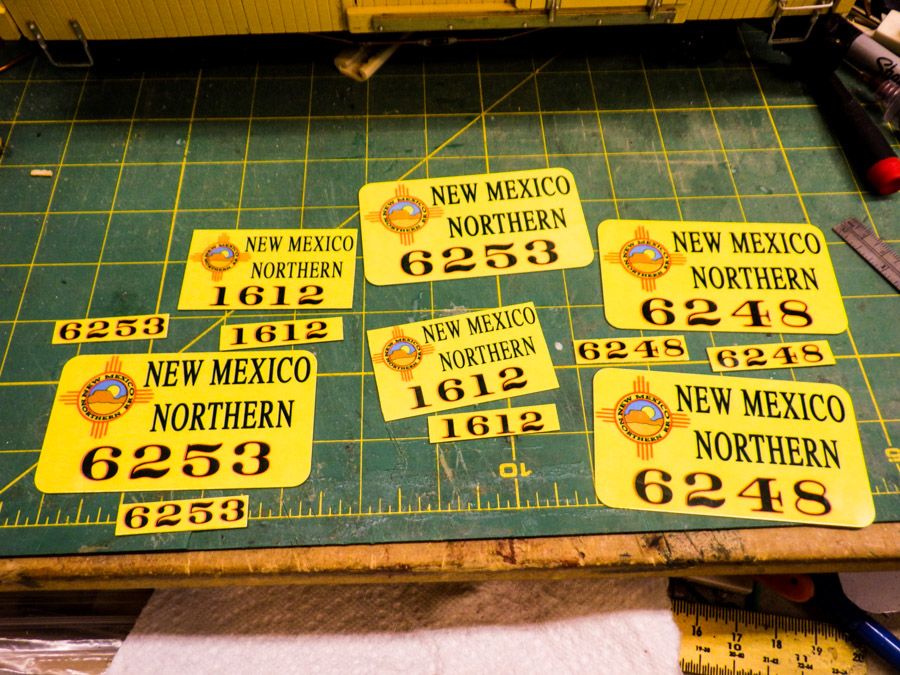
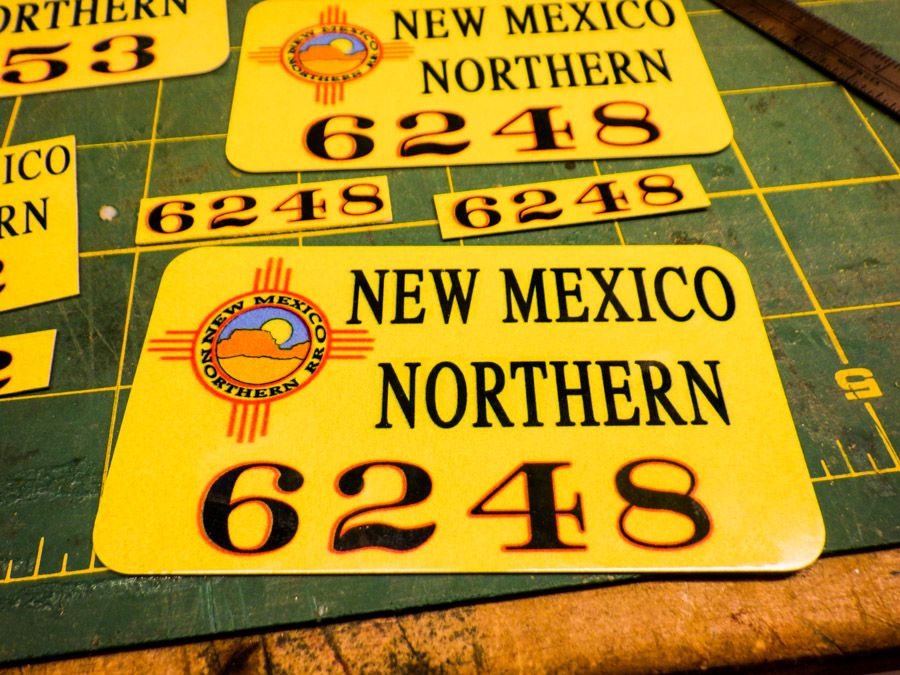
The large side signs are 3.5" x 2" ( wallet size ) and would be on the side opposite of the door when open.
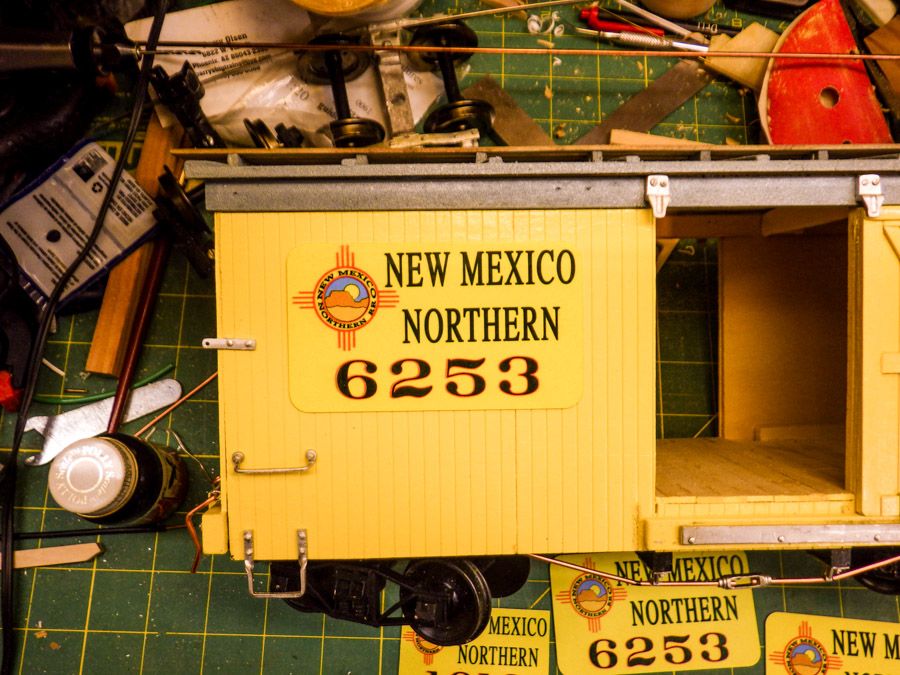
And on the car ends.
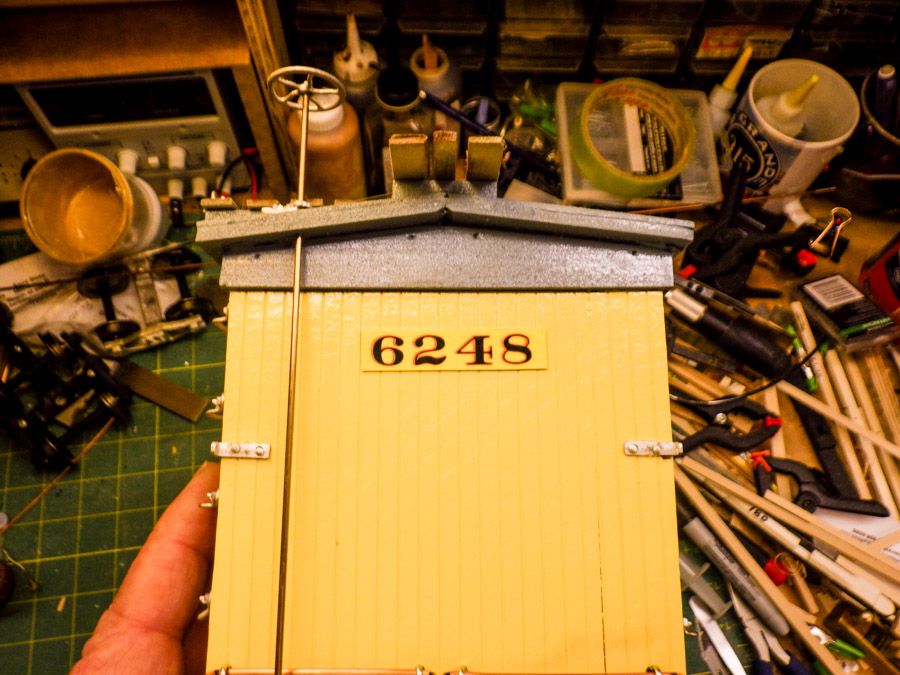
These things are printed on .020 alum. stock, and very permanent against UV fading. I’ve had similar stuff outside continuously for the past 6 mts. in the NM high UV environment at 5600 Ft.