While another coat of paint is drying…
LOOK WHO SHOWED UP IN CHAMA!!!
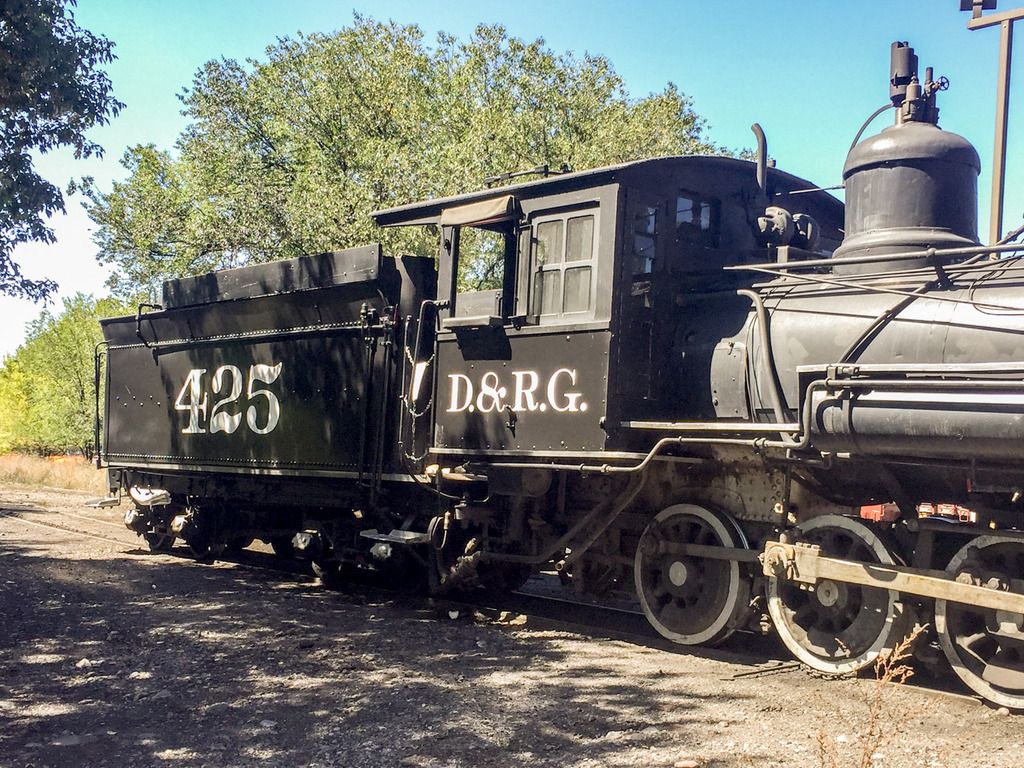
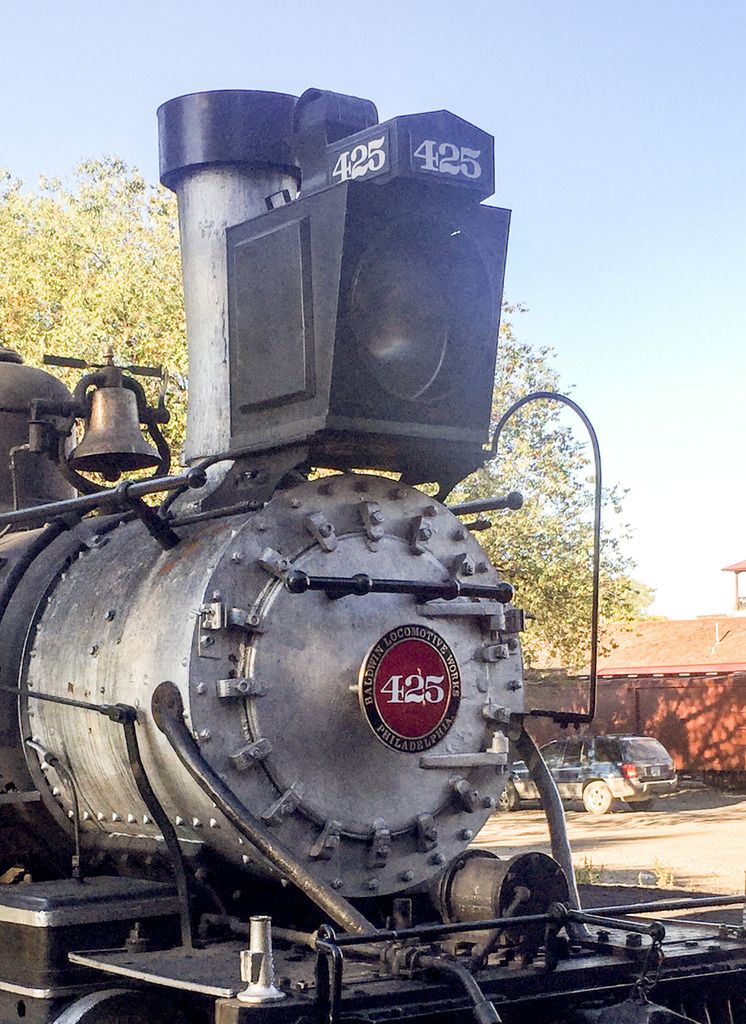
I wonder how long it’s been since an engine in that paint scheme has been in Chama.?
While another coat of paint is drying…
LOOK WHO SHOWED UP IN CHAMA!!!


I wonder how long it’s been since an engine in that paint scheme has been in Chama.?
Dave Taylor said:
While another coat of paint is drying…
LOOK WHO SHOWED UP IN CHAMA!!!
I wonder how long it’s been since an engine in that paint scheme has been in Chama.?
Dave, Almost looks like a “movie” engine". The headlight is a give away :).
That head lamp is an Honest to god D&RG headlamp. Not a movie prop. It is very similar to the one she wore as F&CC #3. We do know that several of the class were given a smaller style oil burner, before they were all given the “Pile National” style ones.
Generally speaking, if it worked they weren’t replaced until they didn’t work any more, or federal regs mandated a change. D&RG was cheap. We do know that they even tried on some engines, of just converting the oil lamps, by mickey mousing a electric bulb mount in the old oil lamp reflector. The class lights, were done the same way, pull the guts out and dangle a bulb in the lantern. Worked and it was cheep. most of the class lamps lost their chimneys in the process, but 315’s still had hers.
Dave
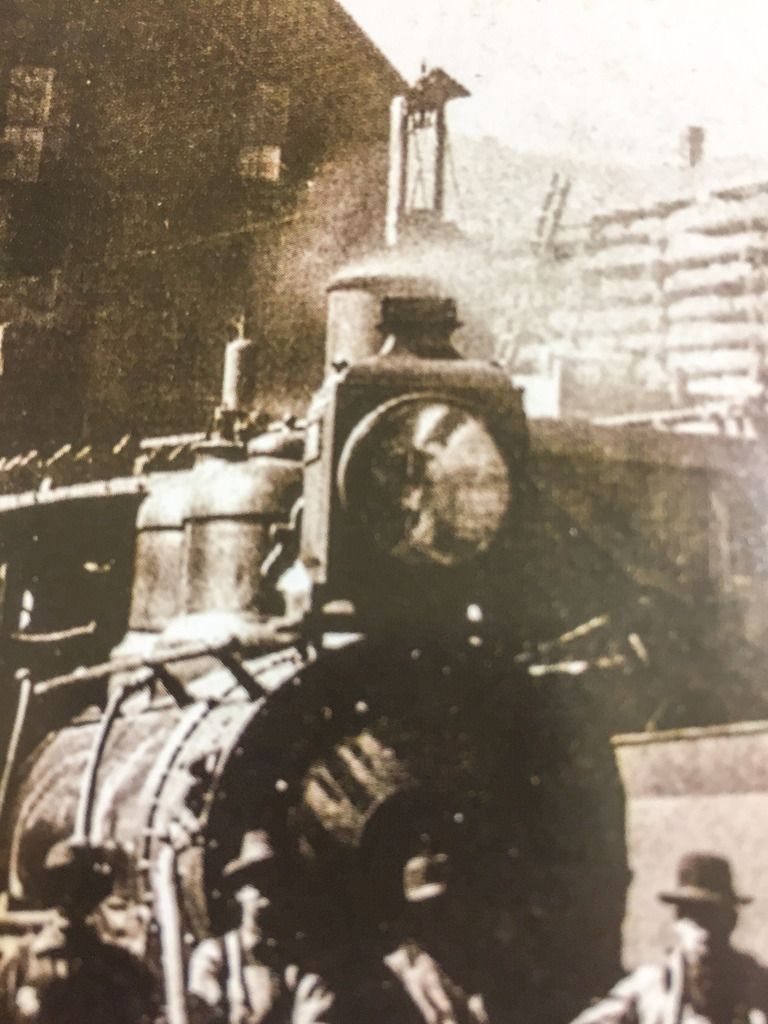
Here is a photo cir. 1898 of the light on F&CC #3. ( latter to be D&RG 425, and D&RGW 315 )
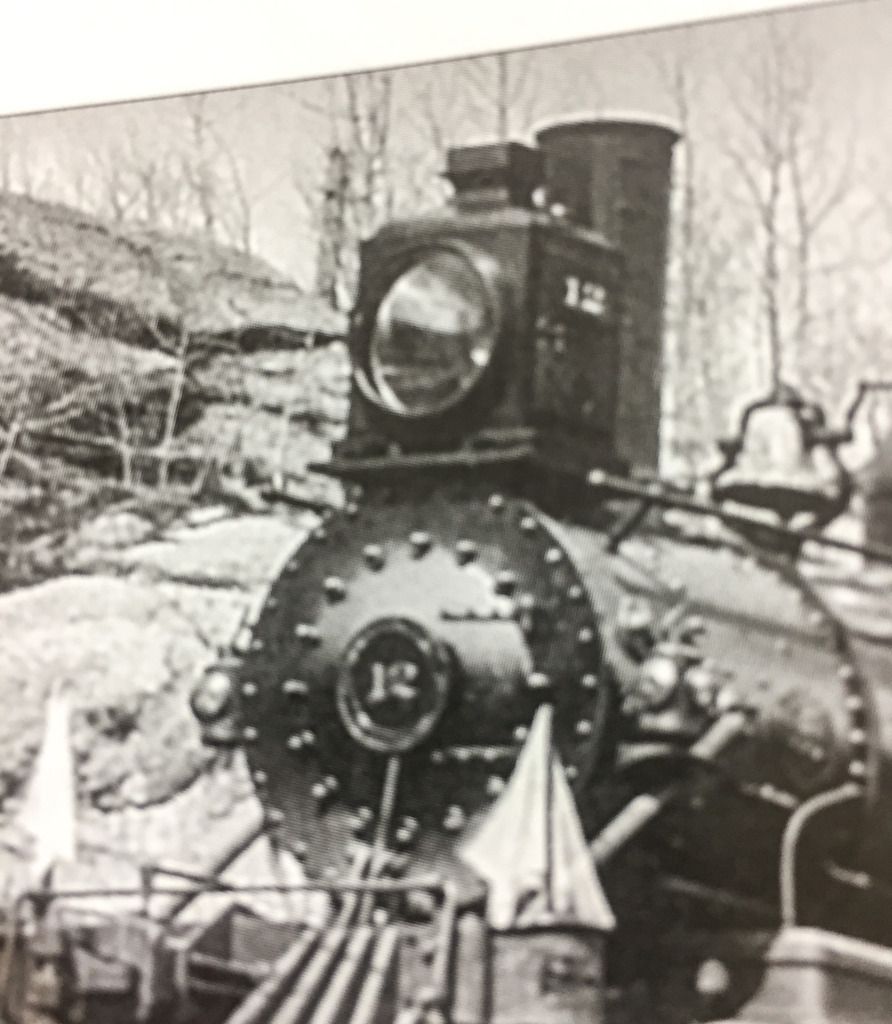
and a better photo of her 1897 sister engine F&CC #12.
Dave
Dave Taylor said:
Here is a photo cir. 1898 of the light on F&CC #3. ( latter to be D&RG 425, and D&RGW 315 )
and a better photo of her 1897 sister engine F&CC #12.
Dave
Thanks Dave. Wow, I learn something new every day about the D&RG! Thanks for posting.
Looks like you had better get a Bowler Hat to fit in …

While watching another coat of paint dry on the cow catcher. It was time to start construction of the actual mounting hardware.
The front of 315 was fitted with a 1/2" x 3" steel bar welded up and fitted to clear the existing hardware and knuckle mounting. This was attached to the front pilot using the existing mounting bolts. Our intent was to keep the mounting as simple as possible, and yet be secure, all the while keeping the placement and removal quick and easy, so if in an emergency situation it could be quickly removed in the field, so another engine could couple to our front knuckle. The length of the two “Plows” not to interfere with coupling. This wasn’t such an issue in 1918, as the knuckles extended further from the pilots at the time, because the knuckle mount was a different casting then what was used latter, and is what is currently on most D&RGW engines.
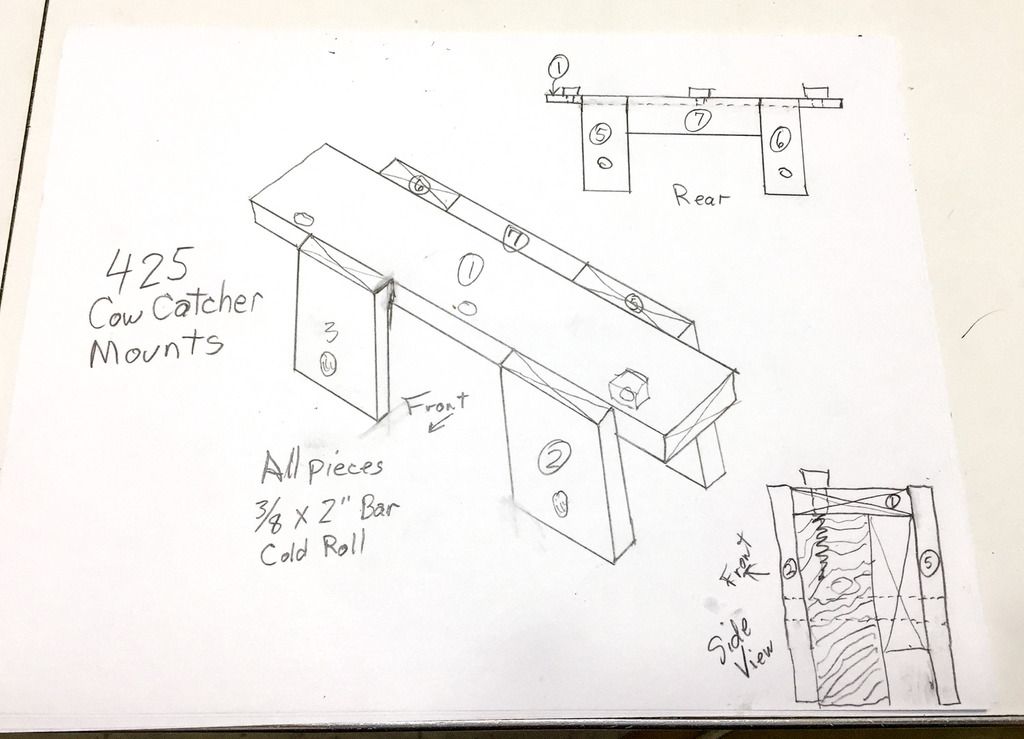
The design called for the cow catcher part to hook over the attached bar, and then be pinned thru to secure, And the bottom to rest against the existing cow catcher.
The plan.
Using the new CC to fit, measure and align. Steel was cut.
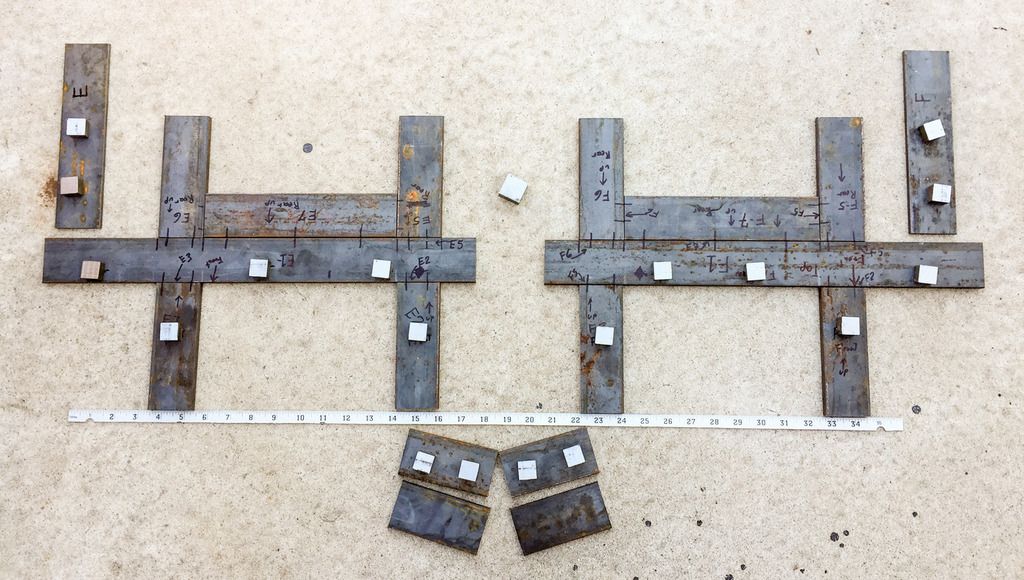
And so the welder could align, marks for placement were lined out.
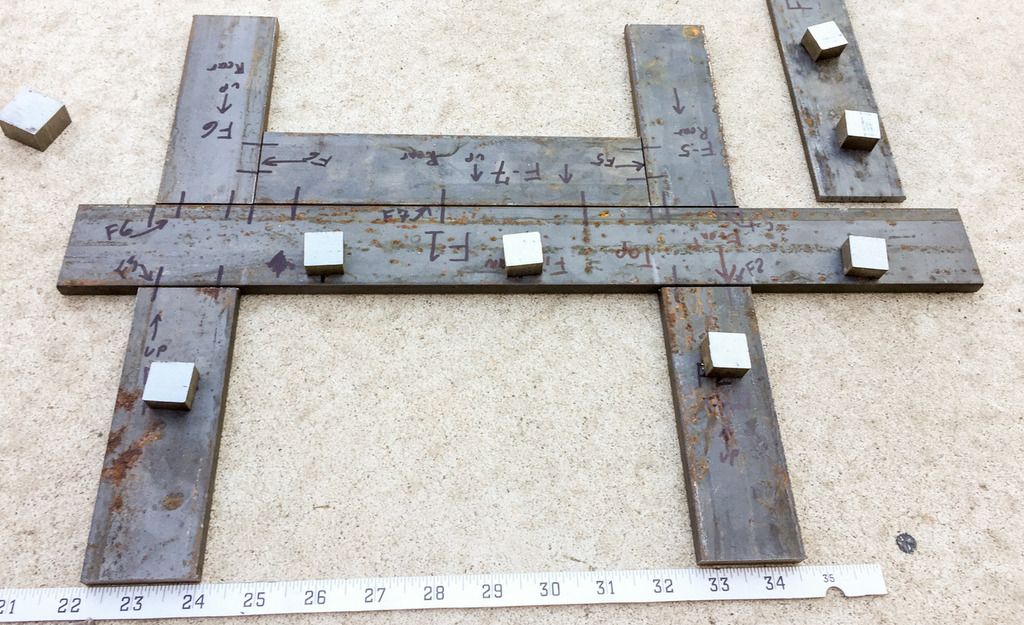
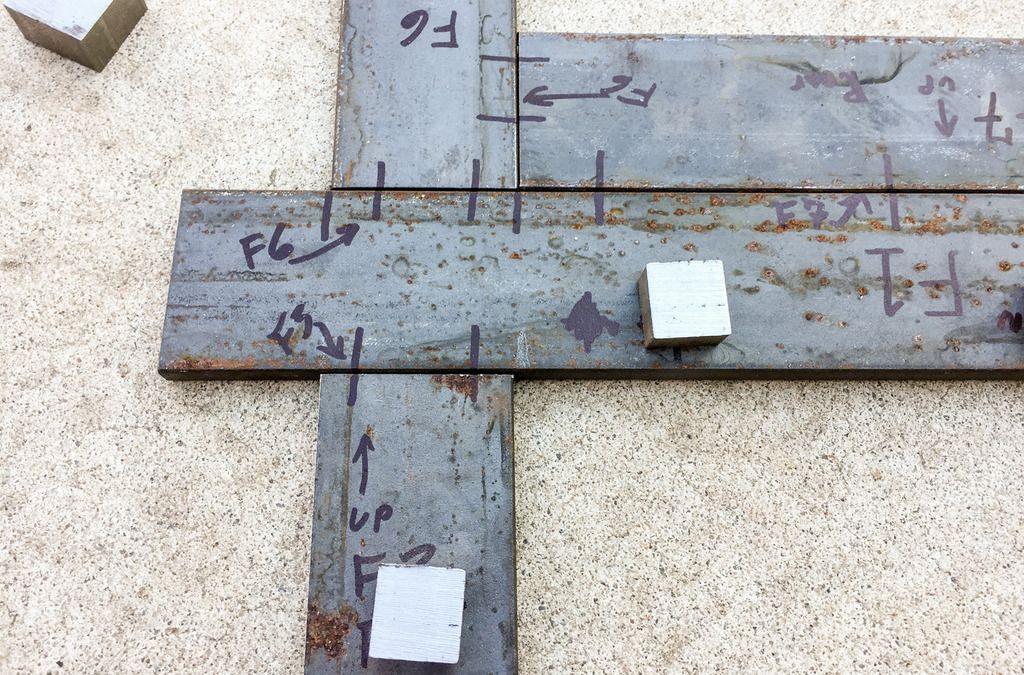
And mounting holes were drilled to fit the special “Bolts” to be made.
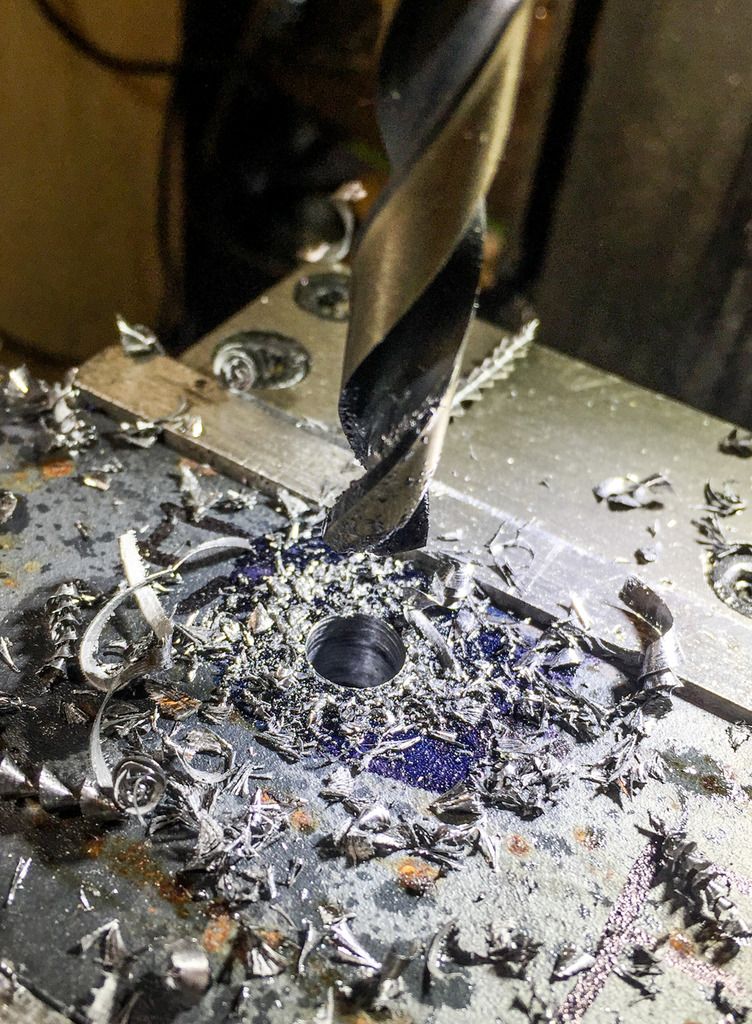
And so today, off to fellow 315 team member Mike Heuser’s for welding up… I can weld, but just OK, His are a lot better.
And I’ll Finnish making the " Bolts" to hold it all together.
5 days to go till installation, Stay tuned.
The steel is off to the welders. The plan is to bolt the steel mounting bracket to the wooden cow catcher. Both of the top mount brackets will have 3 bolts each, and two through pins. You can see the locations on the steel pictures.
Now comes the deceptions. In trying to keep the the “New” CC like the typical mountings on a locomotive and for most old rail cars, I needed to use square headed bolts, or at least make them look like the original would have been.
To actually attach the pieces together, typically when attaching metal to wood one used LAG bolts. Seen any 5/16 x 3" with 3/4" square head, lag bolts lately ? NOPE, Not Made. So I had to make my own. In the steel photos, I took 3/4" bar stock, cut into 1/2" slugs, to replicate the original bolts.
Purchased common 5/16 x3" Lag bolts and cut the hex heads off.
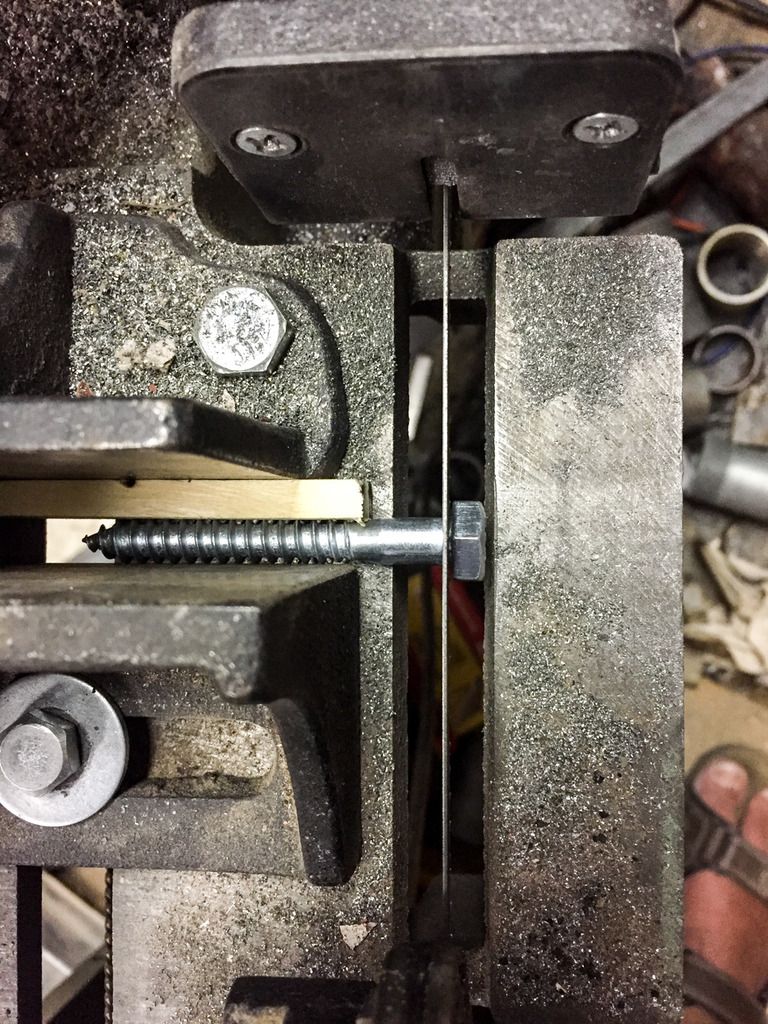
I then drilled a thru hole in the 3/4" slugs. The hole was drilled .007" undersized, of the shank of the lag screws, for a pressed interference fit.
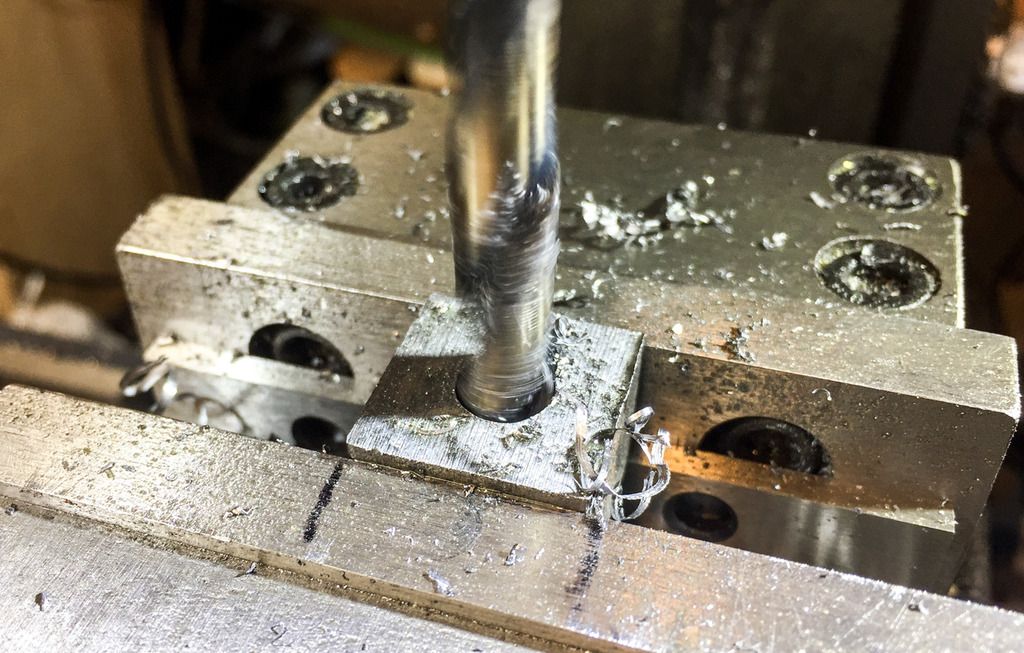
Onto the forge and heated a bit, and then just driven into the slug on the anvil.
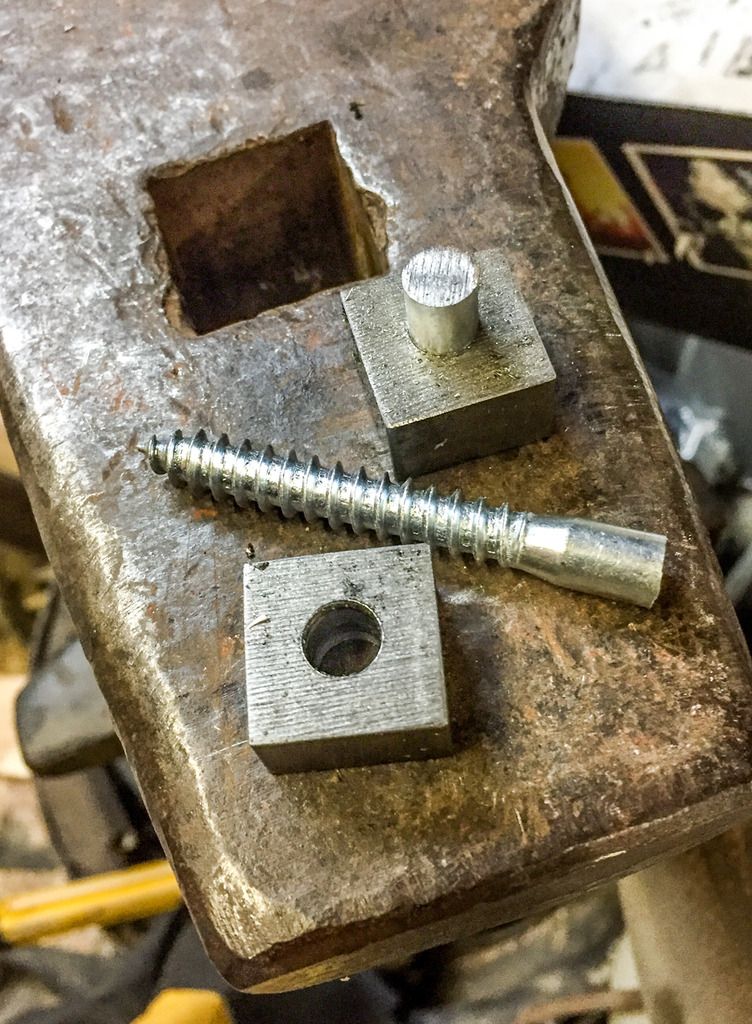
And a finished fit. These will never have a lot of torque on the bolts, so good enough.
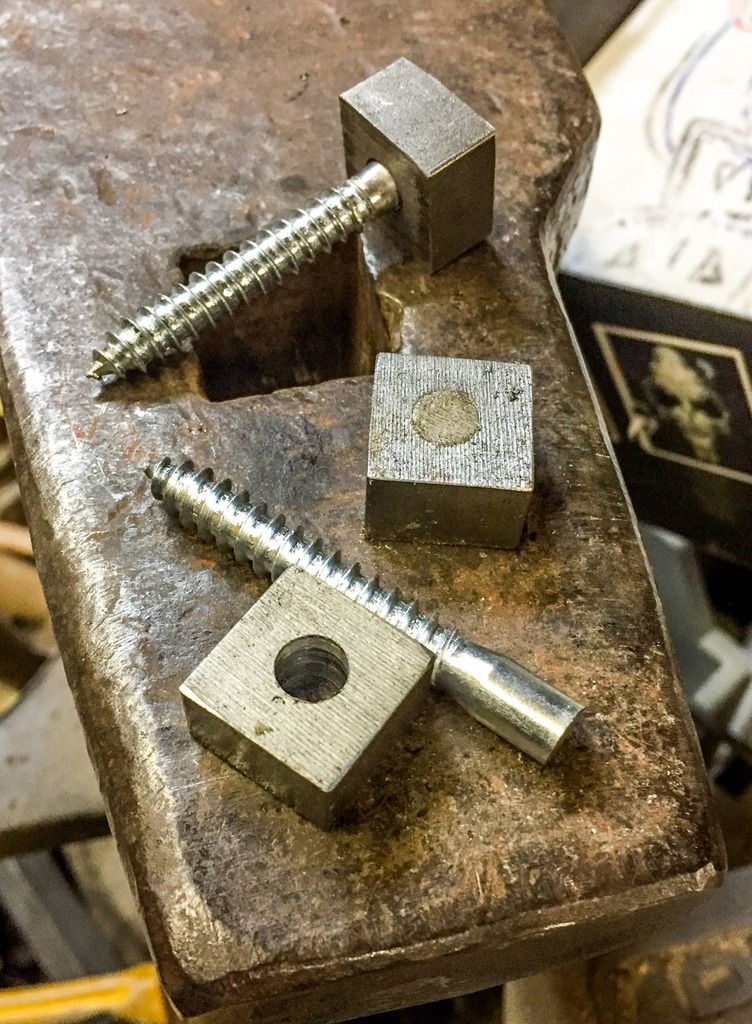
And I did the same for the 3/8" Pins.
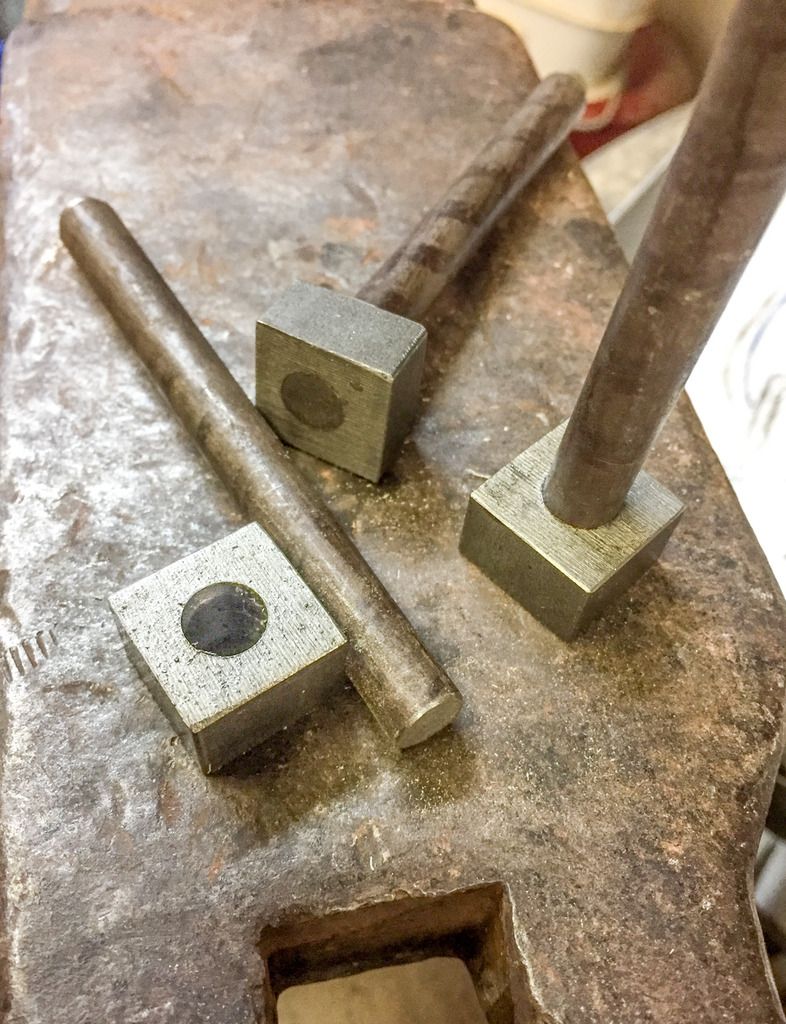
These will be drilled for a “R” clip retainer, to make the removal and instillation easy.
And just when you get good and smug with yourself, Mr. Murphy lets you know just who is really in charge. OOPS…
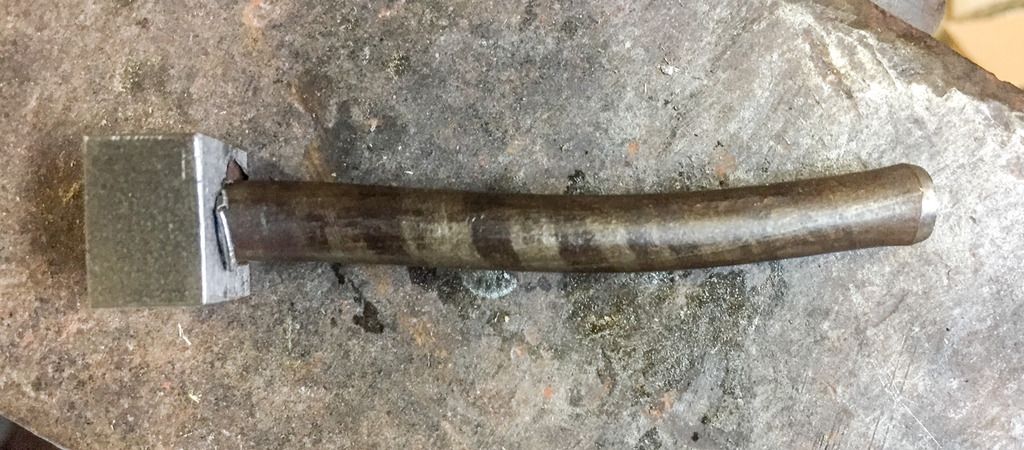
4 Days till it’s hung on 425.
Stay tuned
A fine day in Chama. Success !!!
Got the pilot all assembled, and ready to roll.
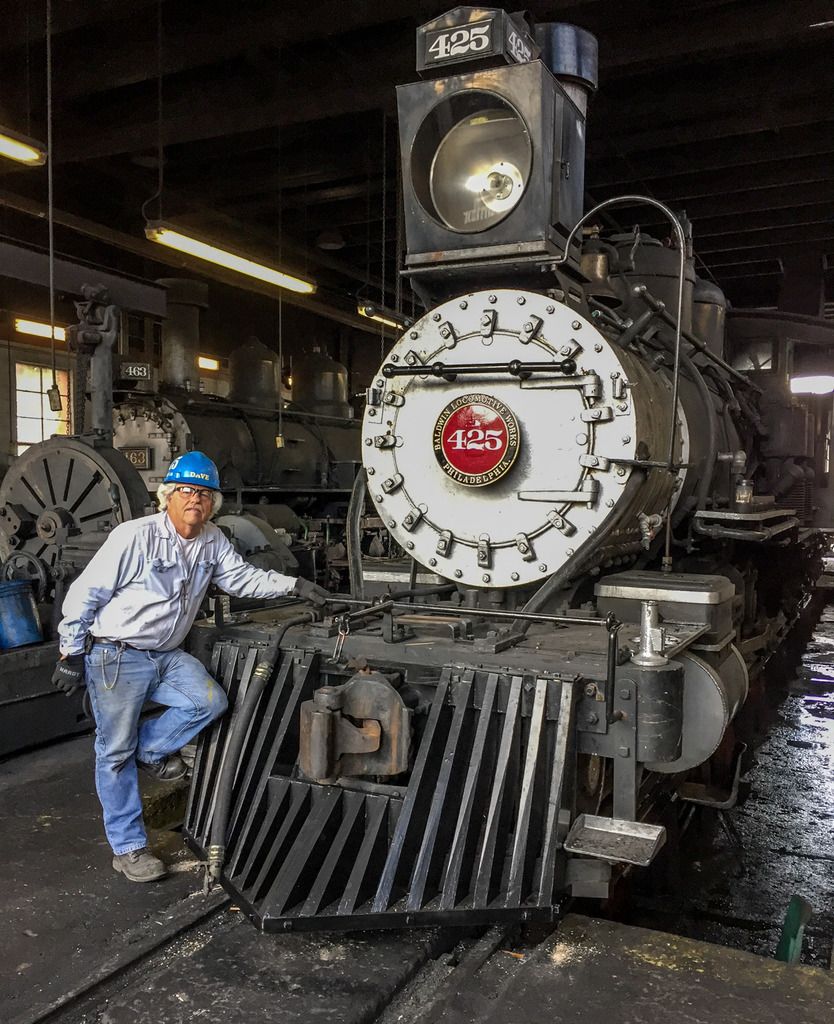
Yah… Thats me.
And the all spiffy up builders number board.
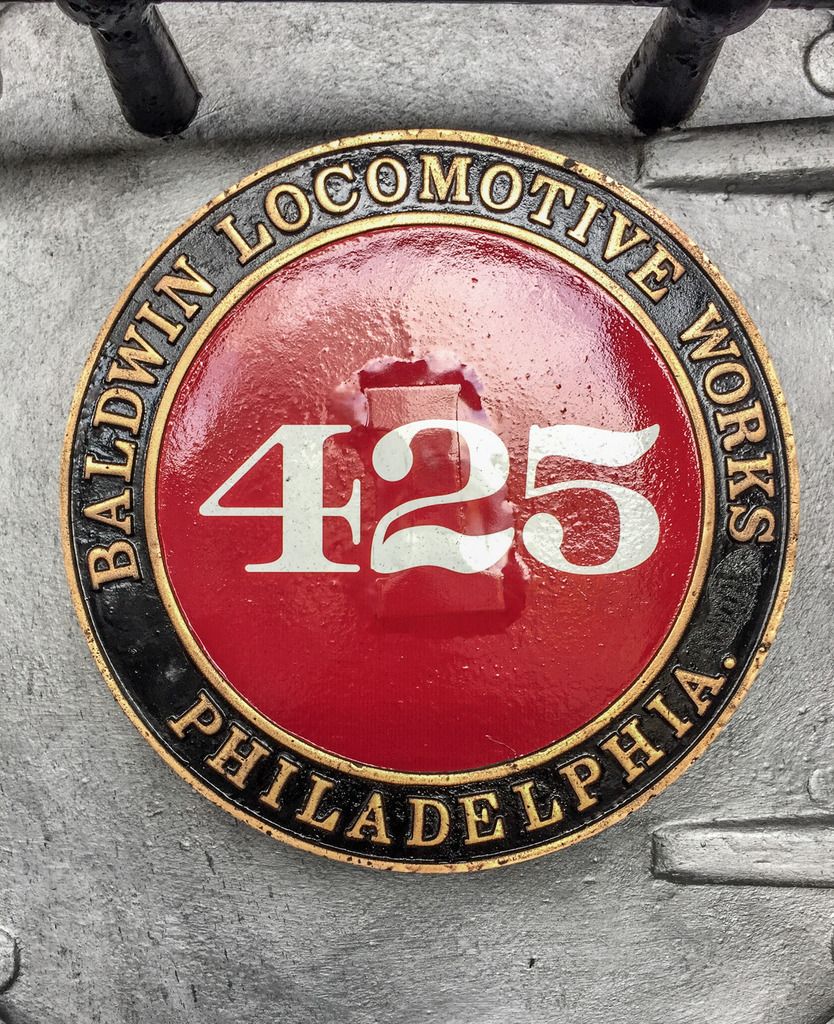
A good finishing touch to the backdating to 425.
Came out looking great Dave.
Looks Great!
Nice work! ![]()
What’s the story on that number plate? I can see it had a raised “1” that has had some kind of material built up around. Was this some kind of generic replica plate? What is the material built up around the “1”, and is it removable or permanent?
It looks to me like a big sticker.
Dang… Nothing gets by you guys…
F&CC #3 engine, when delivered from Baldwin in 1895 had a plate that looked like this one, except that it had a 3 in the middle. Somewhere along its life, it lost it. It’s believed that it happened when the D&RG bought her in 1917, but stories said that it was removed when she was sitting idle from 1912. No one knows for sure. The earliest photos we know of, show her with the 315 painted round board, that we currently have. There are no known pics of her as 425. In her class ( C-18 ) she is the only engine that had the round number board, Almost all D&GRW engines have the rectangular boards, but she has the round one, Why? Nobody knows.
This brass board, is the personal board of John Bush ( President of the C&TS ) he thought that it would look good on the backdated loco, it has a raised cast 1 on it, he had the 425 final stick on made to convert it for our engine. It is temp.
Dave . . . . All looking just GREAT (https://www.largescalecentral.com/externals/tinymce/plugins/emoticons/img/smiley-smile.gif)
I’m back in Chama, after a long day of running 425/315 over the mountain to Antonito.
A video…
https://www.youtube.com/watch?v=81j-YIe-B9w
More latter.
I love that stretch of the road
Been really busy, but I found this video posted. It’s the paid photo charter from Monday week. Antonito to Chama.
Enjoy.
Needed the s…
didn’t stick the 1st time, this 2