Well… the scheduled 315 work session on Friday in Antonito has been pushed back to Tuesday, due to bad weather over the passes.
So here is an update on the Durango painting. Working on some details…

And the details of the waiting passengers.

Well… the scheduled 315 work session on Friday in Antonito has been pushed back to Tuesday, due to bad weather over the passes.
So here is an update on the Durango painting. Working on some details…

And the details of the waiting passengers.

Looking good! I like seeing the progress on the painting.
Had a light snow in Farmington last night, but almost all gone now. But we canceled/ re-schedualed till friday, a 315 work secession for today in Antonito as the Cumbres Pass is snowed in. Cold wind @ 15mph and guests to 25. Good day to stay in. The wife braved the weather and went down to paint on the Durango station.
Just got a notice that 315 has a tentative 1 day movie shoot scheduled for Sept. 12th. They are looking for a turn of the century loco, in a Western USA location setting. Could be fun, or just work… I’ve been involved in the past on movie shoots, Usually 2 hours of setup and 2 or 3, 3 minute shoots. Then onto the next location, and repeat over and over until they run out of time.
Well it’s Thursday evening, Tomorrow we try again to make it over to Antonito to work on 315, Third times a charm… Will post what we do.
In the mean time for your continued entertainment. Wife got a little more done on the Durango station painting.

Getting the back end of the engine and car roughed in.

And some more work on the windows, and the socialites waiting at the station.
She keeps putting off the hard side of the engine running gear…
Gee I wonder why she shies away from the detail.
Couldn’t be she’s married to a rivet counter?(http://www.largescalecentral.com/externals/tinymce/plugins/emoticons/img/smiley-laughing.gif)
Damn, Damn . . . . wish I could be struggling to get thru to Antonito to work on 315.
Too many complications going on here to do a trip to “Narrow Gauge County” . . . .
Girl friend’s bad hip gave out suddenly last week . . . resulted in fracture to her ankle. Damn. And she’s got another cataract surgery May 10.
Just too much stuff going on. I’d LOVE to just hook up my trailer and head east . . . . but ain’ta gonna do it with out her along.
You all have FUN . . . . ! (http://largescalecentral.com/externals/tinymce/plugins/emoticons/img/smiley-smile.gif)
Finally made it to a full work day on 315 in Antonito. It’s now after midnight. SO I will try to fill you in on the fun tomorrow.
I got really dirty today, so dirty that my wife made me show ID before she would let me in. Wouldn’t you if this came knocking at your door at 10:45 at night.

She now says that it’s official, I’m a dirty old man…
Bucket list stuff today…
Looking at that photo, I’d say she is right! ![]()
You must have two sets of ID if she let you in looking like that…or did you stop at the DMV for a new drivers licence on the way home?
Got some time to edit a bunch of iPhone pics that I shot last Friday. I’ll start where I left off on the Main rod and Pin.
Tom ( CMO ) got the bushing split and re-bored to fit the pin. Goopy greased it up and slipped it back in.
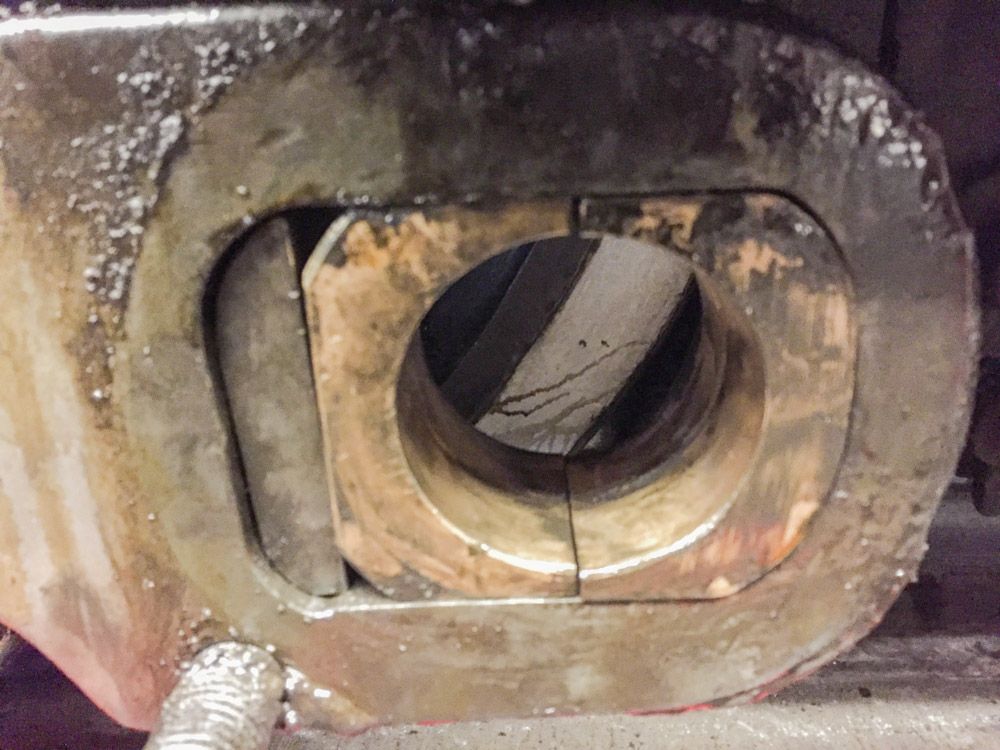
It all fit together like it should. You can clearly ( even thou the pic isn’t) the new split, and the bearing adjustment block in its place. Well almost… the new tapered adjustment pin didn’t fit just right, so back to the shop for .030 added milling.
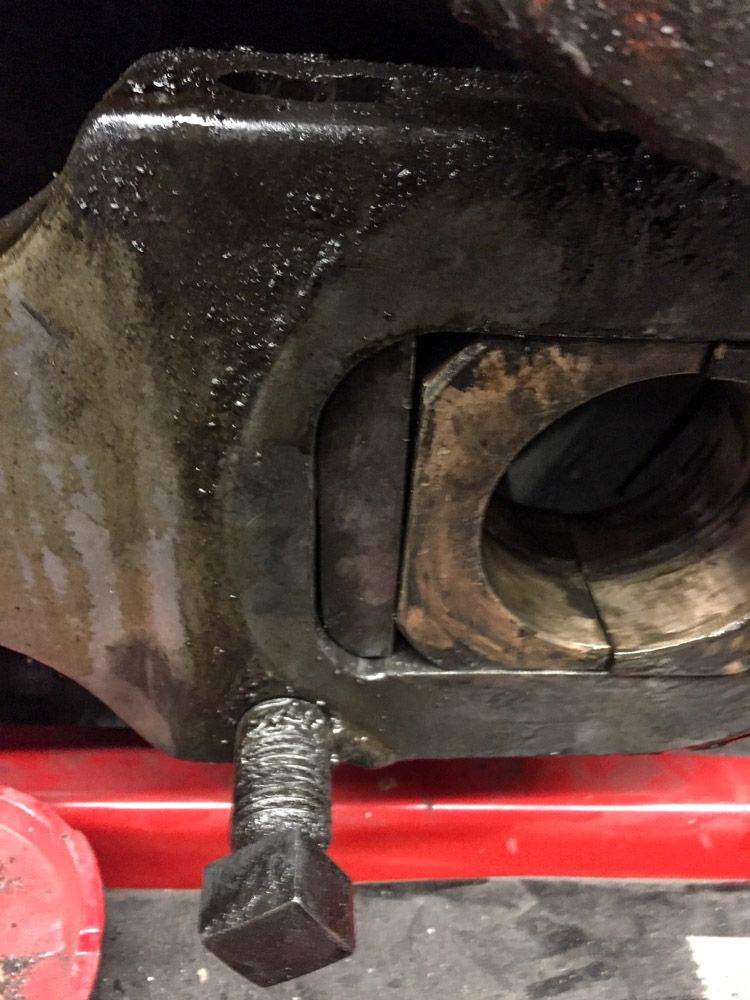
Next visit to her and we will get her back together.
Up Next: The smoke box and why I got so dirty…
At the end of last years excursions, we noticed several weeping tubes in the firebox. Weeping tubes are not un-common in engines, you wish they didn’t, but they do. You watch them, and monitor them, and keep on going. Our philosophy of maintenance on 315, it to keep her at the highest level as possible and not to let things slide and deteriorate her running ability. At the end of last season, After we had shut her down for the winter, we did a partial hydro test ( fill her with water, and add pressure to 60psi) to be able to get inside the fire box and identify which tubes were weeping, and do a close observation and inspection of all the tubes and their conditions. The C&T’s newly hired assistant General manager, and “Boiler Guru”, Stathi Pappas went inside the firebox, and identified 5 tubes that “He didn’t Like” and thought that we should re-place. It was decreed and so shall it be!
Re-placing Boiler tubes IS NOT AS SIMPLE AS IT SOUNDS! To replace the a tube you must get access to it, the fire box end, thou cramped and dirty, is fairly easy. You just climb in and go to work. The other end… well there is stuff in the way.
315’s smoke box. The center screen had already been removed. I’ve showed this end on a number of other times, but here it is.
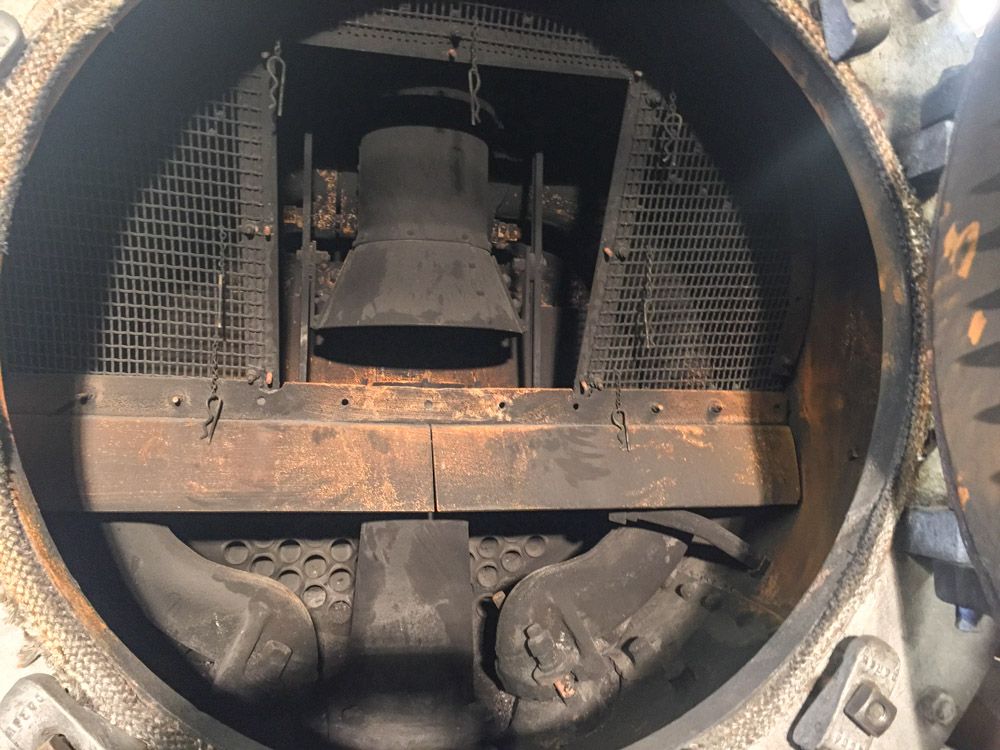
All the “Stuff” you see in there is called “The Master Mechanic”. Early on in steam engine development, engines didn’t have all this stuff in the smoke box. That is why you will see photos of engines with “Short” smoke box’s, and then in later years the same engine would have been re-fitted with “Long” smoke box. Adding the master mechanic to the front was the reason. More room to add more stuff up front. To get to the front tube sheet and the tubes, it all has to be removed. Dirty job, even Mike Rowe would be proud. There are 4 main components that have to be removed. All of them are bolted in, setting on or against brackets welded to the smoke box, and the flue sheet. The screen ( to stop the cinders and clinkers from making it up the stack). The bottom shelf, and the top shelf, and the “petticoat”
Getting the Screen out was a real pain in the A*$, numerous broken bolts and minor blood letting.
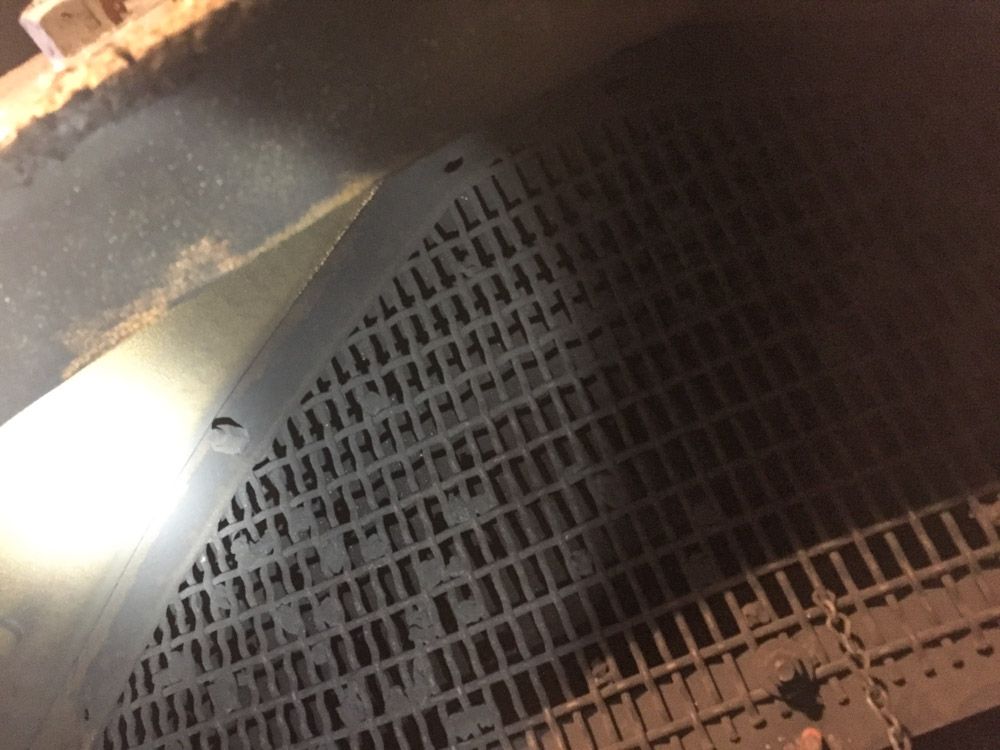
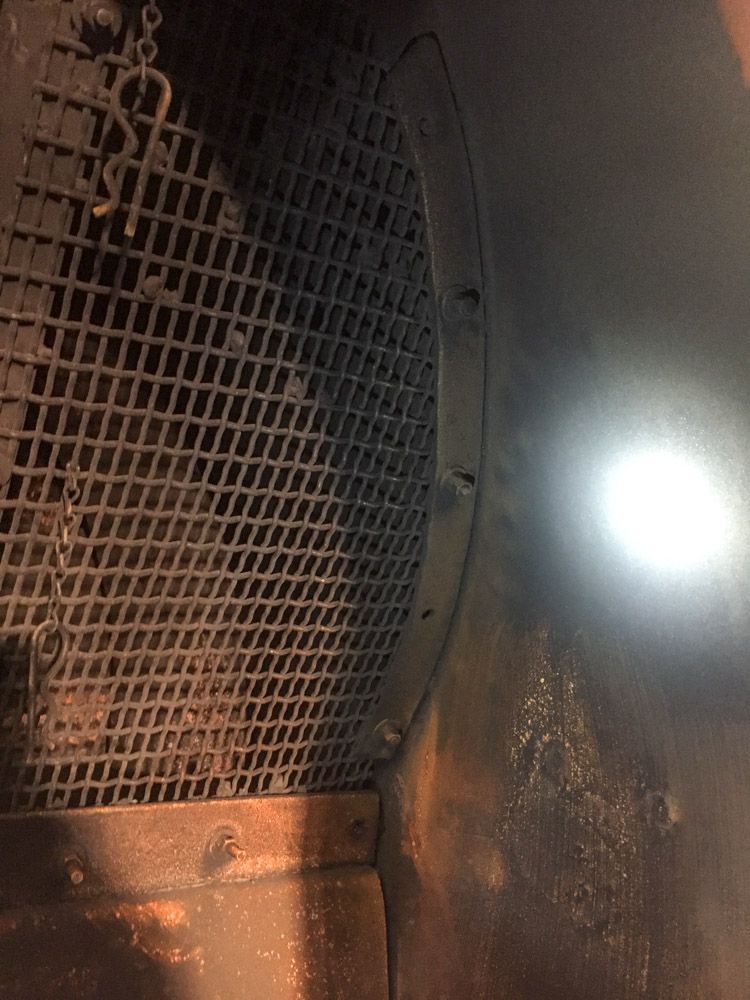
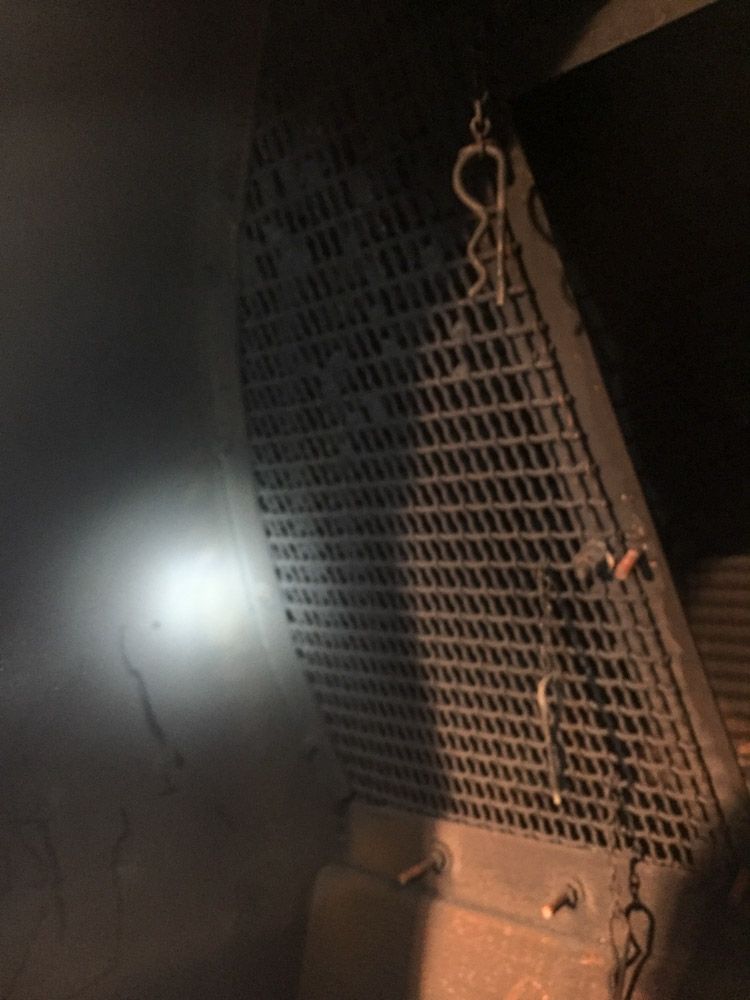
Once out, it was onto the petticoat, More on the technical aspects latter, but before we removed it, we marked all the mounting bolts and the relation of the pipe to the brackets, so it could be re-installed in exactly the same place. It is hung on two brackets that run from the top of the smoke box, down to the bottom shelf, on each side of the exhaust stack pipe.
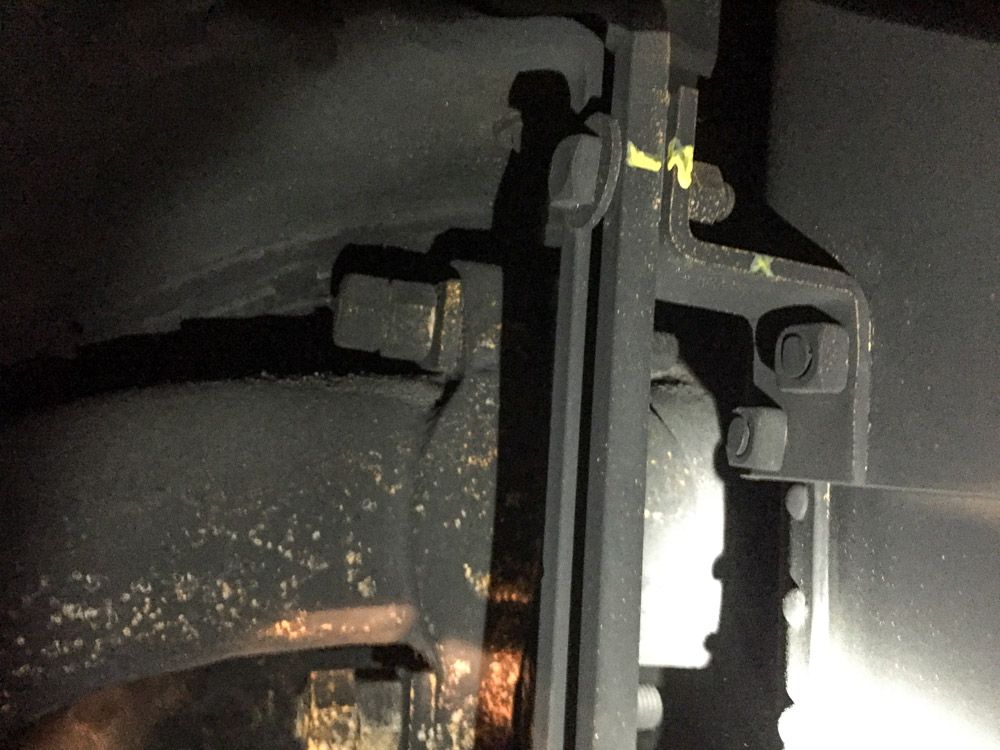
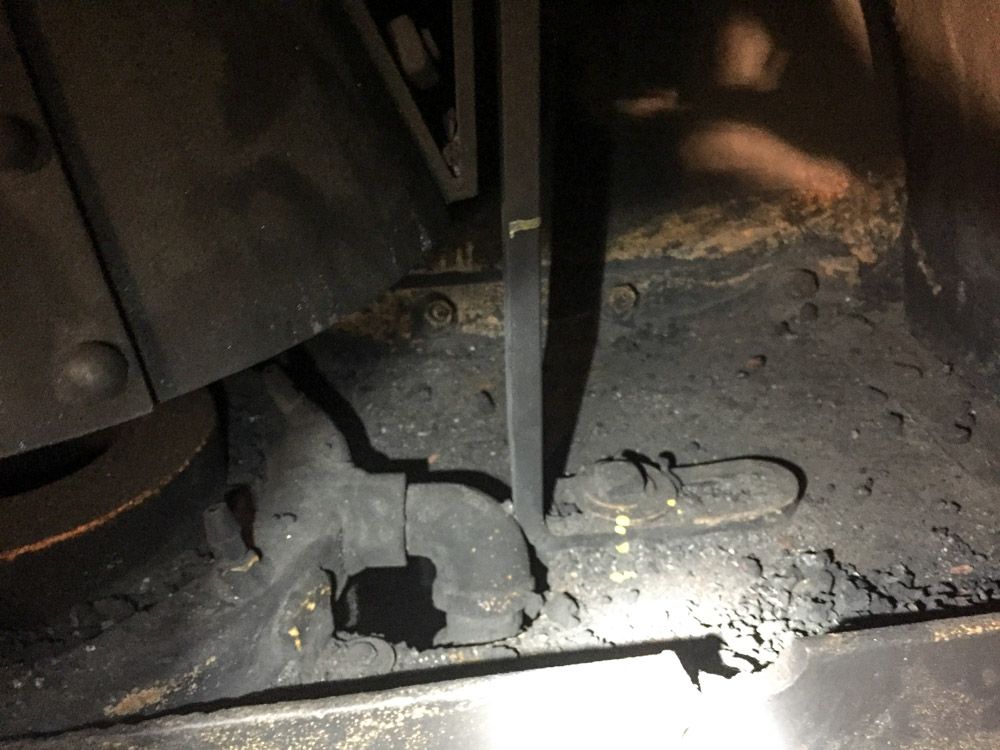
This is the top of the bottom shelf, and the mount for the petticoat. On the left, circling the exhaust pipe is the blower ring, and the bottom skirt. You had to reach into this area and un-bolt and disassemble all this stuff. That is coal soot and dust everywhere. After a lot of exertion and waisted time, we gave up on the wrenches, and I turned it over to the guy with the cutting torch, a he made quick work of the rest of the job…
The front end without the master mechanic junk in the way.
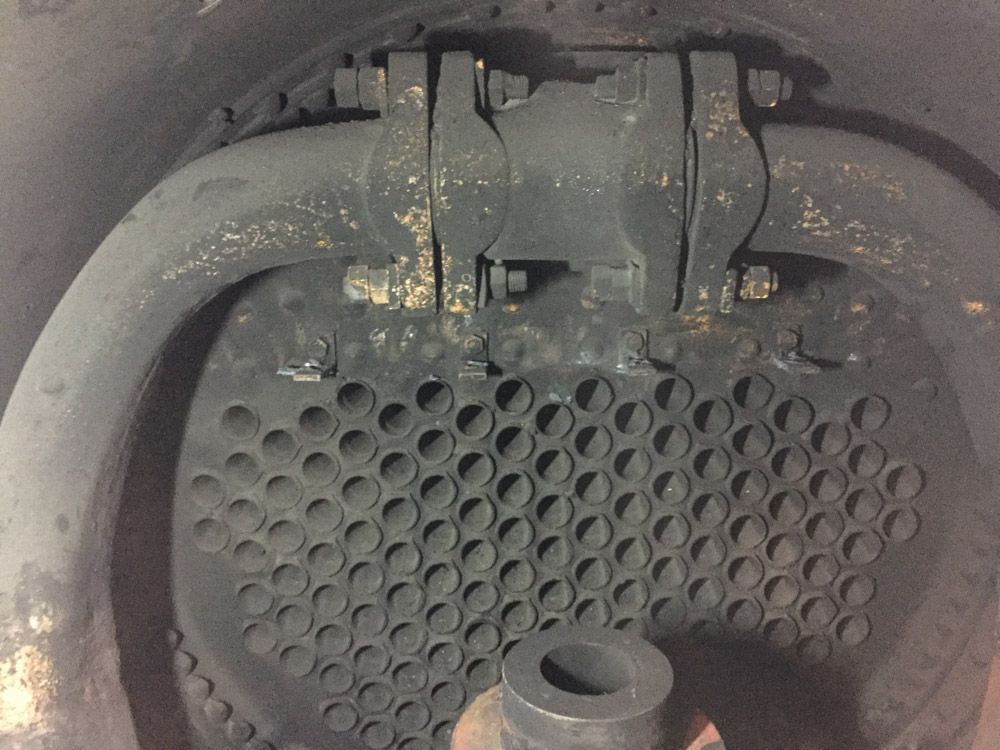
The branch pipe at the top, the right and left steam pipes to the cylinders, mounting brackets for the top shelf on the tube sheet, the rows of tubes, and the exhaust stack.
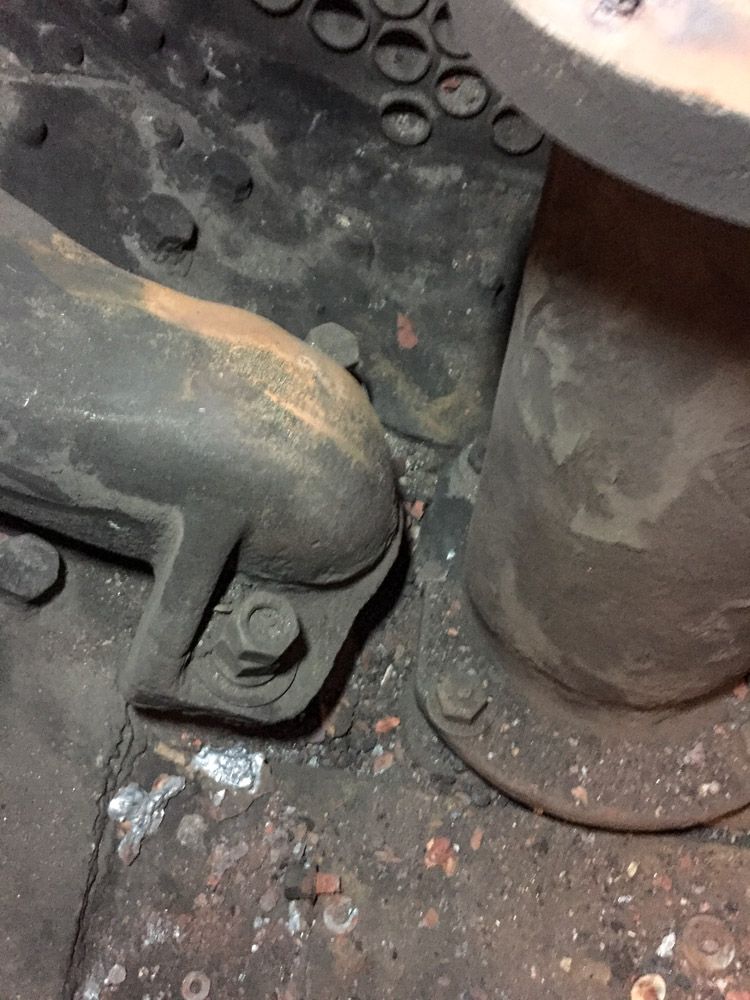
The left side steam pipe bottom mount, and the bottom and mount for the exhaust pipe. BTW: the steam pipe is a very heavy thick, one piece cast iron monster, and you really don’t want to remove it unless you have to.
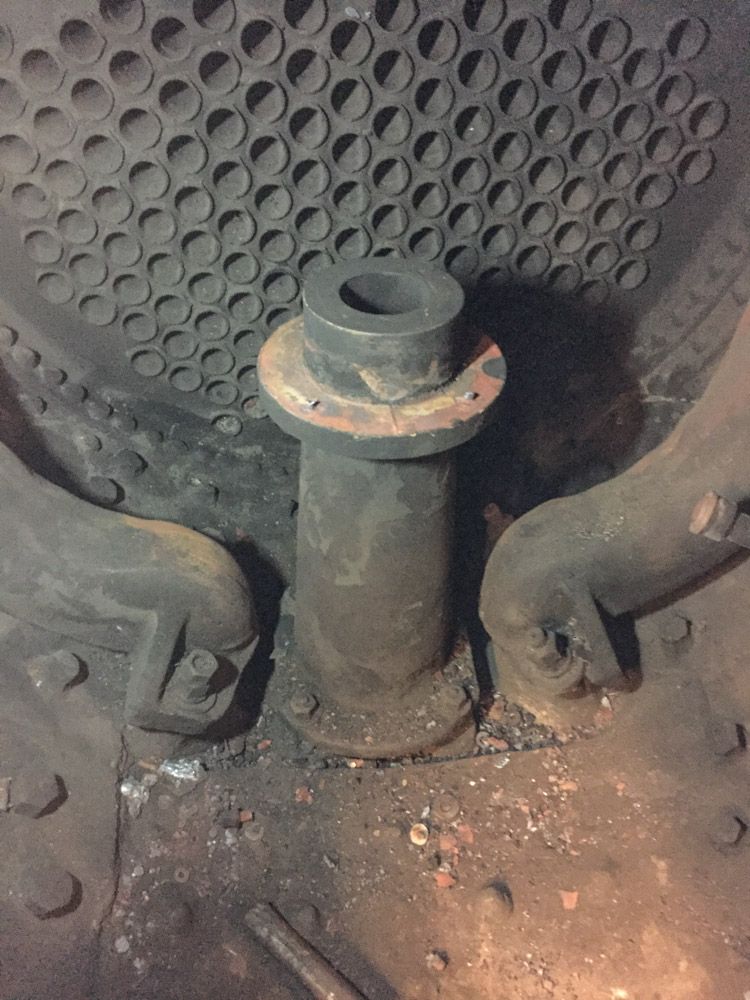
The steam comes thru the throttle valve, thru the “Dry Pipe” to the branch pipe, it is split to the two steam pipes, comes down to the cylinder valves, to the cylinders, and is exhausted up into the smoke box thru the exhaust pipe, thru the petticoat, and on out thru the smoke stack.
UP Next: removing Boiler tubes, and re-installing new ones. Stayed tuned.
I can sympathize. I helped clean the firebox aboard USS Ranger during my 3rd Class NROTC cruise. I didn’t get clean for three days of Hollywood showers. (http://www.largescalecentral.com/externals/tinymce/plugins/emoticons/img/smiley-foot-in-mouth.gif)
Does this engine have a blower? I see the blast pipe, near by would be a blower on our engine. I don’t see it here, perhaps it has been removed?
Dave,
Do you wear some sort of mask working in all that dust? Coal dust will give you TB (black lung disease). I’m sure Steve can advise you on that. Use PPE. Don’t be a hero. Protect your health. It’s precious.
@Eric et.al Yes it does have a blower. You can see part of it it in the bottom corner of one of the petticoat pics.
A couple of years ago we modified the original to a better design, with removable nozzles. Before installation.
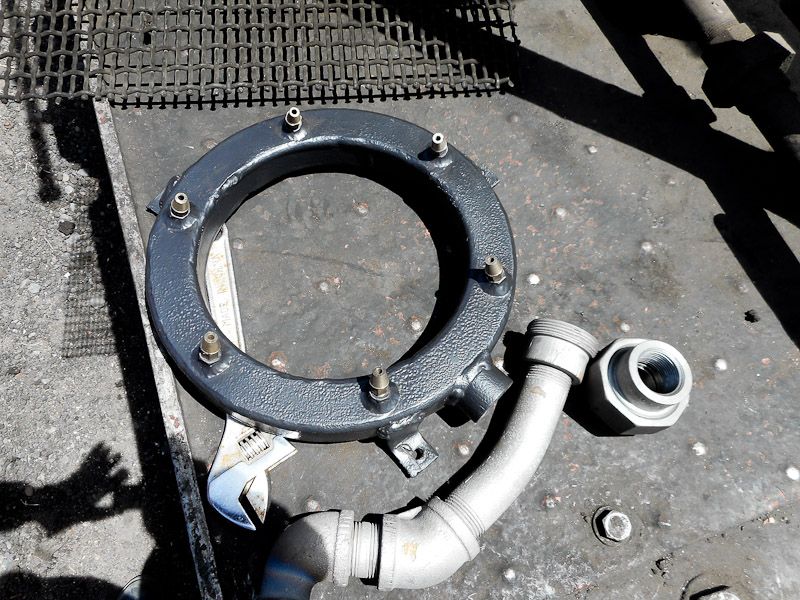
Here it is installed.
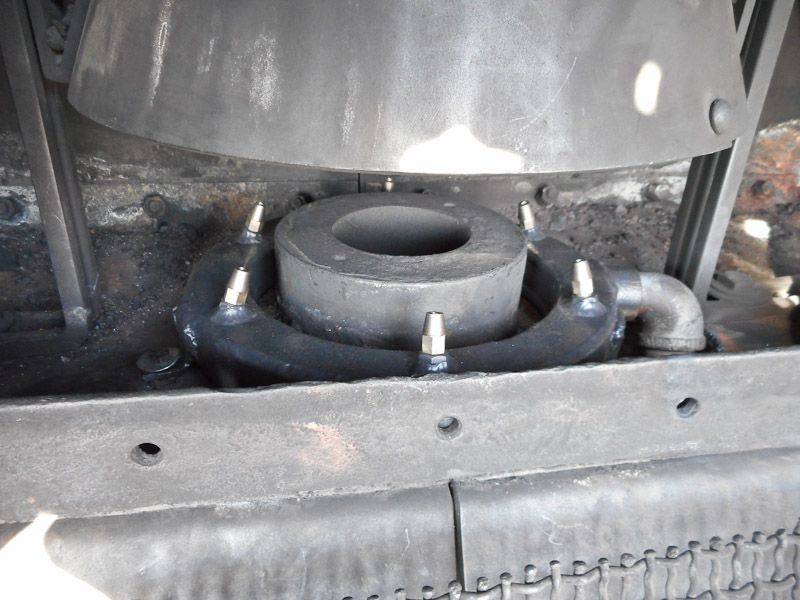
What does a “Blower” do on a steam locomotive? When a locomotive is moving, the cylinder exhaust is blown up thru the petticoat, and out the smoke stack. When this blast happens, it creates a vortex effect, sucking the hot fire thru the boiler tubes, and creating a draft thru the boiler. When an engine is sitting still, it looses this draft on the fire, and things cool down. To create an artificial draft, steam is sent thru the “Blower Ring” and shot up the stack, creating the draft to fan the fire. One can also use the blower to help keep a hot fire when the engine is running slowly, or like switching a yard.
Your helpers?
My mom asked me how I knew that they were getting ready to move the locomotive at the EBT and again at Cass. I knew, because one of the crew had climbed aboard and started the blower, so the fire would get hotter and the locomotive could raise a good head of steam.
Its nice to have a basic working knowledge when you go see these gems in their native environment. And Dave, you are giving us so much more then just a basic knowledge through your experiences and writings. Thanks.
Sean, close. I spent most of the day in the smokebox, “Boiler Guru”, Stathi Pappas Did most of the Firebox work. We’re a matched pair.
New Assistant General Manager of the C&T, “Boiler Guru”, Stathi Pappas, It’s Great to see senior management getting dirty.
That blower is much more elaborate than what we have. Ours is a single nozzle. The nozzle itself is fairly complicated but still only one. Thanks for sharing!
Just a quick follow up on the Durango station painting.
More engine detail, and some people work.

And the overall.

It’s getting there…
OK guys, and Gal, I know that I promised to follow up on the Boiler tube re-placement for 315, But this week has been really busy and not a lot of free time. Life has a way of getting in the way of trains.
1st off, among other things, I still actively run my portrait studio, and for the past months I have been shooting a self assigned personal project, Which had it’s grand opening Friday night, so I had to Finnish printing for it and get it hung and the grand party on opening night. It was The Little Black Dress Project, ladies celebrating life for those times when only a little black dress will do.
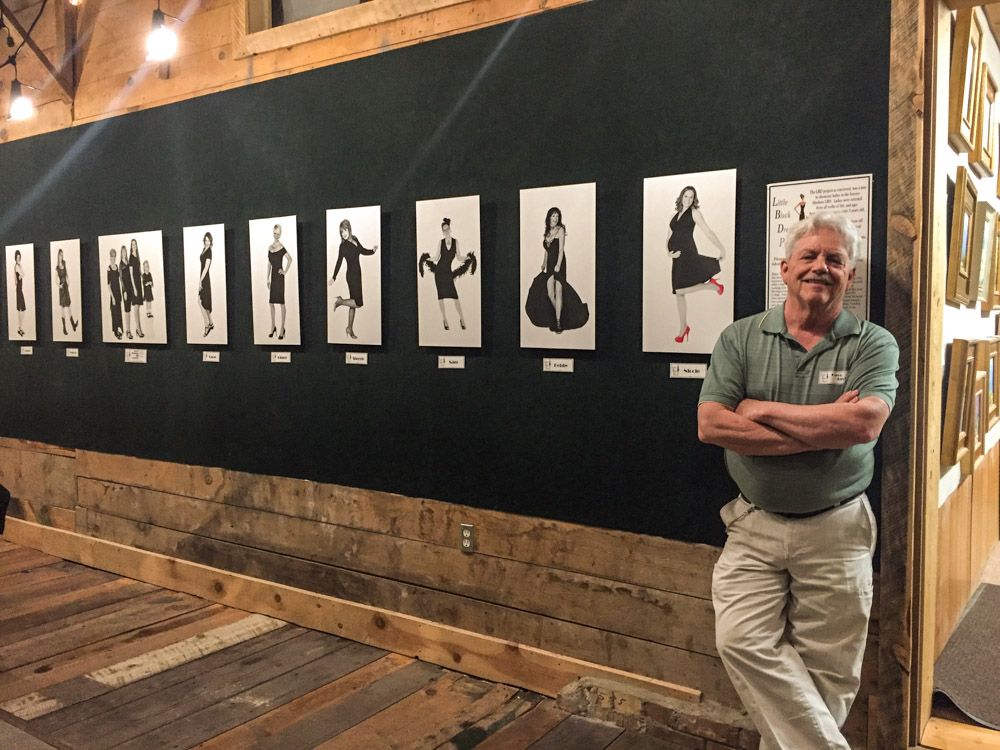
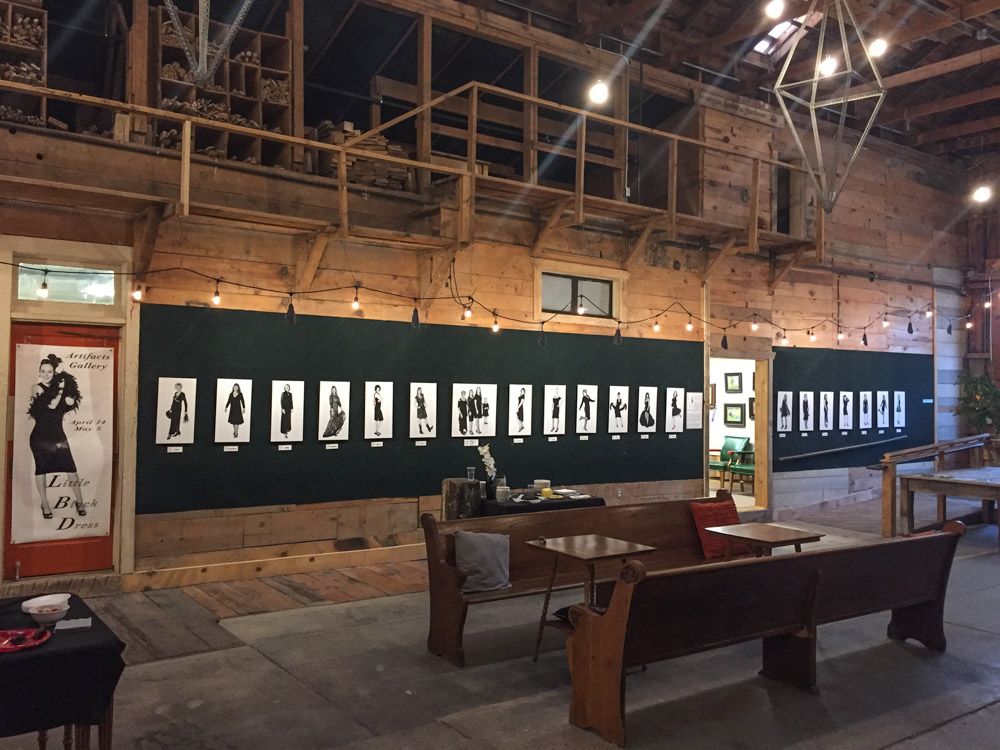
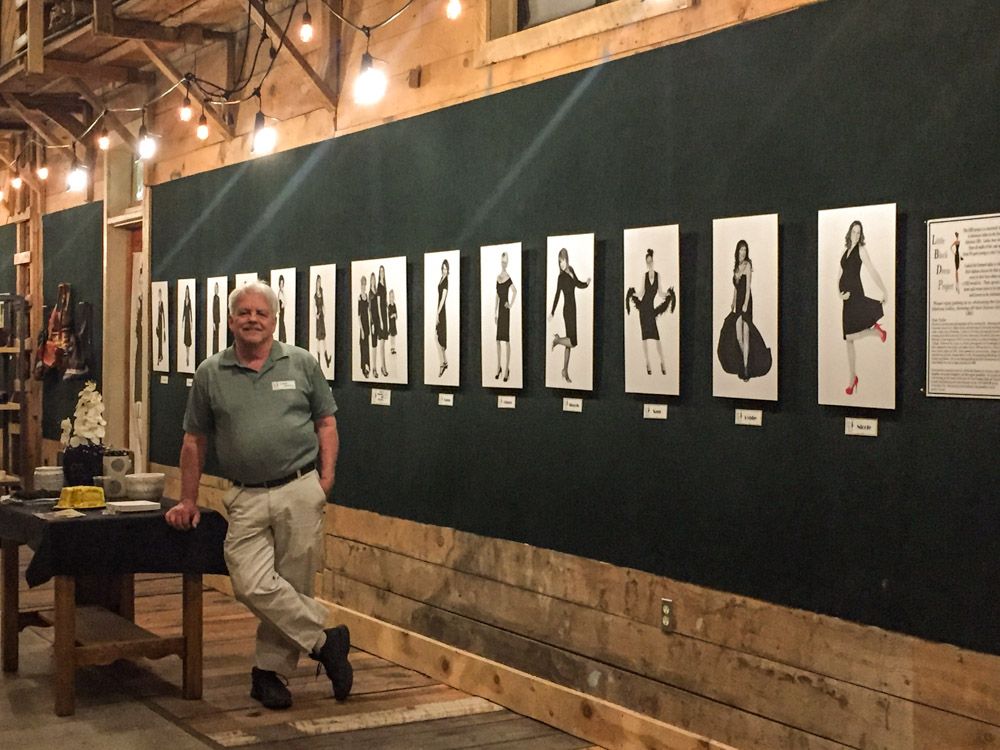
Ladies from 90 years young to cutie 3 year olds. All walks of life, even a 4 generation family. Damm they make me look good.
Onto Train stuff. Thursday found me in Durango working on the D&RGW 30 ft. reefer. The newly built, from new and old part’s and new castings, trucks are done and delivered. Now to get them under the car. When this car was bought from the RR, all the running gear was cut from the bottom side, so that it could be set on a foundation. Which is why we salvaged off the mountain parts for the bolsters.
The top plate in the car had the center “Spider” section ( the part that holds the pin for the trucks ) attached by 4 rivets that were hot set. When the car was prepped for use as storage they cut the bottom plate of the bolster out with a torch, and the spider also, leaving about 1 1/2 inch of the rivet left in the hole. Todays job was to get the rivets out. Game plan was to grind the heads off, and drive them out. Change of plans… I thought that pushing them thru from the bottom would be easier then grinding 4 - 3/4" rivets for each end.
Rigged the blocking and put the jack to it from the bottom of the car and pumped.
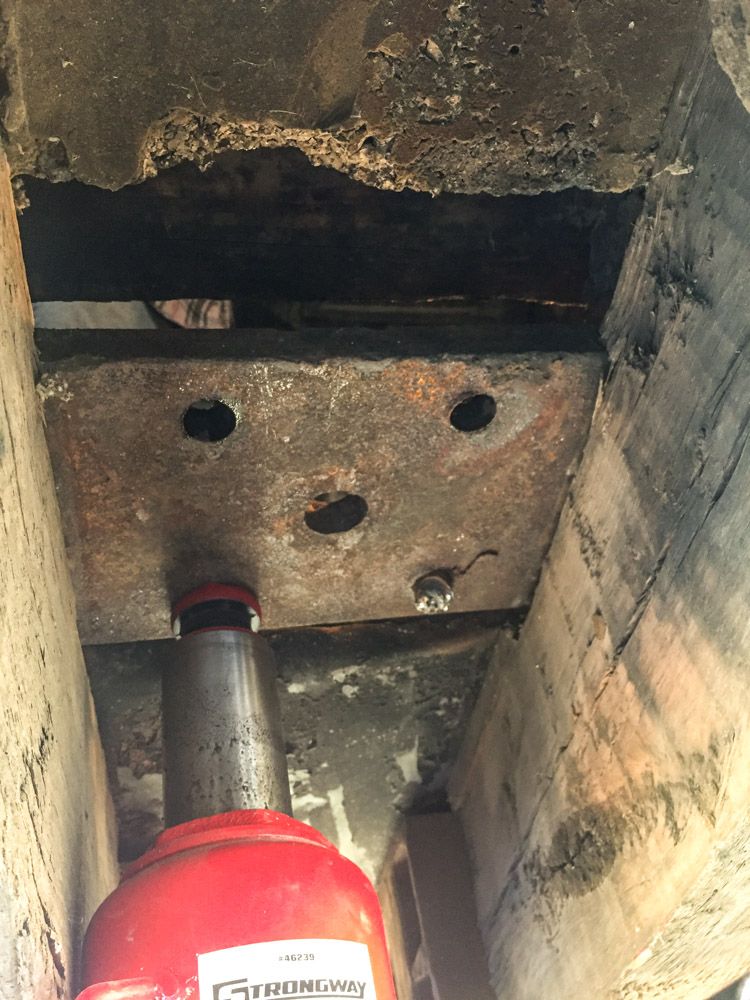
Then went top side and Wack-Oed the top plat with a double jack to drive them up, and then cut the top of the rivet off.
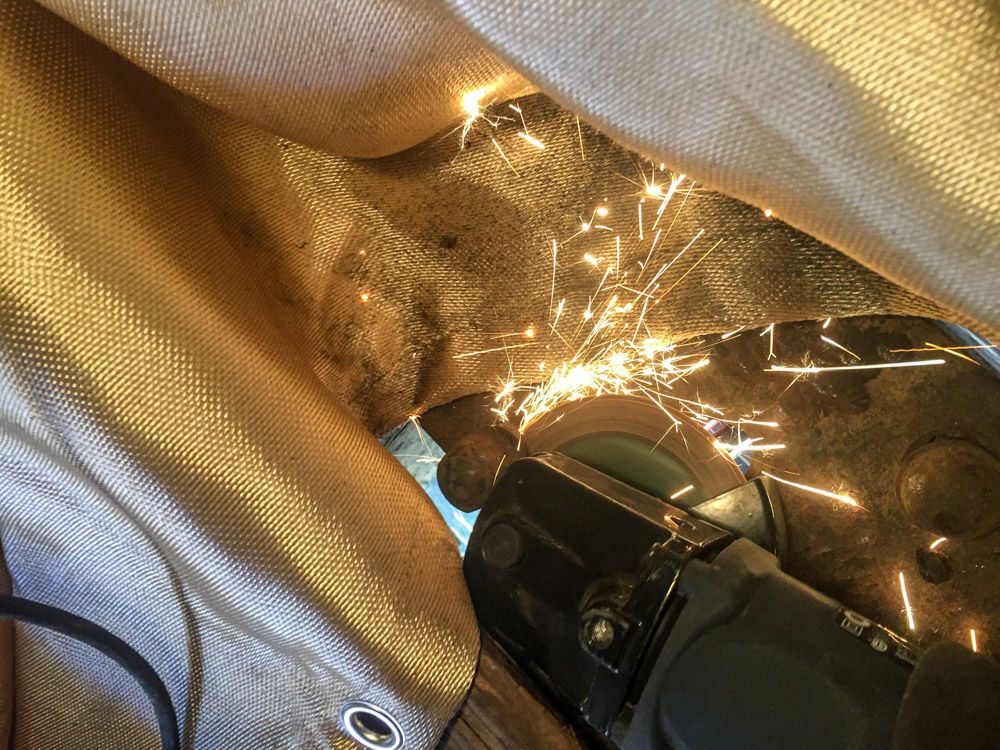
The car was built in 1908, 109 years ago, so welder’s blanket to catch the sparks, and a good dousing with water to be sure that we don’t burn it down.
Lots of jacking, lots of cutting, lots of pounding, and Ta-Dah…
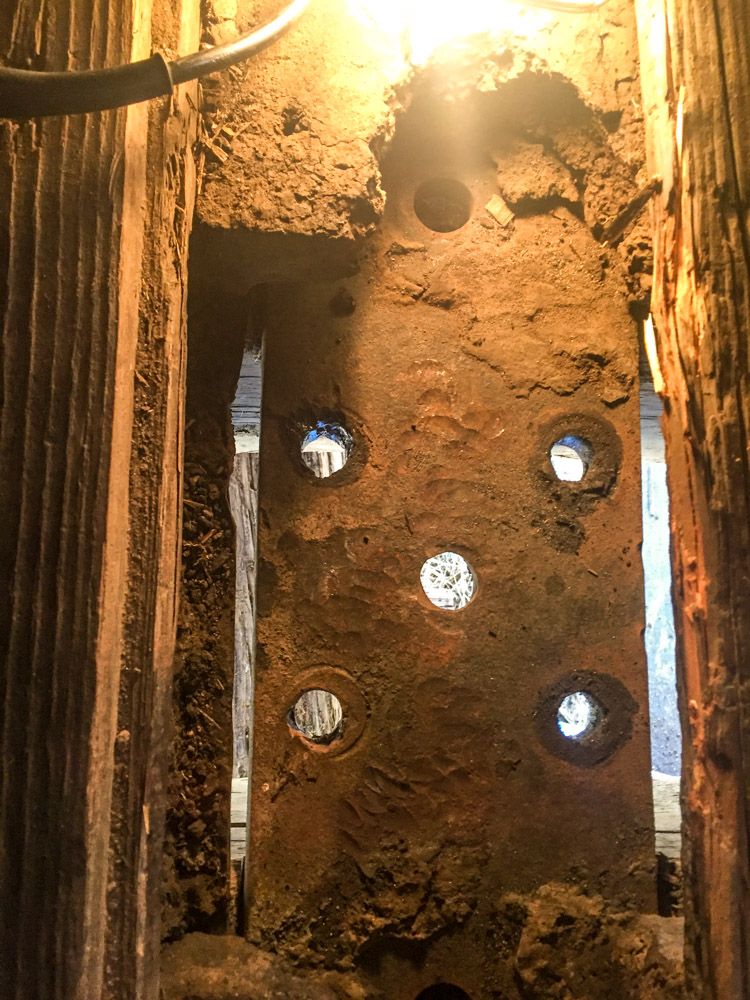
The car is setting at “Holt Sheet Metal” in Durango ( shameless plug for good guys ). They will be building a new “Murphy Roof” for the car. They also have a ultra modern machine shop on site. I measured up the specs and we took the new casting of the spider in and the guys said that the mill was set up to handle that kind of work and he would do it while we waited.
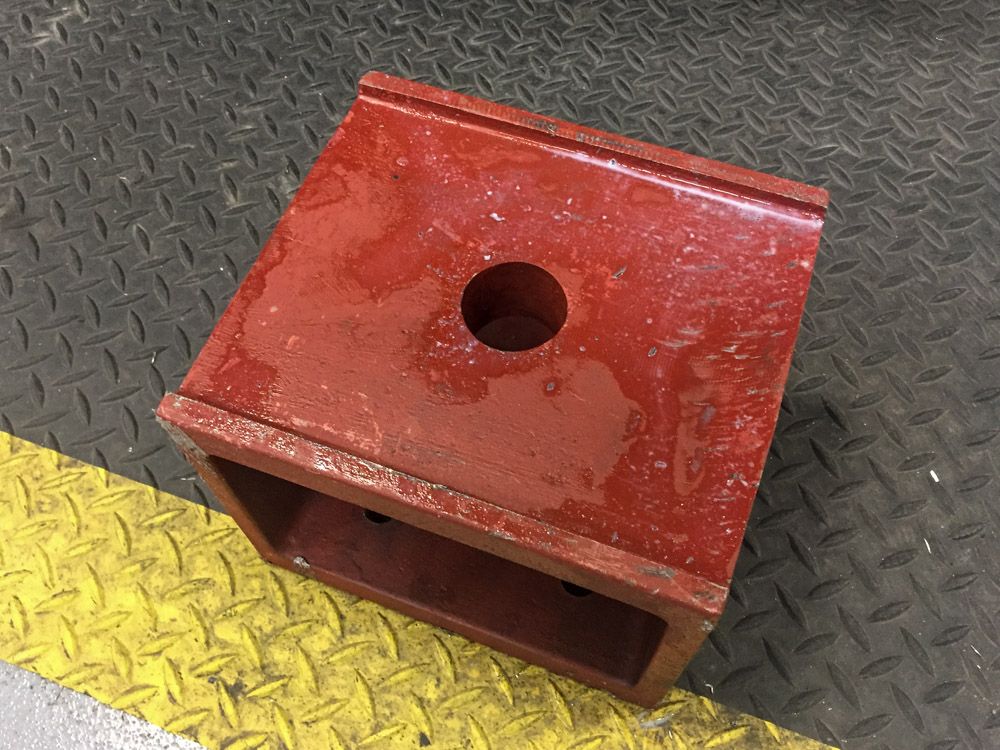
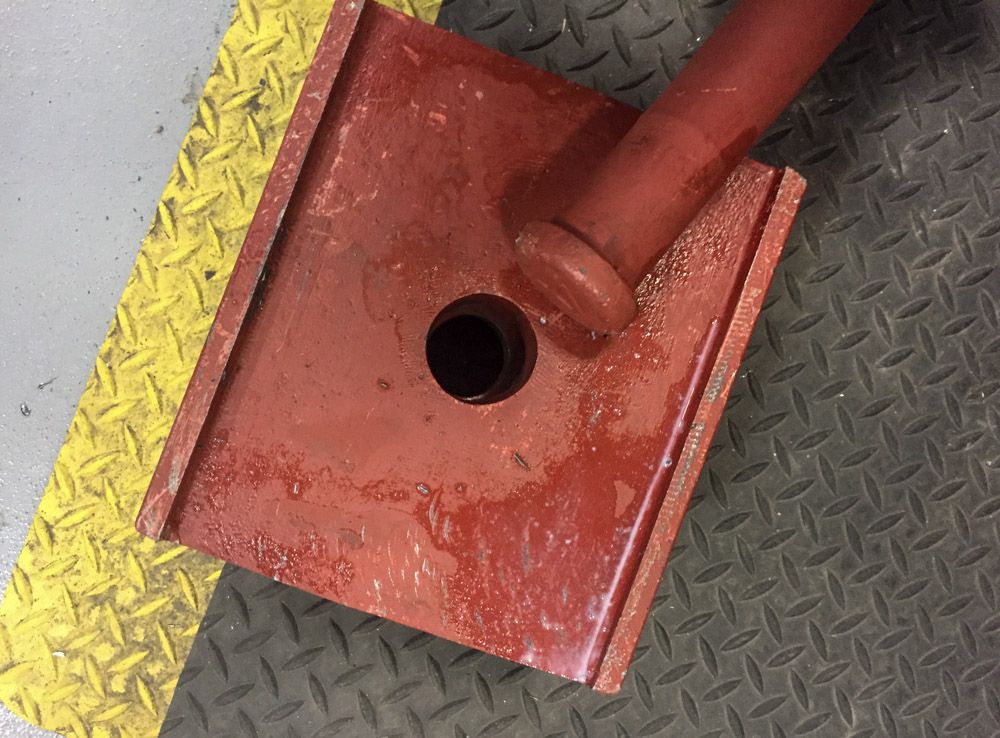
Before, with out the rivet holes, and the recess to hold the truck pin.
Chris spent about 5 minutes programing the 48" CNC mill, mounted the spider, and I watched in awe…( close mouth, quit drooling Dave).
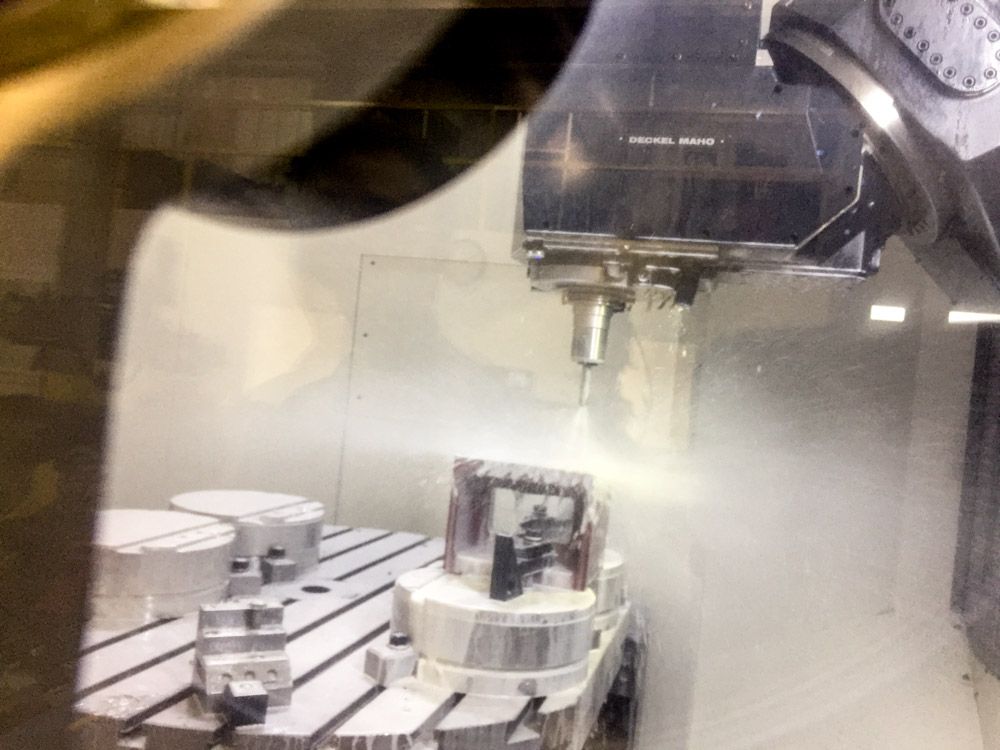
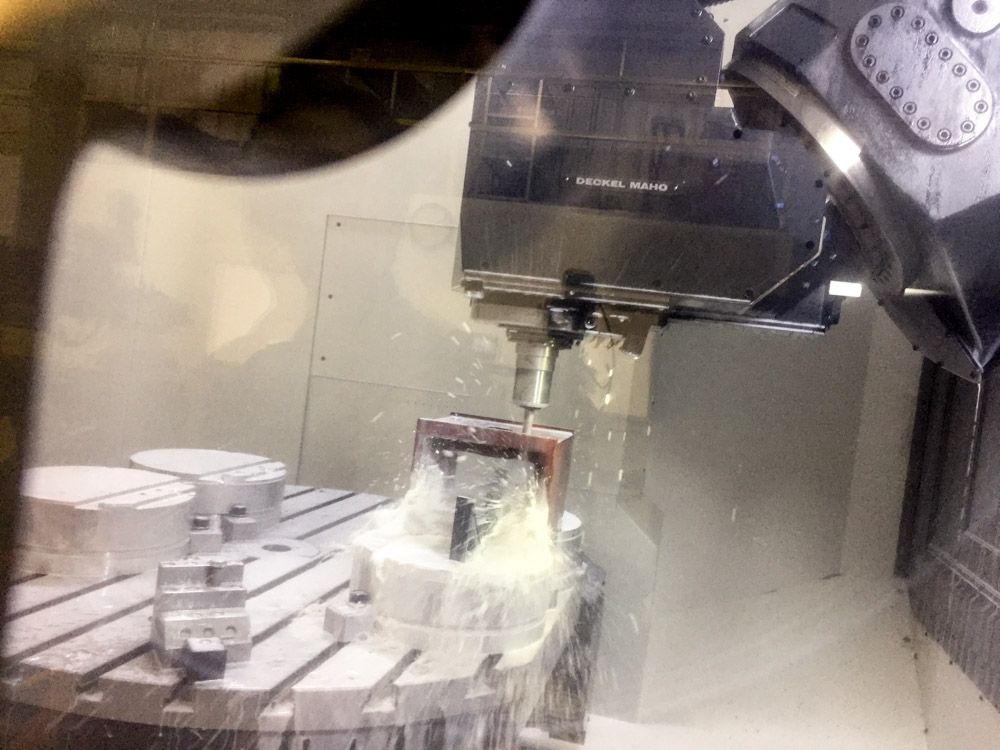
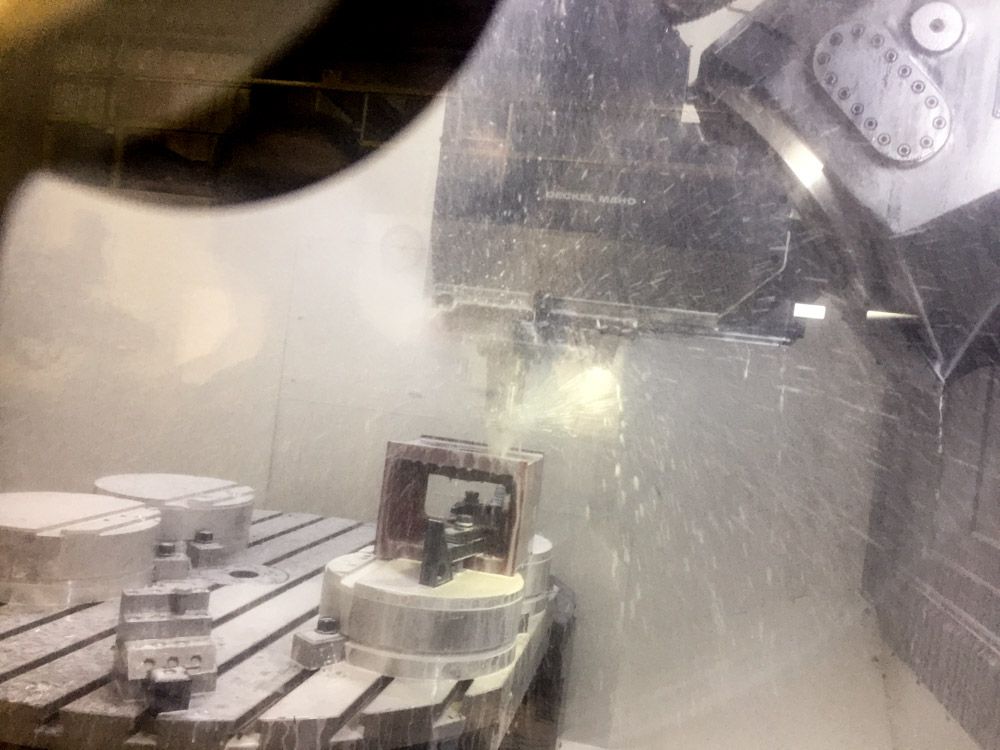
This CNC mill did in just a couple of minutes, what we thought would take us hours of hand work… Ahhhh modern technology.
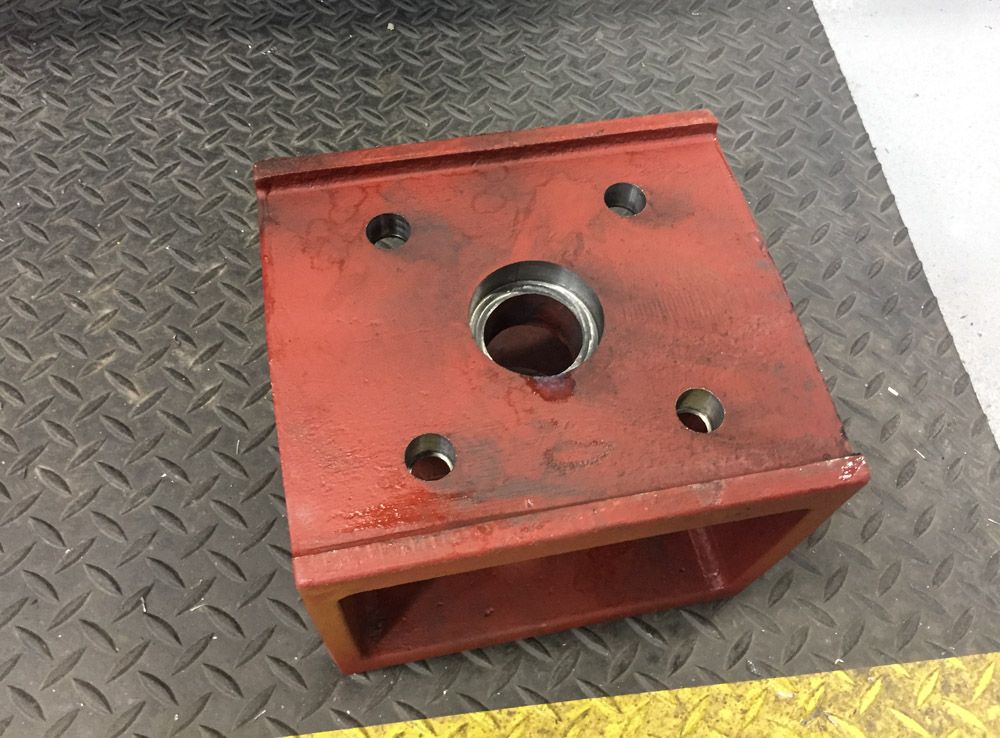
With the pin.
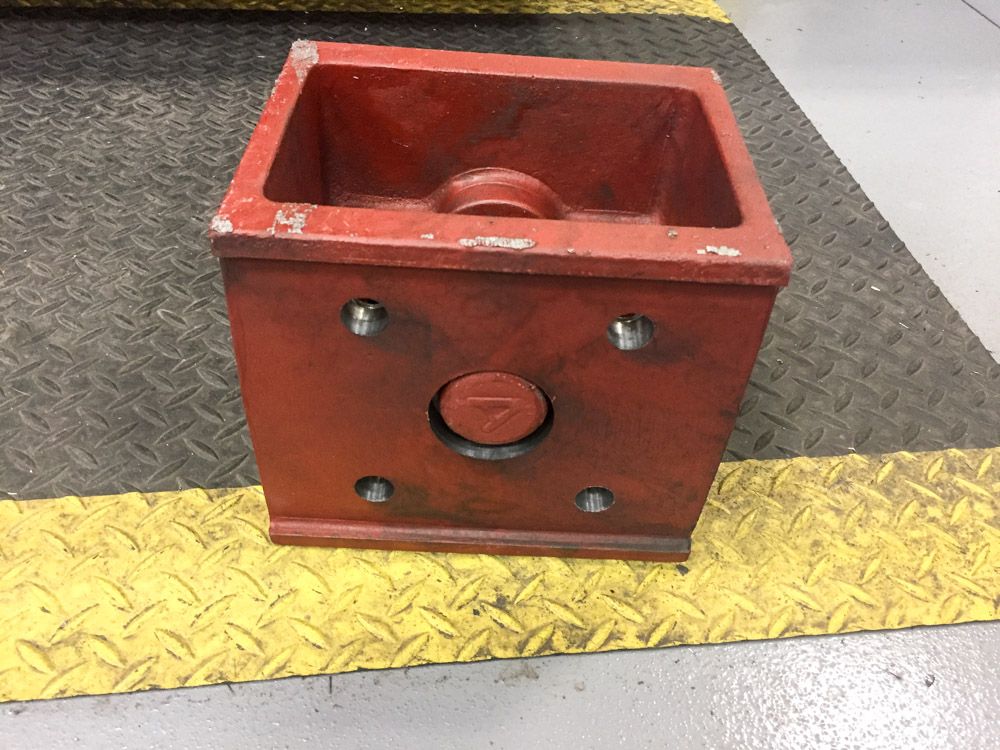
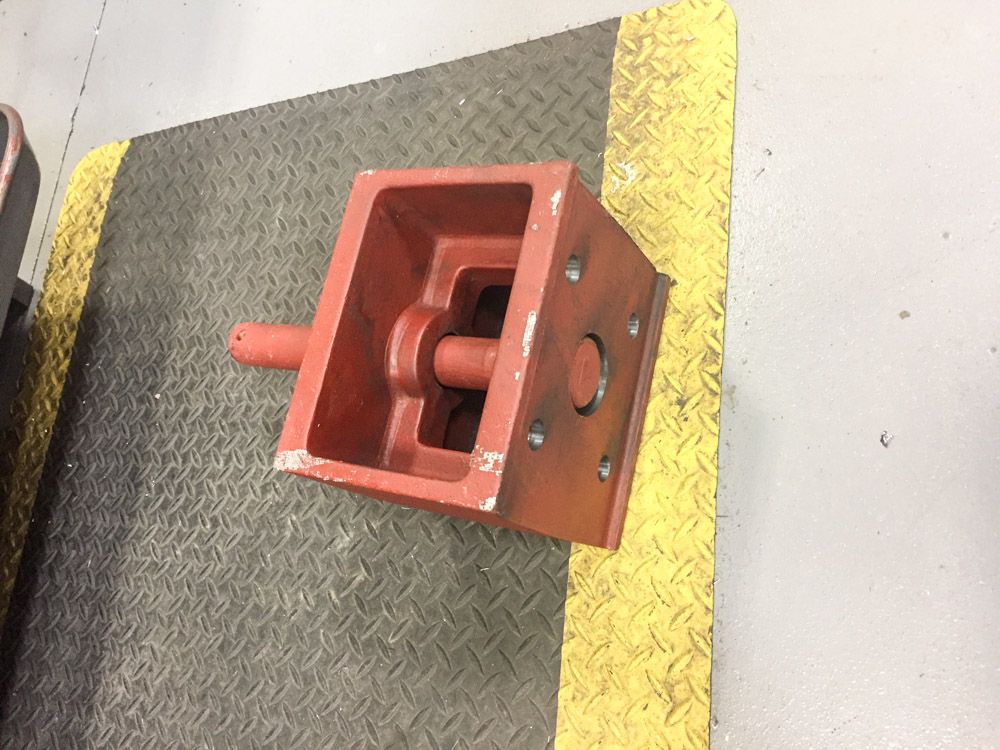
For the second one he just indexed the location, and 3 minutes later, we had a matched set. WOW.
UP NEXT for the reefer 39, we will start to assemble the bolsters, so we can get it set on its trucks.
But before that, I will get back to the boiler tubes…