Large Scale Central

D&RG 315, My week in Silverton

Nice!! Really enjoying watching the progress. The Midwest Central Railroad in Mt. Pleasant Iowa has two 6200 series flats, they just finished restoring them a few years ago. Here is a picture from their page of the 6216. I think the other is 6209

They also have pictures of the breakdown and rebuilding of the cars on the Current projects page

Wow, Did a little research on these flats.

When built in 1918:

D&RGW built 10 Series 18 flat cars numbered 6200 - 6209. 7 survived to be re-built in 1937 and have the steel reinforcing added. 6 of those survive to this day and are known where each are today.

D&RGW built 10 Series 19 flat cars numbered 6210 - 6219. 7 survived to be re-built in 1937 and have the steel reinforcing added. All 7 of those survive to this day and are known where each are today.

13 out of the original 14 rebuilds still survive. Thats a very high percentage of survival for 98 year old cars.

Often these flats are mislabled as steel frame flats, when in fact they are wood frame, with steel reinforcing added.

Wow, that is great Dave! I didn’t realize how many of the flats were still around. Thanks for posting the information (http://largescalecentral.com/externals/tinymce/plugins/emoticons/img/smiley-cool.gif)

Dave,

#4 on the hill side.

Do the center rods from the coupler plate, terminate at the bolster or run full length?

I see either a rod or the air pipe taking an opposite tack from the truss rods.

Thanks,

John

You get to play with the neatest toys, your the kid in the school yard everyone wants to be :slight_smile:

Boy, when they rebuilt that flat car, they could have almost just built a whole new car, considering how much they changed it.

The bobber caboose sure is a beauty.

John Caughey said:

You probably are in this case.

A single post in the center of an A arch is the king, 2 posts off to the side part way to the top are queenies.

John

@John On this type of reefer, There were 4 truss rods that ran the complete length of the car, and bolted through the end beams for the outer two, and the center two ran through the striker plates and held them on to the end beams. On this car the truss rods ran through the bolsters, and as was mentioned worked the same as the “King Posts” on the flat car. On the Gondolas that we restored, the truss rods ran over the top of the bolsters, and rested on a short ( about 2" tall ) king post. I’ll have to check on the box cars, I’m not for certain if they ran over or through the bolsters.

@ Devon Yes I’m lucky that I live where I do, and all the neat train stuff in my back yard so to speak. But I would think that there are a lot of options to volunteer for in your area within a two hour drive ±, Find an organization that would suit some of your desires, join, I mean really join in and become involved as much as you can. There has to be at least one old train station, thats in need of a coat of paint, A few patches to the shingles, a good weeding and brooming. You might be amazed at the support that you receive from others if you just start it.

@ Ray You are exactly right on the “New Car” approach. When the Government mandated that there would be “NO NEW WOODEN CARS MADE” That effectively shut down a whole industry. But the railroads always used a loop hole if there was one. The laws allowed maintenance and repairs to the existing wooden cars, as long as they met all the current safety standards i.e. air brakes, auto couplers, grab irons and etc. So when a car was in need of major repair or even a whole series, they could effectively remove the steel parts, make all new wood parts, all new roof ( most likely a Murphy ) and put it all back together again, using the same car number, and the car roster never changed. In effect actually a whole new car. They did have to do these repairs in house, to circumvent the laws. The D&RGW, did just that with the entire fleet of all its 3000 series boxcars. That is why, for cars that started as what would seem to be 100+ year old cars to be in such good shape, and so plentiful. They were re-born as new in 1926, but the roster says that they are much older. I’ve been told that even some piles of what was firewood along side the tracks re-emerged as brand new cars after the 26 rebuild. Same number as what was wrecked and abandoned off the side of the hill, suddenly came out of the Alamos shops shinny new. Amazing.

@Dave, I still can’t definitely find that the single post over the bolsters is named anything else. So until someone comes up with a better name, I’ll continue to refer to it as the “Kings Post”.

Dave Taylor said:

@ Devon Yes I’m lucky that I live where I do, and all the neat train stuff in my back yard so to speak. But I would think that there are a lot of options to volunteer for in your area within a two hour drive ±, Find an organization that would suit some of your desires, join, I mean really join in and become involved as much as you can. There has to be at least one old train station, thats in need of a coat of paint, A few patches to the shingles, a good weeding and brooming. You might be amazed at the support that you receive from others if you just start it.

I am not totally without purpose. The Northern Pacific Depot Museum is becoming a pet project of mine. While not a restoration effort I am working to detail the areas local history. So that is gratifying. But on the restoration end there is a local group that I am sure I could get involved in. Your right its just a matter of putting myself out there.

Some work on reefer 39.

When it was sold off, almost all the fixings under the car were removed so that it could be sat on some pilings to be used for storage. We have been scrounging parts to put it all back together. We got some off the Mountain, and others we are having to make.

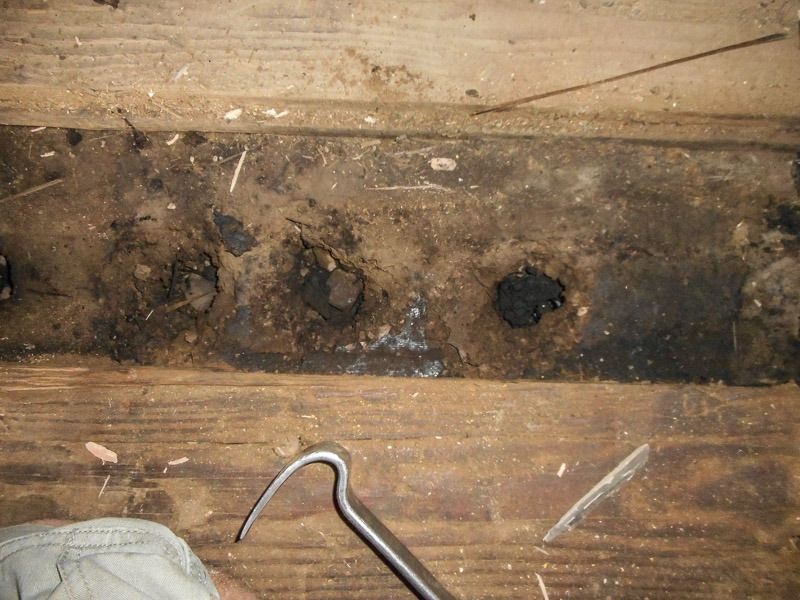
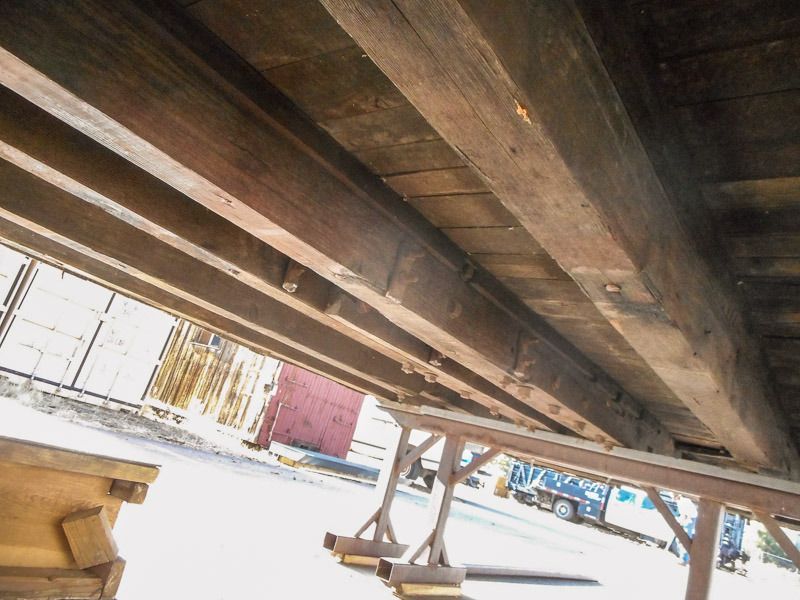
Nothing much left under the car. This shows where the Needle Beam should be. There are scars that show its exact location.
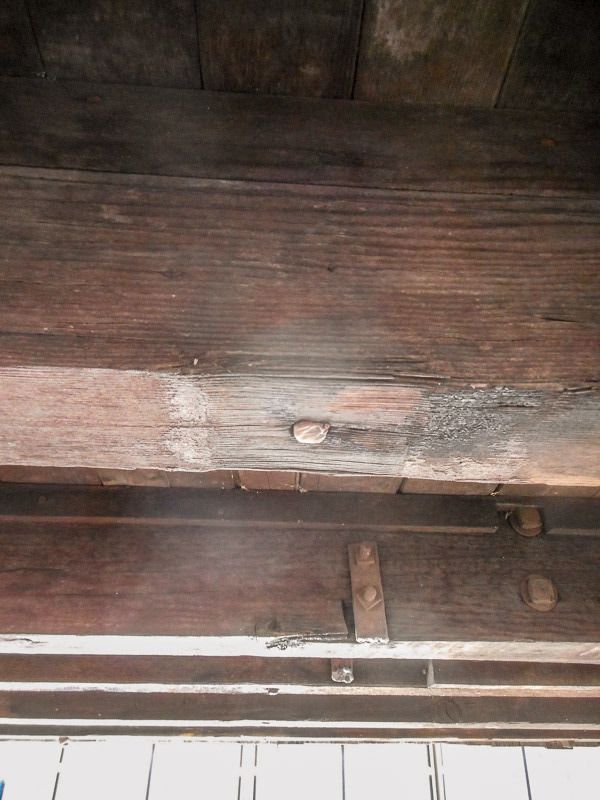
Note that the thru bolts that hold it to the 6 beams, have been touched off. we will have to get these out to make way for the new ones.
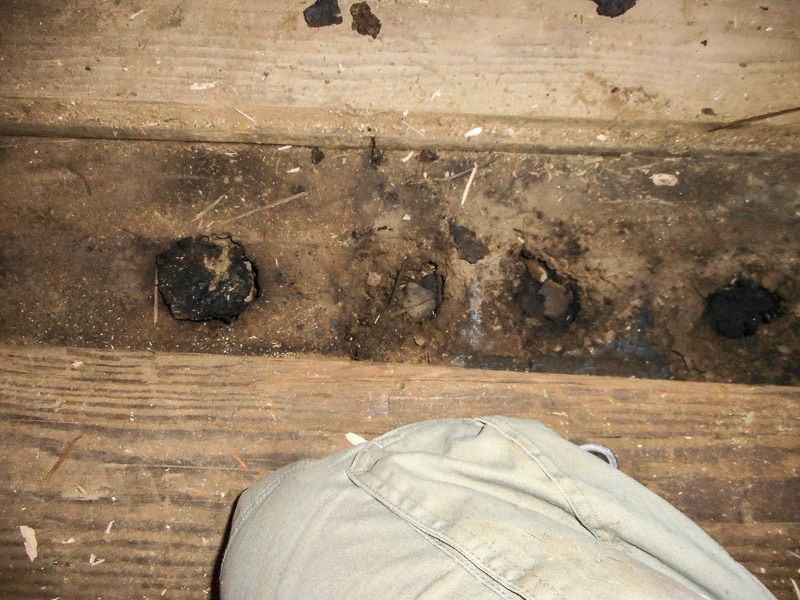
After measuring from a set point, back and forth, and a good dose of SWAG, Dennis D. Drills an 1 1/2 hole thru the floor from the inside hoping to expose the top of the thru bolts that hold the Needle beam on. Some holes we are luckier then others.
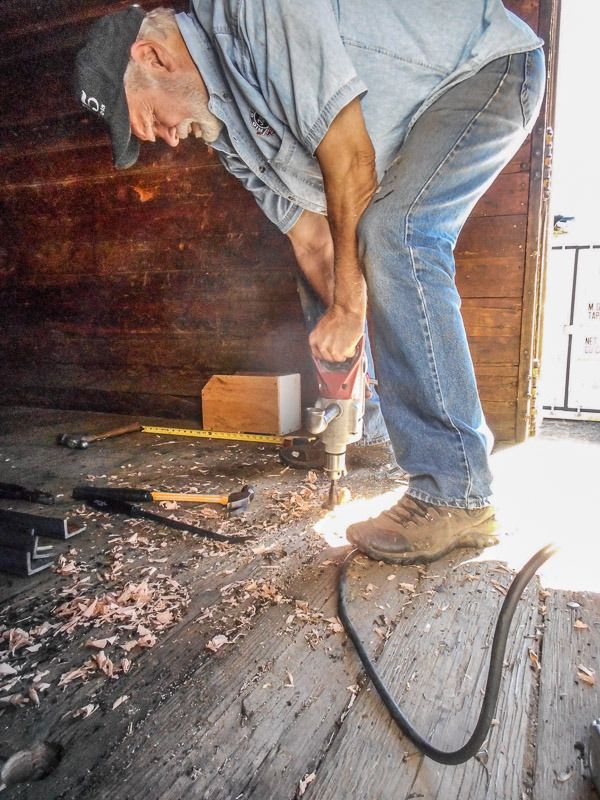
The floor is made up of 2 inch thick ship lapped fir, with a water barrier ( tar paper ) under that, on top of about 1 1/2 inches of cork insulation. This car as originally built had the angled Needle beams, and as such, the thru bolts were angled to match the beam, when it went thru it’s shopping, the angled Needle beams were replaced with the conventional vertical beams. This proved to finding the exact location of the thru bolts difficult. Some holes needed a good work over with a chisel to get the cut off bolt driven out.

One of the new Needle beams jacked up in place.
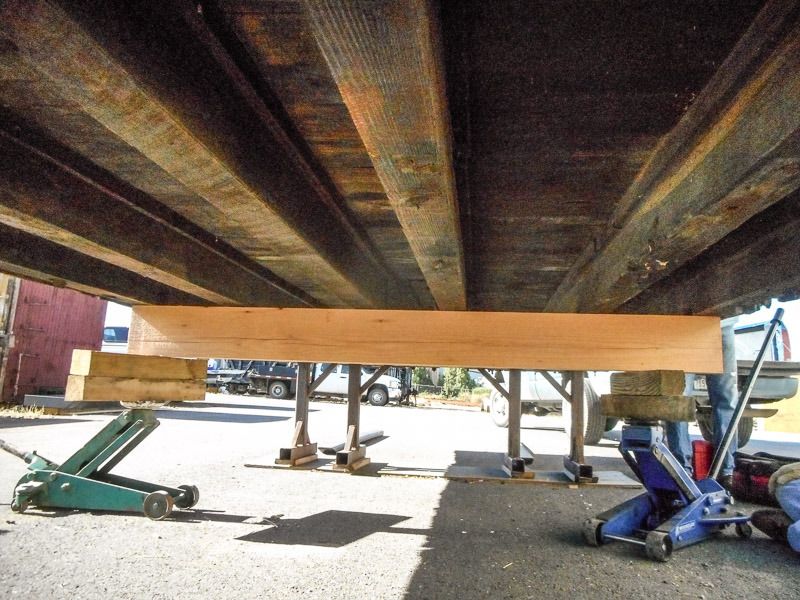
They were carefully aligned and put in registration where the originals showed that they belonged.
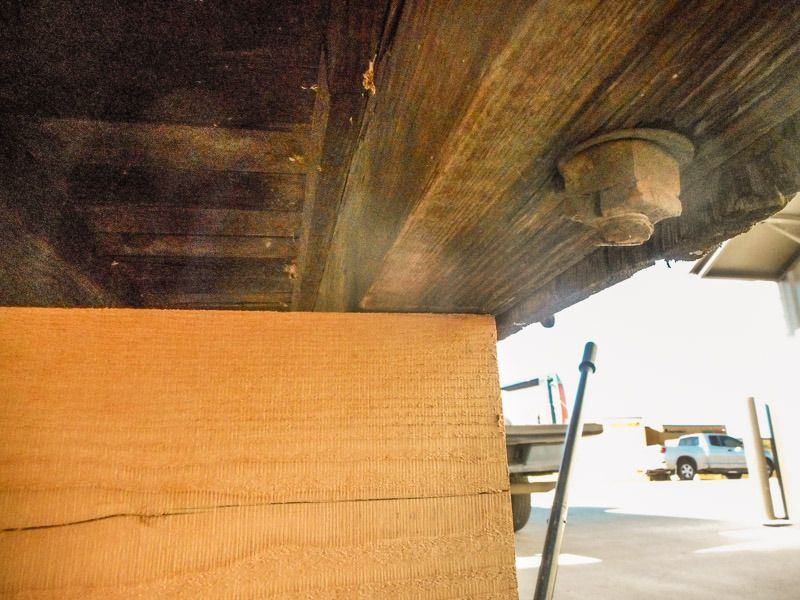
Each contact point to the main beams were marked, and referenced so that each beam went in only one orientation.
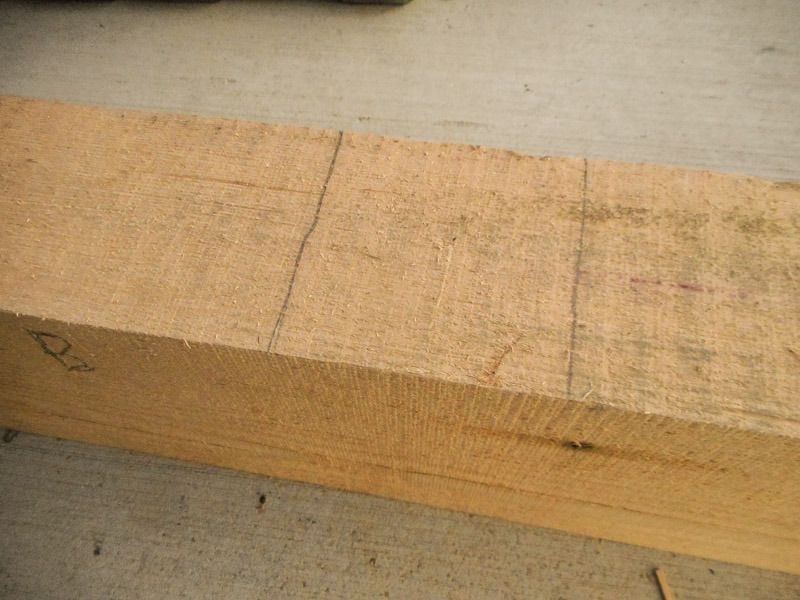
I then set out to notch where each beam contacted the Needle. 3/8 deep notches were used to help stabilize the sills in the center of the cars, and also to prevent twisting and warping. First off, using blue tape as a depth guide on a hand saw, I cut both sides of the notch to match the sill locations.
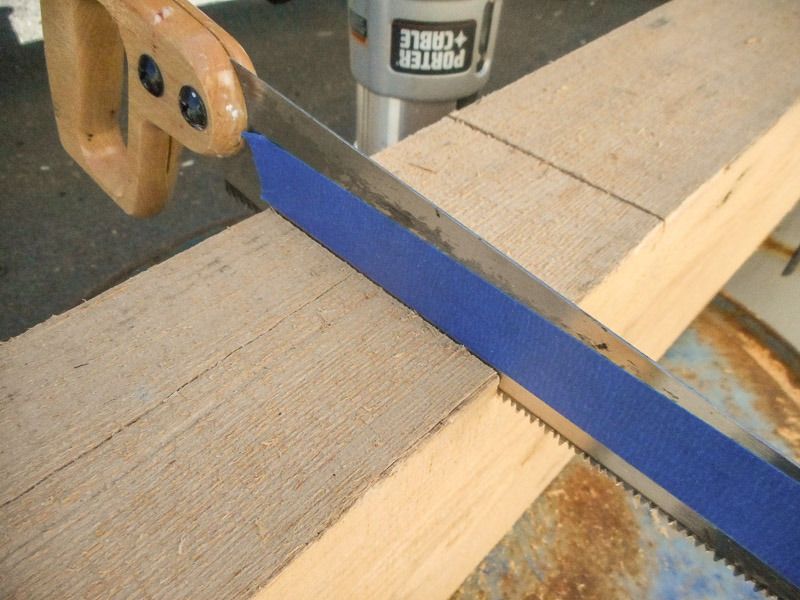
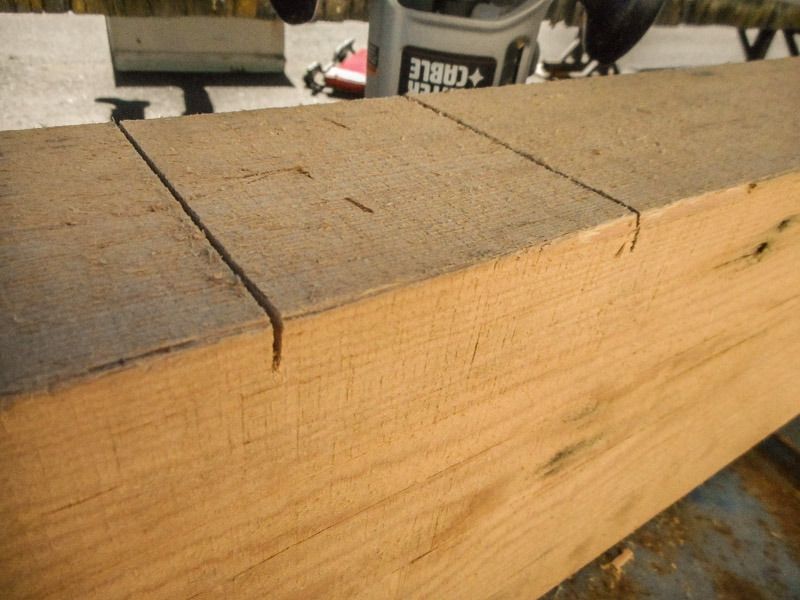
Then a guide board was placed to aid in using the router to remove the waste.

With the router and a straight bit set to 3/8 deep the waste was removed between the cuts.
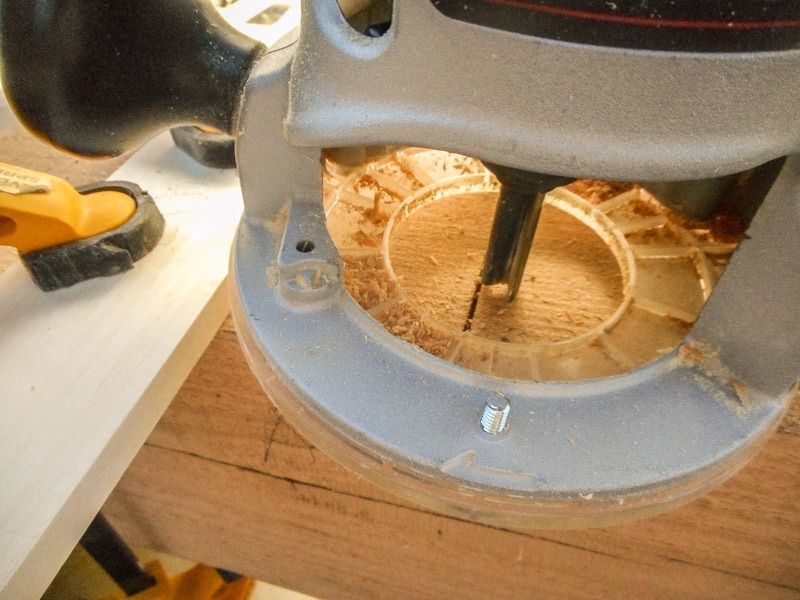
All that was left to do then was to clean up the notch with a sharp hand chisel.
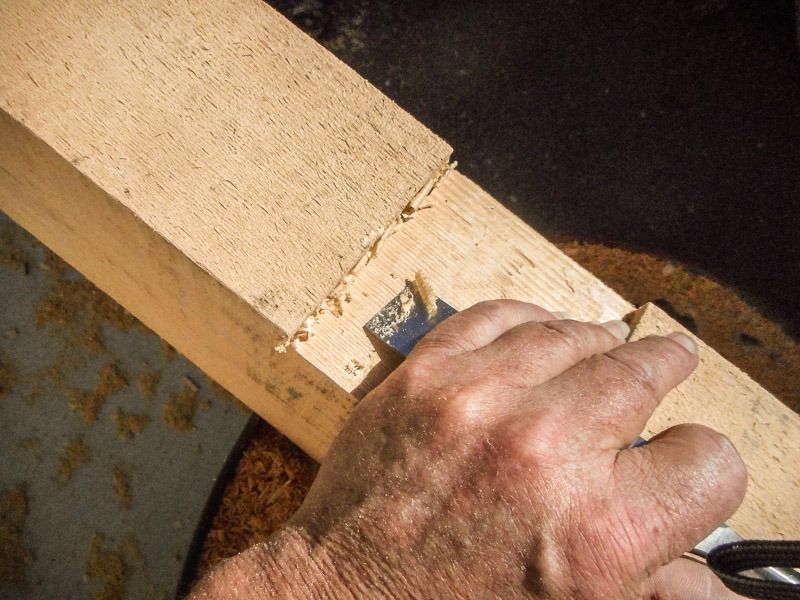
The beam fit perfectly. The bolt holes were marked from above, and will be drilled thru with a drill press for accuracy, at Dennis D. shop.

And thats how we make a new Needle Beam. Stay tuned, more to come.

Love watching these restorations. I sometimes learn a few tricks I can use in my shop to boot. Keep it coming. Thanks!

Good tip, using tape to mark the depth on the saw.

On the subject of king and queen posts, a king post bridge has one vertical support on the truss; whereas a queen post bridge has two. I’m guessing the terminology (king-one, queen=two) was similar for the posts supporting tie rods under a railroad car.

Got some more work done on reefer 39.

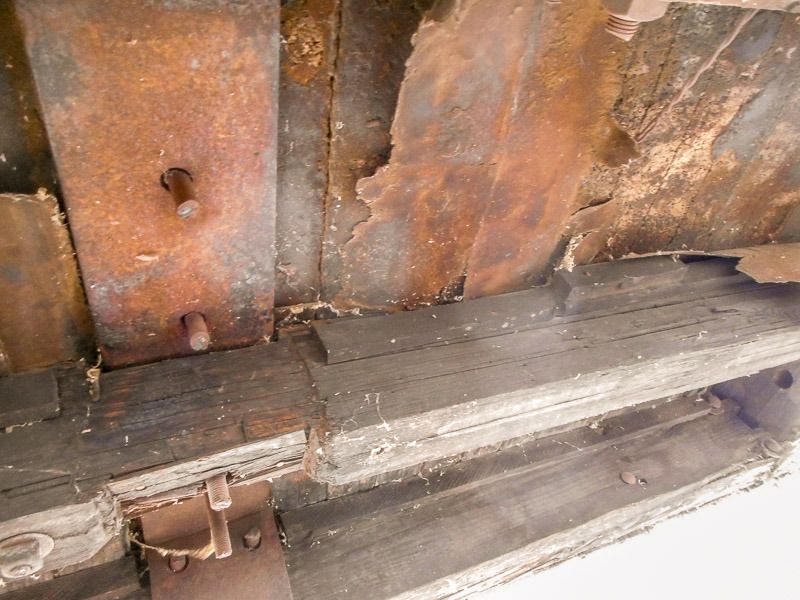
Like all the rest of the underside of the hardware, the bolsters had been torched off, which is why we had to go up the mountain to get some parts off the wreck.

Looking up from the underside at the top bolster plate, you can see that the sill was notched to pass through the bolster, and that the remnants of the bolts are still in the holes. These bolts have to come out.

The big issue is that they don’t go all the way through into the inside floor. So we had to find them, to remove from the inside.

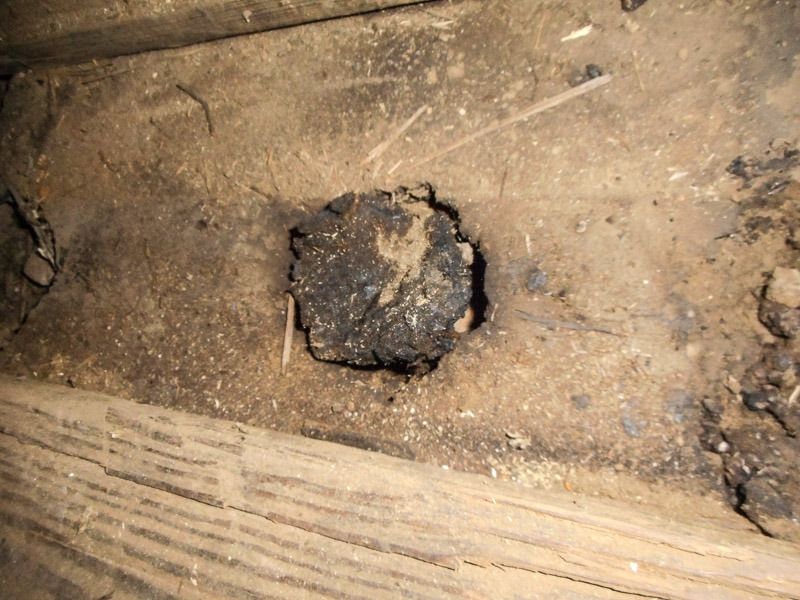
Removed a floorboard over the bolster. Amazingly there was yet another surprise underneath.

What you’r looking at is the cork insulation under the floor, above the bolster. We weren’t the first ones to visit that site since it was built! At some time in its past, someone had opened it up and pulled the bolts. Note the patched cork over the bolt heads!

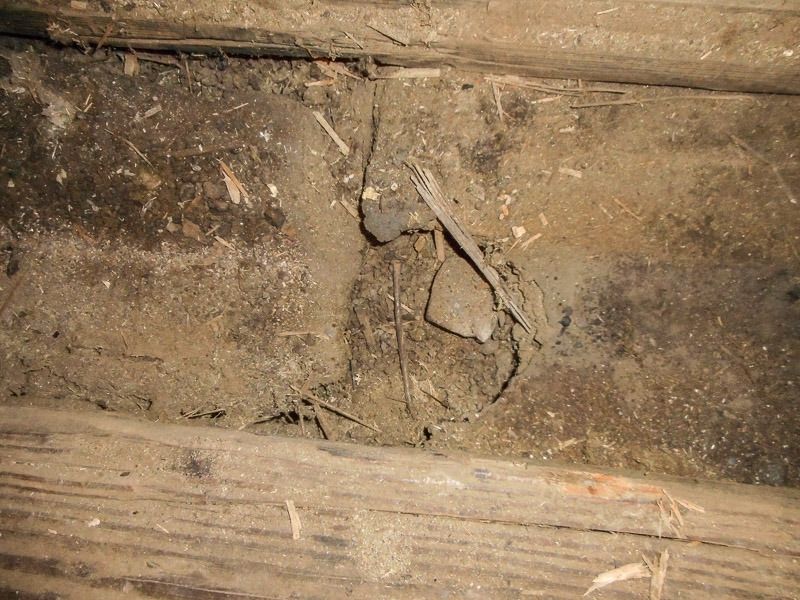
Pulling the bolts at this time was a piece of cake!

This view is looking down at the top of the bolster.

Having the top half of the bolster still in place, and usable, is the reason that we left the one on the mountain, and not really wanting to wrestle that monster off the mountain just for the fun of it.

Stay tuned, more to come…

OK guys, I guess that this is the best place to let the world know. I have been asked, and excepted the offer, to be on the Board of Directors for the Durango Railroad Historical Society. I’m looking forward to the challenges and the opportunities to be more involved in, and help lead this organization.

Congratulations, Dave! That’s quite an honor…and a lot of responsibility, too.

I’ve been following this thread since the beginning and always look forward to seeing what’s next.

Congratulations Dave.

I’m sure you’ll be a great asset to the organization.

Ralph

Congrats Dave. Good luck, I know you will be a great addition to the BOD. (http://largescalecentral.com/externals/tinymce/plugins/emoticons/img/smiley-wink.gif)

Just curious how long did it take to make up your mind whether to accept the offer or not?

I think I would have said yes before the question was finished!

Congrats, now we will expect all the ‘secret’ details!

John

Whether you like it or not, you are now a “politician”, being involved with steering an organization that is beholden to the government on many levels, and such. I sure hope you like that aspect of the deal as well as you like restoring the equipment!

Congrats!