So, are you going to buff this stuff up and put it back into service, or use it as a pattern to stars afresh?
Wow. I can’t imagine trying to climb down that slope empty handed, but hand carrying 80 pounds - you deserve a medal! I assume that the top and bottom bars were identical and that’s why you only brought one down ???
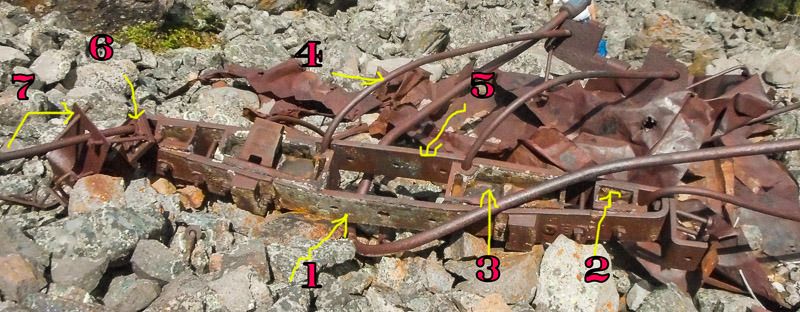
Here is what were after:
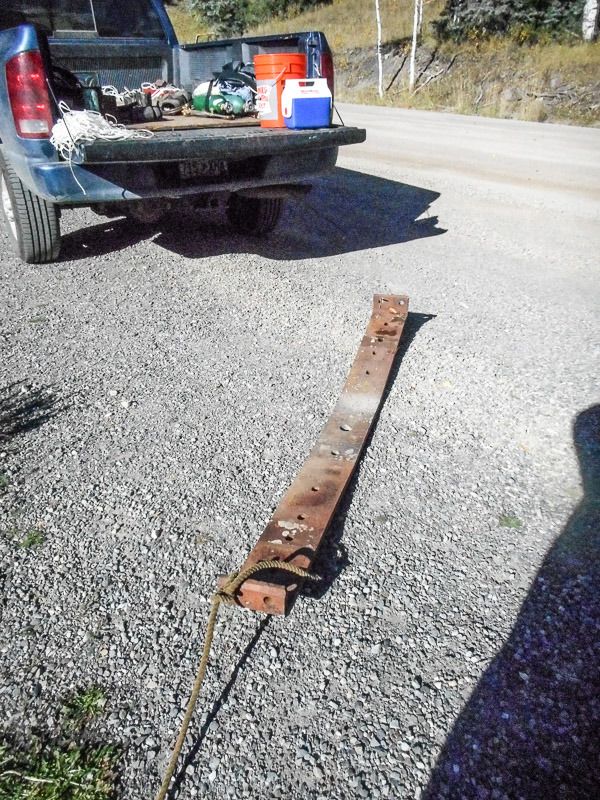
#1 Bottom bolster plate. Steel - 1" thick, about 9" wide, and about 8 Ft. long. Unique to this style bolster. We want to use this one, and make a pattern for the other one on our car. Est. to be about 125 lbs. This will be the gorilla to get off the mountain. It is steel, and we probably can’t hurt it to much dragging it down the hill.
#2 Outside spacer. Fits between the upper and lower bolster bars. Again Unique to this bolster. We will measure and use this piece to make molds for casting new replacements. Cast iron, about 20 lbs.
#3 Inside spacer. Fits between the upper and lower bolster bars. Again Unique to this bolster. We will measure and use this piece to make molds for casting new replacements. Cast iron, about 35 lbs.
#4 This is one of the center truss rods. It runs thru the bolster, and you can follow it out to the coupler pocket, which is still attached. We will leave this behind. It’s 1 1/8 thick for most of the length, but at the ends it is 1 3/8 thick at the end threads. Bent like a pretzel.
#5 Top bolster plate. Very common, nothing unusual about this piece, staying on the mountain.
#6 That unique truss rod casting.
#7 The lower corner brace with attached pieces.
The #1, #2 and #3s are our primary goals. Other pieces that we can reasonably salvage and get off the mountain come next on our want list.
Daktah
It looks like they got 1, 2 and 3 in the pic.
Part #5 top bolster plate looks just like a flat steel bar.
I can’t tell if they brought down #6 and or #7. Tired eyes can’t see enough in the “left on the mountain” pics if they remained.
Dave:
A big THANKS to you and your team and especially the NPS guy.
Quick follow up.
1st. This was a team effort. I just kinda report on my part of the game. A lot of work was put in by the rest of the team. We all were dead tired by the end of day two.
2nd. This isn’t the end of the story. D&RG Reefer 39 is in the start of a re-build. We have a long way to go. Her sister #54 will be moved next week to Silverton, where another team has been working on the prep to the site. #54 will be used for DRHS long term storage in Silverton. She will be well cared for, her semi permanent home will be along the South side of the Silverton Northern Engine House.
@ Steve, These parts that we retrieve will be used under one end of the car. We will have our CAD wizard make exact drawings of all the parts. We will then have patterns made, and have new parts cast from the new molds. These parts, are just not available anywhere. If anyone that reads this is in the Foundry and Casting business, and would like to lend a hand, Please let us know, we are always open for some help.
@ Daktah We did leave the top bolster plate behind. It is: A, Not unusual, and fairly common size and design, used on a bunch of cars, Box, Reefers, Gons, and Flats. B, Reefer 39 ( the one we are restoring) Has its original top bolster bars still attached to the car. When it was sold off in 1956, all the underside goodies were removed so it could be set on some footings. She is missing the truss rods, needle beams, brake parts and etc. So we left it behind.
@ Don Yes we did gather up a number of extra parts from the site. This is one of them, It’s a “T” for the main air line, It diverts pressurized air to the “Air Tank Reservoir” What makes it unusual is that down inside there is a removable filter screen, that keeps unwanted junk from entering the brake system. #79 had a separate air reservoir, and brake cylinder, as built, but would have had a single if it had made it to the 1926 rebuild.
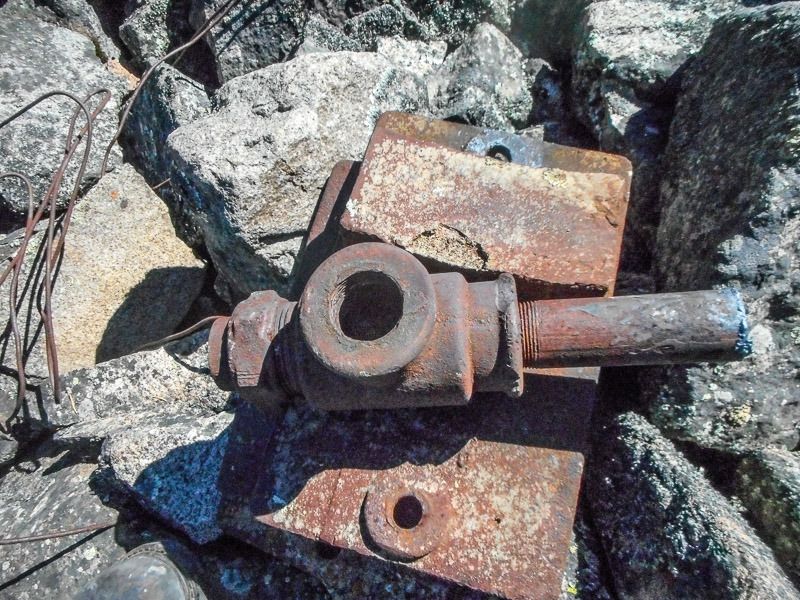
We think that we could re-use this piece.
More to come in the days ahead.
Excellent work…
Reefer project manager Dennis D. has already purchased the 1x9x96 inch steel beam to have a local steel shop re-shape to match the beast that we hauled off the mountain.
The top plate is still attached to the underside of the reefer:
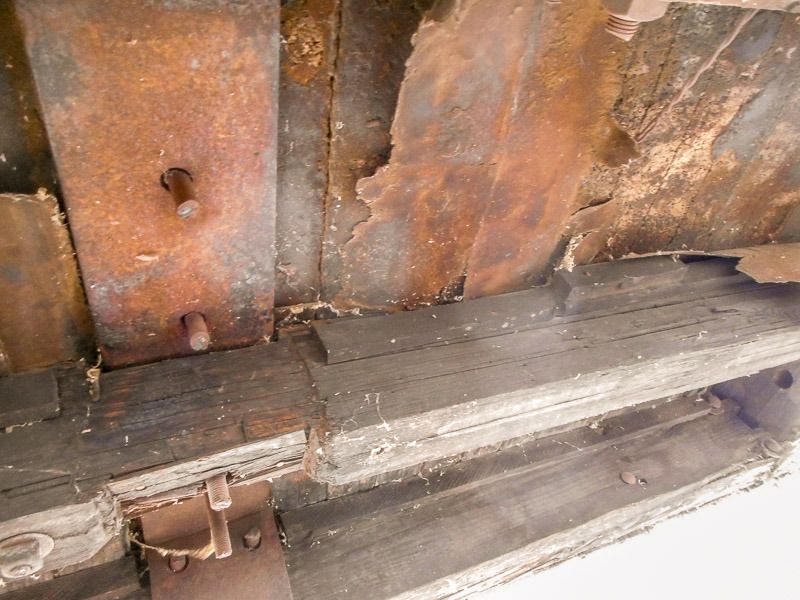
You can see that the bolts were torched off to remove the bottom plate and spacers. Interesting note is like the one we left on the mountain, the bolt holes are only single drilled. Also note that the intermediate sill was notched to fit around the bolster where it passes thru.
Tomorrow we will move Reefer 54 to Silverton by truck, after lifting by crane, and re-position 39 to give clearance to the owner of the site for his work. After lifting off of the flatbed #54 in Silverton, we will then roll on our flat car, and truck it to Arboles for new wood to be made. Should be an interesting day, I’ll post pics soon.
Things didn’t go totally as planed for the day, But we did get some things done.
Here is a pic of D&RGW Reefers, 54 in the foreground (the one to be used for storage in Silverton) and 39 in the background ( the one we are restoring)
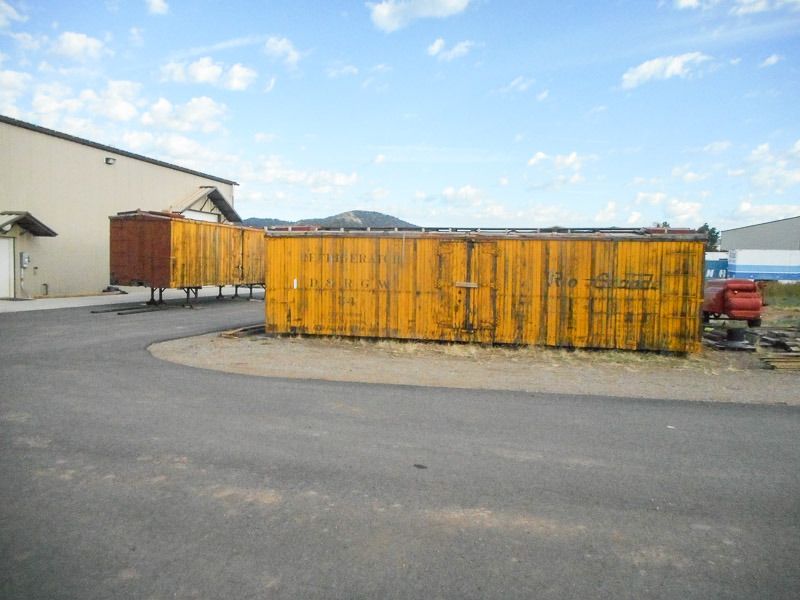
And we did get 54 to Silverton. On the South side of the Silverton Northern Engine House.
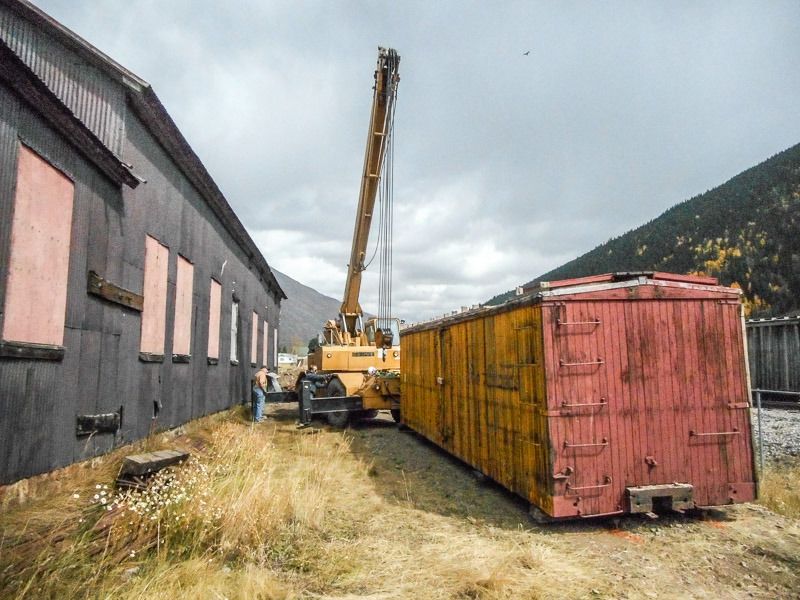
To late tonight to fill in the betweens, more tomorrow.
A fun day was had by all… well almost.
Started the day off by placing #54 onto the tilt trailer low boy.
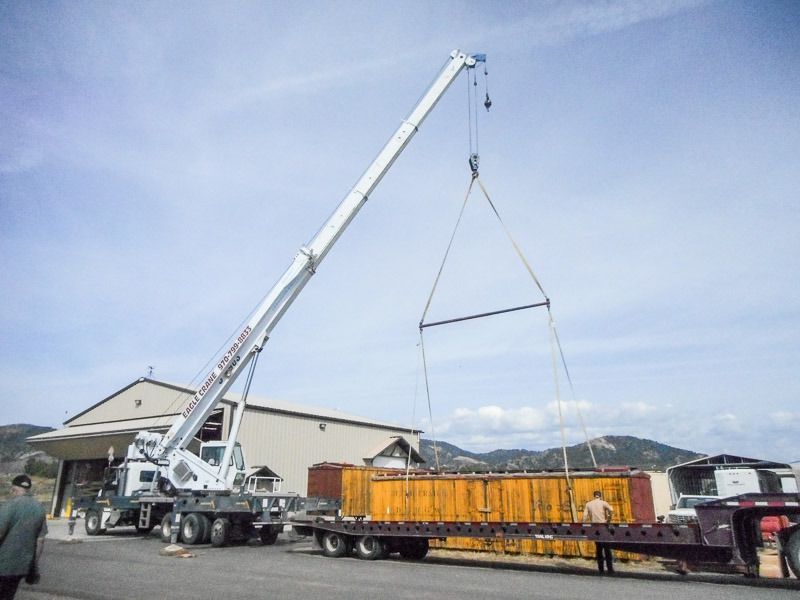
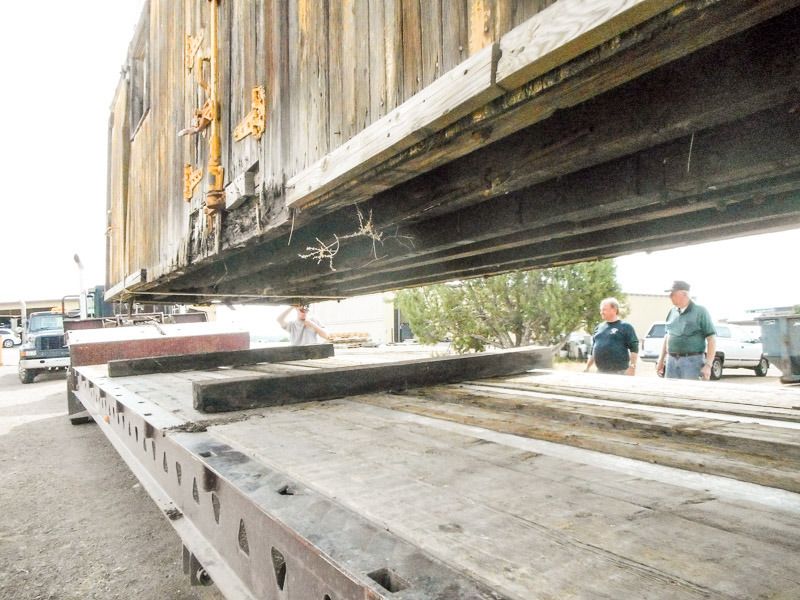
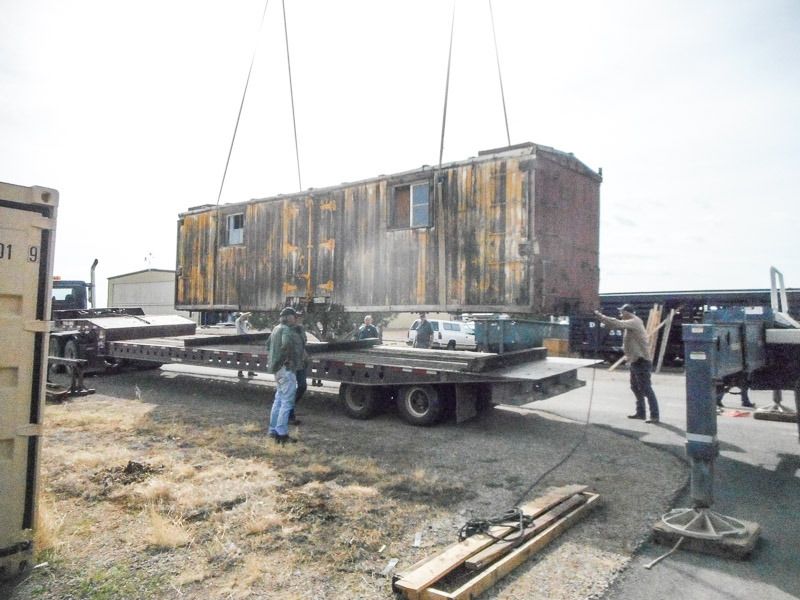
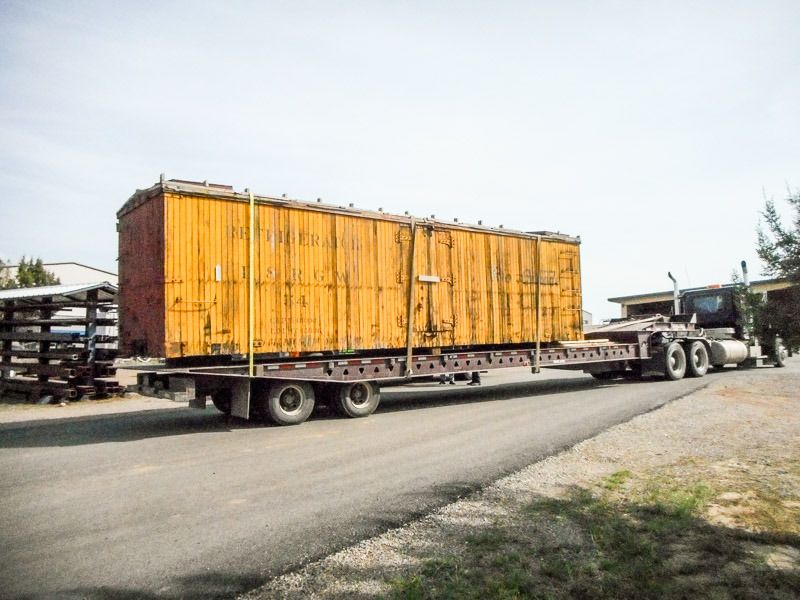
And off to Silverton. This car was last thought to be in Silverton in the late 40’s. 75+ years latter, it ends up there again, hopefully for a long time.
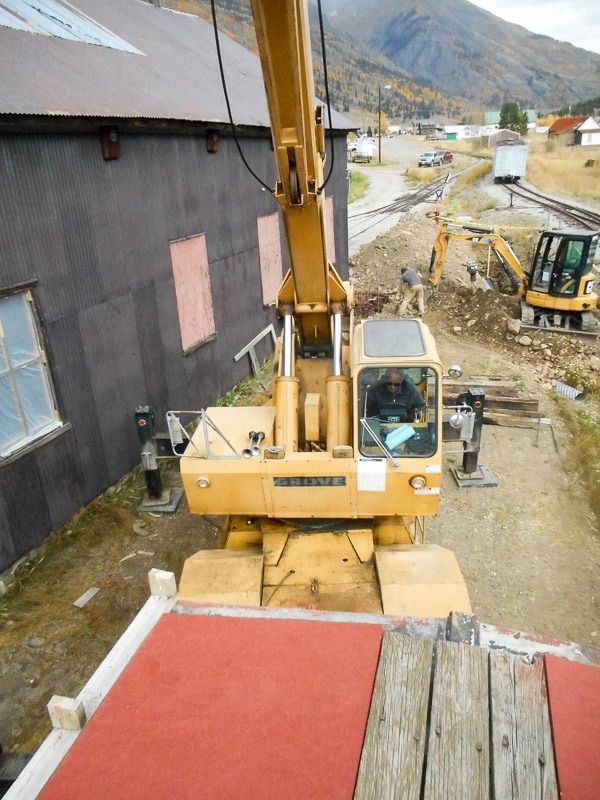
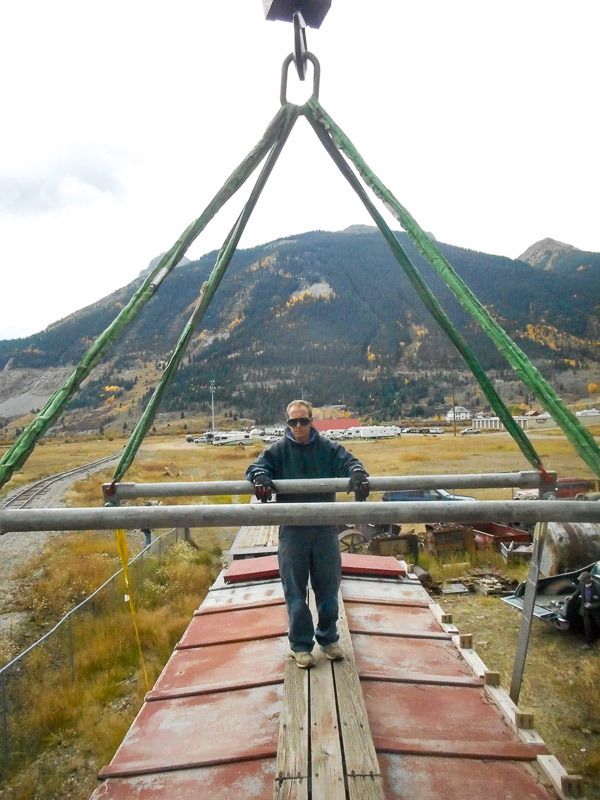
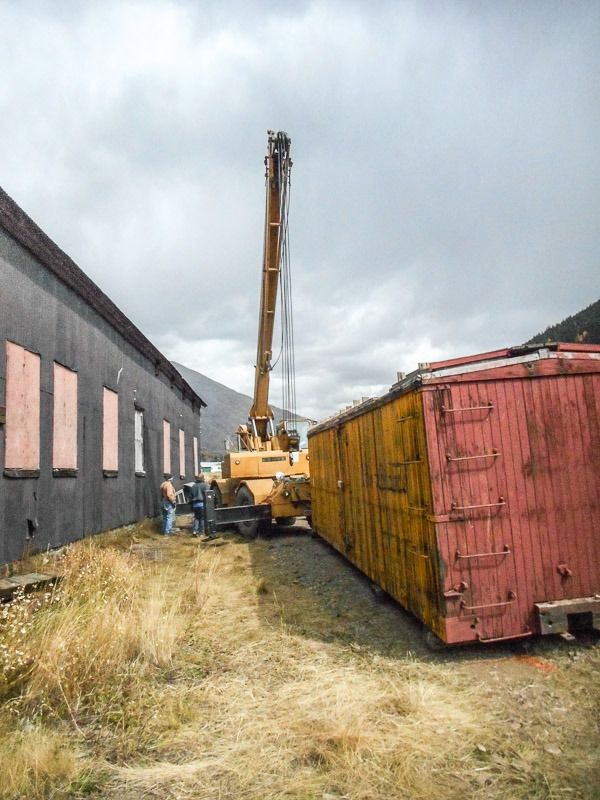
Next up we re-rigged #39 for a short ride over to the location that 54 just left.
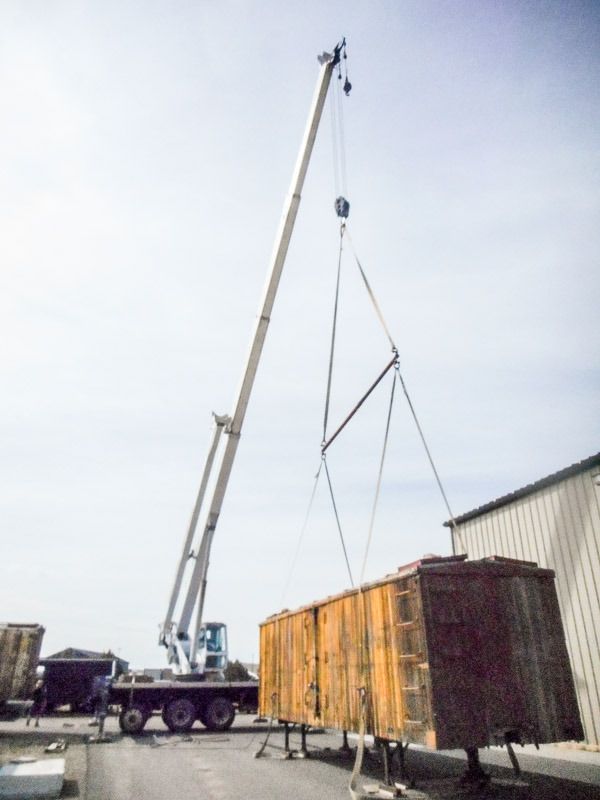
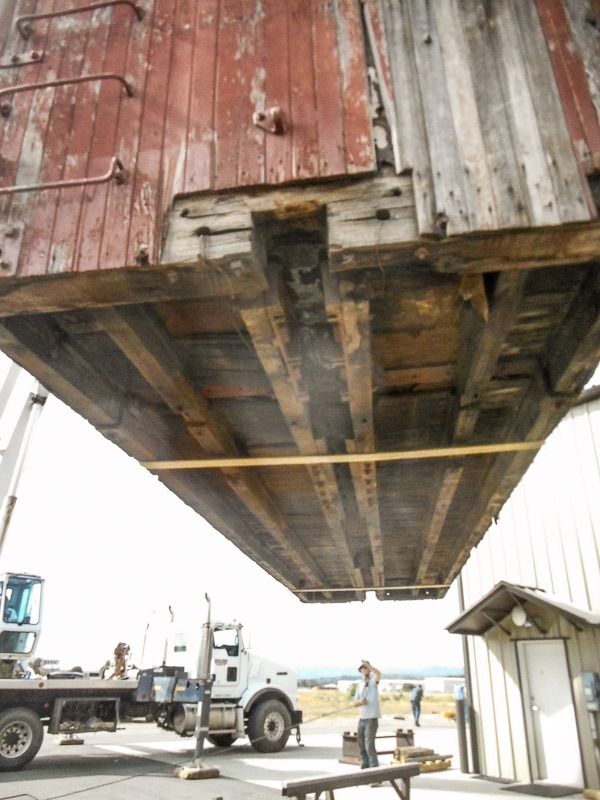
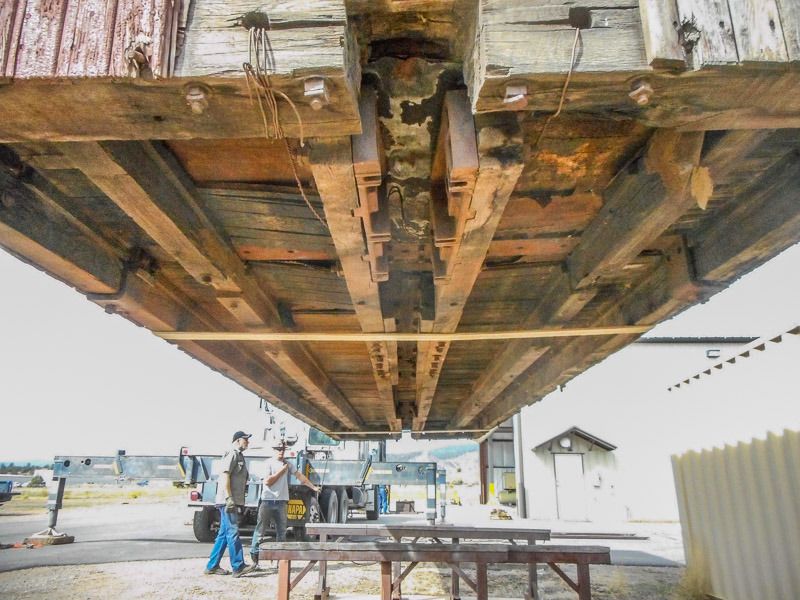
And down to her new work station.
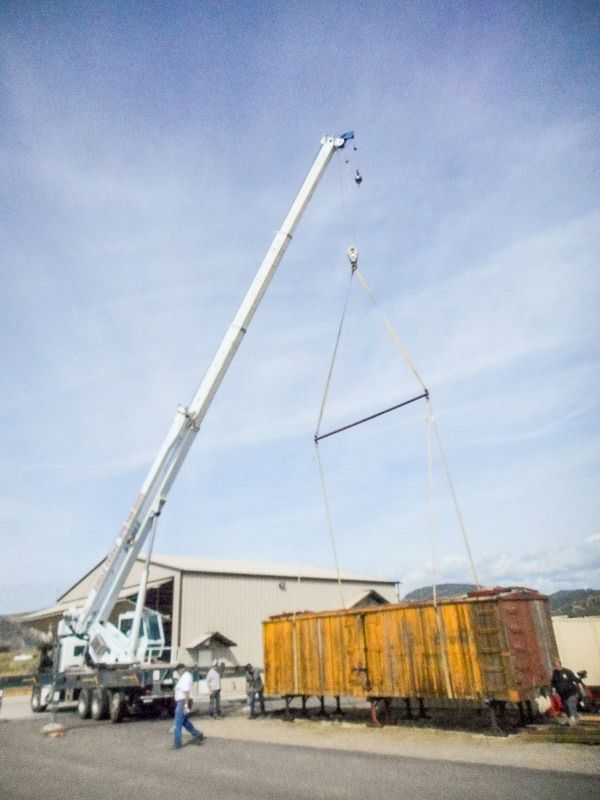
With 39 back on the ground, it’s off to chase 54 up to Silverton.
In Silverton, at the Silverton Northern Engine House, progress on laying a colvert under where the Oil Shed will be re-built come spring. The colvert will allow a future city water line to be placed under the building. Water lines in Silverton, are a minumin of 9 Ft. down.
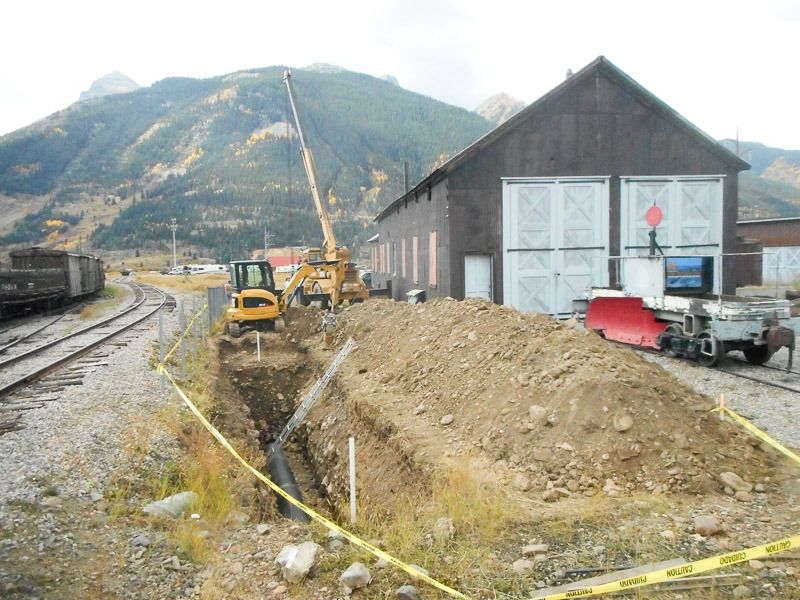
Thats our D&RGW flanger OT that we are also in the process of restoring. It’s happening in Silverton, and I’m not much involved in that project (yet). Also note, that the tilt/lean of the engine house is now mostly corrected. Yes there are steel cables that we wouldn’t dare cut yet.
#54 Makes it to Silverton.
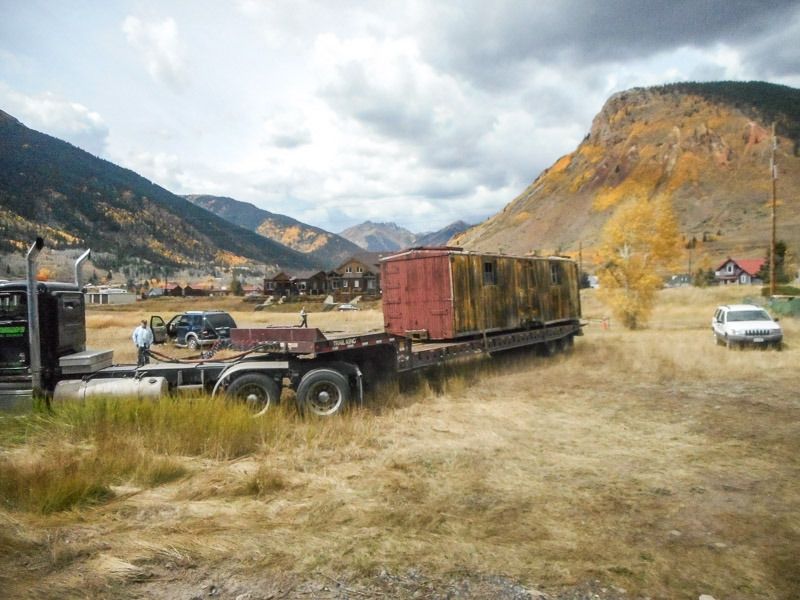
Actively involved in the rigging, so not many photos of the lift.
The lowboy was driven out from under 54 and it was set down on ties placed across rails on the ground.
This location will not be it’s final position. When construction of the Oil Shack foundation is finished, she will be pulled closer to the front of the building. One of our goals is to not placer her to high off the ground, to ease access for part storage.
#54 is now in Silverton.
There is more to come, But I have to Edit some more pics. Flat car move, and a shunting of Silverton Northern Bobber caboose.
Dave . . . great stuff !
I’m just getting caught up on this…wow, what a lot of work, and progress! Getting those bolster parts off the mountain was an epic effort. Really glad to hear that the Forest Service guy was so helpful. Were you able to salvage any other components of the brake system, besides that T?
Also, great pics of the fall colors!
After getting the reefer on the ground, We converted the lowboy for hauling with wheel sets. 2x4’s 36 inch gage.
Having converted the trailer to narrow gage, we got roped in moving the recently restored Silverton Northern Bobber Caboose 1005. It’s spent the summer on display along side, main street in Downtown Silverton. We winched it onboard and tied it down.
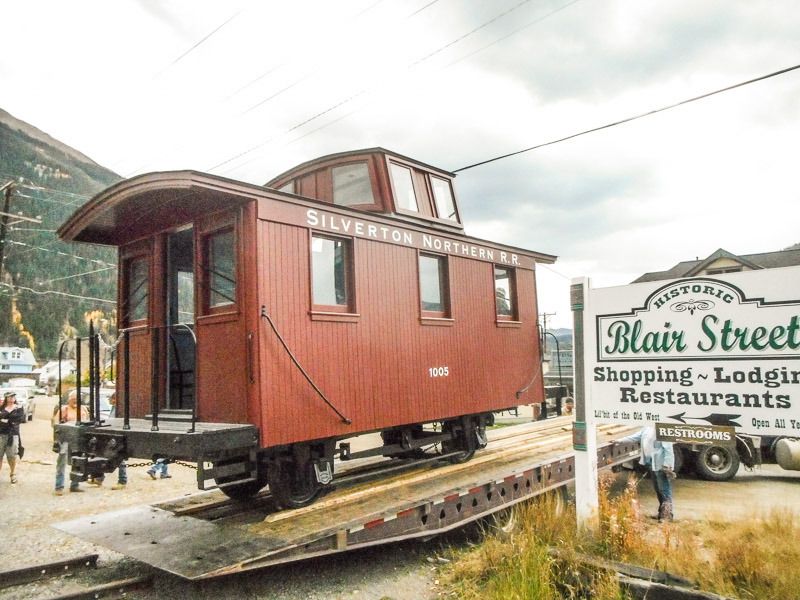
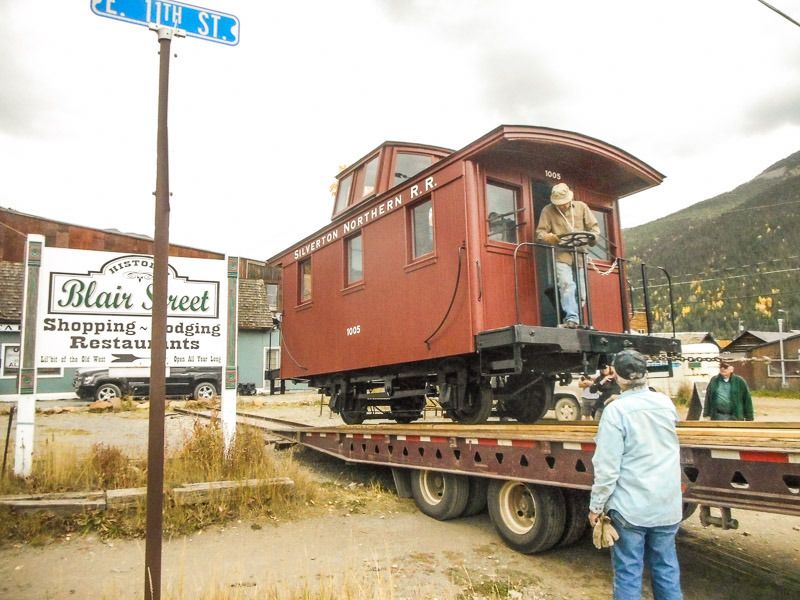
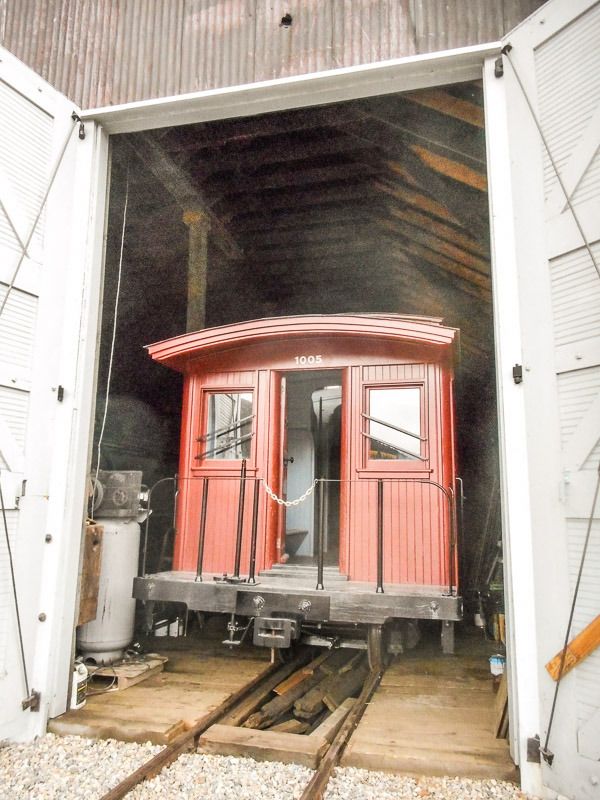
We took her across town and tucked her into the SN engine house for the winter.
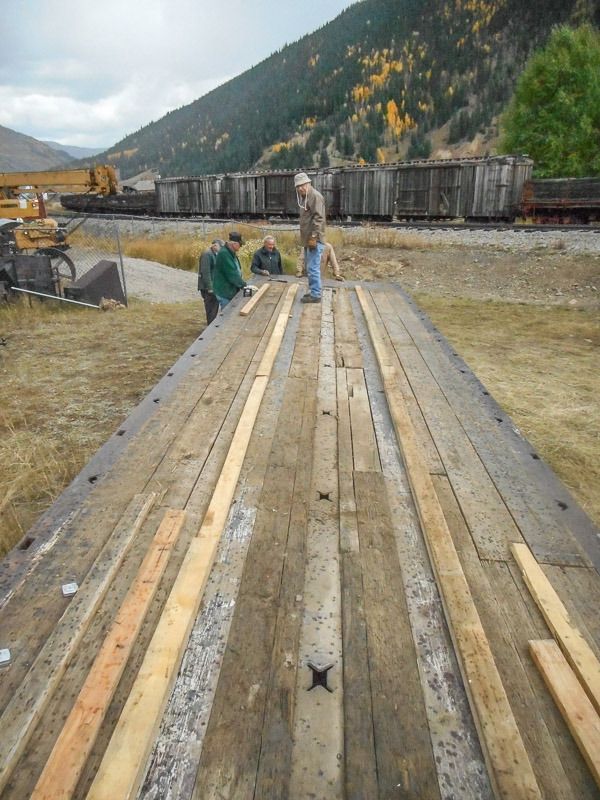
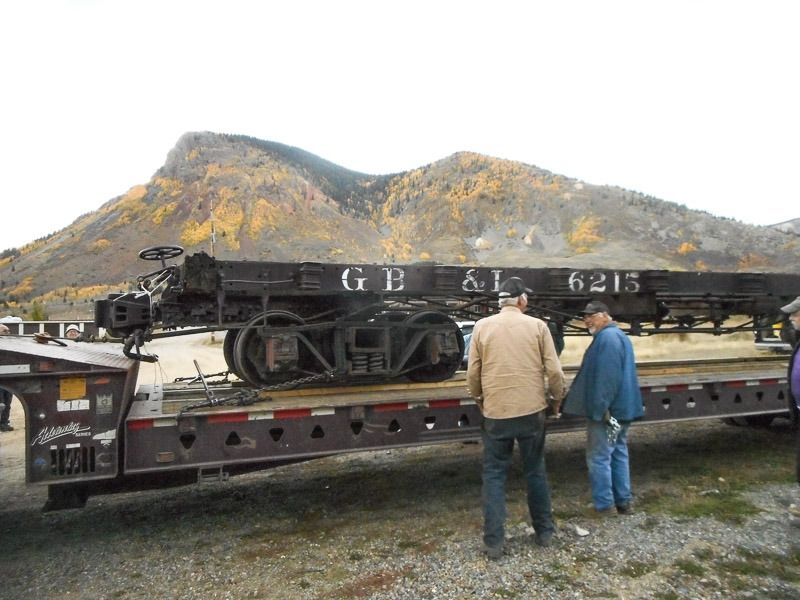
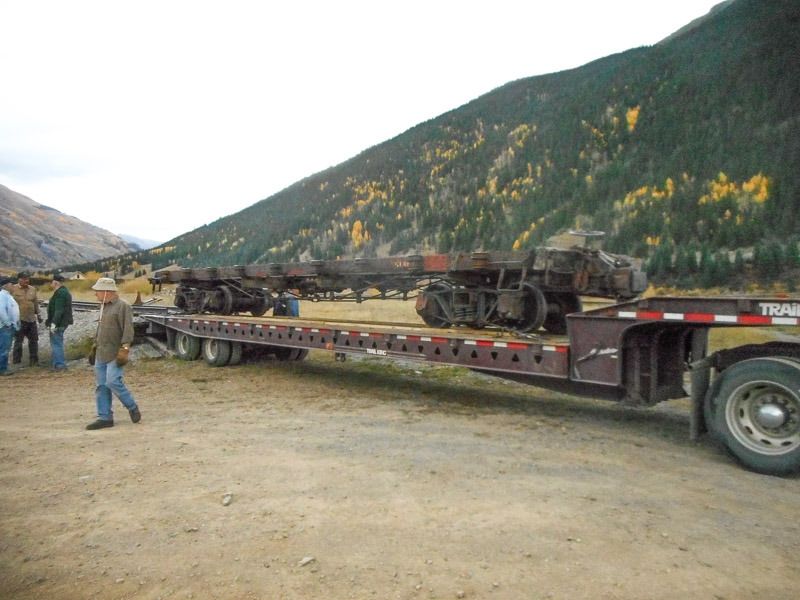
After the sidetrack of the caboose, we got onto the job of trying to get our flatcar D&RGW 6215 off to Arboles for some new wood.
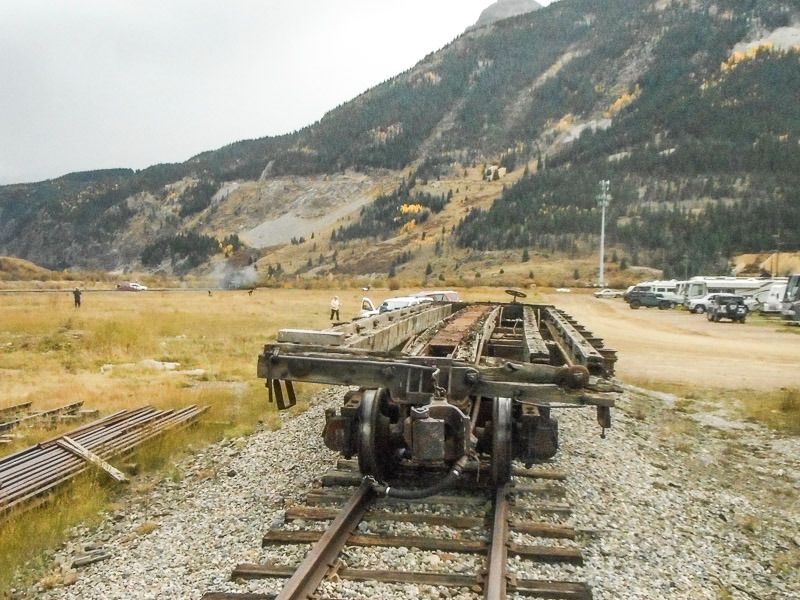
More on 6215 to come…
Looks a little damp… more coming.
Fun work, thanks for posting.
John
Dave . . . . GREAT ! How about some photos of the interior of the Bobber Caboose ?
Wow! So much going on out there Dave. It’s truly fantastic that you guys are able to gather and document those artifacts before they become lost for the ages. An A+ effort for sure! Love all the updates and pictures, keep em comming!
A little background on our recently acquired Flatcar. D&RGW 6215, started life in February 1918, being built “IN-House” at the Denver shops. As a Class 21 wood frame Flatcar, with standard 20 ton Archbar trucks. Only 10 of this series were built at 34 feet long. As built weight was 16800 lbs.
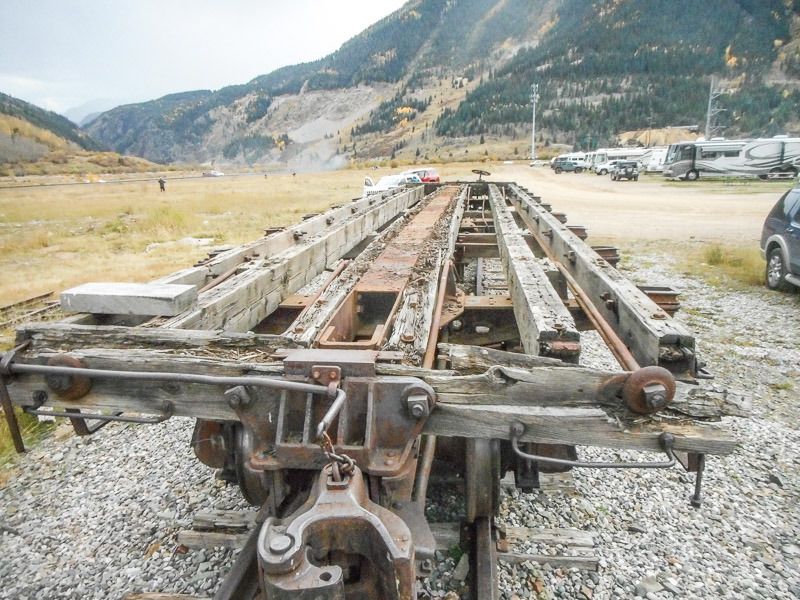
Wait a minute… That is a metal side flat car! Yup… In 1937, the 7 remaining in the class were re-built, and during that re-build, reinforcing steel 6" x 8" angle iron on the outside of the side sills, and on the inside of the center sills. Without the decking, that made the car appear to have a steel beam down the center, and from the outside it looked like a steel beam flatcar.
Also during the 37’ rebuild it was re-bolstered with cut down standard gage bolsters.
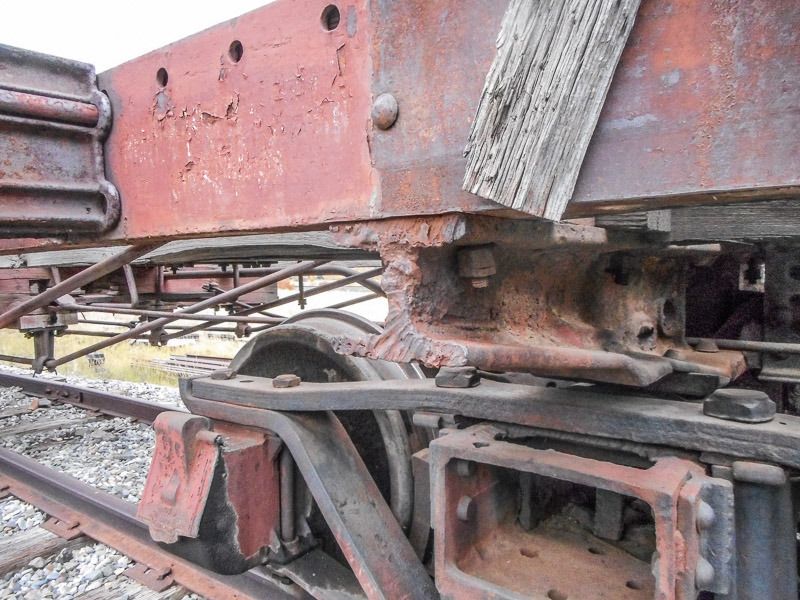
And received 30 ton trucks, and they added 2 extra feet in length to 36’ long. This brought her empty weight up to 23800 lbs.
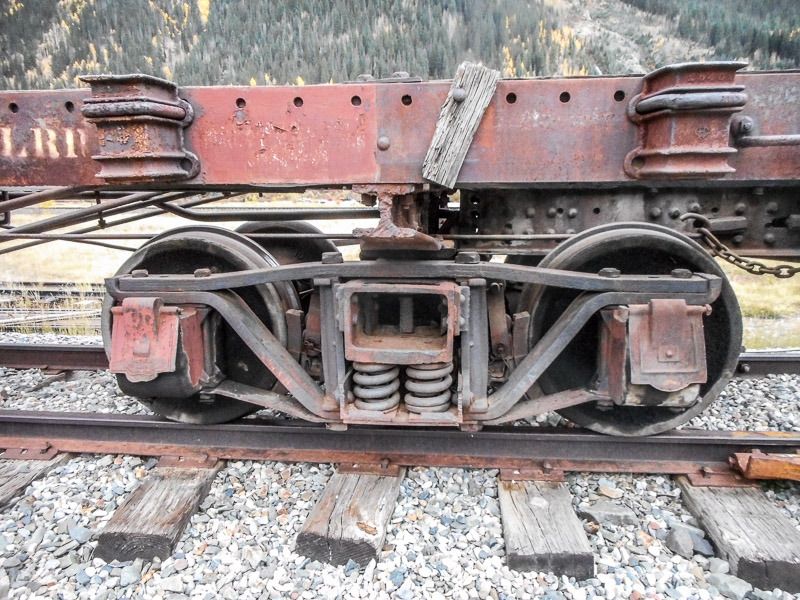
Also of note is that she has inside brake shoes, and thou she has the double wrung side pockets, she only has 1 clamp holding it to the side of the car.
The years of just setting out in the weather has taken their toll on her. This summer we remover the decking and verified that there was substantial damage to the sills, and that several wood beams indeed need to be replaced. The end sill likewise will be replaced.
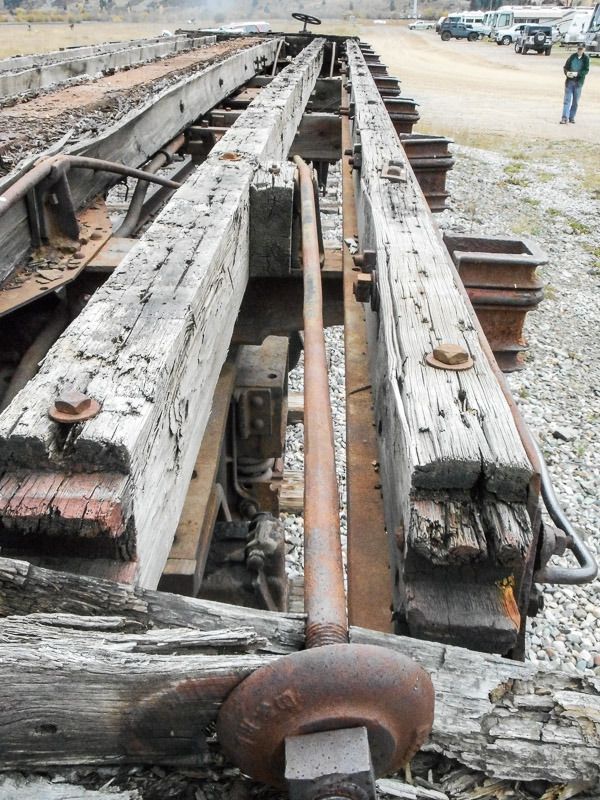
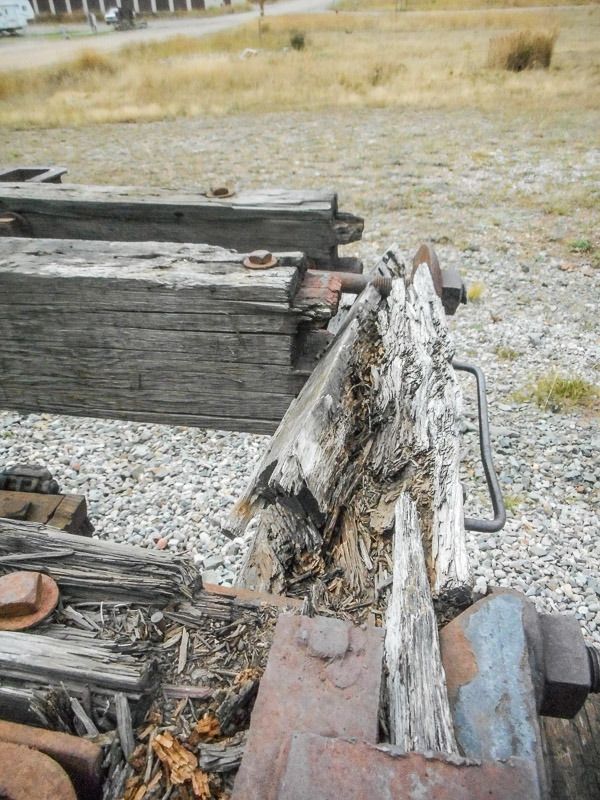
And off to San Juan Timberwrites in Arboles CO. She will be stored there until spring, and then with additional funding we will replace several sills and re-deck her.
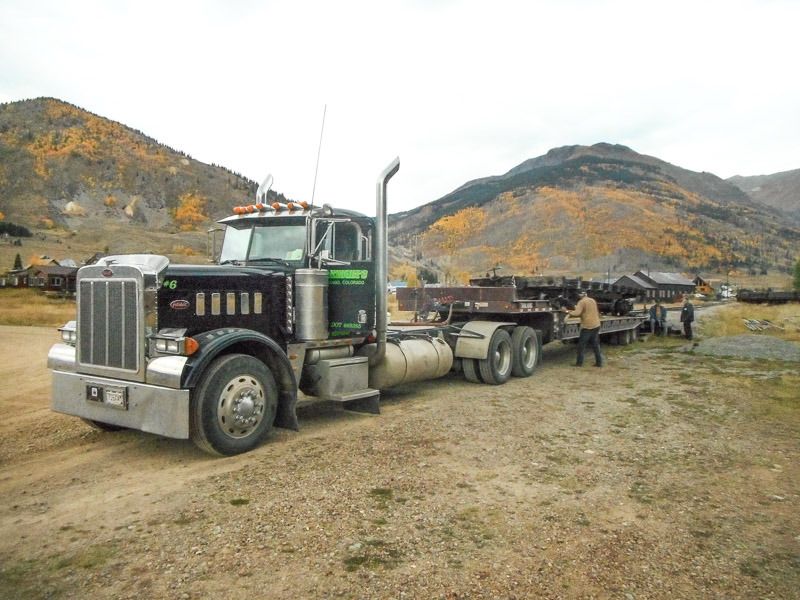
And so ended our world wind day in Silverton. 4 cars in one day… not to bad of a day.
Up next… more work on reefer 39.
Interesting detail; the upper king posts guiding the truss rods. Never seen that before.
The cut off bolsters look kinda raw.
Thanks,
John
John Caughey said:
Interesting detail; the upper king posts guiding the truss rods. Never seen that before.
The cut off bolsters look kinda raw.
Thanks,
John
For years, I’ve called them “queen posts.” Who is right? Don’t s’pose it matters much. First learned, best retained. (http://largescalecentral.com/externals/tinymce/plugins/emoticons/img/smiley-laughing.gif)
You probably are in this case.
A single post in the center of an A arch is the king, 2 posts off to the side part way to the top are queenies.
John
Thanks Dave. I really like that bobber caboose. At first glance it looks like it might be a candidate for a Bachman EBT prototype caboose bash.
Sorry guys I have no interior shots of the bobber, The caboose isn’t a part of the DRHS projects, but privately owned and funded, but it is entwined with the San Juan County (CO) Historical Socity ( of Silverton) and such. Neat little job, but looking it over and eyeing the suspension, I think that it rode really rough, especially on less then best track. Next time i’m in Silverton i’ll try to get some interior shots.
I’ve always referred to the “Guides or Holders, or such” that support the truss rods as Queen Posts, as there are two of them used the same way, for the same purpose as bridge members are used. Much less known on rail cars are the supports that live above the bolsters to support the truss rods , creating the structural triangles, that give the support. I have never heard them given a name, per se. But since they are a solo support member, they would qualify as a “King Post”. Both, King and Queen Posts, are always under compression loading. I would suspect that “King” would be right, But I’ll do more research and let you know. BTW: these on the Flat car are much taller then on the Gondolas we re-built.
