Large Scale Central

C.V.S.Ry. Rockhill Shop

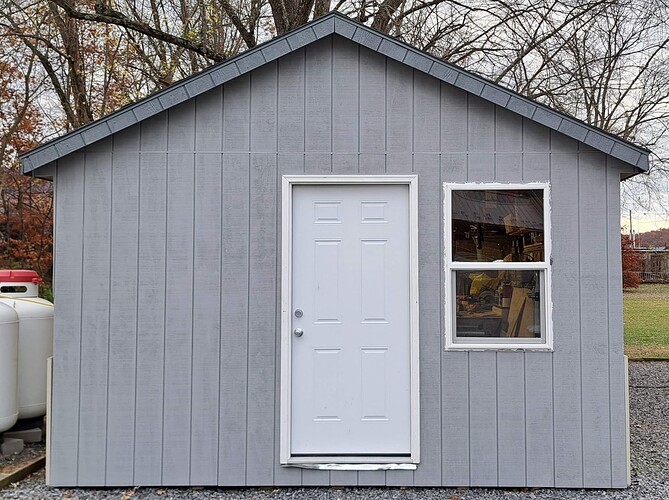
Since it is definitely no longer a garage, and too classy looking now to call it the shed, I hereby declare the building I have been remodeling the C.V.S.Ry. Rockhill Shop.

With the completion of caulking and painting of the front siding over the past few days, I have moved indoors for the winter. Progress shot as of yesterday afternoon…

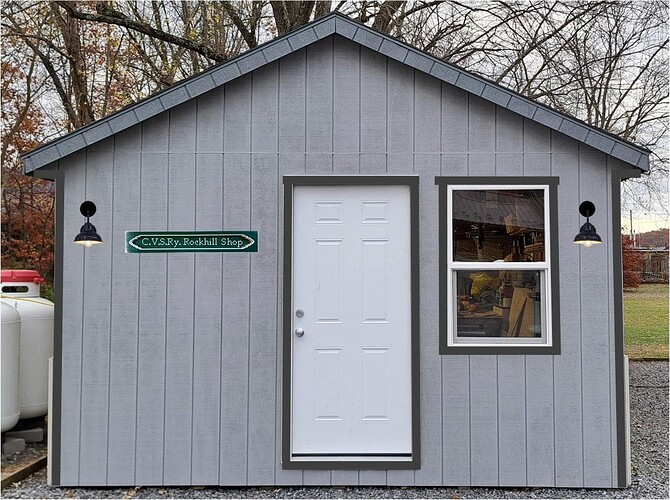
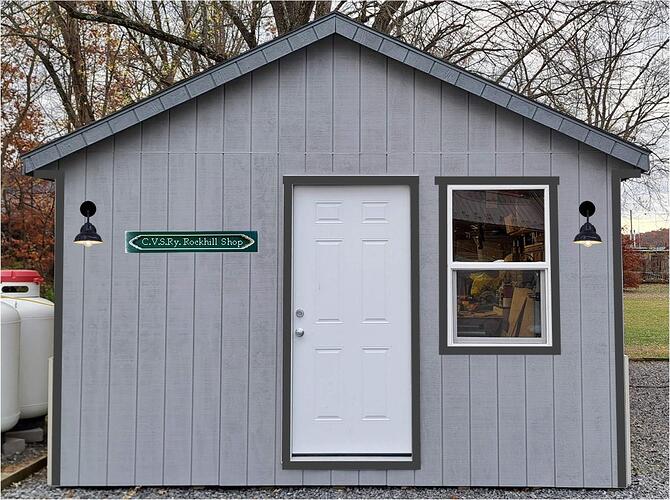
There is still a lot of trim to refinish and some new to make. I’ll probably delay most of the remaining exterior work until spring. I have plenty to do inside to finish closing it in. This is a rendering of what it should look like when the trim is installed and painted…

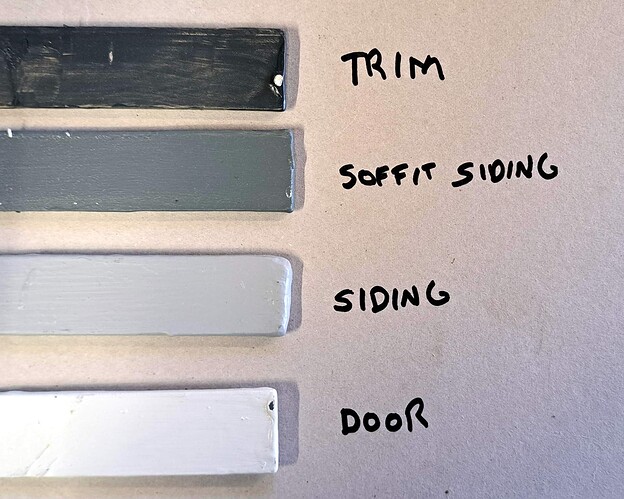
This is the actual color palette I will be using, I can’t even get close in Visio…

Those are all left-over paint colors from when we had our house in CT painted. I wish now that I hadn’t left a gallon of each with the new owner.

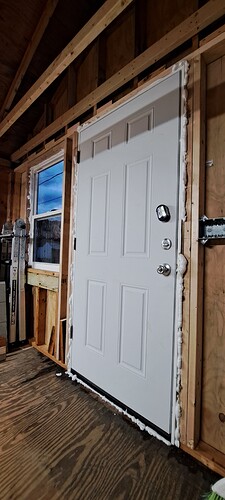
The heat is working real well. All of the openings to the outside that I have found have been sealed up. I used foam around the inside of the door and window. I read the directions to only fill 1/3 of the void, but when it wasn’t expanding I went back around. I should have been more patient. Now I have a lot of cutting to do…
5 Likes

Looking good. Needs a sign.

image

2 Likes

Yea, been there done that with the foam :laughing:

In that last picture that walk door looks huge, like 5 foot wide, in that perspective

Big congrats, Jon, looks great. And I like your title.

Re. lights, they’re cool. To see your way to the door on a dark night though, maybe one over the door, perhaps with a motion sensor?

It’s wide, but not as wide as it looks. I was going for an angle that showed both the door and widow.

Very nice, Jon! I look forward to seeing how you finish the interior.


Personally I think the lights should be RR lanterns converted for power … :kissing_smiling_eyes:

1 Like

This is a low budget operation. If You want to send me a couple I’ll figure out the conversion and hangers! Theses are lights I have that were never installed in CT.

I’ve been playing with the rendering. I wanted to add some of my sign collection to the wall. To get the balance I wanted the lights moved yet again!

I have been looking all over for the lamps. SOMEWHERE I have a pair new in the box. It’s a priority to get the electrical in the front wall so I can insulate.

Do you have a huge EBT sign?

EBT

Radder Siding Workshop #2

I like it. Jon could even make a fake double-door towards the track, place a bit of rail and tie leftovers, park a fake handcar on that, and call his shop a Section House.

1 Like

If you add a (CHEAP) barge board across the gable it will tie the lines together for a more pleasing to the eye look.

It will also give you a nailer for the door overhang “corbels with paint lines to pick out” that you will really want while trying to unlock “The Shed” in a nice cold Pennsyltucky rain/sleet downpour that’s coming soon.

BTW… don’t forget the running trim and roof cresting.

Radder Shed - Copy

And also…

2 Likes

I was hell bent on getting the insulation hung before this cold snap, but realized that I need to get electric roughed in to the new wall before I can insulate it. I’m almost done with that now. I’m still running off a temporary extension cord feed, but lighting is now powered through switches at the door.

After insulating the front wall, the cieling framing and insulation is the next priority. I am loosing a ton of heat through the roof. Besides, I am trying to heat almost twice the design volume. Tonight at a windy 32F outside, the furnace was struggling to maintain 60F. I need to keep it above 45F at night which it seems to be handling.

2 Likes

This week so far I have completed the rough in of everything on the new wall and mounted the light switches.

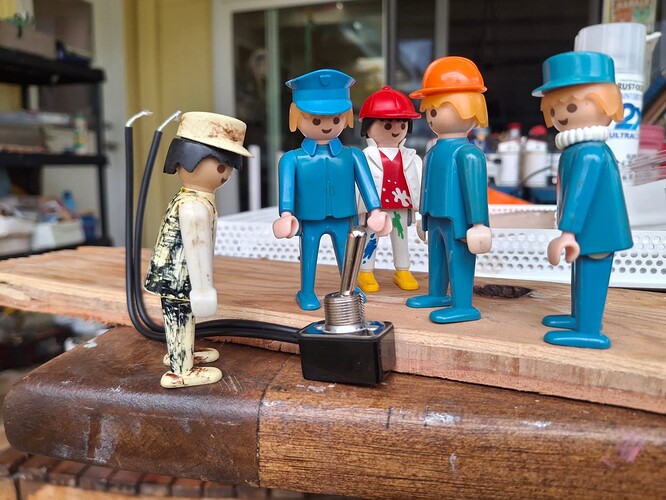
The light switches are fed from a single line that is temporarily connected to a switched outlet. I know my GFCI works as I had the line switched off while I tied all 4 neutrals together. As soon as I touched the neutral it tripped! Probably from the static on my body since I confirmed that the source outlet is wired correctly.

This outlet and the heavy duty window framing is to support a window AC…

Insulation this afternoon!

3 Likes

1 Like

That looks just about right. I’d switch the switch but it took me most of the afternoon just to mount the sub panel.

I did get some of the insulation hung in the morning. But my mornings are pretty short lately. At least one pot of coffee before I get moving.

It’s been a busy week.

The front wall electric was roughed in. A new sub panel was installed and the lighting circuit tied in. I am feeding the sub panel with 12-3 Neoprene covered cable plugged in to the outdoor GFCI. I connected one temporary quad outlet to power the furnace and take extension cords for construction.

All of the original R-13 insulation that I took down for framing access has been properly trimmed to fit and stapled in. The new front wall has been insulated with R-15 all properly trimmed around the framing and electrical…

The lighting is complete for now. I installed two utility lights on the roof rafters for attic lighting. There is a switched outlet powering my LED shop lights. A third switch controls the freshly installed front lamps…

Since Greg is no longer here to point it out, those are Ivory switches with a white plate. My theme is all white, but I had the Ivory switches in stock. I’m saving where I can! I put the plate on to keep my fingers out when groping for the switch in the dark.

I think I should take the weekend off :thinking:

2 Likes

I do plan on inspecting the shed in person within the next few months!

Oh and take a leak out back as well.

:rooster:

1 Like

Be sure to do it on a Fri, Sat, or Sun between Black Friday and the weekend before Christmas for the holiday trains. Trolley museum is all decorated too!