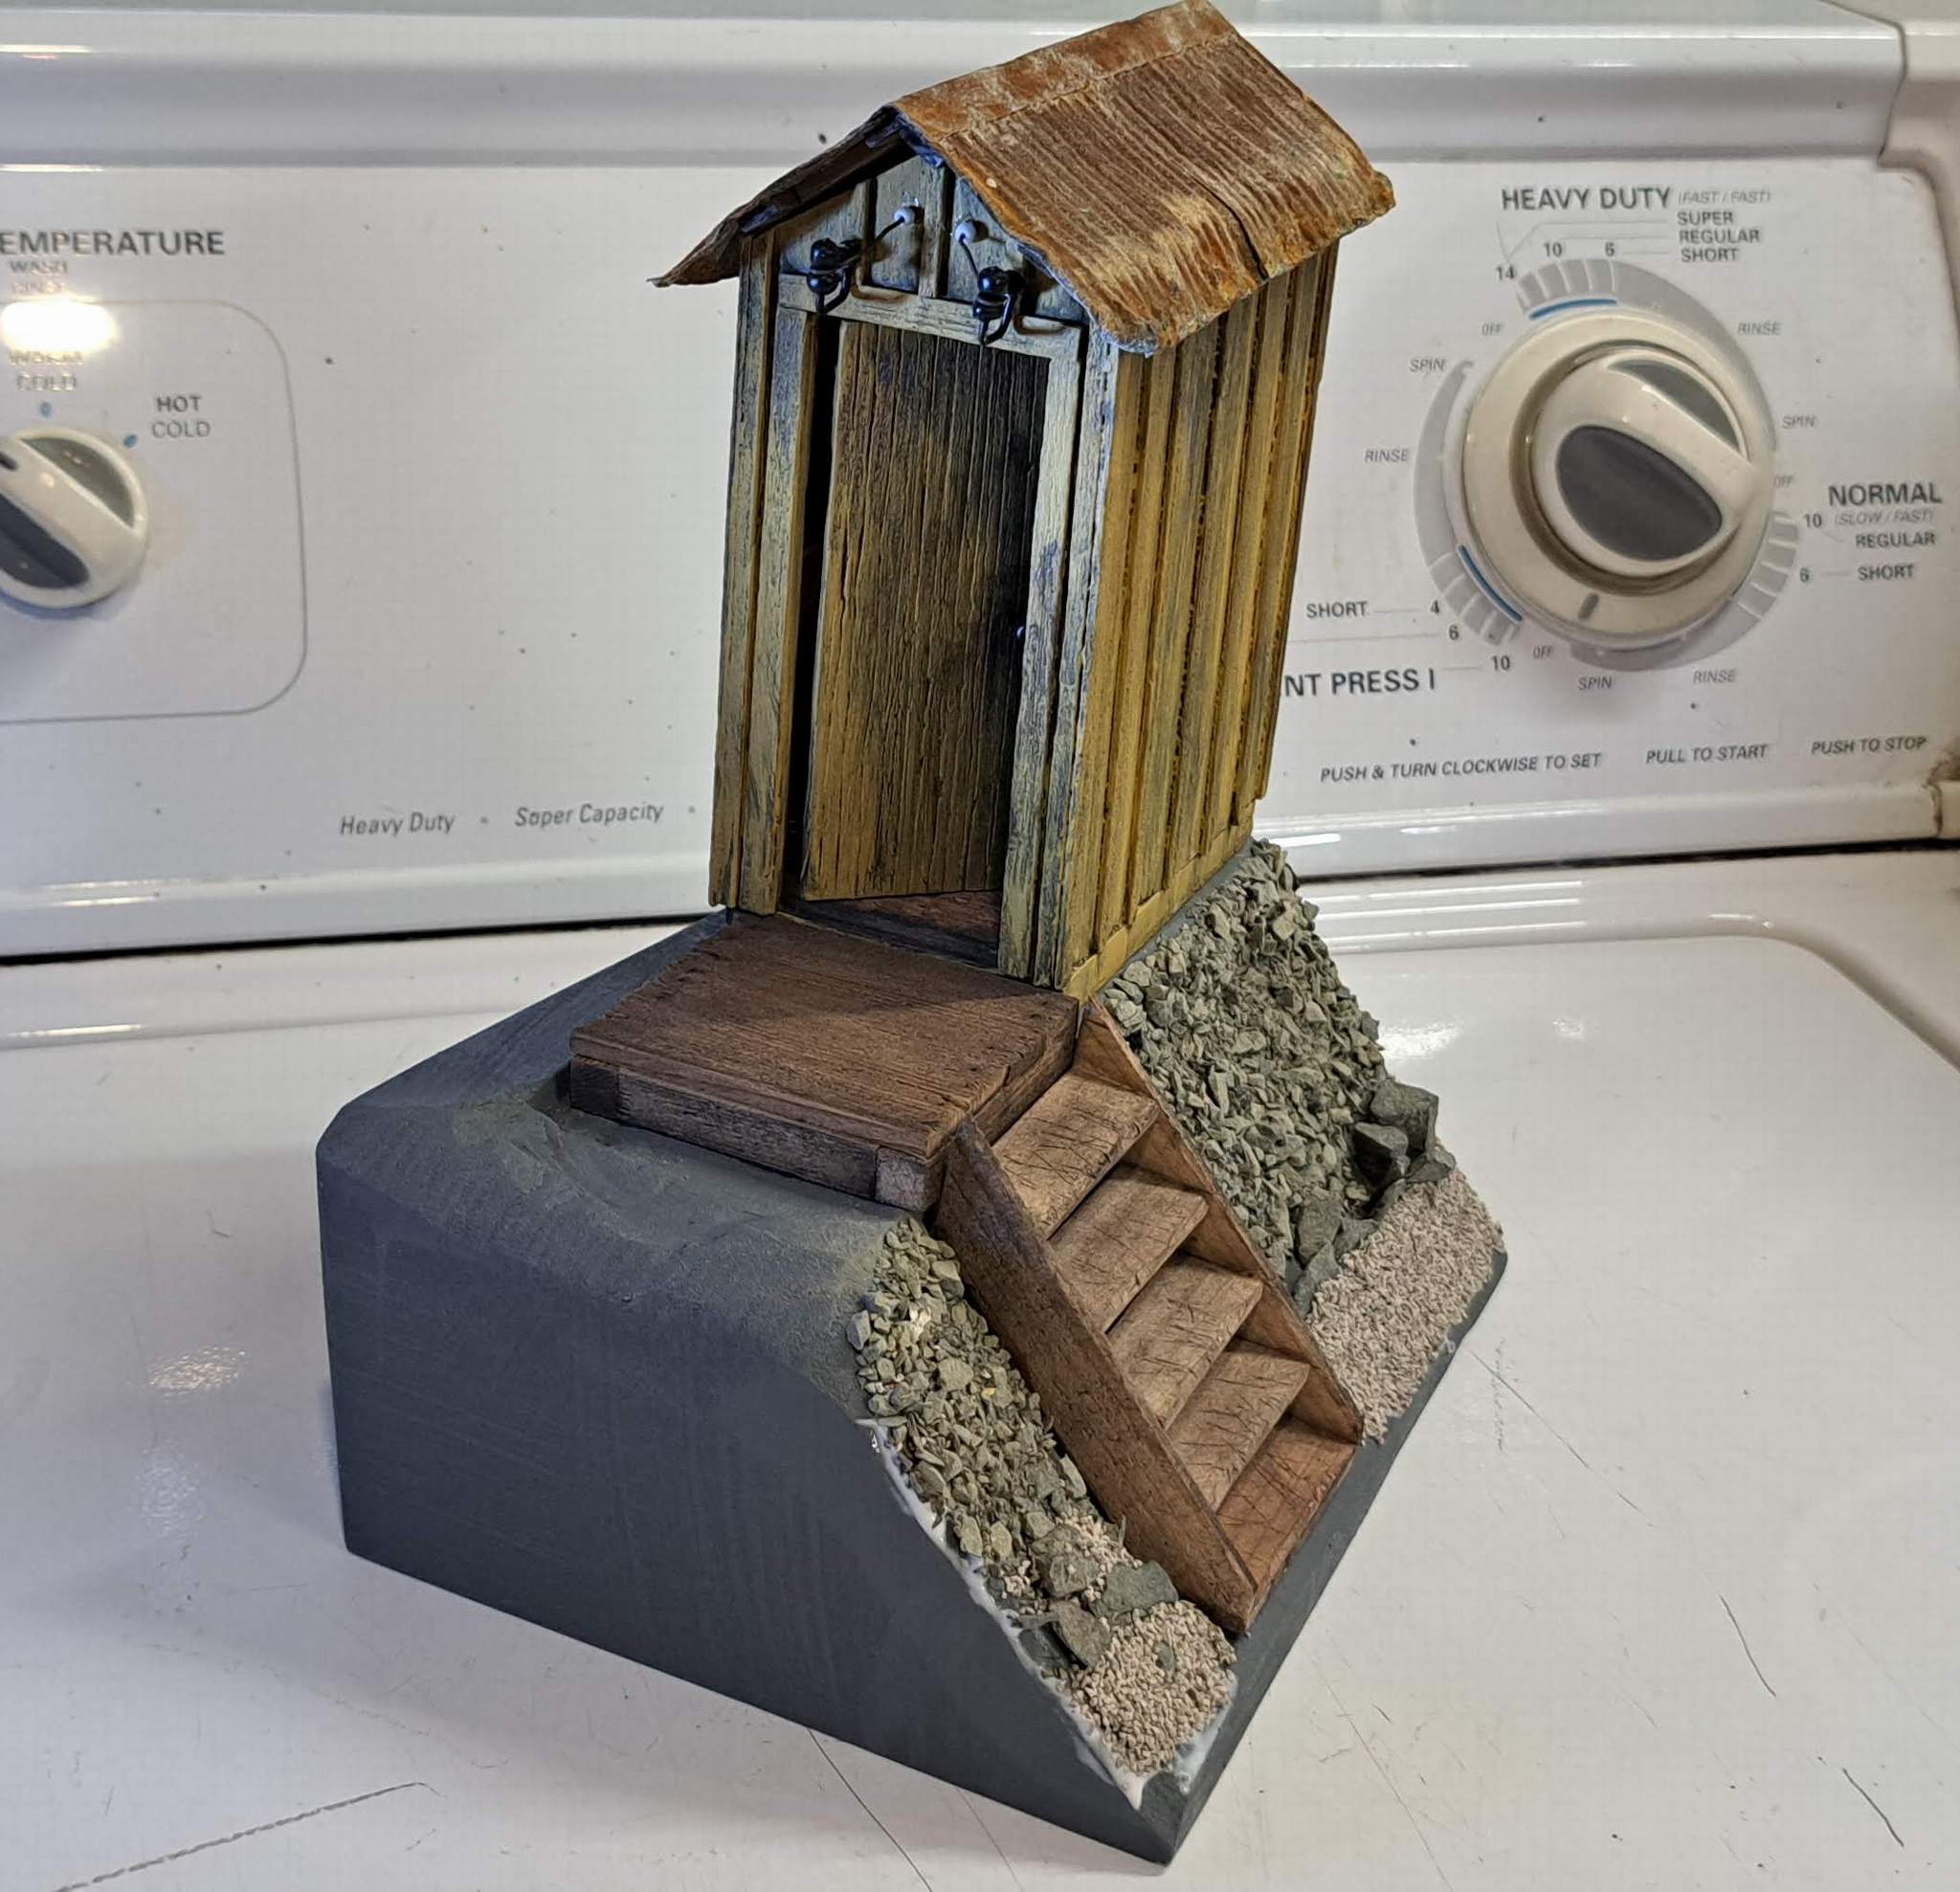
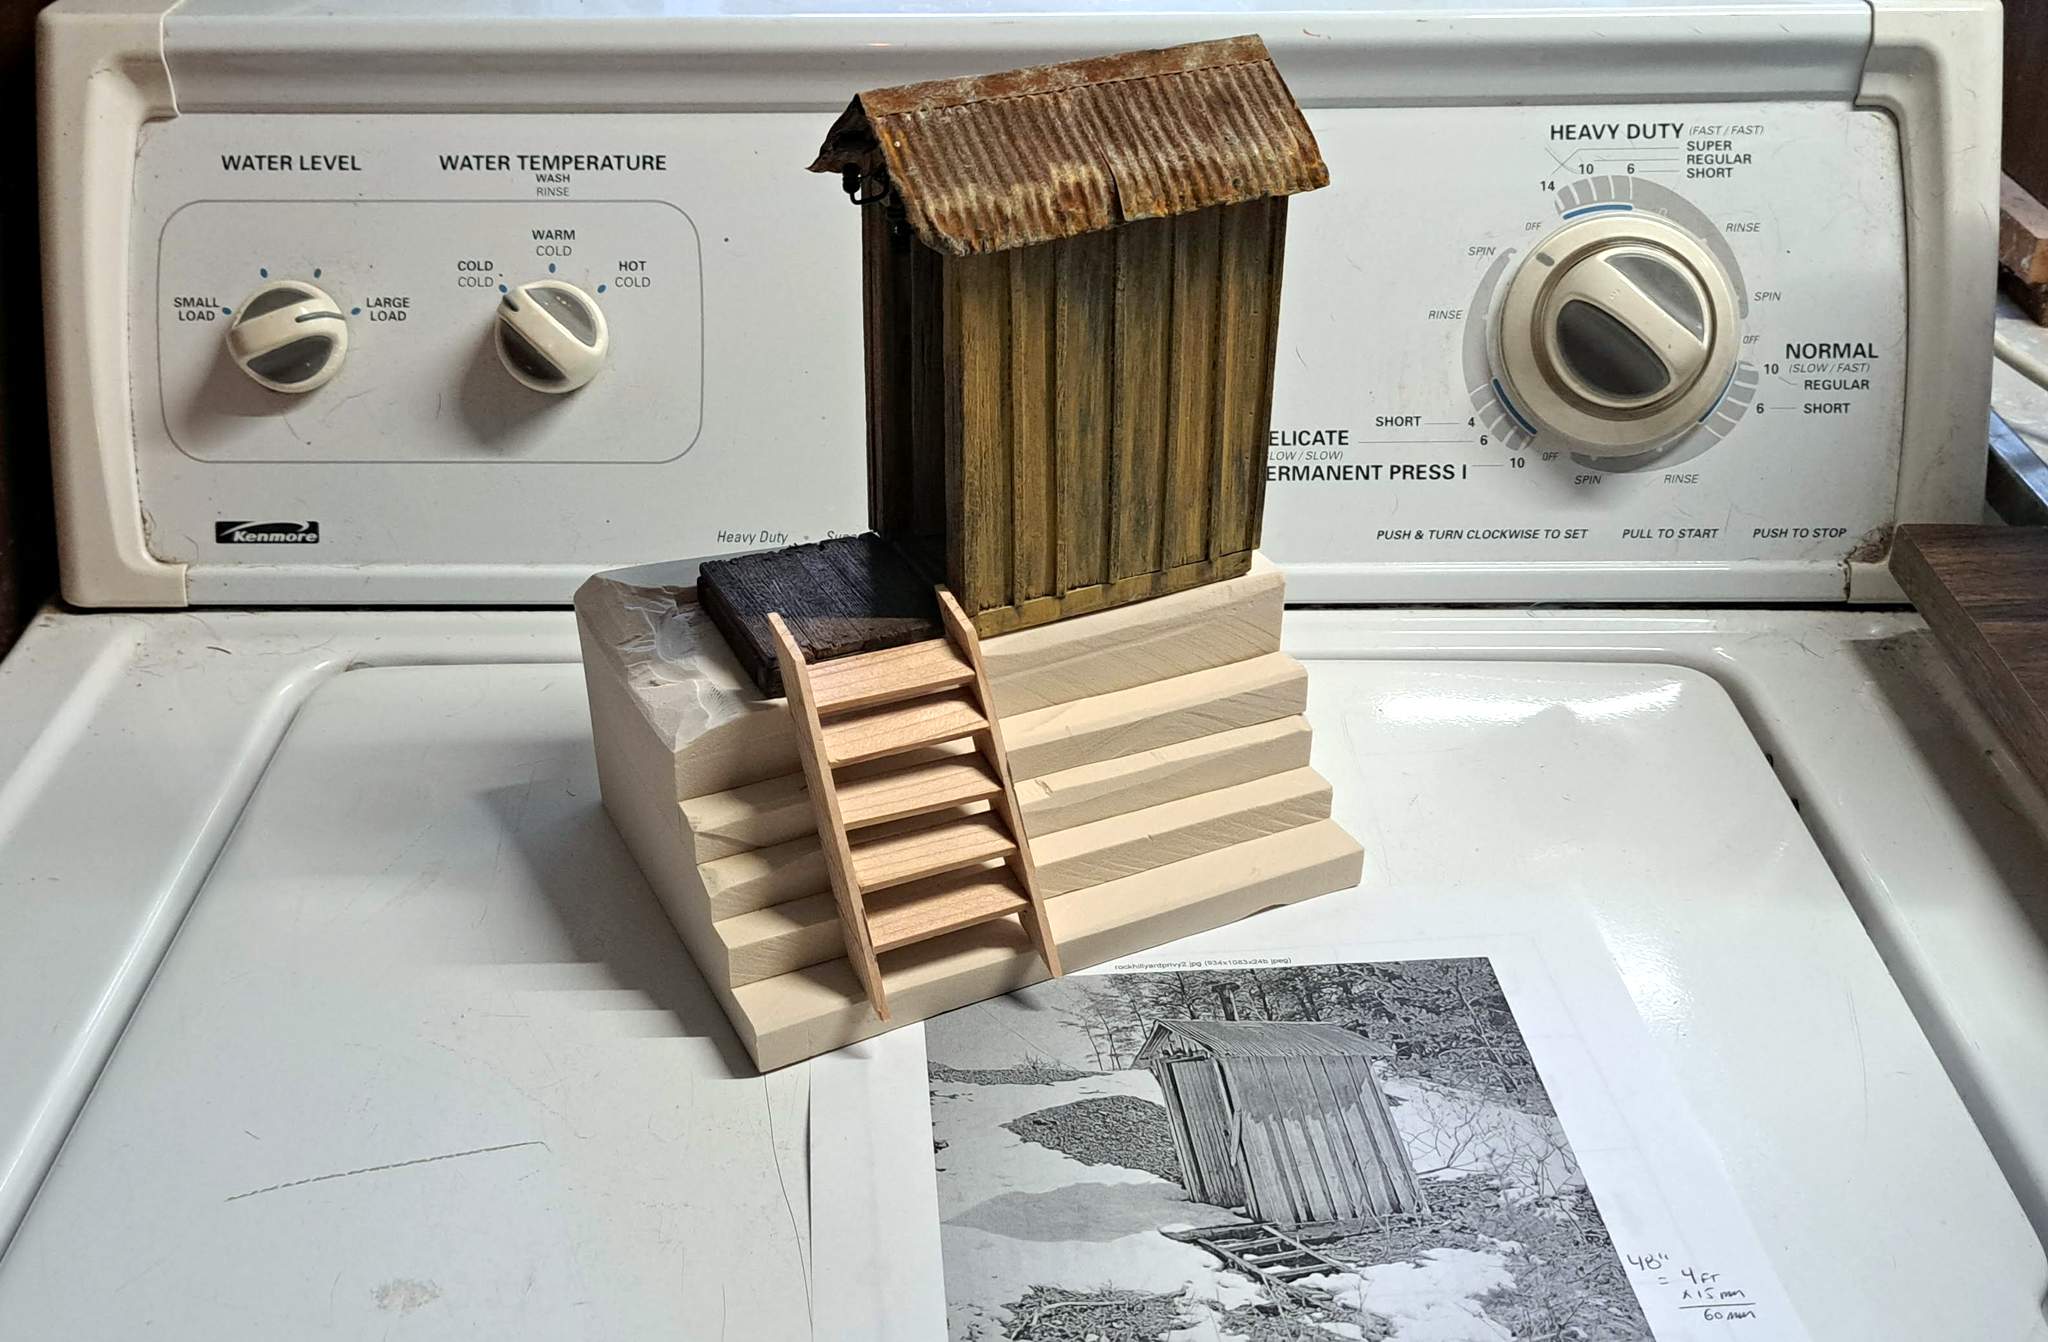
What, you don’t like the washing machine?
It’s looking great Jon. So cool how you’re re-presenting a slightly older model with a new base.
Thanks. I got the stairs cut down and better fitted into the hillside. Glue should be dry now so I can weather them to match. Then I just need to do a bunch of carving and filling to make that foam stair step look more like a steep hillside. If I finish early, I might add the telegraph pole and wire, but not likely.
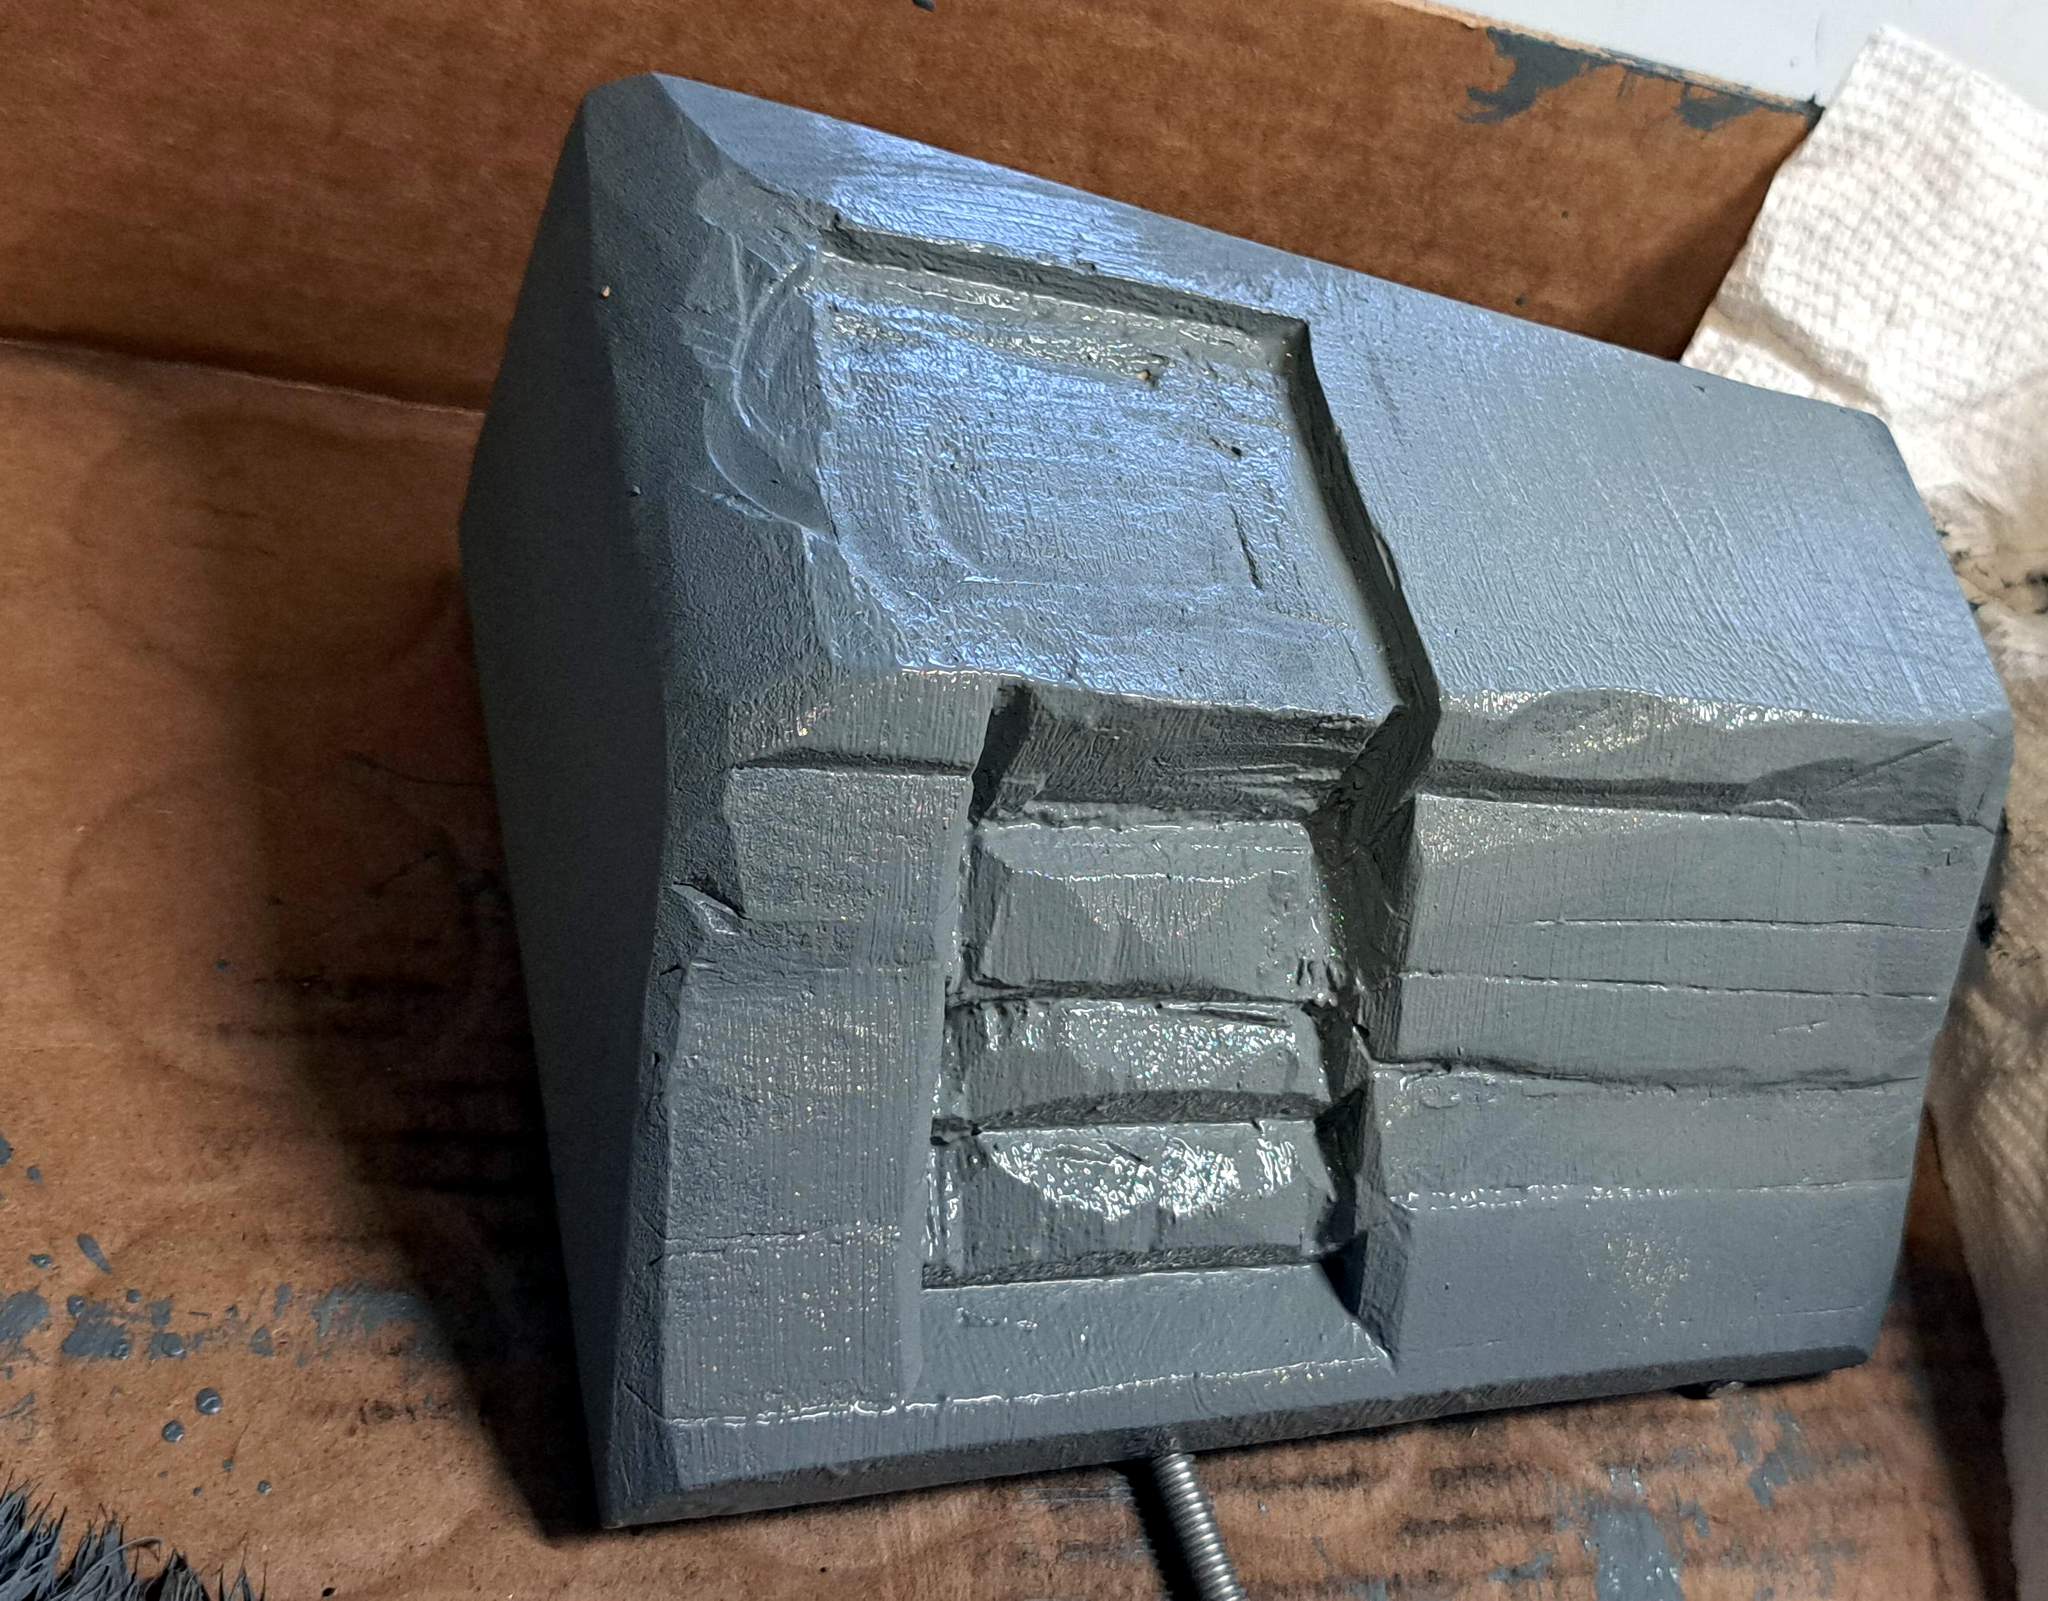
A little progress today. I filled in the stair steps on the foam, carved it a little and put on the base coat of paint. The top and face will have earth, stone and some grasses when complete…
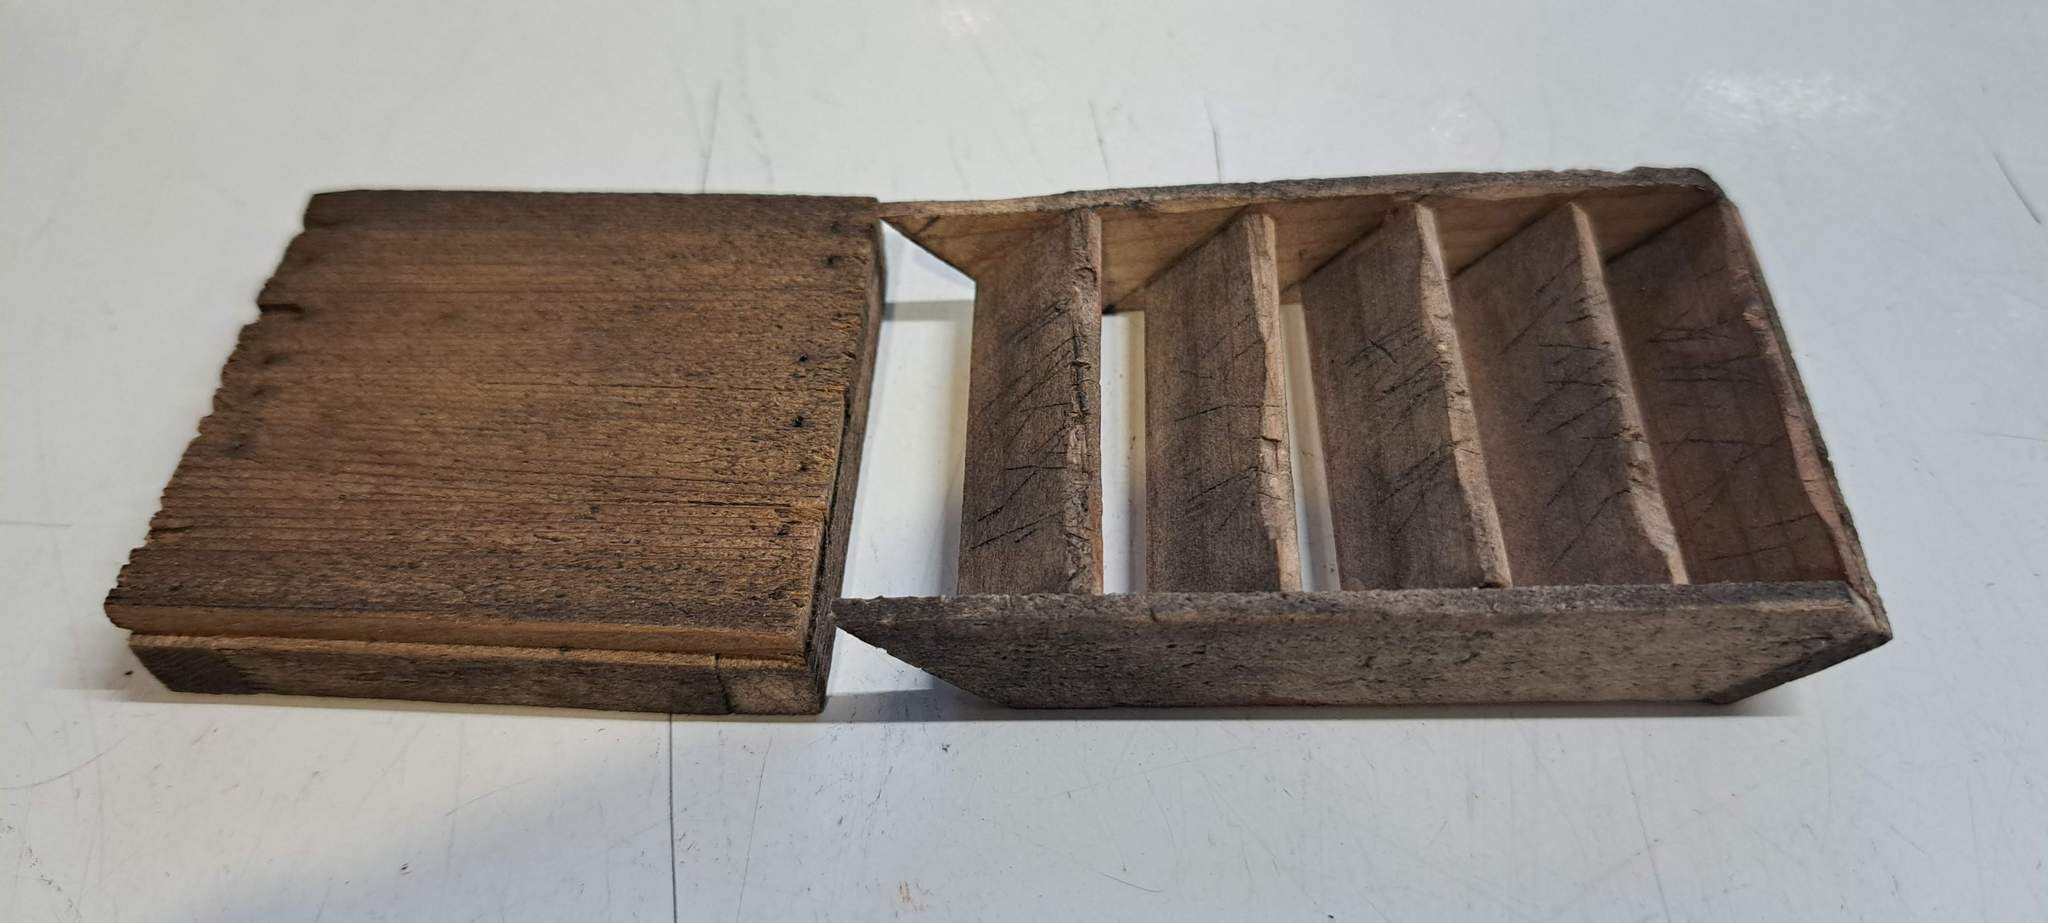
The wood parts are finished and weathered. The stairs include some red blood stains from stabbing myself with a sharp exacto blade while whacking them. Fortunately most of that is on the back side out of view…
I laid on the acrylic house paint pretty thick on the foam base and it’s not wanting to dry quickly. I guess I’m done until tomorrow after lunch.
I was going to ask how you got that nice cracky black detail. Is that what you were “whacking”? And the blackness… it’s ink, right? If it’s a blood-ink mix I’d like to see the full article before I plunge in…
Regardless, the effect is amazing!
The black is coal dust. I have some very finely crushed coal that I put out in a cardboard box lid, then grind the wood into it. The marks were all created with an Exacto knife. I carved some wear points of the step edges and stringers, then I scratch and whack the parts with the knife to get random wear marks. The coal also makes indentations and scratches as I drag the wood through it.
This method would not hold up well in the weather, nor will the new wood parts as I was out of Titebond III and used plain old white glue. This model will only make short appearances outdoors for photo sessions.
Cliff said: “you were” and has been reported to the moderator!
Some progress, and again waiting for glue to dry. I decided to use white glue to attach some fine crushed stone and a little HO scale ballast on the incline, then did a few test shots. Pictures are great for noticing mistakes - I need to move the platform further back and align the stringers.
And a bit more applied before I realized I need to carve out a bit more for the platform…

What, you don’t like the washing machine?
Nope, it’s a Mik thing and I love it !
However I also know he will do excellent work and detail as he always does but judging by the dial’s on the washer he’s also doing his laundry which is a good thing Cliff!
I’m surprised Rooster hasn’t pointed out what will happen when you find out it is glued to the washing machine.
Lou,
I feel the bottom of the build has wax paper under it so I am not concerned in the least!
I haven’t updated this thread in a while, but I’ve been making slow progress, It’s down to the wire as we leave for PA on Tuesday. Here is a photo dump that includes today’s work finishing the stove pipe.
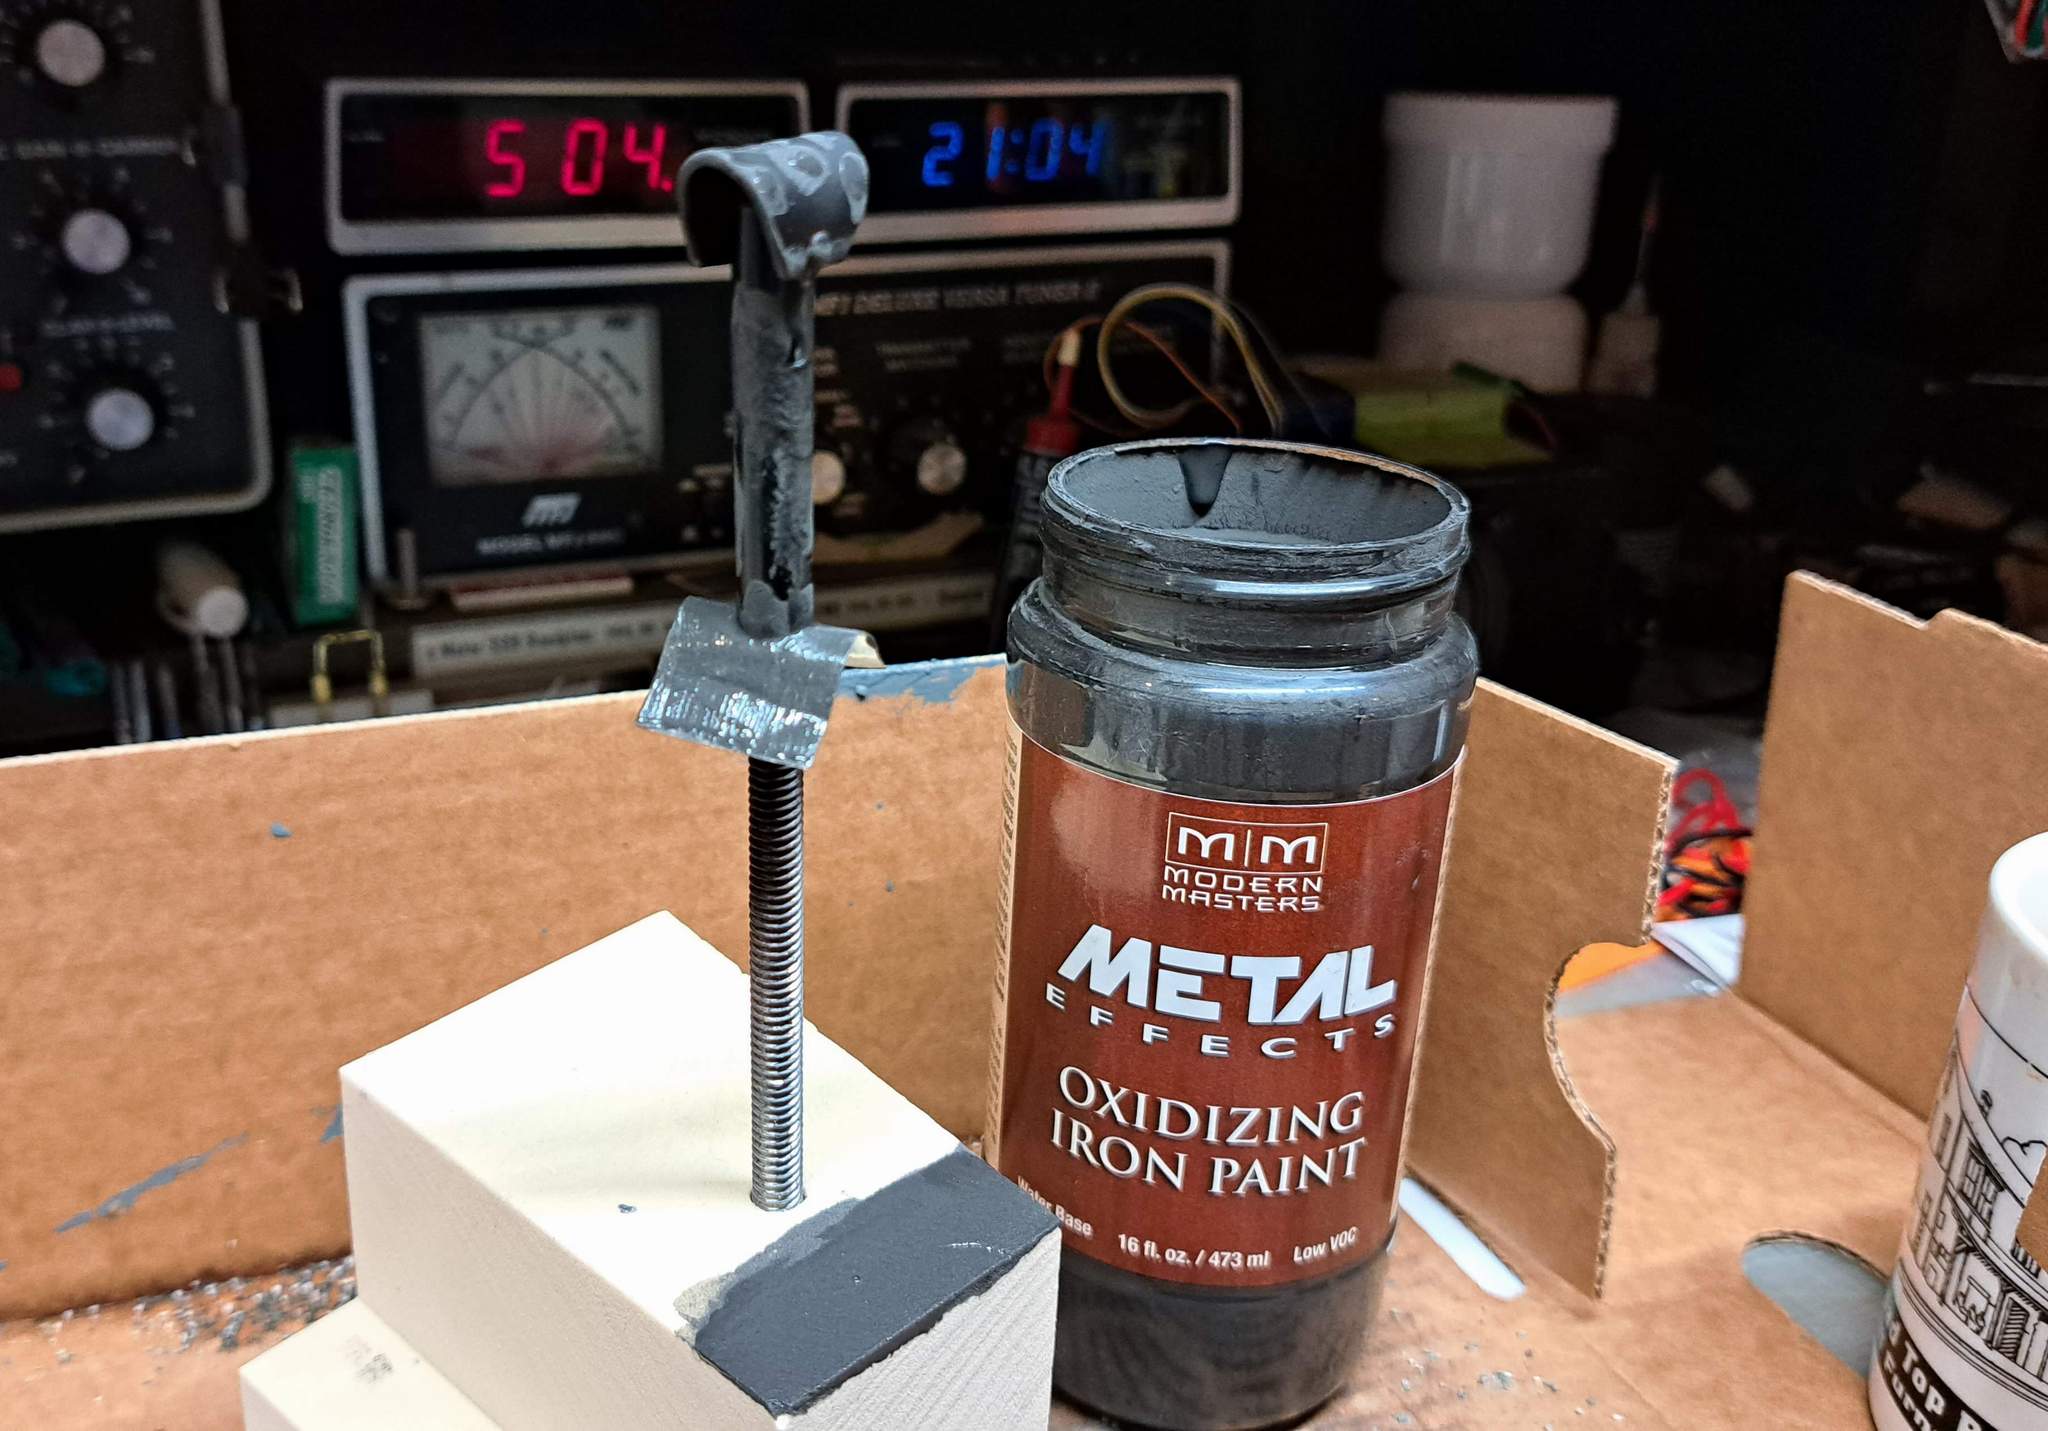
The pipe is a stick pen and the rain cap is styrene pinned to the pipe with tiny nails and some glue. Painted flat black then some random application of iron paint for rust effects…
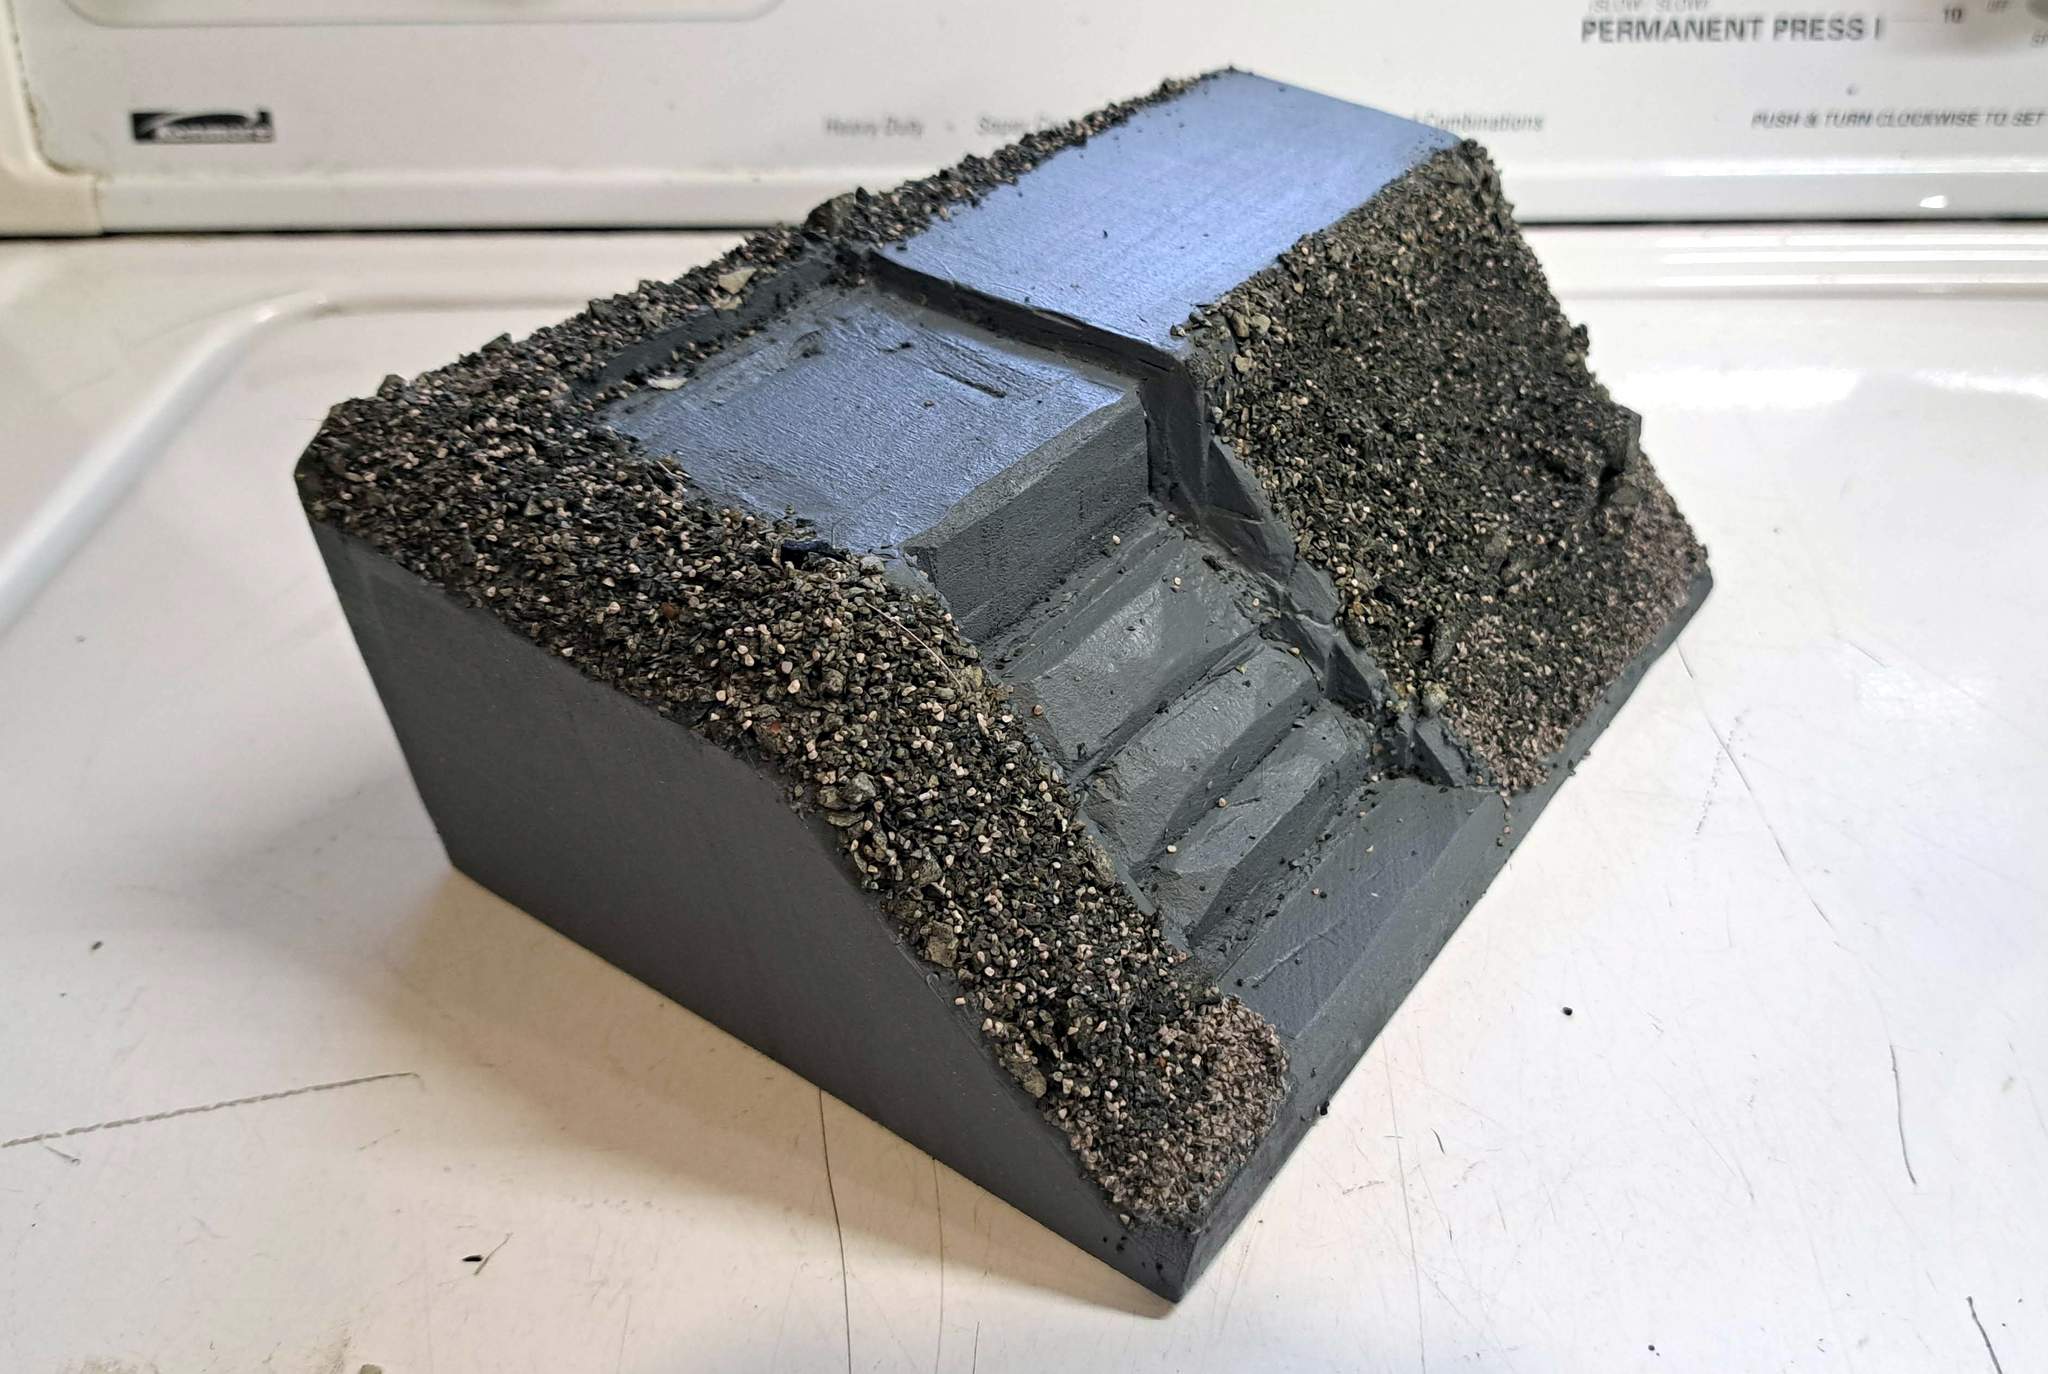
The base is pretty much done. I darkened up the stone dust with some India Ink & Alcohol stain then sprayed with a glue, water, dish soap and ink solution to tie everything together…
I was really nervous drilling the pipe hole in the roof. I started small and progressed slowly. Looks good on the outside…
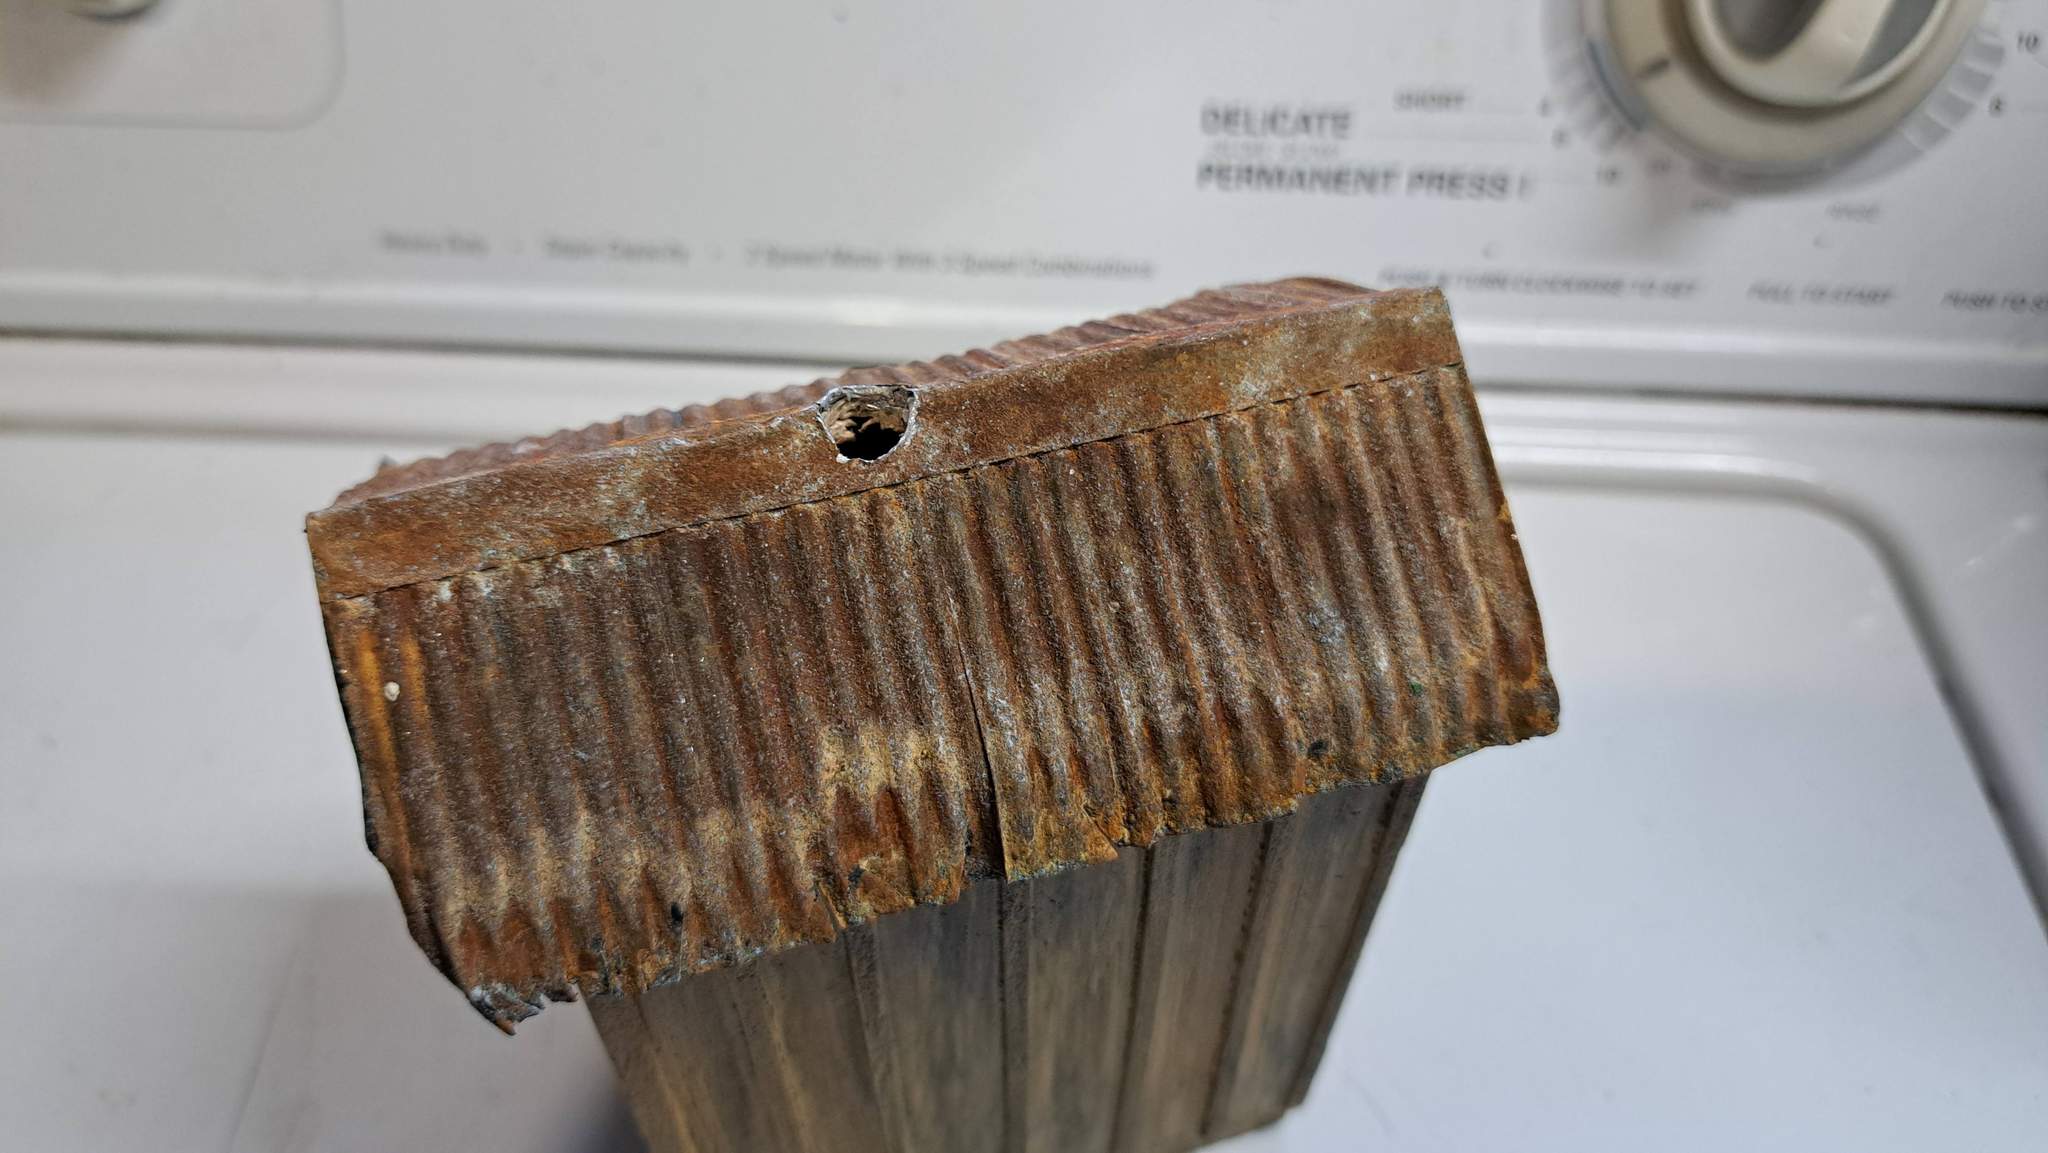
But did a little damage to the ridge boards on the inside. I won’t be showing it with the roof off so this isn’t a big deal…

Lastly I’m experimenting with using hairs from a natural bristle brush to represent dead grasses. Sorry about the focus; I was using Macro mode but must have moved. First I tried just punching a small bunch in to the foam with a tiny screwdriver. It looked OK, but I had trouble repeating it with good results…
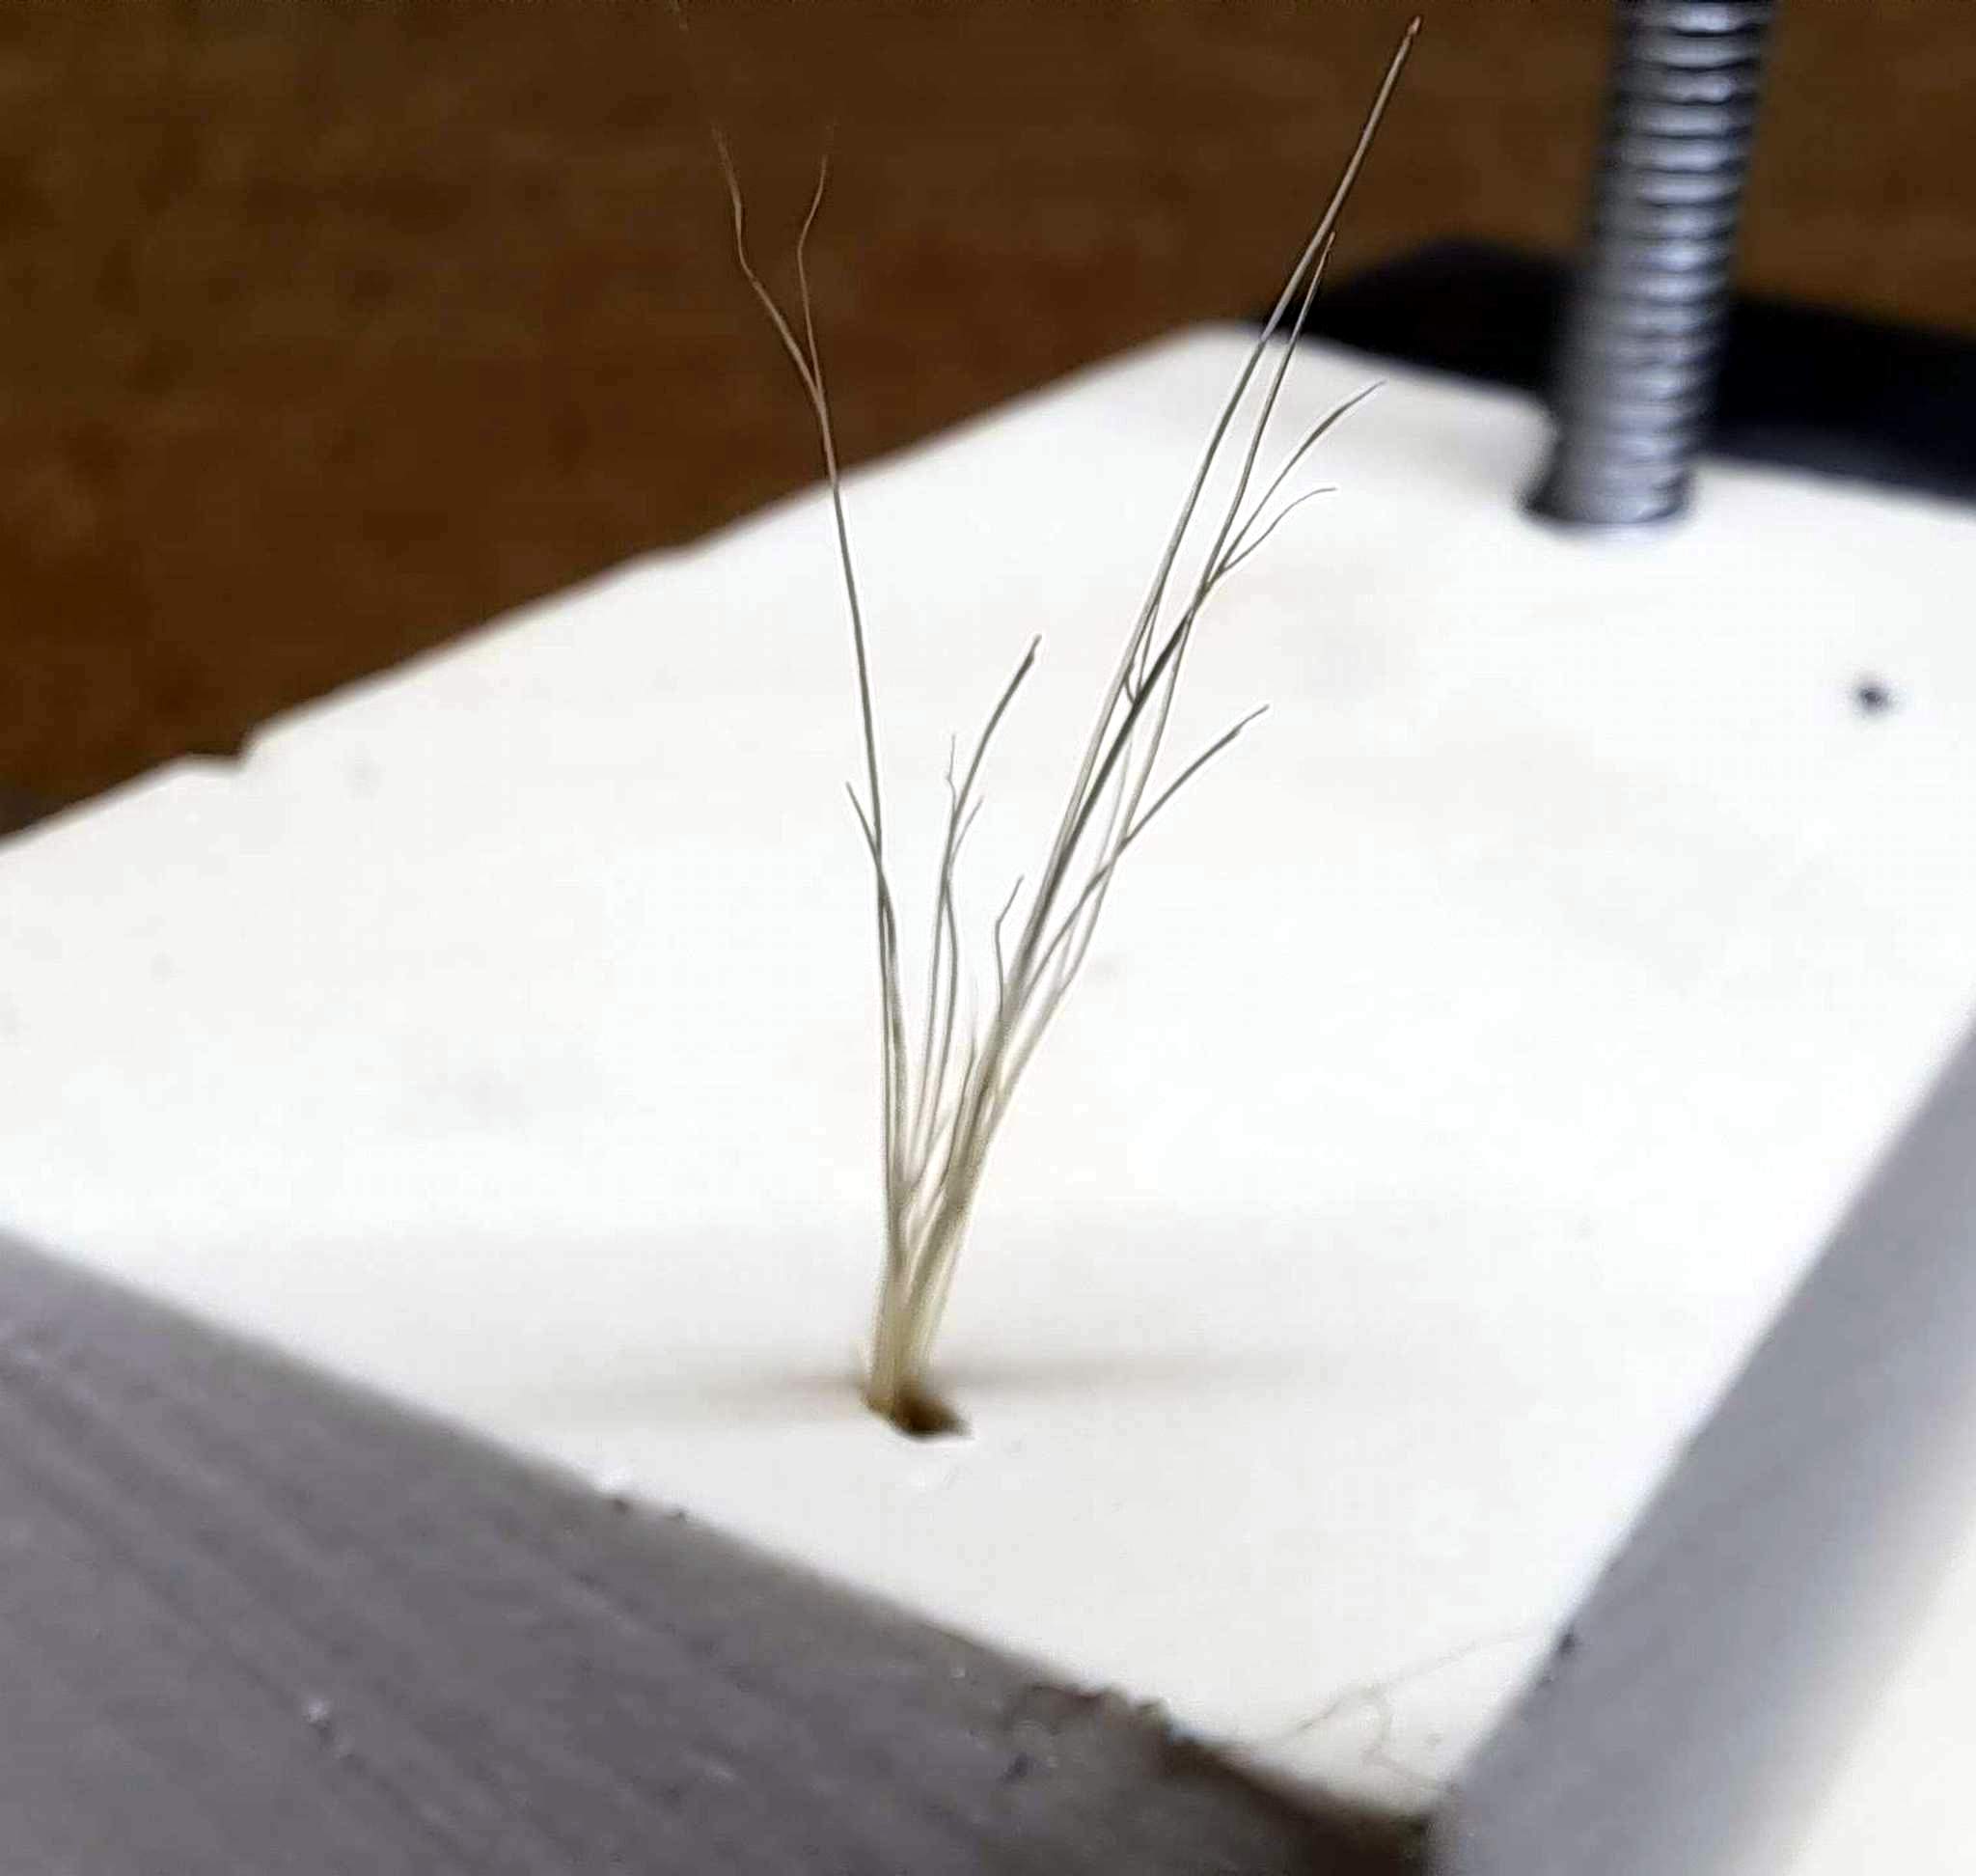
Next I tried pre-drilling a small hole. That seemed to work better, but this bunch is too big…
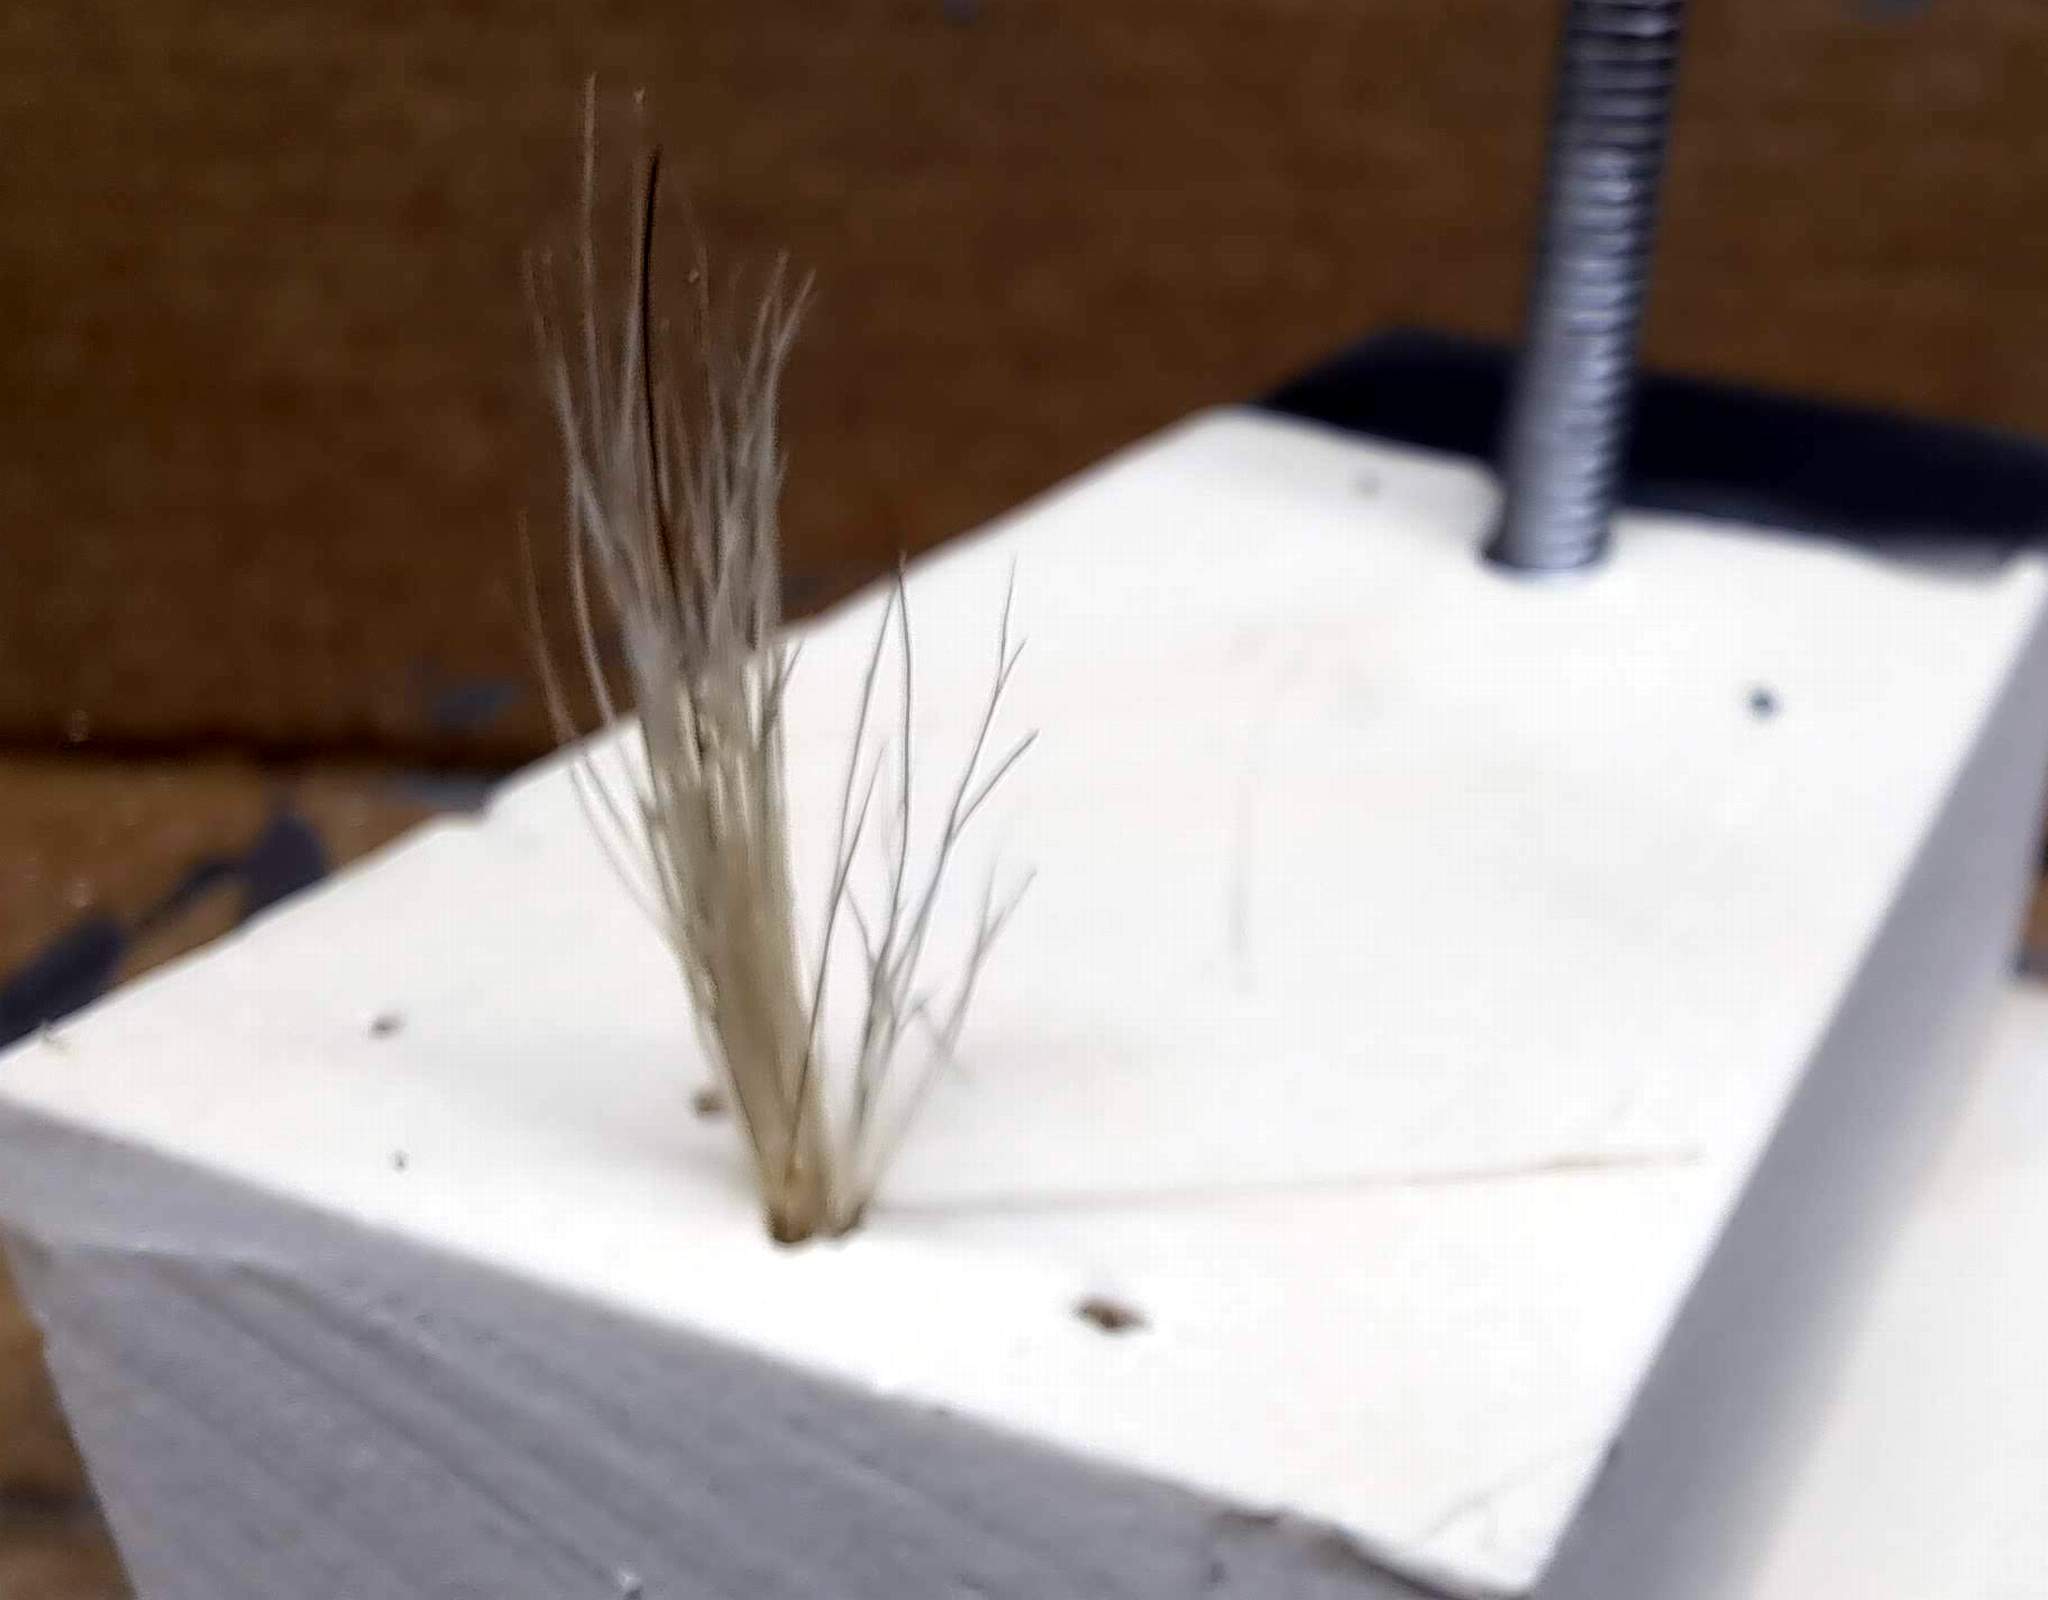
I’ve never done any fake indoor scenery like this before, so I’m open to suggestions. If I can’t get a look I’m happy with and an insertion method that won’t mess up my base, I’ll just not use it.
Jon,
Might try one of those throw away paint brushes with the wooden handles, cost about a buck and they make pretty good weed tufts. I just use a nail to poke a hole and add a little TightBond. Different size nails for different size bunches.
one of those throw away paint brushes with the wooden handles
Thanks Rick. That’s what I’m using. Just need to practice the insertion technique until I’m happy with the result.
Forgot to mention, that I put a little dab of ACC on the end and let it set before inserting it into the base and white glue. Holds it together and makes it easier to insert.
i used one of this kind:
 a seamstripper (ask your wife)
break away the round head, and you are good to go.
don’t predrill! the pressure of the foam is, what holds your weeds in place. i use no glue for this.
A straight pin is always my choice 
Thanks for the advice. I got a few tufts on the model, but need to wait for the sprayed on glue to dry on the ‘earth’ as it was a mushy mess while i was trying to insert grass.
Down to the wire now. I need to pack this up tomorrow. Final touches are on, just waiting for paint to dry to mount the platform and stairs. To my eye, the stove pipe/cap look too big, but it’s not changing…
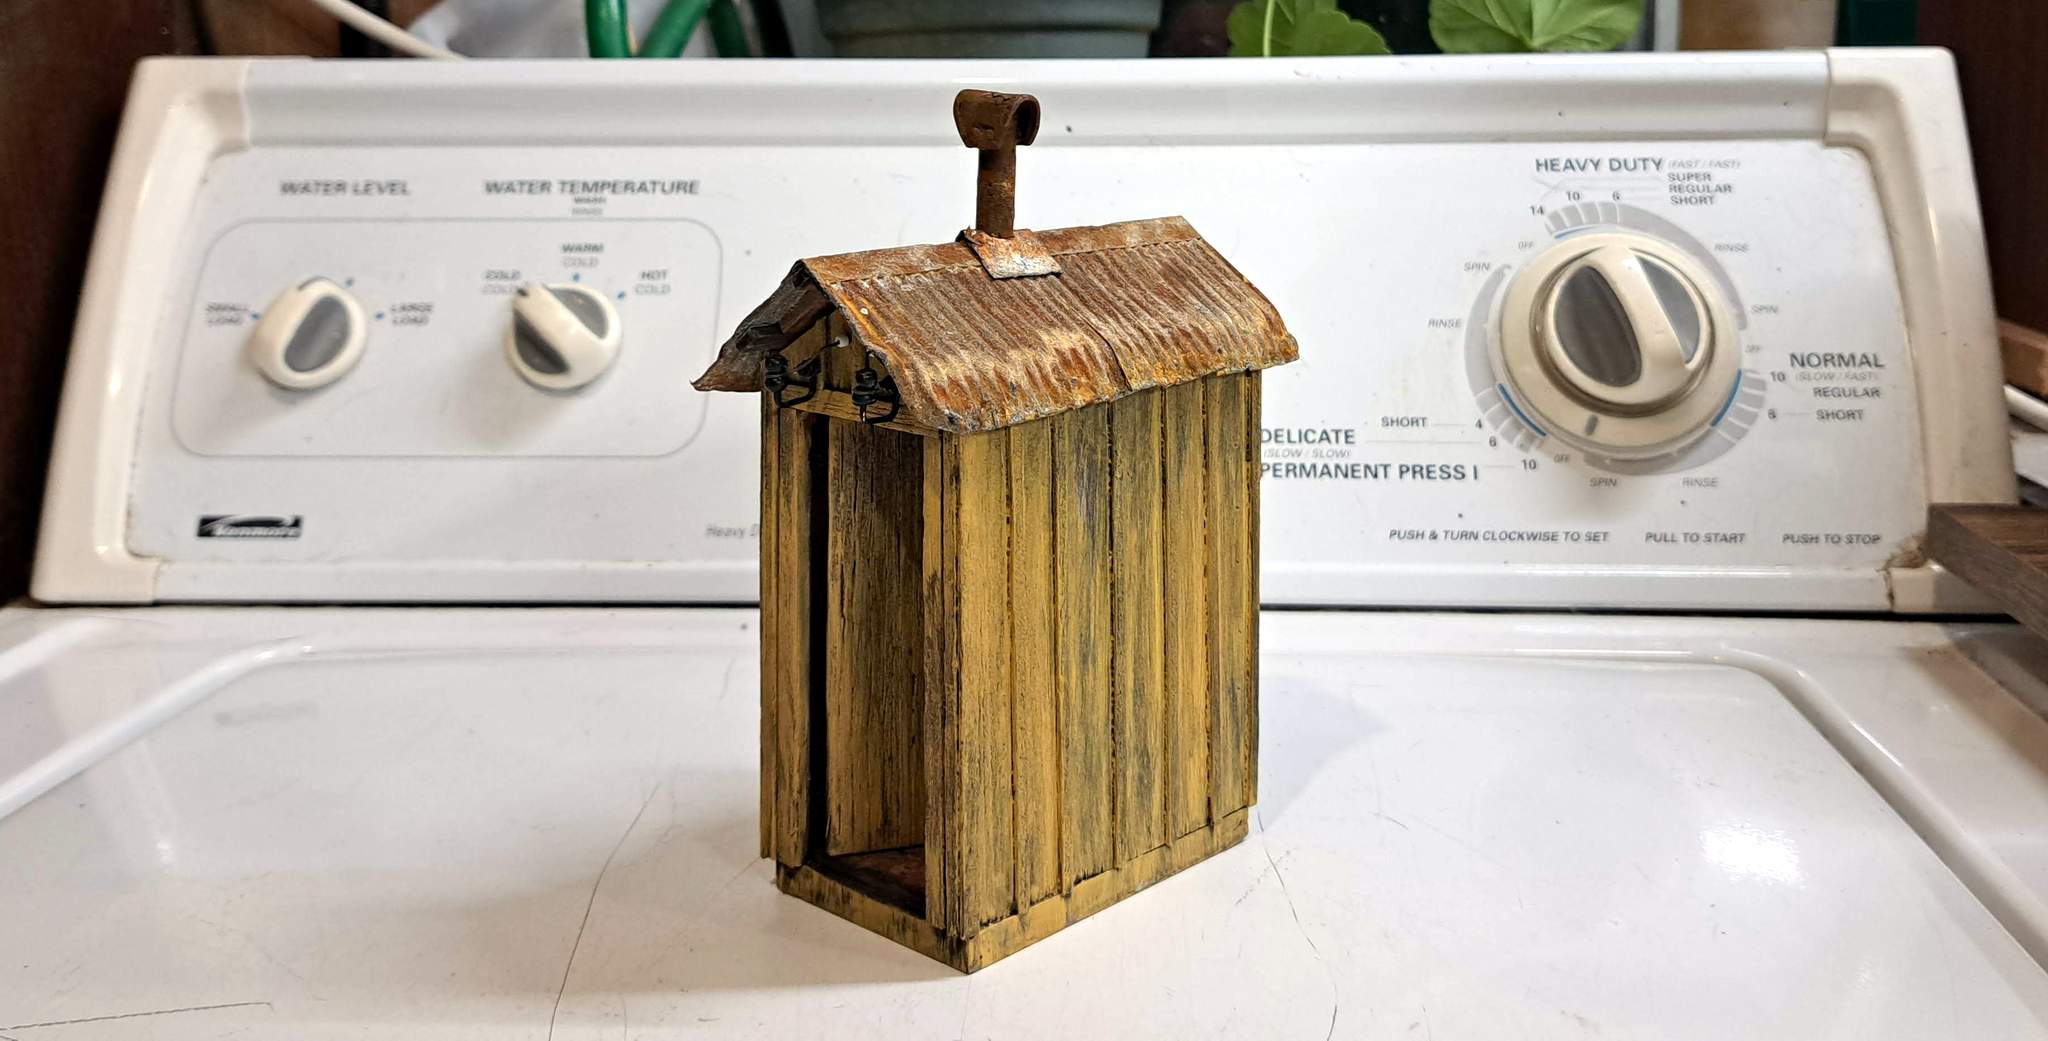
I do like how the texture / color came out. I had to add some paint because I didn’t like my random application of the Iron paint…

Added some grasses, black paint at borders to model parts and a final coat of gray to the sides…

Almost done!
Beautiful work, Jon!
I’m sure it will look fantastic with all the pieces together!
If you have the time to scrape some gray / tan pastel dust and brush it on your terrain, without fixative and just raw, that might add some quick additional variegation. But you’re fine without that!
