Put an addition on the side then you will have room for the stove. 
2 Likes
Glad to be of help. I was just being lazy and didn’t want to measure.  The cut offs have been proven to be useful for small battens under the windows, etc.
1 Like
Looking good, Jon. I agree on no room for a stove unless the worker is using it for his seat  . That would give “on the hot seat” a whole new meaning
Nice work Jon. You are making big work of a little building. Putting a lot into it.
That sure is a neat little building.
I have used a dado blade to make battens on a small building and also clapboard siding on my engine house. I have also used coffee stir craft sticks on other projects and I’m thinking about using that approach on this years Mik build.
Those mini table saws sure are neat. I have a cheap mini chop saw and I just used it to make the spout pipe for the sander.
Keep up the fine work.
I am going to give this a try I think when I do the mine building. Sure would be a lot faster to set up a sled for the table saw than to cut and glue a million battens.
I really like the British slang word for a privy, “Thunderbox.”
Cheers, David Meashey
Glueing the battens isn’t bad when there are only a few. I’m going to do the side walls tonight, so I’ll let you know if I still feel the same way after.
I think that I need to do any wood texture weathering before assembly as this will be spindly little box.
Got all but two of the battens done over the last few days and also attached the side walls to the rear wall and test fit on the base. So far, so good! I’m leaving the front off until I have the door finished and maybe the insulator detail done. Here is the latest photo dump…


This weekend’s project is building and hanging the door. I want it to at least have the appearance that it operates. I’ve been browsing how to fabricate hinges, but since the door opens in, they won’t be visible so will probably just be some brass stock bent to the open angle and glued on.
I’ve also been watching a few videos on cracked / weathered paint techniques. I know Ray has done similar, and maybe Craig too. The method I found involves painting on wood glue and then painting over as soon as the glue is tacky. Washes then give it depth.
1 Like
simple hinge used by the plane set for years is/was a piece of cloth glued on. put on the inside wouldn’t show and if you use two tiny strips you could paint a hinge simulation on the door edge and frame. YMMV JMHO 
1 Like
Rooster,
Check out this listing on eBay…
You could make a in or out swing door …no hinges just a pin at the top and bottom …say 1/16 or 1/32 brass or music wire …metal coat hangers are 1/16 if you wanna go in the cheap. Still think it was an office …just saying wtf’inhell
LOVE IT ! note the apostrophe
A pin hinge is an interesting concept. I have plenty of small brass rod and other stuff that could work. I kind of like the idea of an operational door.
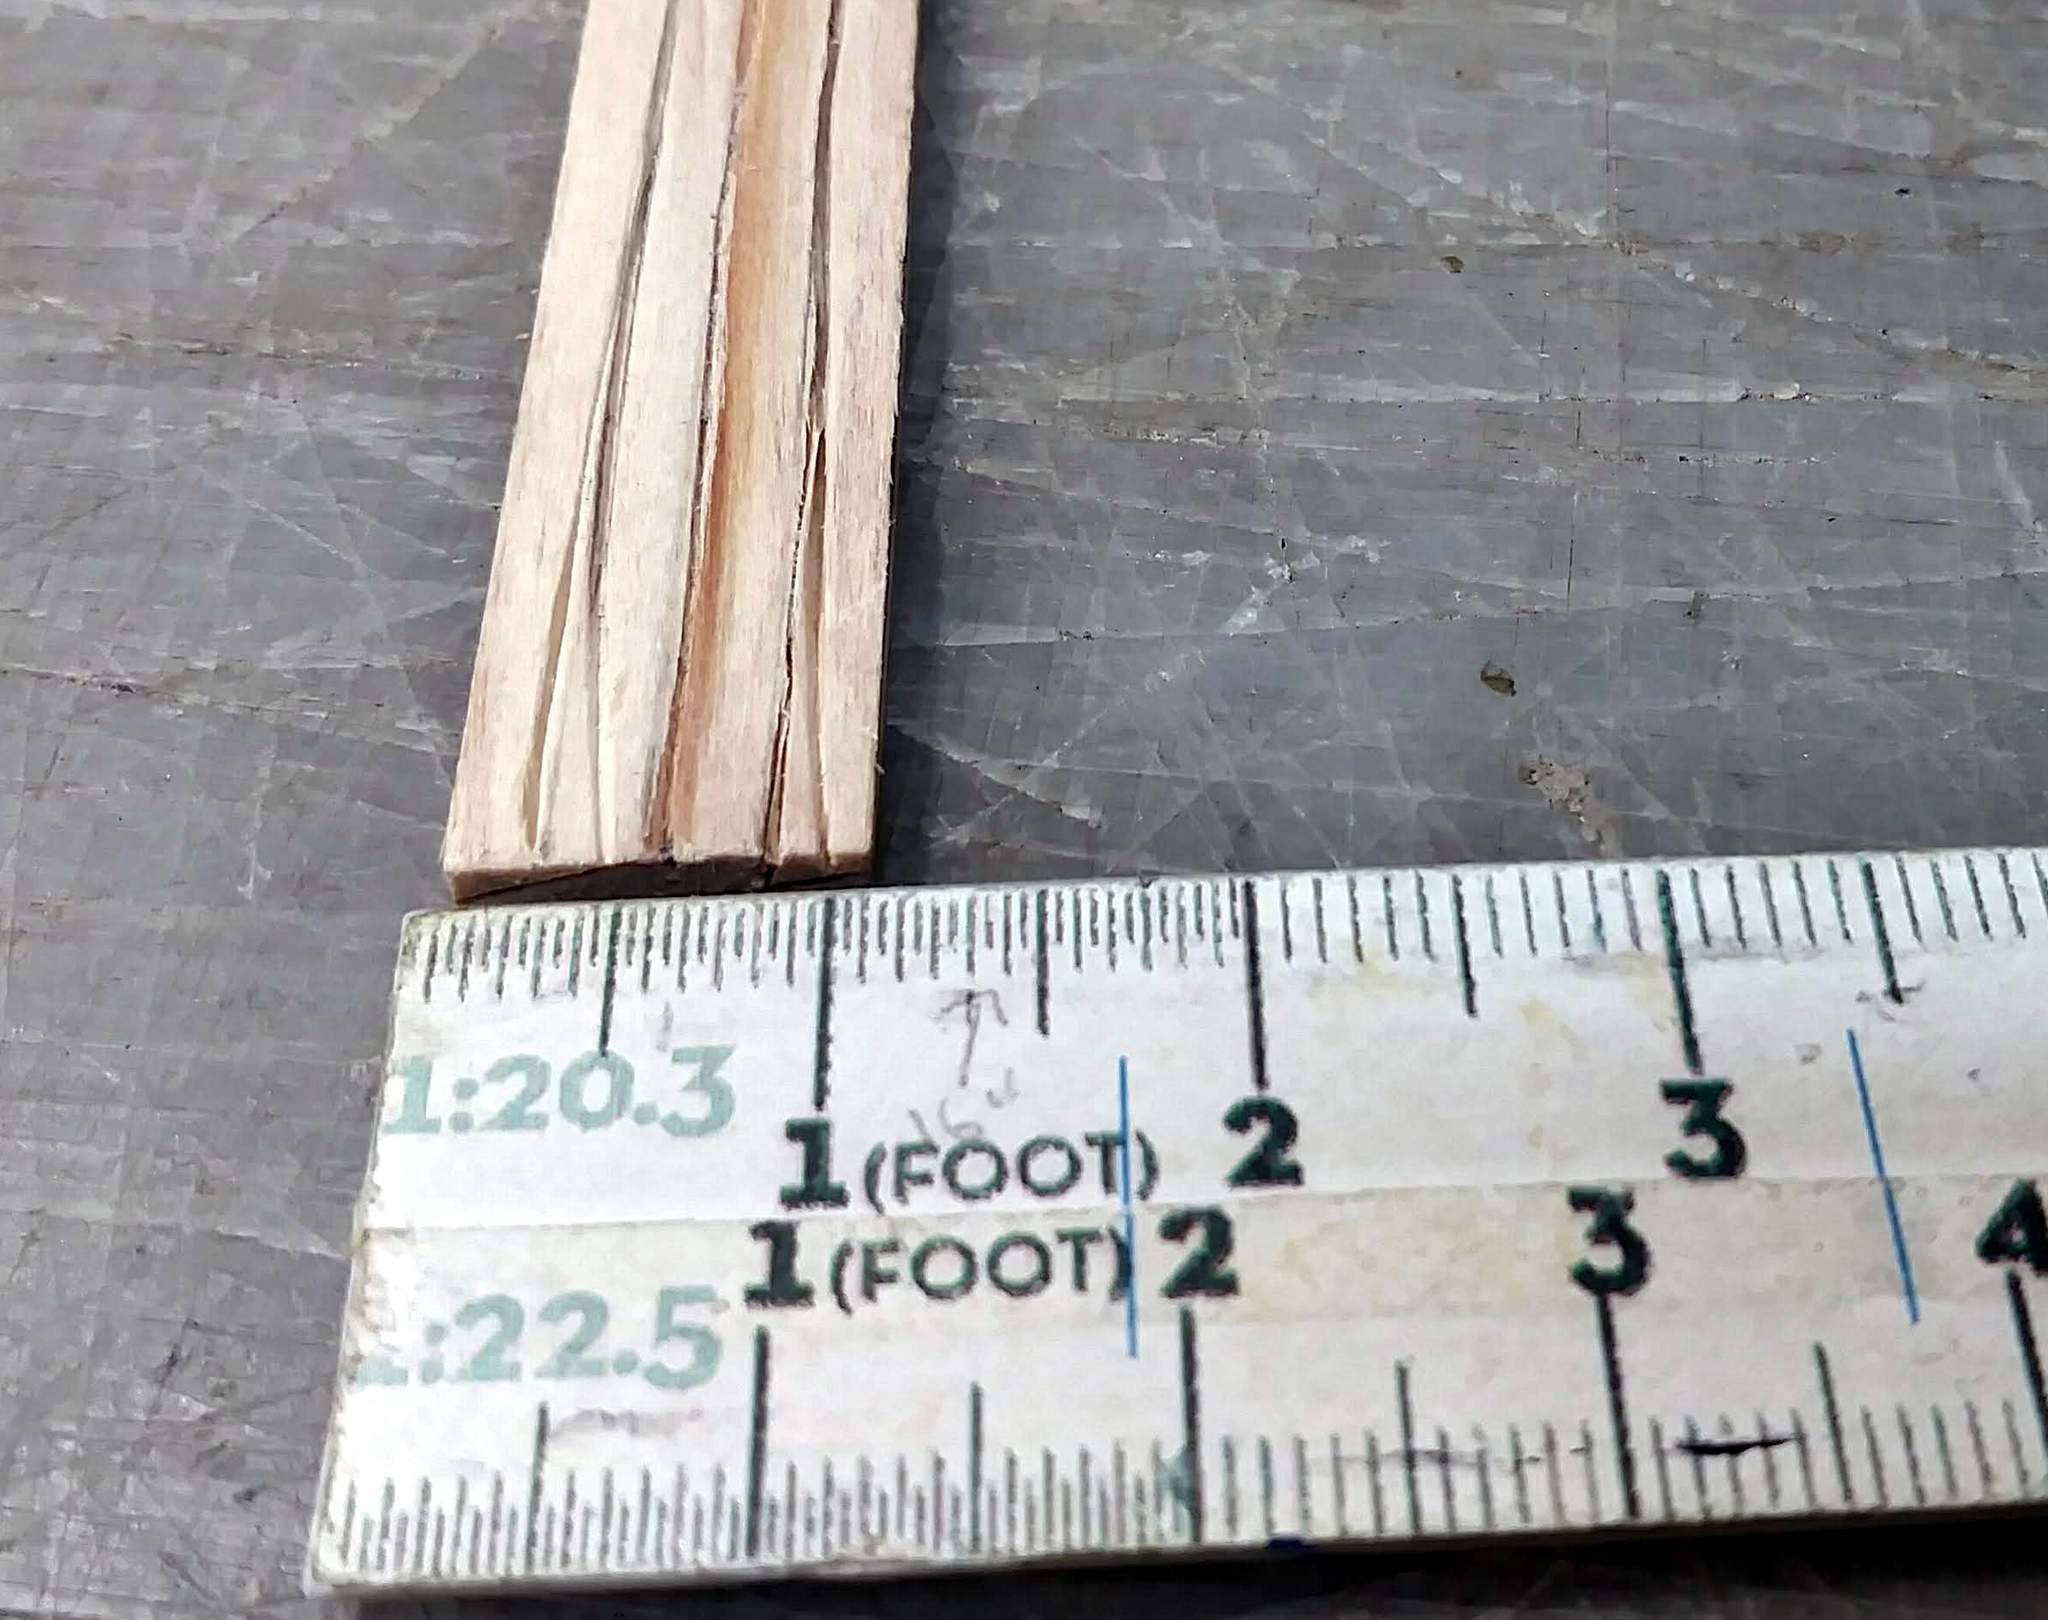
Today I cut and edge glued 3 planks for the door. I perused the never used router bit set I got for Xmas 2 years ago and it has a nice .25" V grove bit with a very sharp point. I think I can get a really nice tongue & groove look if I can adjust my ancient Craftsman router table fine enough to just barely cut the scale 2" lumber.
Marilyn dug out her beading supplies for me to find insulators and maybe the door knob. Pretty much time to get those done too.
In the waiting for glue to dry department I also attached the rear corner battens. Pretty rewarding to get that tiny sliver of wood to line up nearly perfect. Holding it with an Exacto knife while spreading glue and positioning it was key.
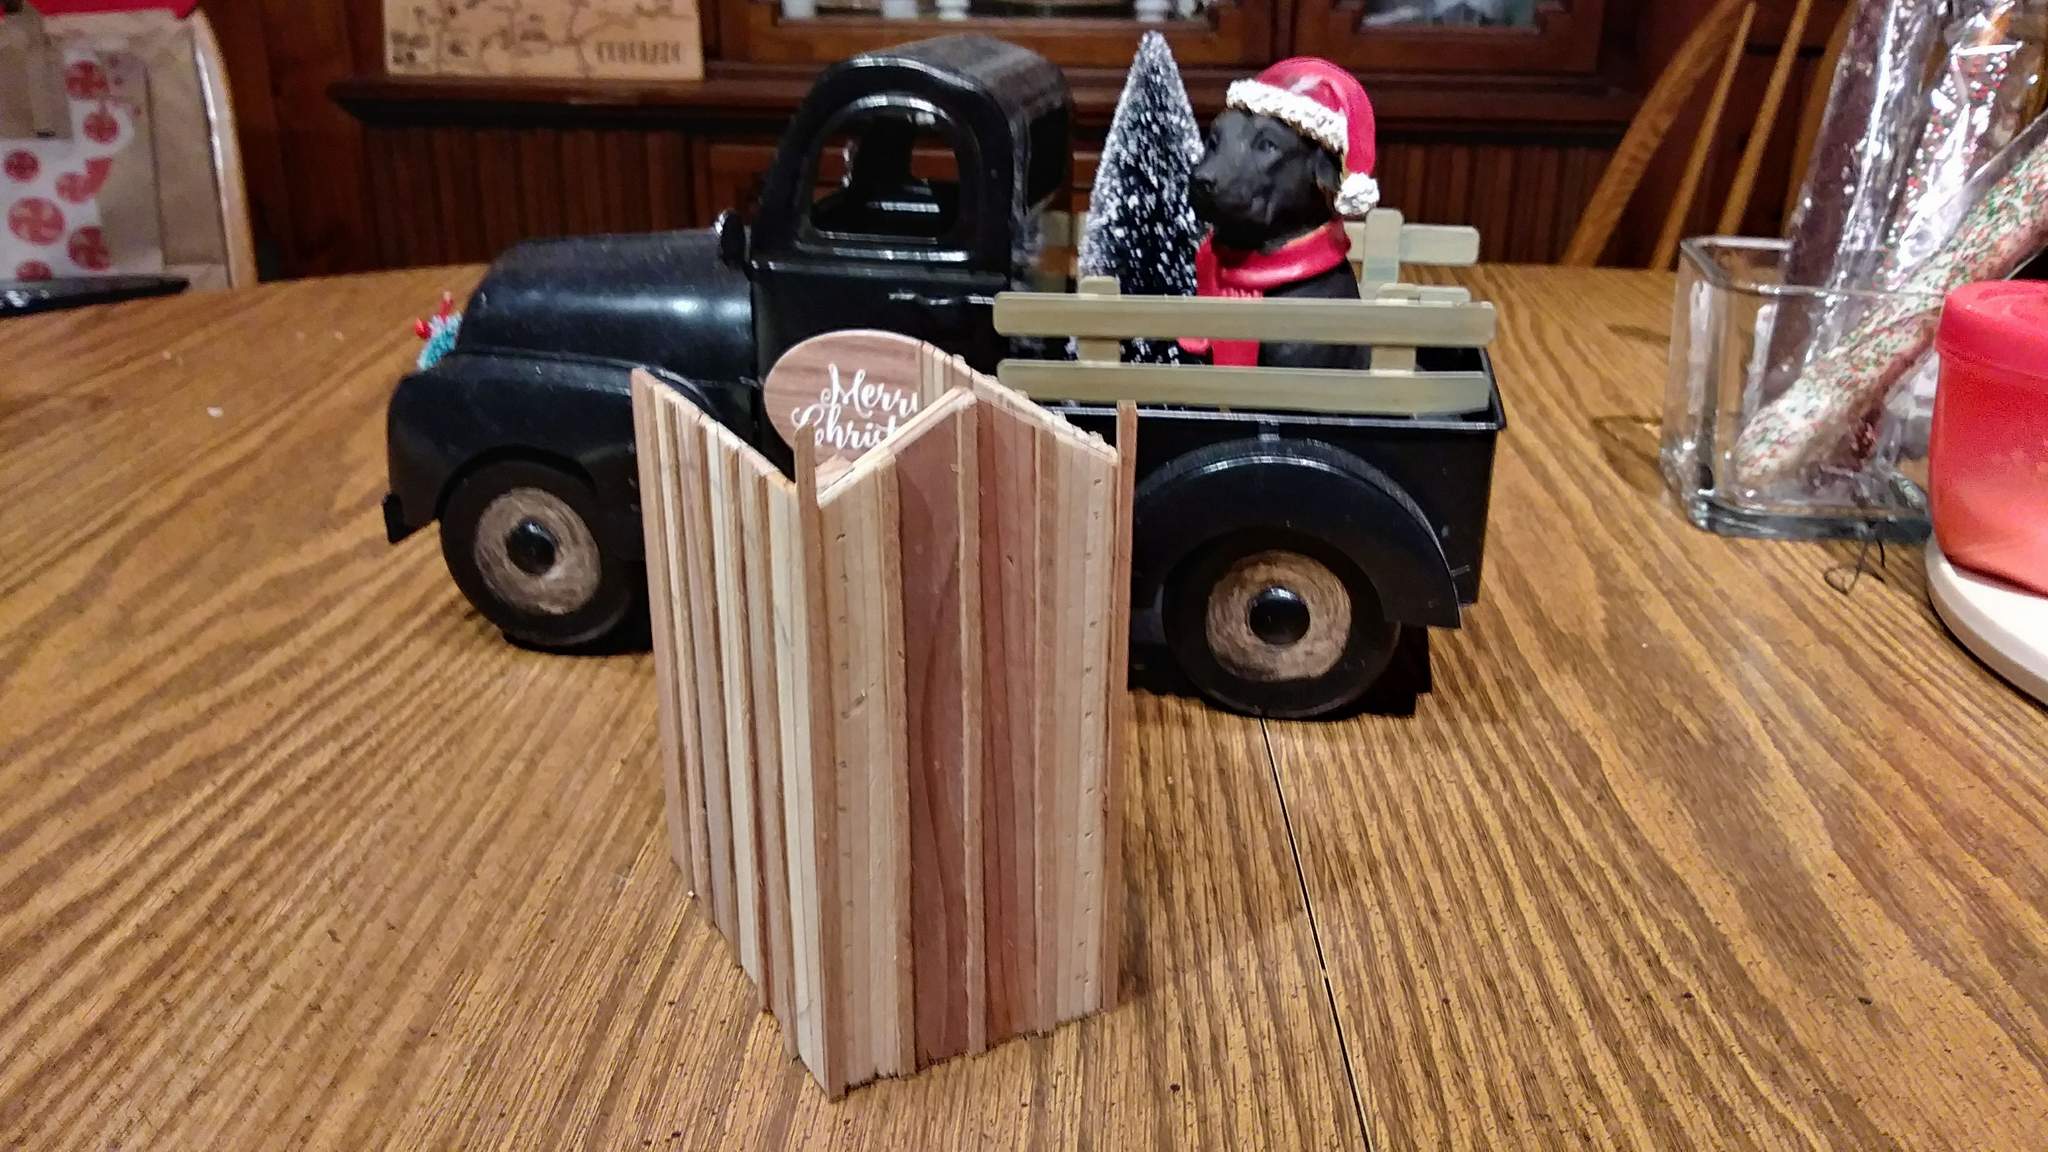
It wouldn’t be The MIK without a washing machine shot, so here is the latest progress posed in a most appropriate place 
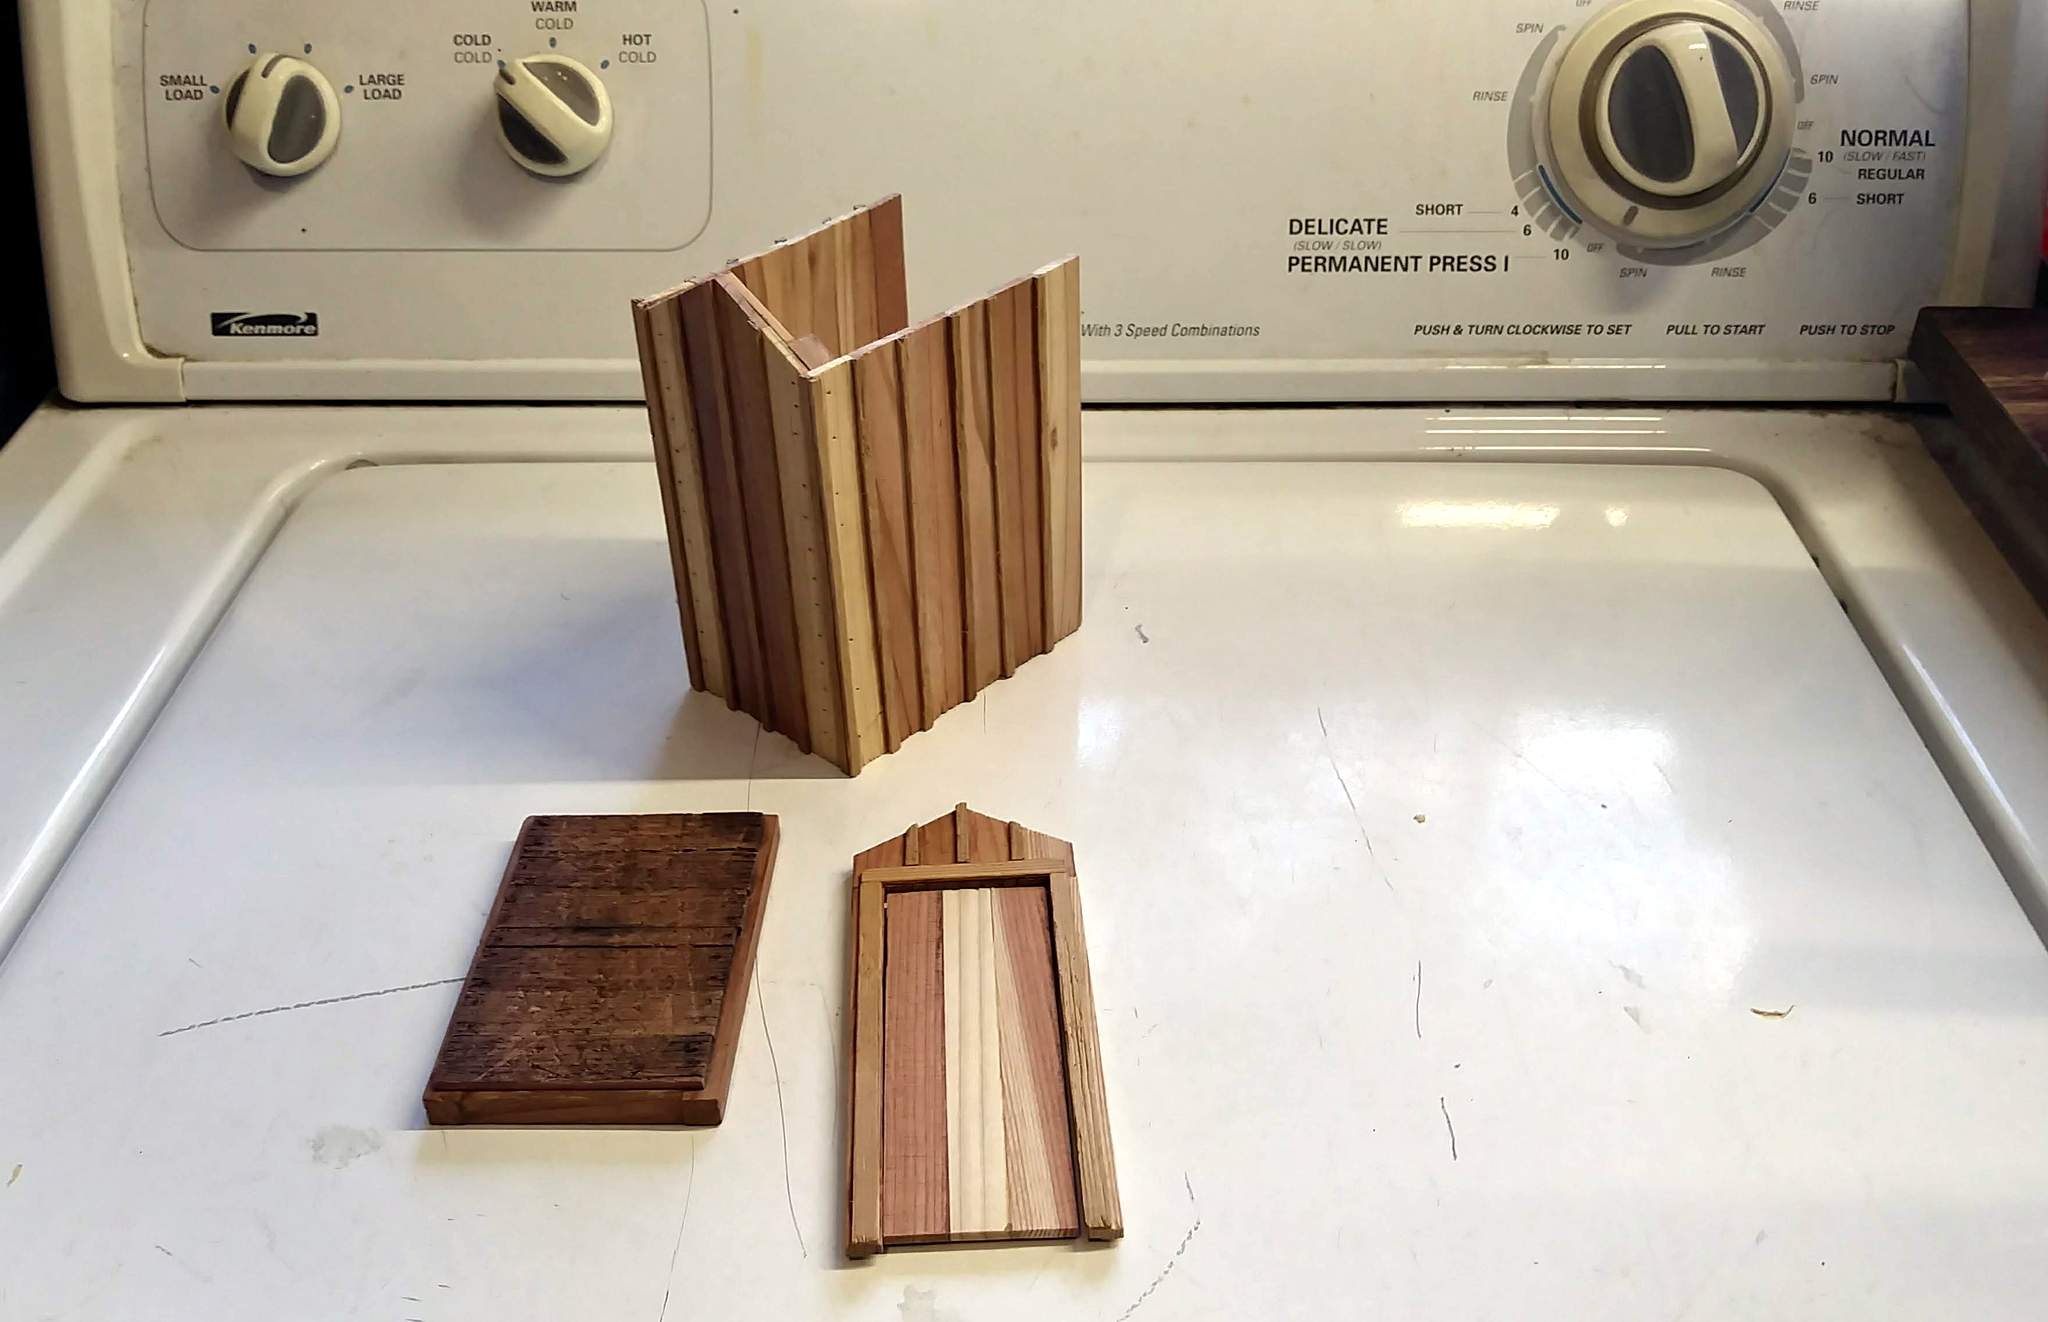
Since the last photos I’ve added the battens to both rear corners, edge glued and trimmed the door panel to size. Along the way I’ve been using various things to beat up the wood to give it a little character and age.
I’m pondering how to weather the interior. It really will not be visible, but with the door cracked open and the interior lit, I don’t want it to look new. Probably just dirty up the wood some, but not as much as the floor. I doubt they would have painted the interior.
4 Likes
This should be a requirement, a washing machine picture or points will be deducted!
You could put him in there
Today was a lesson in sometimes doing it by hand is best.
I spent about an hour setting up my ancient Craftsman router table complete with a nearly zero clearance throat plate made from an old sheet of acrylic…
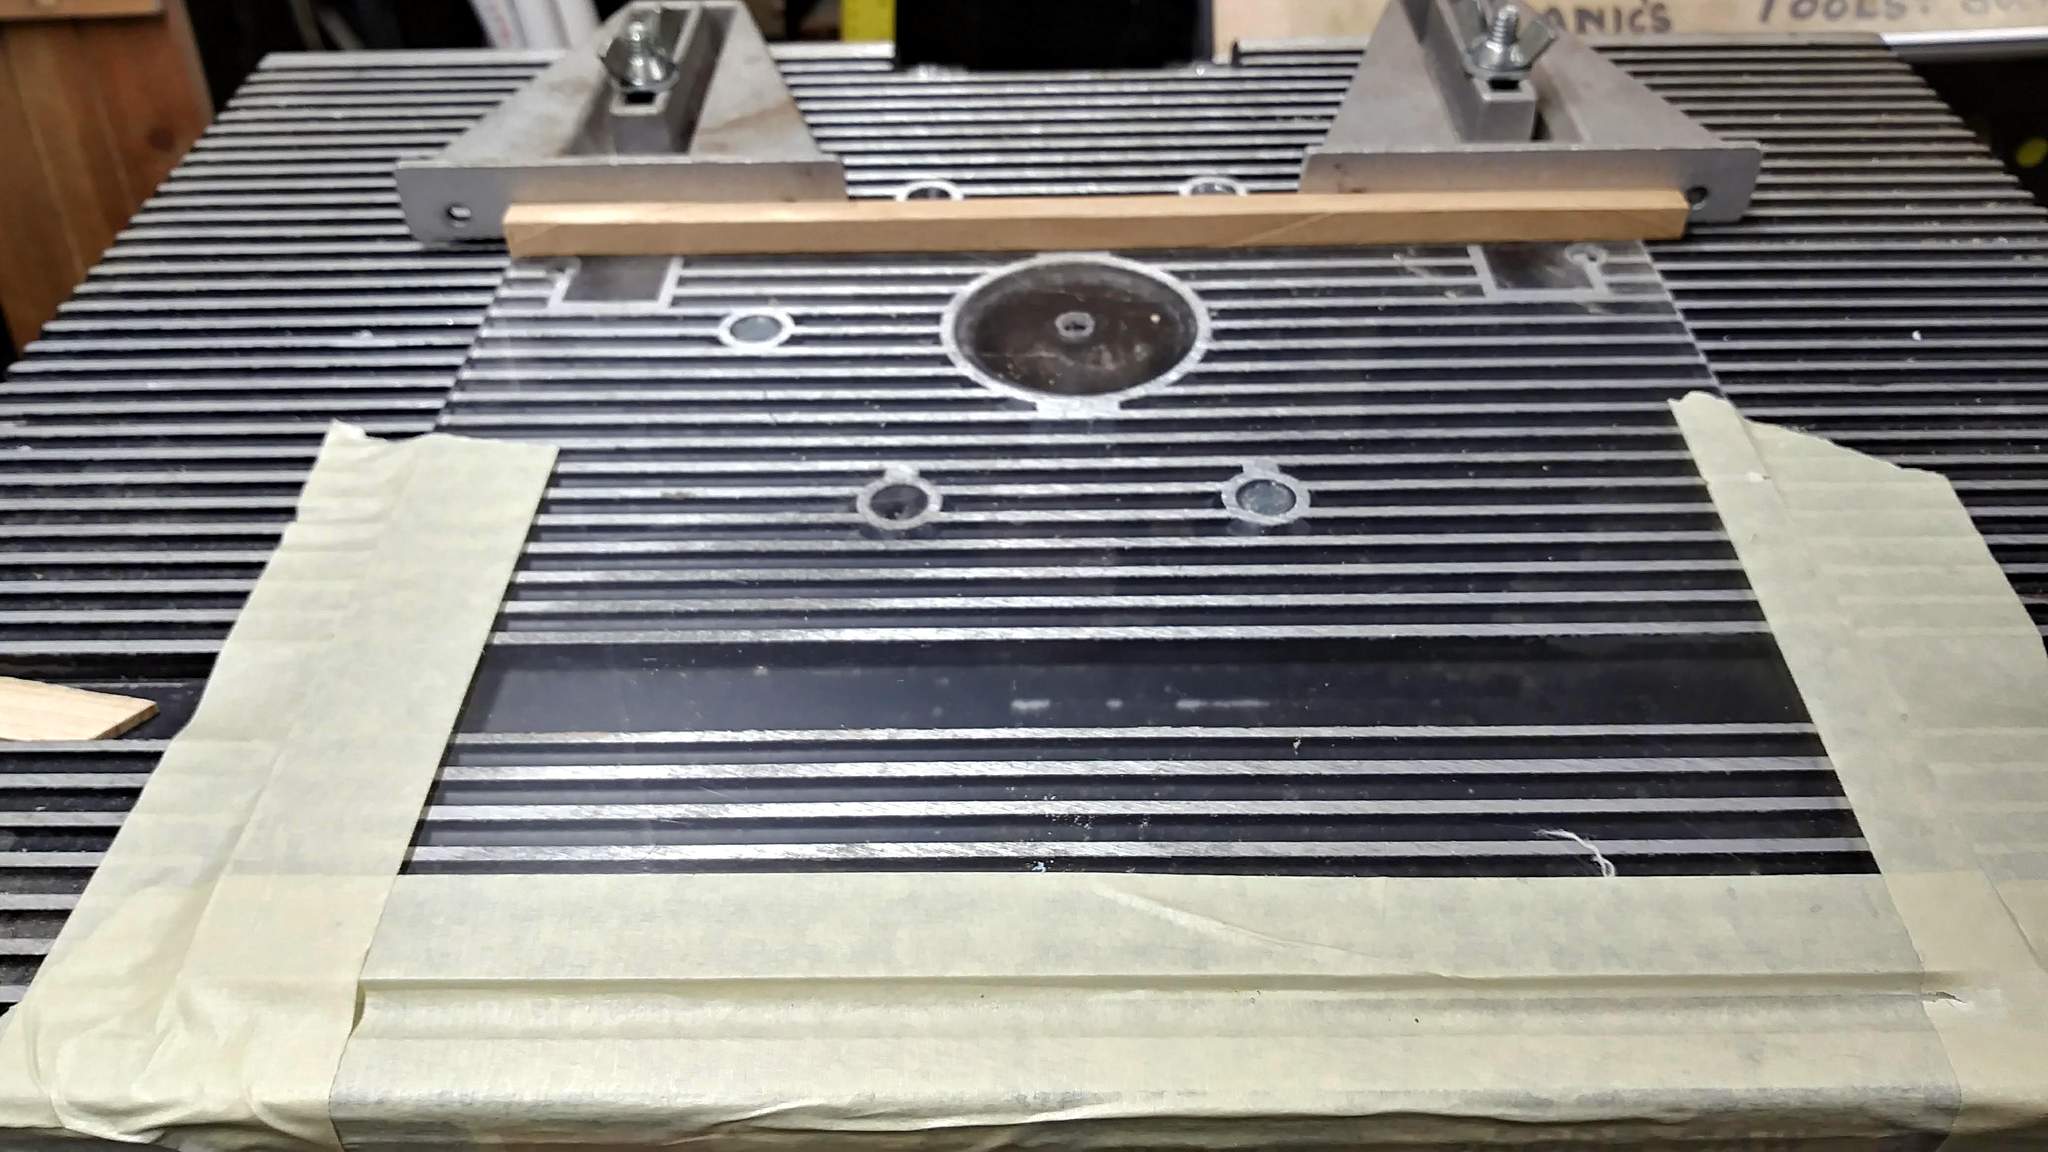
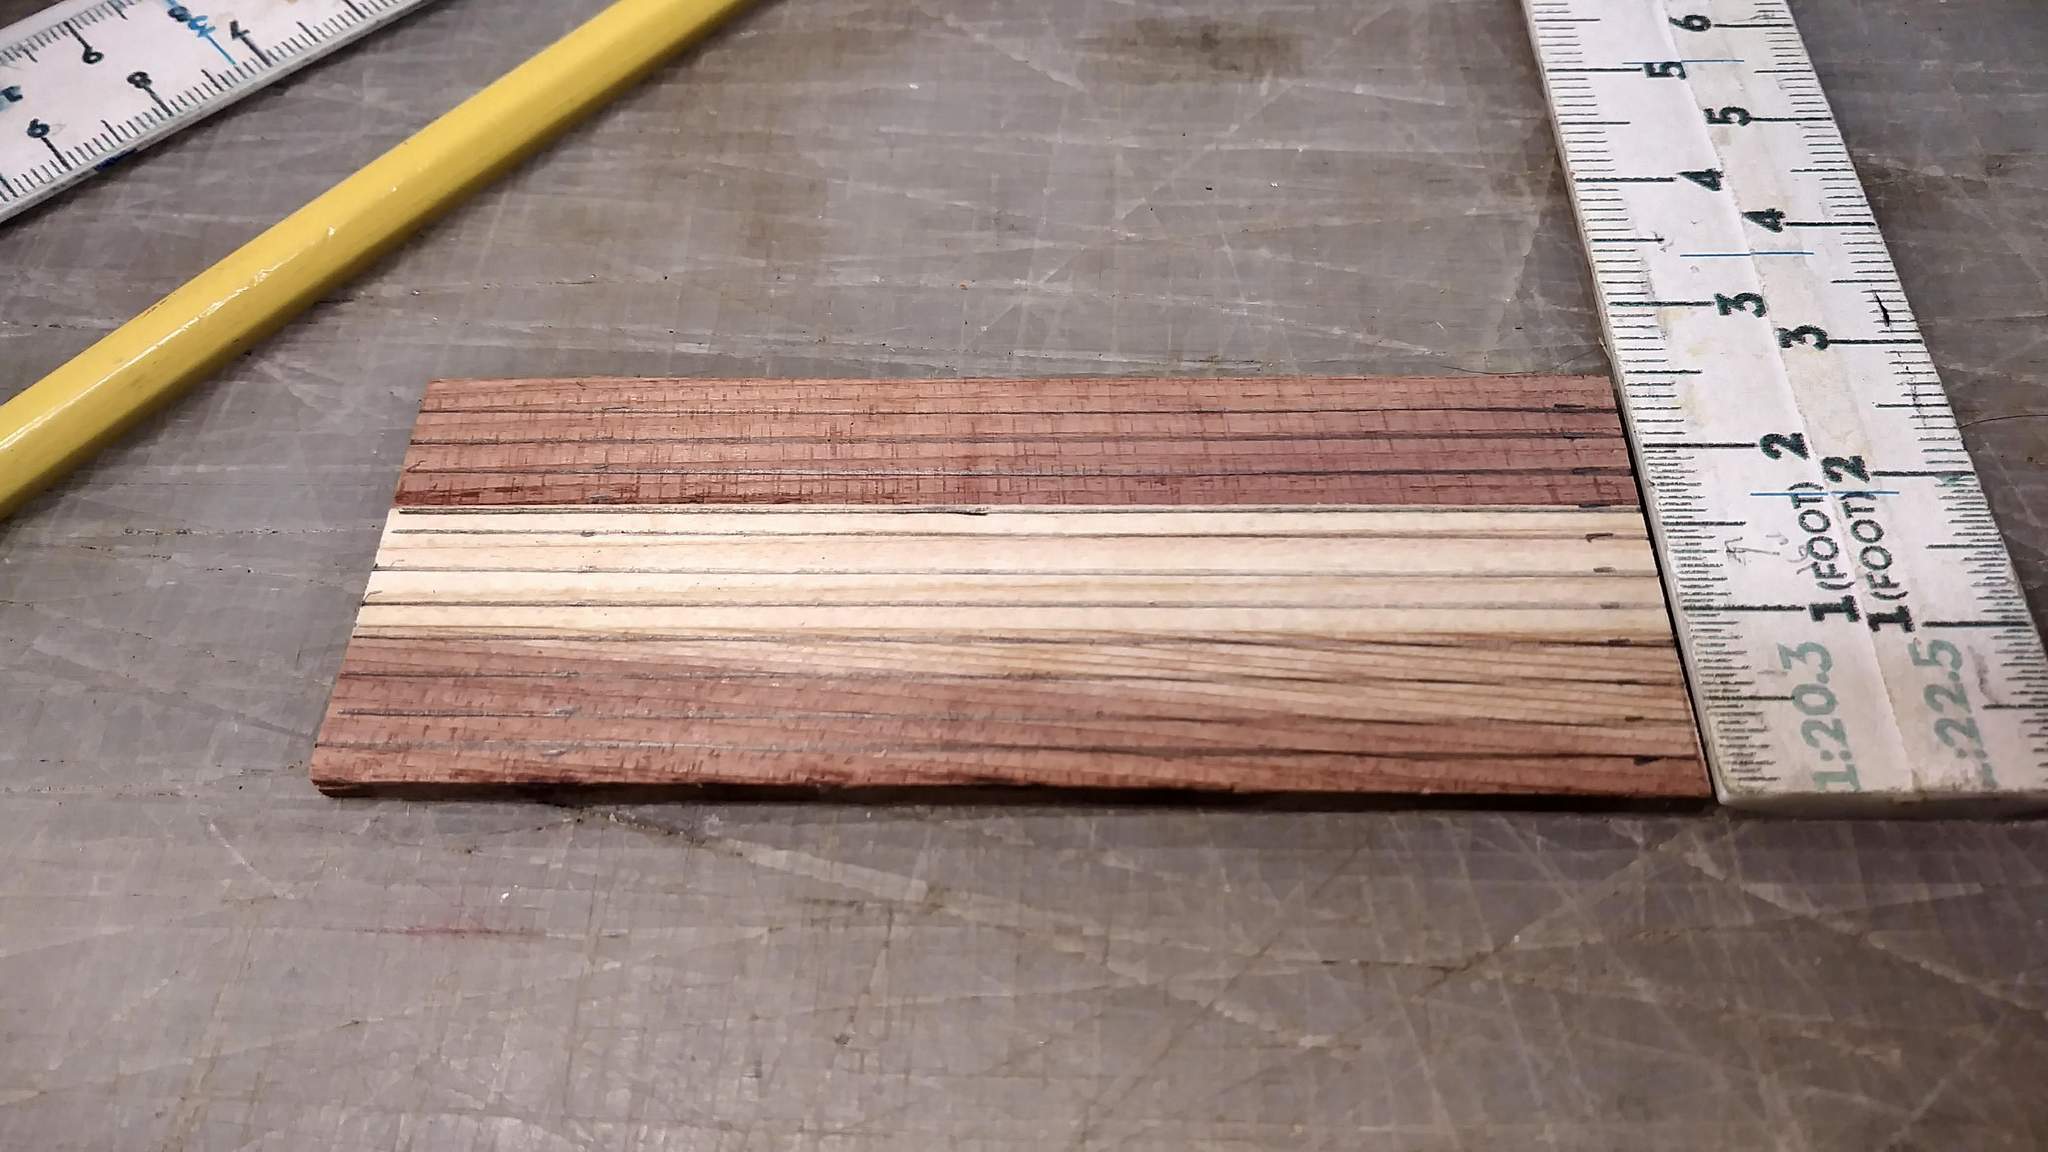
But even with s super sharp V-Grove bit set as shallow as I could get it, I wasn’t happy with the result. The grove was just too wide…

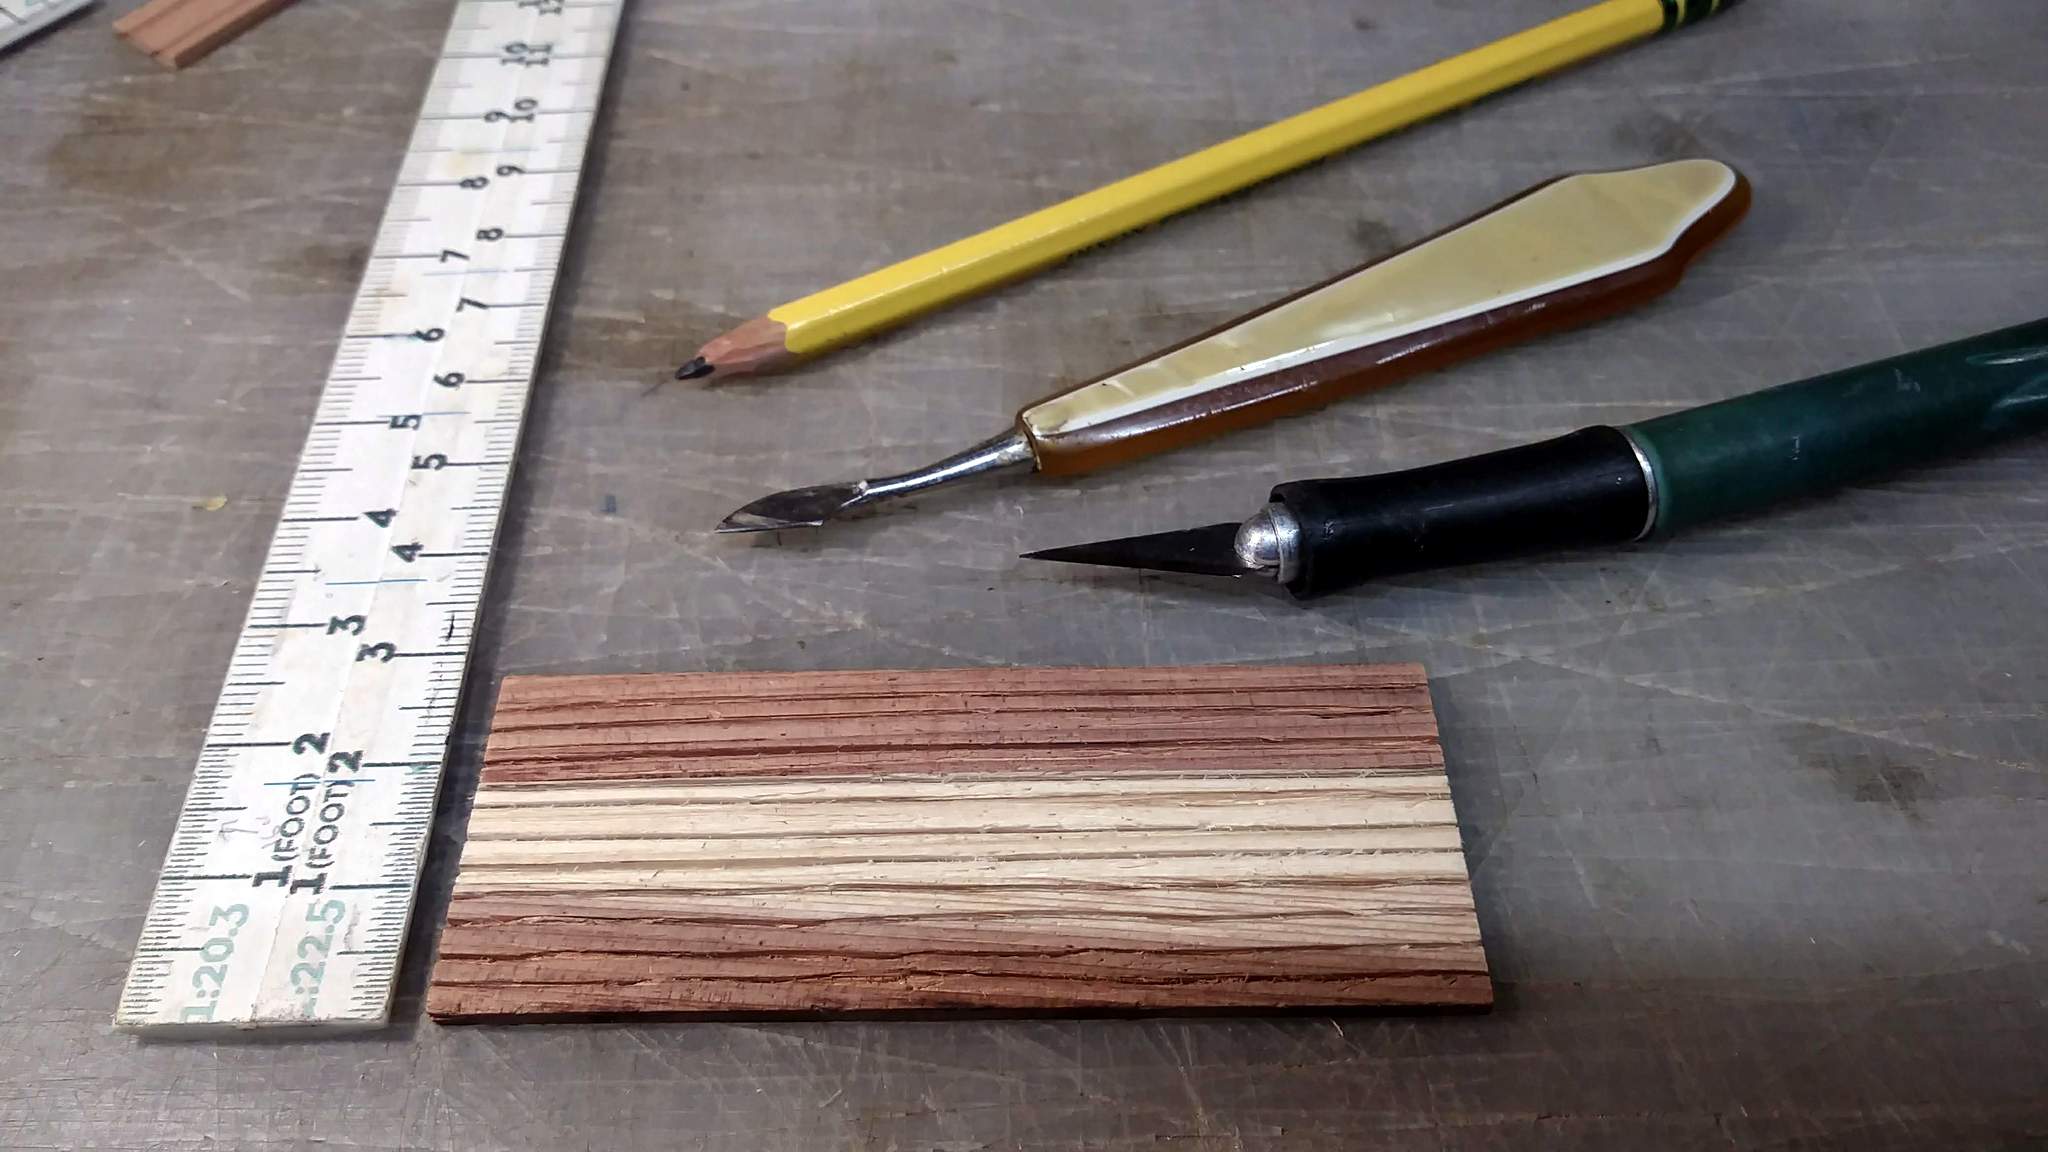
So next, some experiments using a knife and a metal ruler…
I couldn’t keep the ruler tight to the work, so I decided free-hand was s better plan. I free-hand cut lines on paper at work regularly, so I know my hand is steady enough. So I drew out lines in pencil…
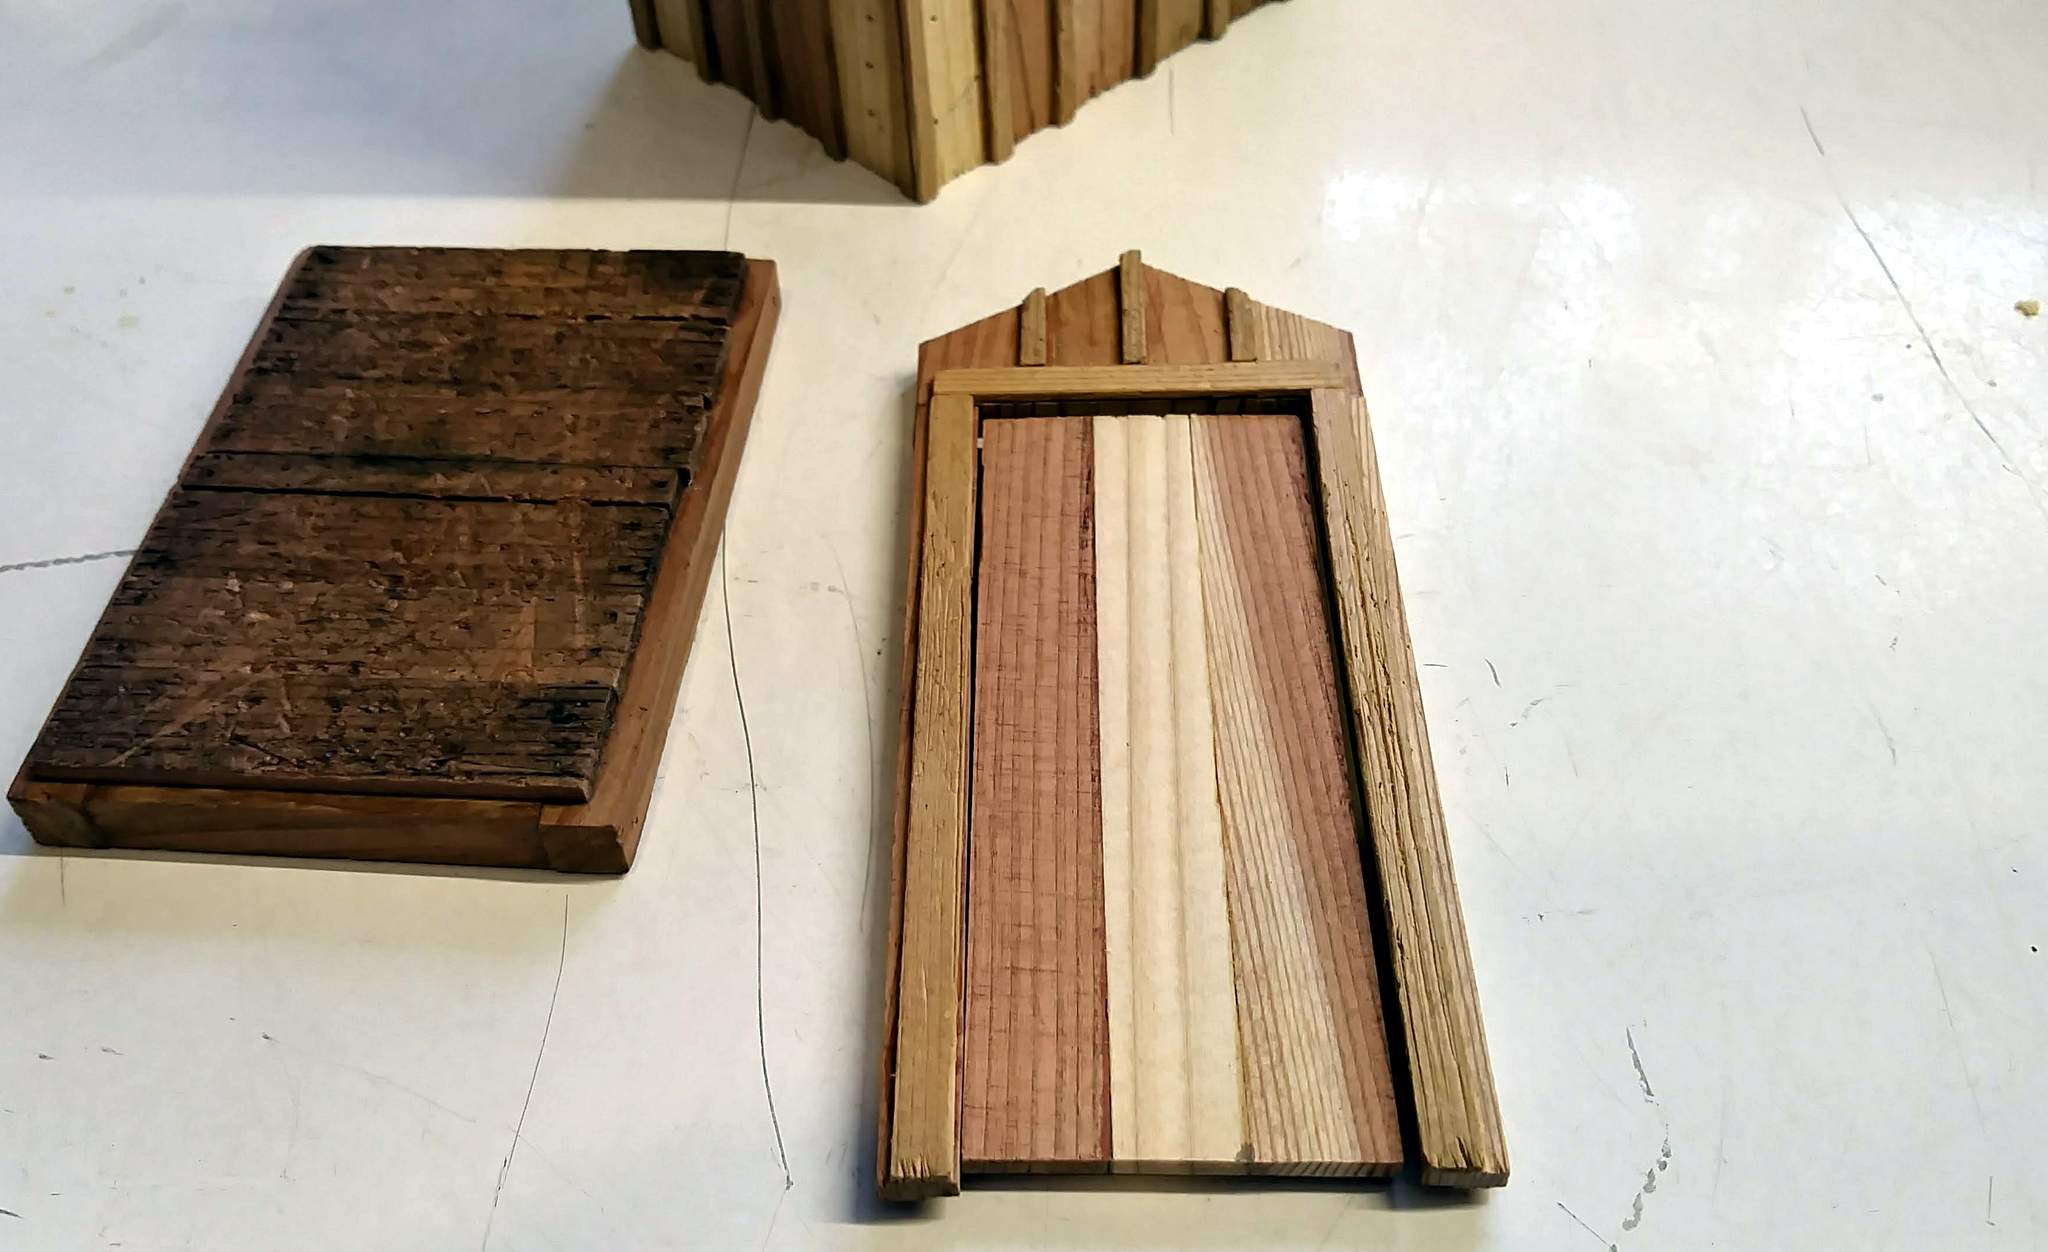
Then did one pass with a sharp exacto, followed by several passes with Grandma’s manicure tool and a final clean-up with the knife. I erased the pencil lines then hit the whole surface with an old wire bush from both ends, top to bottom. A final cleanup with a stiff brush and I’m calling it done…
The lines came out less than perfect as the knife tip wandered with the grain. That doesn’t bother me as it’s supposed to be old and could very well be warped and cracked. In the frame…
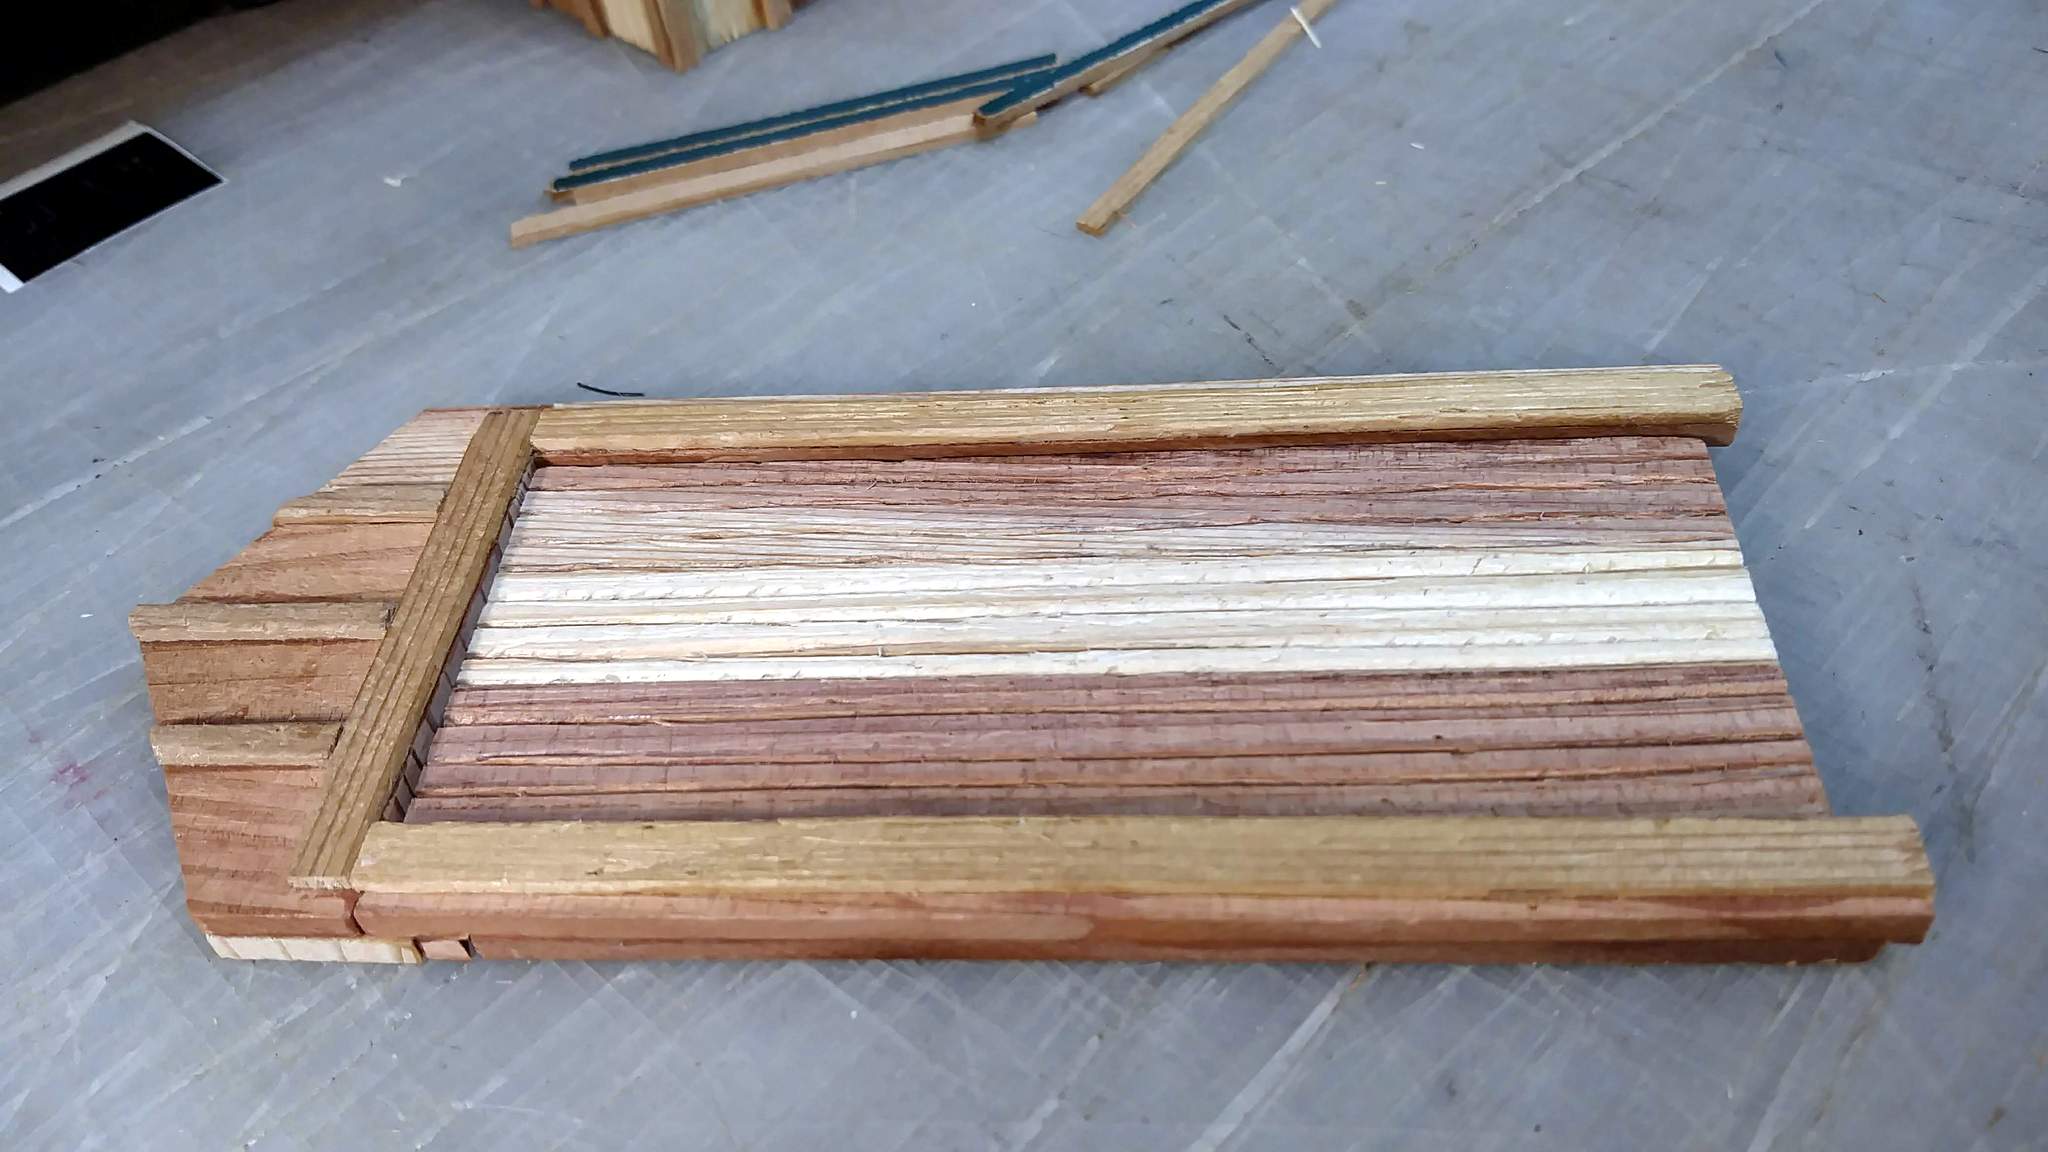
I’m going to add a Z brace on the back. It won’t be seen, but after slicing into the face I’d like a little reinforcement. And I’ve decided the fabric hinge will be perfect UNLESS I can figure out a way to make the roof removable.
Jon. I think the free handed lines add character and age to the building. Ya done good.
Think of it as using scrap wany edge boards to make a small building!
Now I see what you were trying to attempt. I didn’t have it in my head when you were talking about it. About the only other way that I could see making the V grooves like you are trying would be to set a table saw blade to 45 and lower it down to the point where only the outer edge of the top set of teeth of a carbide blade hit the board.
Not even sure if that is possible I have never tried it. But since most carbide blades for a saw have a left and right side set of teeth and each tooth is “pointed” toward the outside I would think if one lowered a 45 degree blade to where it just barely hits a piece of wood I would think that only the one set of teeth would strike it and then when it does give it a V pattern. I can see I need to do some experiments.
I don’t want to derail your thread so I posed the question in the tools and tips Simulating V grooves for tonuge and groove