Large Scale Central

Build Challenge 2013 from the Loyet Logging Company

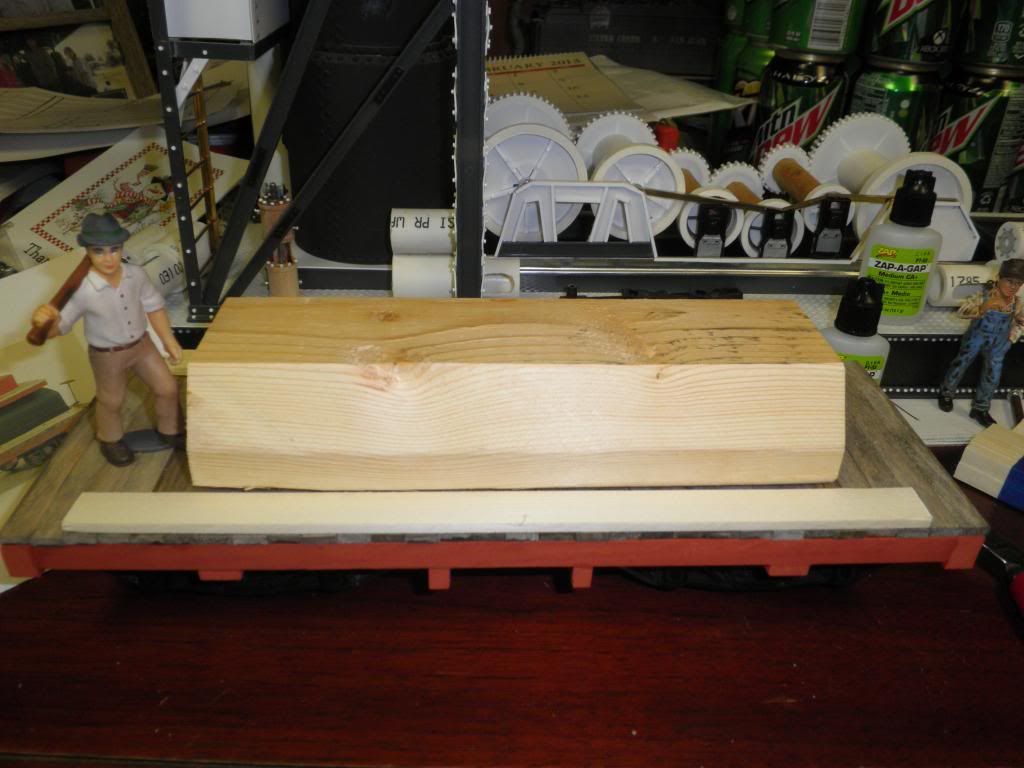
Yesterday a package showed up with a gondola kit inside, thanks Dave! Here the crew unpacks and looks over the supplies

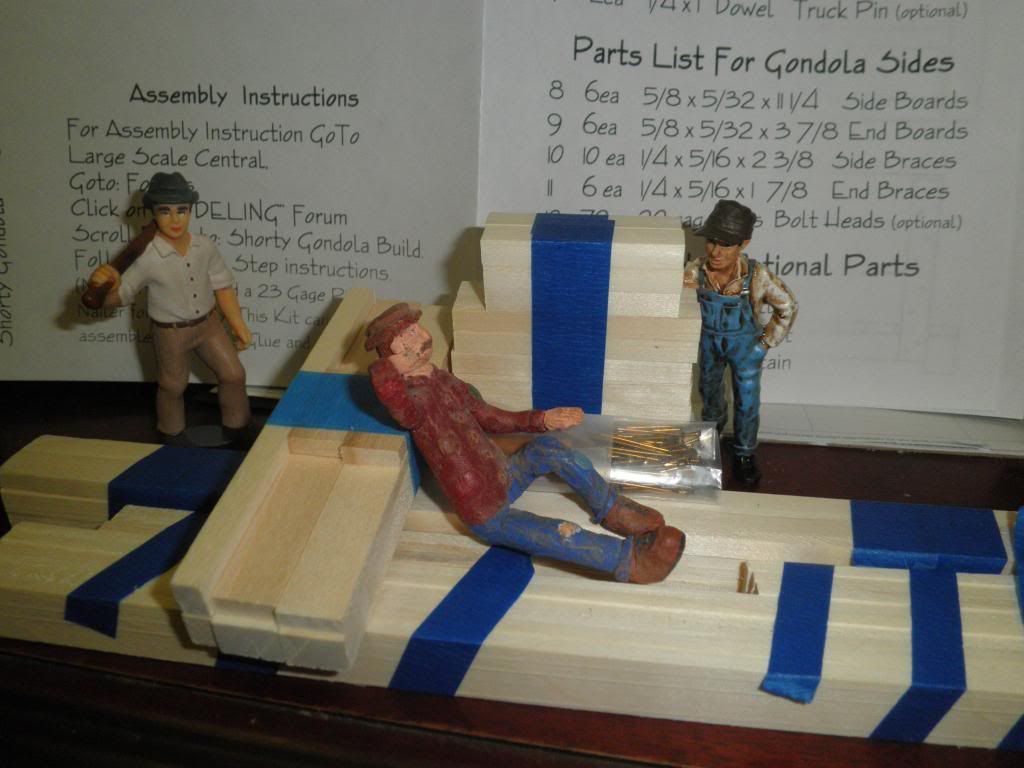
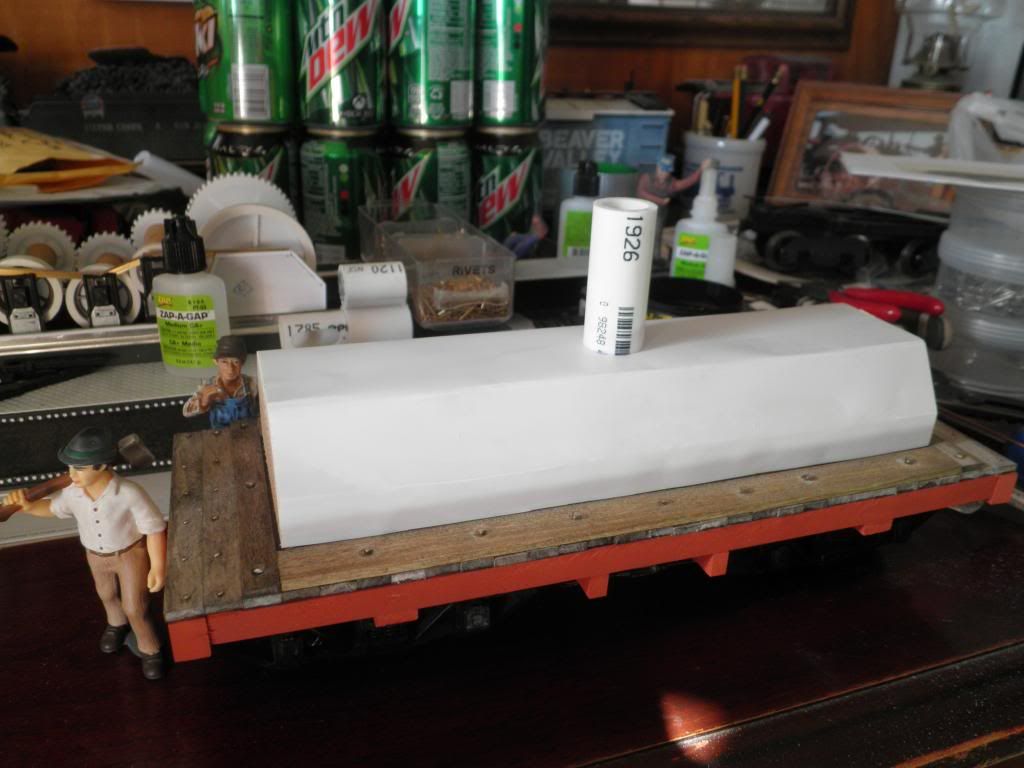
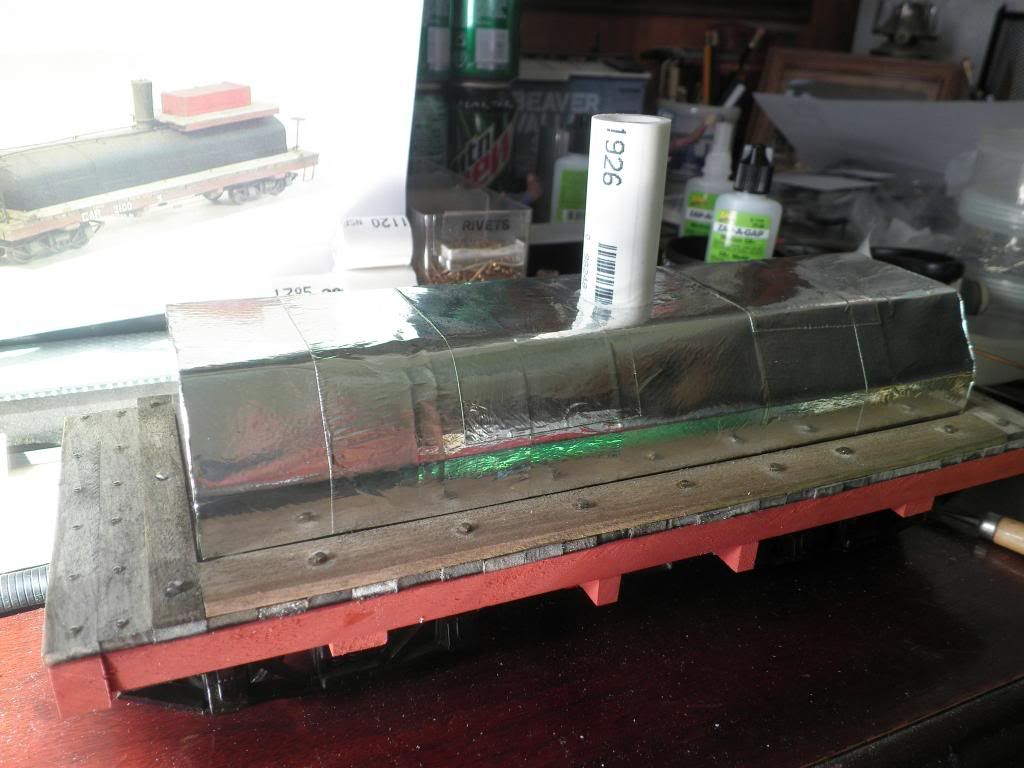
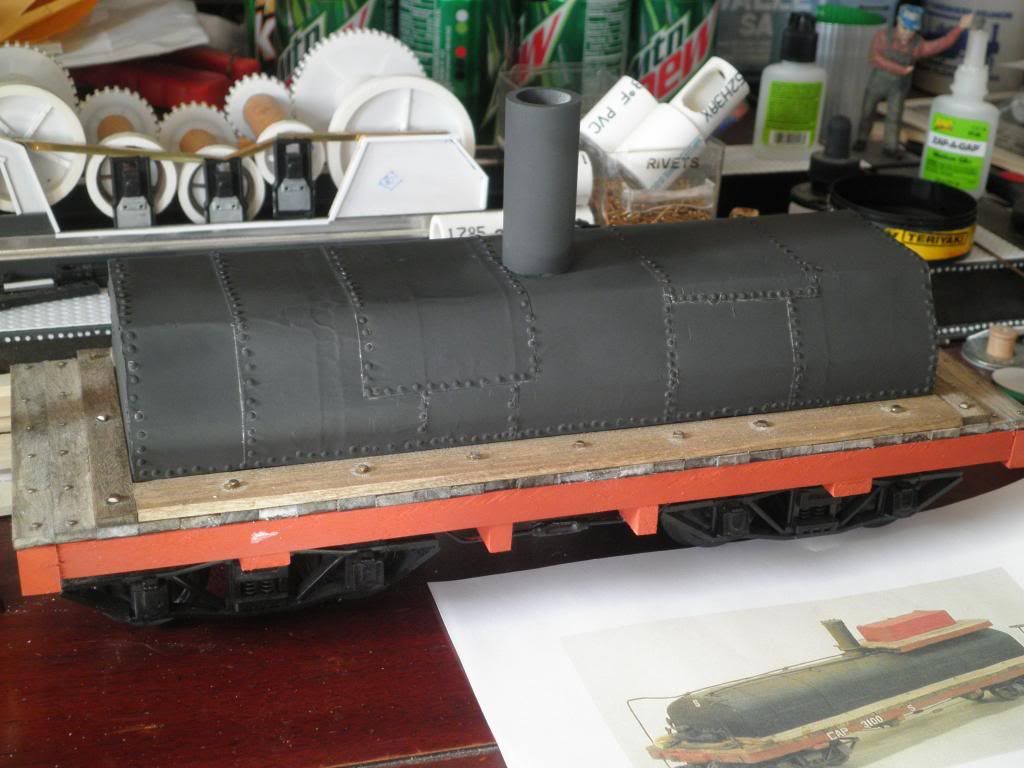
after some thought I think I will build a fuel car for the skidder. It will be based on Westside Lumber Co. Fuel car #5 Time to start building. Stay tuned…

The Little River guys are “proud” to see another logging outfit in this year’s challenge.

(http://i542.photobucket.com/albums/gg412/DrGrab/DSC04749.jpg)

Tom

I got my kit today. Thank Dave.

Now to clear a spot to put it together. :smiley:

Tom Grabenstein said:
The Little River guys are “proud” to see another logging outfit in this year’s challenge.

(http://i542.photobucket.com/albums/gg412/DrGrab/DSC04749.jpg)

Tom

Glad to see another logger in the challenge. However, with the crew I have it might be ready for the 2015 challenge hehehe Vic, I can relate to that. I tend to agree with Red Green, when you need to clean for another project, you simply just dump the bench over on the floor and your ready to go again :wink:

But I have two projects, one tp be done in a week!

I guess one will be built on the table saw extension. I’ll get some exercise walking back and forth from two buildings!

Guess I better get to building or I won’t get done :slight_smile: 
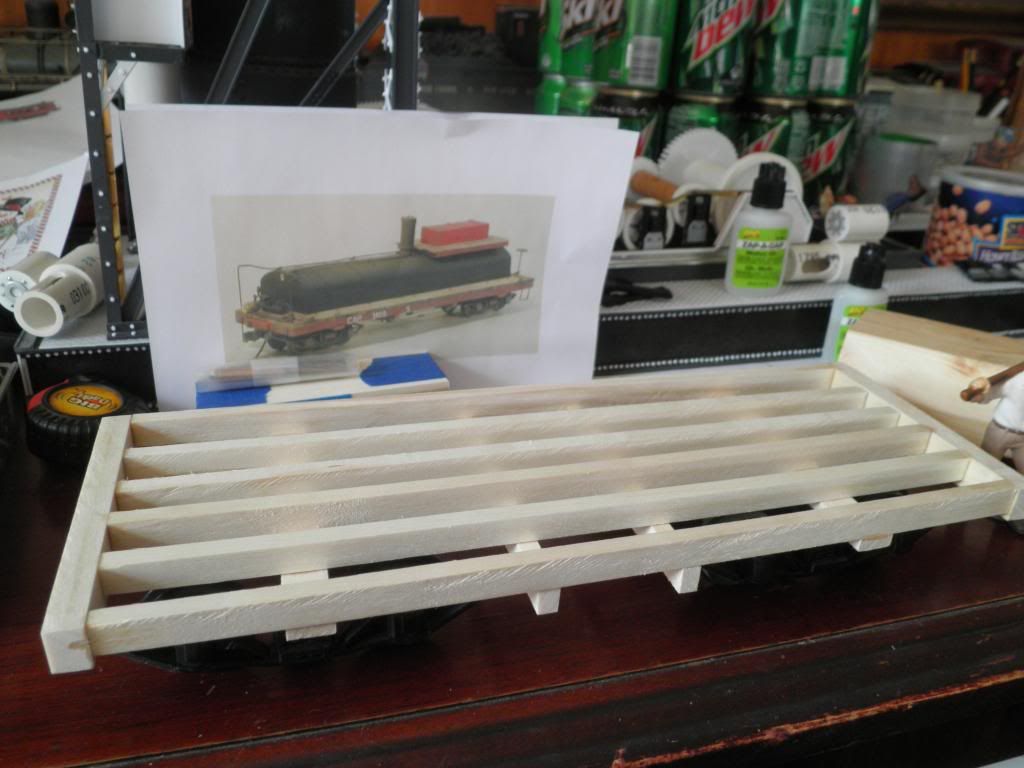
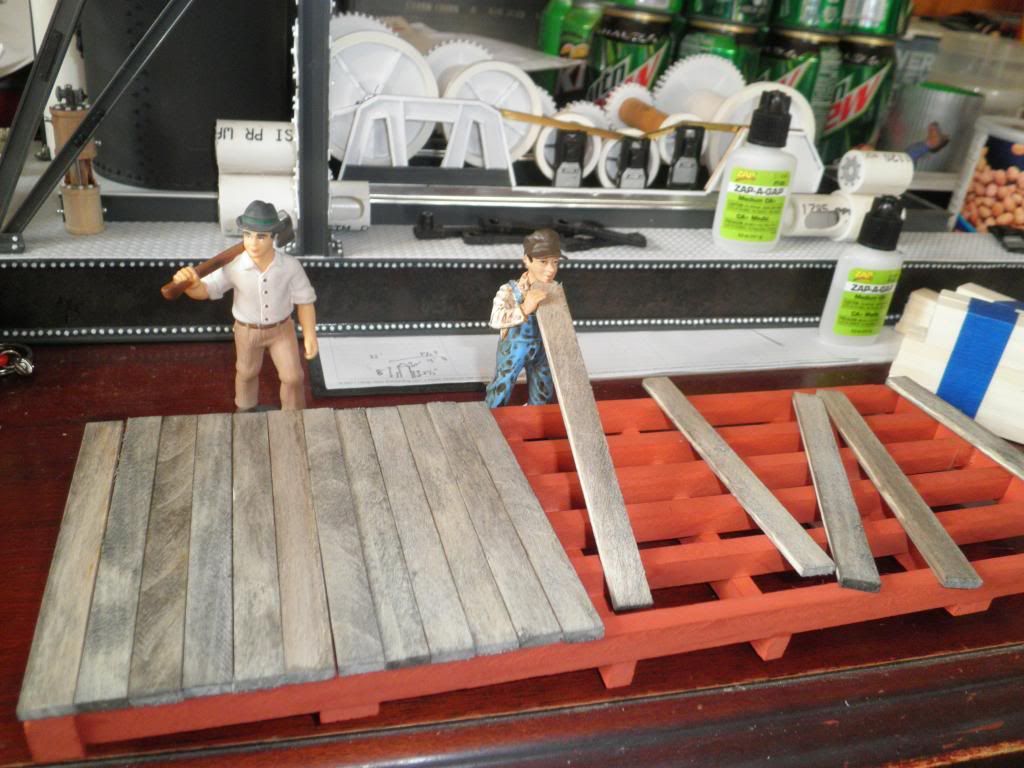
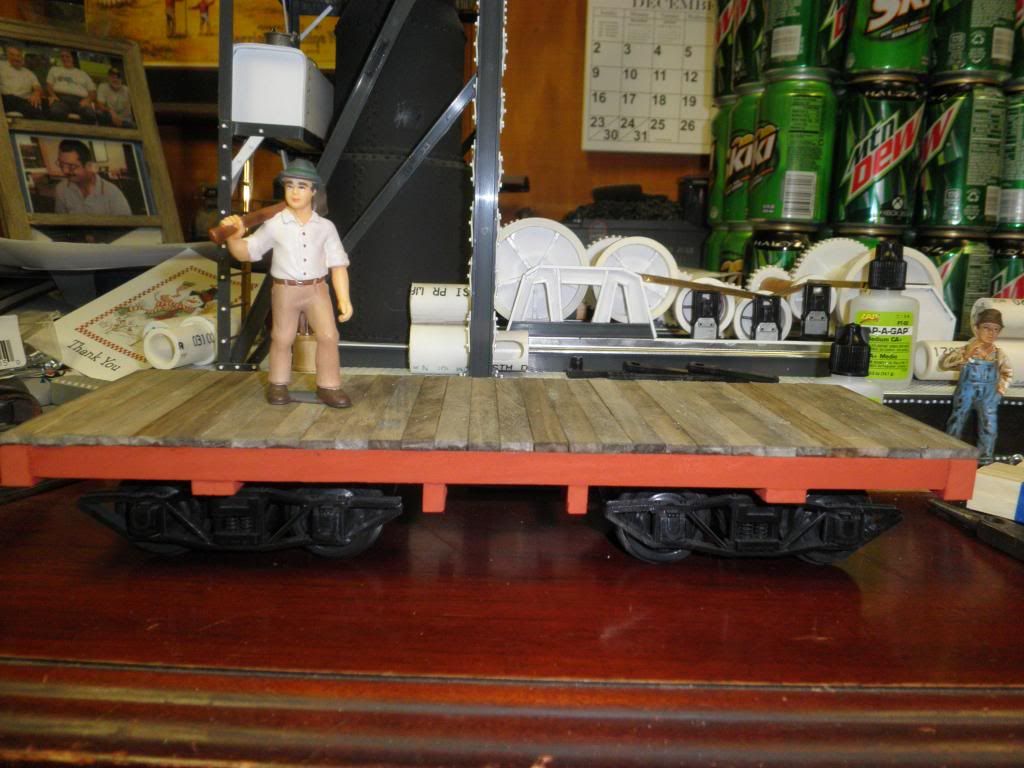
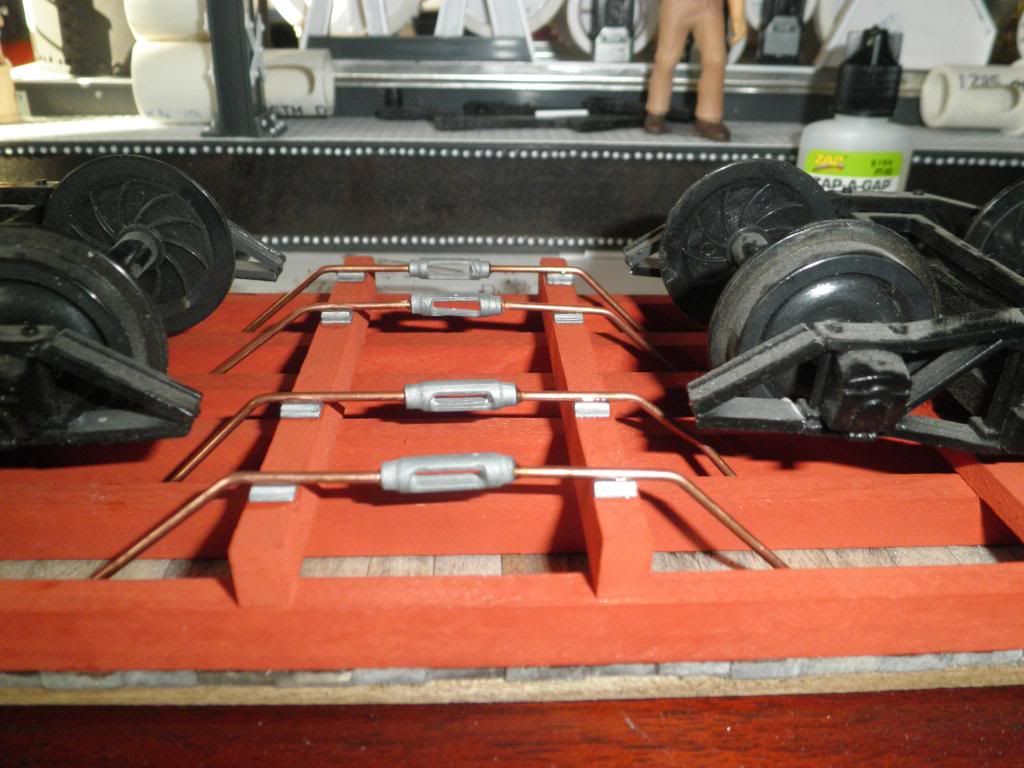
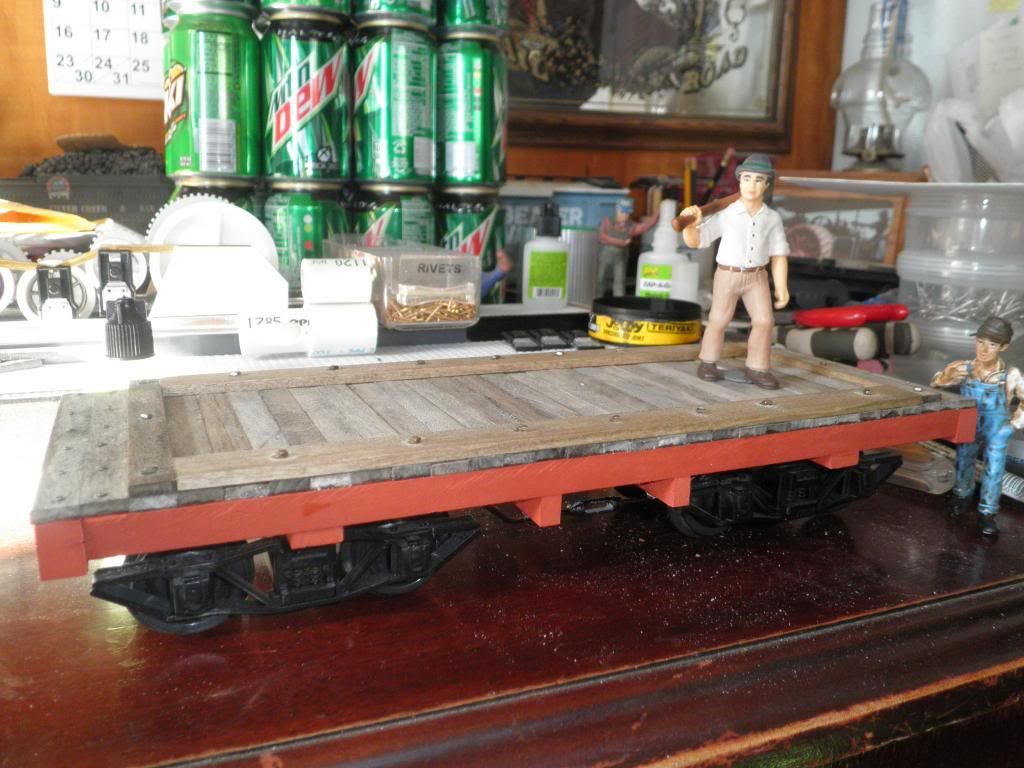
car frame built last night. Here it is sitting on a pair of trucks

(http://i1050.photobucket.com/albums/s414/trainbuffjr1/buildchallenge2013003_zps39954885.jpg)

today I got some paint on the frame and weathered the deck boards with some india ink and alcohol mix. Here we see slim putting on some deck boards

(http://i1050.photobucket.com/albums/s414/trainbuffjr1/buildchallenge2013004_zpsc046f422.jpg)

now onto finishing the car and on to the tank stay tuned…

Very nice. That monster skidder towering over the car looks like it will be a thirsty beast and will need the fuel this neat car will provide.

Tom

Thanks Tom! May need a fleet of these to fead the thirsty beast lol. Here is the base car decked out and on its wheels

(http://i1050.photobucket.com/albums/s414/trainbuffjr1/challenge001_zps7227b968.jpg)

here is a look with a tank on it, it was cut out of a 2x4. The tank it currently 8" long, but the final will probably be more like 10" long when done.

(http://i1050.photobucket.com/albums/s414/trainbuffjr1/challenge002_zps06bfbdab.jpg)

now that I see how the tank fits I will finish out the deck and underframe. more to follow…

Update: used some of the leftover wood from the kit and made some tank sills. I didn’t have any large NBW castings so I improvised by using some large escheusion pins and ground them square and “bolted” the sills down

(http://i1050.photobucket.com/albums/s414/trainbuffjr1/challengecar001_zps2eb035d6.jpg)

a looked through my parts bin and found some turnbuckles and truss rod pads so I added them to the underside

(http://i1050.photobucket.com/albums/s414/trainbuffjr1/challengecar004_zpsae3027cb.jpg)

here is an overall view at this point with the tank sills installed

(http://i1050.photobucket.com/albums/s414/trainbuffjr1/challengecar005_zpsfb650cf1.jpg)

and here is the car with the tank sitting in place. I used a 2x4 wrapped in .010 sheet styrene I had leftover from the skidder, and I used some scrap pvc pipe for the filler neck.

(http://i1050.photobucket.com/albums/s414/trainbuffjr1/challengecar008_zps83907bce.jpg)

stay tuned…

Looking good. Very creative use of the pins. Grinding under extreme magnification must have been interesting. The end results look like bolt heads. Good job!!

Tom

HI AAron.
I don’t want to start trouble here and get your crew in hot water BUT I think I saw them MOON LIGHTING on page 24 of the current GR magazine.
Just thought you should know and if this report was in error my apologies.
Todd

Todd Haskins said:
HI AAron. I don’t want to start trouble here and get your crew in hot water BUT I think I saw them MOON LIGHTING on page 24 of the current GR magazine. Just thought you should know and if this report was in error my apologies. Todd

hehe I seen that. They said they were out working but I know them better than that :wink: More work on the tank done, I wrapped the tank in foil tape to simulate steel sheets, and to give it a used look when painted.

(http://i1050.photobucket.com/albums/s414/trainbuffjr1/tank001_zpsced09fa3.jpg)

I have now started drilling holes and “riveting” the tank together.

(http://i1050.photobucket.com/albums/s414/trainbuffjr1/tank003_zpsa3aaf666.jpg)

to be continued…

Got the tank riveted and painted this morning

(http://i1050.photobucket.com/albums/s414/trainbuffjr1/paintedtank001_zps9ac093d4.jpg)

now to mount it to the car and then to the pump and plumbing to be continued…

Moonshine still??? Could be …

Could be a super secret confederate submarine.
Looking good.

@ Daniel, the other day a few barrels and some copper tubing mysteriously showed up at the shop. couldn’t imagine what that could be for hehe :smiley:

@ Todd, remember its a secret :wink:

went throught the parts bin and found an Ozark transfer pump, so I have put it on one end of the tank. Now I have started the plumbing. on the right you see elbows that go into the oil tank,and another elbow where the hose will be attached, and on the left the steam line to the engine. for the steam lines I used an elbow from the pump and a set of glad hands that will run to the engine.

(http://i1050.photobucket.com/albums/s414/trainbuffjr1/pump004_zps8a4b2982.jpg)

Update: today I built the deck above the tank where the toolbox was mounted. I used some of the leftover wood from the kit, the stakes for the frame, and the sides cut down for the deck, and used sewing pins to “nail” the boards down. here is the end result

(http://i1050.photobucket.com/albums/s414/trainbuffjr1/challenge-crane002_zpse128674e.jpg)

Aaron, wonderful build… :slight_smile:

Excellent! That was a fine piece of ‘junk’ you found in your parts bin, Aaron…