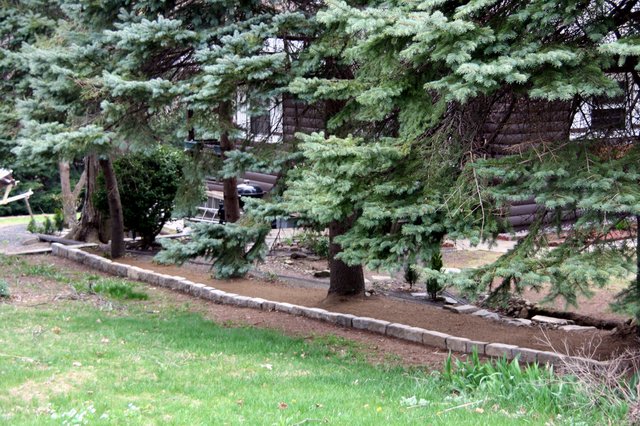
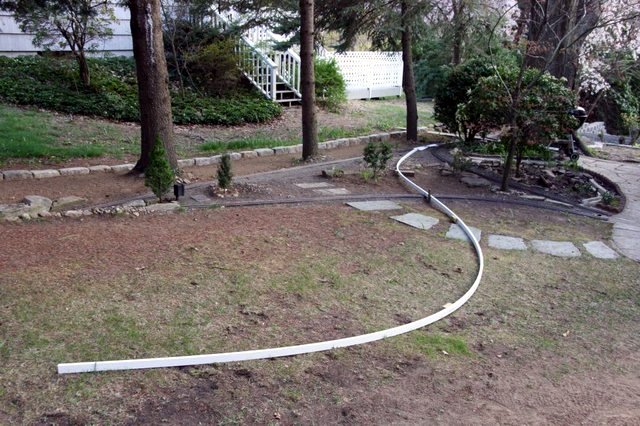
Well, it took about three weeks longer than I expected, but the block border marking my southern lot line is finally complete. The border will allow the addition of a up-and-over reverse loop without worrying about the neighbors lawn mower. Here’s a few pictures taken today after spreading some topsoil and removing a dirt pile left over from several springs worth of clean-up in Deep Cut. View from the street looking across the neighbors yard [url=lsc.cvsry.com/Border-1-1024.JPG]
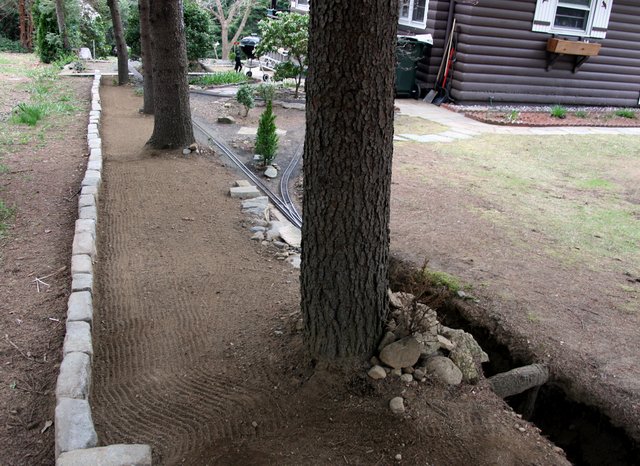
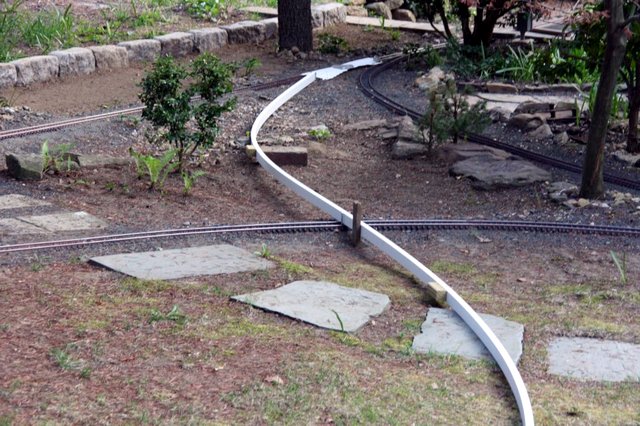
[/url][color=blue]FF: Click to Enlarge - IE: Right Click Photo and select Open Link in New Window to Enlarge[/color] From the top of Deep Cut - my house on the right [url=lsc.cvsry.com/Border-2-1024.JPG]
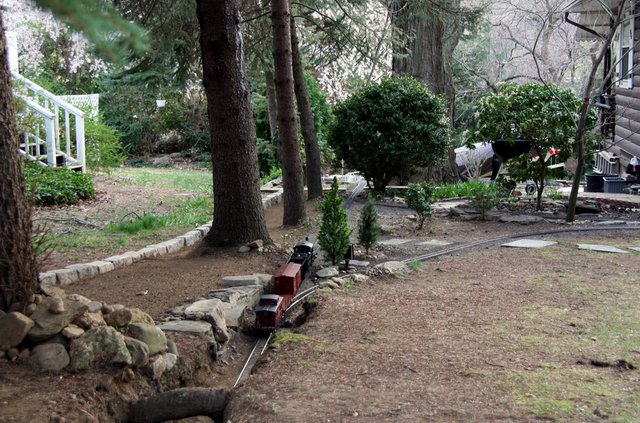
[/url][color=blue]FF: Click to Enlarge - IE: Right Click Photo and select Open Link in New Window to Enlarge[/color] Another view from the top of Deep Cut [url=lsc.cvsry.com/Border-4-1024.JPG]
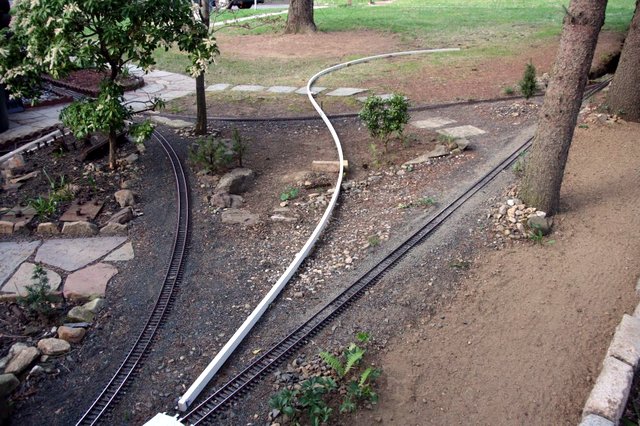
[/url][color=blue]FF: Click to Enlarge - IE: Right Click Photo and select Open Link in New Window to Enlarge[/color] From neighbor’s yard back toward Deep Cut and the street [url=lsc.cvsry.com/Border-3-1024.JPG]
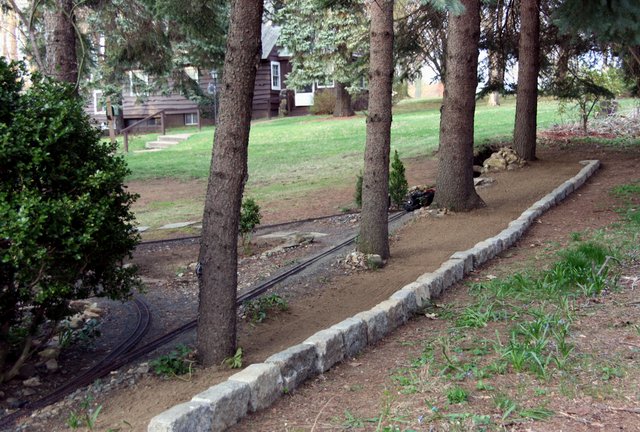
[/url][color=blue]FF: Click to Enlarge - IE: Right Click Photo and select Open Link in New Window to Enlarge[/color] Looking at the bottom picture, a new LH #6 will be installed just above the one in the picture. From there the track will cross the far leg of the Wye with a 90 degree diamond then curve right crossing Deep Cut on a girder bridge just in front of the rock pile. From there, the track will curve back toward the camera and join the main though a RH #6 just above the first one. I’m planning on using the trim plank ladder method to support this track. This will be the first time I’ve tried it. I’m undecided if I’ll use ladder to support the switches, or pour new concrete pads. I’m leaning toward concrete since the existing switches are all on concrete pads. I’ve been planning this expansion for about two years, so it feels good to be finally starting.

