Large Scale Central

BN GP 30 Build

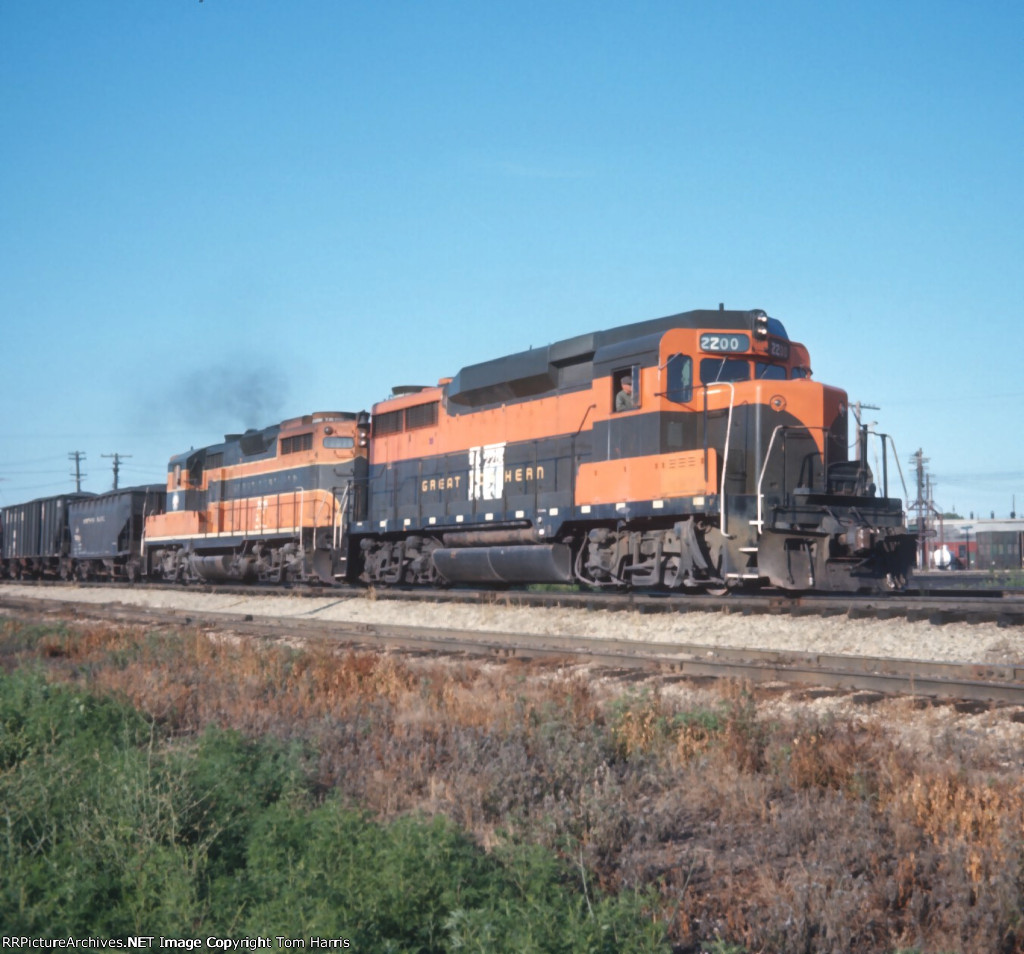
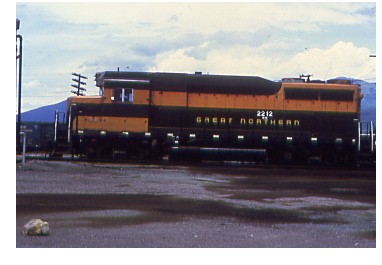
So I’ve made enough progress now I can start sharing my latest project. As with the rest of my builds don’t expect this one to be done anytime soon. After getting a great deal on a used GP30 to add to the roster of BN power I decided to model a former GN GP30 before it was repainted in BN green. The prototype was GN 3000 before it was renumber with the merger to BN 2200.

http://www.locophotos.com/~locophot/pix/57/Great%20Northern%20GN%203000_Denver%20CO_Deane%20Motis_1970-06-09_57487.jpg

Notice it doesn’t have the BN number yet, but here it does.

The burned out area is where the BN patch and number normally are. Kind of like this one.

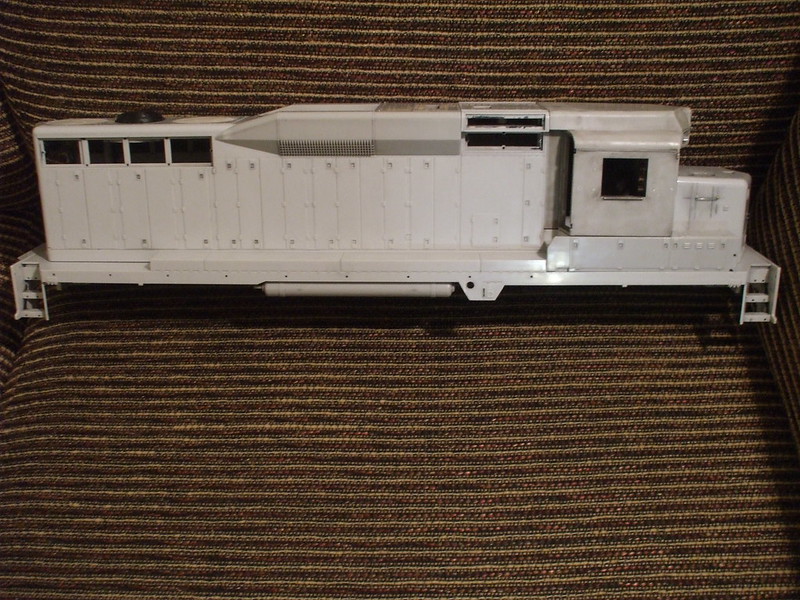
So without further background here’s some photos. Bare and naked, after stripping down with 90% rubbing alcohol

As with almost every single model of a GP30 that has been made the fan spacing is incorrect due to the original EMD drawing showing the fans spaced wider. So first off was to move the fans.
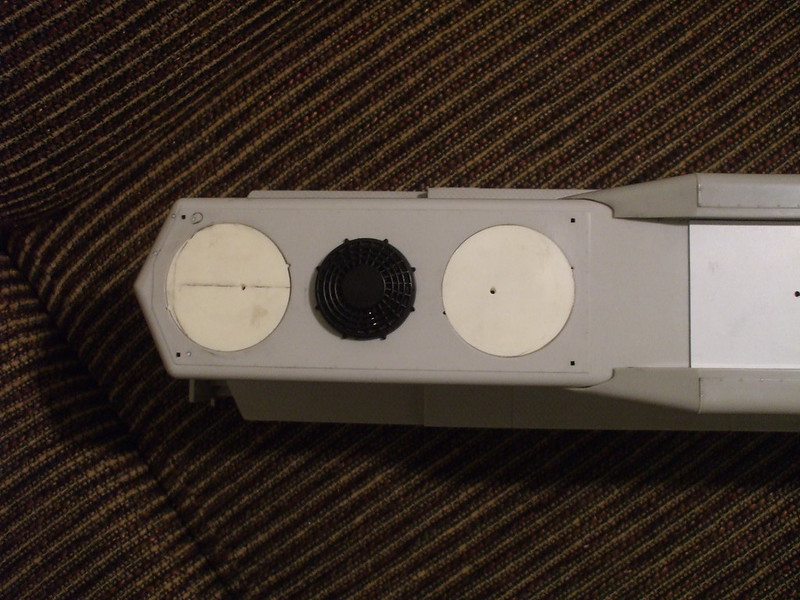
While I was at it I also added the ~1" scale metal plate over the dynamic brake fan.
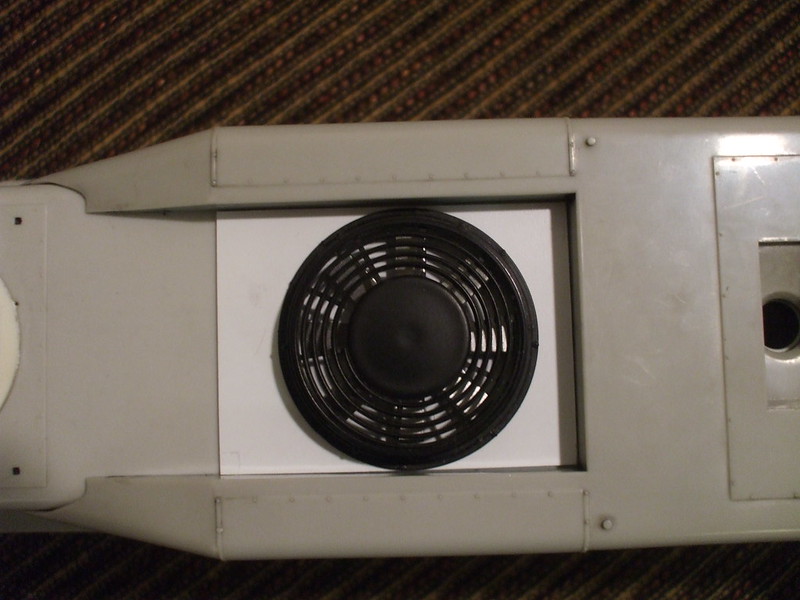
Say what happened to the last fan?
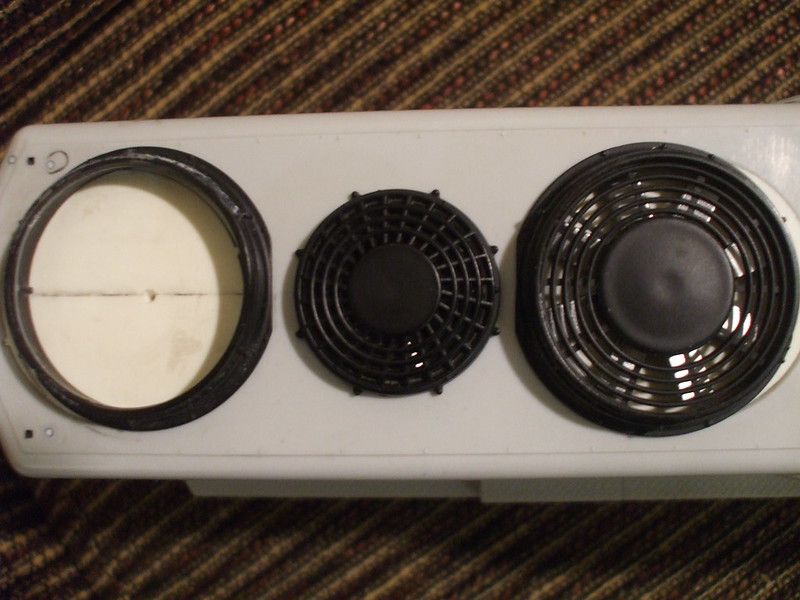
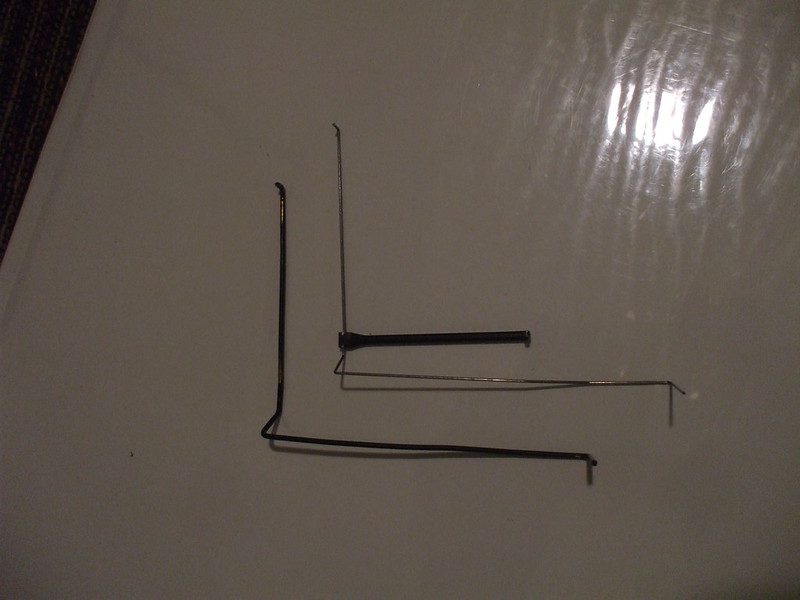
The last fan will be changed to a 48" flared fan that EMD used for a short time on GP20’s. The BN 2200 was built with a 48" flat fan, but at some point in time it was replaced with the 48" flared fan. I’m also changing the grab irons and hand rails to 0.025" music wire to better represent the correct thickness
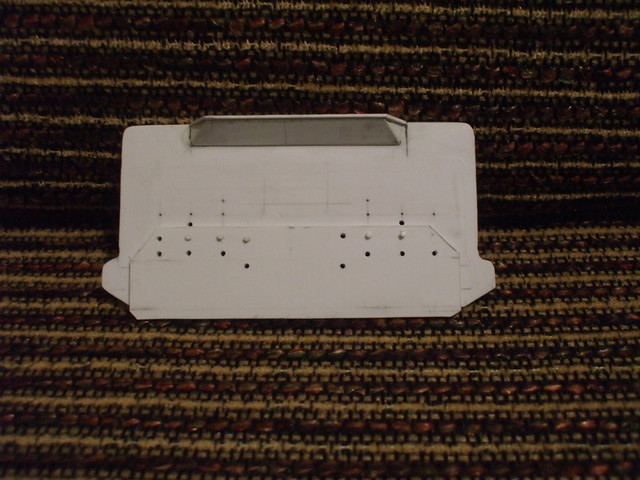
A new pilot sheet was built as well.
And if all that wasn’t enough to drive me crazy with details I also started to rebuild the sideframes
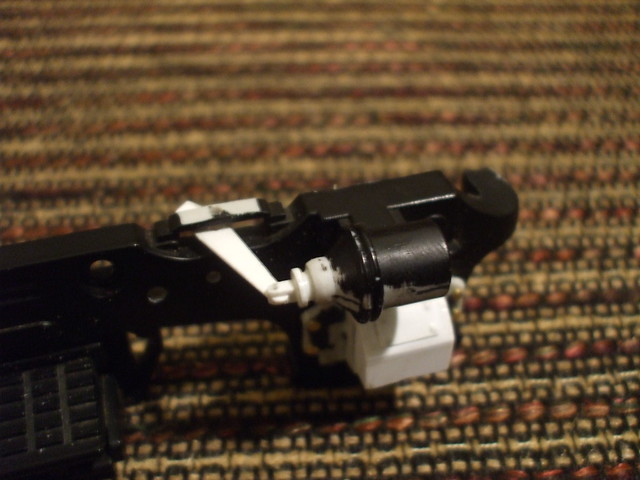
If all of this seems a bit random, well it is I’m not really following any specific order on what I do, but changing what I want when I see that it looks overscaled… Next up on the list is to build new narrower steps, maybe detail the interior of the cab, and finish all the half done parts! Craig
Was it undec. when you got it or did you strip it?

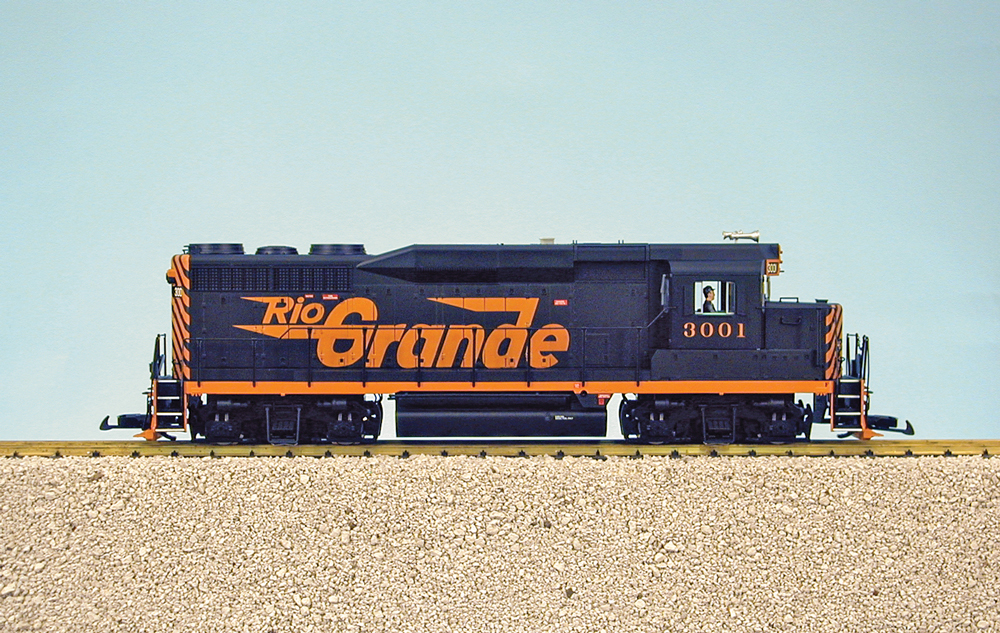
Mark, It was a former D&RG loco until it I soaked it in rubbing alcohol.

I also experimented with nail polish remover, but it started to eat away some of the small details like rivets, etc. The 91% rubbing alcohol worked great. Craig

Mark, I would guess this quote from Craig’s above post ( ‘So without further background here’s some photos.
Bare and naked, after stripping down with 90% rubbing alcohol.’ ) would mean that he stripped it with alcohol, but i could be wrong :wink:

Sorry, typing while Craig replied.

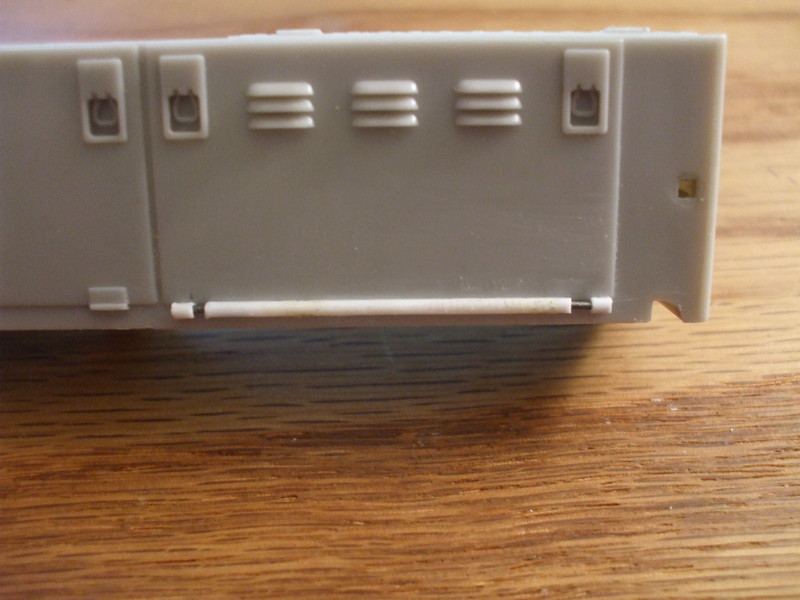
Progress of today. The battery boxes on both sides had slightly different hinge style so of course I had to change it.

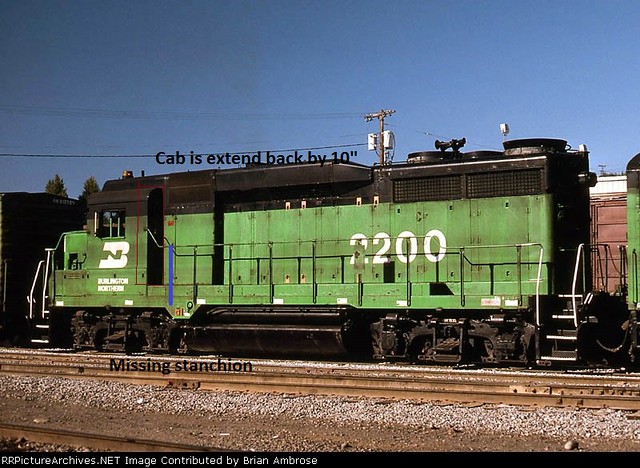
Good news is I found a corrected drawing for the GP30. The only one prior that I had found was a copy of the EMD original blueprints, which was incorrect in a bunch of different ways… Bad news is the fireman’s side of the cab needs to be extended 10" towards the rear…

I never noticed it until now.

Craig Townsend said:
Good news is I found a corrected drawing for the GP30. The only one prior that I had found was a copy of the EMD original blueprints, which was(sic) incorrect in a bunch of different ways… Bad news is the fireman’s side of the cab needs to be extended 10" towards the rear…

(http://farm9.staticflickr.com/8195/8365621681_584f6b971d_z.jpg)

I never noticed it until now.

How can the EMD original blueprints be incorrect???

Steve, it was a typo… :slight_smile:

Now I’m finding out that USA actually made at one point both versions of the cab. The first version up until '62?, than when UP complained that the fireman was too crowded in the cab, the cab got lengthened. I’ll post some more pictures tonight. :wink:
So it’s either decide to order a extended cab from USA or kitbash the one I have… Humm

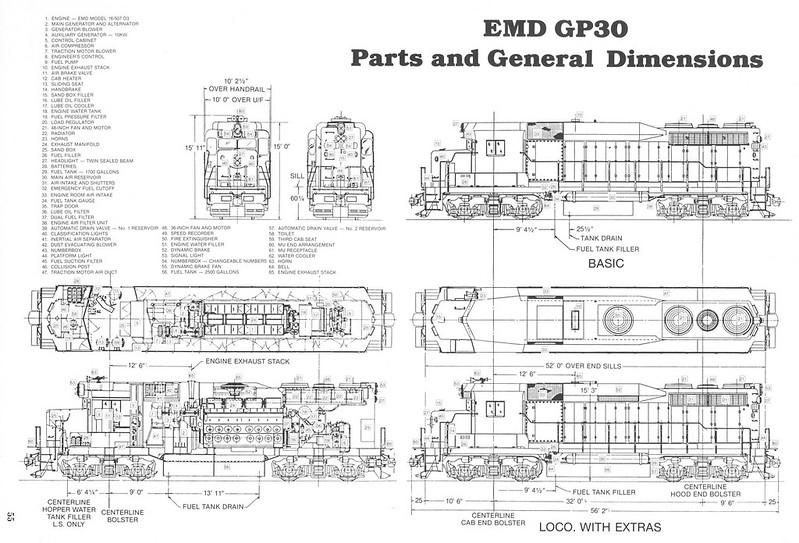
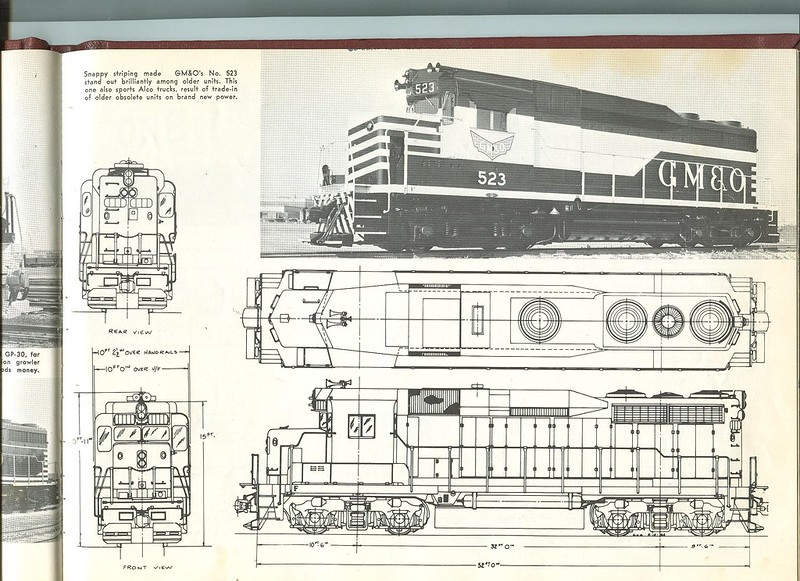
So here’s a drawing of a GP30 from Mainline Modeler, May '89.

It shows both cab designs. The scan from “Loco 1 The Diesel”

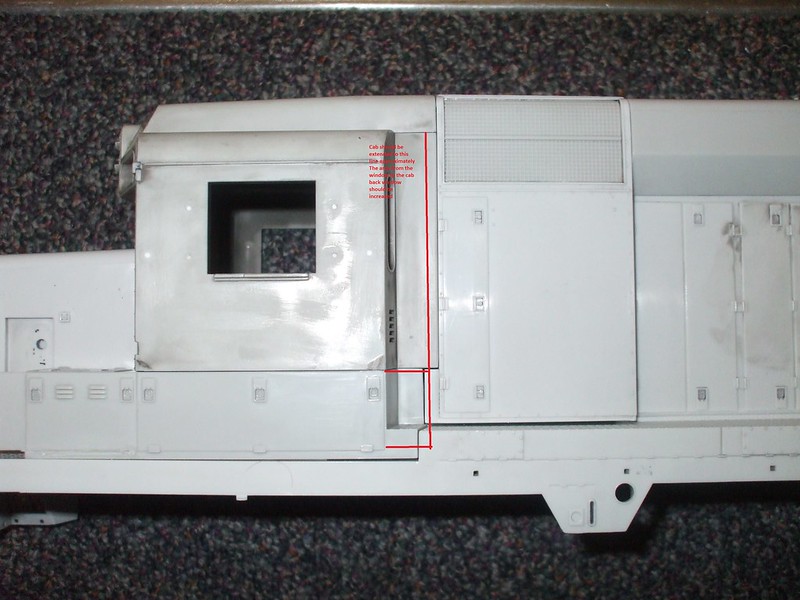
Both of them are still messed up when it comes to fan spacing… Here’s my GP30

You can see where I noted that the cab needed to be extended, but say what? “USA made/makes such a model?”

So I wonder what USA models have the original style and which ones have the extended version?

Craig, I’ll post this here…it’s easier So, here’s my evidence for you:

(http://i1044.photobucket.com/albums/b450/DTI973/Miscellaneous/milwIMG_3_resize.jpg)

(http://i1044.photobucket.com/albums/b450/DTI973/Miscellaneous/milwIMG_4_resize.jpg)

I’m really not surprized USA (Mike) isn’t aware of this. When I was looking for a GP38-2 without Dynamic brake I called USA and inquired about if the undec came with or without. This would have been in 2006 and at that time I was told they didn’t offer any without dynamic brake…even though I was looking at the picture on thier website of the SOO and Rock engine both of which don’t come with dynamic brake. I hope my pictures help you.

Thanks Brian.
I took noticed that the frame mold is slightly different. Initially I was worried that the frame I had wouldn’t work with the extended cab. But after looking at the pictures carefully I realized the only thing different about the frame is the one handrail stanchion is filled in/drilled out. So that would be an easy change to make between production runs. The extended battery box just eliminates the angled diamond tread.

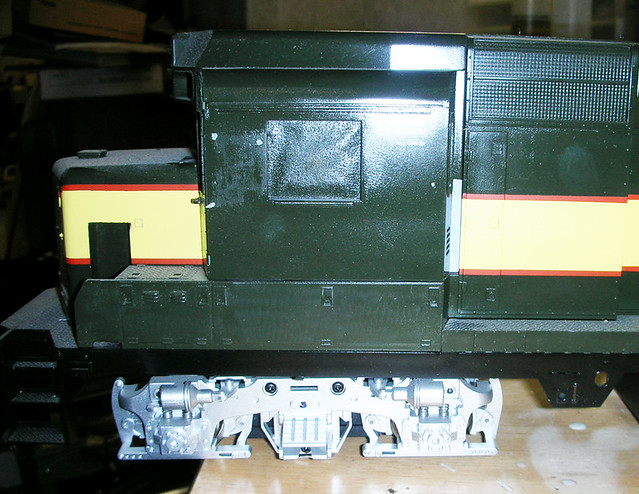
Project is back on track after being derailed by grad school. Now that I’m officially done I can spend more time working on modeling projects. So I spent the better part of the day working on the cab.
Before: http://farm9.staticflickr.com/8496/8368118455_8c3a9dbef8_c.jpg
After: http://farm9.staticflickr.com/8542/8688134070_81f8037e2d_c.jpg
The crew gained a total of 10" on the fireman’s side! Tomorrow I should be able to finish the cab floor and back wall hopefully. Then it’s time to detail the cab interior.

Craig

This is cool. Great work.

It’s nice to see G scale modelers paying attention to details.

Very cool, nice work so far!

Thanks for the encouragement! I spent today being super anal…

I moved the handbrake further back into the handbrake recess, and shortened the handbrake chain. As it comes modeled, the hand brake would be applied (and to USAT credit, the brake cylinders on the trucks reflect this). But I decided long ago that my brake pistons were going to be in the released position. Therefore, I would need to shorten the hand brake chain. So I moved the brake handle back into the recess, and added an actual chain links. Then I used my Dremel as a mini-lathe and created the round weight on the end of the chain. Pictures tomorrow. It’s a tiny little detail, but it sticks out in my mind. While I had the ‘lathe’ out I also started work on a new brake cylinder. Only 6 more to make…

Craig, in order for this project to meet your exacting standards of prototypical fidelity, you simply MUST first paint the GP 30 in the simplified GN orange and green colors, then put the BN patch on it, then re-paint it in BN Cascade Green. Anything less will not suffice.

Just sayin’… :wink:

Steve Featherkile said:

Craig, in order for this project to meet your exacting standards of prototypical fidelity, you simply MUST first paint the GP 30 in the simplified GN orange and green colors, then put the BN patch on it, then re-paint it in BN Cascade Green. Anything less will not suffice.

Just sayin’… :wink:

Actually you’re pretty close in your guess! I’m going to do a full GN paint, then weather it, and then do the BN patch! :slight_smile:

Craig Townsend said:

Steve Featherkile said:

Craig, in order for this project to meet your exacting standards of prototypical fidelity, you simply MUST first paint the GP 30 in the simplified GN orange and green colors, then put the BN patch on it, then re-paint it in BN Cascade Green. Anything less will not suffice.

Just sayin’… :wink:

Actually you’re pretty close in your guess! I’m going to do a full GN paint, then weather it, and then do the BN patch! :slight_smile:

Coolness! :slight_smile:

Can’t wait for the coolness pics :wink: