When Andre obtained a supply of acrylic, he immediately wanted to create some kits. He started with a basic boxcar kit, as well as a caboose.
The boxcar idea is pretty neat. It really just creates a framework for whatever the modeler wants to build. I decided to build a wood sheathed boxcar.
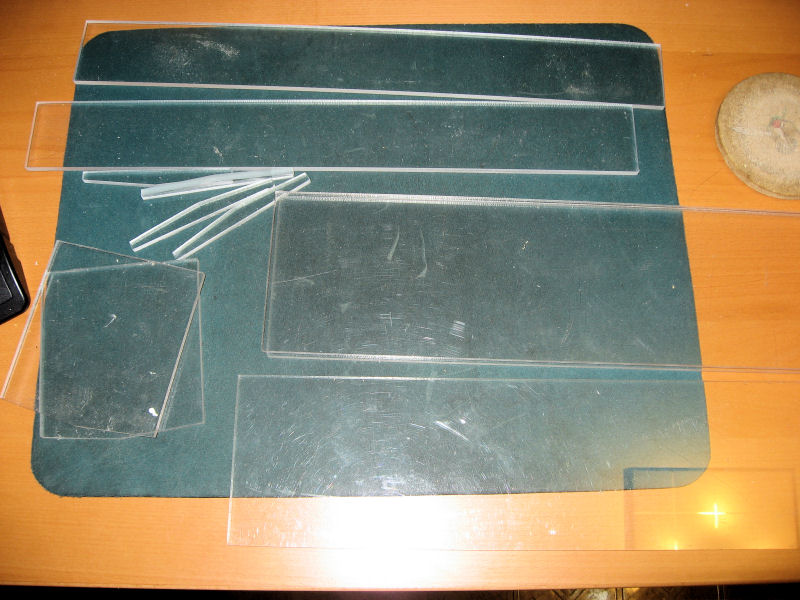
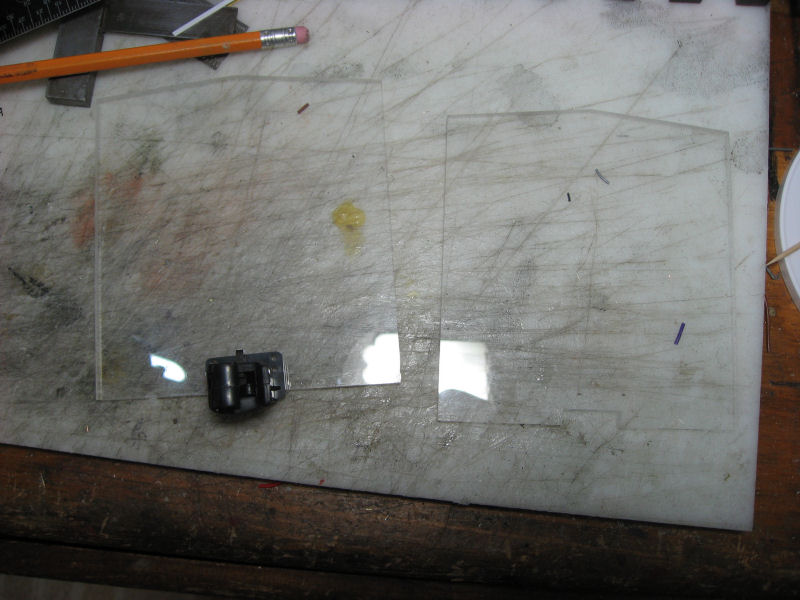
The kit consists of 11 pieces of 1/4" acrylic: One floor, two sides, two ends, 2 roof pieces, and 4 roof braces.
I started by cutting a notch in each end to make room for the coupler.
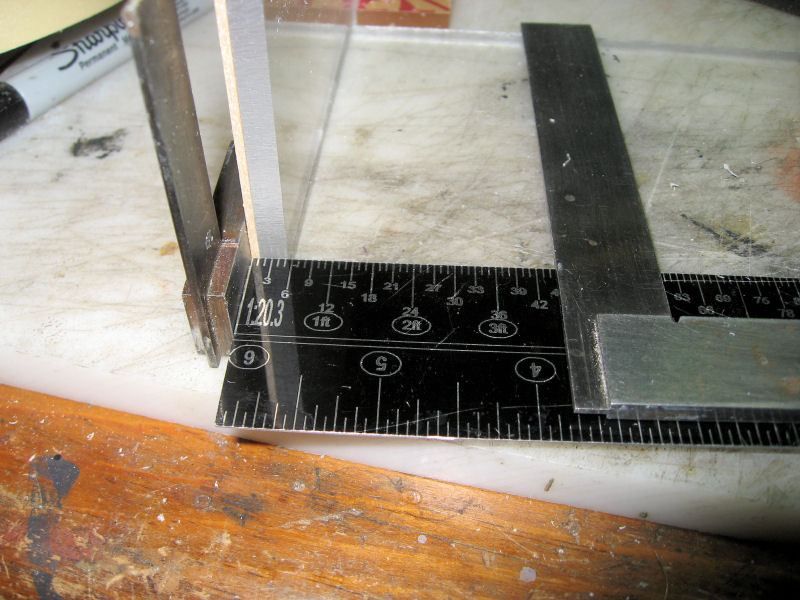
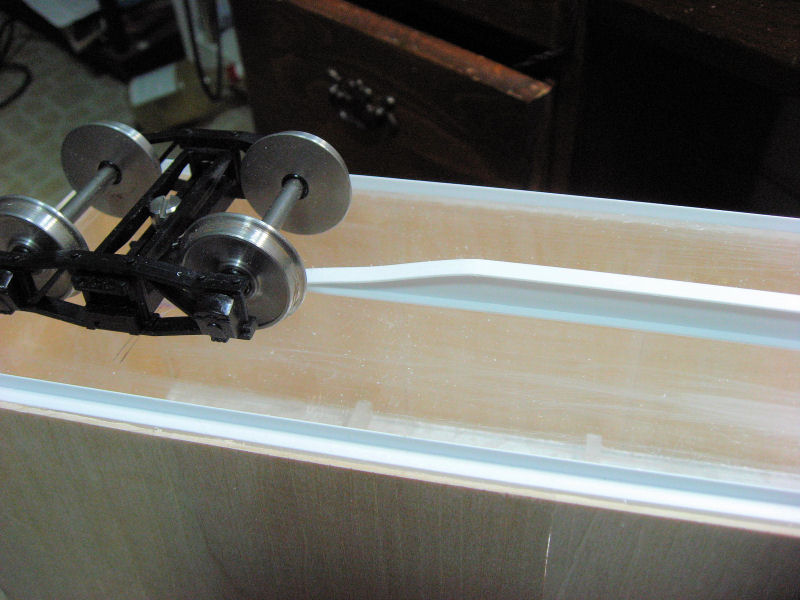
The book indicates that the trucks are 3’ 10.5" in from the outside so I marked that distance on the floor. I made sure to include the end piece as well as the wood sheathing that I’ll use.
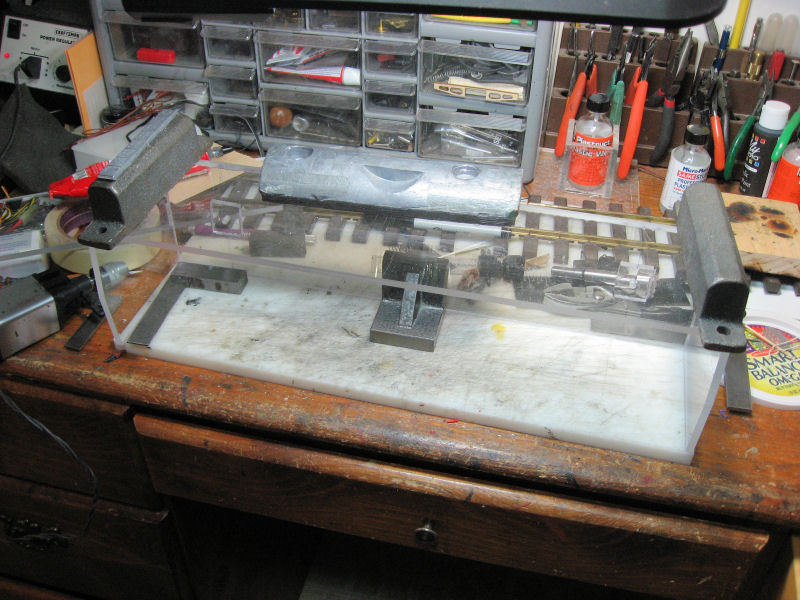
I marked the center for drilling and glued a small piece of acrylic over that to act as the bolster; it won’t be visible in normal operations. I used Weld-On #16 for all acrylic to acrylic joins.
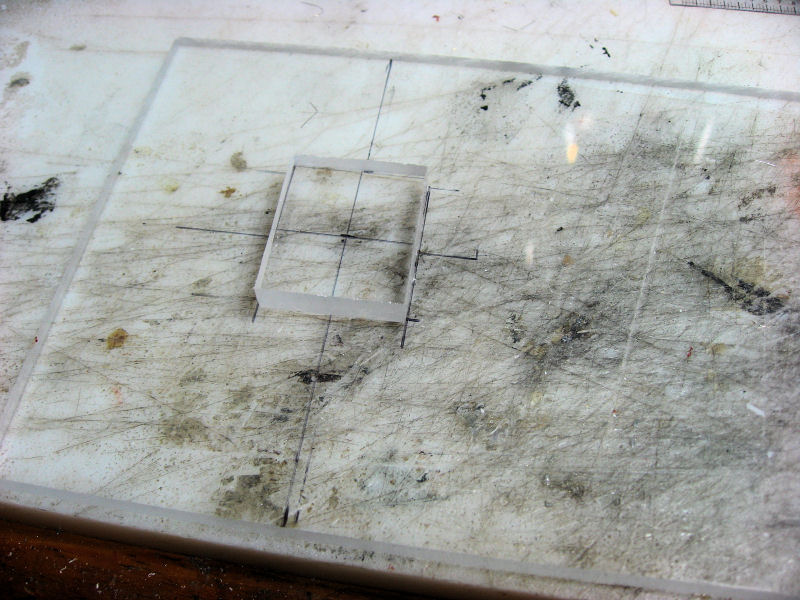
I then drilled a center hole for the truck mounting. I tapped these holes for the 10-32 slotted shoulder screws I use.
Next, I glued the ends in place, making sure they are square. The bottom fits in between the ends.
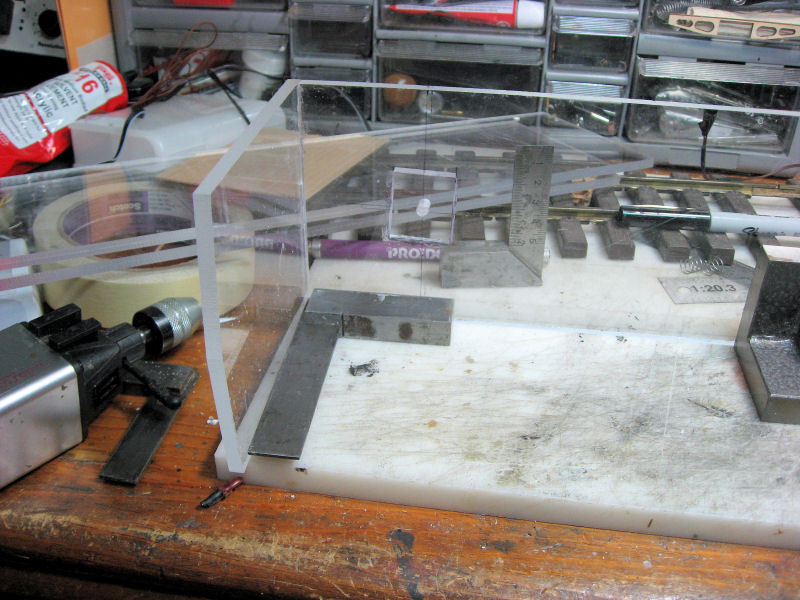
Once the ends are in place, it’s simple enough to glue the sides on. Weights are used to hold it in place while the glue dries. Note that the ends are nested between the sides.
Once both sides are in place, it’s time for the roof. I decided to first glue one side in place and made sure that all edges were flush with the walls; it nests right inside the car.
Once that side of the roof dried, I glued the roof supports in place. It’s important to leave enough room for the other side, so I used a small piece of acrylic (7/32" thick) as a spacer to make sure that the next roof piece would be flush. The Weld-On holds fairly quickly, but does allow some time for adjustments.
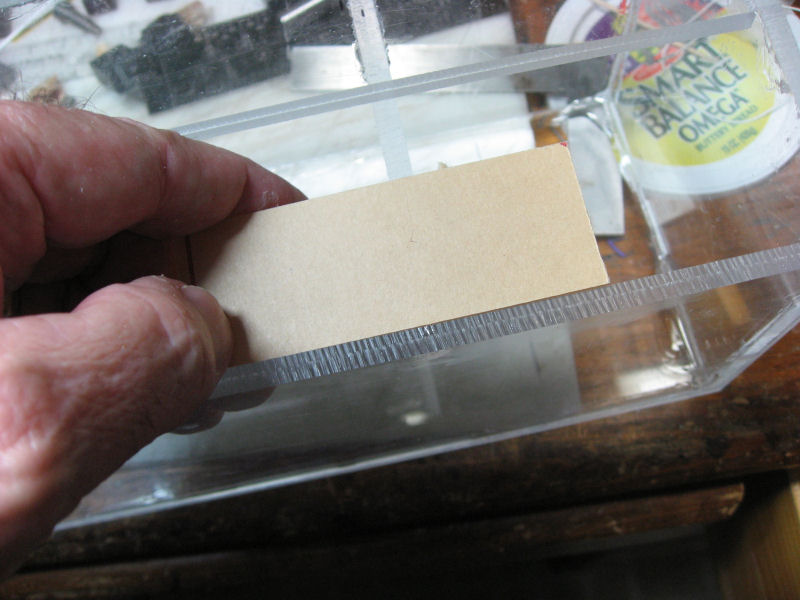
The next roof piece was very tight, so I took a bit of acrylic off with a file.
.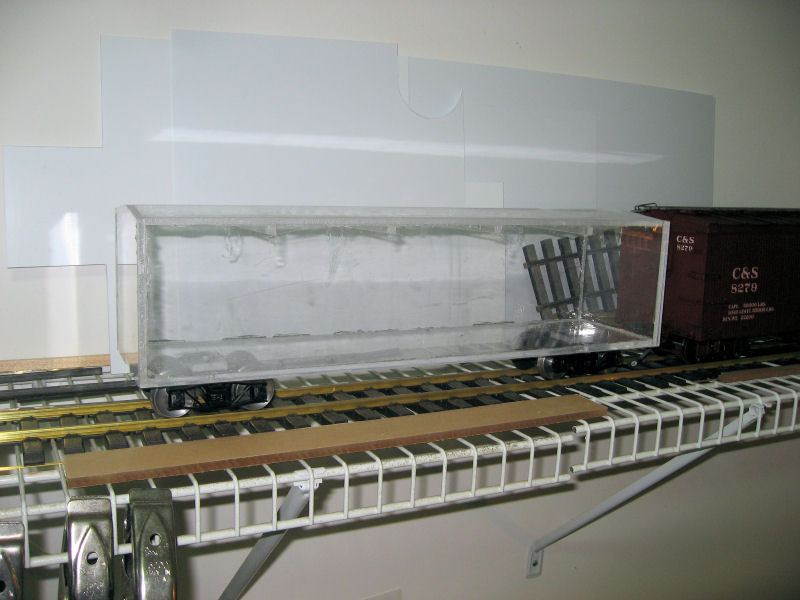
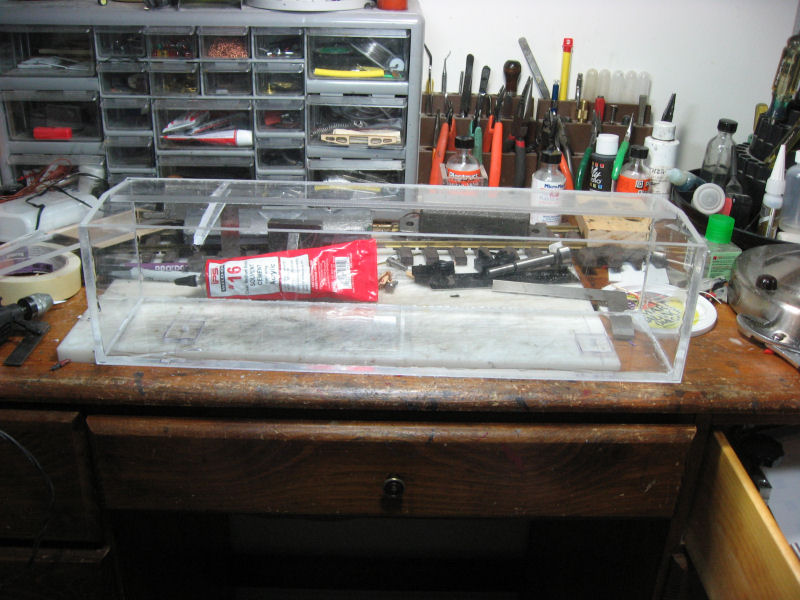
It’s quite a hefty car already. You can see that the Weld-On has a tendency to easily drip, but all of that glue is inside the car and will not be seen as soon as I cover the car.
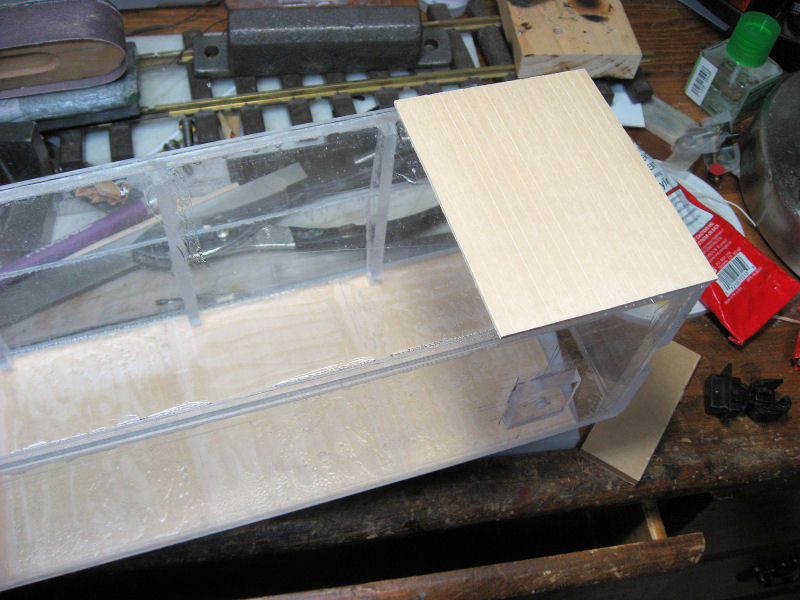
Next step is to cover the acrylic with wood sheathing.
Next up is the siding. I recommend doing the ends first as they will be sandwiched between the sides and it’s easier to get it to fit. Once dry, you can just sand each end flush with the side and you’re ready to go. I did the sides first and I had to do a bit more cutting and fitting.
I’m using siding I got from Micro Mark. (http://www.micromark.com/SCRIBED-SHEATH … ,7244.html). It’s a lot cheaper and much thinner than the siding from Ozark Miniatures. It also is scribed the wrong way, so you have to do some more cutting. But, this is why the acrylic frame is so nice - it provides a LOT of strength to the car.
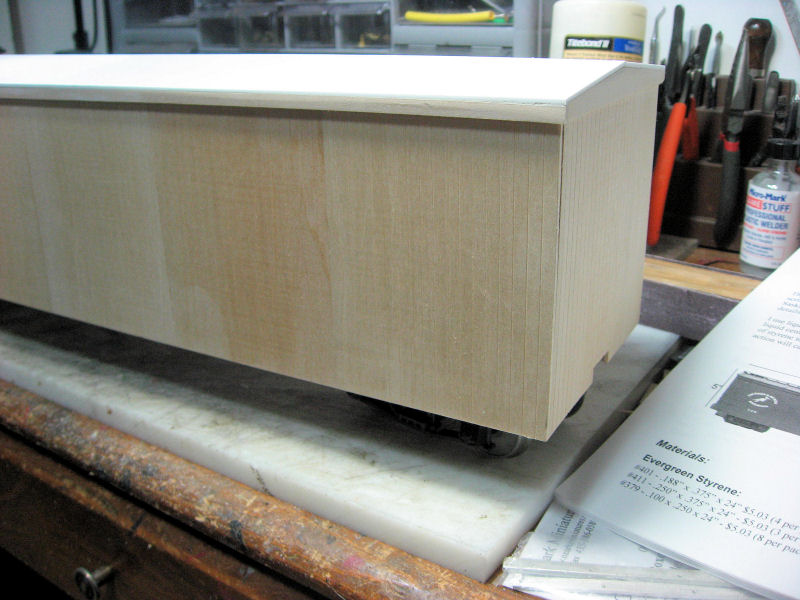
I cut the siding to the height of each side, allowing for a little extra. I glued each piece flush against the top edge of the siding, leaving the extra at the bottom. Later, when the glue is dried I sand it flush with the bottom, creating a nice smooth and straight line.
It’s important to make sure that each piece of siding is tight against the previous piece to avoid any cracks between the pieces.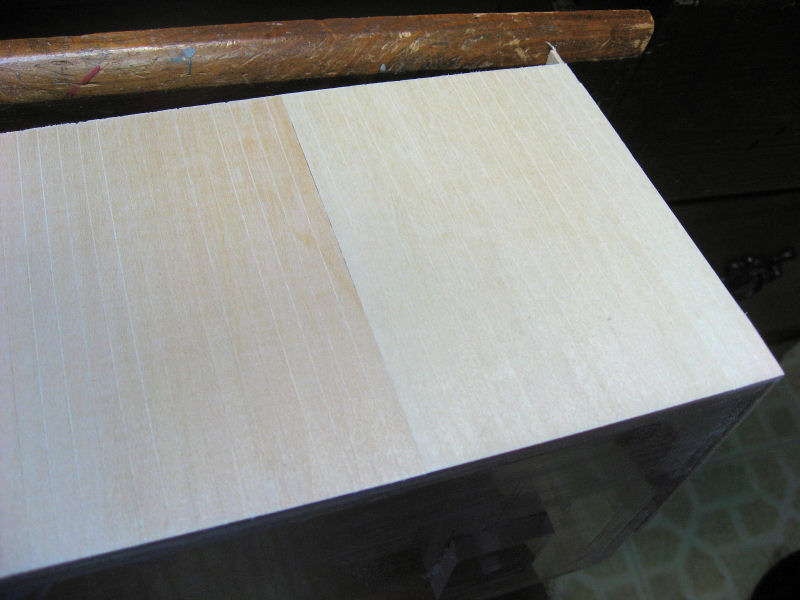
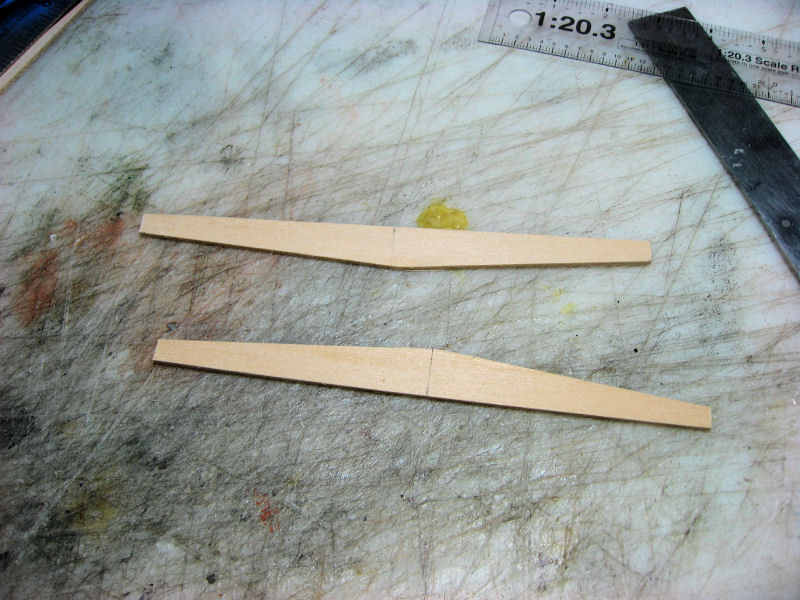
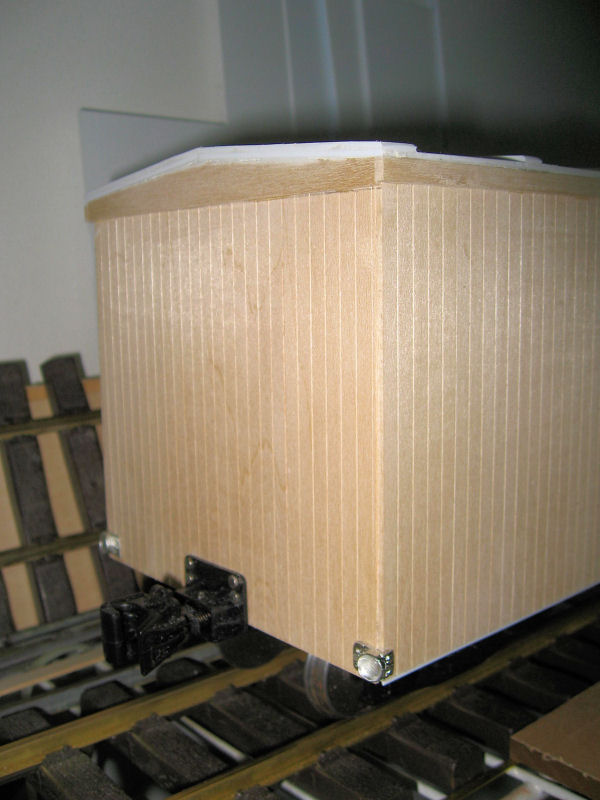
It takes two pieces to cover the end, and they are a bit taller than the side pieces. I cut the angles after the glue dried, again sanding it flush with the roof line.
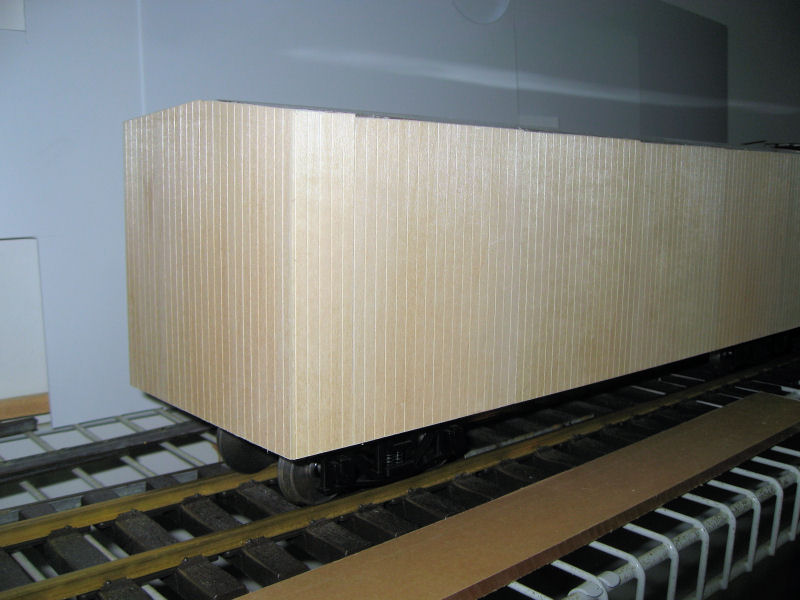
The top edge of the wood on the side of the car is a bit rought, but it will be covered by the trim board. I cut some end trim pieces from some excess 1/16" sheathing, as I couldn’t find anything else wide enough in my scrap box. After the glue dried, I sanded it down level to the roof.
I added the side trim and sanded it down where it met the end fascia.
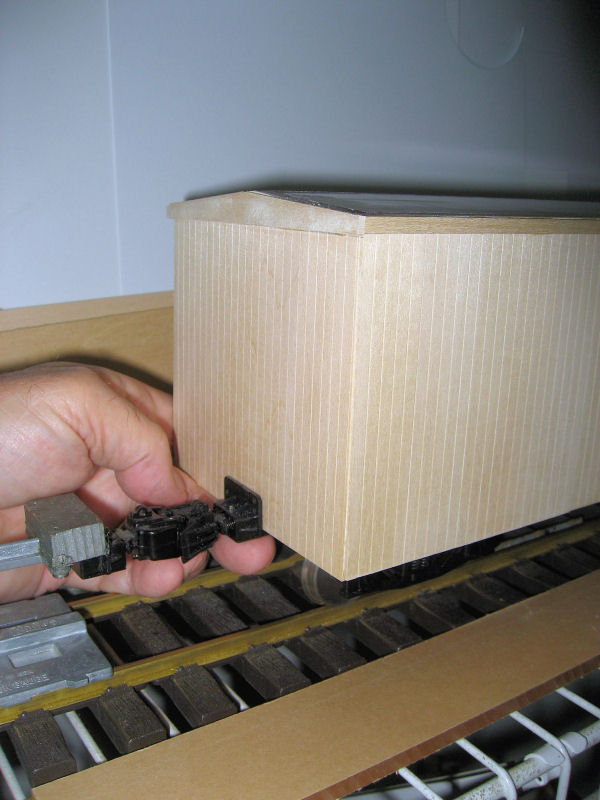
Next, I cut the end sheathing to reveal the slots I cut earlier for the couplers. This is a good time to verify that your couplers will be at the correct height.
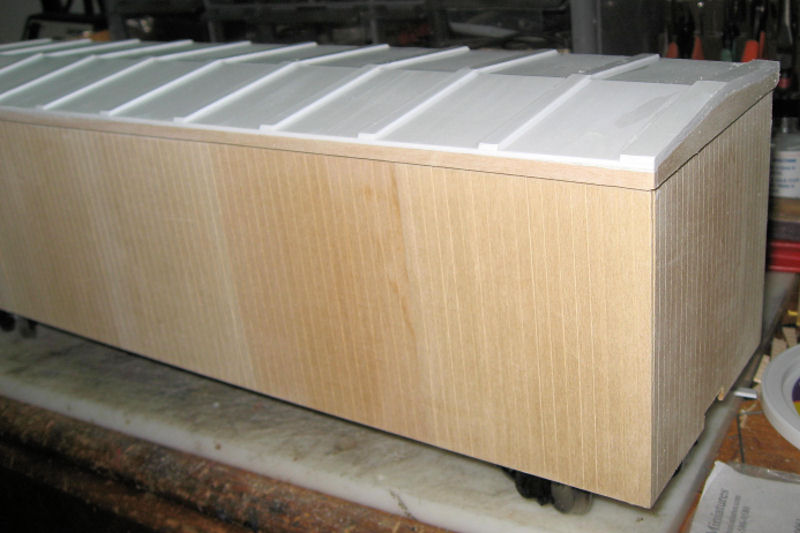
The roof was cut from two pieces of .060" styrene; I made sure they fit over the existing trim. I glued it in place using Welder contact cement.
The carlines are made from .060" x .250" styrene strips. The end pieces are cut .375" wide. They are glued into place using styrene cement.
I decided that this boxcar would have a steel frame, as I really don’t like dealing with trussrods. I decided to add a beam and some side angles based upon some cars I saw in the museum. The beam is made from a Plastruct I-beam with a small triangle cut out of the center and the remaining horizontal pieced glued to the cut.
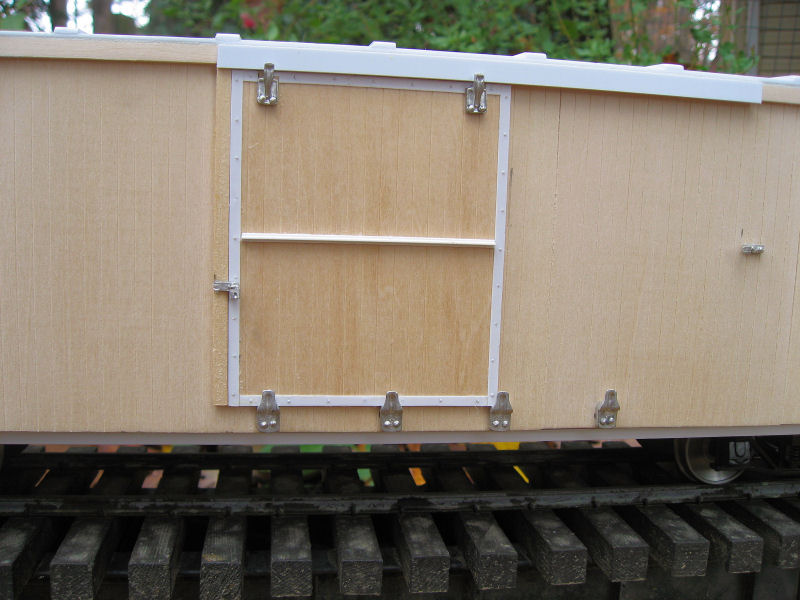
The door is cut from a piece of the siding. I put some rivets on the plastic strips and glued the strips to the door. I used parts from Ozark Miniatures “Boxcar door, guide rails & stops”. I’m not sure what scale the guide rail is, as it isn’t much longer than the door. I saved that and instead I used a piece of styrene for the top part. The doors and guides are glued in place. The hasp also came from Ozark.
I drilled and tapped 2-56 holes to hold the couplers and bolted them in place. The poling pockets came from Rodney Edington.
I made 4 sets of ladders and completed the end detail. The ladders are made using brass rod bent to shape. Holes are drilled in the styrene strips and the brass pieces inserted and glued in place. When dry, the protruding ends are cuts flush to the plastic strips.
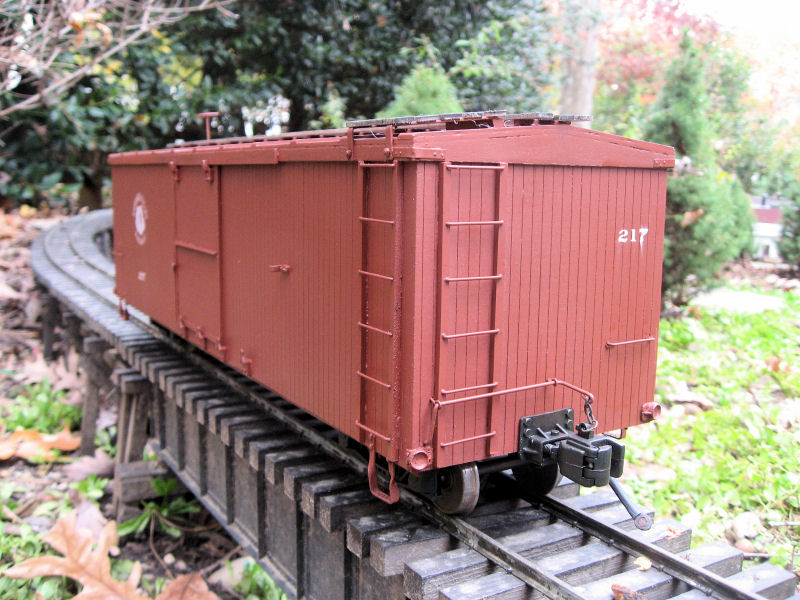
The steps were made from brass strips following the instructions in my article here. The same strips were used to provide the roof walk support on either end. The roof walk will be added after I paint.

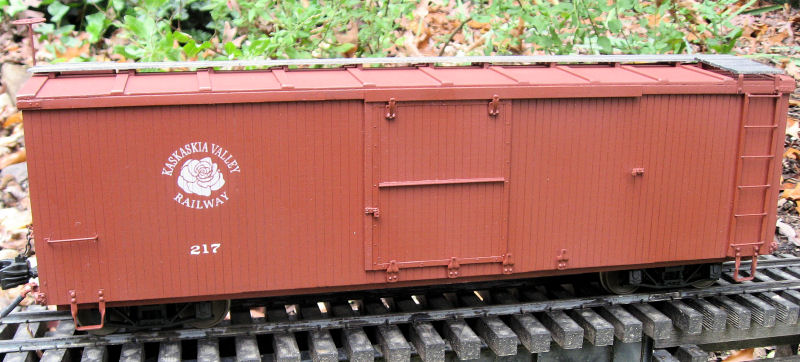
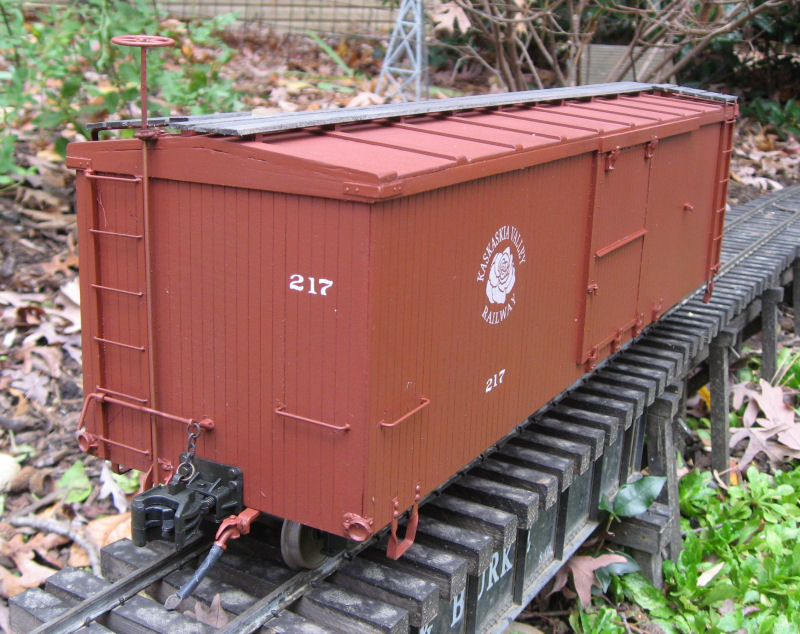
The car was spray painted using Krylon Ruddy Brown primer; a color I use for most of my boxcars.
Once dry, I scraped the paint off of the roof walk supports and glued some strip wood in place. I added chains for the coupler lift bars and finished with the brake hoses.