Recently, I decided I needed a refrigerator car. Sure, I like to scratchbuild, but some times it’s just fun to get a kit, and a Phil’s Narrow Gauge (PNG) kit turns into a nice model. Phil Dippel has been my inspiration for building durable models. There’s just enough detail without being delicate, and all the parts are sturdy and will stand up to the handling that we put our models through.
Everything you need comes with the kit, except for tools, glue, trucks, and couplers. Phil does sell trucks and couplers, so I went ahead and ordered a set of Accucraft refrigerator trucks and a pair of Accucraft Couplers.
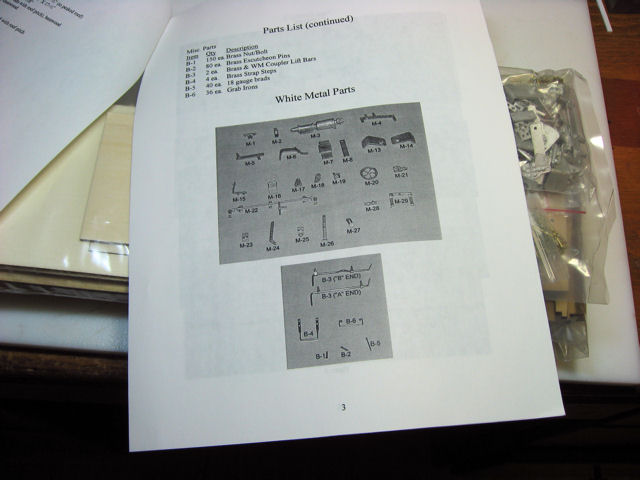
It’s all packaged up very nicely, including a nice set of instructions.
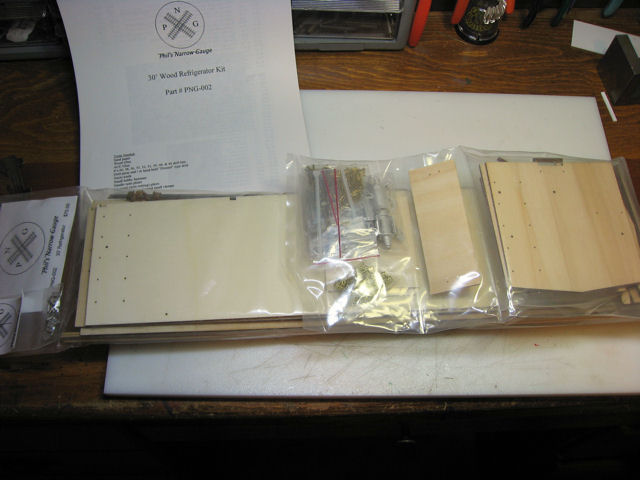
I like the fact that all of the parts are listed and photographs are provided to help identify parts. Assembly pictures also provide assistance.
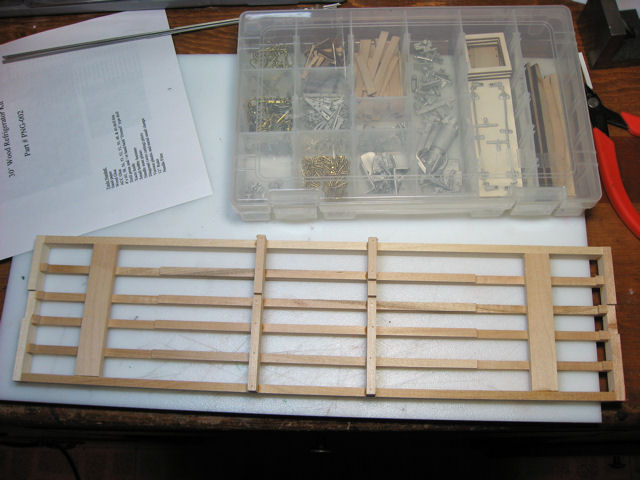
I start by unwrapping everything and separating the parts into a little plastic case. In addition to the white metal parts, there’s brass steps, brass grab irons, brass NBW, and some laser cut wood parts. Some of the metal parts require a bit of clean up with a small file, but you can see it’s pretty minimal - the parts shown haven’t been cleaned up yet.

One of the nicest things about Phil’s kits is that the frame comes prebuilt. It’s all square and nicely assembled, saving a lot of work. The end beams have already been notched to accept the couplers, while the middle beams have notches to hold the brake gear.
The first step is to glue the floor to the frame. I use TiteBond II for all my wood to wood gluing.
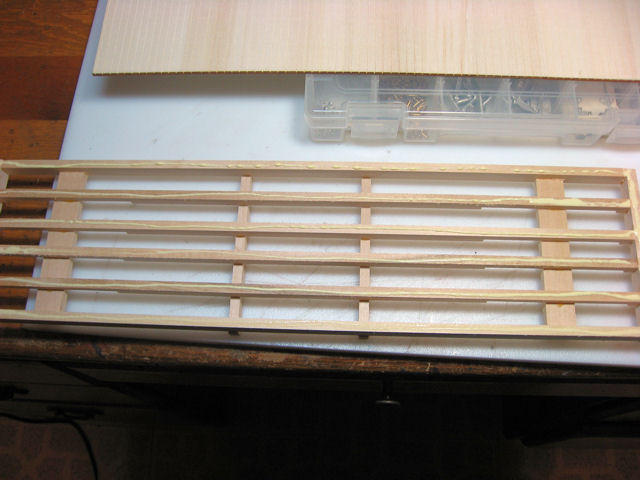
The floor is then put in place, taking care to line it up all around. Clamps hold it in place. While working with wood glue, I make sure I keep a wet paper towel handy to wipe off the glue that oozes out.
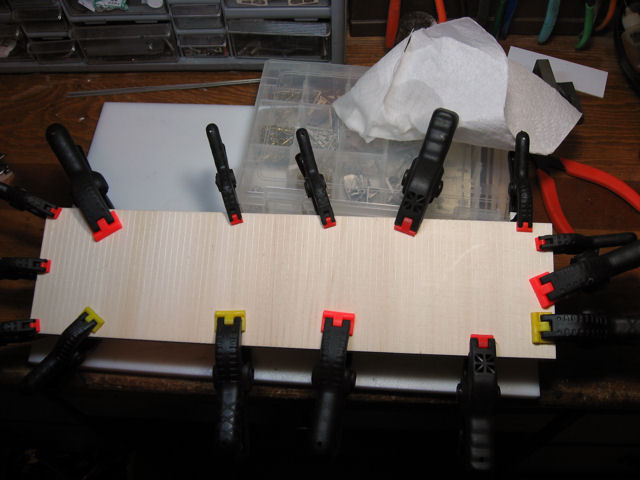
Most of the time working with the kit is allowing it to dry.
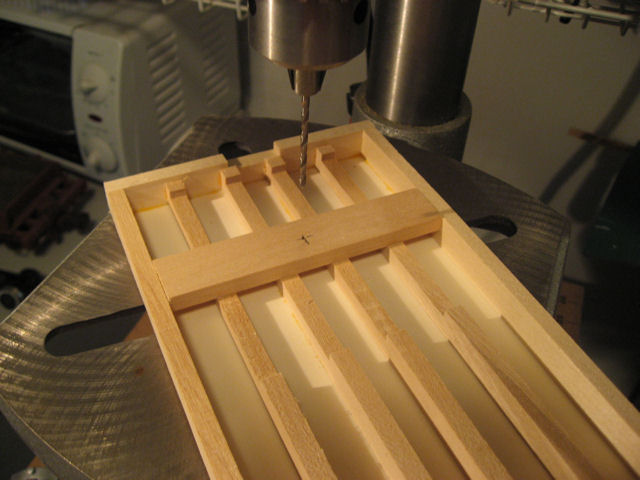
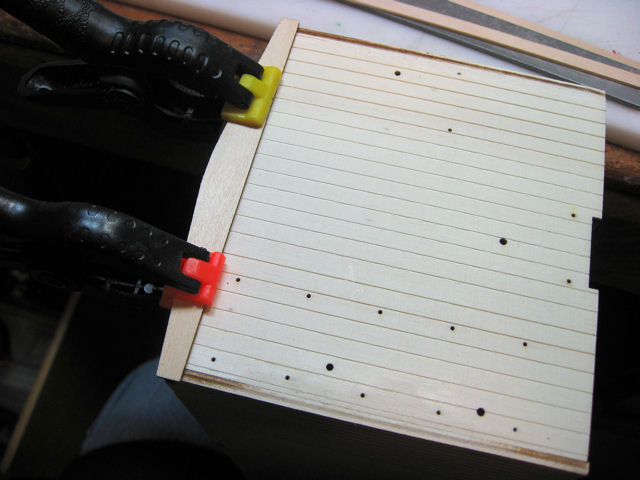
When it is dry, I decide to drill for the truck screws. It’s much easier to do this at this stage. I use a drill press to make sure the holes are vertical. The holes are just placed in the center of the board.
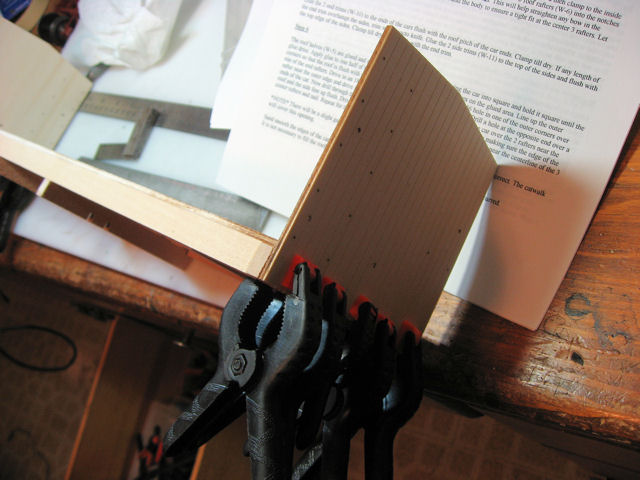
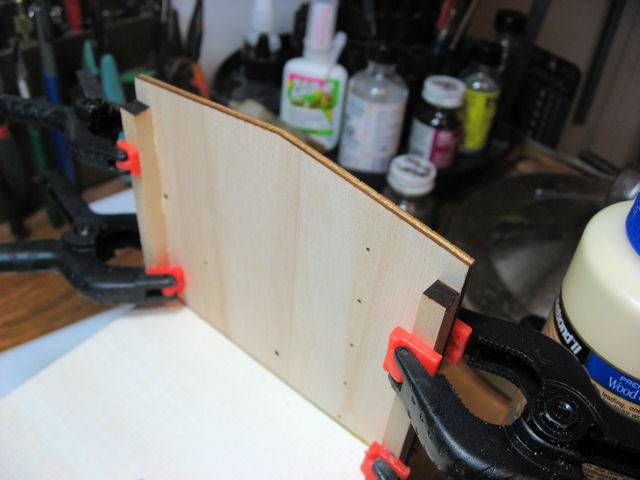
The next step is to glue on the end wall pieces. It’s important to make sure that these are lined up precisely, otherwise the side wall will not fit correctly. Clamps are used to hold everything in place. The dots you see on the end are laser drill holes used to mark the placement of the grab irons.
After the ends are dry, support pieces are glued in place, flush with the edges. These will help support the side walls. Again, clamps are used until theglue is dry.
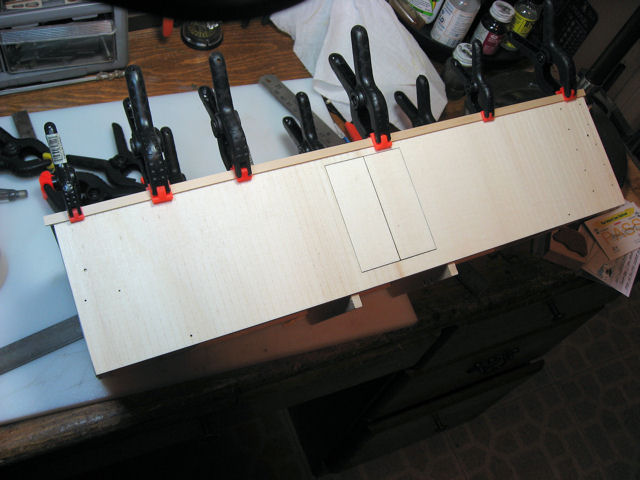
It’s time for the sides. You need a lot of clamps for this one. First you clamp along the bottom edge, then clamp the ends near the top.
There’s nothing to do for those doors - they come already glued in place.
Notice the notches in the sides in the picture above. These will hold the 5 cross beams. They are glued in place, and I use some long clamps to keep the side walls from bowing out.

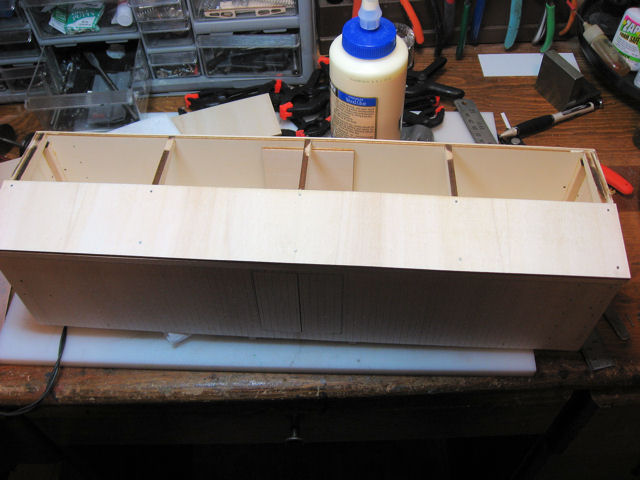
The ends are trimmed. You want to make sure that the glue does not seep out here. I use a toothpick to spread it evenly before putting the trim piece on the end.
The end trim is sanded smooth with each side and then the trim piece is put along each side. Clamps hold it in place, and I’ll trim the extra length once it is dry.
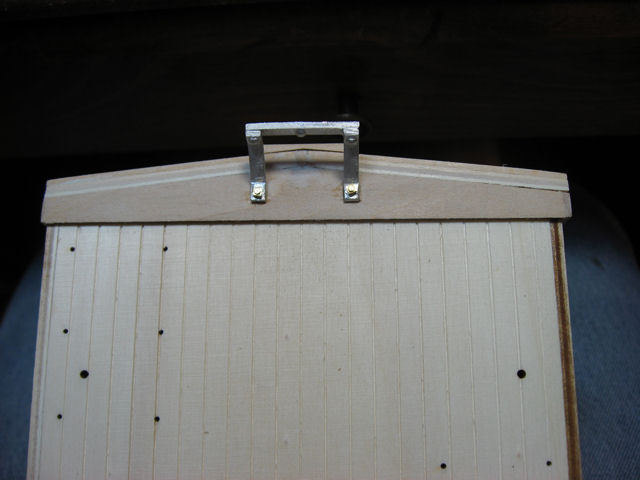
Finally, the roof in glue in place. Nails are provided to help keep the car square while the roof dries. I drill some holes, then pound them in place.
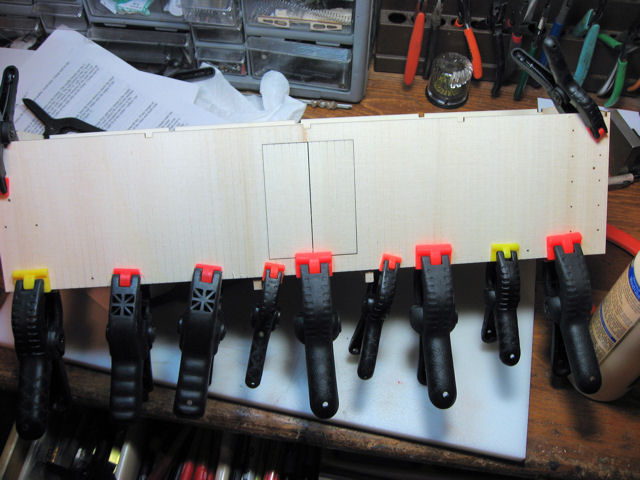
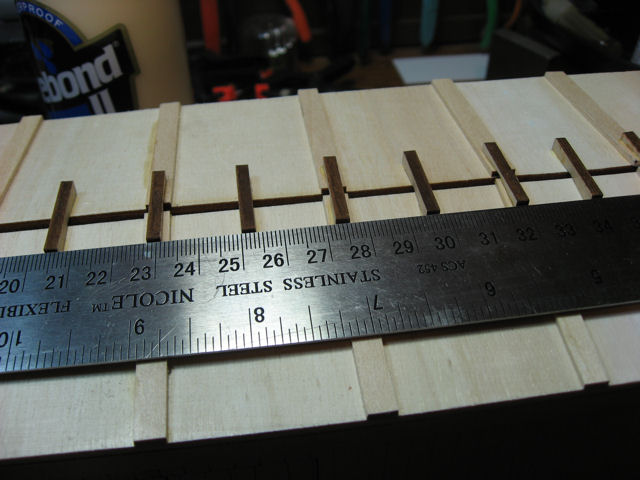
The instructions provide the measurements for the carlines, so I just mark the roof and use a square to make sure they are perpendicular and lined up with each other.

Next the roofwalk supports are glued on. Two different sizes; the small set goes on top of the carlines, the larger ones go in between. I use a ruler to insure that they are aligned.
At this point, I turn from the directions. They call for adding the roofwalk at this point. I will wait to add it after everything is painted. But I do add the end supports. I file off the cast on bolt detail and drill some holes to put in some extra brass NB to hold them in place. I also put a small plug in the end to fill the gap in the roof; just in case I want to take pictures later.
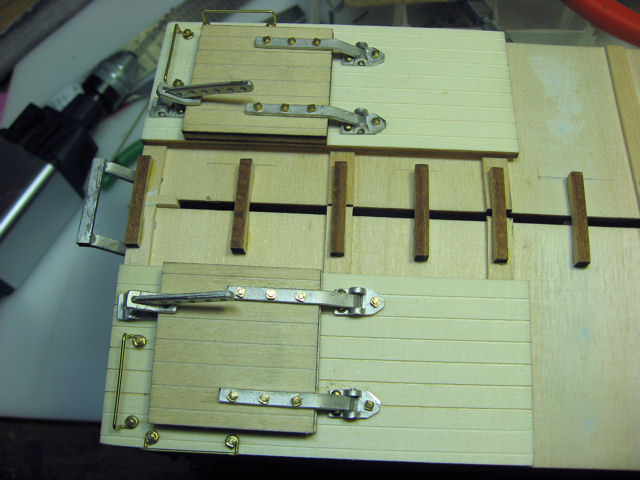
The ice hatch platforms are two pieces: the base and the frame collar. These are first glued together and then glued to each corner.
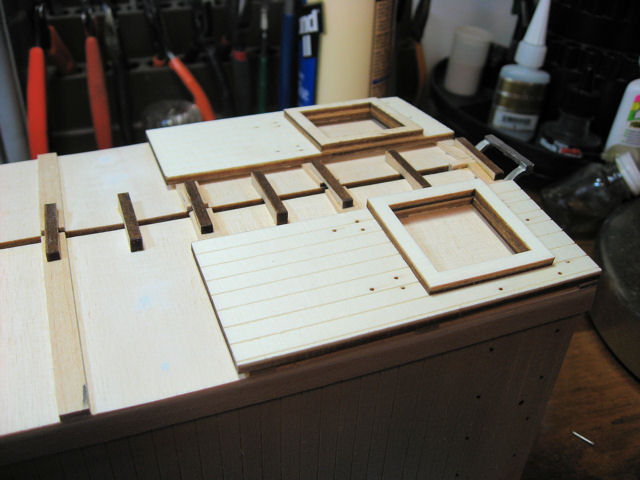
That pretty much finishes the basic box and most of the wood parts.
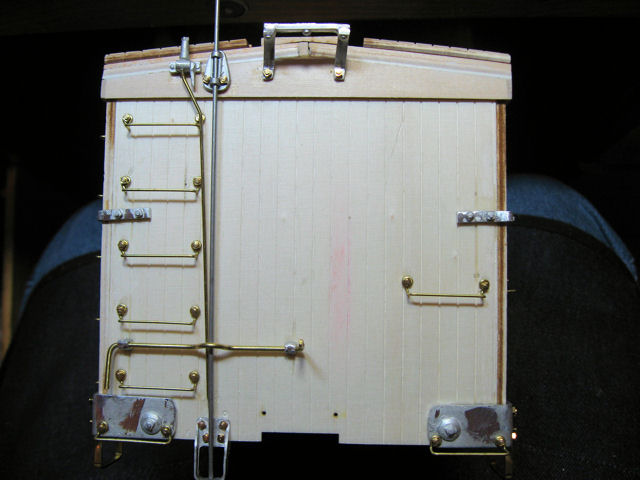
Next up is the underframe. I usually hate doing trussrods, but Phil has a nice way to implement them.
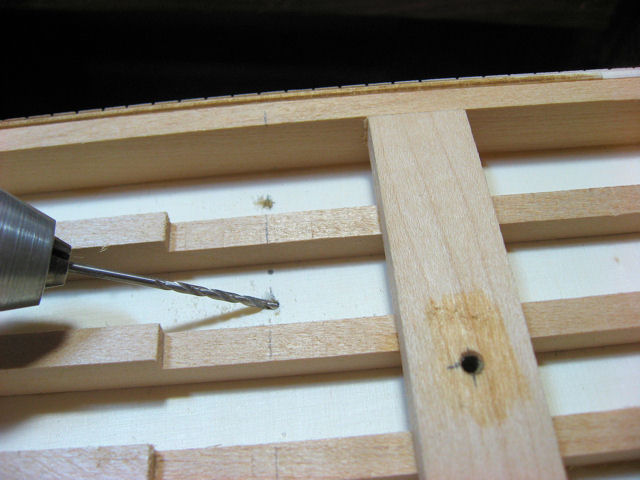
The first thing is to drill holes for the truss rods and brake rods. These are drilled at an angle in the bottom of the car.
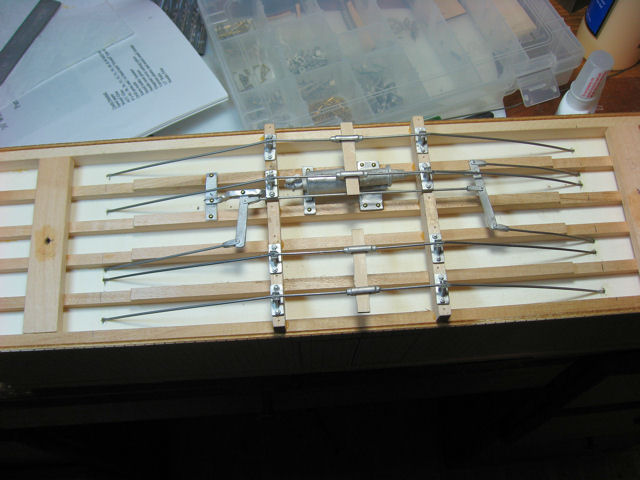
The truss rods themselves are stainless steel rod. But, instead of making each truss rod two pieces, like the prototype, the turnbuckles are slipped on and the rod is just bent slightly where it will go across the queenposts. Next, a small piece of wood is slipped in between the turnbuckle and rod. Unless you look at it VERY closely, you really can’t see that the rod is continuous.
Putting the rest of the detail underneath is pretty straightforward; just cutting some rod and gluing pieces in place. If I were scratchbuilding, I probably wouldn’t do all this detail, but Phil has made it easy enough.
Now it’s time to put the rest of the metal parts on. The hinges have a clever design. There’s a couple of dimples to drill out and then you place them on the door and use escutcheon pins to hold them in place. Once painted, you won’t be able to tell the difference between the brass pins and the ones molded in place.
This shot also shows how well the truss rods work out.
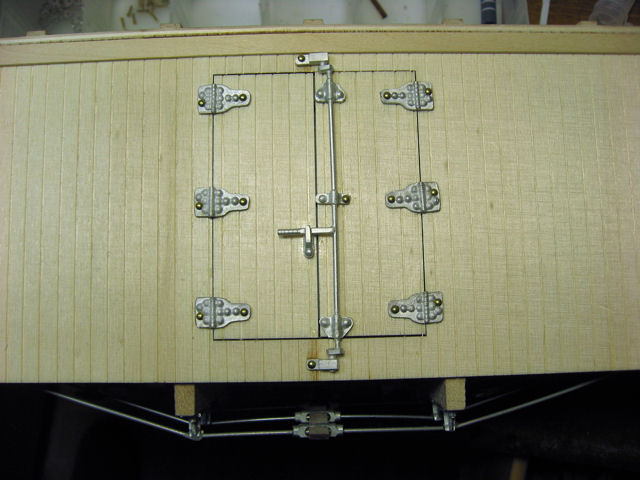
The grab irons are pre-bent but require a little adjustment. You just bend the “eyes” out a bit to line up with the pre-drilled holes. These are held in place with brass NB.
The brake levers are pre-bent and fit into pre-drilled holes.
I really enjoy the hinges. First, the castings are very clean. so there’s not much work to do. Once again, these parts are held in place with either brass escutcheon pins, or the brass NB (nut/bolt).
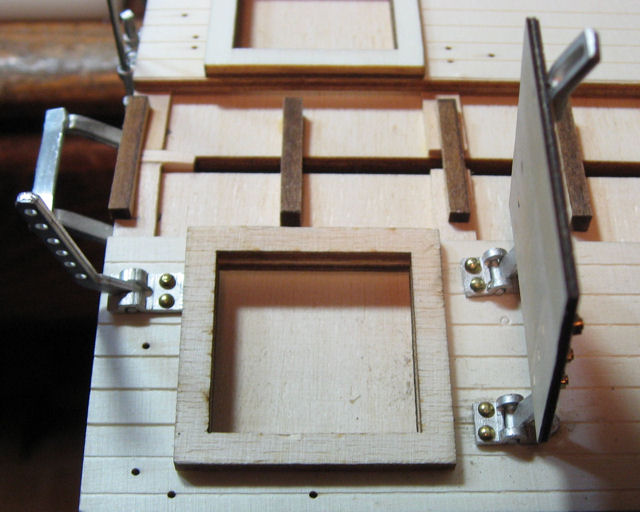
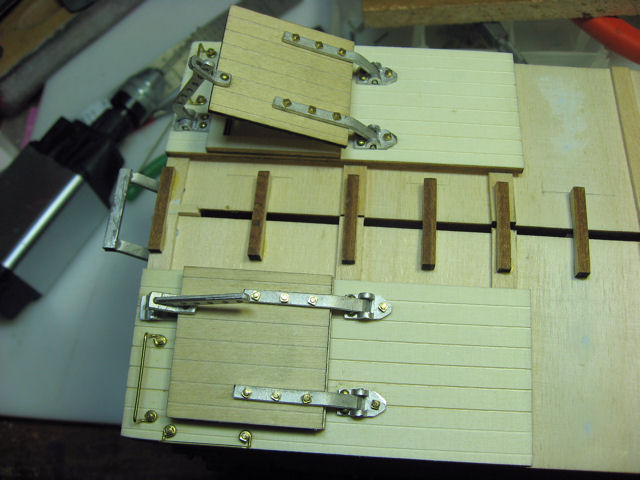
Each hatch has two hinge pieces and the latch assembly.

I first put some ACC glue on the hinges and then pound in a brass NB. Since it’s long enough to stick out one side, I position the hatch over a hole drilled in a piece of scrap wood so the NB can go all the way in. Then, the protruding end is snipped off and I move on to the next one. Once a hinge is done, I file down the ends on the other side of the hatch.

The hinges are bent down to fit and then the hatch is mounted on the reefer. The inside parts of the hinge are attached with the brass escutcheon pins, as they give needed clearance.
After the hinges are in place, I add the grab irons using the brass NB.
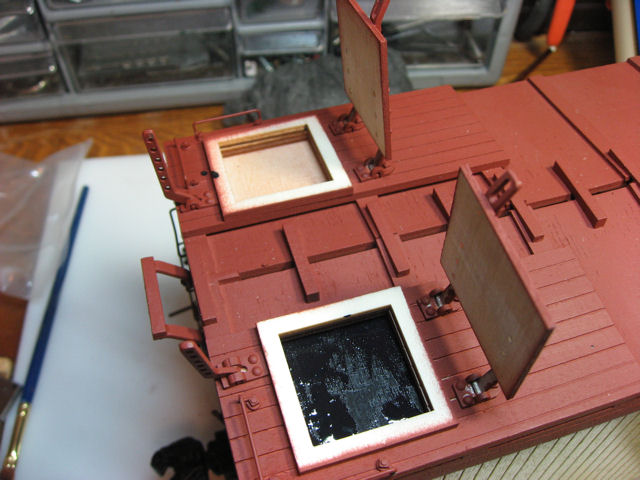
I test to make sure that the hinges work correctly - I can prop up a hatch quite easily.
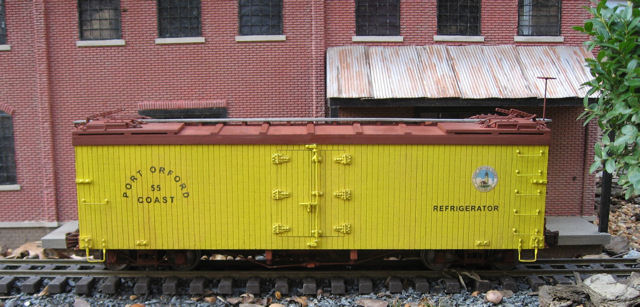
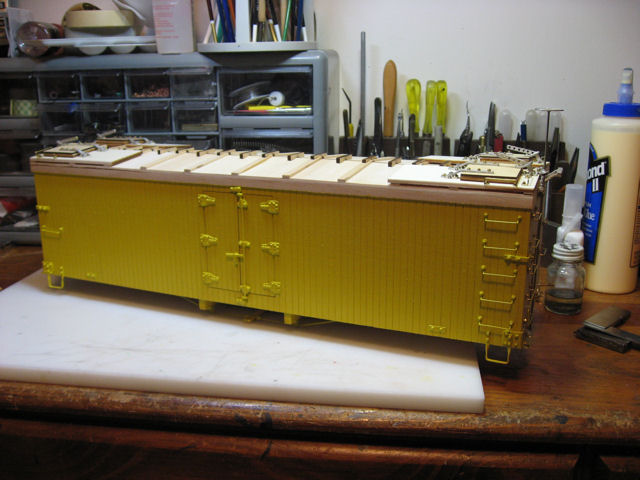
I use Krylon spray paint: the red is just Ruddy Brown Primer, and the yellow is for farm equipment. I decide to paint the yellow first and mask off the red area.
Then I mask the yellow area, with a combination of masking tape and some used printer paper cut to fit.
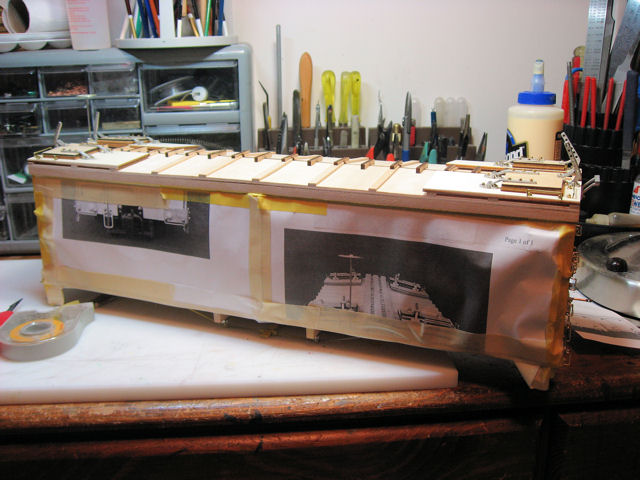
The results start to look promising. I also cut the roofwalks to length and put a coat of Weather-It on the wood.
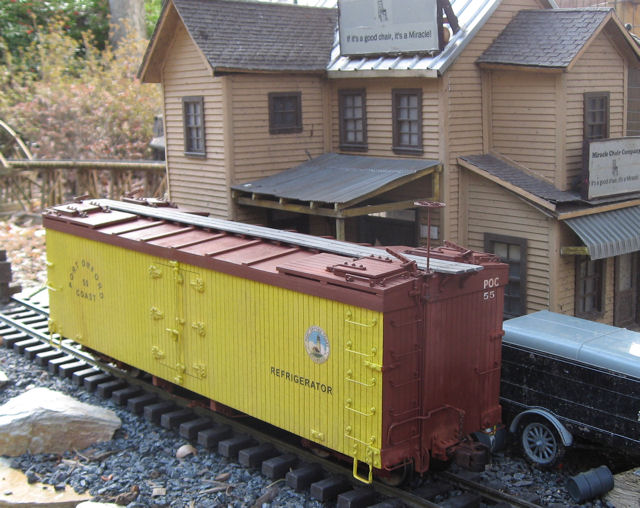
Phil provides some screws with the couplers I ordered, but I have some lag screws with hex heads that I think look better. (They’re available from Micromark #82676.) I use the stock screws to fill in the other set of holes. I don’t like spray painting the coupler, so I’ll brush on some paint later.
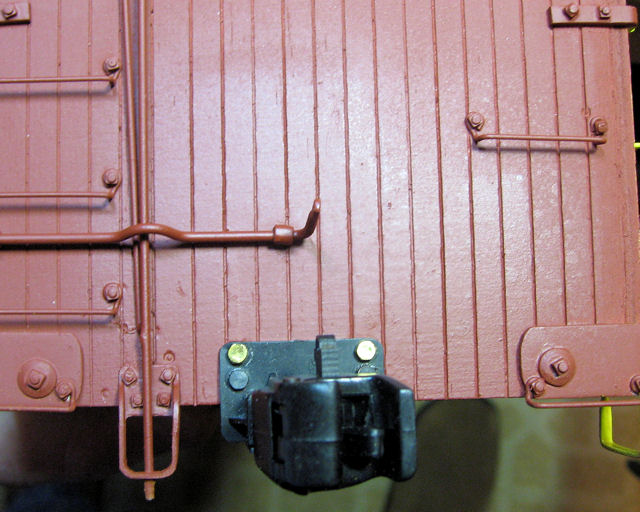
When I was painting, I left the hatches closed, and I’ll have to paint the collars. For now, I paint the inside black just so the wood doesn’t show if the hatches are cracked a bit.
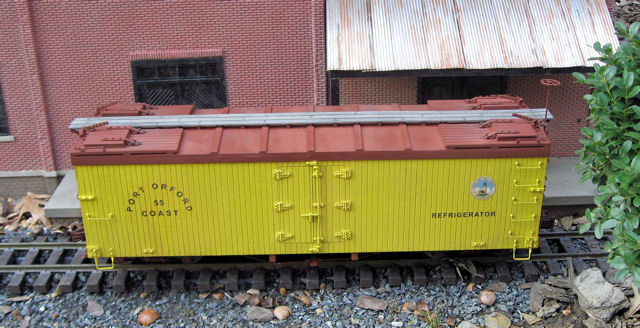
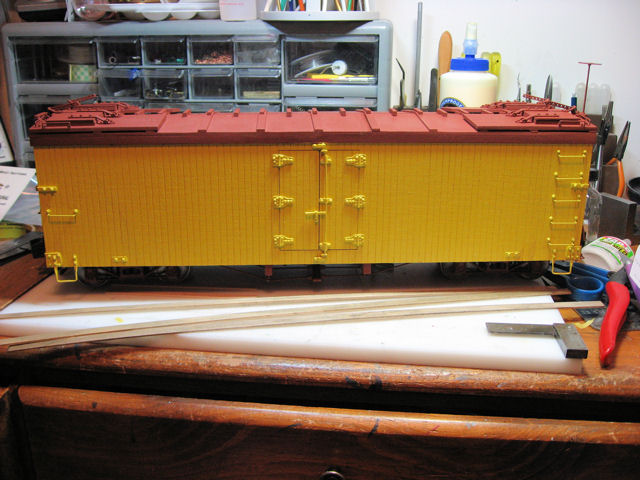
I add some chains to the coupler lift bars and complete the roof walk. I glue it in place and then use some sequin pins to help hold it down.
To finish it off, I first brush a mix of alcohol and India ink over the surface. This dulls the paint a bit and weathers it. Then I brush on some different shades of weathering pastels.