When Jean and I attended the ECLSTS at York in 2006, we also went to the Pennsyvania RailRoad Museum in nearby Strassburg. It's a great museum with lots of good stuff to look at. I was intrigued by one particular piece of rolling stock there.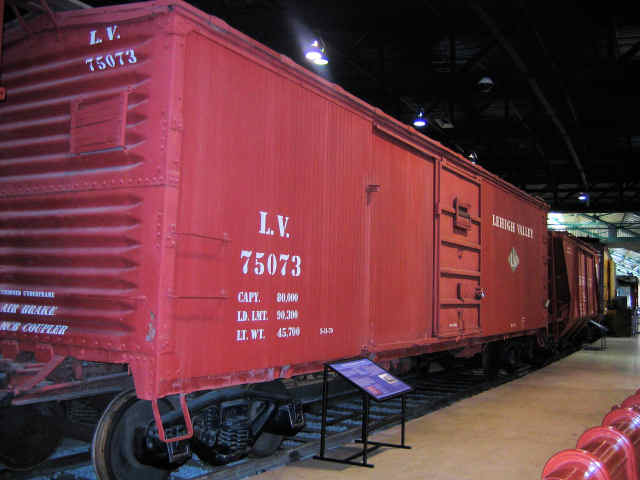
It's a composite car. It has a steel underframe, stamped steel ends, and wood sides. It could make a neat model, and I wouldn't have to mess with any truss rods. However, the stamped steel end looked like a lot of work.
Bob was interested enough to build a master for the ends and cast them in resin. I ordered enough for a total of four cars; to date, I have built two of them.
I started with a piece of 1/4" acrylic I had in the parts bin and cut it to size for the base. I used some stryene (.25 x .375) to reinforce it.
Since I would be using Accucraft couplers, I cut the coupler pockets off the cast ends. 
I glued some angle to the back of each end to reinforce the corners once the siding was in place. Bolsters were made from styrene strip and glued in place. The trucks are Aristo-Delton arch bar with Sierra Valley 24" wheels.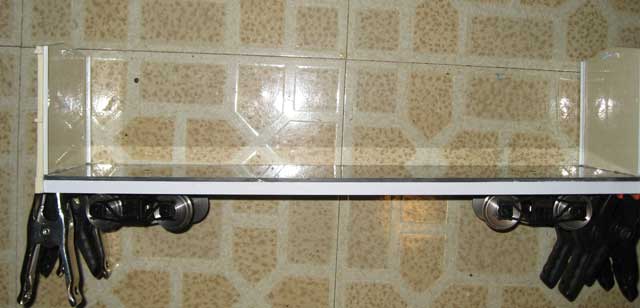
Ladders were built using styrene strip and brass rod bent to size. They do look a little crooked here, but straightened out nicely once glued in place.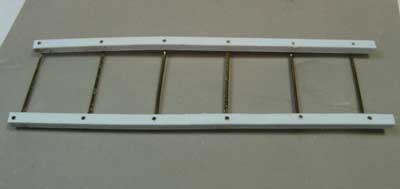
I used Evergreen Styrene scribed siding for the sides. It's available in 24" lengths. Styrene sheets were used for the roof pieces. Carlines were made from .060" x .25" strips.
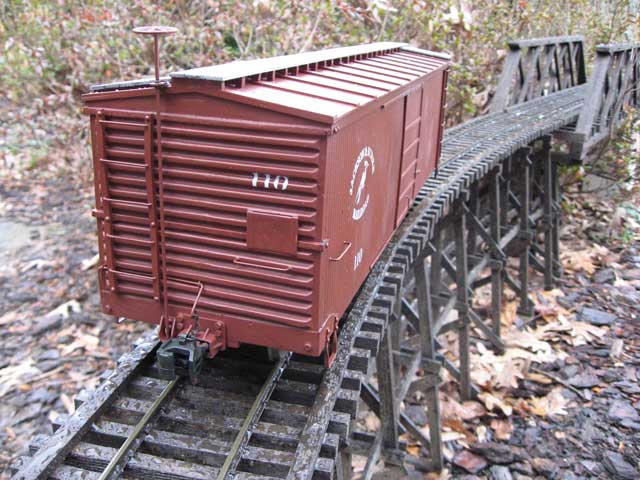
The roof walks are based upon an idea from Gary Buchanan when he built his neat EBT steel boxcar.
All of the roof walks are made up of at least 3 pieces. Take some .100 x .125 plastic and cut them into one inch long pieces. Next, take some .060 x .125 and cut them into .125 lengths (basically a square). These are your legs and just glue them onto each end of that one inch piece. Finally, take the .060 x .125 strip and cut them into one inch strips and glue them to half of all your strips. These will be the tall supports that are placed between the carlines. It's a bit tedious, but doesn't take all that long - and once glued in place it's really hard to see that they're not full supports. I usually take a file along each edge of the support before I put them into place, so you don't see any of the seams. 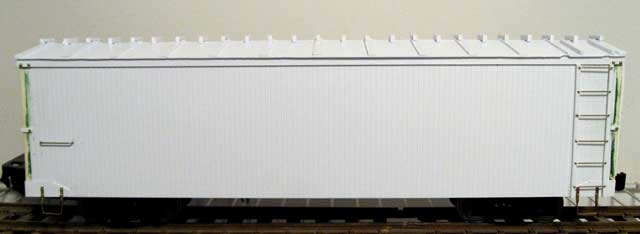
I used some brass lag screws to make sure the ends would stay in place. Accucraft couplers were bolted in place using the same lag screws.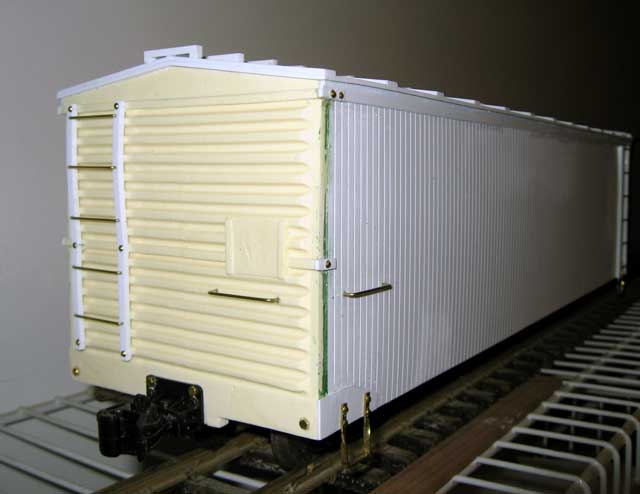
I made coupler lift bars from brass rod and mounted them using brass eye pins. I built the brake end from some brass strip.
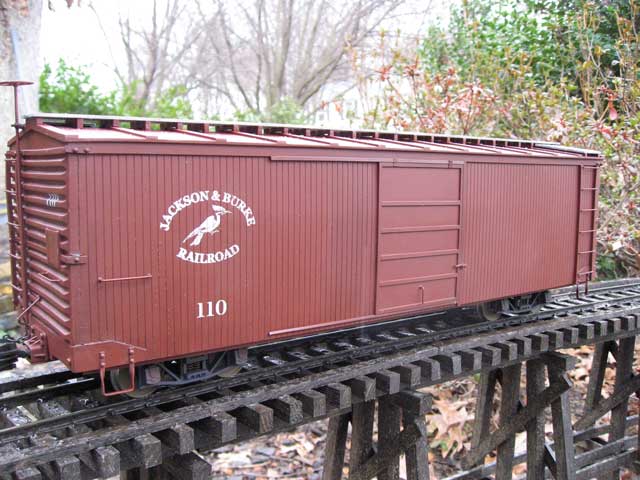
The door was made from a sheet of styrene with some thin styrene strips glued in place. 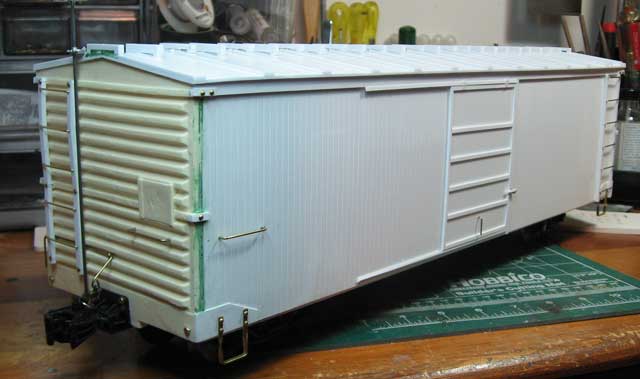
The car was painted with Krylon ruddy primer. After it was painted, I added the wood roofwalk. It is weathered with an India Ink and alcohol mixture.