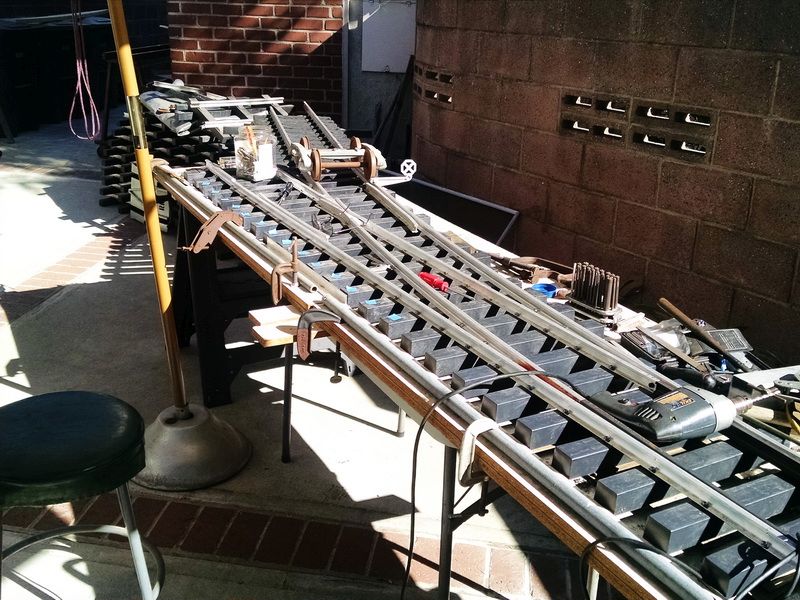
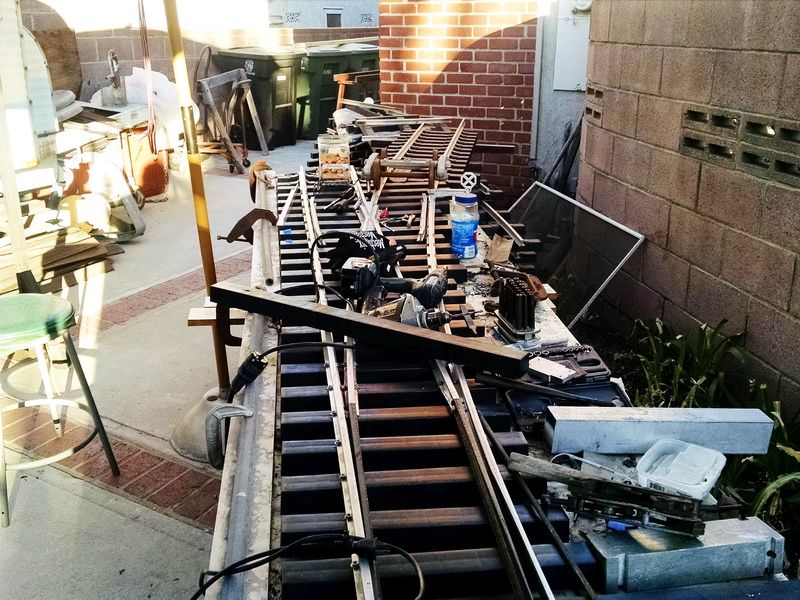
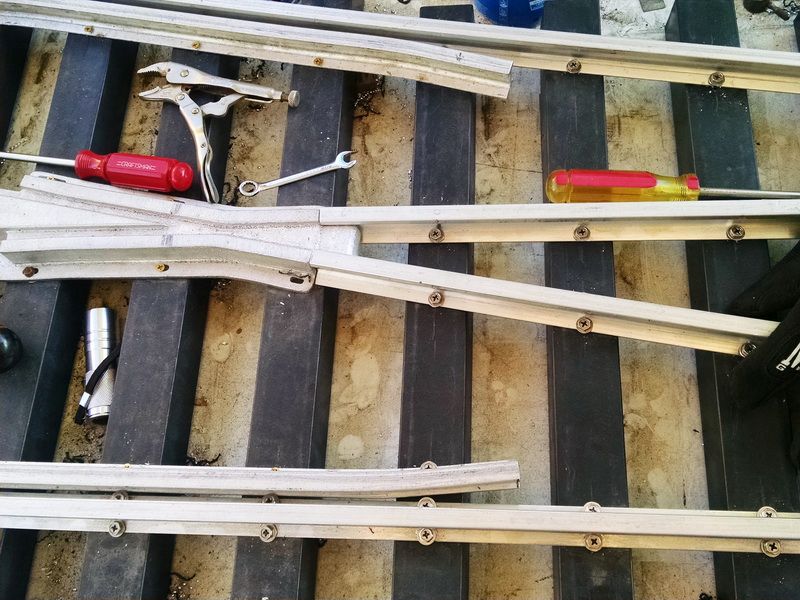
Well I don’t know how many of you are watching this, but today was a big day…I finally finished this 7.5 inch gauge #5 turnout. So now I have cleaned off the assembly table, put my tools away and vacuumed the dust, dirt and removed any other miscellaneous crap. Surprisingly I didn’t lose any tools :)!! A few photos of the completed turnout project. Like I have mentioned before, I will NEVER build another one of these from scratch. Way too much work and very time consuming. I have about $225 in this for materials (includes rail, points, cast frog and stainless steel screws). The rest is all labor for the machining of the rails, which I did myself. I could have purchased the full kit (like Randy Lehrian did) for an additional $400 and had the switch completed in 90 minutes! Not the many months it took me :(! But I DID get the satisfaction that I could actually build one of these if I had to :). Below are the photos I took this morning and later on in the day, of the completed switch.
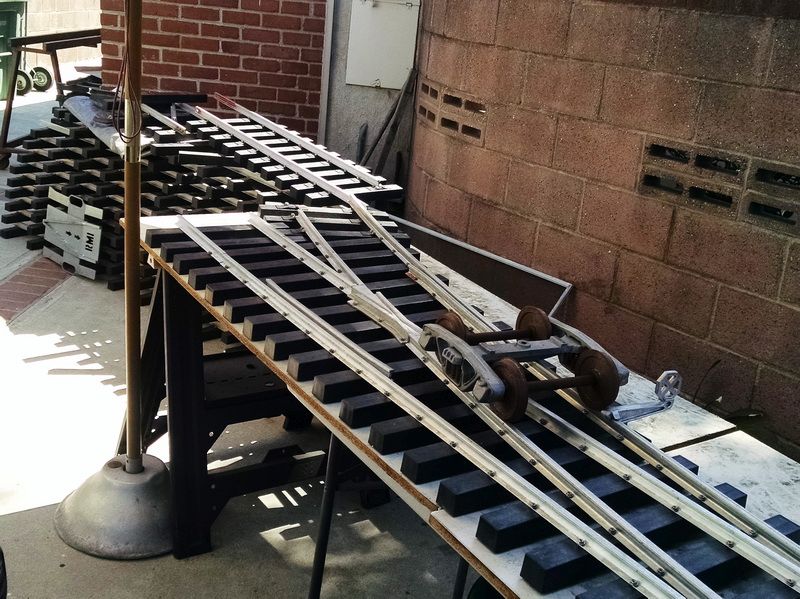
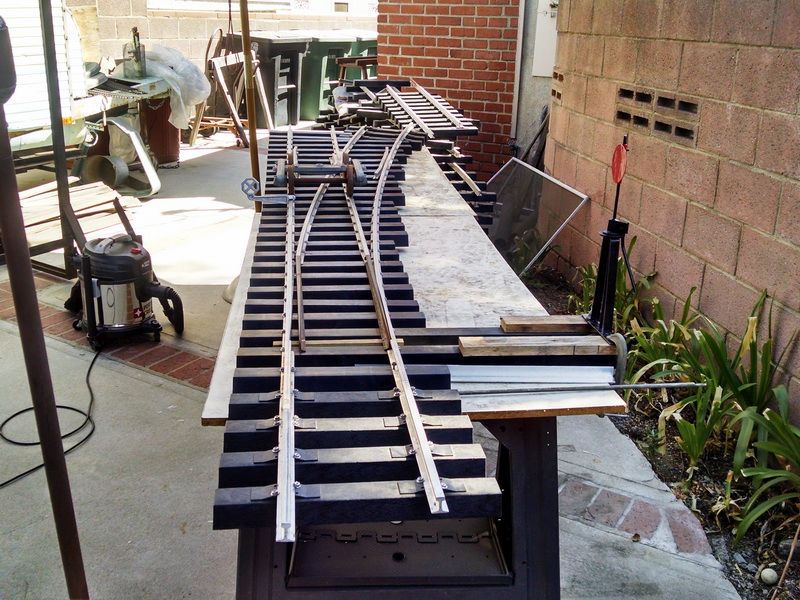
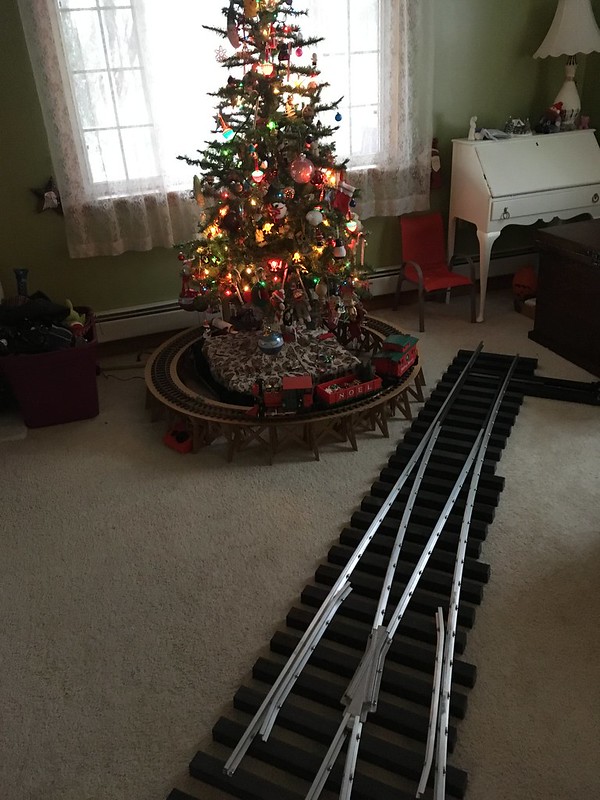
The tail track for the diverging route is in the background. About 4-1/2 feet long. This track will eventually lead to my 10 ft. lifting rack (when the switch is on the ground) and then I can roll the cars and engines off of their storage racks, lower to the ground and roll onto the switch and the mainline of my layout. No “five finger” lifting tools with this scale!
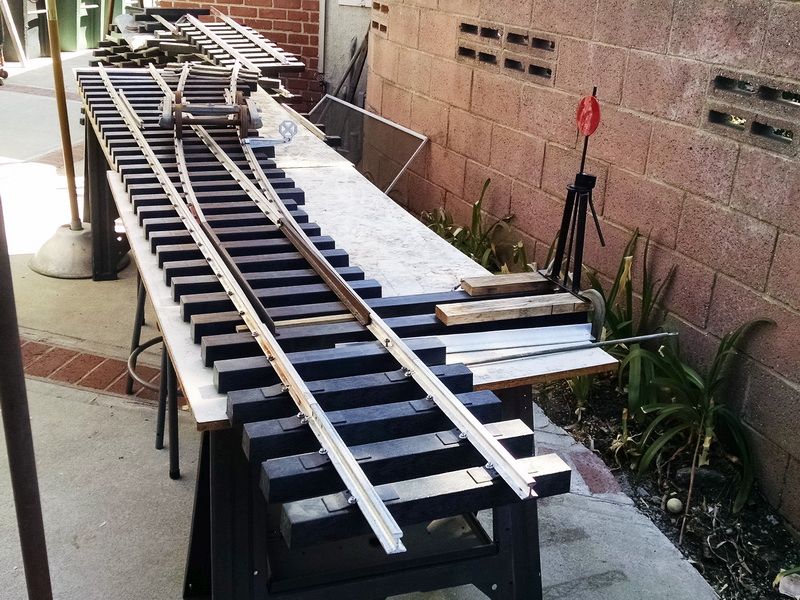
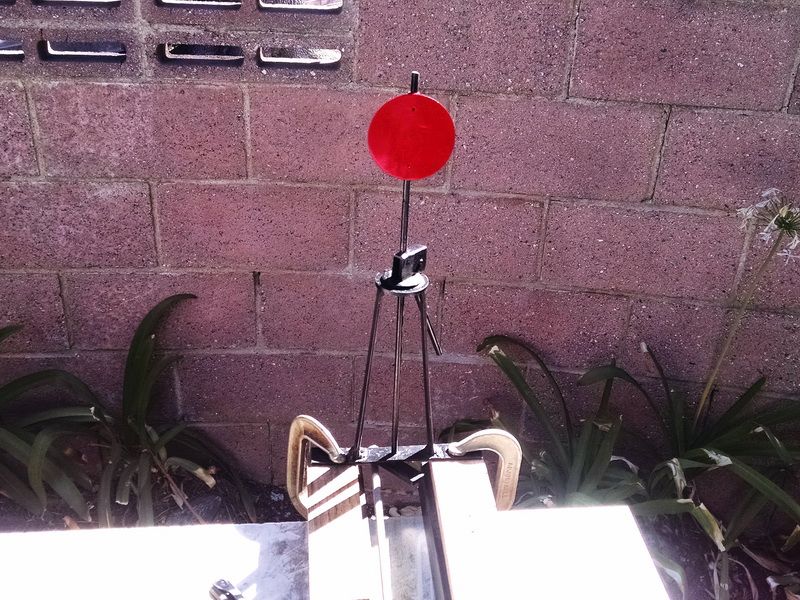
In this shot, I was adjusting the switch stand target to “read straight”. Everything is fully adjustable on the miniature switch stand.
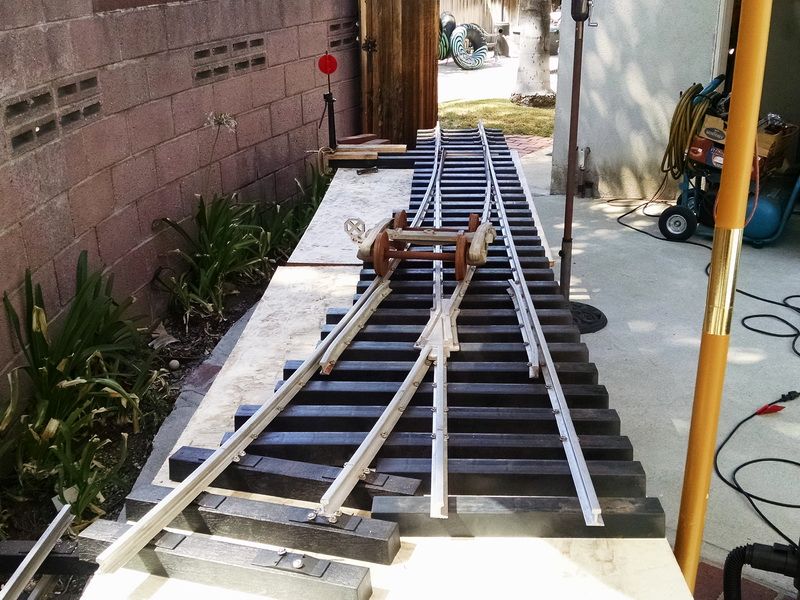
Checking the switch stand target position. The short line continues through the open gate to the backyard (about 25 feet, between the palm trunk and the garage. I COULD put a bridge back there and go over the pool…naw, I don’t think that would go-over very well with the CEO. 
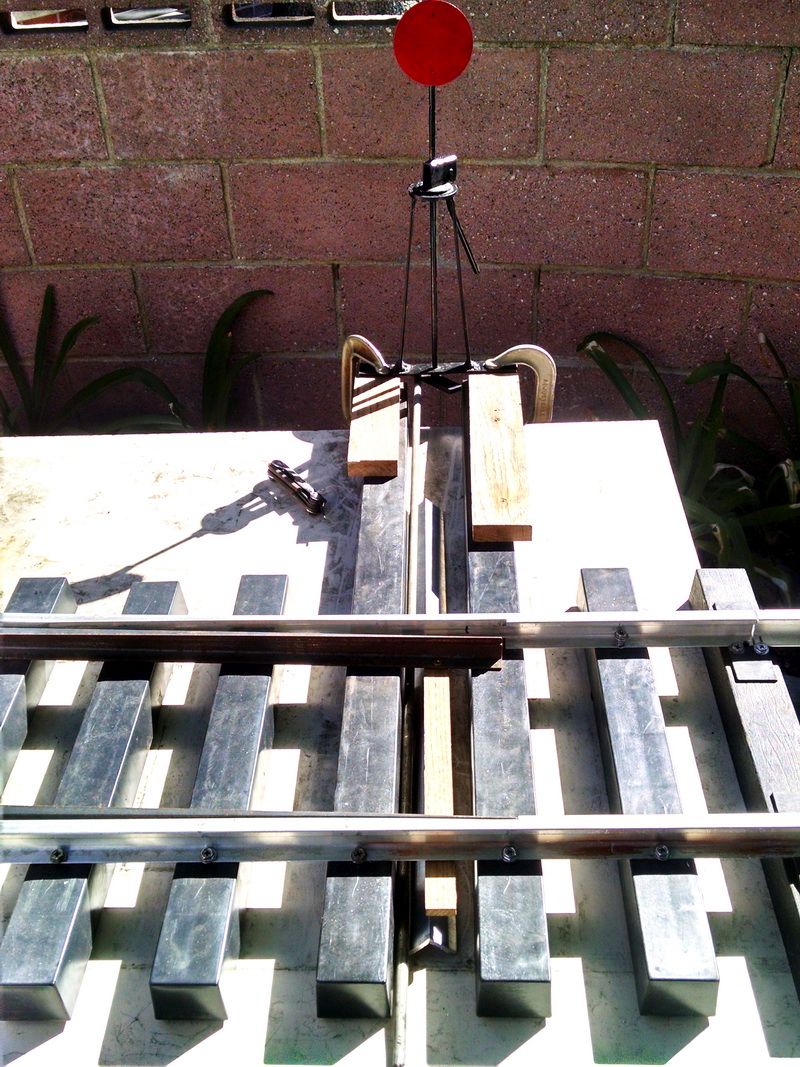
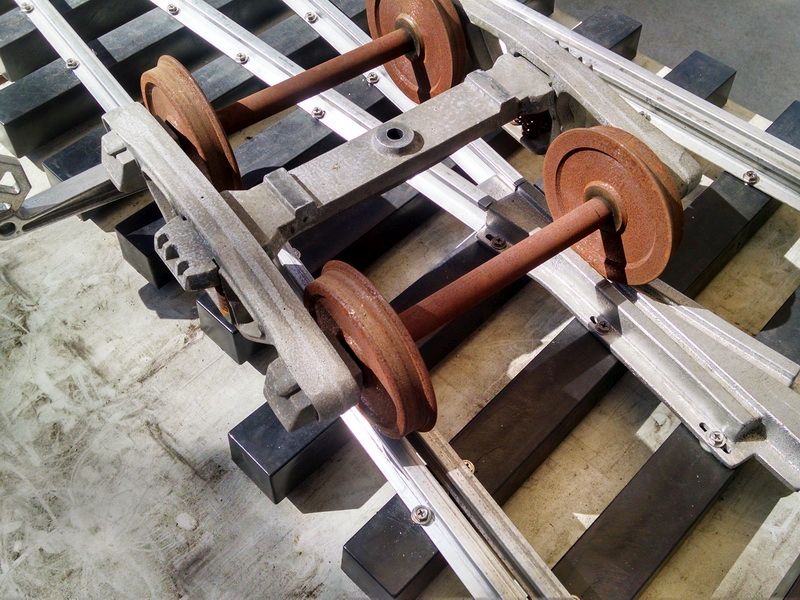
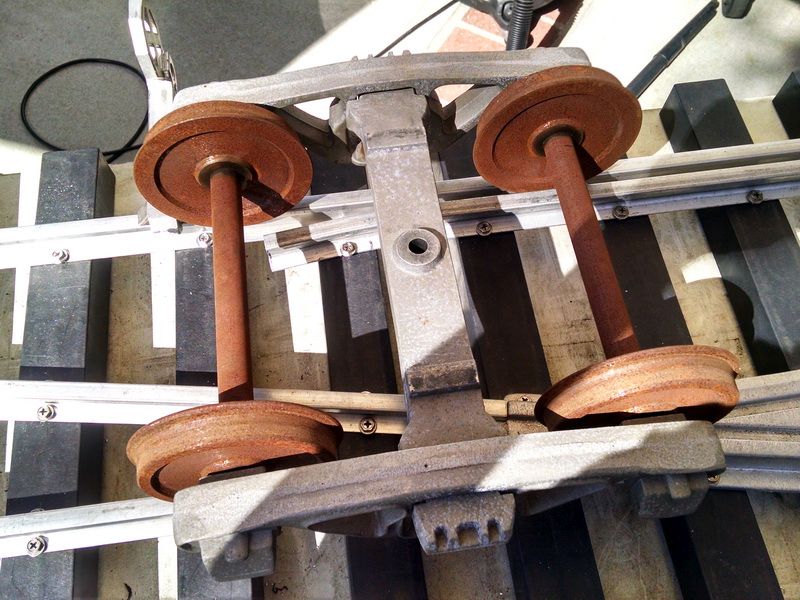
Test trucks on the straight section and the target lines up.

Working on the miniature switch stand getting the parts lined up for the throw bar and mechanism.
Switch stand and parts for throw bar. I have to machine aluminum spacer blocks to replace the wood spacers in this photo. A little bit of “tweaking” to make this stand work with this switch.
Another shot of the switch stand. It stands about 18 inches.
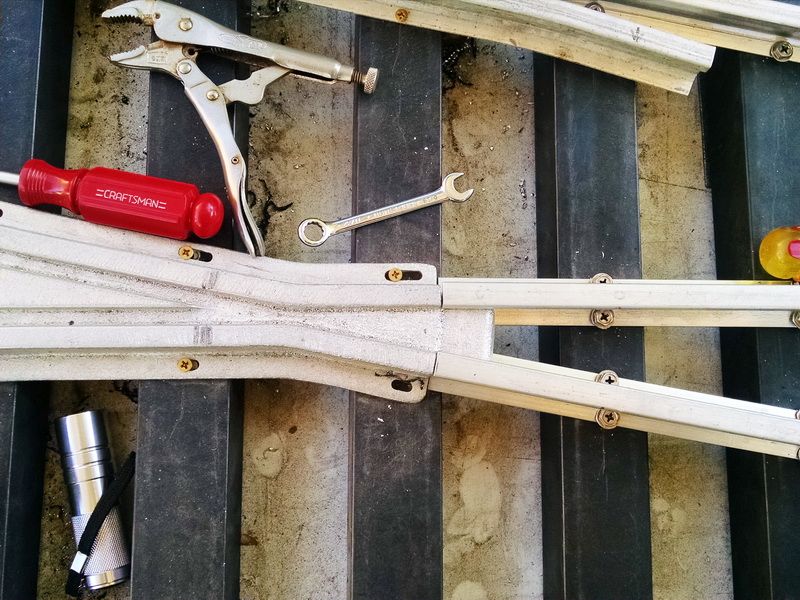
Close up of the frog and one of the guard rails.
Straight guard rail and frog.
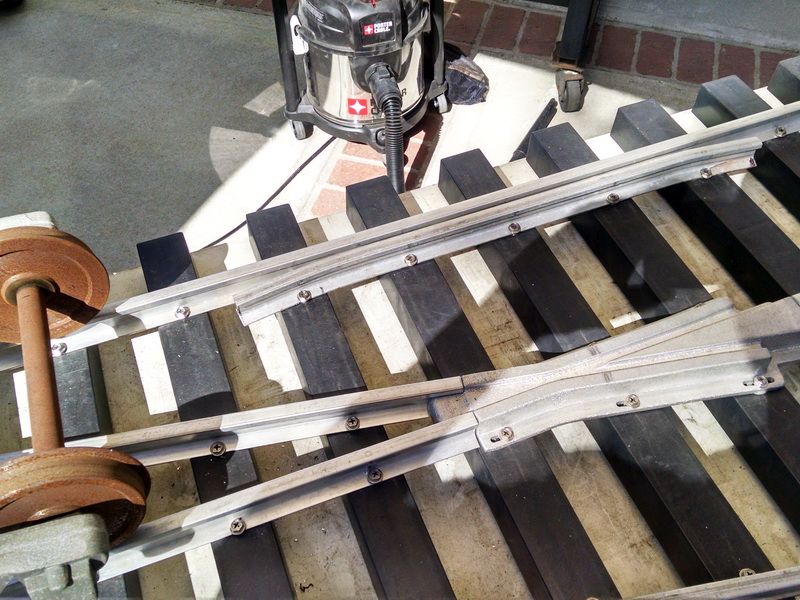
Straight guard rail.
Now I have one last item to install…the switch stand. I have a couple of days of machine work to do for spacer blocks and throw bar. Attach two compression springs on both side of the point throw so that when the switch stand arm is moved, the springs will take up the extra movement and lock the points in place. I’m hoping that with the compression value of the springs, this can be a “spring switch” and I can put an engine or car through the points and it will snap back into position (much the same way and spring switch works in the garden variety of turnouts. This is an experiment…we’ll have to see what happens in actuality.