Large Scale Central

Wheel Car Bash

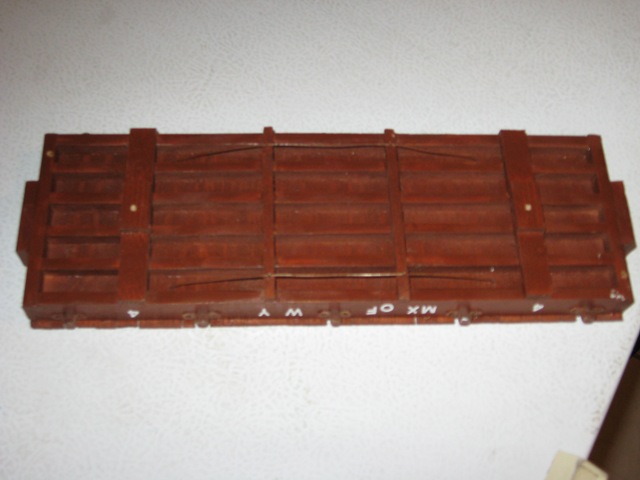
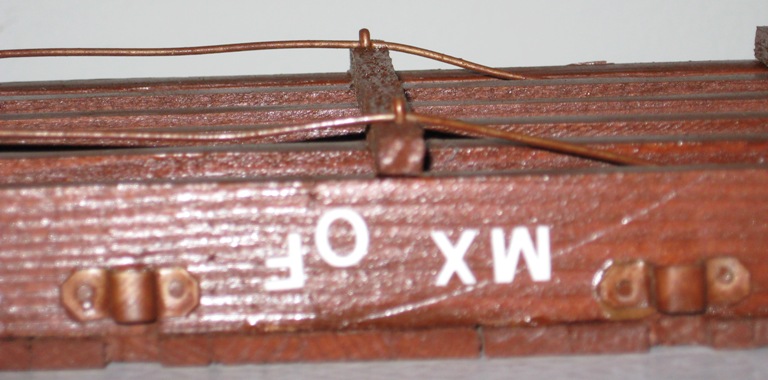
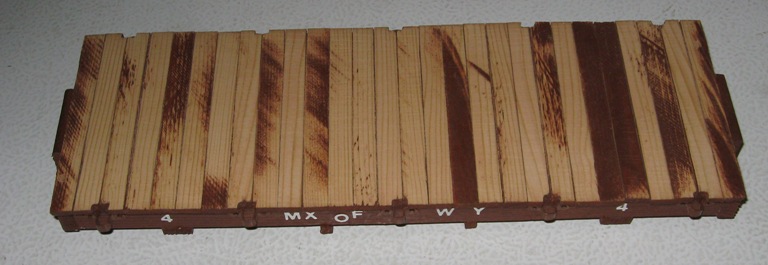
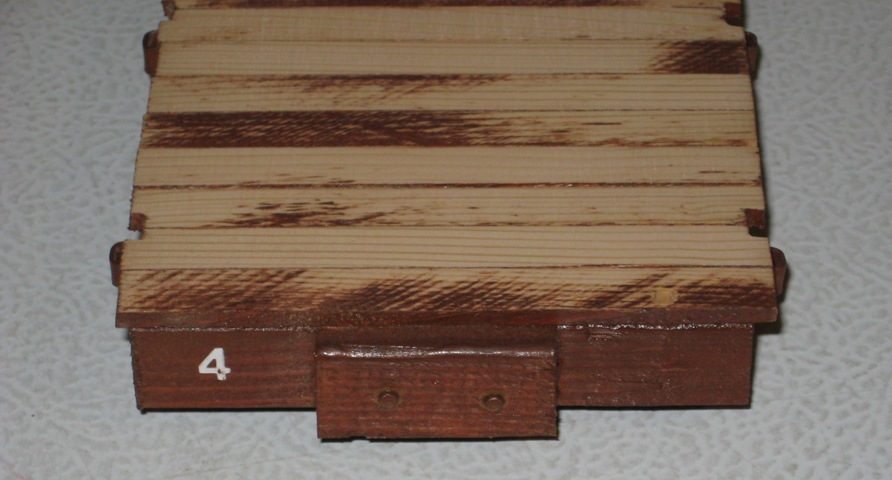
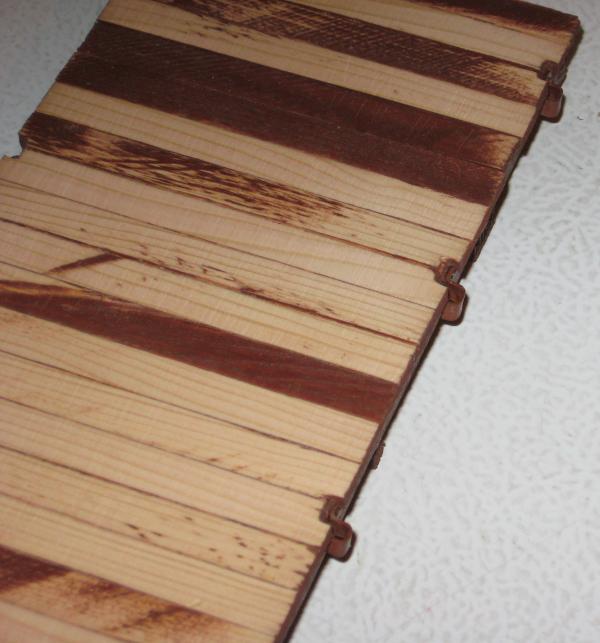
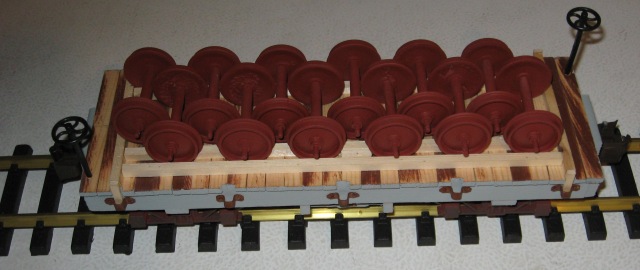
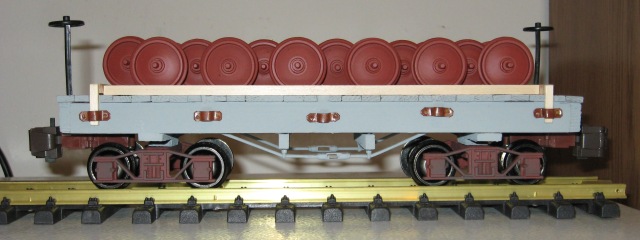
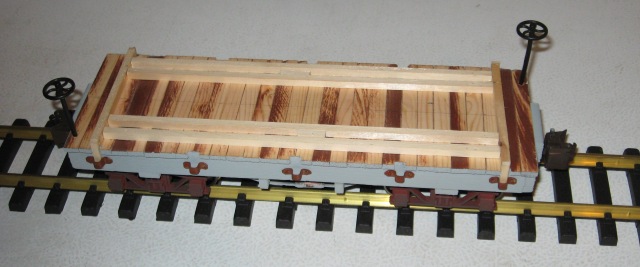
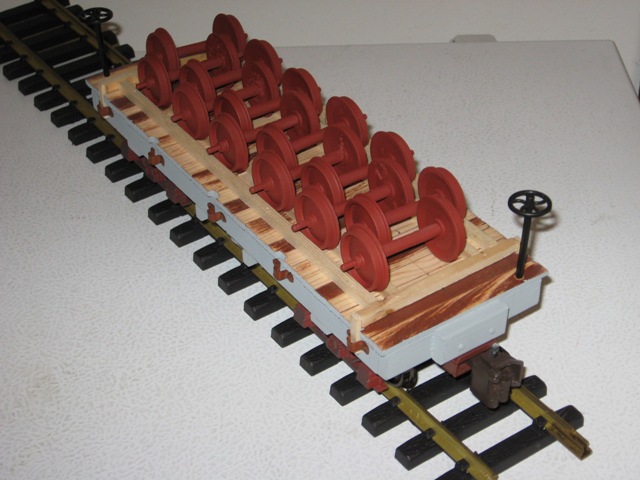
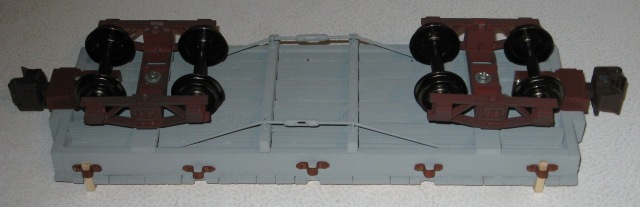
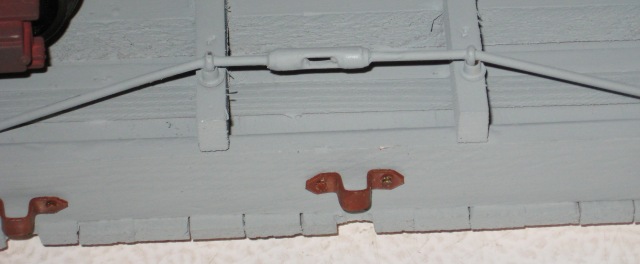
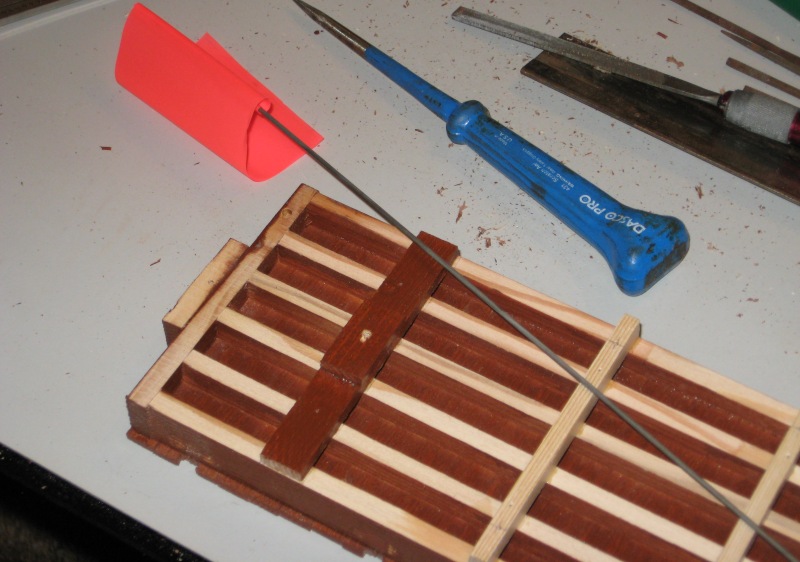
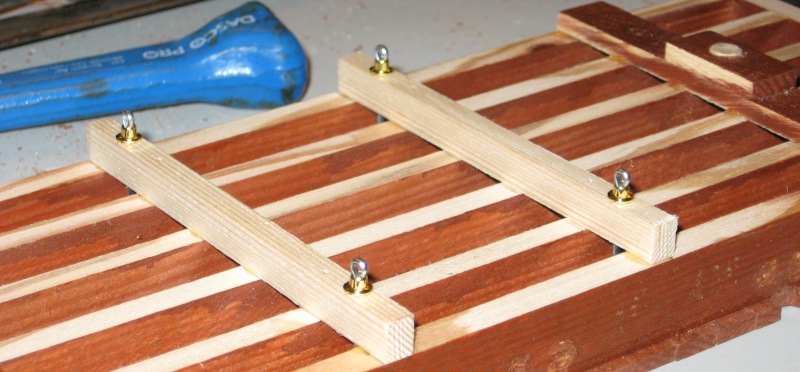
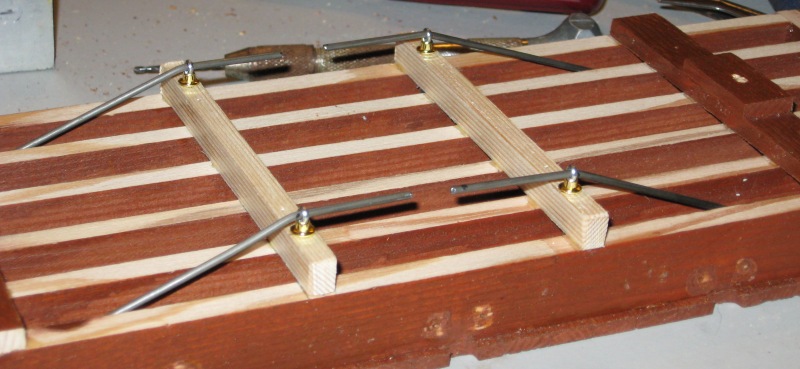
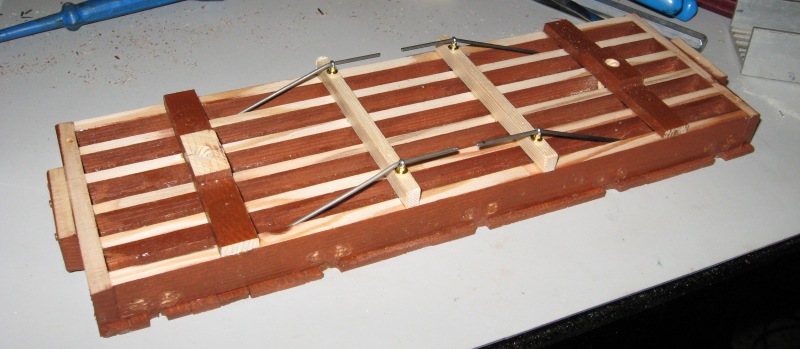
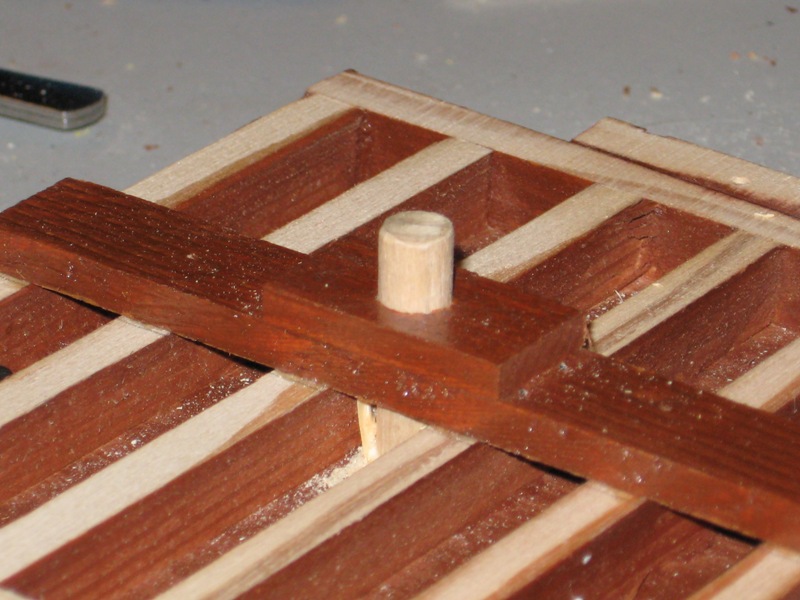
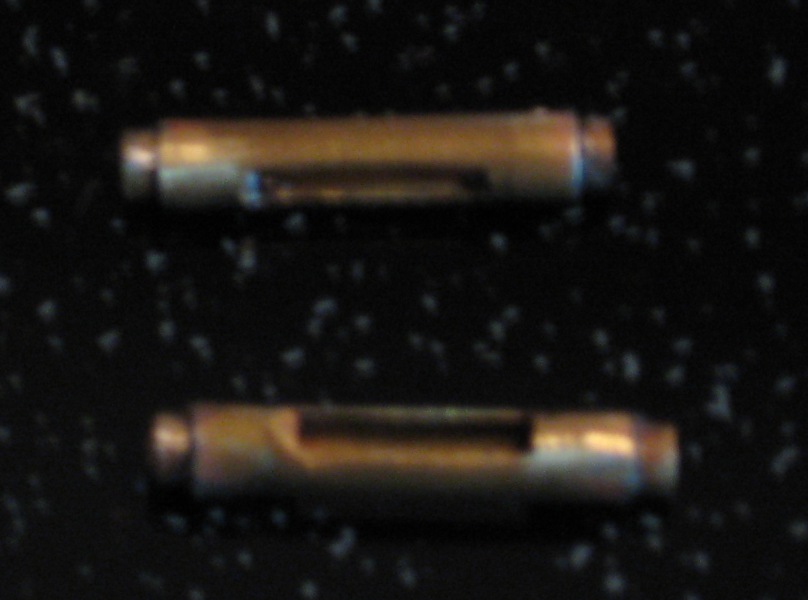
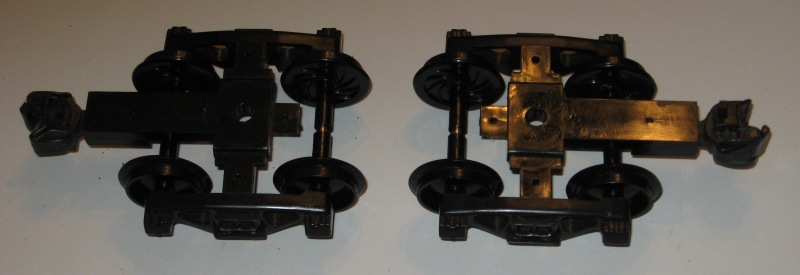
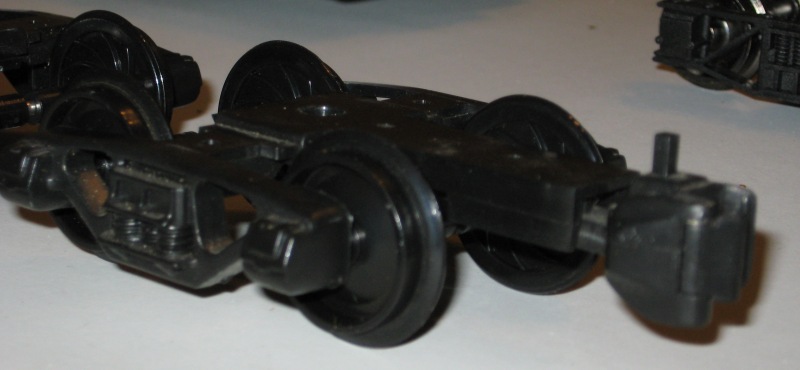
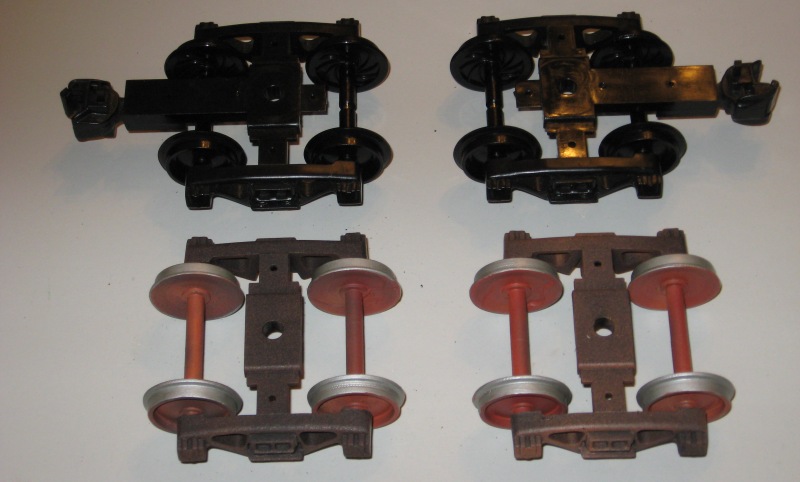
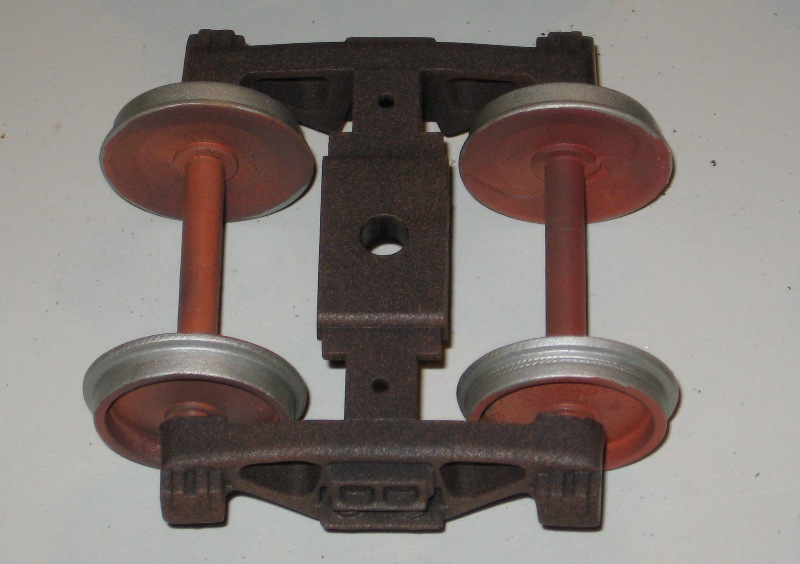
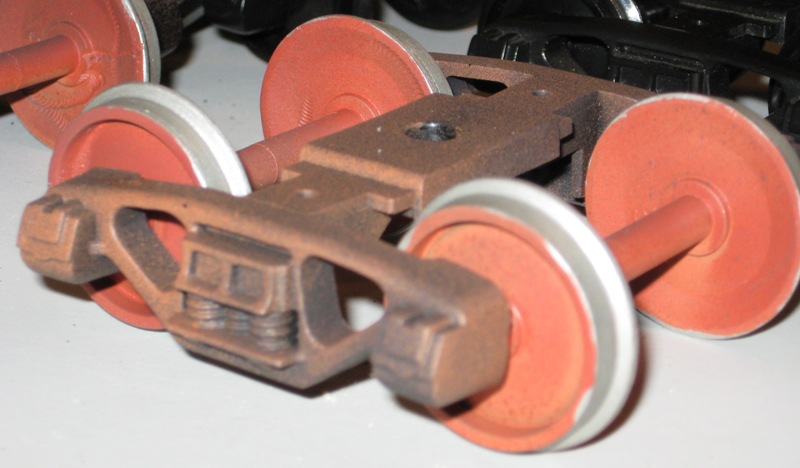
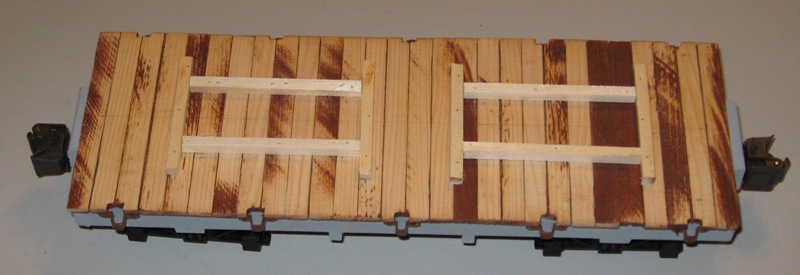
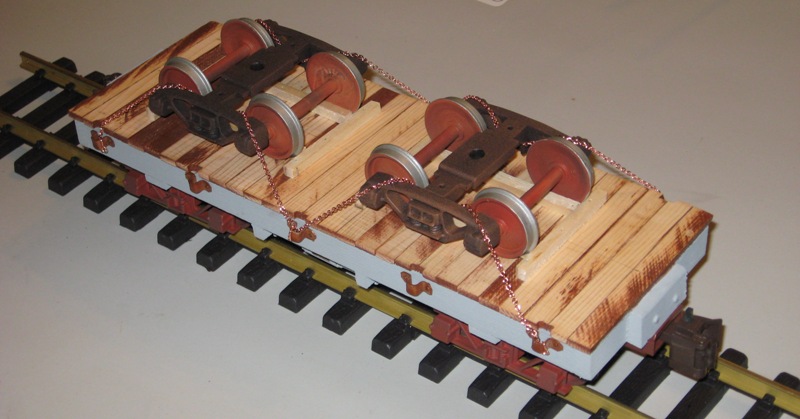
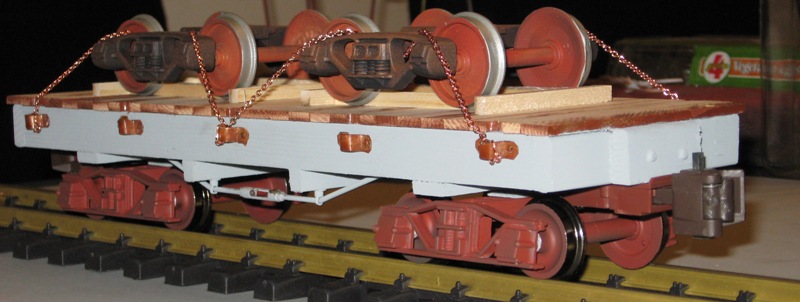
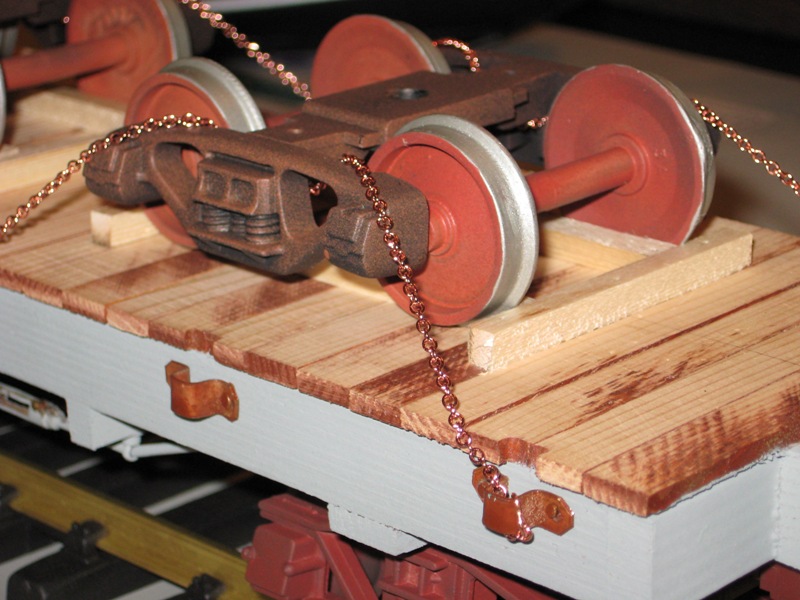
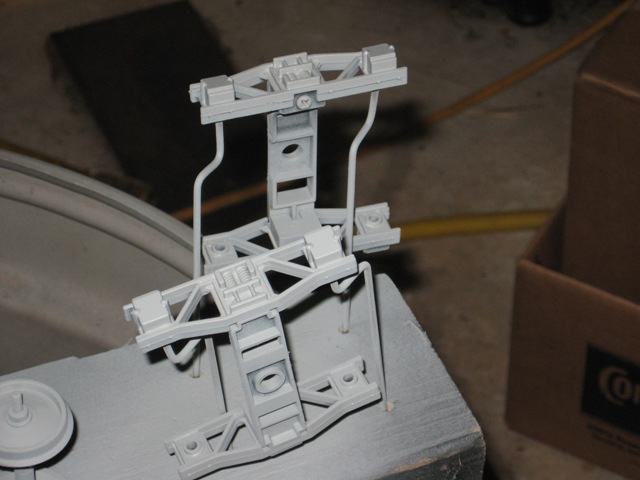
A bit of background… I picked up a lot of cars my club was selling off for a real good price, intending to keep only the trucks and couplers. After a bit of studying, I am in the process of bashing a couple of them. For this particular bash, I started with a hand made flat car of mediocre quality and have decided to make a wheel car. Unfortunately I started the bash before taking photos of the construction of the car itself, but will pick up here with the load and the trucks that will go under it. For the load, i have taken some plastic wheel sets I have (like I think everyone has) and started by using a Dremel with a small burr and my drill press to reduce the flanges down to something near proportion. Makes a heck of a pile of plastic chips that seem to get everywhere. Again I didn’t get pics, but will make another just for the pics. I am going to try the painting method Jon Radder mentioned in his thread on “Up-Scaling a Delton Classic to FN3”. Here are the starting point pics for the load and truck frames.

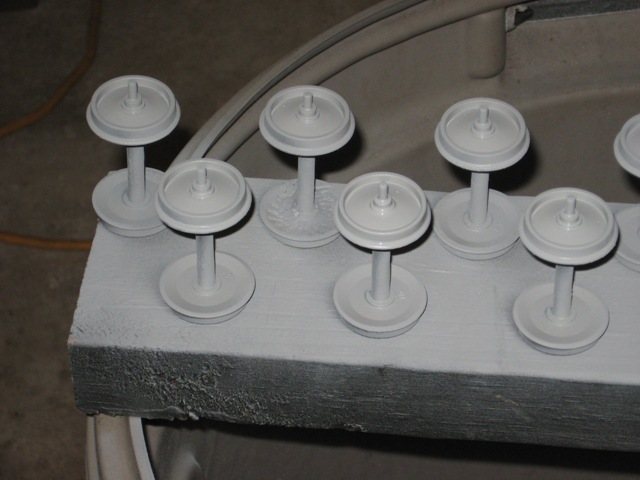
I chose the grey primer as a base to slightly lighten the darker brown I will be starting with. I am afraid the brown on the black wheels will be too dark when the black is over sprayed on. More in a couple of days. Got a motorcycle to fix and a grandson’s graduation from pre-K interfering with train time. :slight_smile: Thansk for looking.

Lets add a bit more to the background. Although I moved along on the wheel car, here are some shots of the sister (and for all practical intents and purposes identical) car. Although removed and already modified (coupler tongue and coupler remove), the cars were provided with Bachmann trucks with plastic wheels and the Big Hauler black delrin couplers. One of the cars was empty the other had a load of two rail trucks. The cars appear to be painted/coated with possibly a stain/polyurethane type finish, over fairly rough sawn pine. First first two shots show the overall underside and close up of the needle beams and truss rods.

I took both cars at the same time and block sanded the top deck to get it a bit flatter than the original condition. As can be seen from the photos, the plank thicknesses were considerably different. Whether that was deliberate or not, i don’t know, but I wanted something better.

And lastly a couple of shots showing the end beam and stake pockets as received.

That’s it for now. More to come.

OK folks, here are the latest pics, almost complete. The first three pics are the relatively completed car. I still need to get some decal paper and letter the car.

I replaced the needle beams with 4" x 6" ones. More prototypical, I think. I used some steel wire from survey flags for the truss rids. I used three stepped sizes of brass tubing to make the turn buckles.

…and a detail of the turnbuckle. I used the simplified method described in Garden Railways magazine to make the queen posts. A grommet and a cotter pin.

Next will be the sister car. I plan on using an old pair of Lionel trucks, cuz I can’t find anyone’s steel wheel sets that will fit them, as a load. Will most likely reduce the flanges as I did here, along with removing the tongue and some paint. Thanks for looking. Bob C.

Nice Bob! Looks really great.

By the way, if you trim the end of a Bachmann metal wheel axle it will pop into the Lionel truck. All my lionel rolling stock uses these wheels as I did not want to buy 100 pair of replacement trucks! Then again they are not the greatest trucks either and would make a fine flat car load too! Can’t wait to see it together with your wheel car!

I just drilled out the journals on my Lionel trucks - only had a couple of pairs - enlarged the hole and shoved in some (I think htey were my regular) San-Vals. Good enuff…

Used to be a rivet counter - now I settle for quick and dirty fixes. Prolly more prototypical anyway!!!

Sometimes I wonder if one day I’ll become fussy again. I doubt it; having way to much fun running trains to be fussy!

But I appreciate all the tips on this thread - Bob’s turnbuckles and queen posts, Mark’s trimmed axles. I bet I noticed that at the time but preferred to leave them & just enlarge the holes! As I recall, the Lionel sideframes were factory-drilled right through already anyway…

Thanks for the posts guys, good improvements, Bob!

Now let me see if I can get better at this ‘Build Log’ thing. I don’t think anyone is really interested in the demolition, so suffice it to say I removed the old truss rods and needle beams, and the stake pockets. Stake pockets will be reused later. The bottom of this car was considerably more uneven across the car and had a distinct arch in the center bottom. The top seemed to be fairly flat as the earlier photo after a bit of block sanding shows. The first picture shows the bottom of the car after a ride on the belt/disc sander making everything flat and level, with the existing truck bolsters and new needle beans in the same location they were removed from.

Next is the bottom of the car with a ‘Survey Flat’ that will be used to fabricate the truss rods. The flag is made from a fairly mild steel that is about .060 diameter and relatively easy to cut and bend. Notice the marks on the needle beams in preparation to drill 1/16" diameter holes for the cotter pin ‘Queen Post’.

Below I have mocked in the ‘Grommet and Cotter Pin’ queen post as described in many of the Garden Railways pull out plan sets. Once complete with the truss rods and painted, they don’t look too bad (as long as you follow the 10 foot rule).

And last for this evening, the mocked in truss rods.

Next installment will be a couple of days out. My granddaughter is graduating the 5th grade on Wednesday, so tomorrow evening will be a travel evening and no progress on trains stuff. Home sometime Wednesday afternoon, with some chores to catch up on. Next I will describe with some photos how I make the turnbuckles and install the kingpins for the trucks.

Mark and John,

I only have that one pair of Lionel trucks, I got them on a Reefer I liked and immediately replace the entire truck with a Bachmann as that was my standard at that time. It is amazing how you shift perspective on ‘your’ railroad as you learn and become more familiar with the 'G’eneral scale hobby we have chosen. I am now concentrating more on my 1:20.3 narrow gauge and am leaving the standard gauge and more modern equipment to my wife and kids/grandchildren (no the grands do not yet run them). To me the narrow gague stuff just has so much more character than the modern diesels.

Bob C.

Nice looking car Bob.

Bob the car looks great. I like the size.

Thanks for the positive comments, they are appreciated. @Shawn - The car is a bit over 11 1/2" long, so in 1:20.3 it is about 20 feet long. When I finish these two, I will be scratching a couple more. I have some old queen size bed frame caster wheels that look amazingly like barrels, and scale about 48" at the widest. i think a car load of 6 of these barrels of ‘Fr Fred’s Holy Water’ would be quite nice. Being as I got a bit more done today than anticipated, here is some further progress. Next in the process is to locate the king pins and get them installed. Neither of the original screw holes was quite in the right location, and one was damaged and needed to be plugged before final king pin location could be established. After location, I drill a 1/4" diameter hole using a Forstner bit to keep the hole clean.

Next, cut a couple pieces of 1/4" diameter Birch dowel so when the dowel is glued in the holes it will stick up proud of the bolster by about 1/4" (the thickness of the truck bolster on a Bachmann truck in this case). I will locate and drill the pilot hole for the truck mounting screw later (after the glue dries).

The turnbuckles are made from three different telescoping diameters of brass tubing. I cut the largest diameter about 3/4" long. Next comes getting the general shape of the turnbuckle. Using a dremel with a small burr tool, cut away part of the tubing on 180 degree opposing sides to simulate the main body. The two smaller iszes will be cut to implicate the nut portion and fit properly on the previously installed steel truss rods. Unfortunately, my little Cannon will not get in close and personal so no pics. I will beg off on the SWMBO to let me user her Digital SLR and maybe I can get a pic or two of the completed turnbuckle before installation on the truss rods and definitely before paint. Bob C.

Bob - I like that dowel idea. I use Aristo/Delton truck on stuff I build and they have the same mounting as the Bachman trucks. I have been using a tube to make the truck hole smaller and then using a screw through.

Bob Cope said:
......the narrow gague stuff just has so much more character than the modern diesels.
Yup.

Jon,

I thought of modifying the truck, but then realized that if I do that I will not necessarily have total interchangeability among all my equipment. That was how I came up with this brain hemorrhage. Keep all my trucks the same, and I use them on almost anything that rolls on 45mm track. And all it takes is a standard screw and a flat washer to keep it all together. I also tend to make one screw fairly tight so the truck has very little side to side play - rotation only. The other truck I leave a bit freer allowing the car to act somewhat like a 3 legged stool. Not perfect, but it keeps the rock of the car to a minimum and allows for a bit poorer maintained track.

Bob C.

Is it done yet?
:wink:

Rooster, it is getting close. I completed the turnbuckles and soldered them in place and painted the main car body tonight. Will be going to my daughters tomorrow night in preparation for the club meeting on Saturday. Will have the wheel car behind my Connie, and will take some shots on the layout.

I misplaced one of the two Lionel trucks I was going to paint for a load for the second car, so now I am looking for something else to make do with. I am sure something will present itself.

Bob C.

David R., et al,

Am getting some unexpected guests thru Friday, so hobby stuff is going to be put aside. I promised some photos on the layout, but unfortunately, the monsoons hit North West Florida Saturday, so no pics. Standing water about the layout was ankle deep, the drains could not keep up. Next time I got over there I will get some shots.

Everyone have a great week. I will be reading on lunch hour at work, but most likely will not post unless it just can’t wait.

Bob C.

OK folks, had a great visit with a niece and her hubby and 3 children (hubby and kids I had not yet met). Not a train family (YET!). Back to the bash. I did manage to get a mediocre picture of the turnbuckle fabrication before I installed it in the car. It at least gets the idea across of how I put it together.

Next, I finally found the other Lionel truck I was looking for. I cut the excess tangs off the front and rear side of the bolster and filed them smooth. I am going to turn the flanges down on a set of plastic wheels, the same as I did on the wheel car. I had forgotten that these were a Bettendorf (I think) cast side frame, so I am thinking of leaving the truck and side frames dulled black, with a very light overspray of a ‘new rust’ color. the wheel sets will get a total new rust treatment with the tires painted a silver to represent newly turned wheels. Looking for opinions/observations. Bob C.

Well folks, I got going again and finished the car this evening. I also found the second Lionel truck. The Lionel wheel sets had a gap in the center of the axle which I didn’t want to see in the finished model. I found a set of old Bachmann wheel sets that had some real mileage on them. I turned the flanges down with my drill press and Dremel as I did before. This first shot is of the standard Lionel trucks before I started modifications.

This next shot shows the trucks both before and after modifications and paint treatment.

And a couple of shots of the finished Lionel trucks for the load. I chose to paint the trucks flat black first, followed by an overspray of some lighter rust coloring. The wheel sets were painted first with a lighter rust color, followed by an overspray of the darker rust color. I then painted the tread area of the wheel with a silver paint to represent a relatively new wheel set, considering this is a cast truck and the railroad is still using arch bar trucks. I am not a real good story teller so I am still working on a back story (I don’t recommend holding your breath while I cook one up :slight_smile: ).

Here is a shot of the top of the car with the cribbing installed. Simple 4 x 4 cribbing nailed to the deck (mush like the prototype would do).

Finally, there are three shots of the completed car. I did paint the car’s trucks similarly to the first car, but this car I also painted the wheel sets as well. I am still not sure that was worth the effort. After locating the trucks on the flat car, I opened up my stash of copper jewelry chain and findings to ‘secure’ the load. I would have liked to have the chain darkened more to a rusty color, but it is what it is.

I hope you all enjoyed the builds and pictures. Bob C.

Thanks for athe inspiration for yet another load and a new car.
Dave

“Cover Story”

Standard gauge version: The big road you connect with had a bad derailment. One car was a total loss. They took the insurance money and sold the trucks to your logging line cheap.

Narrow gauge version: Cast trucks on a narrow gauge car built for the military became surplus after the car got used as a storage shed. Your logging line got a good deal on the trucks.

Hope this helps,
David Meashey