Large Scale Central

Taylors Mik 2017 build

OK guys, the time has come to do the great reveal for this years challenge. I have chosen to be not so grandees as last years Taylor Tin manufacturing plant.

This years build, A lowly ol’ switch tower.

Of course It will be covered with the world famous “Guaranteed Never to Rust” Taylor Tin. I will need 17 windows, some of which will be the same as those in the tin building, and I will need to cast some more of the new 4/4 double hung style.

Lowly ol’ switch tower? That will be a mighty fine tower and with 17 winders they will have plenty of natural light.

Do you mean this “Guaranteed Never to Rust” Taylor Tin?

wow nice paint job, looks just like the real rusted non Taylor Tin.

What did you do to get the texture?

Dave, I put the tin in a mixture of muratic acid and peroxide for a few seconds to get the texture and then airbrushed the rust colors on. When airbrushing, I did each piece individually so I was sure to make them all different. Have to be careful with the acid mixture though, too long and the tin will disappear. Speaking of tin, when you get some time to make some more, I would be interested in buying more. Not in a hurry. Just let me know if you want to sell some and I will send you an email and some $$.

Played around with some stones to try and size up the build and get a hand on the final design.

I think that the 4/4 windows will do just fine.

After all this fiddling around, I used the wrong size door… Oh Well… Start over.

I think that this will pretty much be the final design and lay out. I want to add some details using the small rocks and skinny ones as accents.

looking good Dave,

I gave away all my stones, so I started to cast yet some more for myself. I thought that I would try to come up with something that closer looks like our local sandstone. Still needs to cast some more, but I played with window arrangement on the back and sides.

This will be the back side where the stairs inside goes up to the top floor.

And this will be the right and left side arrangement.

Now I need to set the actual size of the walls so I can cut some wood tomorrow. The hard part will be the corner overlap. I think that I will set the front and the back, and then measure out the width, minus the overlap of the corner stones. The windows are 3ft x 5ft for the double hung and other ones are about 30"x40".

I like the variation in coloring Dave. I assume you are using a varying degree of brown dye with your resin?

Tomorrow is Friday. We can start then?

I’ve been absent on the challenge so far, but I haven’t been doing nuttin.

To start with: I had given away all the stones that I was to use, so I had to start casting me some more.

Also I wanted tomato some “accent” stones and some for my window surrounds, Carve the masters, pour the molds.

Also, following others lead, I wanted to make special corner stones.

And my corner stones. Double thickness, so they stand out from the rest of the wall. tried to very the color on each casting.

I will also need 20 of my double hung windows. Three pieces per window to cast, plus two pieces of plexi for glass panes.

I’ve been a casting fool for the last 10 days. 52 separate pours. I think that I’m finally ready to actually start building.

Been playing around with lay out, and window and door placement. Got tired of chasing the pieces around the table, so I stuck them down to some blue painters tape.

Played around with the new window pieces.

I think that this will be the layout for the sides.

Got everything cast, and now ready to get to work.

Is there a stone mason in the house?

That’s bad to the bone rock work Dave.

Yeah I feel like a Cub Scout and Dave is an Eagle Scout… so much for my delusions of Grandeur!

Wow way to go!

Looking sharp!

John

Wow, Dave. When you decide to get stoned you really get stoned.

Thank you Vic for not using up all the rain in So Cal, and saving some for those of us to the East.

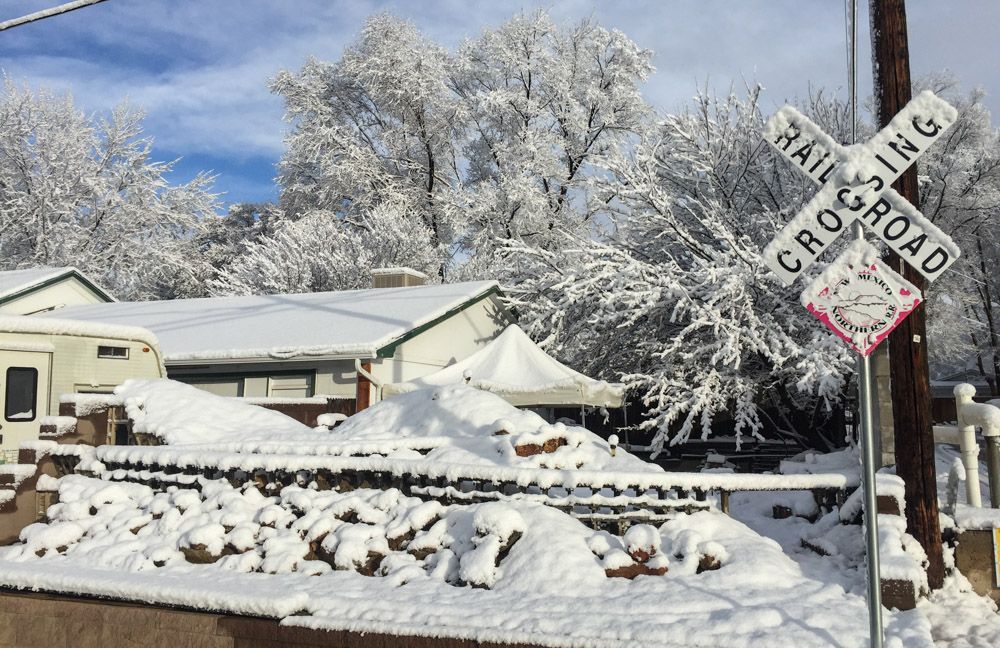
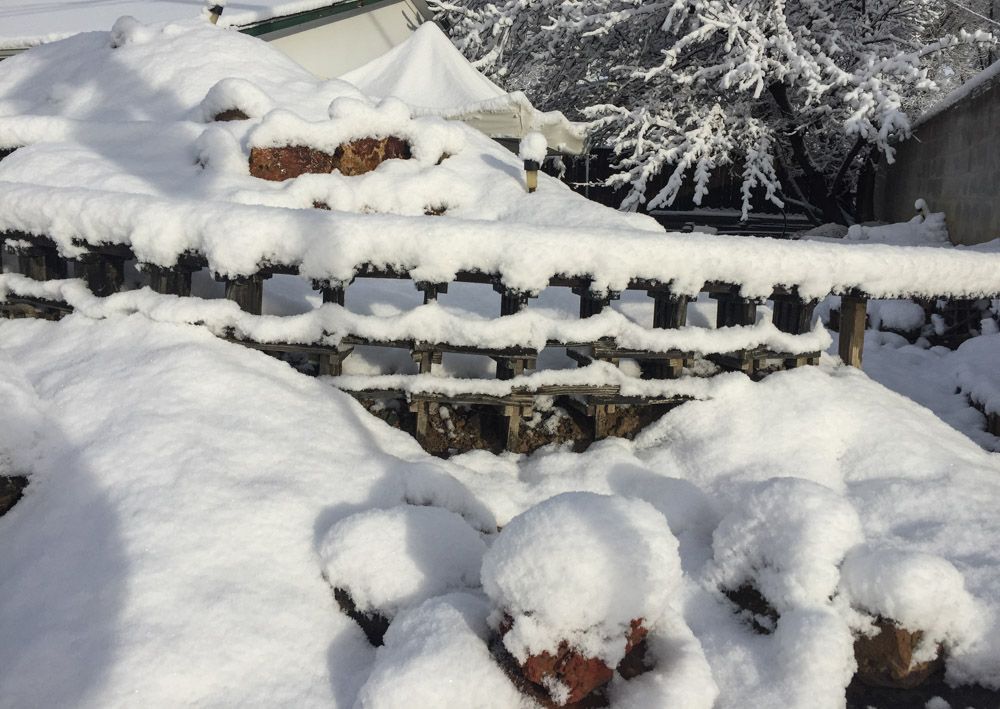
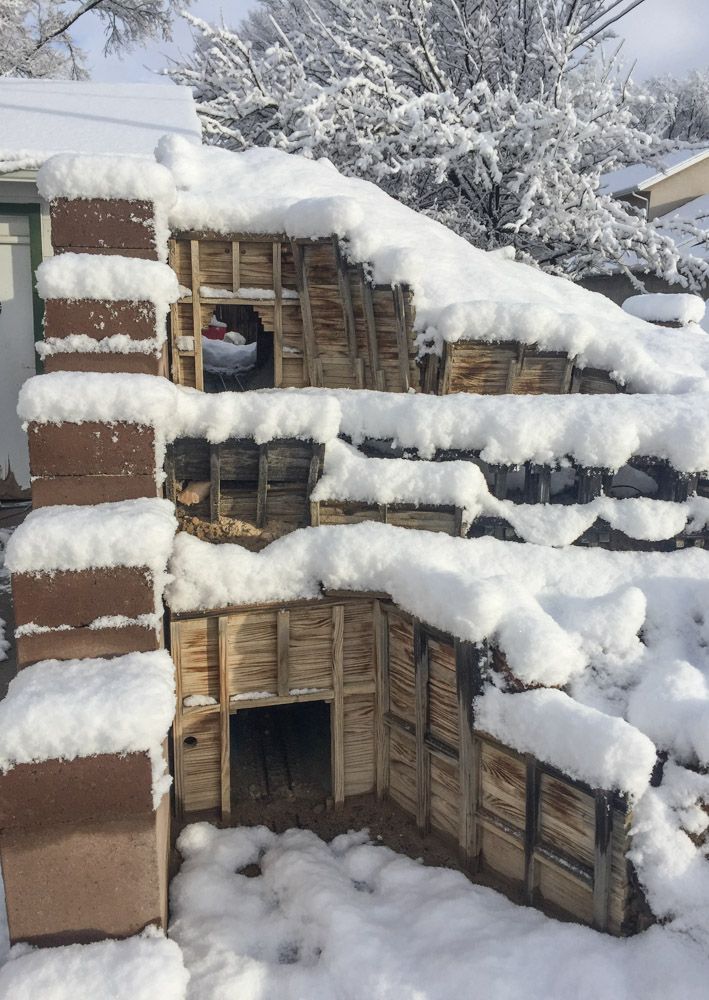
Woke up to this…

Now thats not very much for a lot of you I know. But this is New Mexico… Maybe I do need a plow…

Vic… don’t worry, we’ll send it on down stream to SoCal a little latter.

Dave,

You northerners are all the same; grumble grumble grumble. Way down here in Southern Aridzona, we just had a little rain!(http://www.largescalecentral.com/externals/tinymce/plugins/emoticons/img/smiley-wink.gif)

Shure looks purdy, like ours; on our mountains, where it belongs!

I hope you survive that blizzard!

I’m off to cover some exposed plumbing, they claim it will be a tad chilly tonight…

See ya,

John

I think you should help the new Caboose Hobbies stock their shelves!

Keep putting puzzles together until you have something that feels just right. Me, I’m heavy into planning and getting things right the first time this year. We’ll see where that gets me!

Got the wood, 1/2" birch plywood cut for the switch tower, after playing around with the stones for size and style.

To water proof the ply, I paint/coat all 6 sides of each board with a heavy coating of Tightbond III, before assembly.

I then assembled using TiteBond III, And Pin nailed the joints.

After assembly, I then Painted on the second heavy coat of Titebond III, Paying extra attention to the end grain, and the joints.

Now I think that i’m ready to start glueing on my stones. But wait… Oh Sh&t… 4 windows side by side, won’t fit inside the sides…if I cut out the window holes… OH HELL… I’ll just cut off the whole top at the bottom of the windows, and figure out the top and roof latter.

Two more coats of TBIII on the new exposed edges. Waiting for it to dry…

Dave, I know you said it was birch plywood, but is it baltic birch or is the glue just playing tricks with my eyes?

It is Baltic Birch. 9 Ply… Titebond III is basically waterproof for all practical purposes, even in boiling water for extended time… When it dries it turns a rich light brown, and when it cures it gets a bit darker in color color over time.