I start by cutting my tie material into strips of my tie width and hight. Then I cut to length on the miter saw. Set up the dado on the table saw and dado the ties.

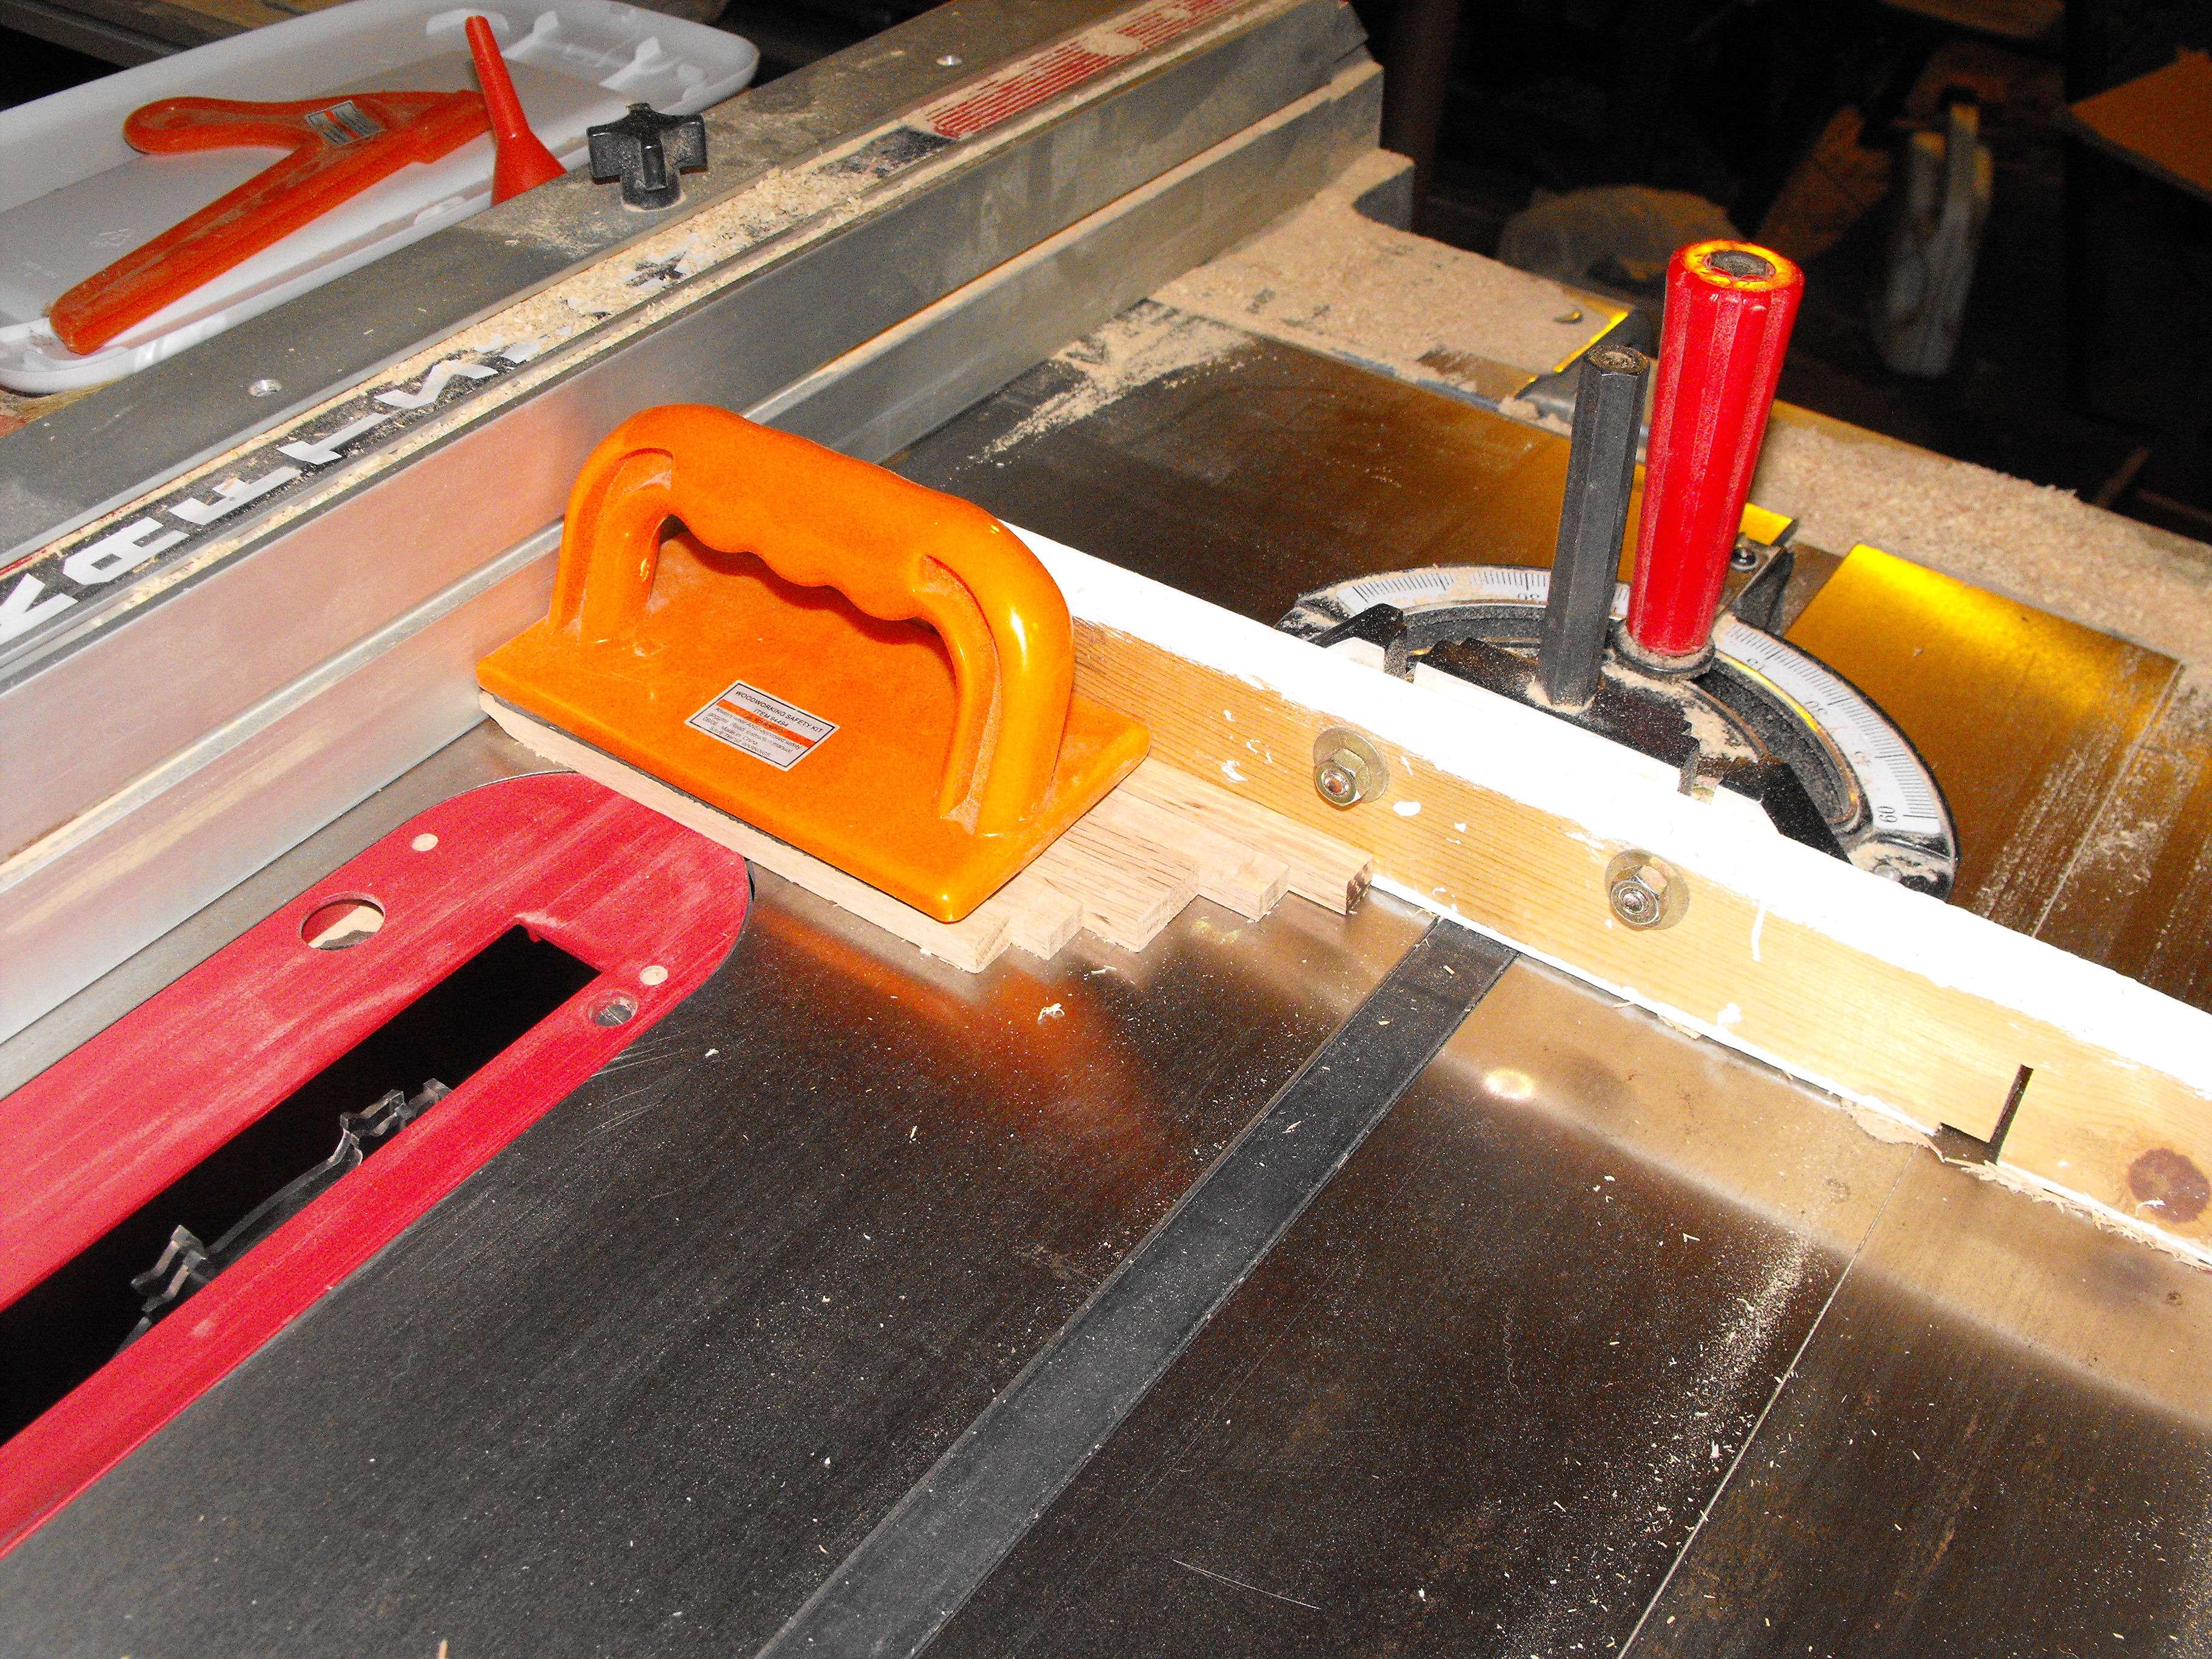
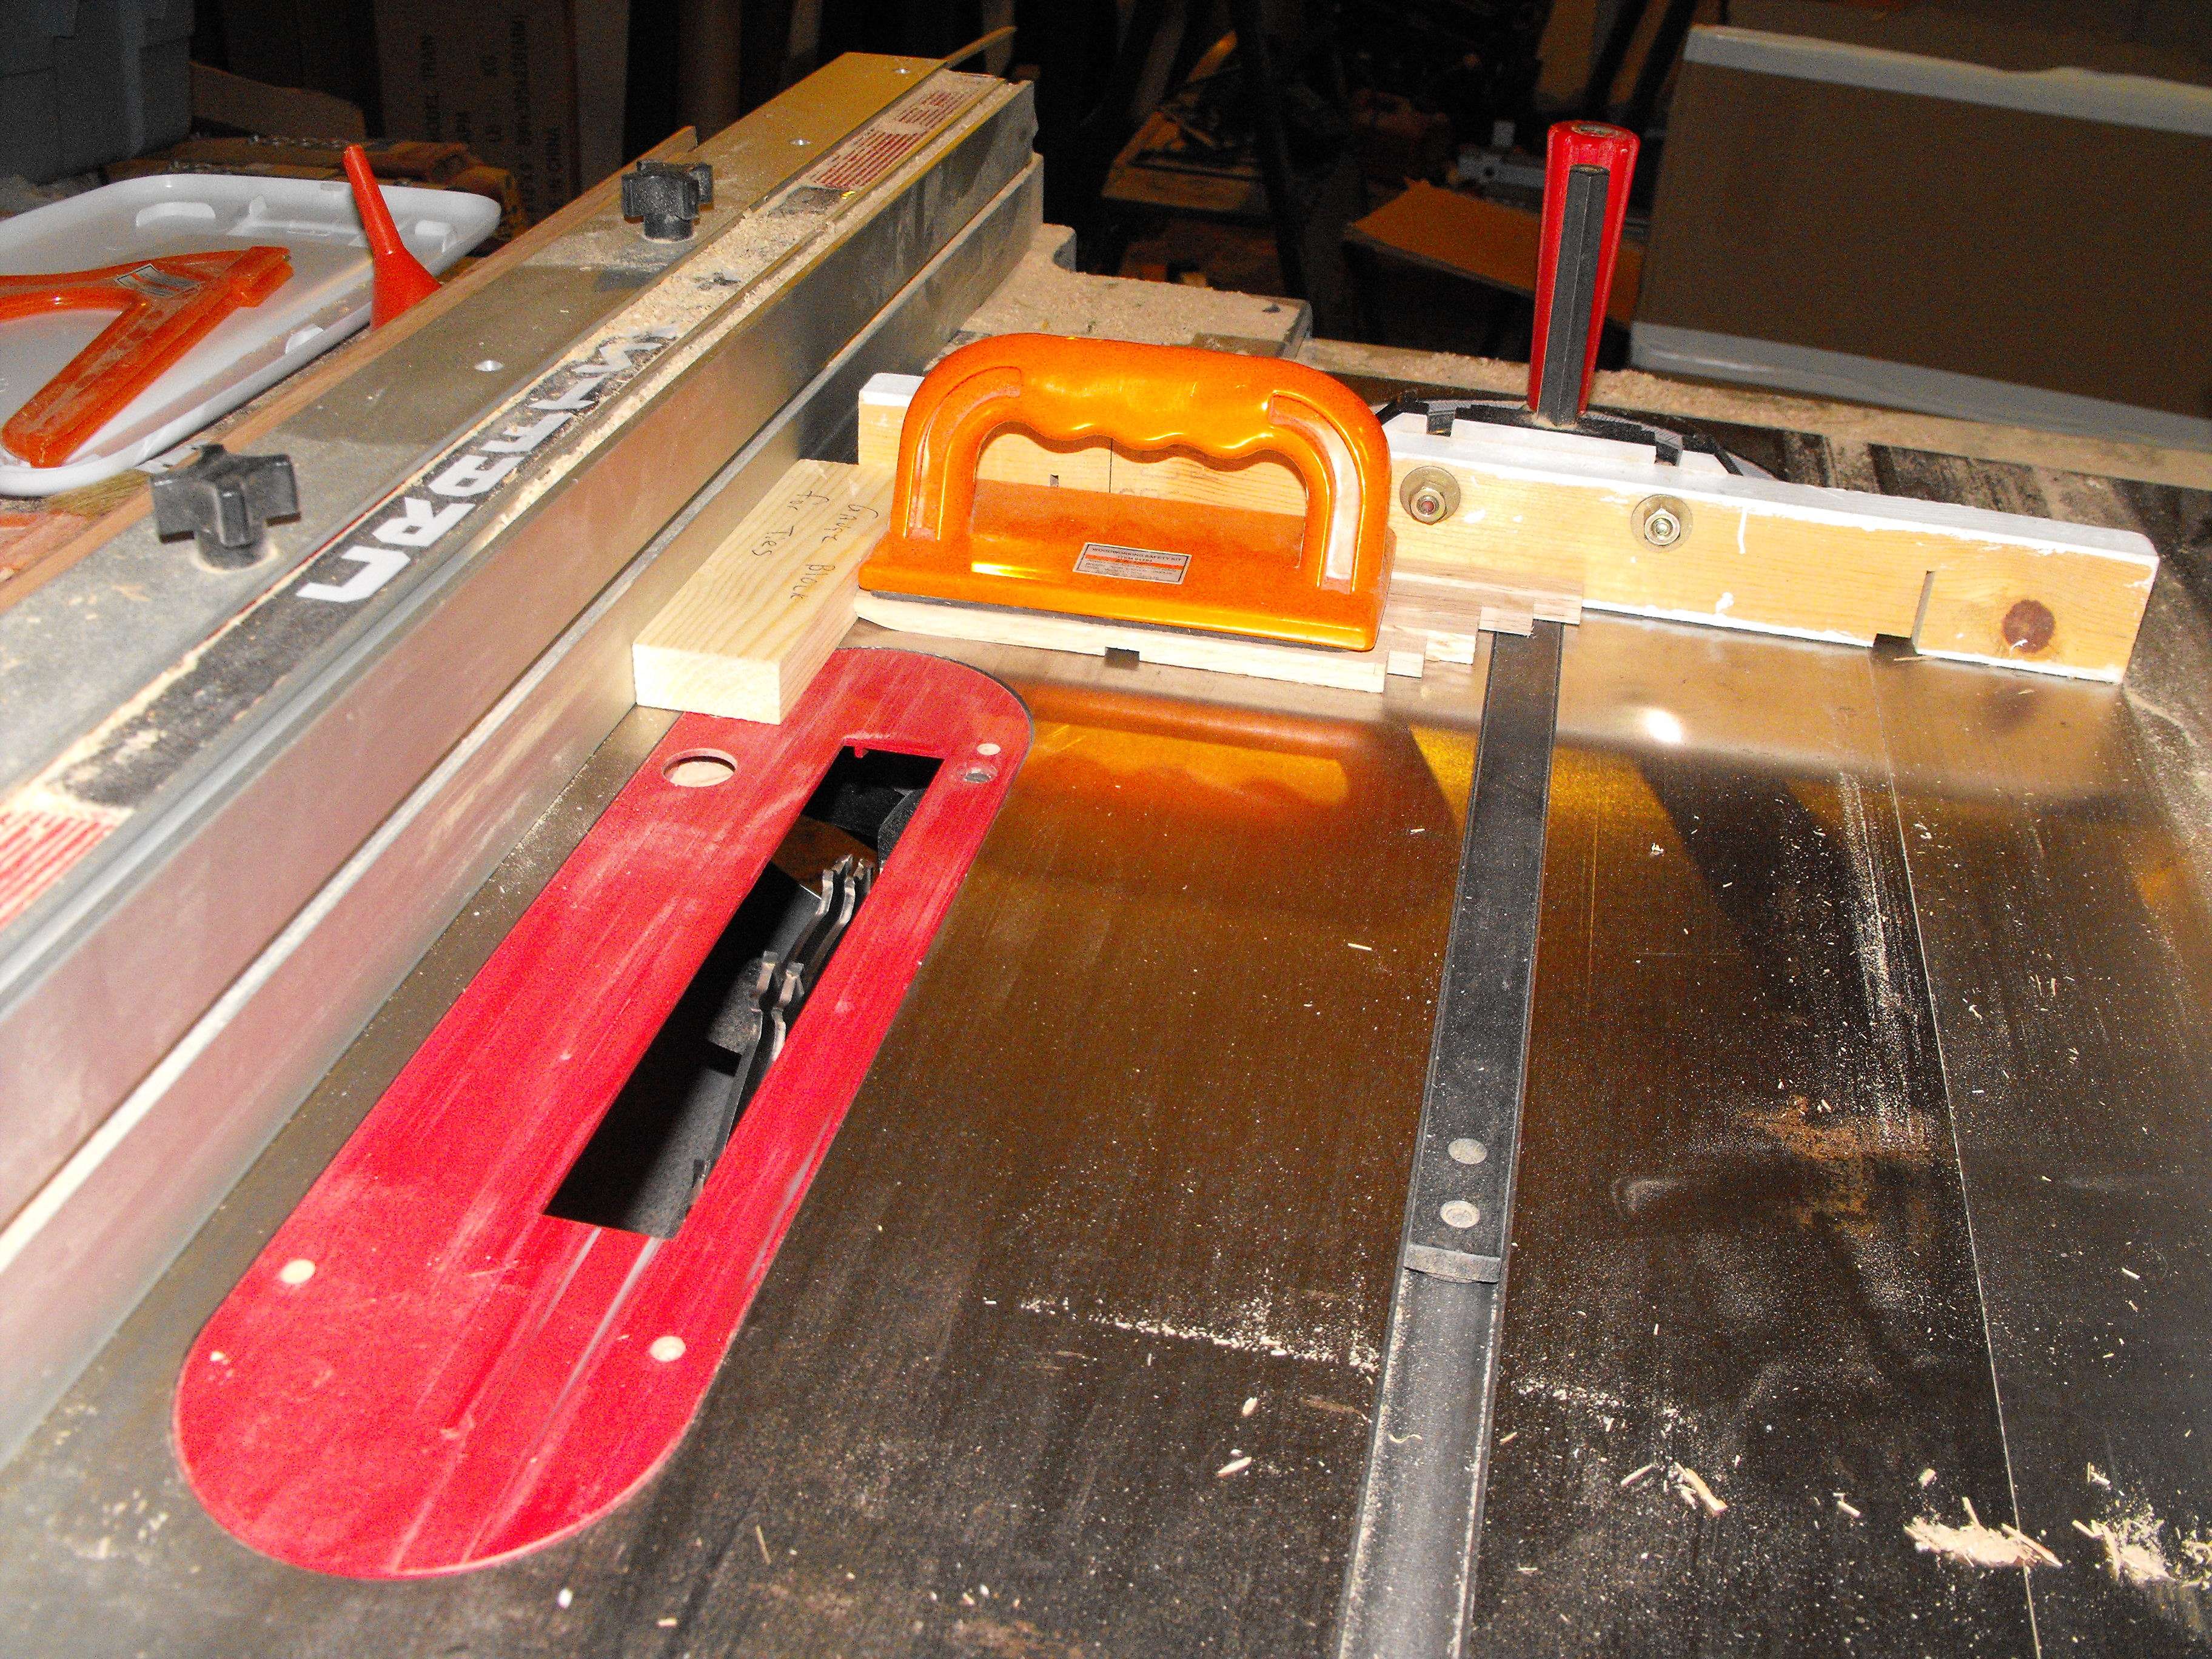
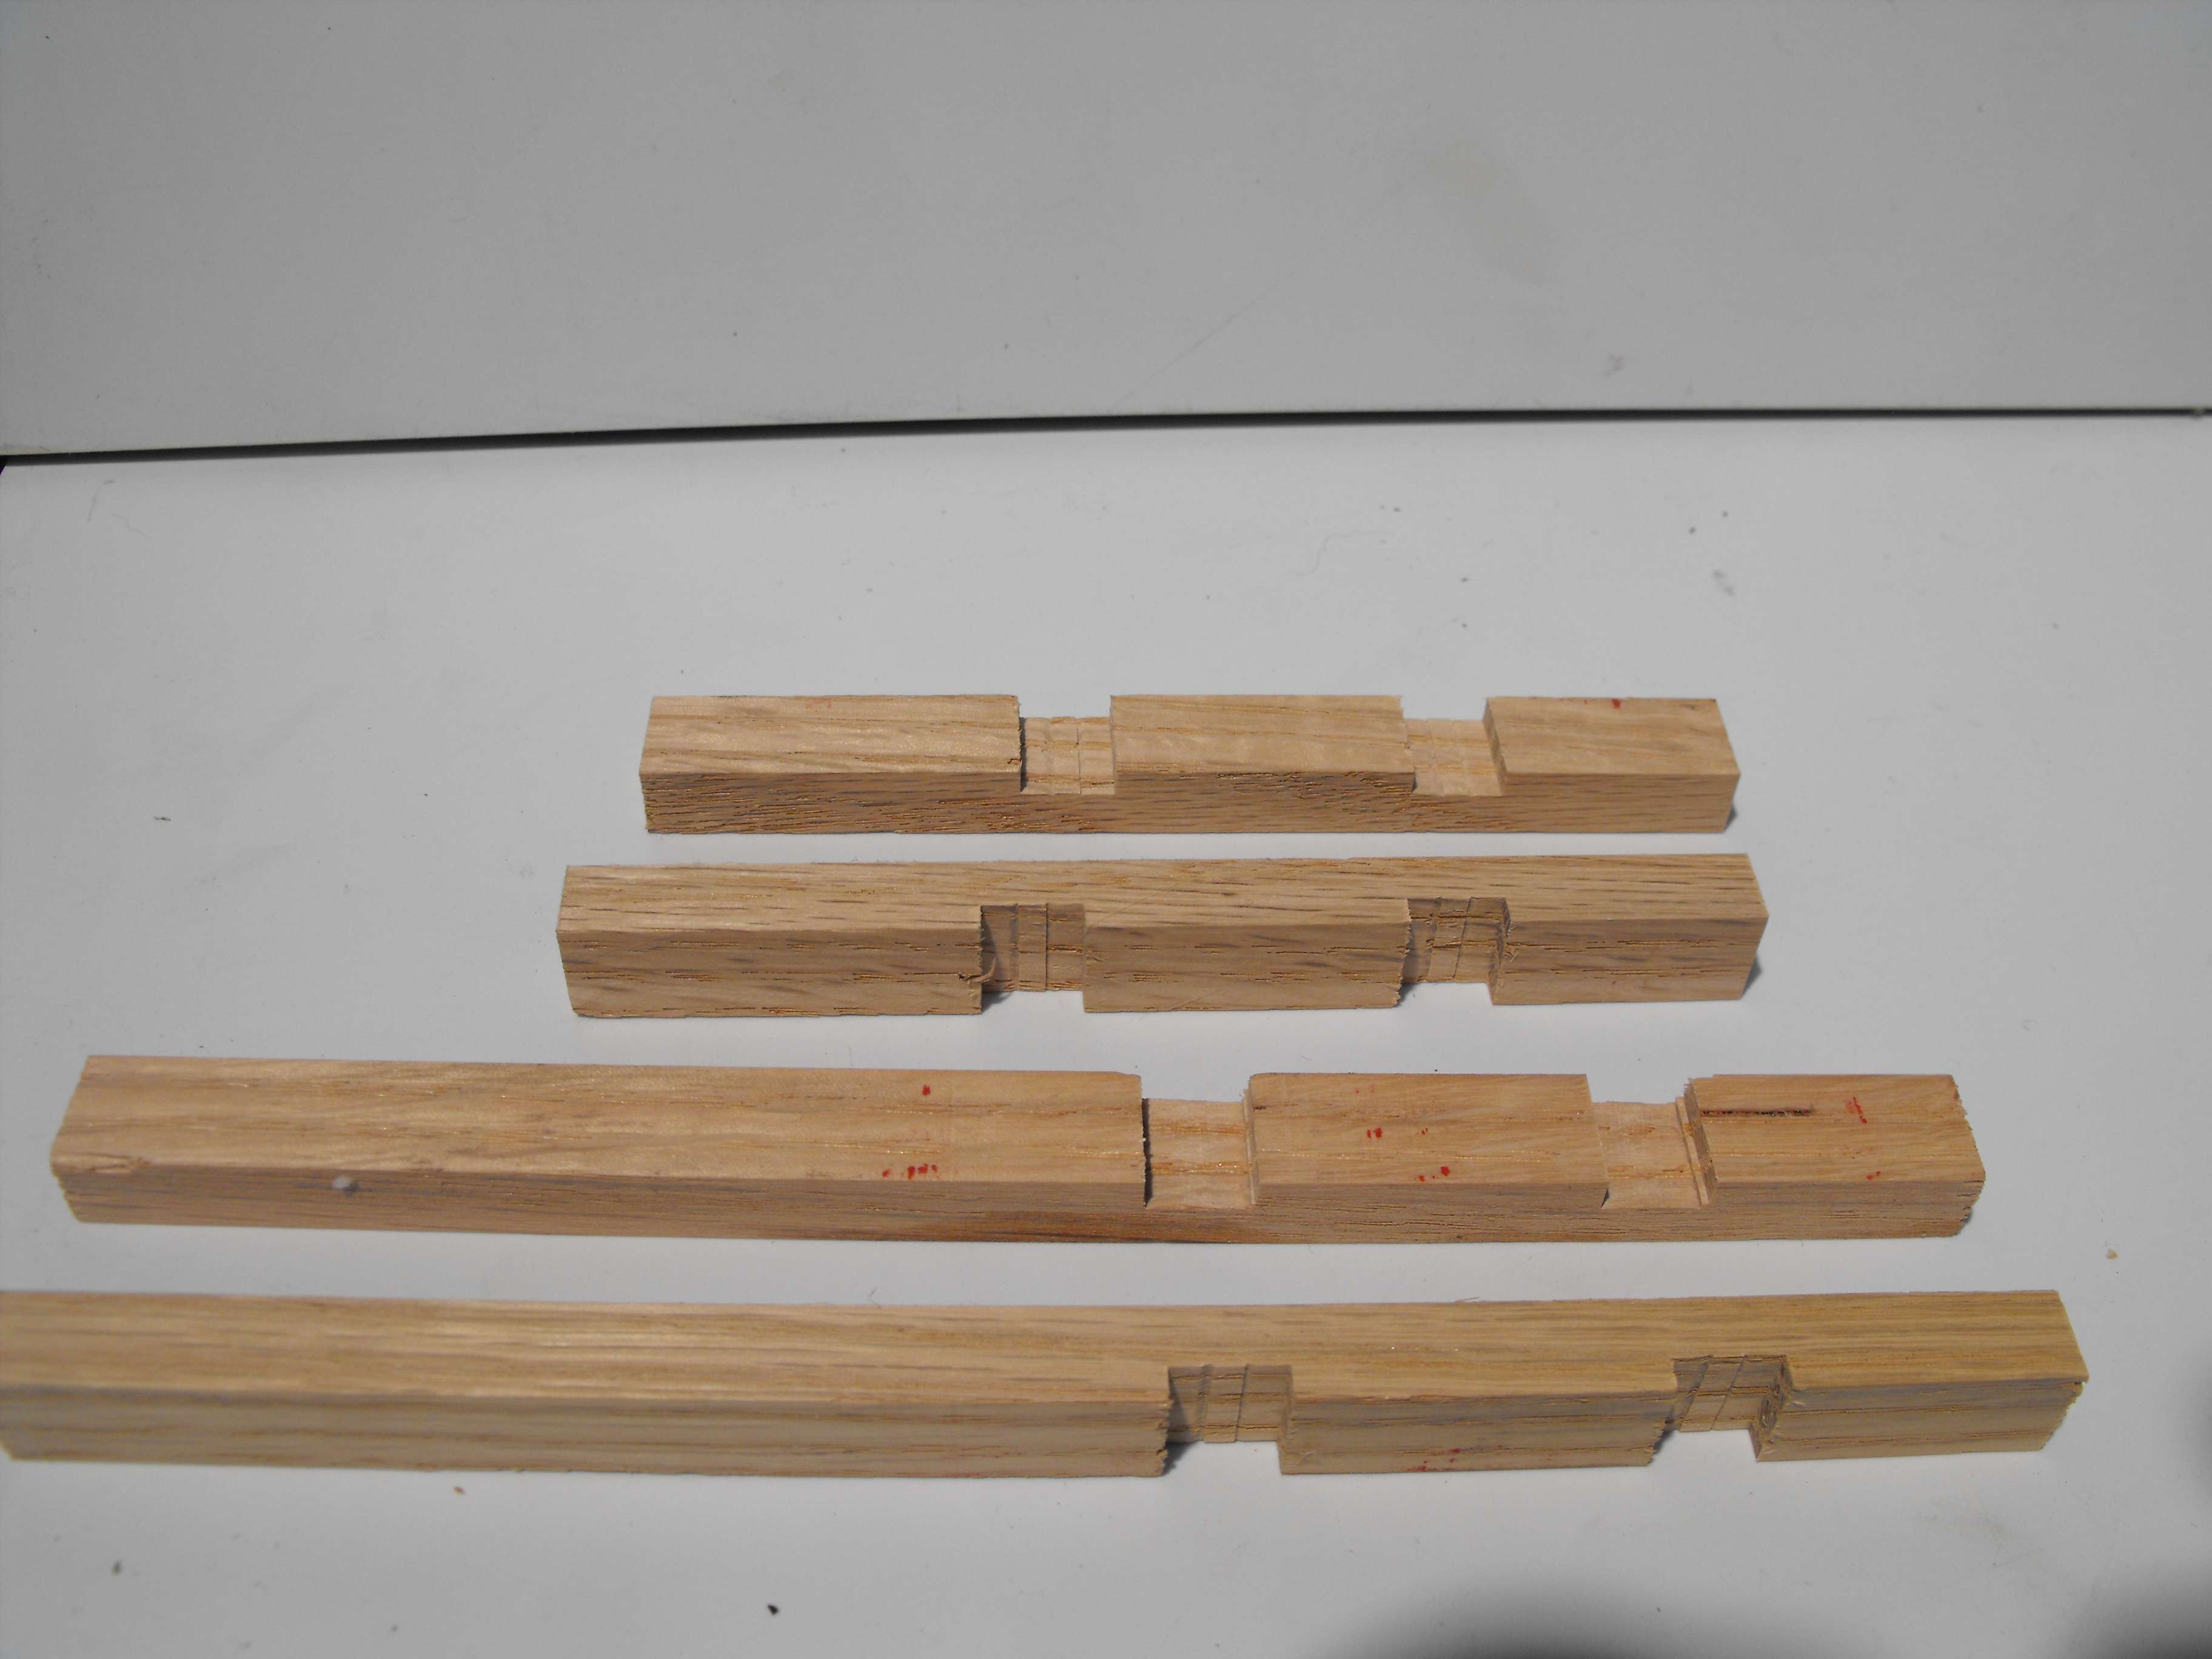
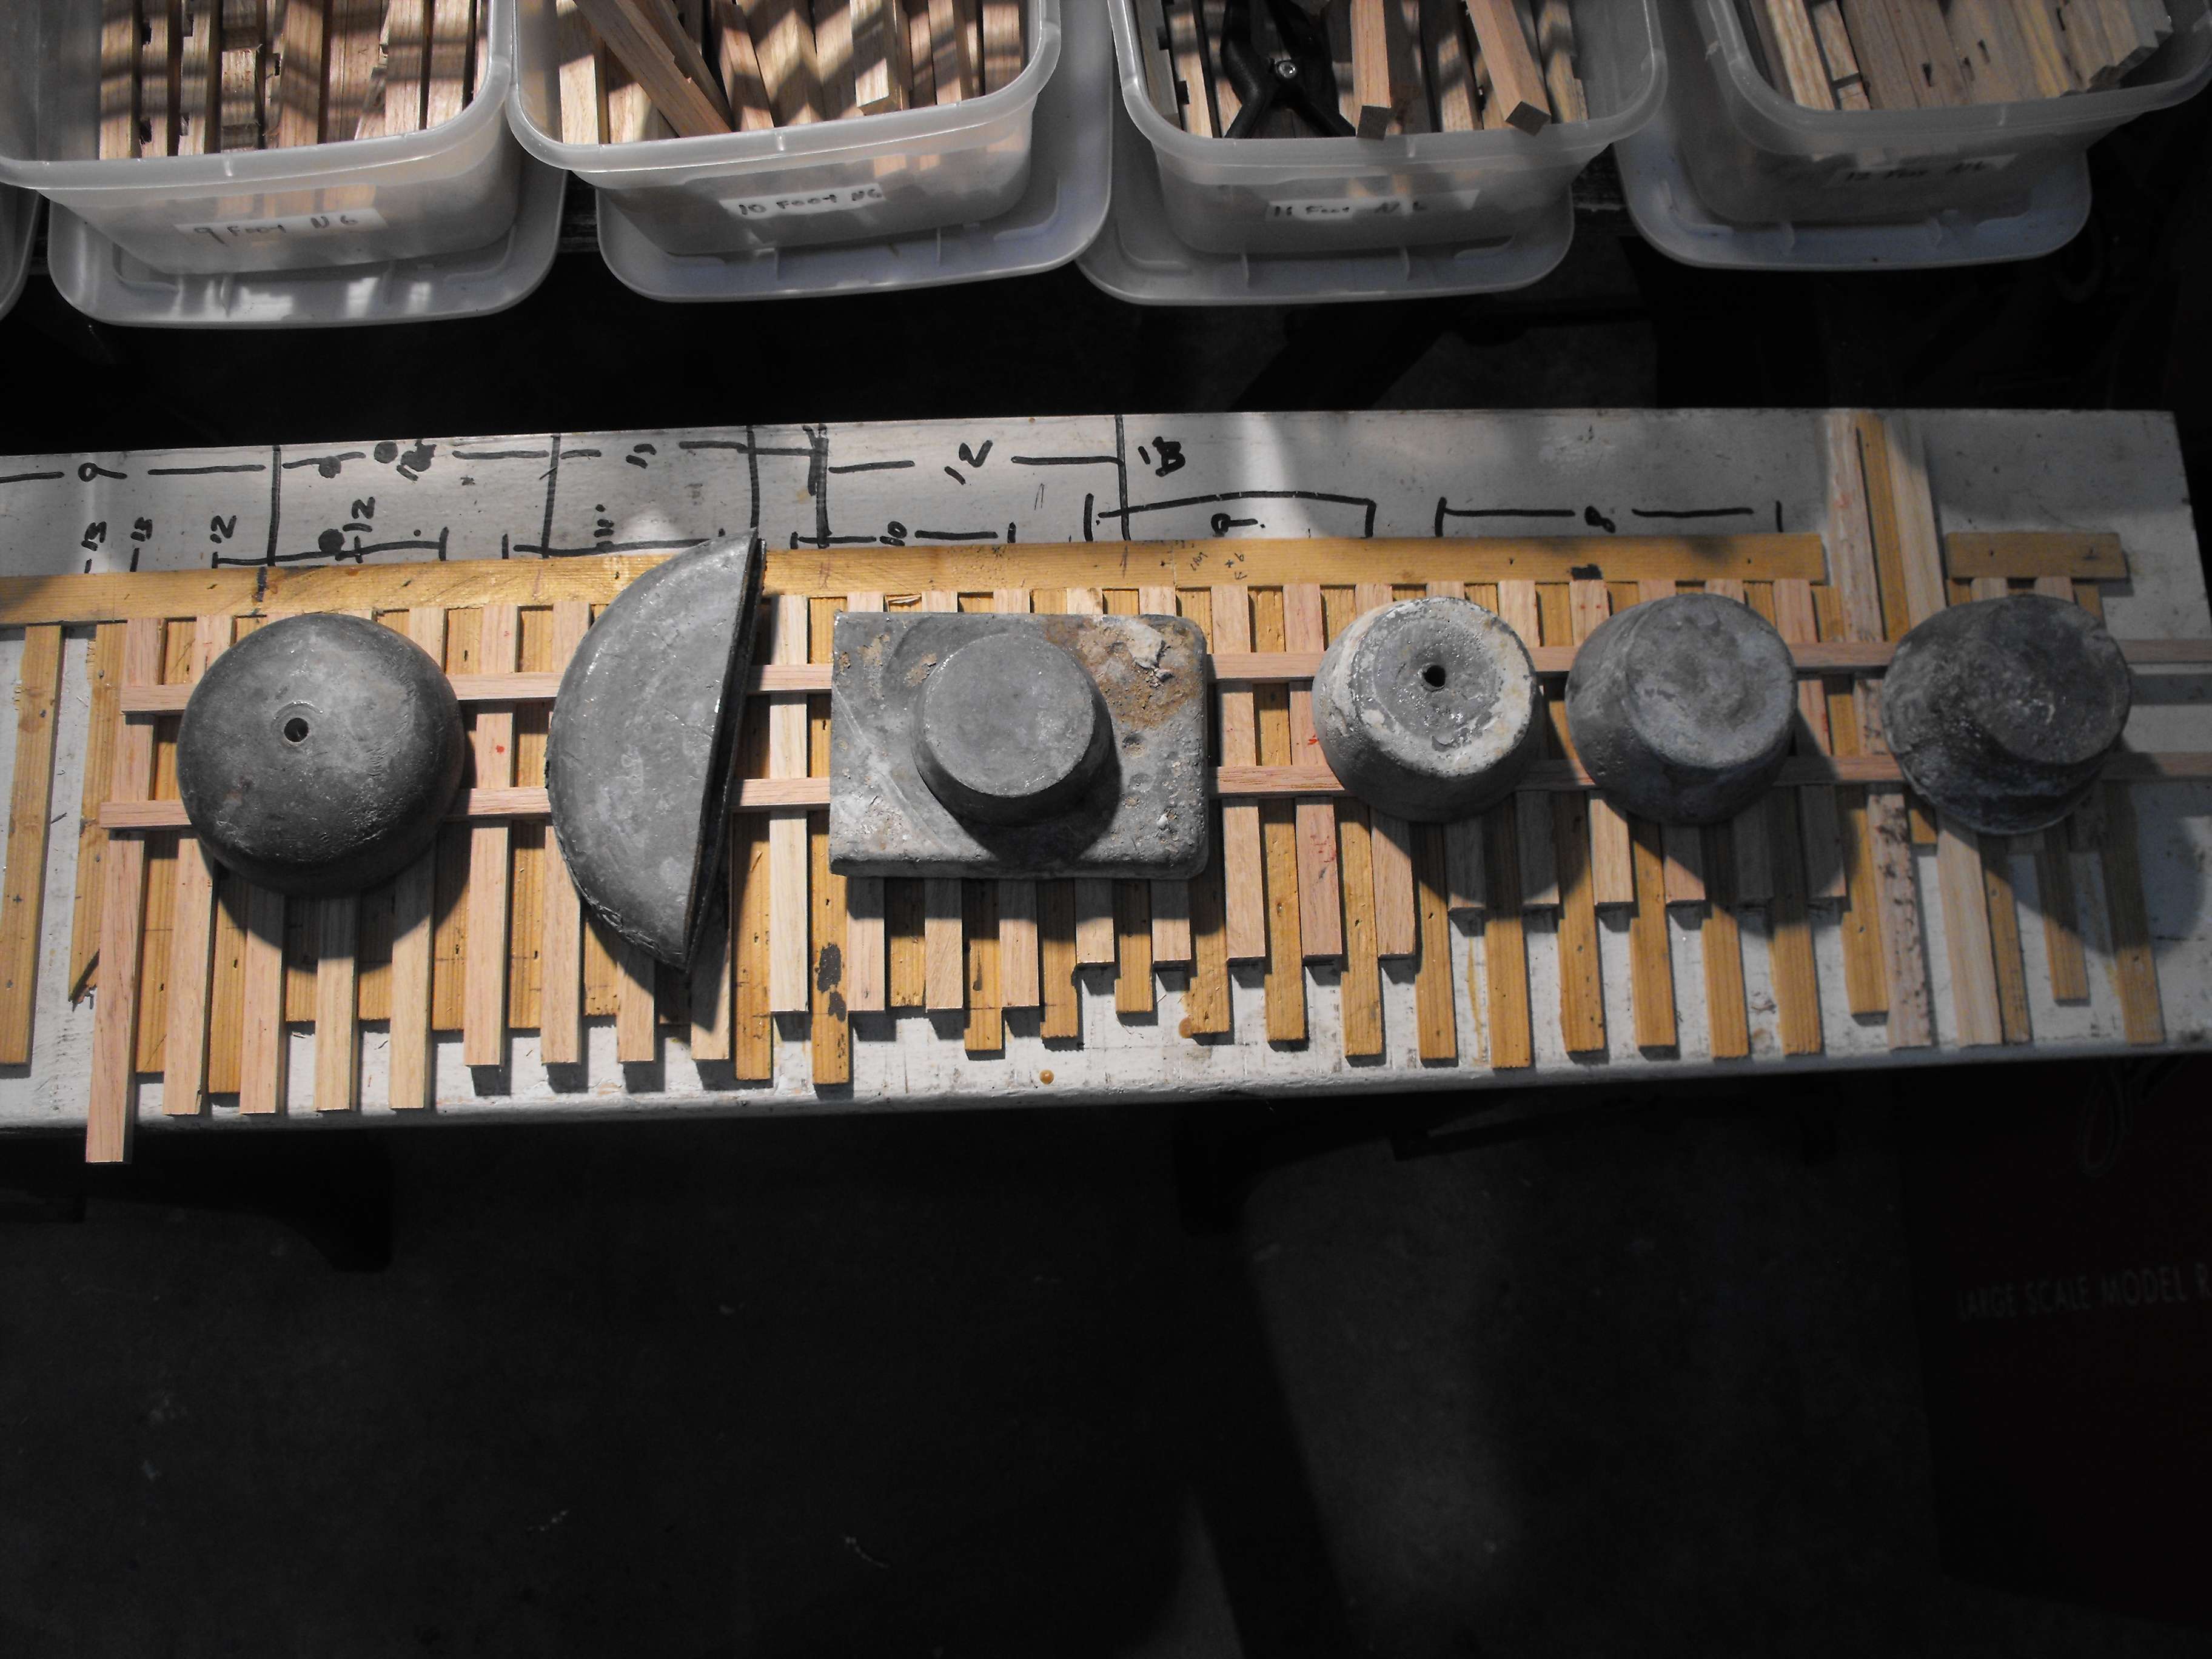
I have a fixture to lay the ties and get ready for to glue the battens to the ties. My battens are 3/8" wide X 1/8" thick.

I use a lead weights on the battens after they are glued.
All the stock rails of my switches are notched where the points come against them. Locate the notch so it is in the center of the headstock tie at the small end of the switch. I use a good straight edge and clamp to the stock rail that is straight.
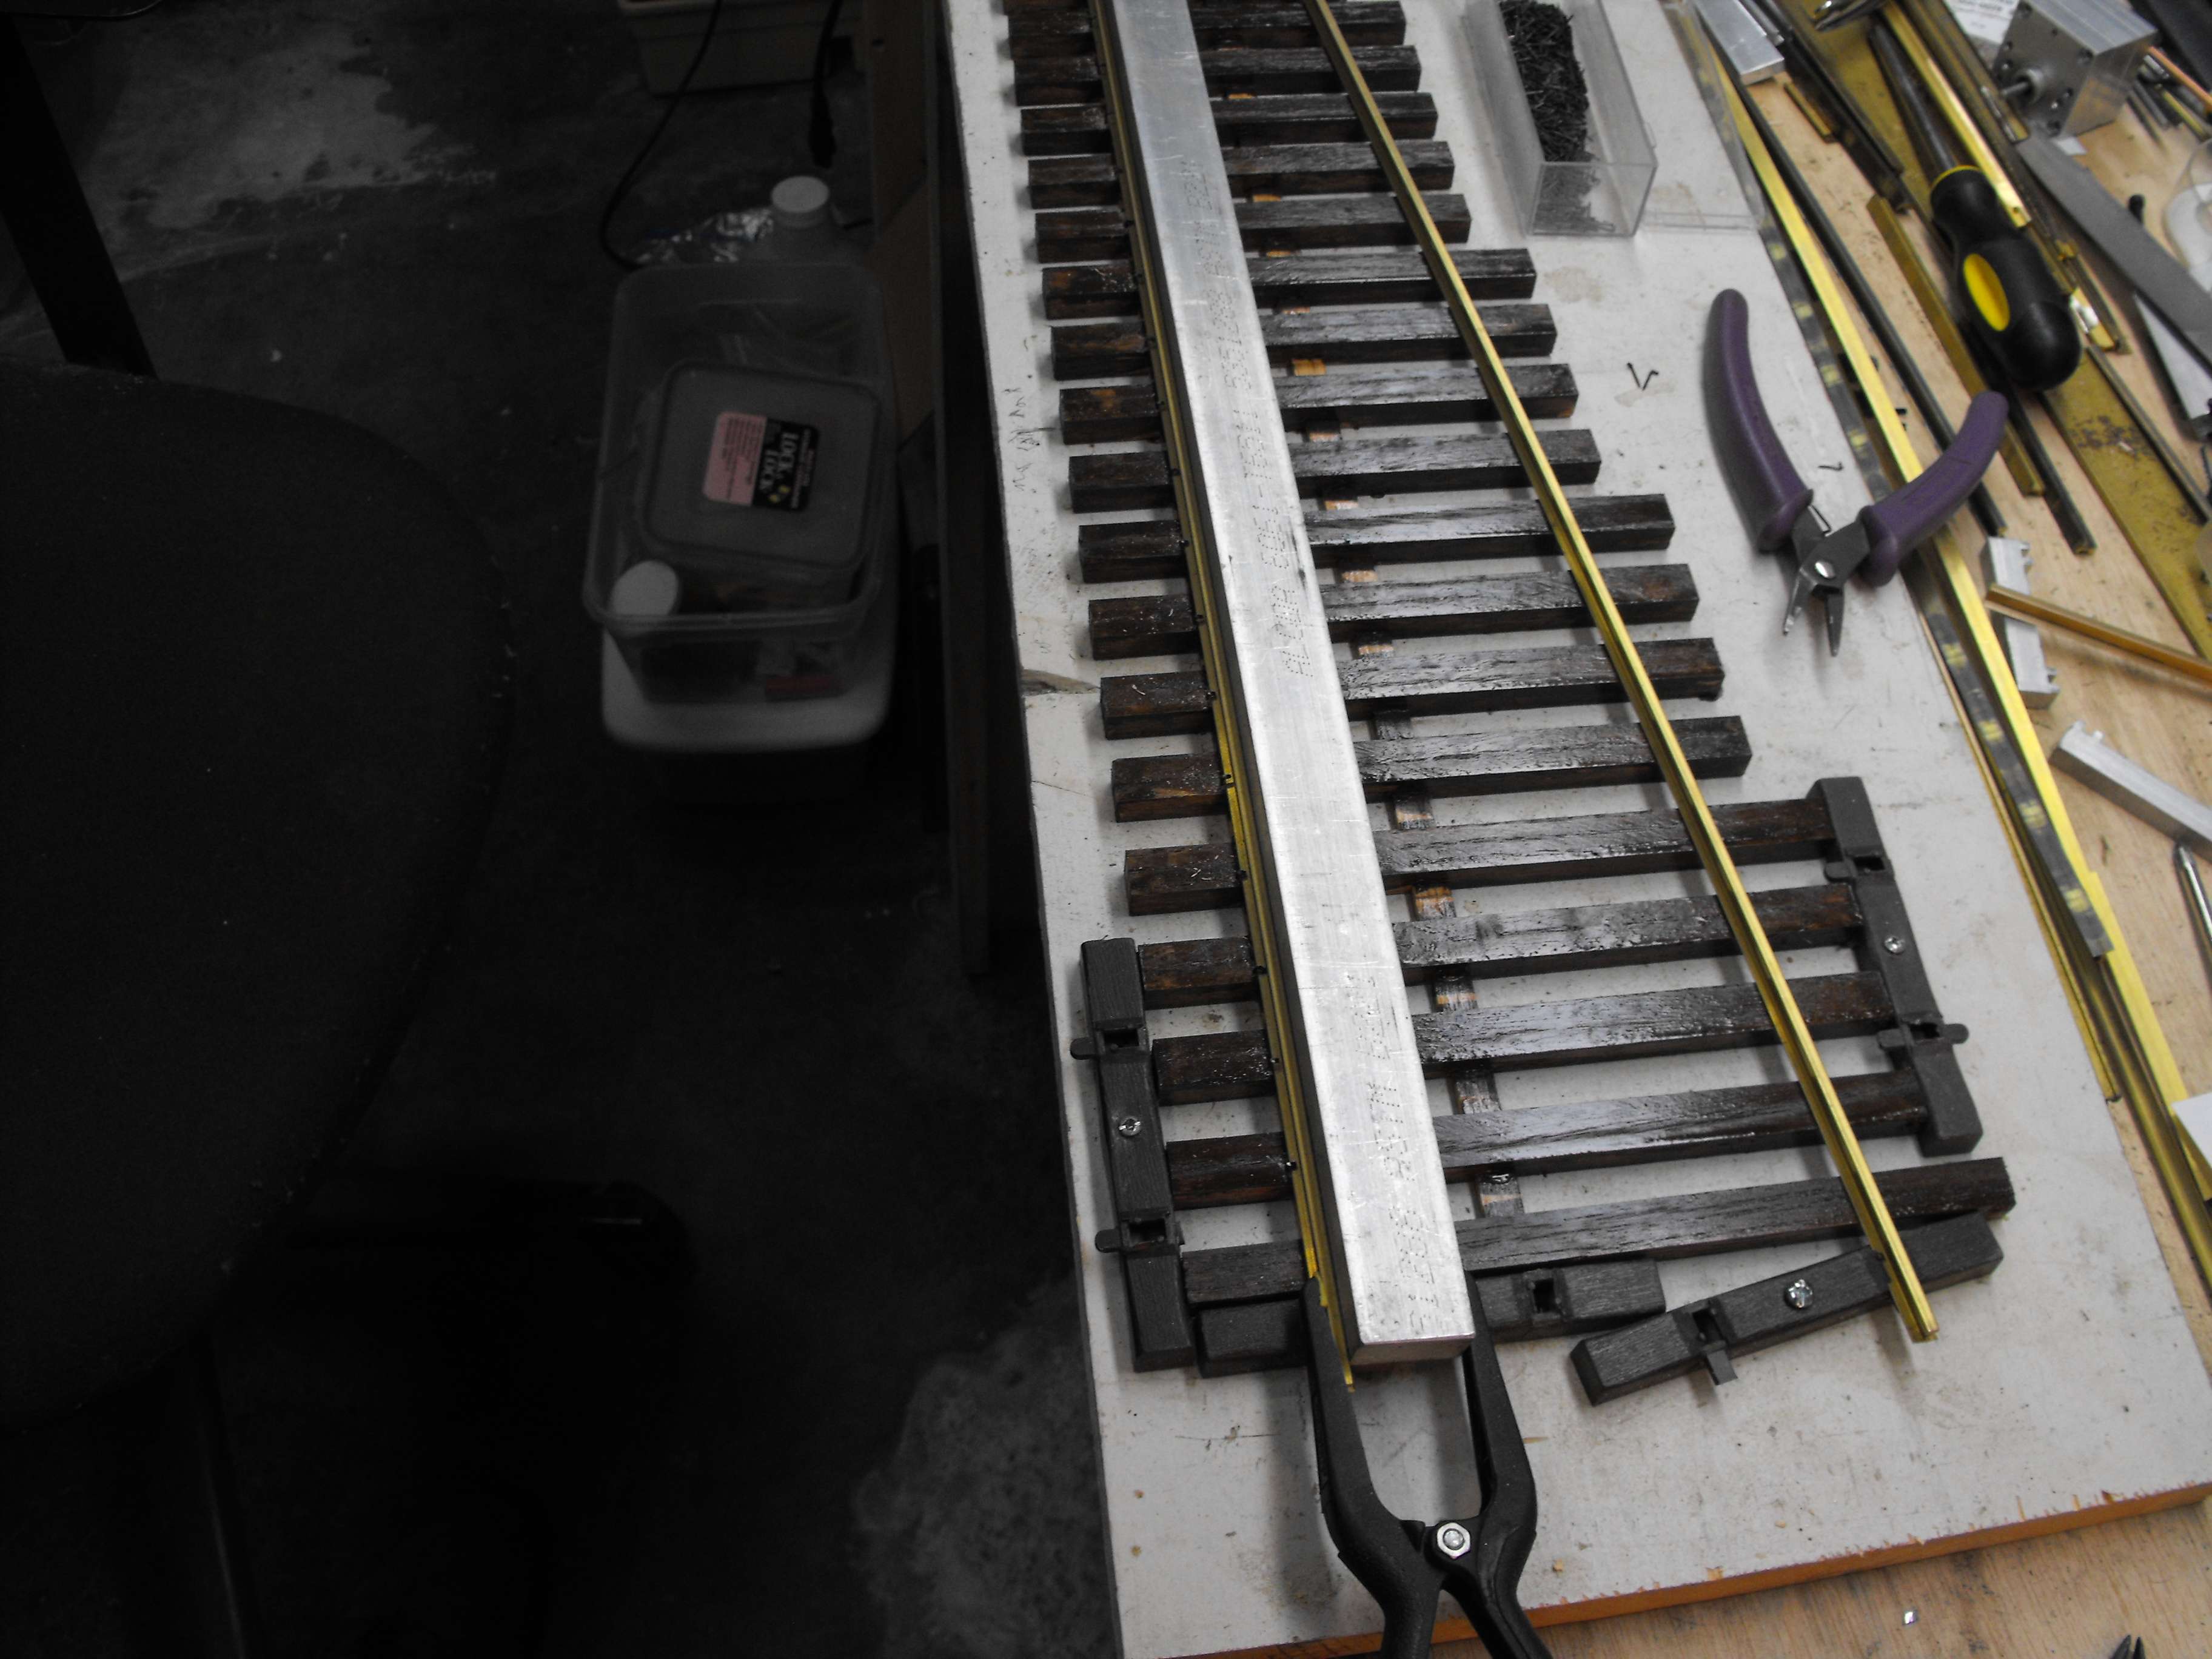
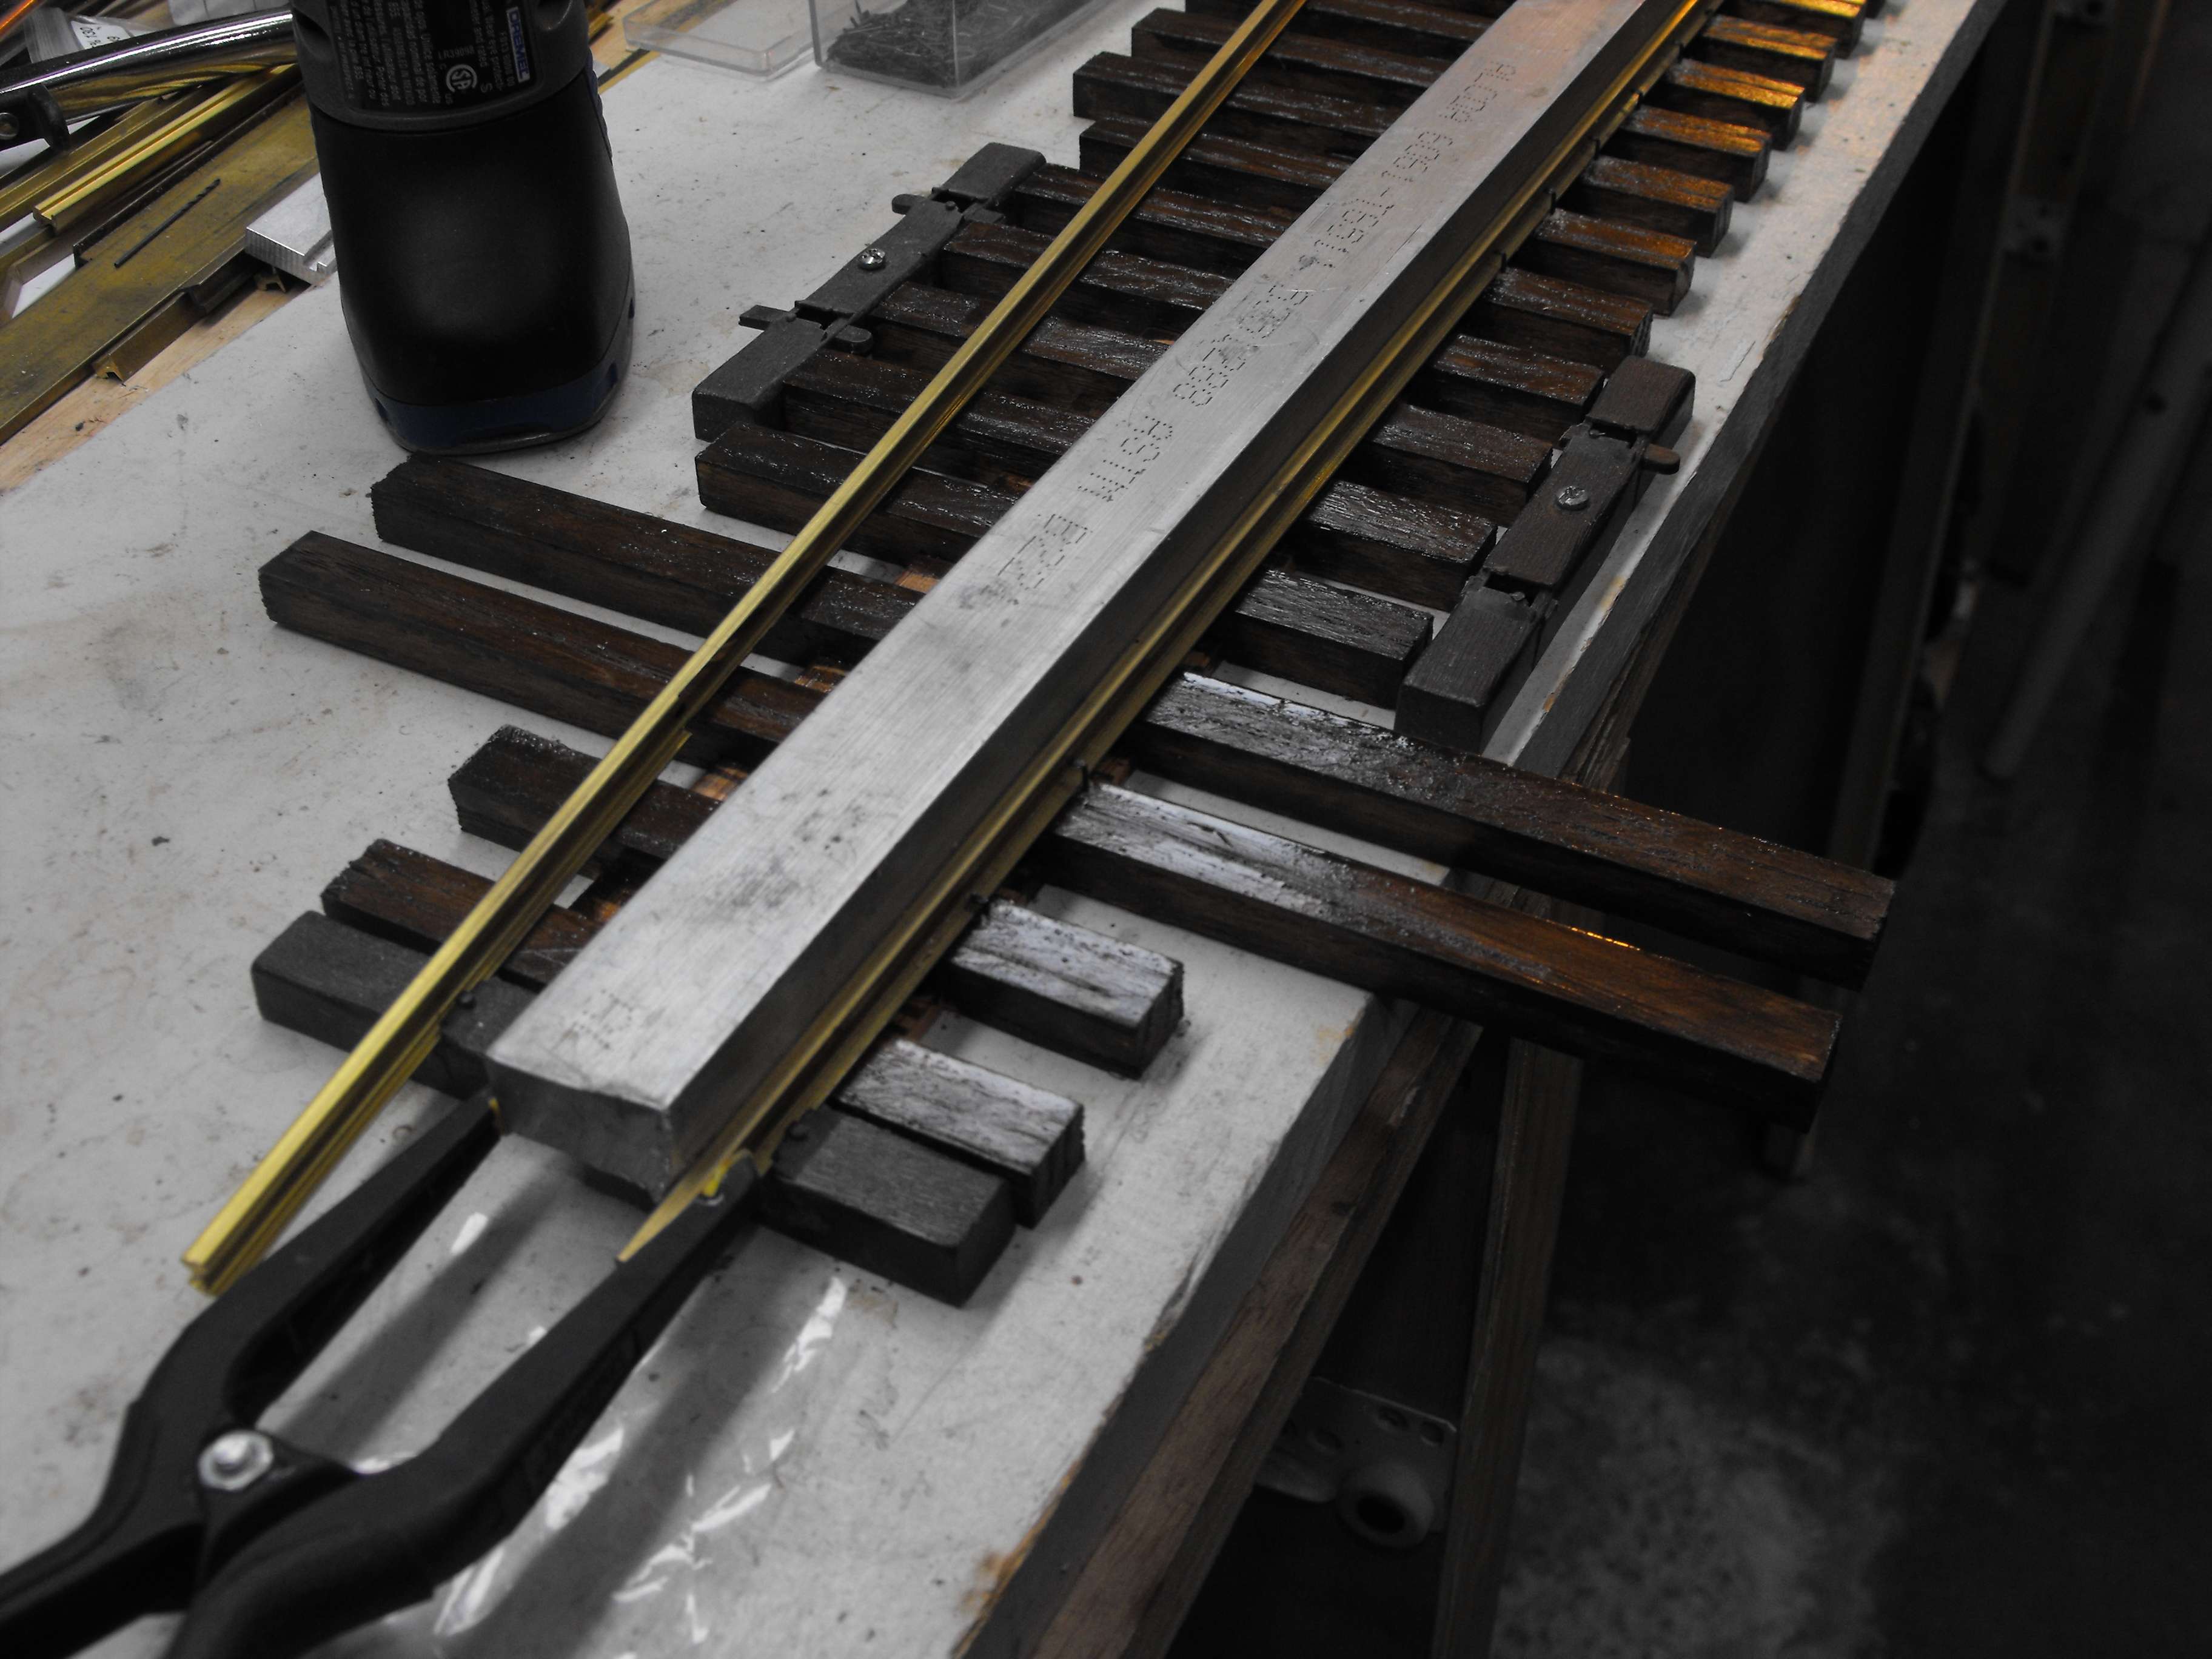
Start a few spikes on the outside of the rail. Remove the straight edge and add spikes opposite of the spikes that were started. Finish spiking the rail down. I use 2 spikes per tie per rail and 4 at the ends.
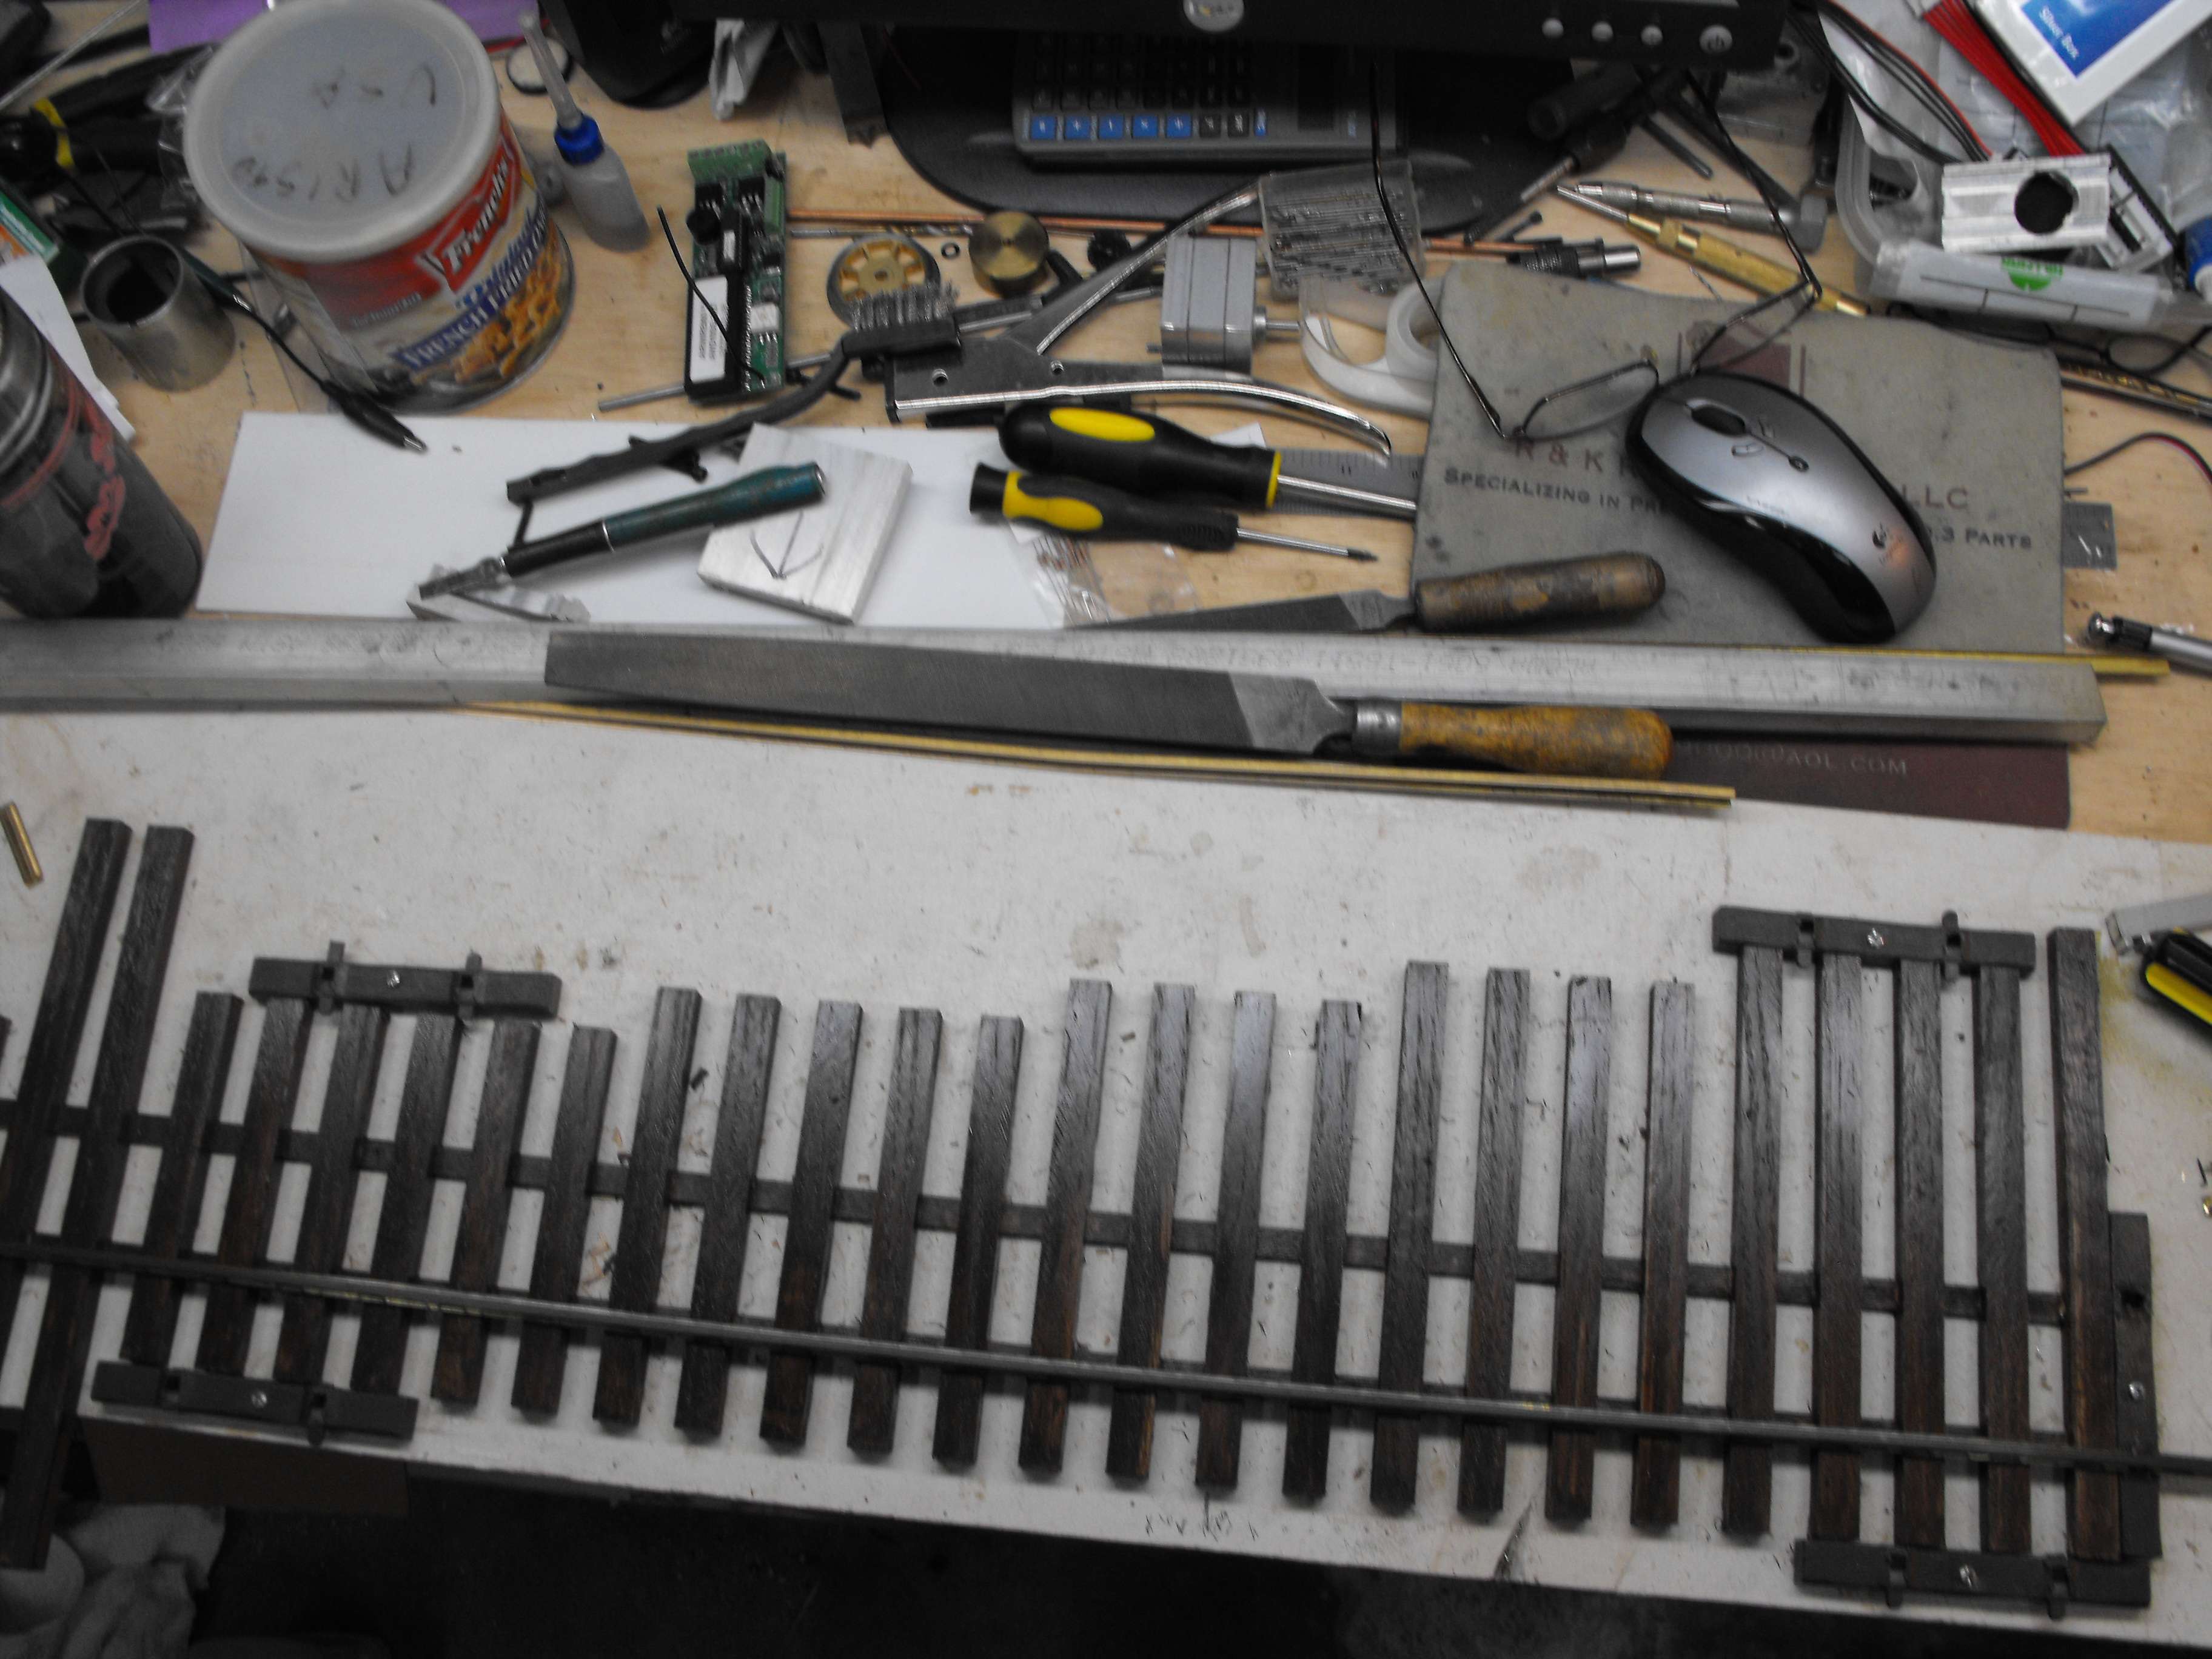
For my #6’s I measure 15 1/2 inches to the frog.
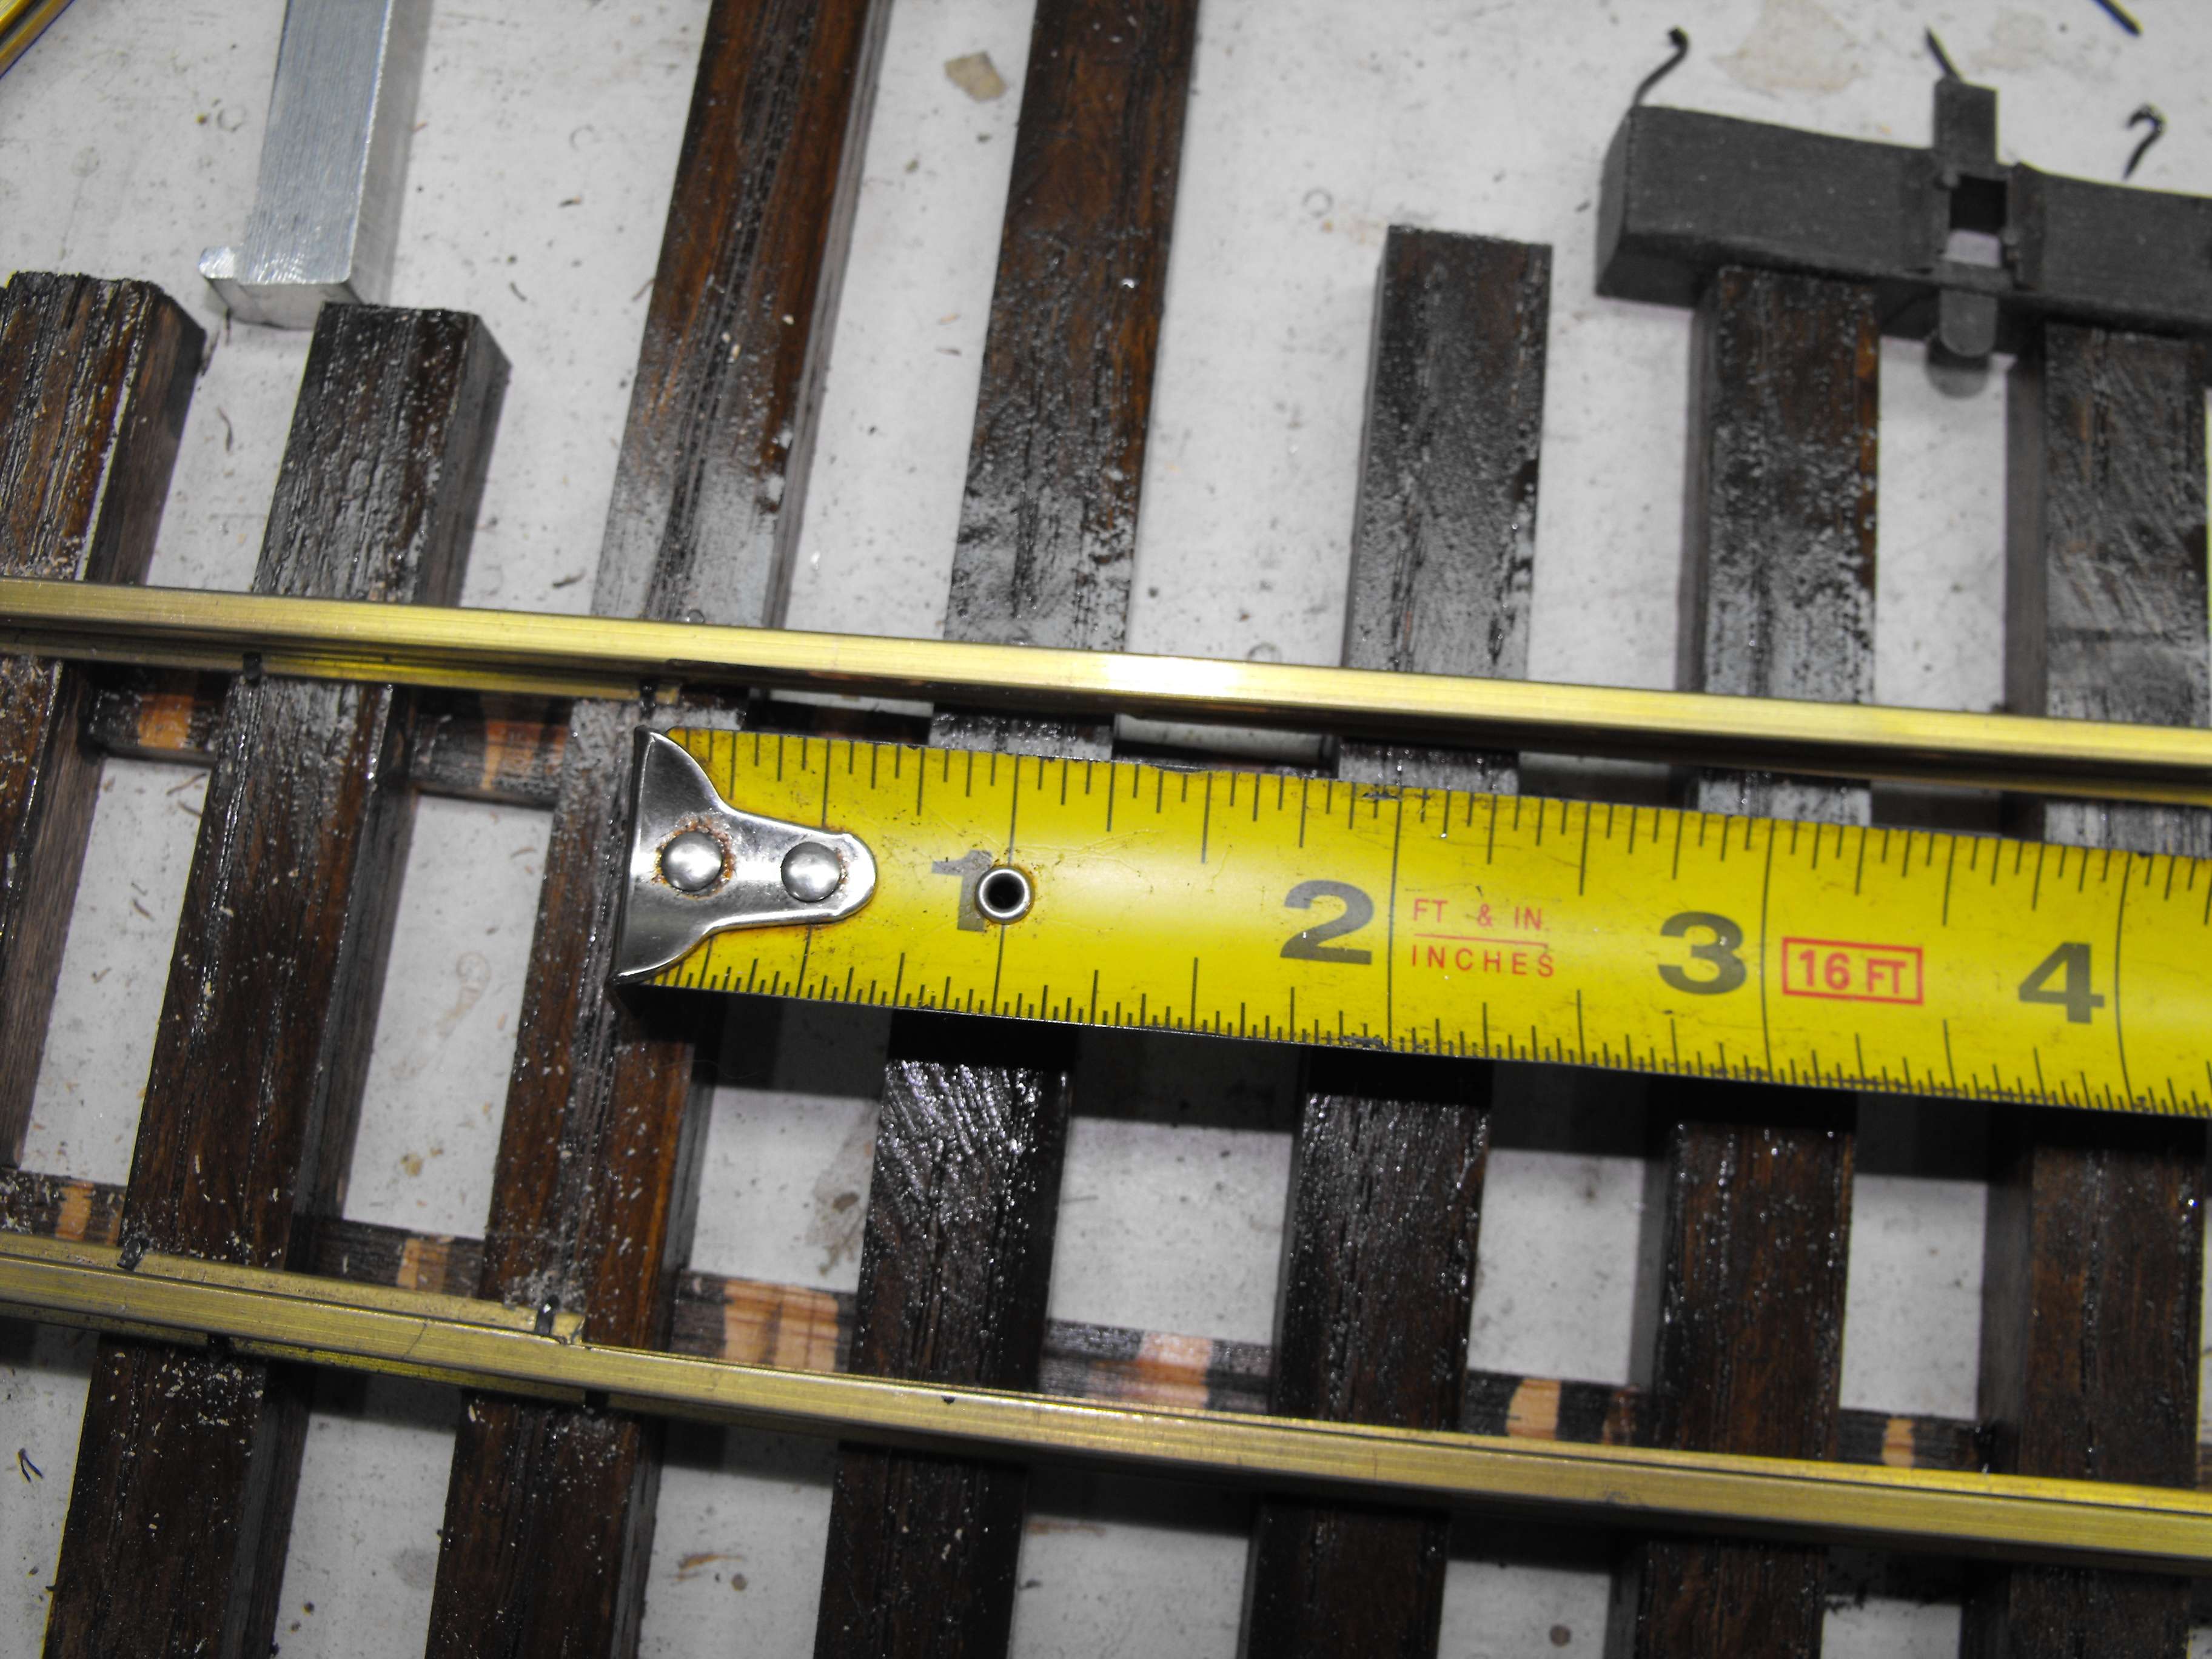

Spike the frog in place using regular and the special track gauges.
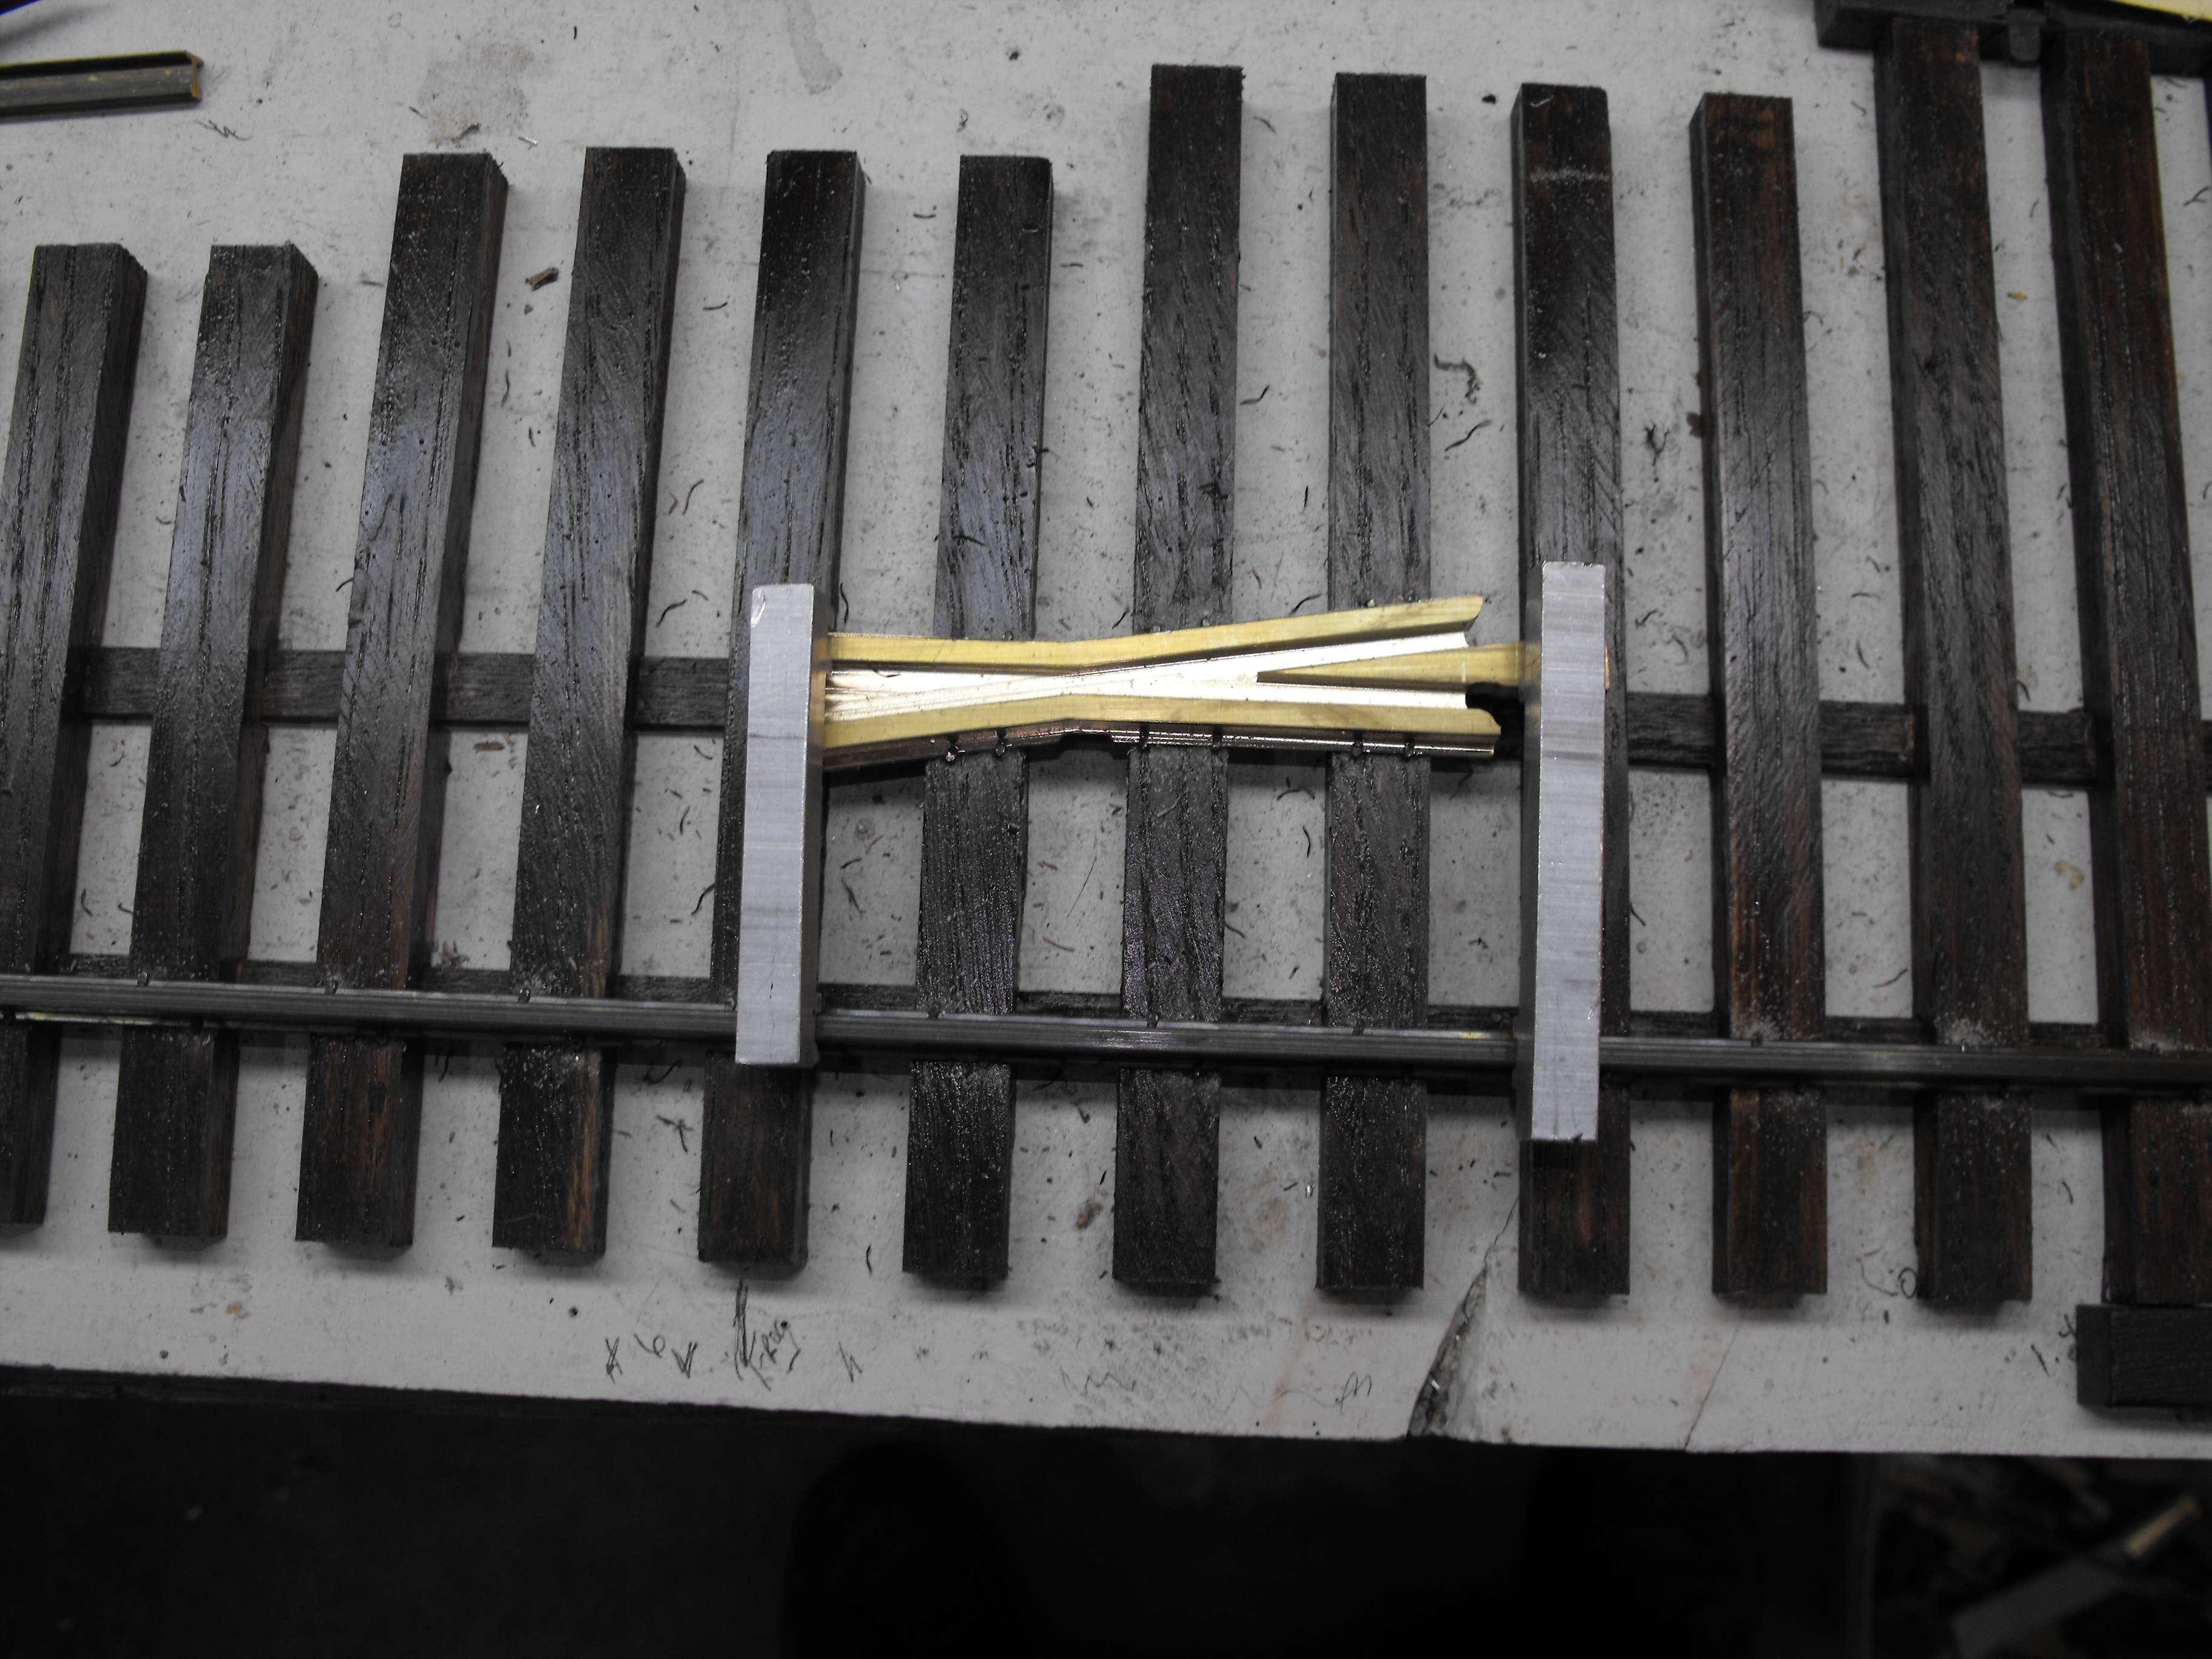
Spike the rail from the frog to the end of the switch using the track gauges.
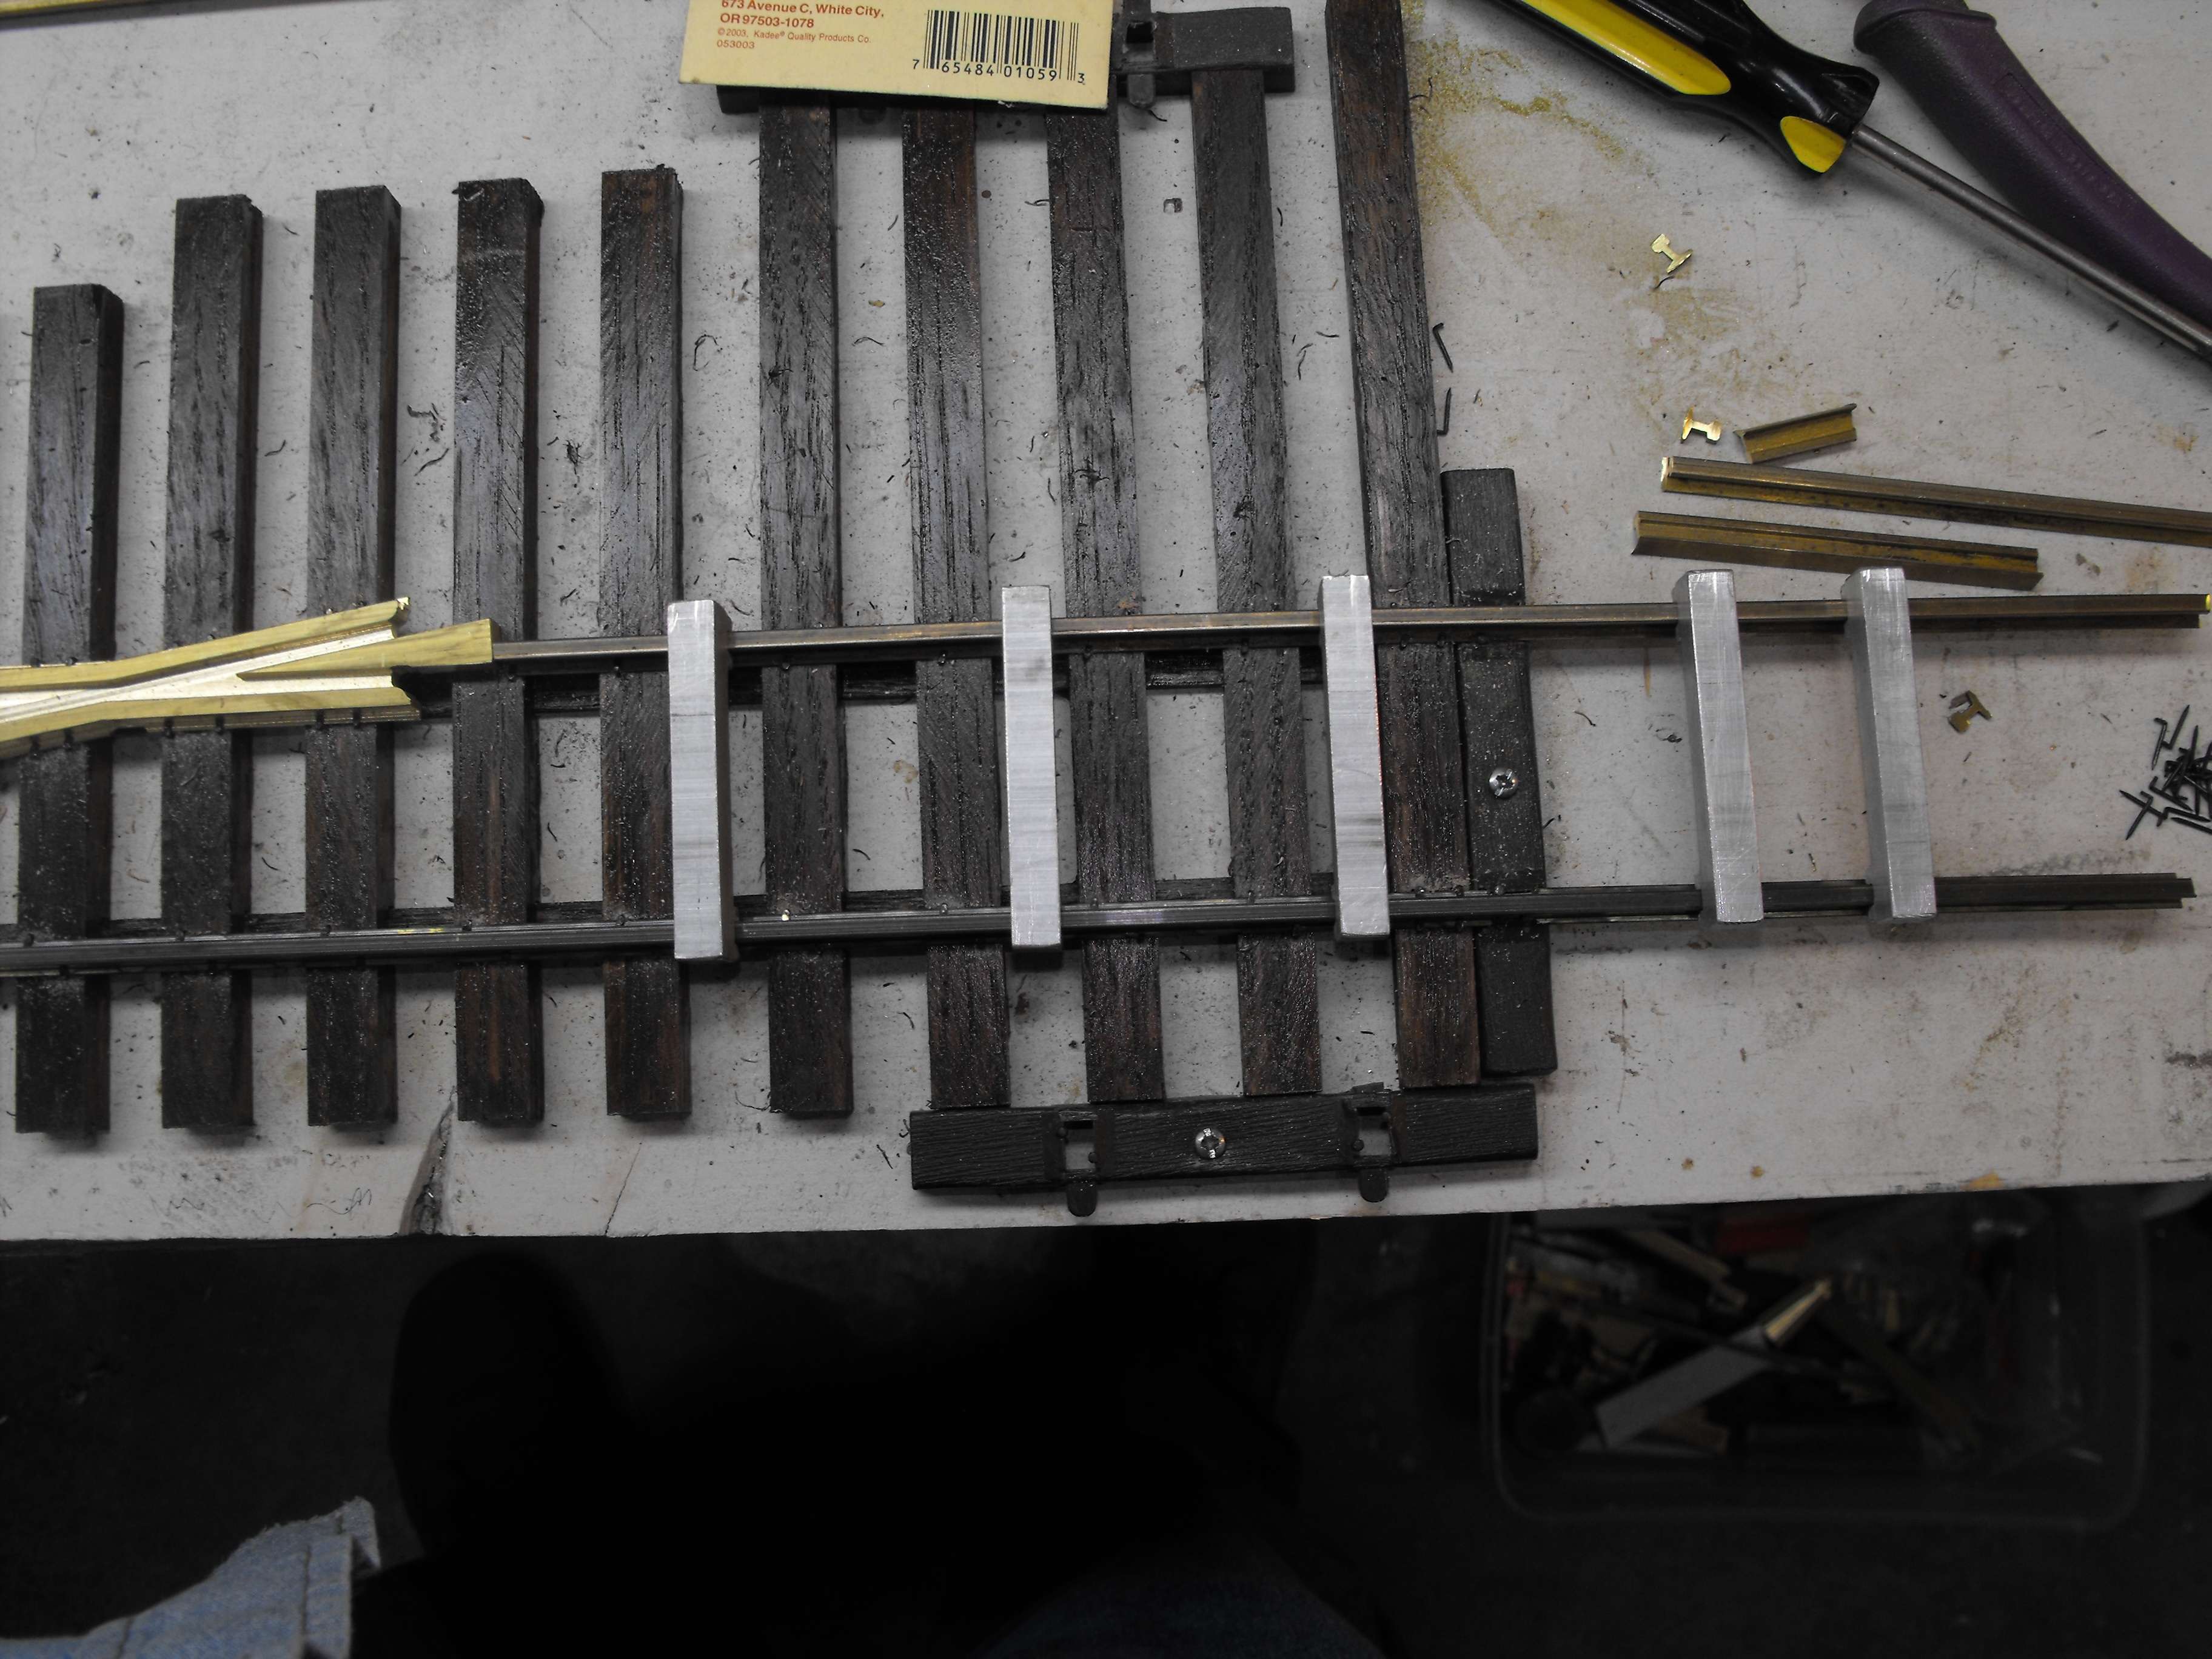
I use a good straight edge and slip it in the flangeways and line up the rail and spike it down.

The diverging stock rail is laid in place with gauges and spiked.
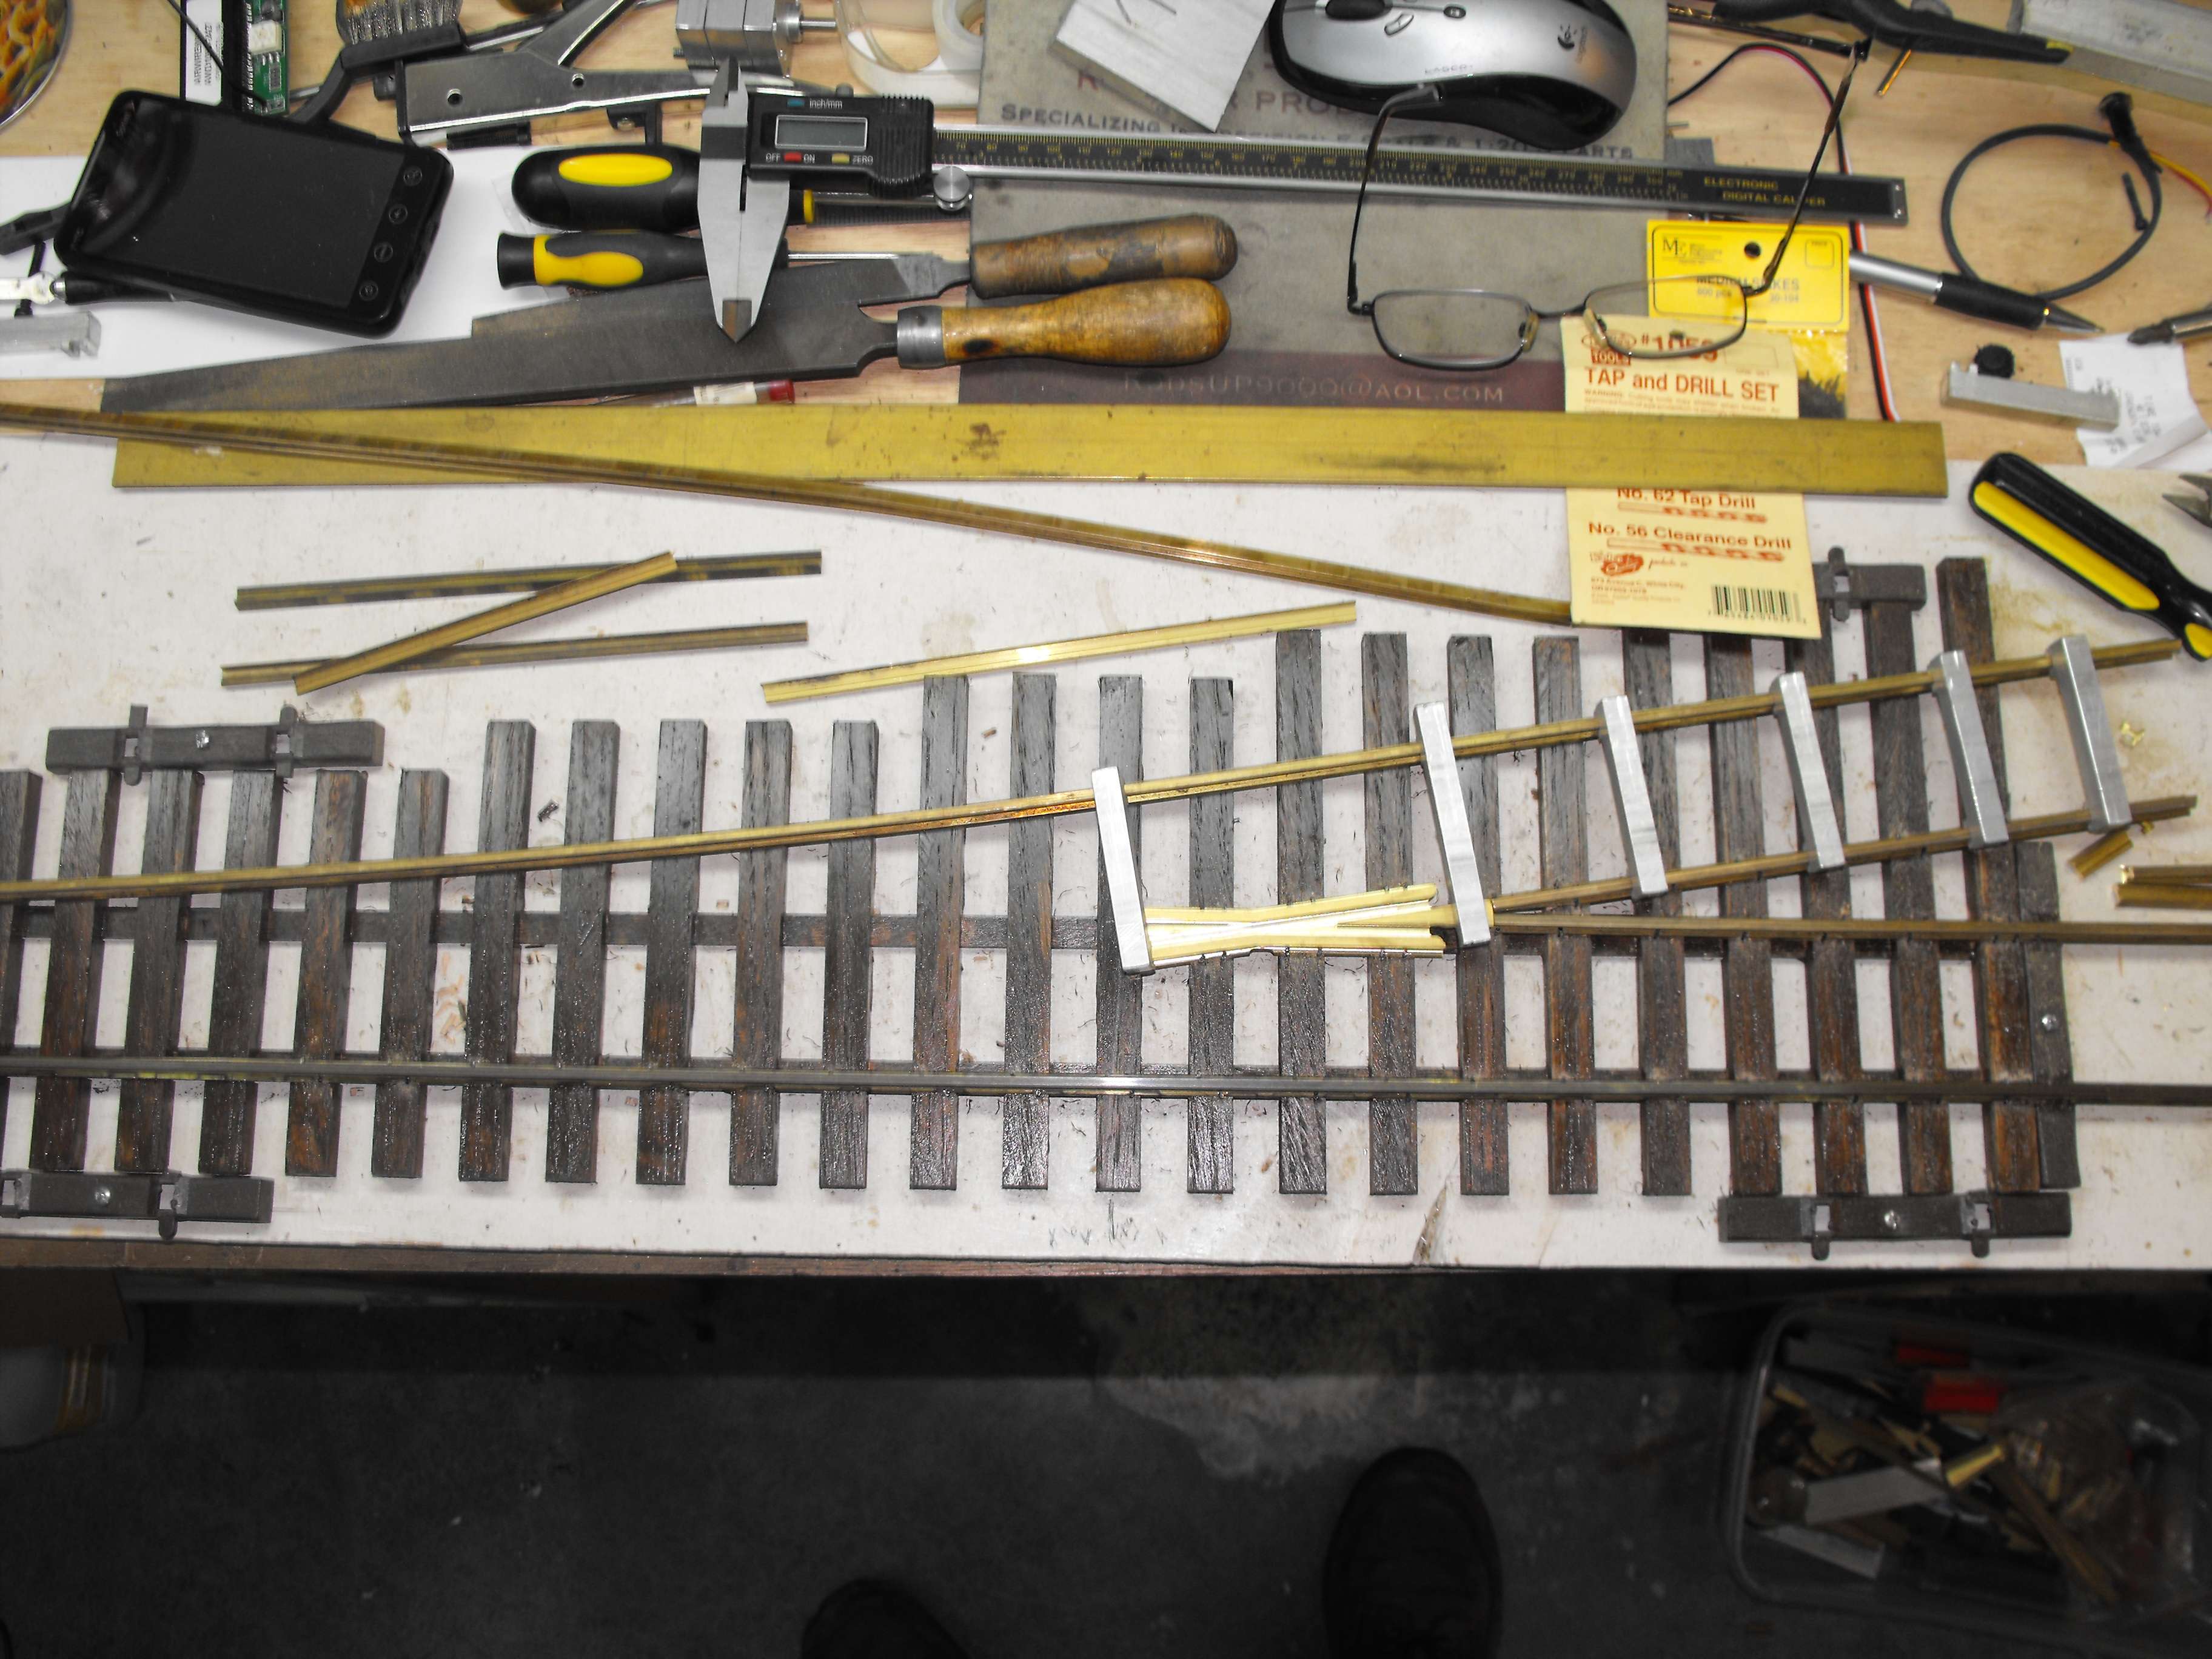
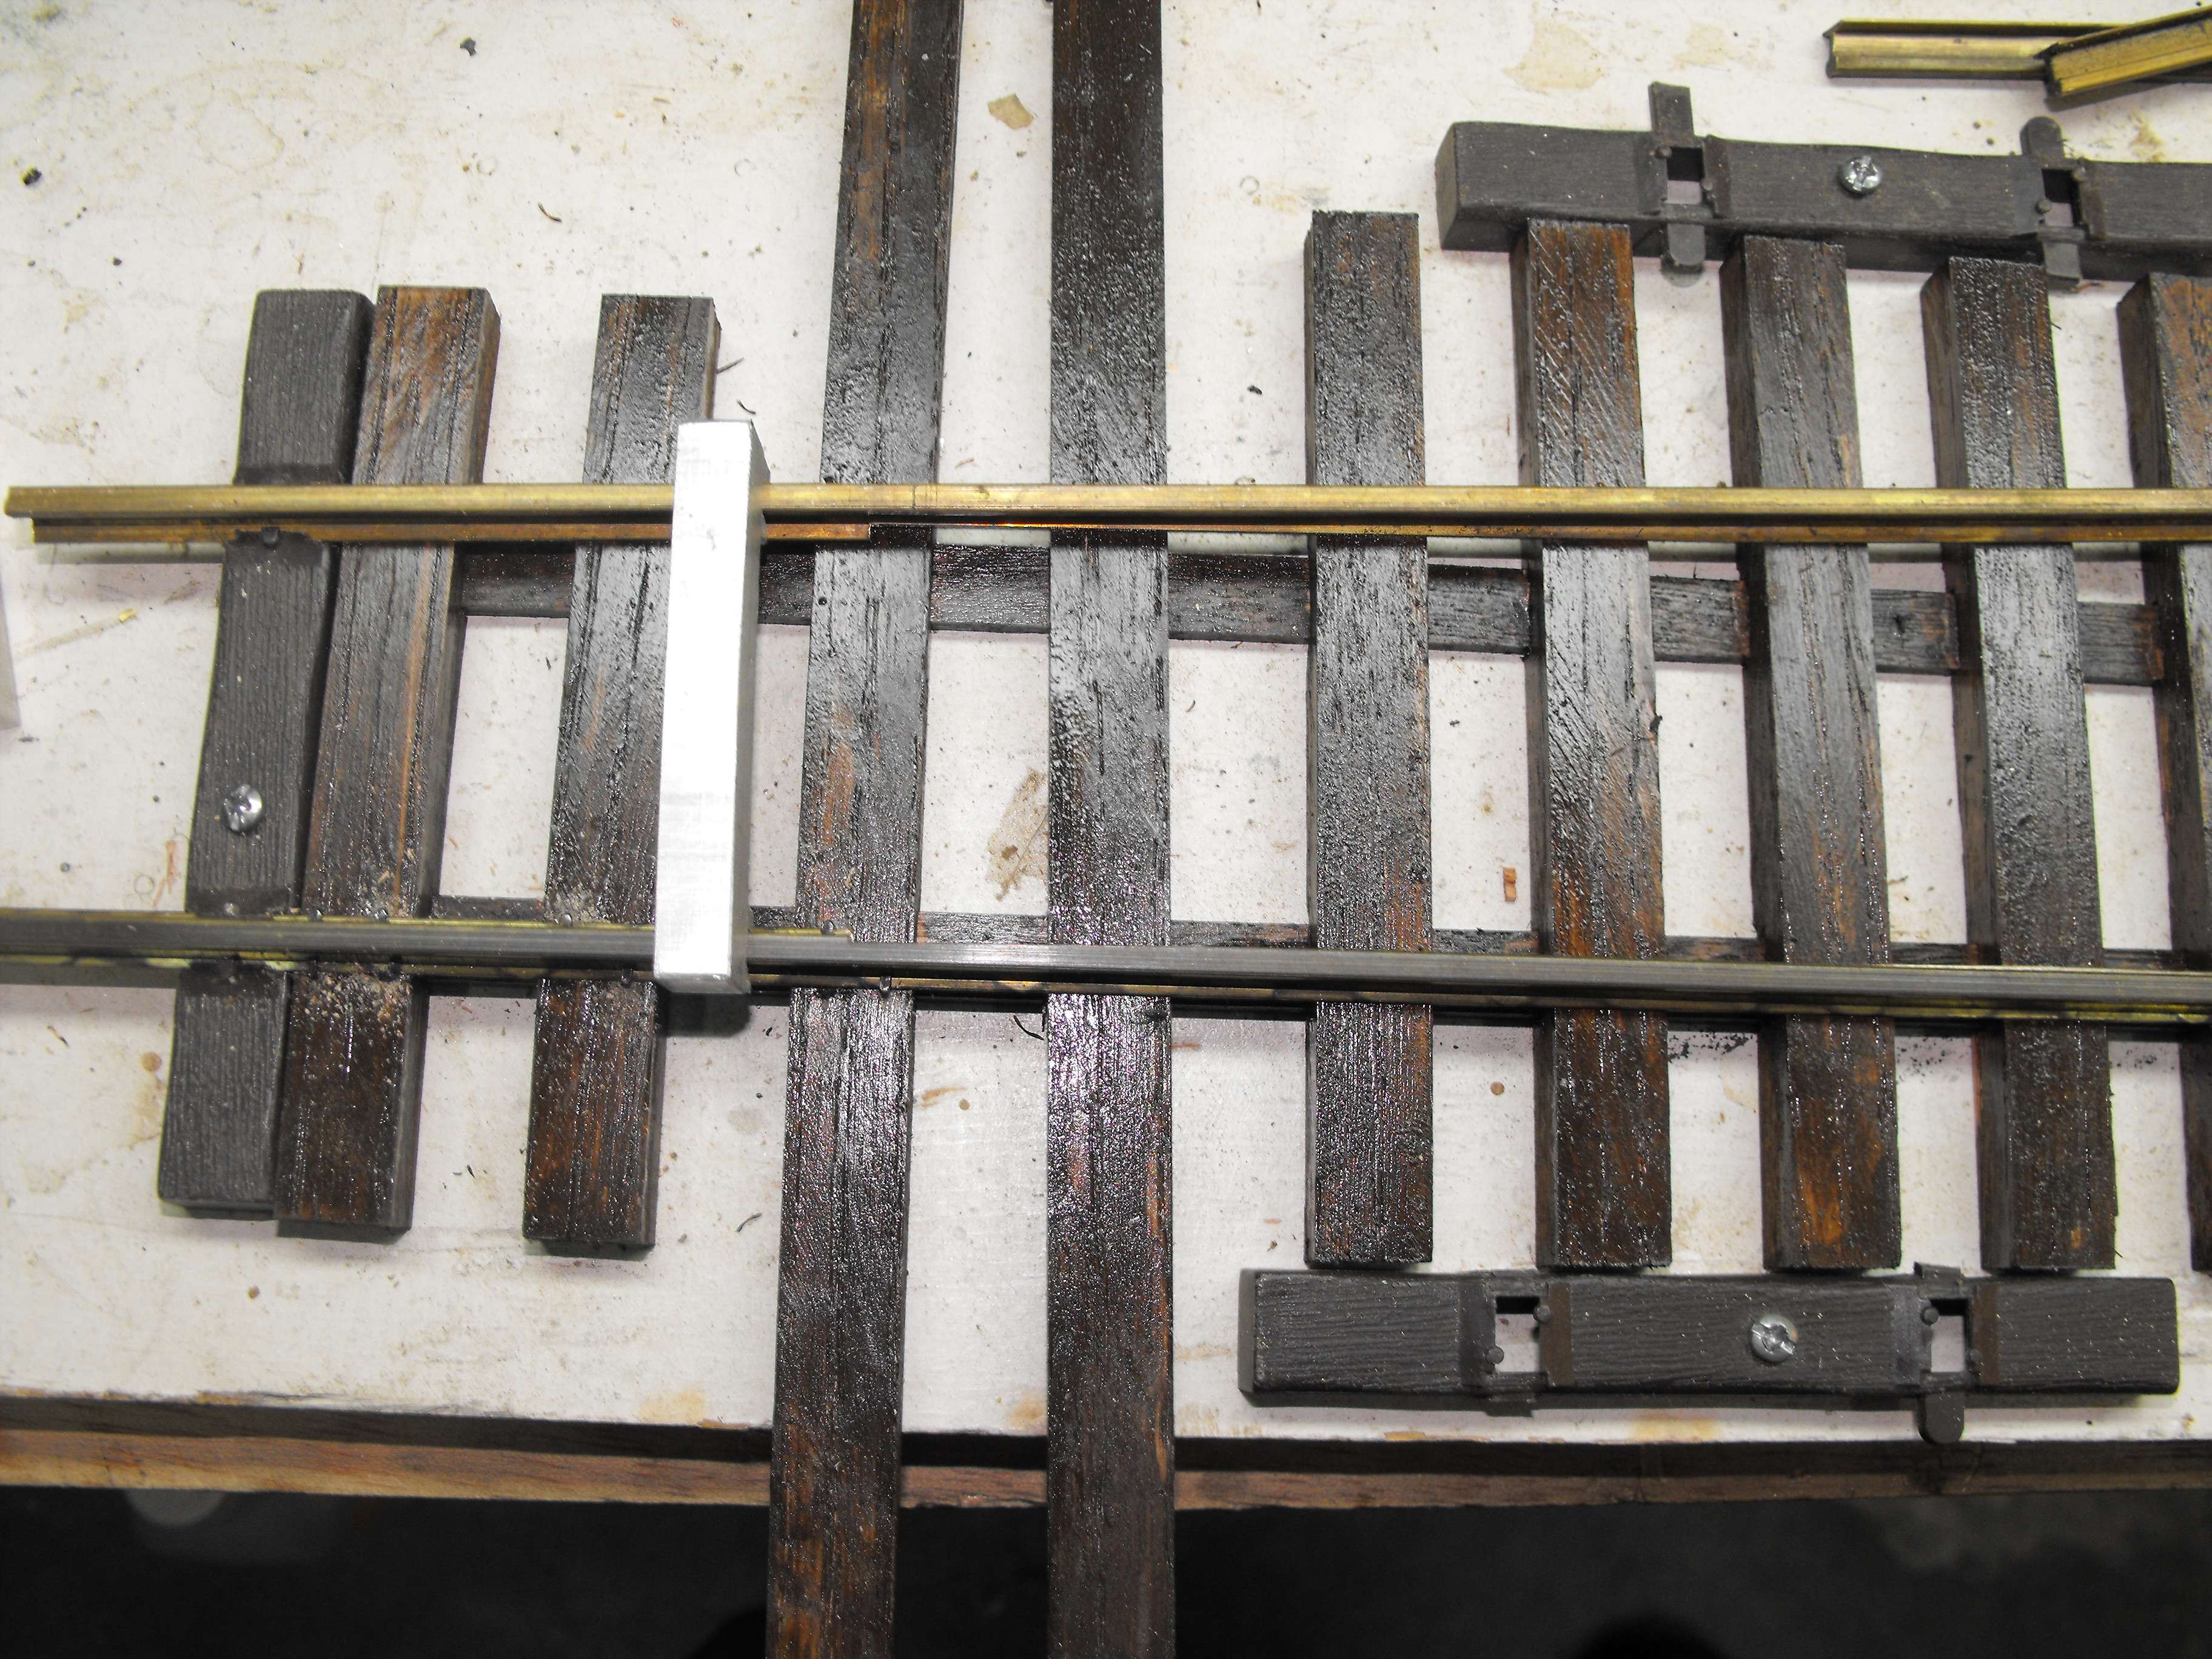
Lay the point rail on top of the diverging stock rail and bend to it to match. Mark where the point joiners go and notch tie for clearance.
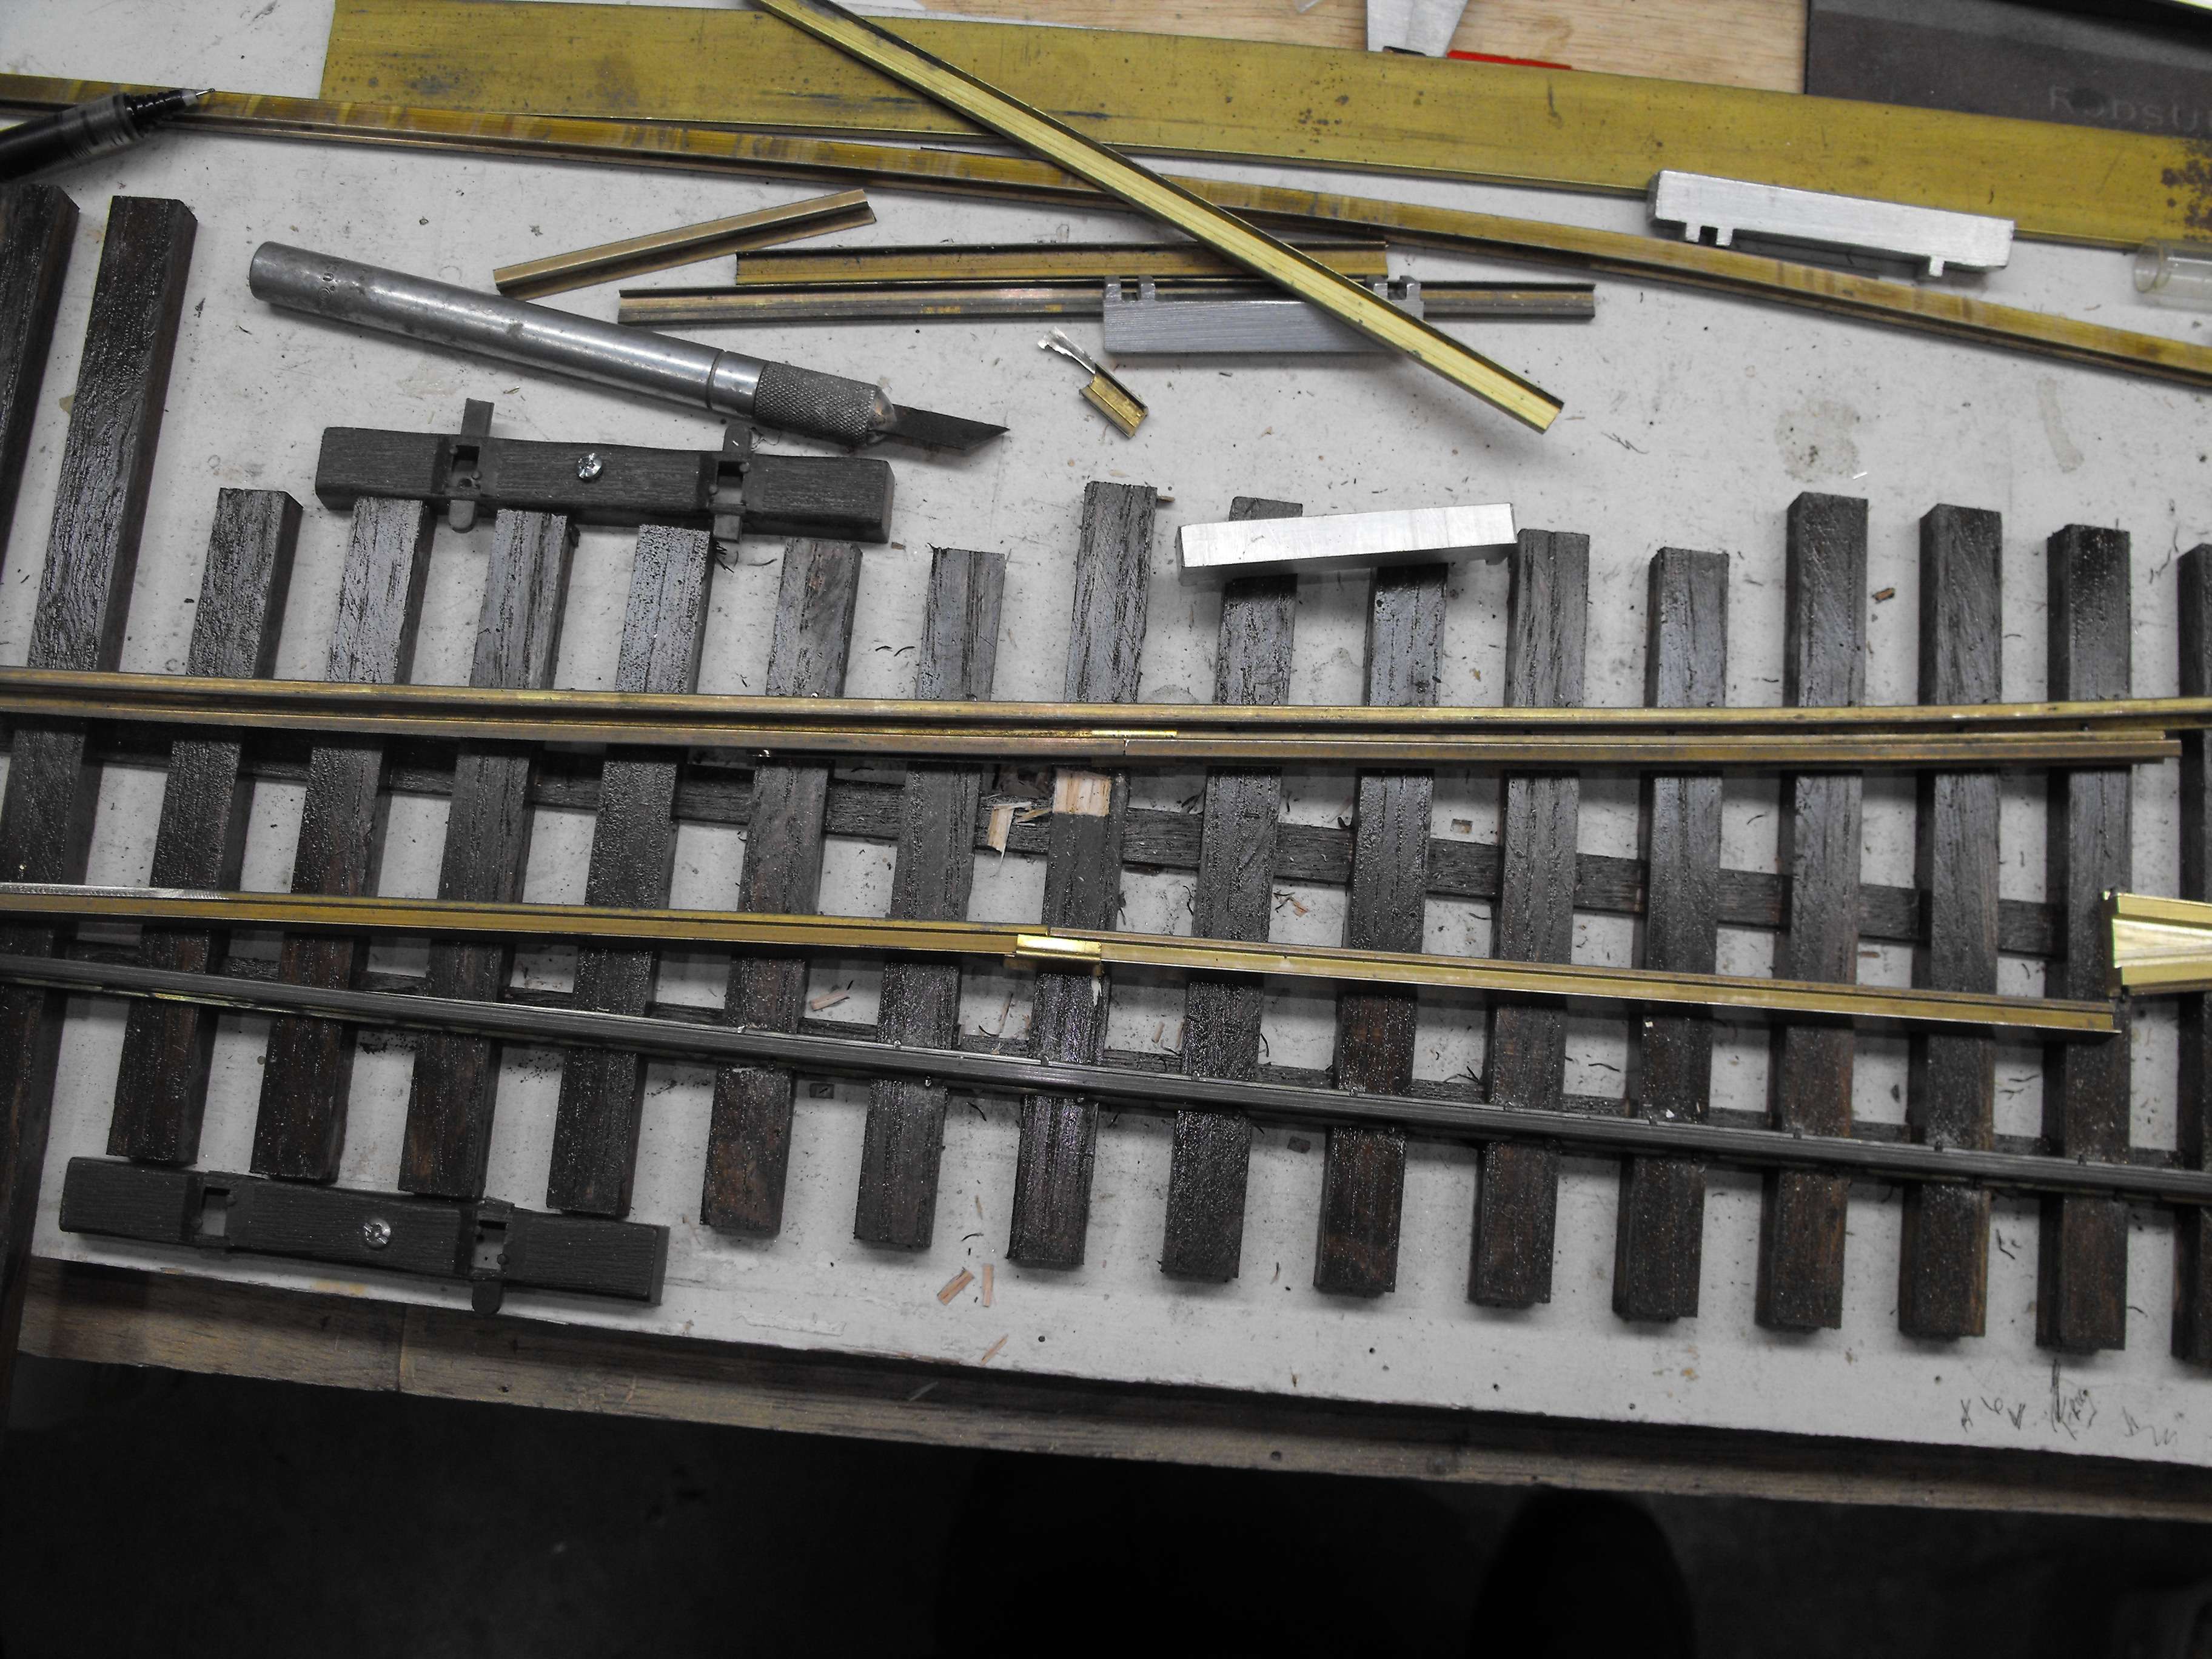
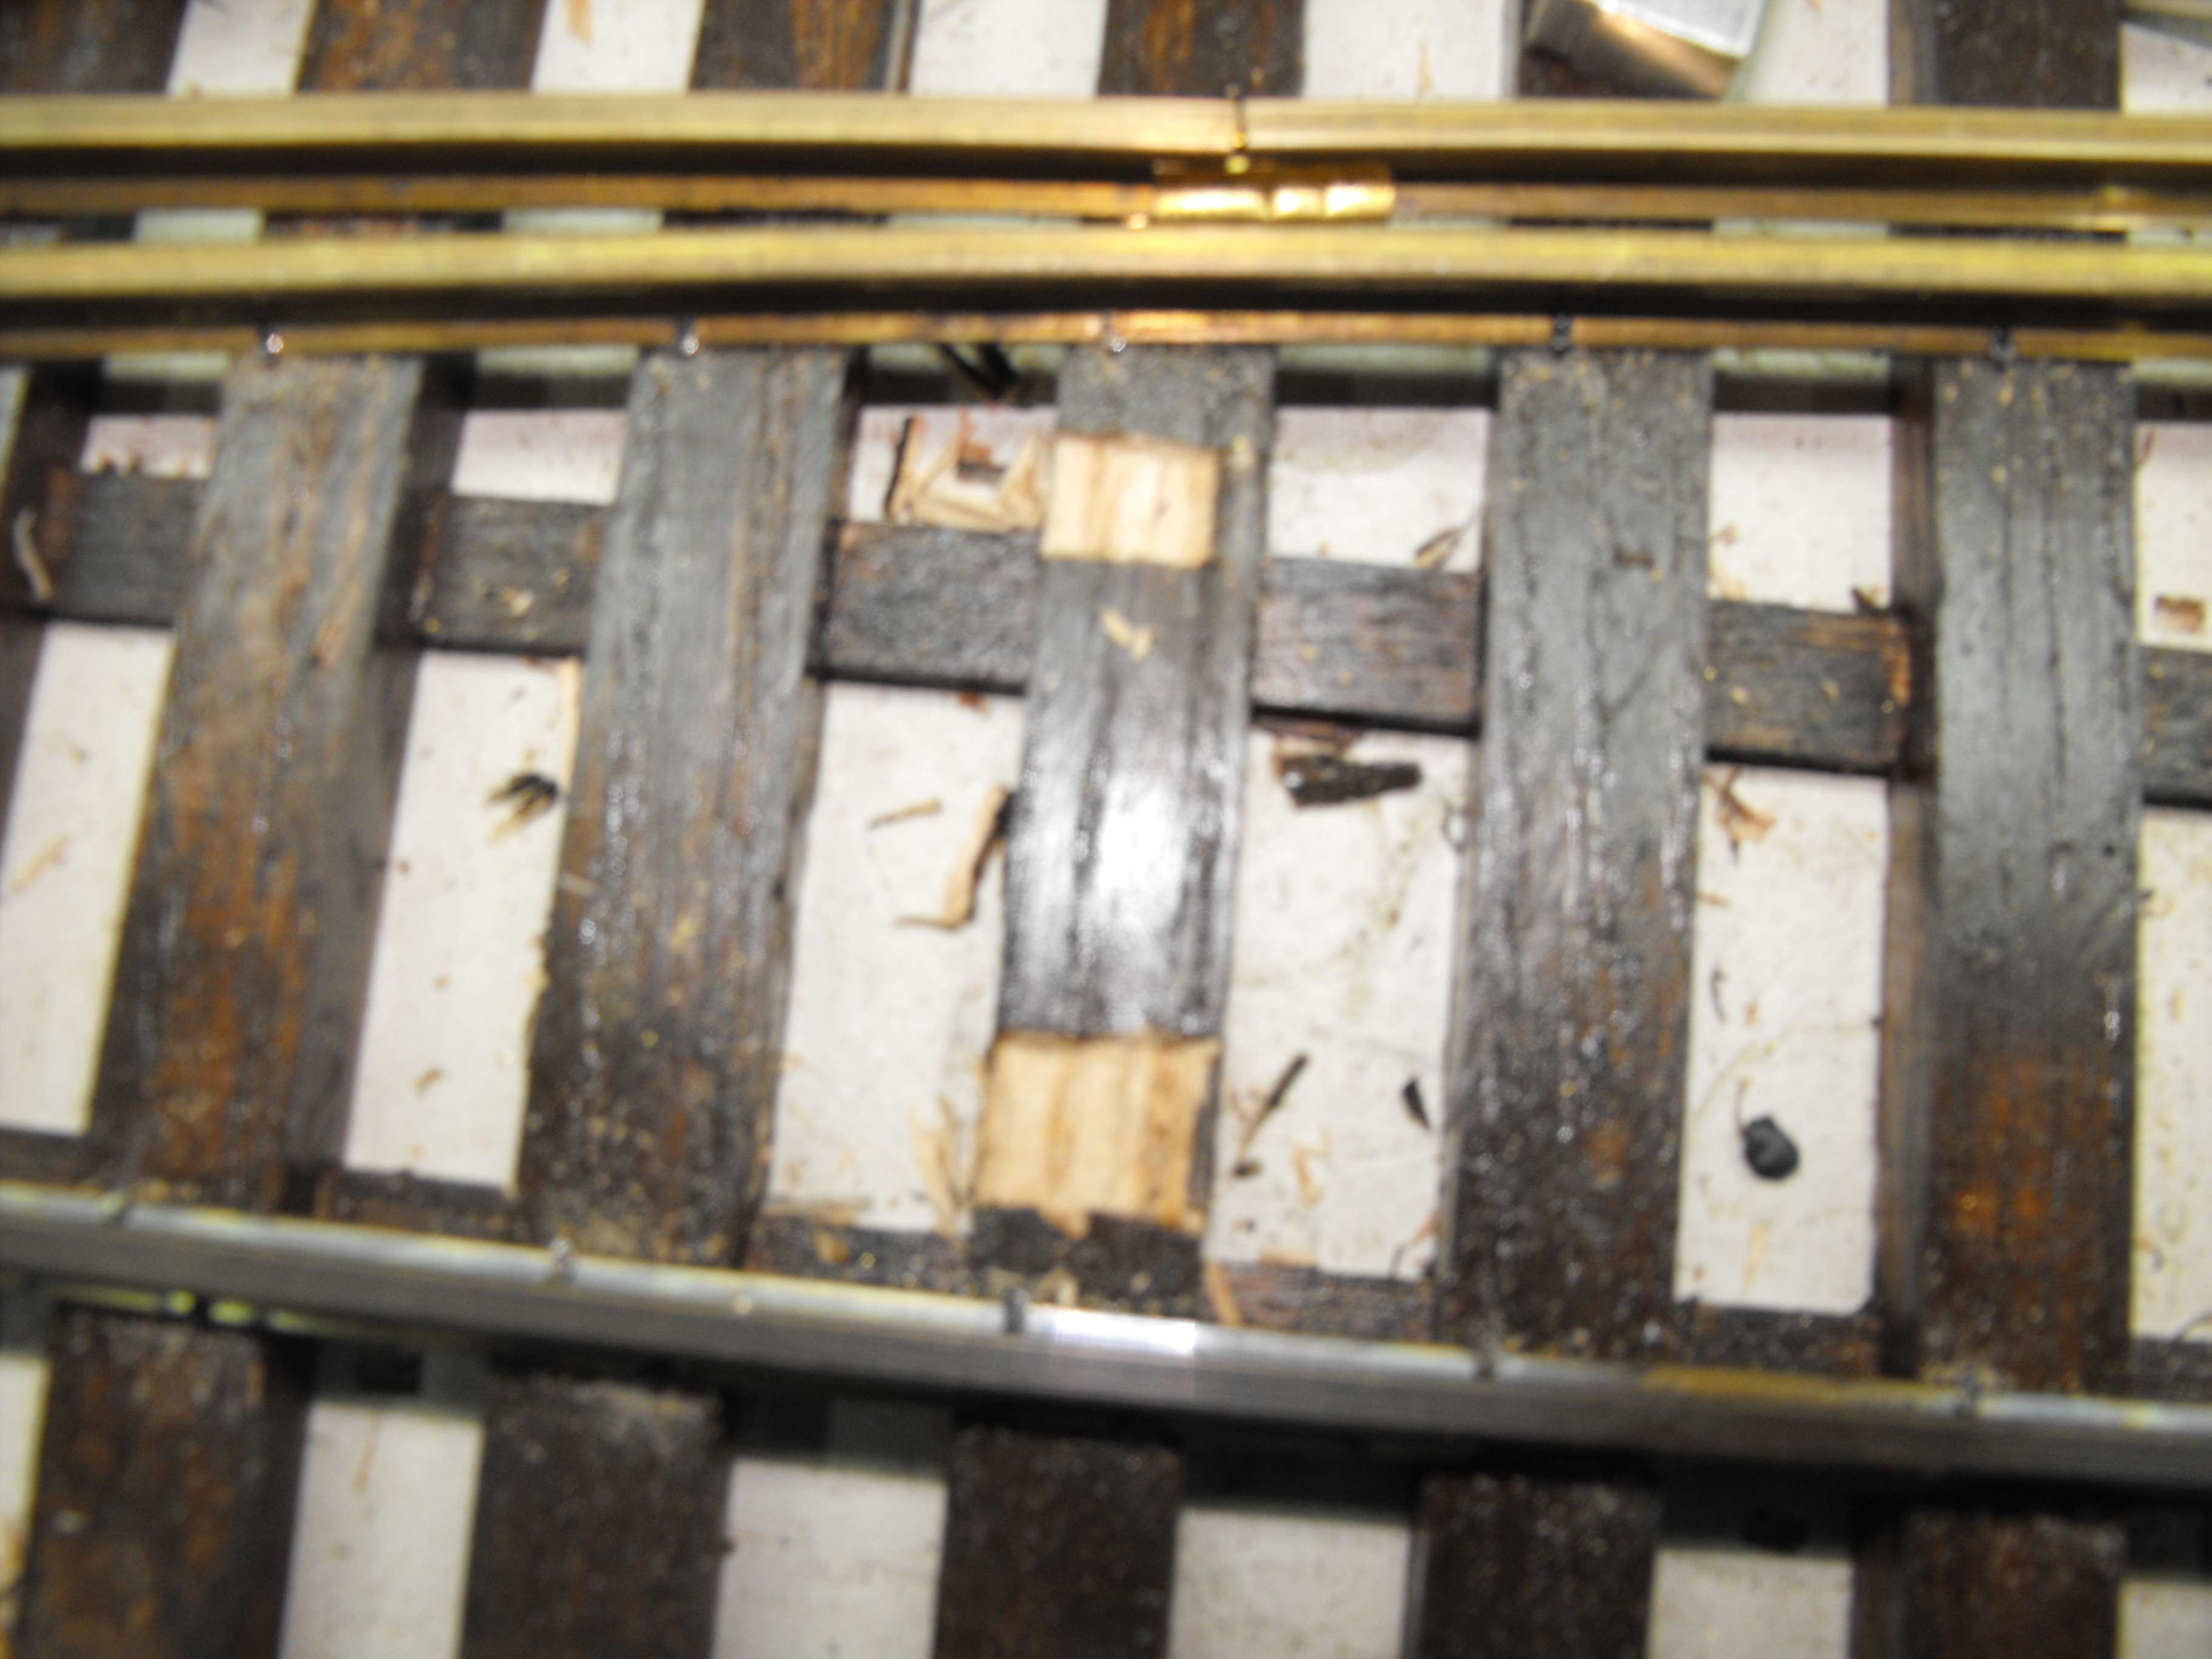
Using gauges spike the rail down

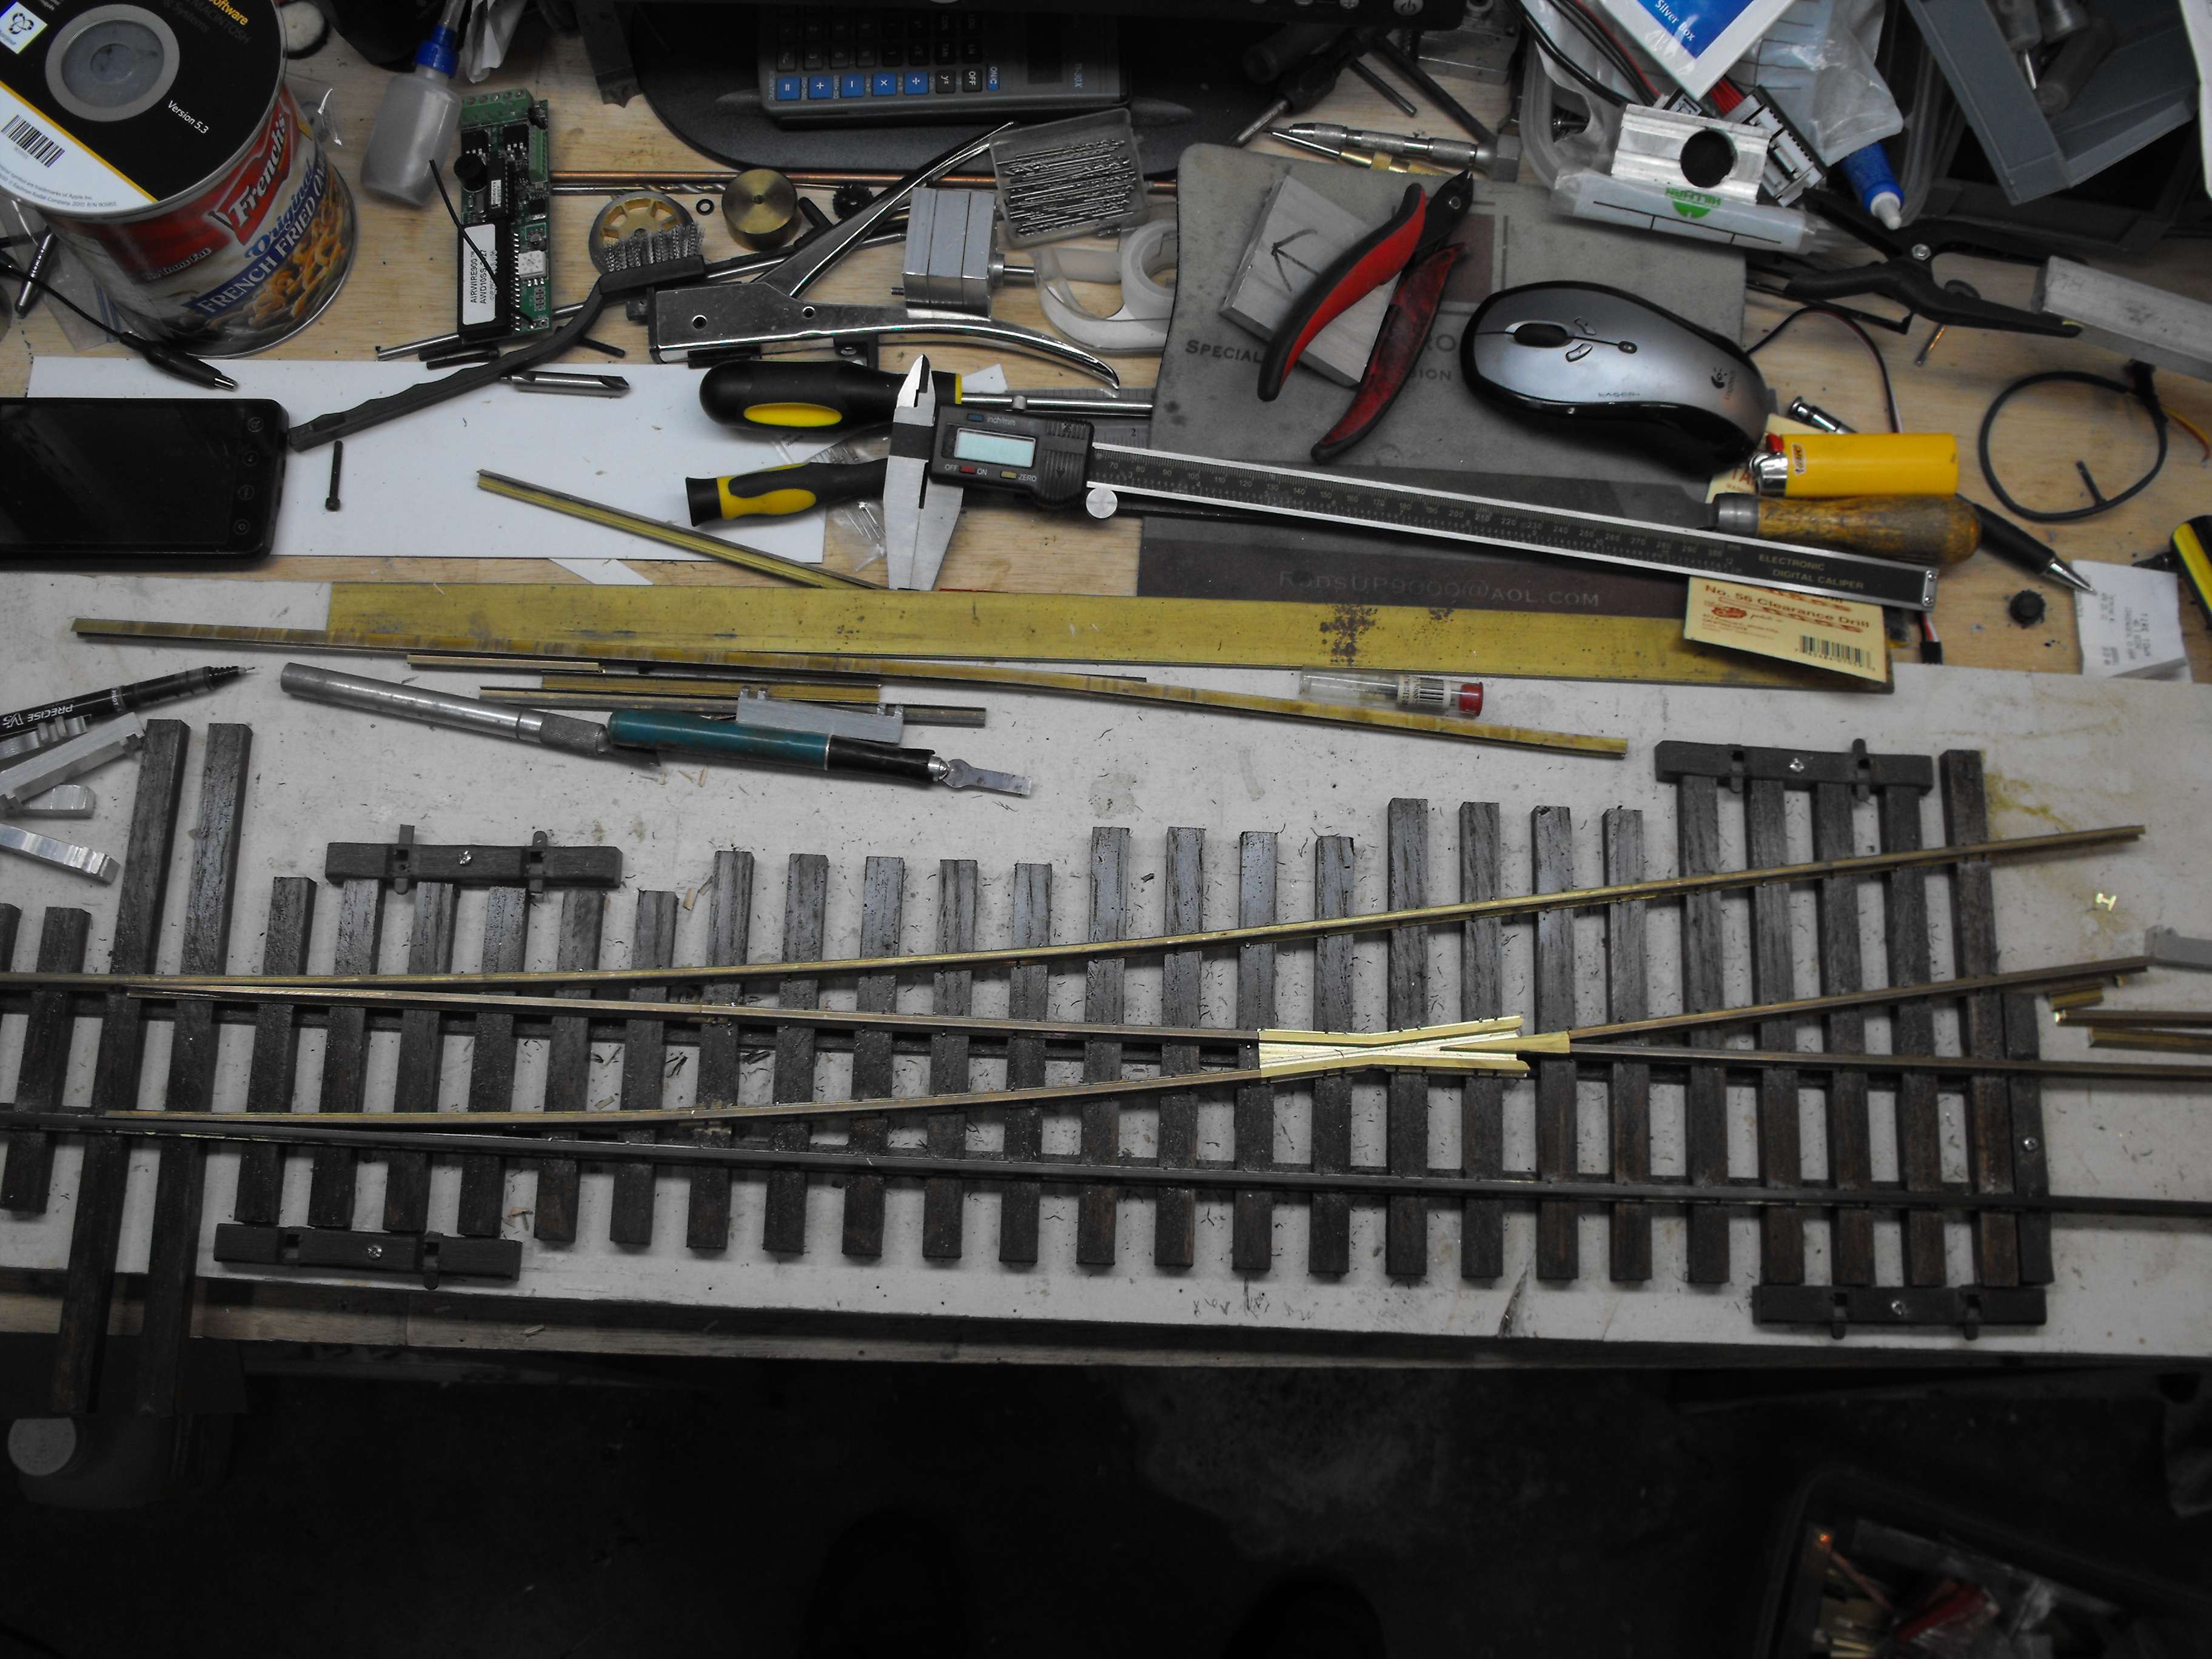
All that is left is to attach the throw bar and the guard rail. For me I use .125" for the width of the all flangways and works great.
Rodney

