Now that idea makes it all plausible
Gorgeous work, Master Jim!!
Love all your details, and your barrels came out great!
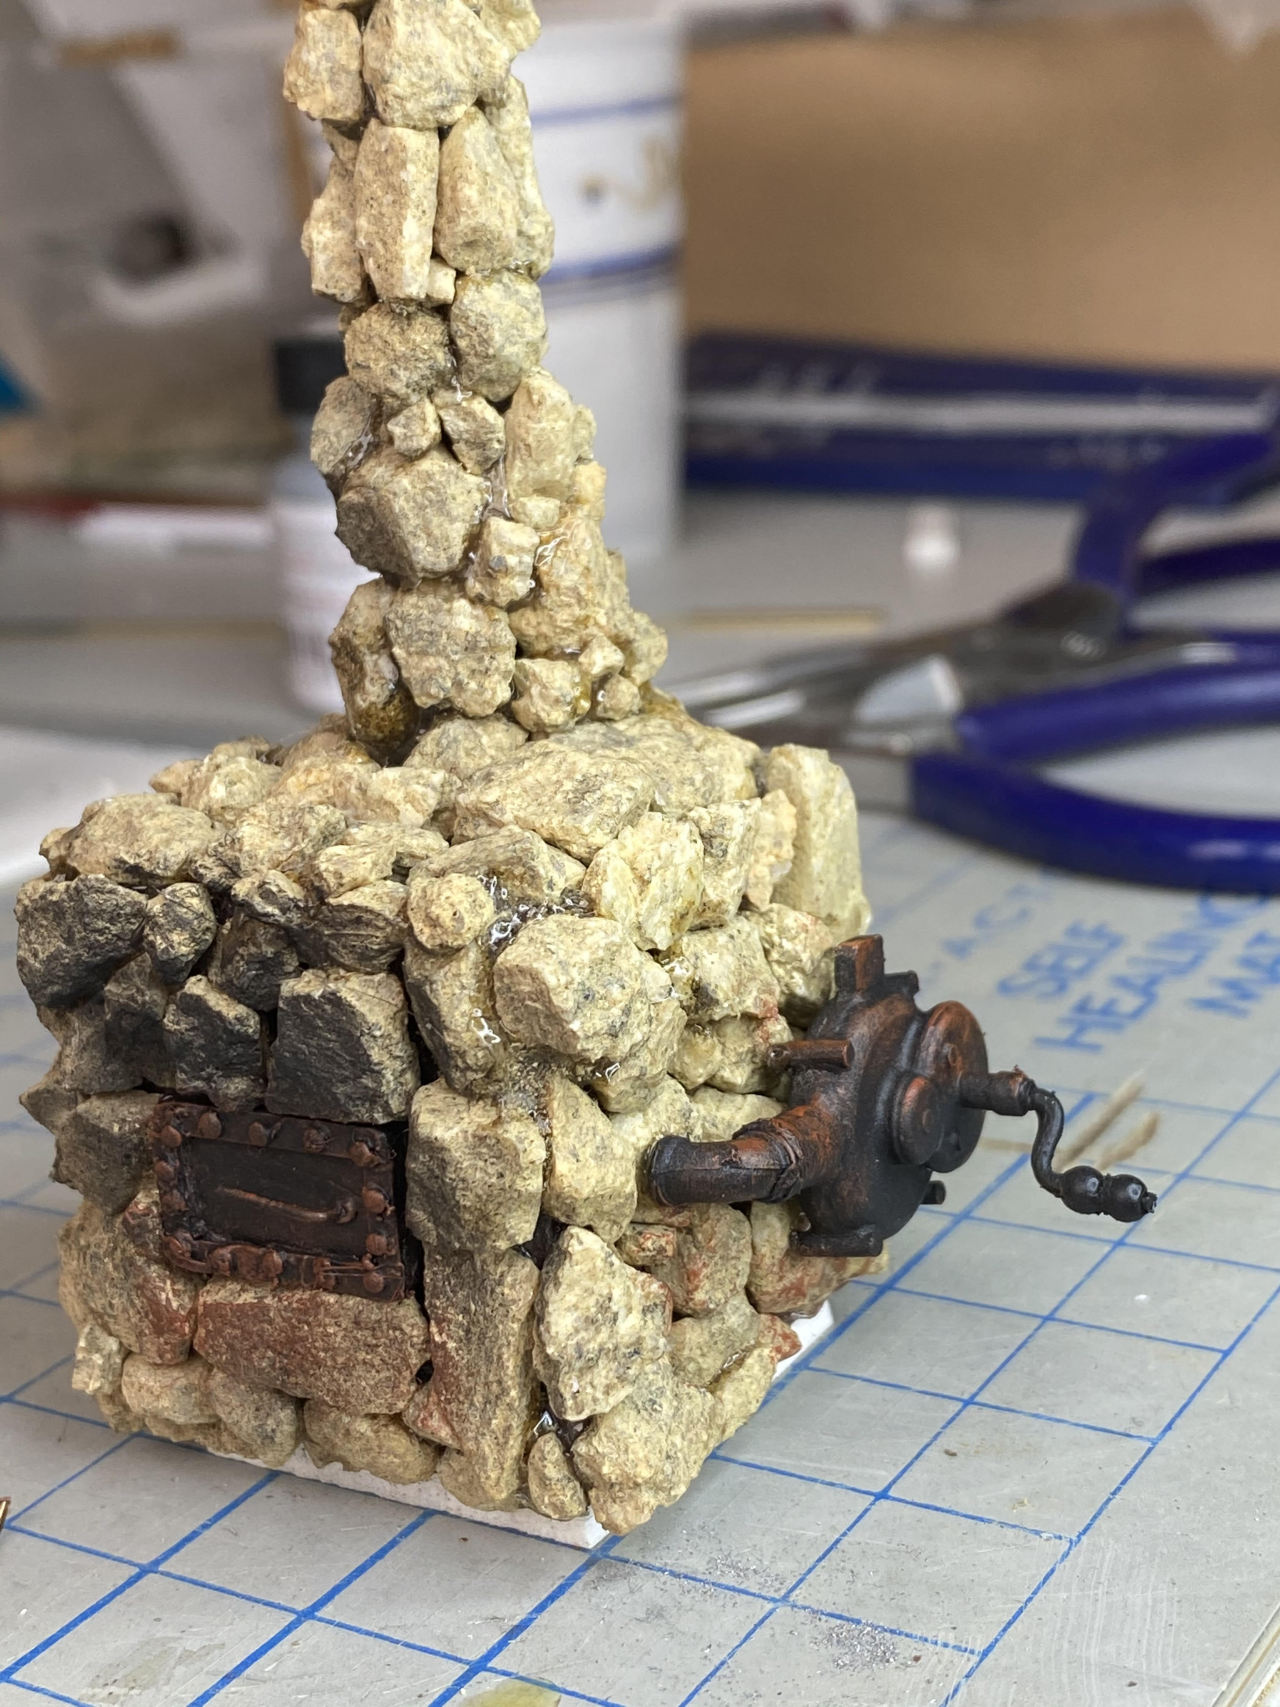
More work on the backwoods workshop, including some blacksmith capability. The white base will be buried.
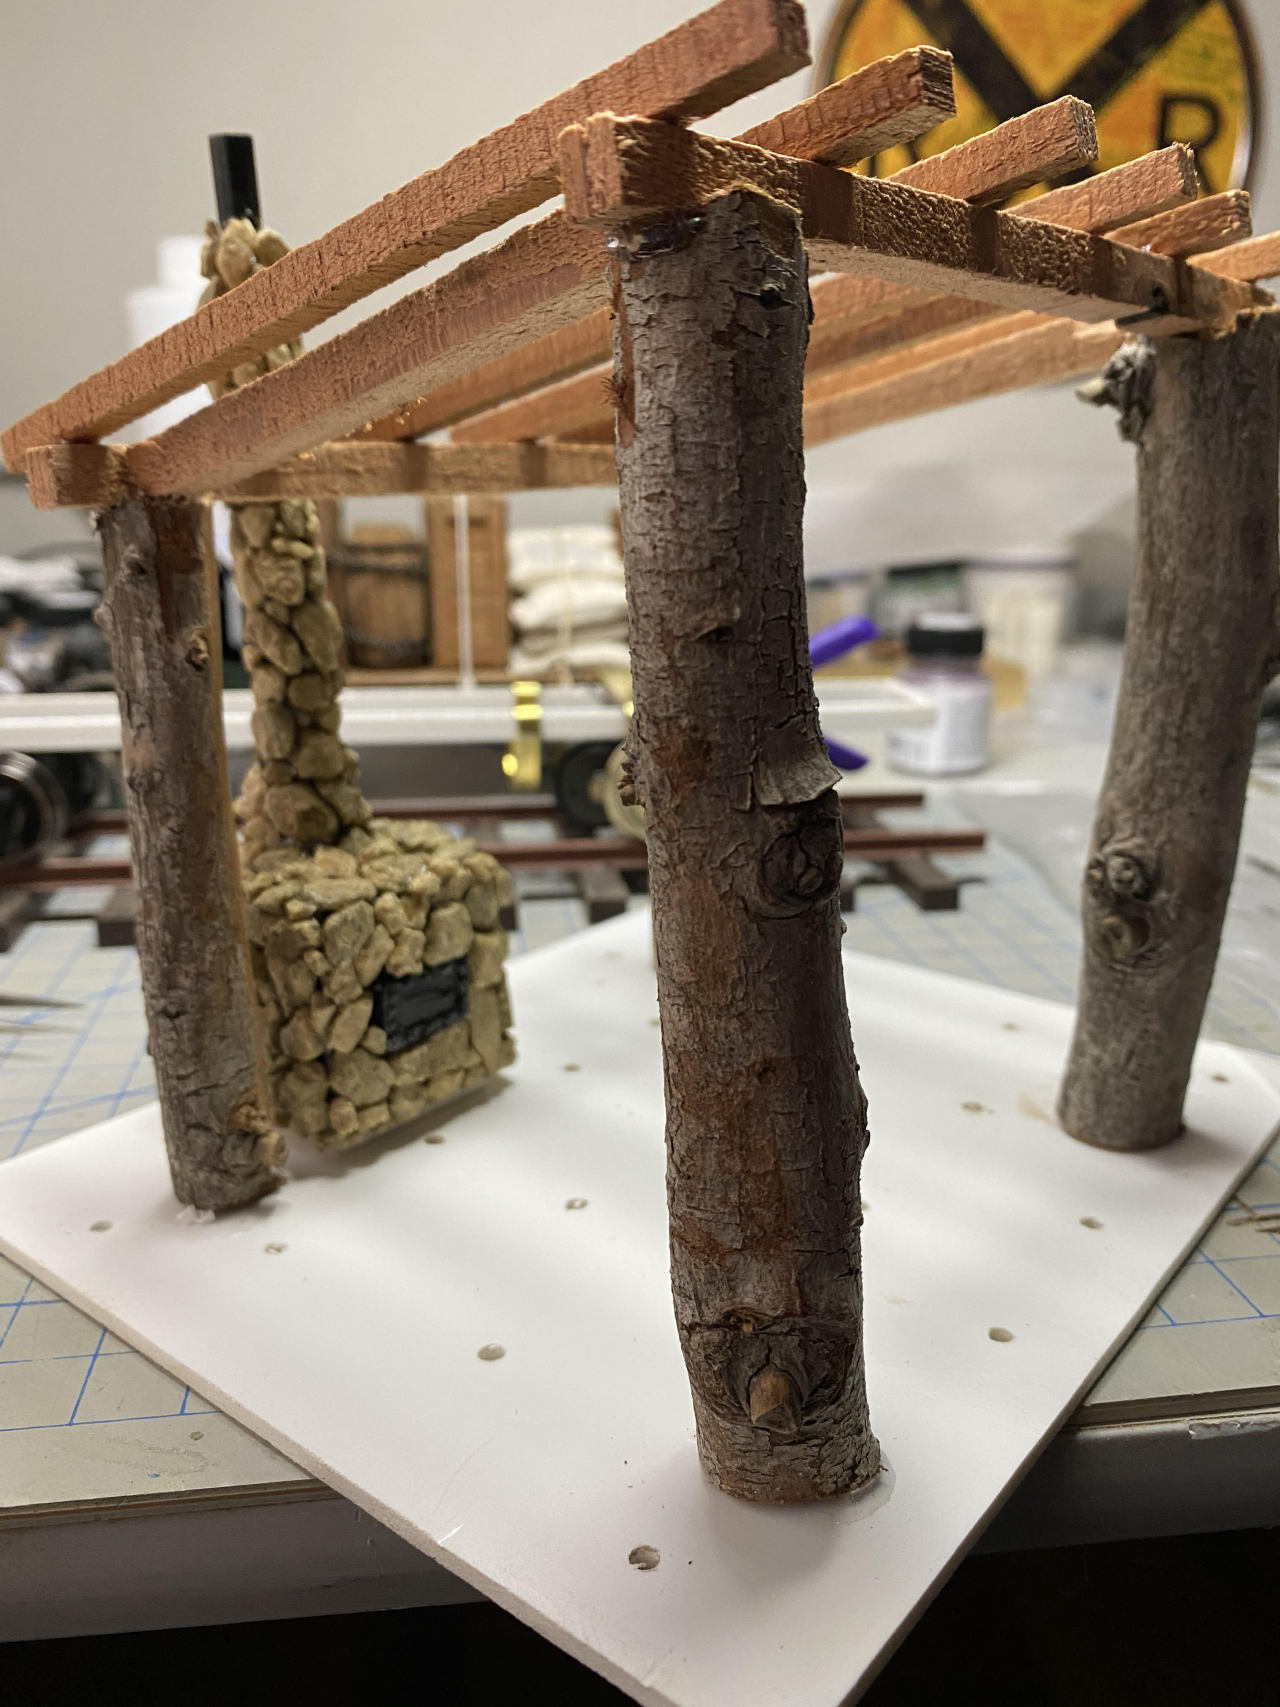
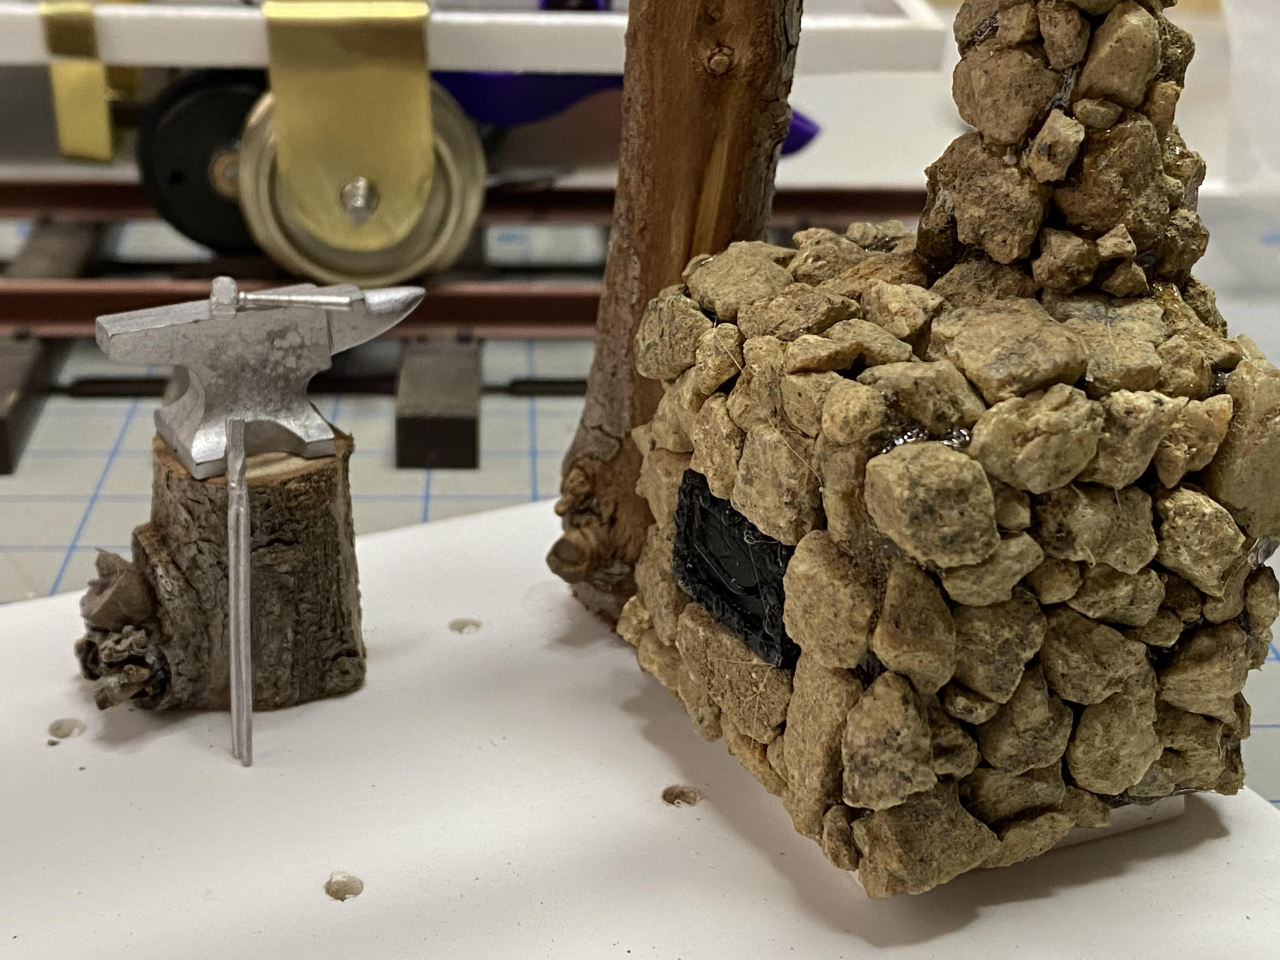
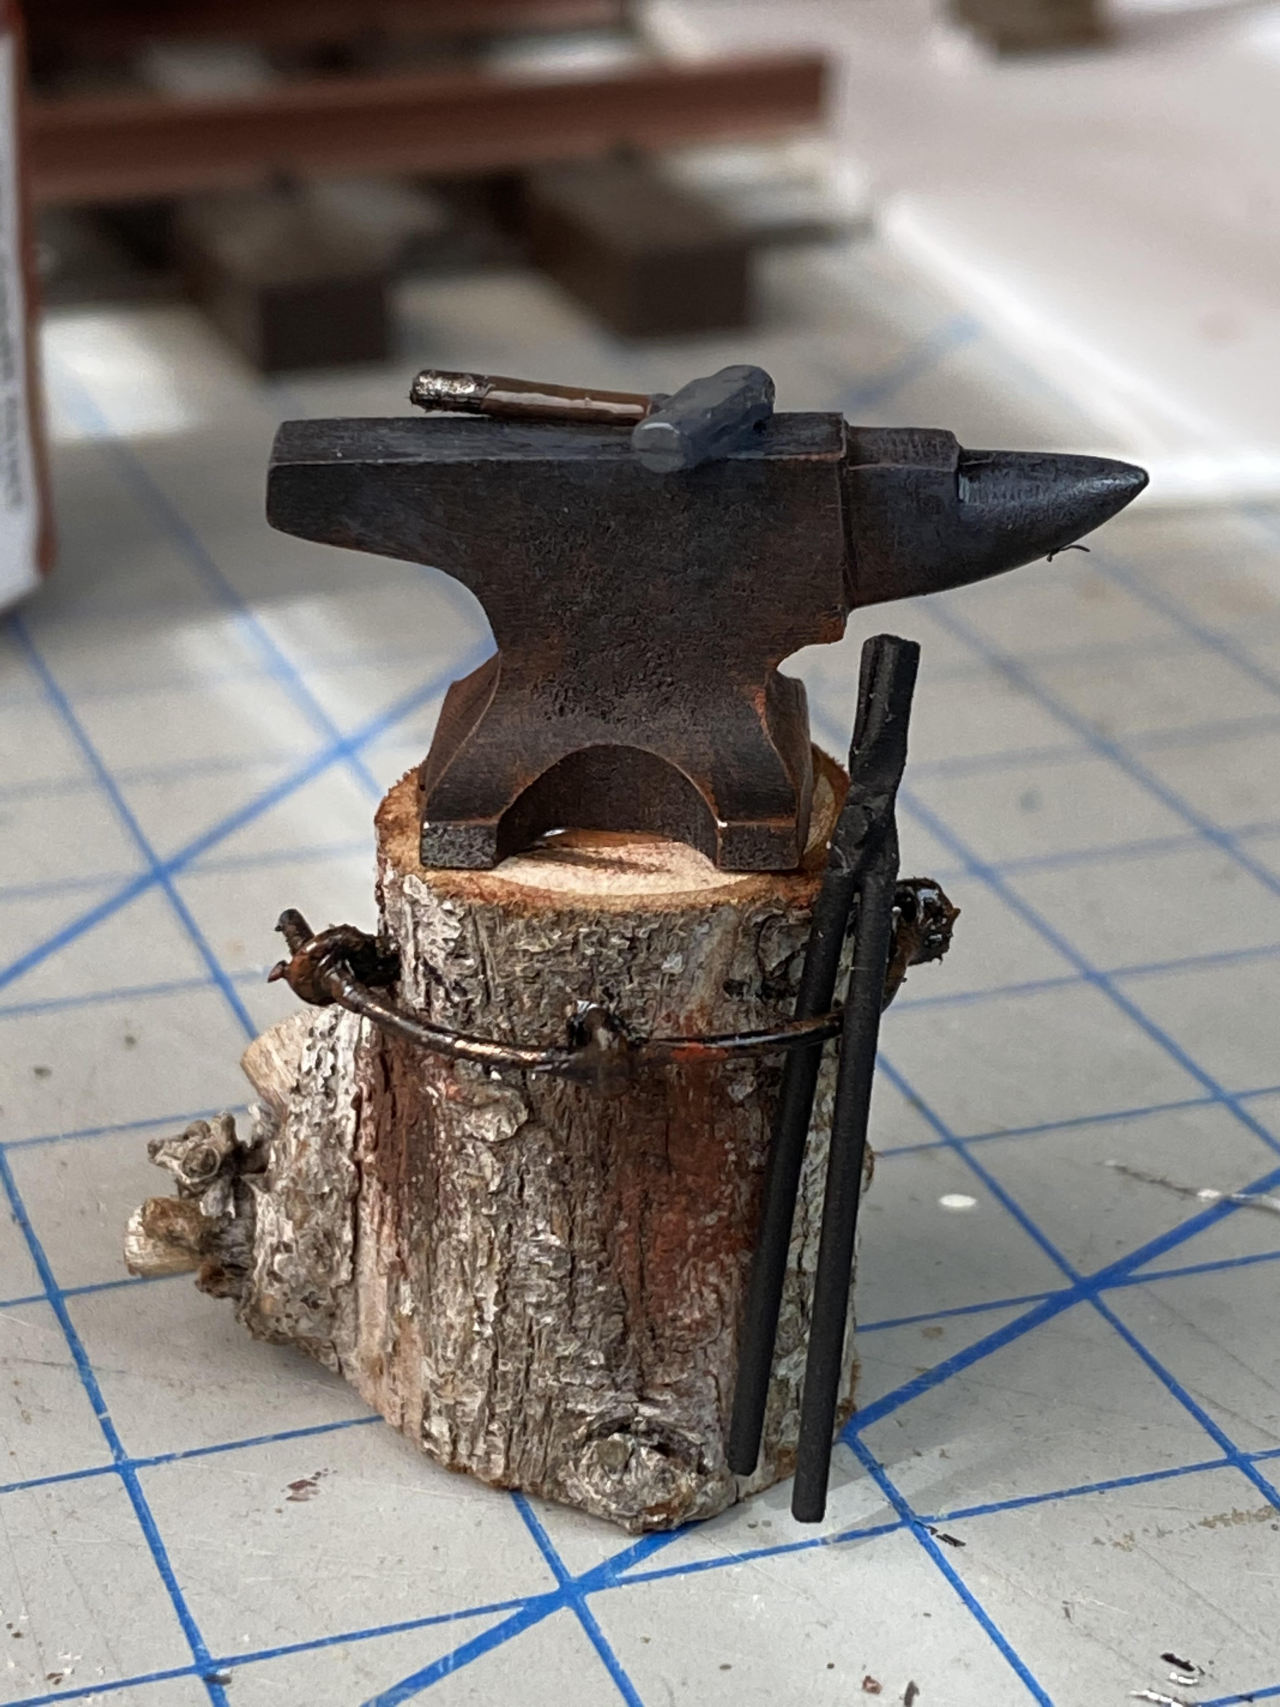
And today was painting and placement for some of the details:
Cheers!

It’s all in the pictures !
Nice work all around !!
Thanks Rooster!
Great job Jim, I really like your anvil setup.
Thanks Rick! Trying to put the stuff you sold me to good use. More to come!
Jim
Looking very very nice, you have been given lots of great ideas. The only thought I can pass on that may or may not be of value for you.
Your location and weather may be less critical than my area and much of the country. Because of the difficulty of working on the ground
it is much easier to take a plate of some type of material and build it as a diorama. I personally will use a steel base, it is much easier to place
all the small details on a base while working on a table. After the details of the diorama is completed, then setting the completed diorama
on the ground. Yours might be easier if set up in 2 or three different diorama bases. Then any time your railroad is not at use you can
remove to preserve it or to add something new, and then return quickly when being viewed.
In many of our layouts, the weather is very difficult on details, whether it is sun or rain or the splashing mud.
Personally, for me I place my structures on a steel base with an extra 2-3" around the structure so many details can be added easily on the bench.
I make all my structures to withstand my forces of weather in the event I leave out for an extended period of time. For me, the sun is the
most damaging to fading the color on figures and structures. I apply the sun-blocking type spray, I prefer to place my structures under my
patio that is right next to my layout.
EXAMPLE
 IMG_4958 by Dennis Rayon, on Flickr
 Untitled by Dennis Rayon, on Flickr
 Untitled by Dennis Rayon, on Flickr
Thanks, Dennis. Sage advice. I have a PVC base and intend to attach everything to that. I may not have made it big enough. Live and learn!
And as usual your stuff is amazing. Thanks for the pics!
Trust me Jim your modeling is an inspiration to all of us
Dennis
I thought of you Jim
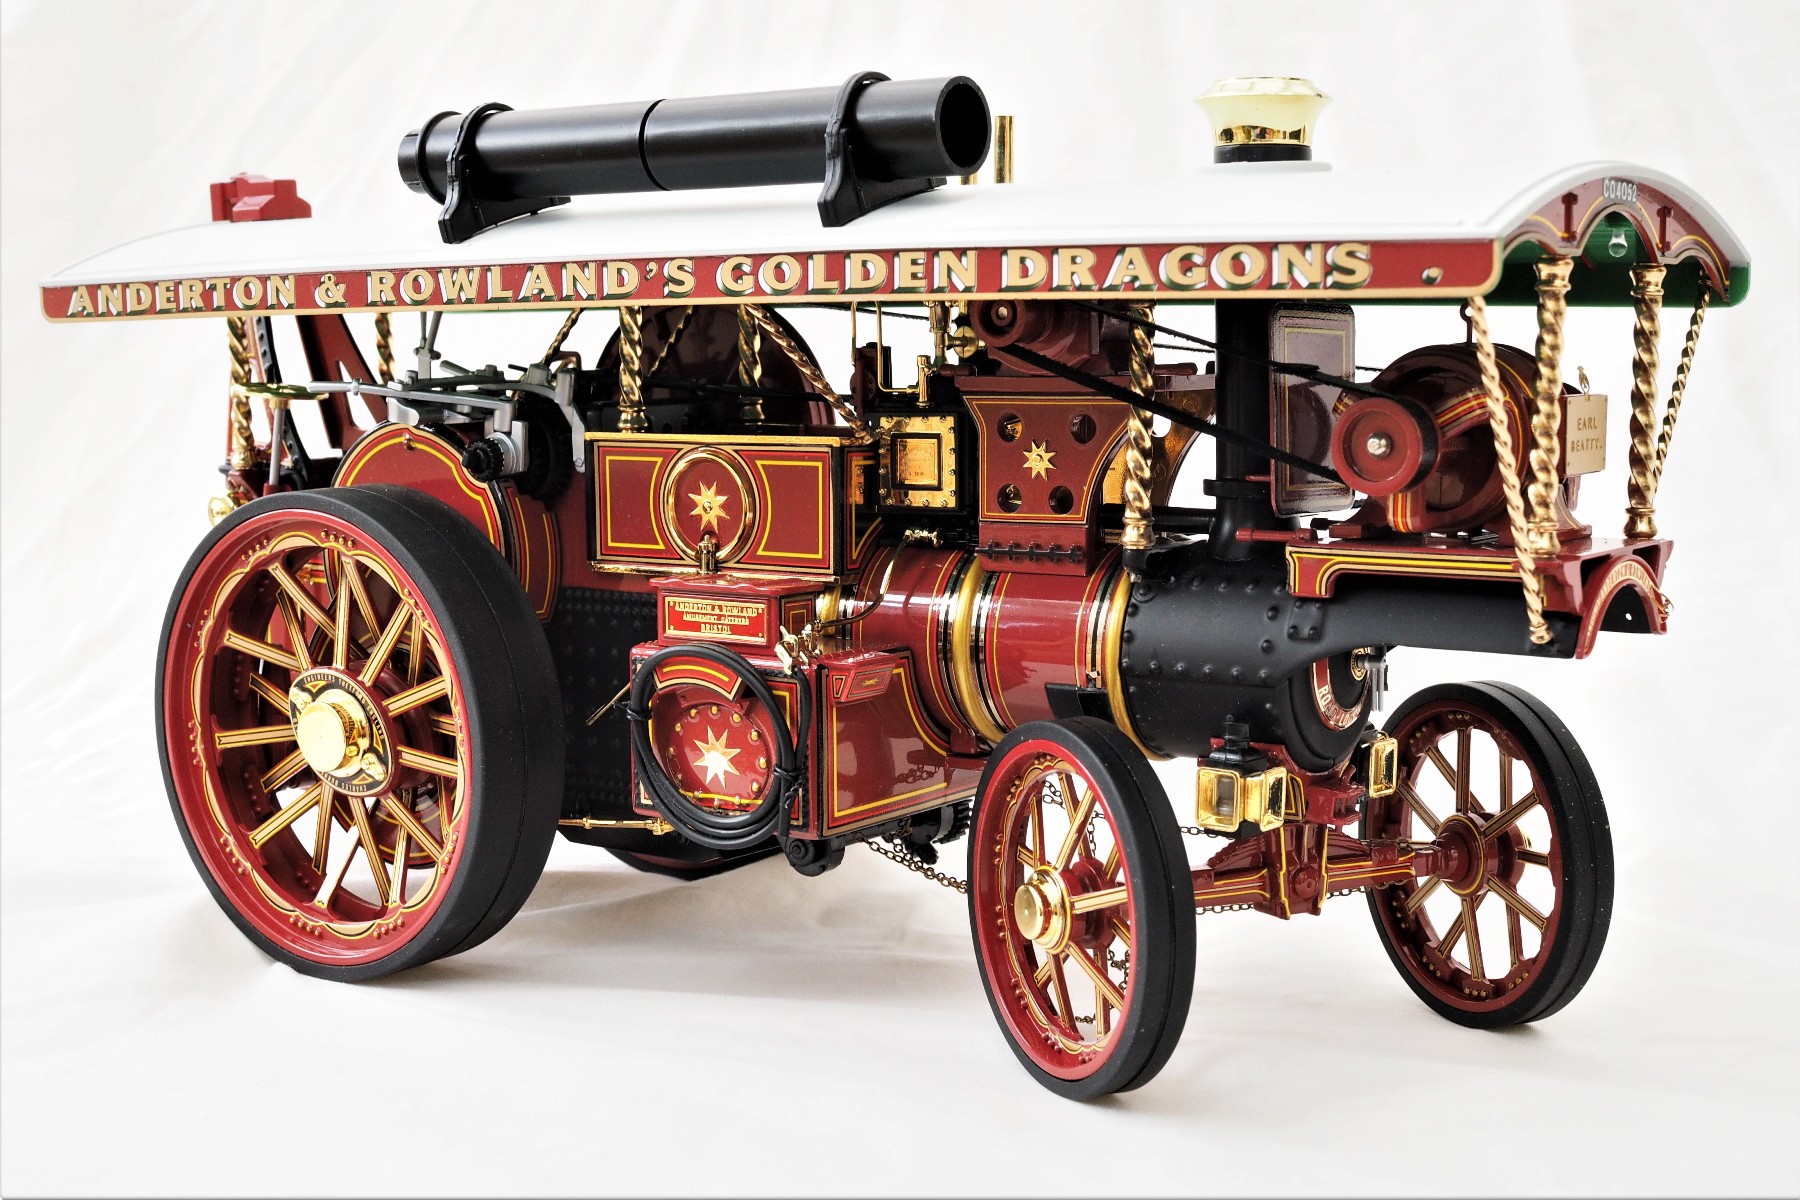
Wow wow wow!
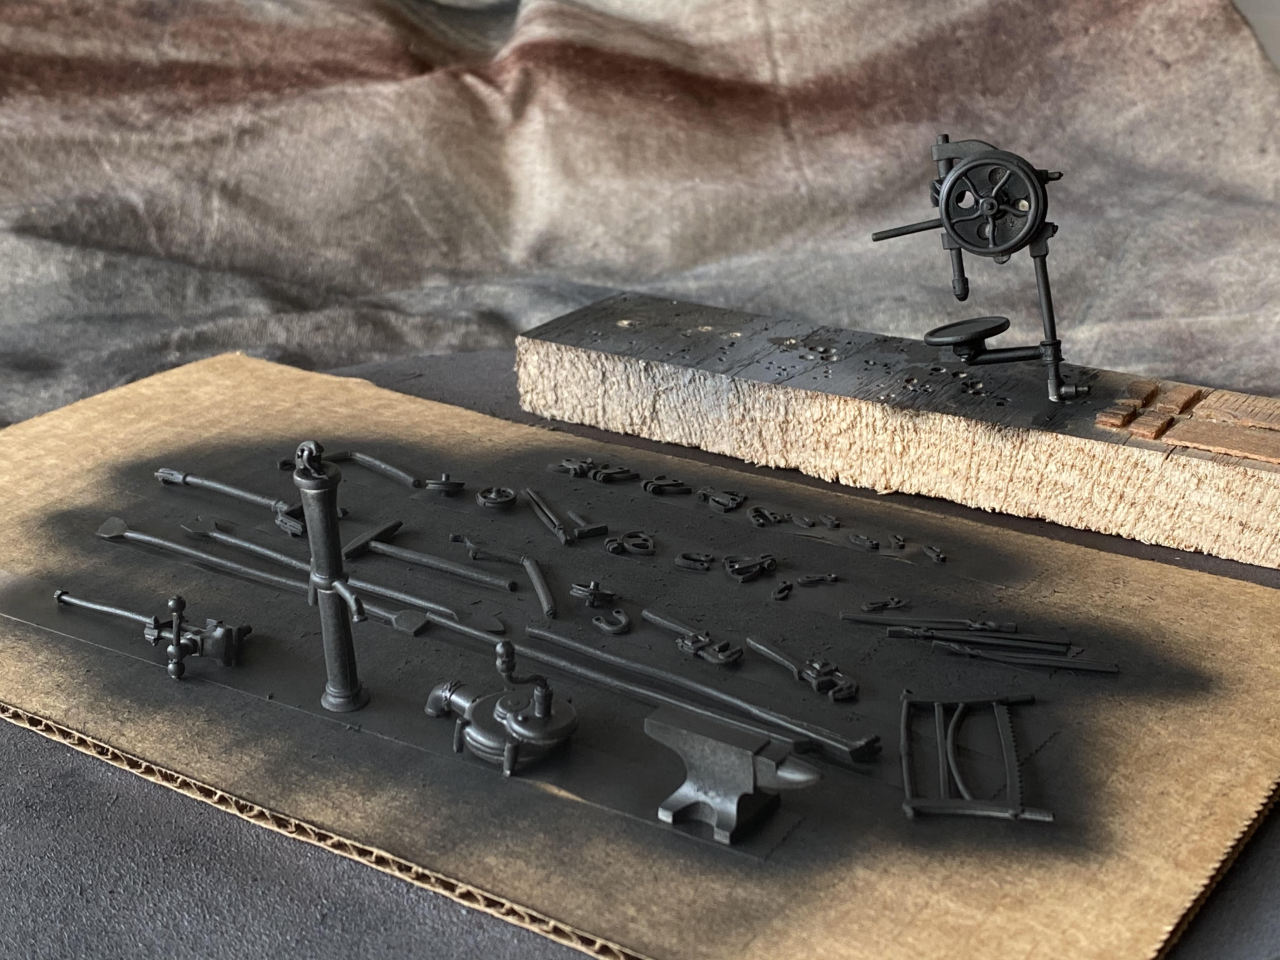
Got a bit more done on the backwoods smithy / workshop. Started by adding some tools:
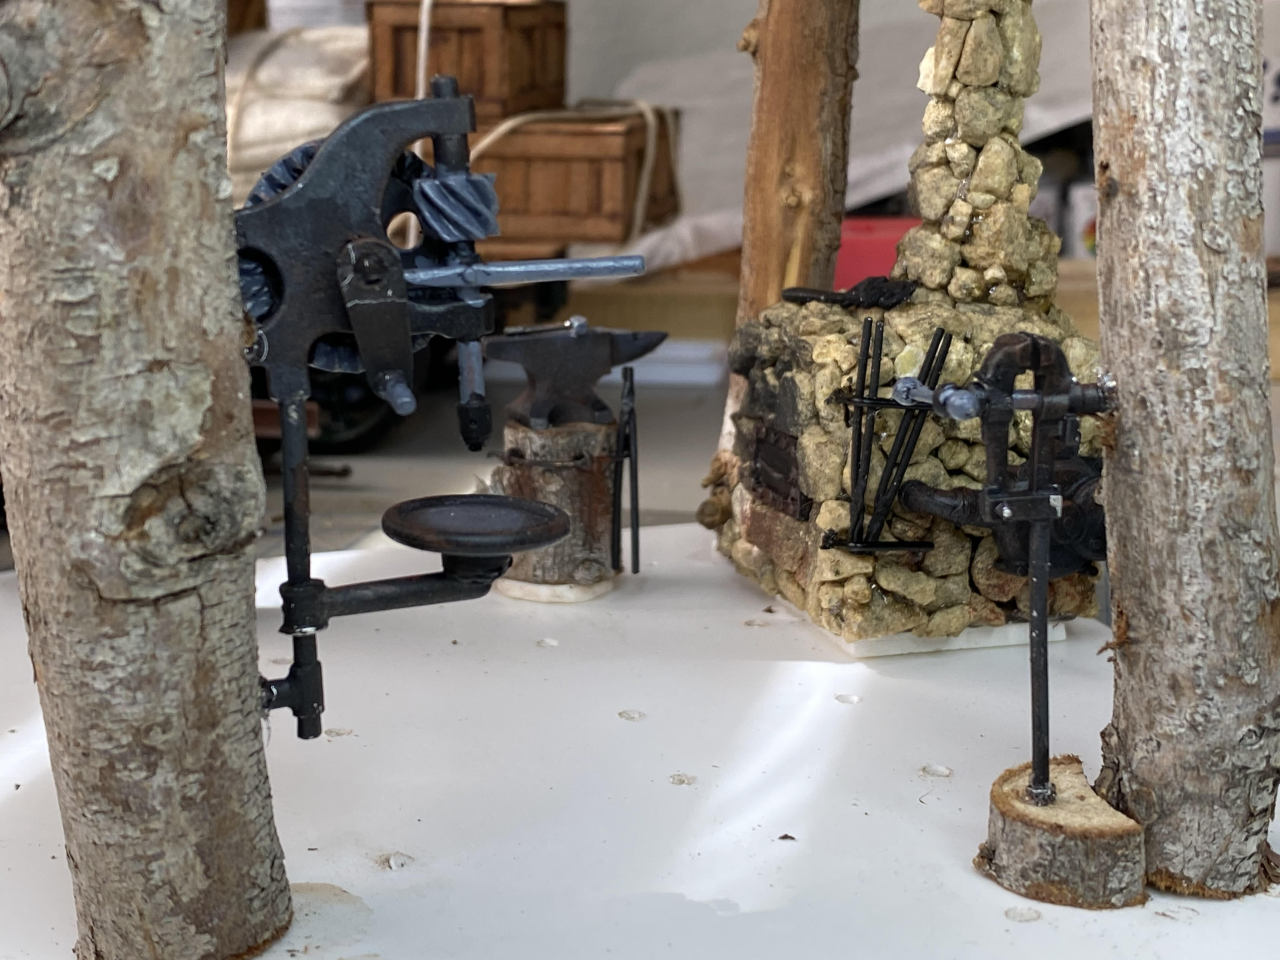
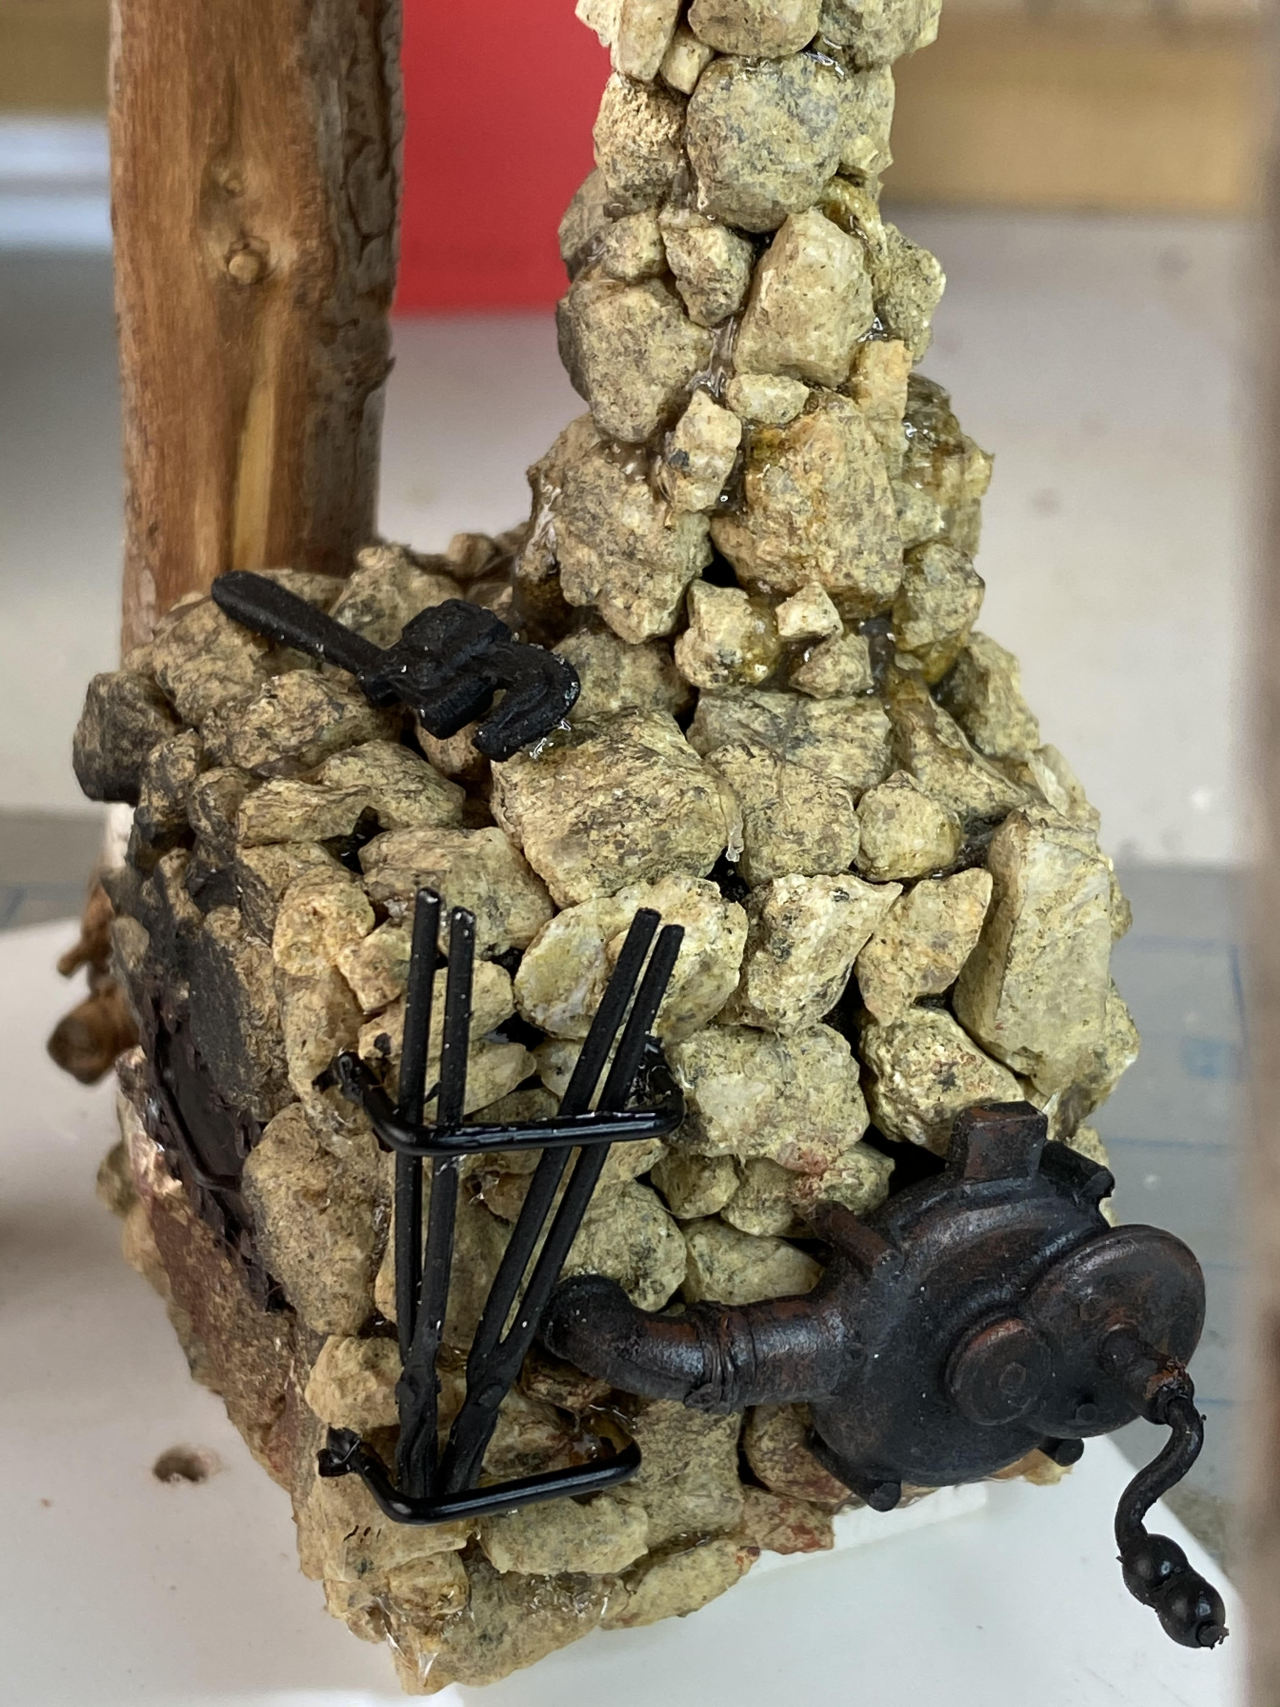
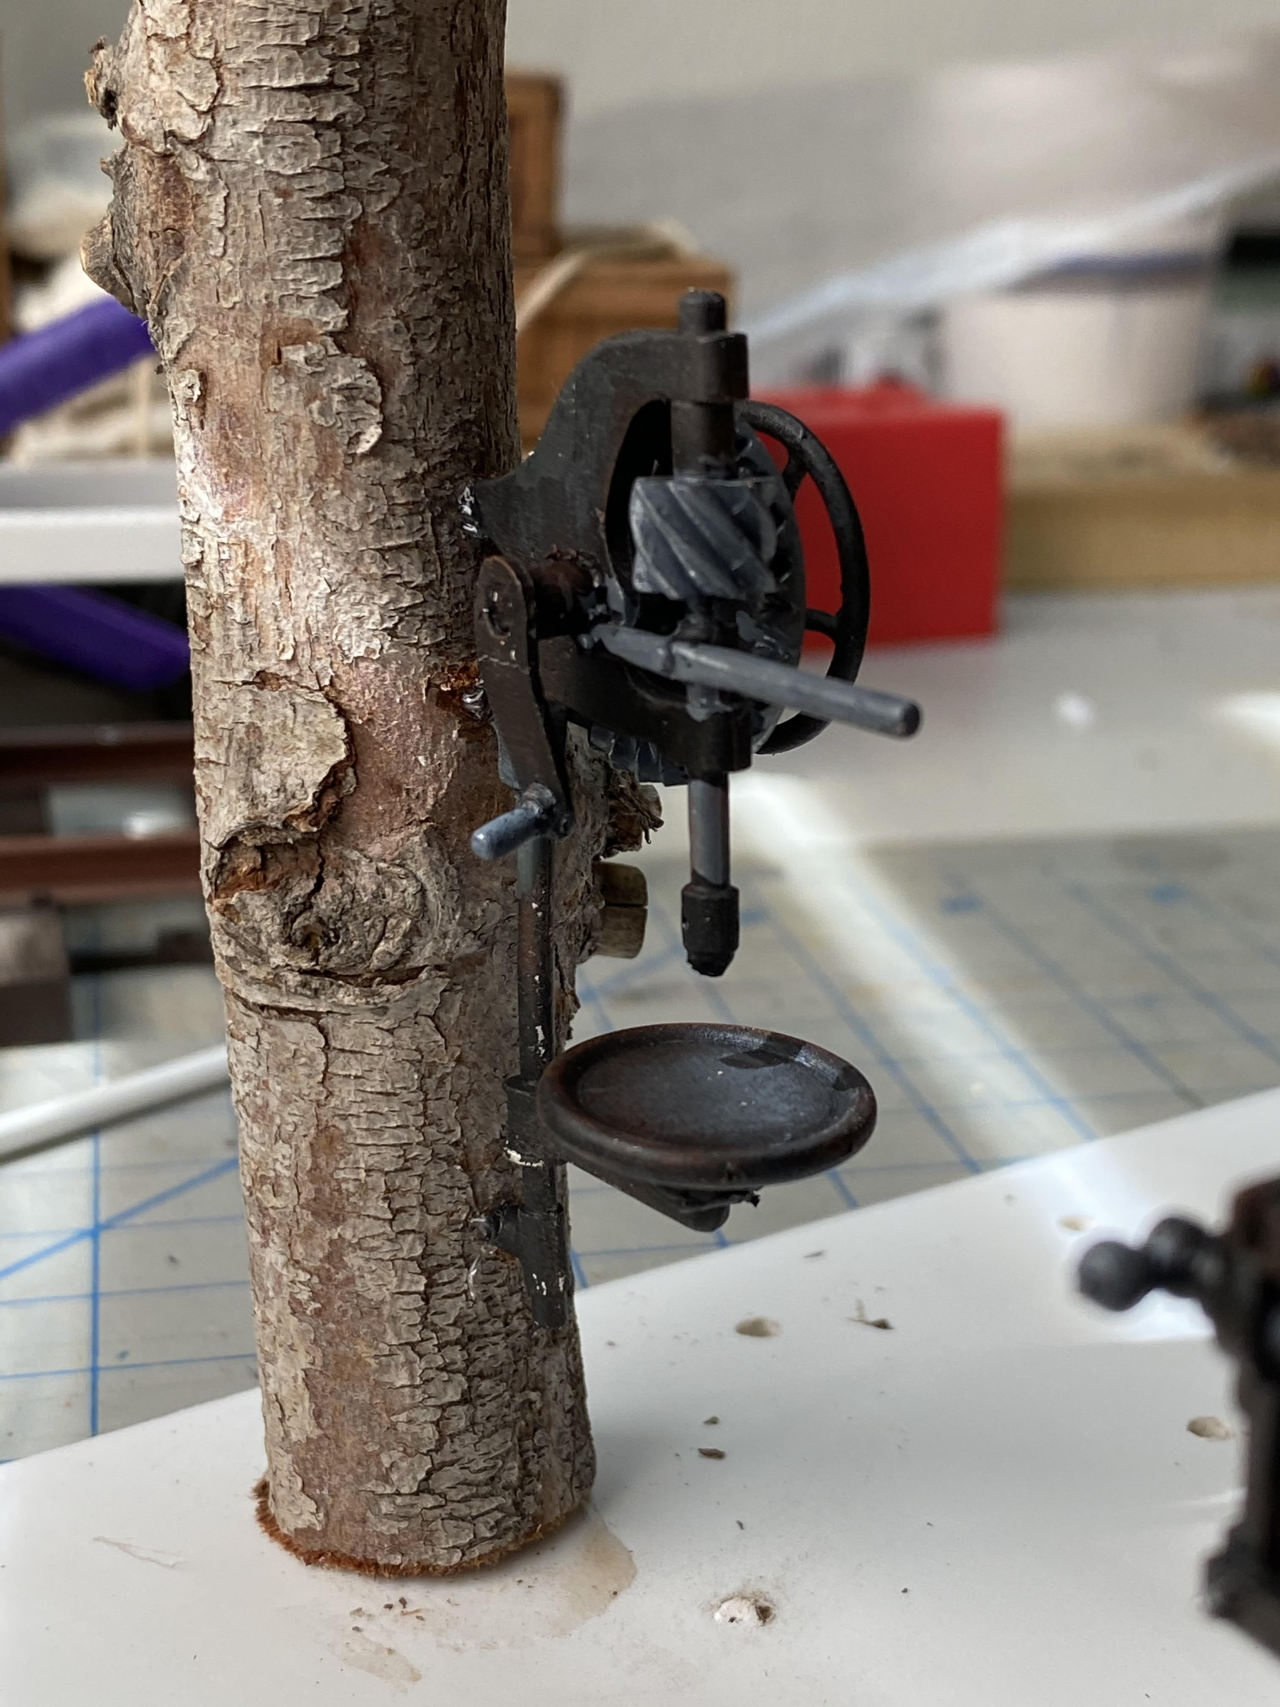
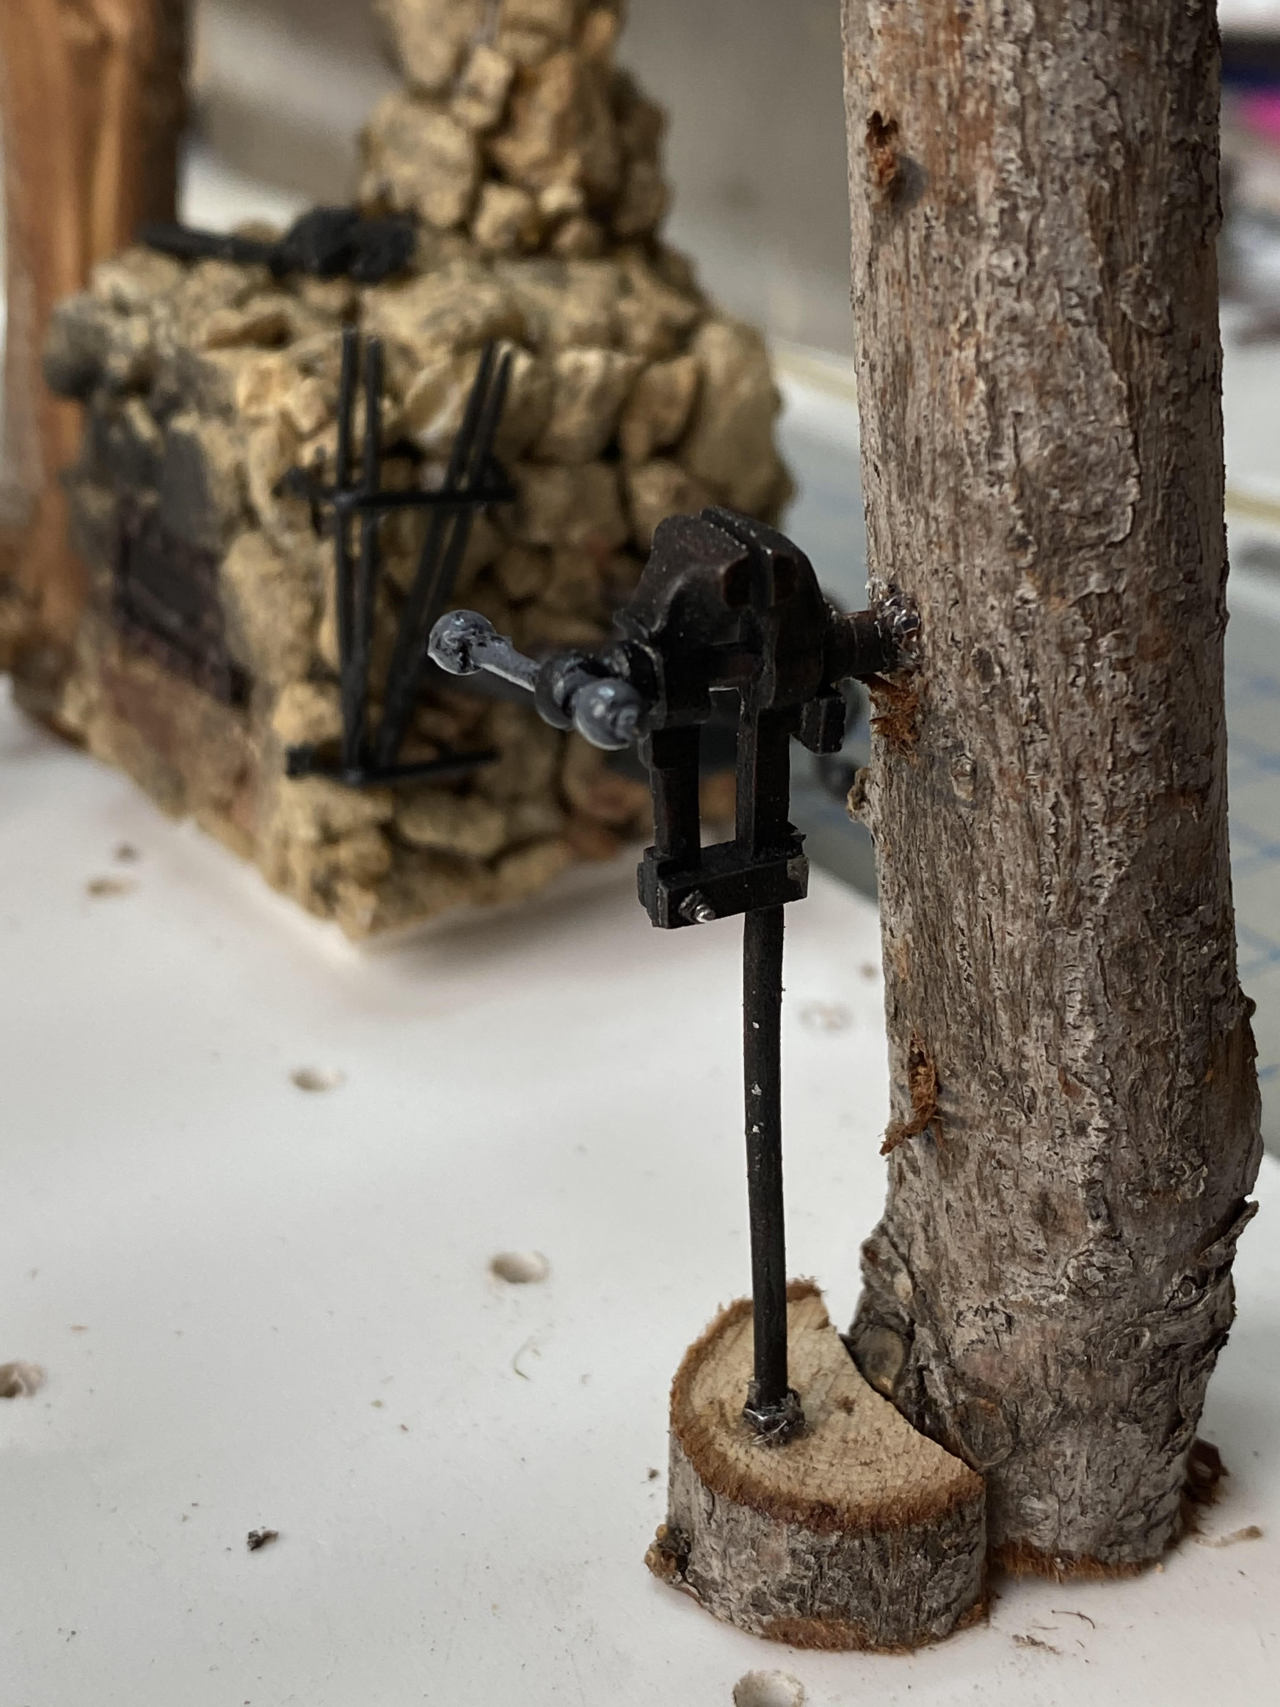
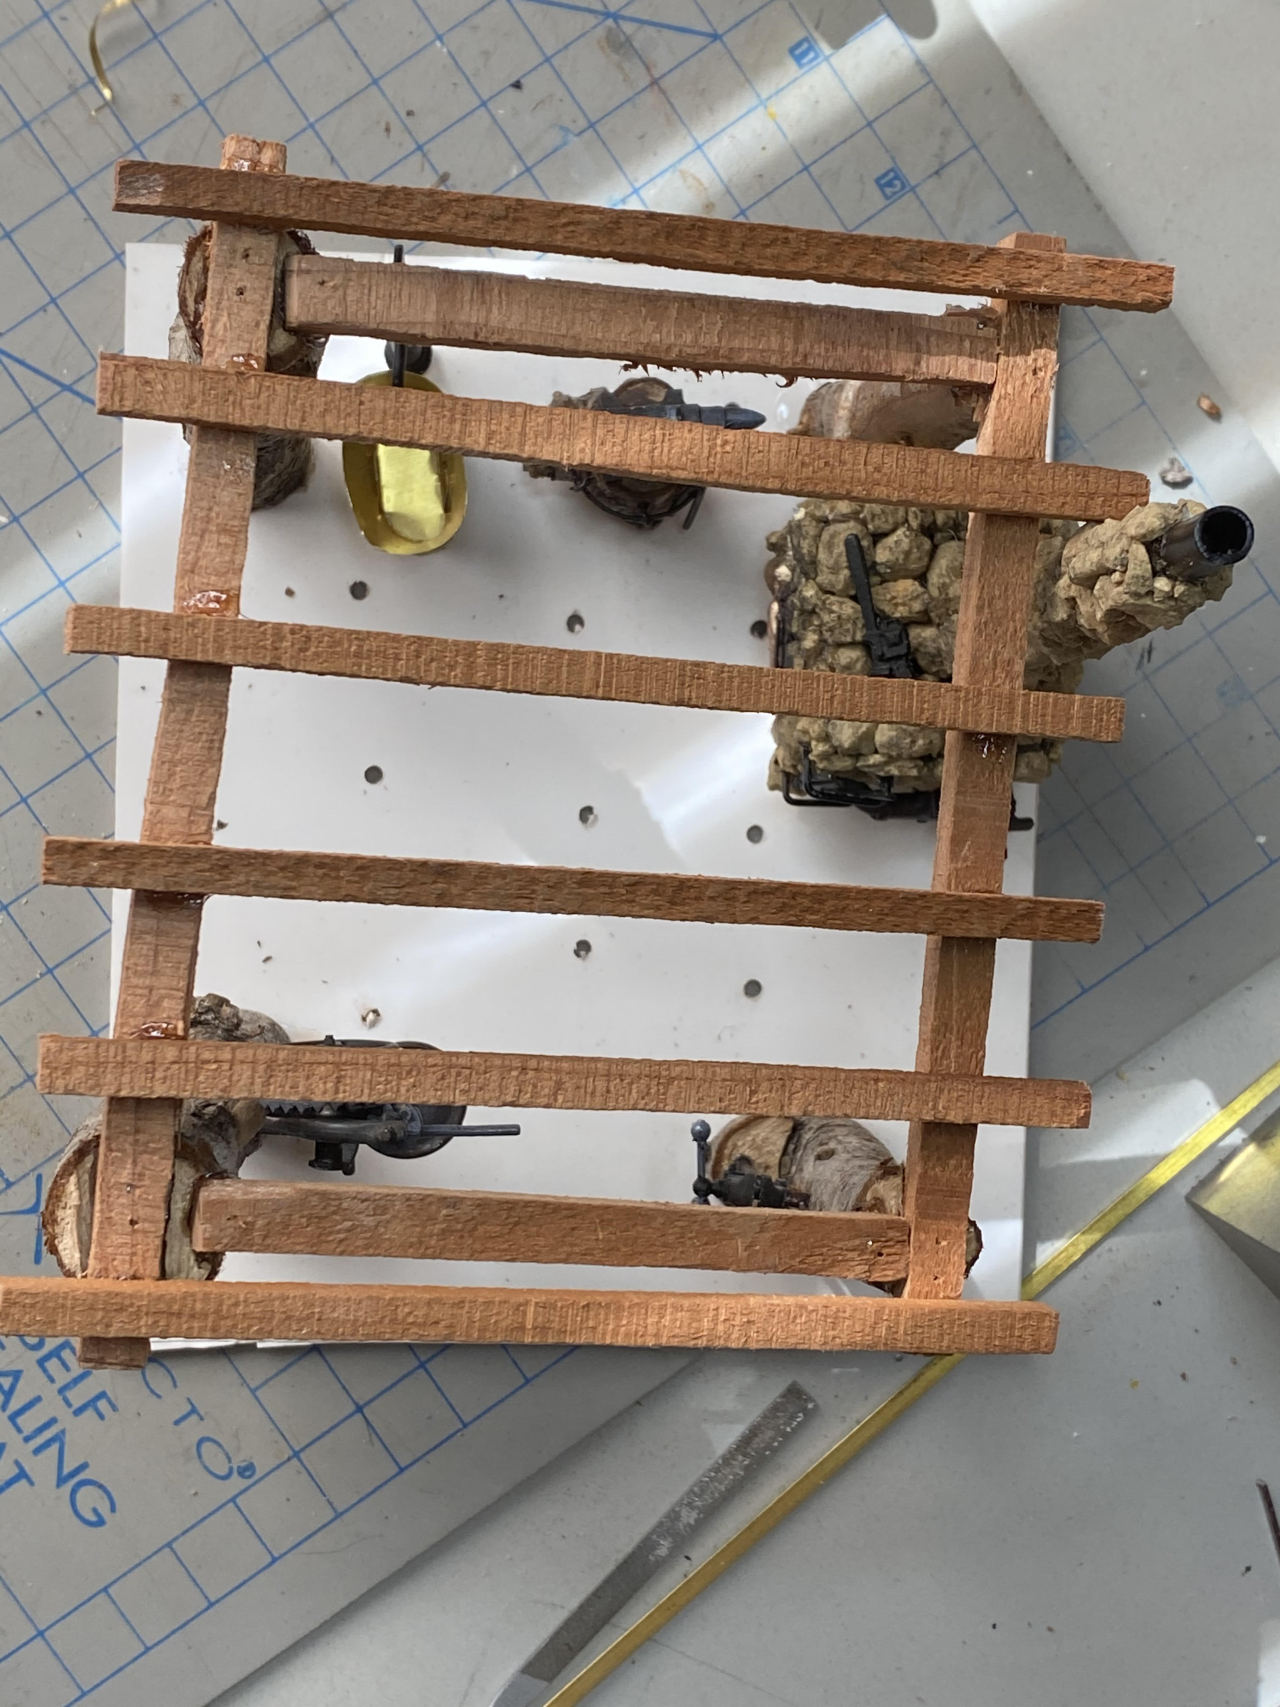
And here’s a top down view to see where things are placed (maybe you can see that):
And I started trying to build a metal water tank for quenching hot metal. My approach was: use my bandsaw to make a form, use that to trace out a paper mockup, cut out brass shim stock using the paper mockup, solder it together, and then add a base using glue.
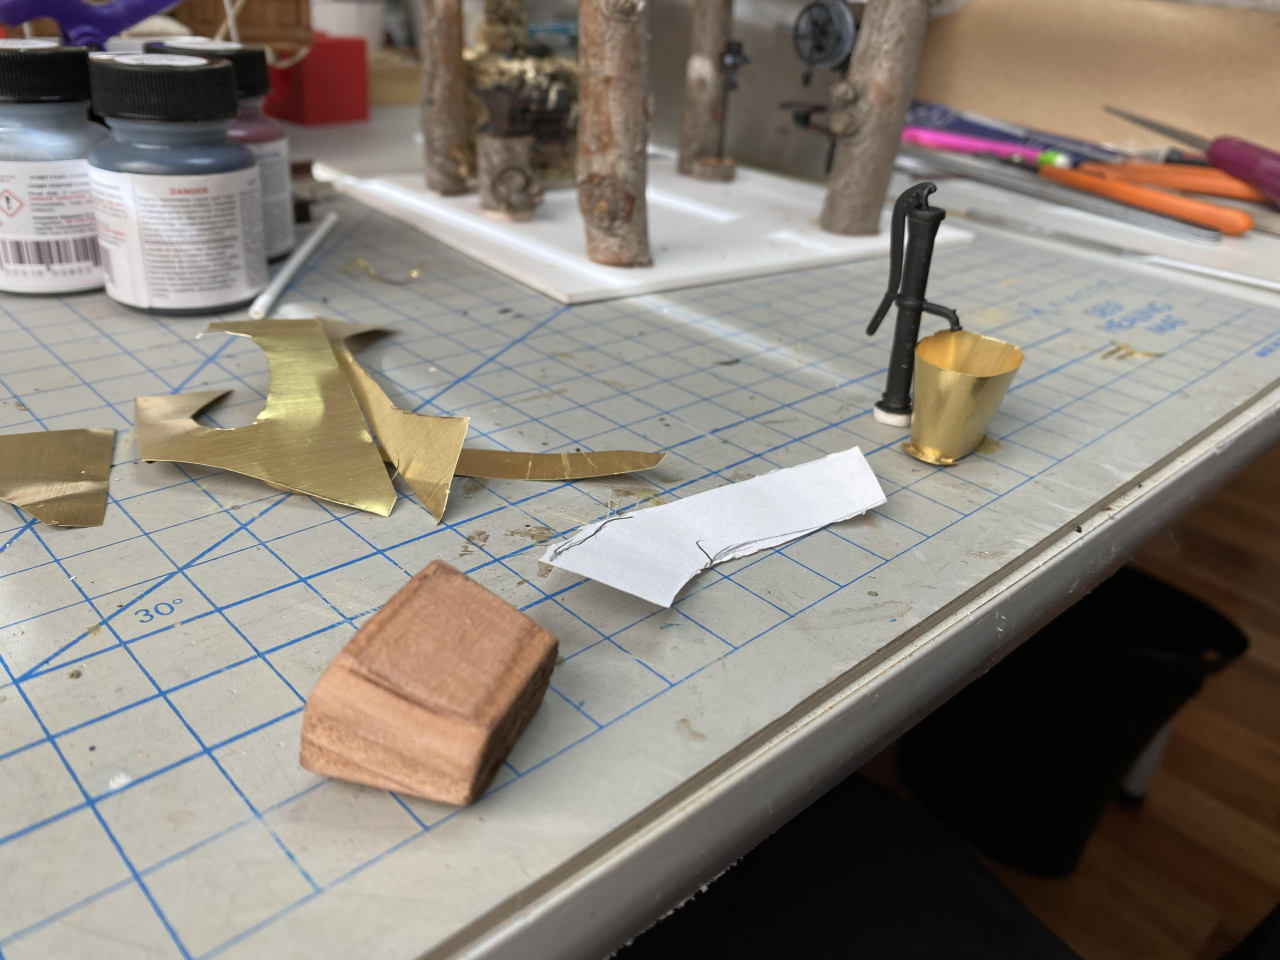
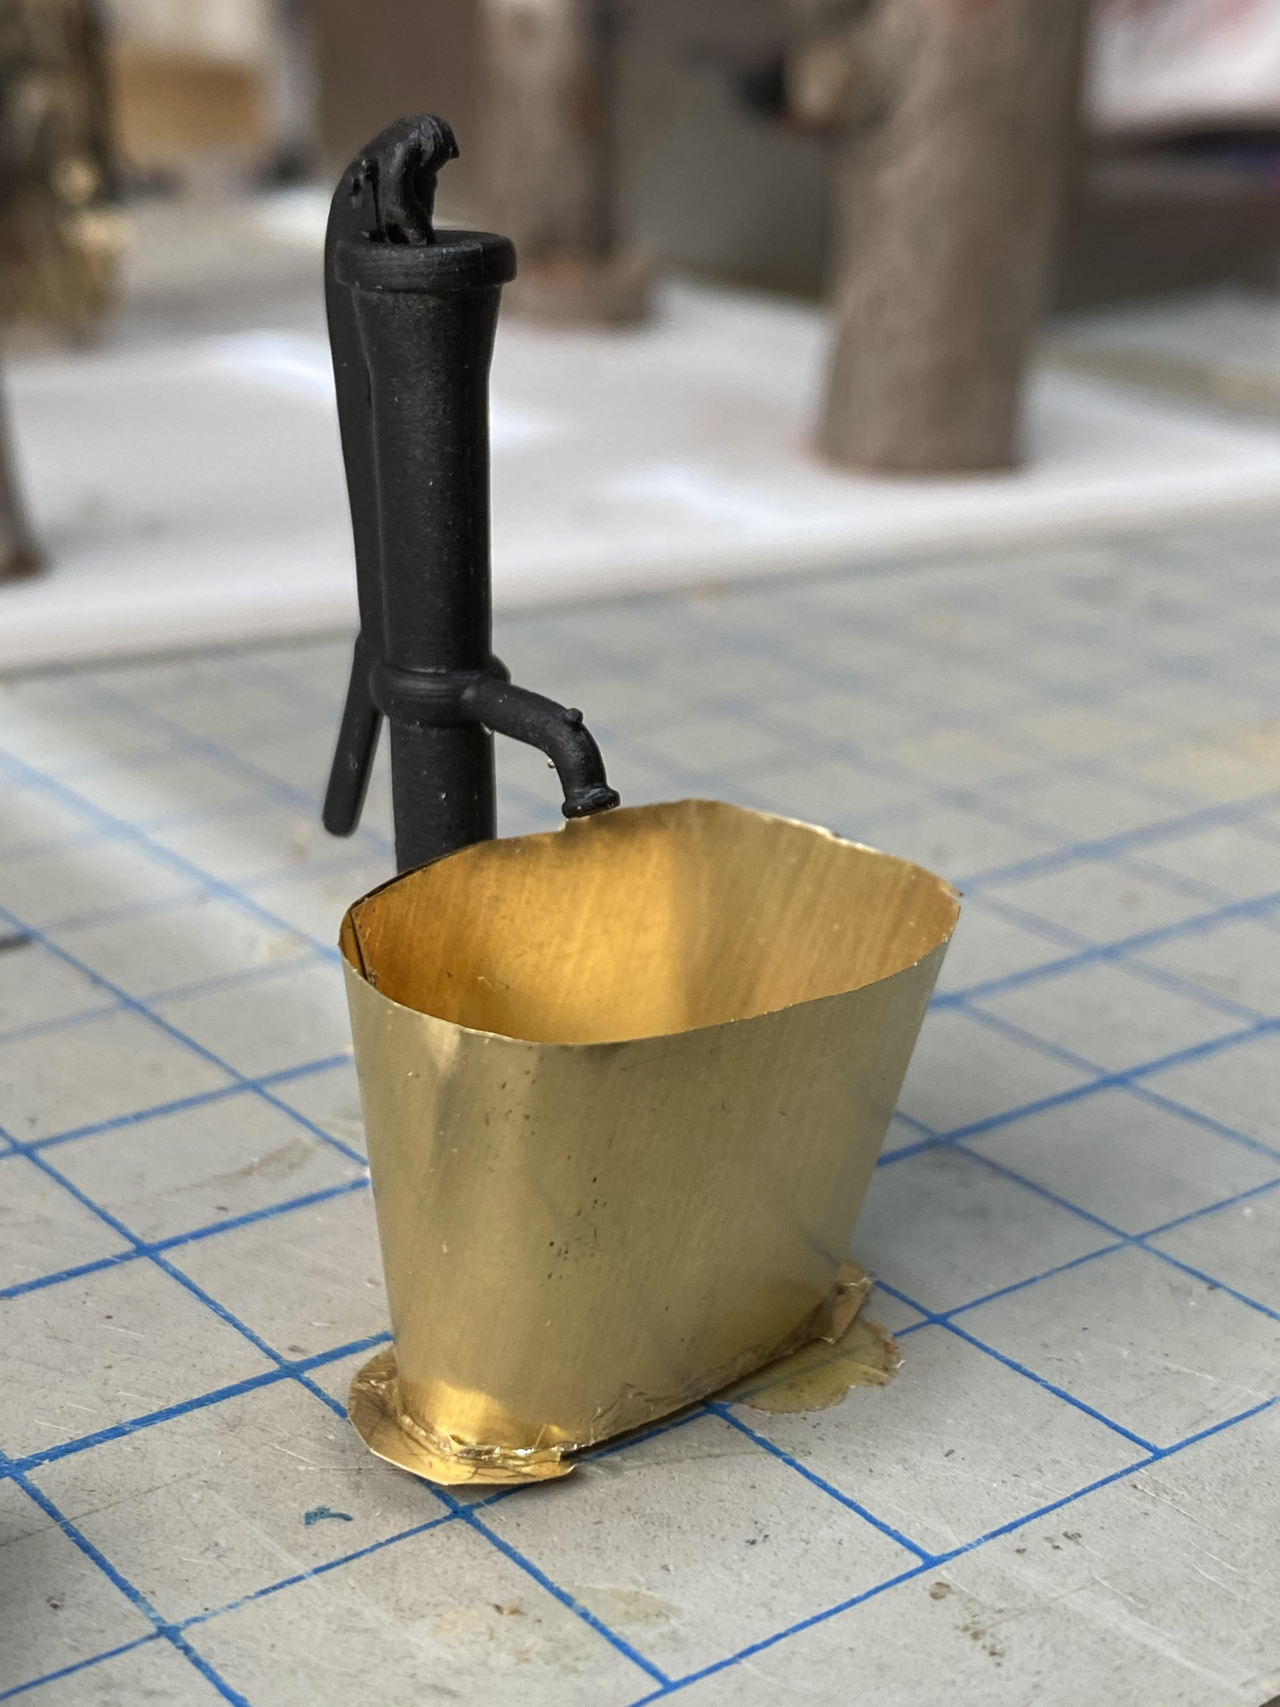
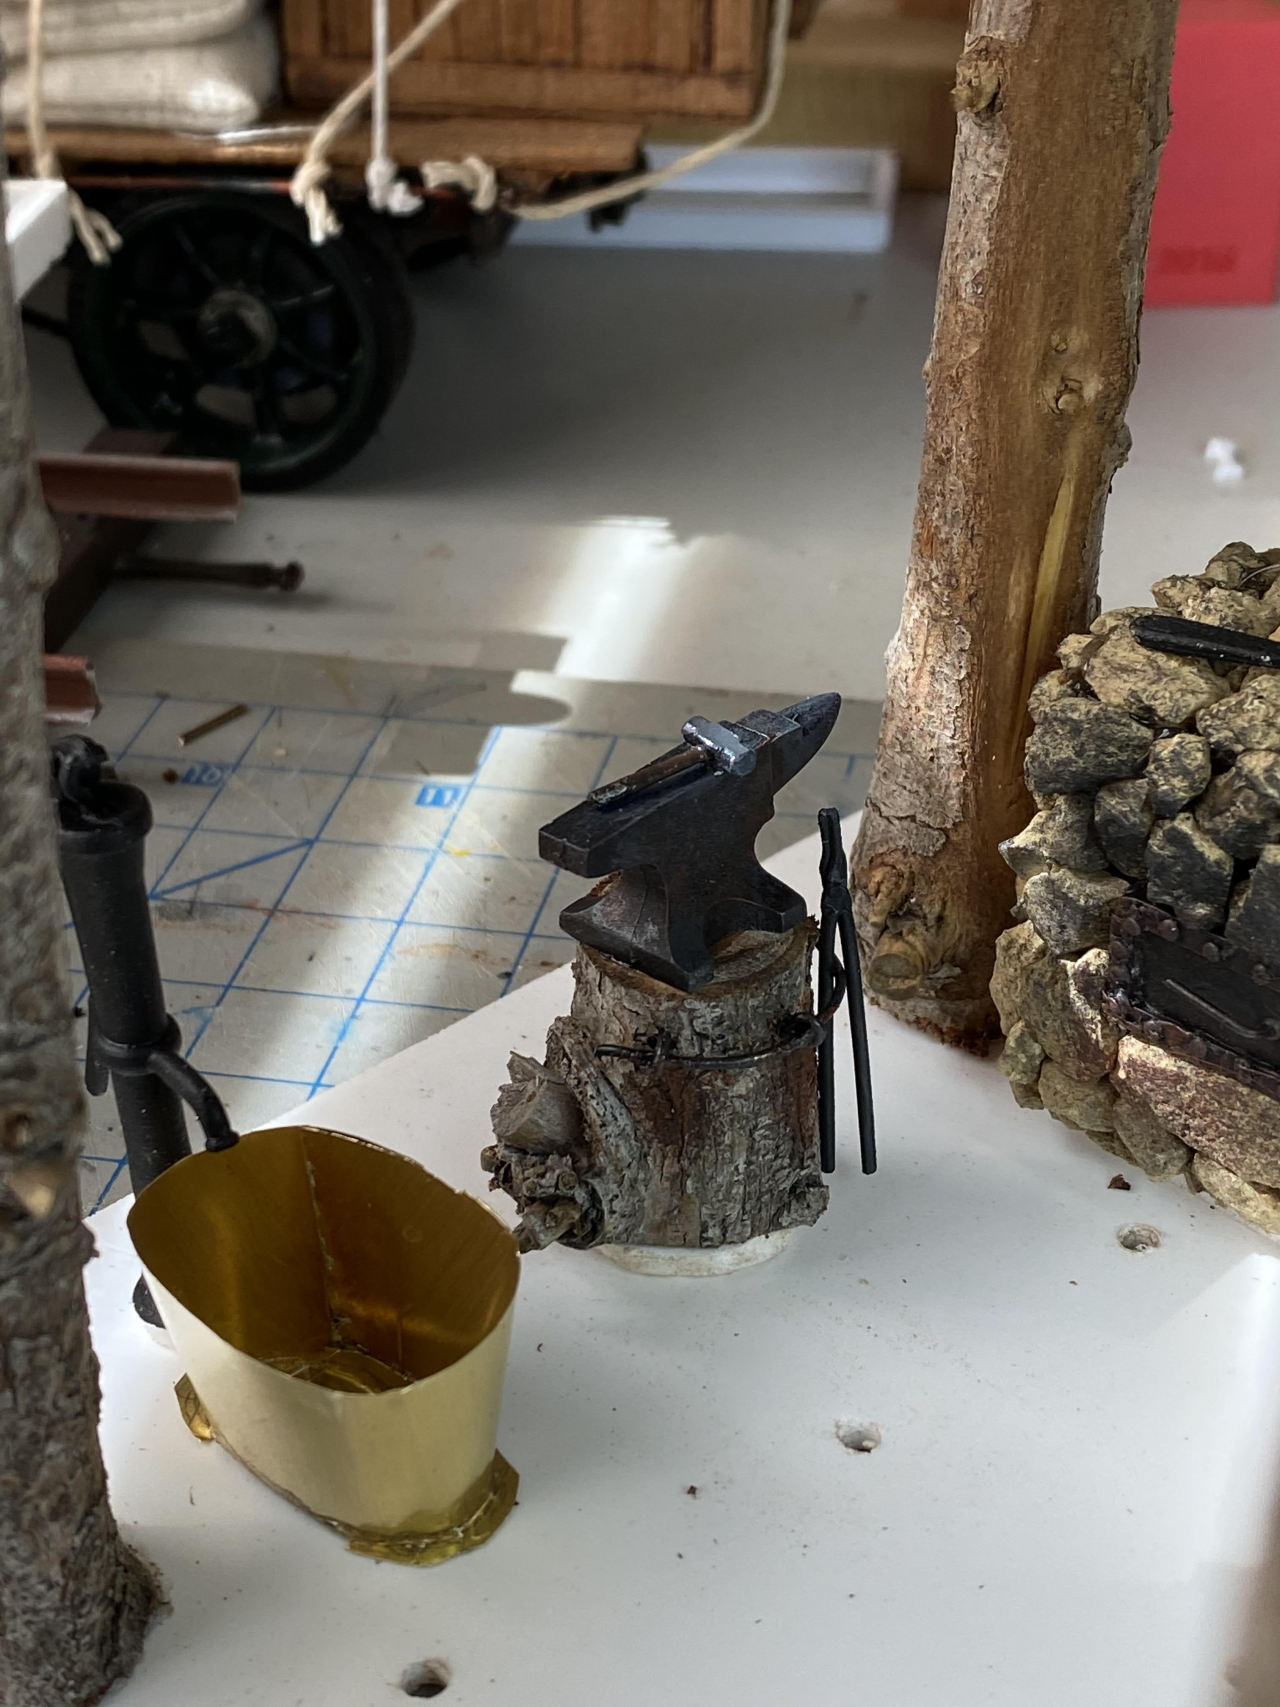
Not done yet (paint!) but seems not terrible so far…
Cheers!
Jim don’t know where you find all these little doodads but they are cool really like the drill press, Bill
Ozark! Turns out that Rick Marty ended up with a bunch of extra stuff and I bought a bunch from him. Thanks, Rick!
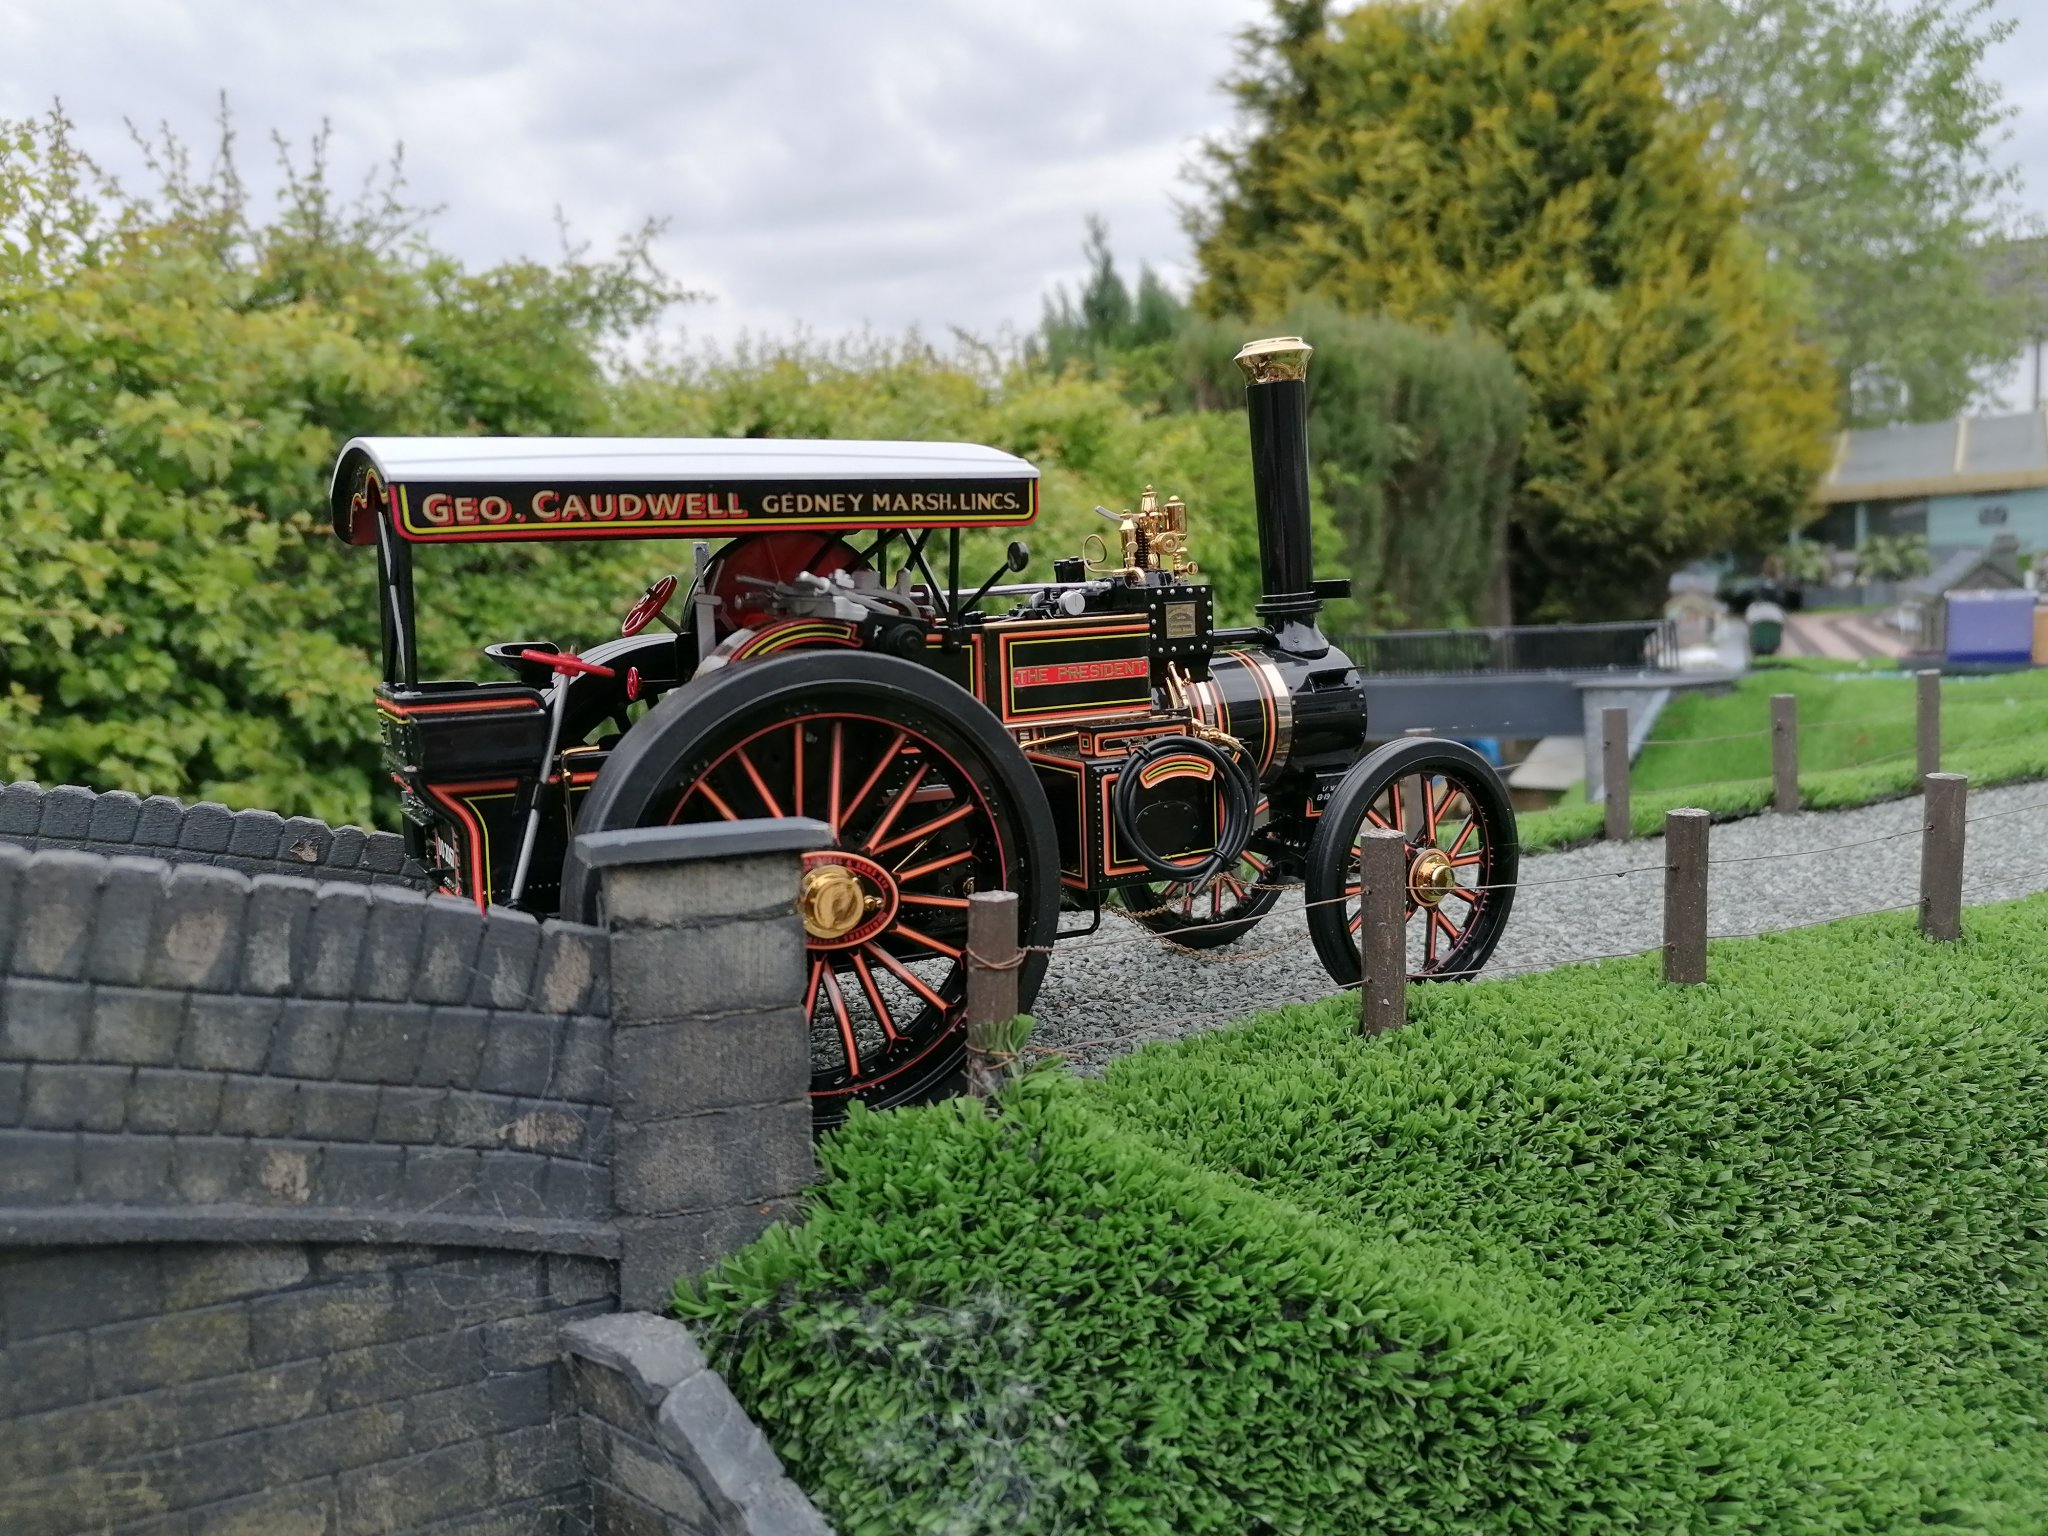
Again Jim I think Of you when ever I see one of these …
Jim Rowson said:
Ozark! Turns out that Rick Marty ended up with a bunch of extra stuff and I bought a bunch from him. Thanks, Rick!
Wait …I missed this !
So you are basically saying Rick is hoarding !!
I am not sure, but think he has a whole wheelbarrow full of the stuff…
His wheelbarrow is broke !
This may not really belong in this topic, but wanted to show off the logs that Bob Cope sent me, and that are now on some of my skeletons:
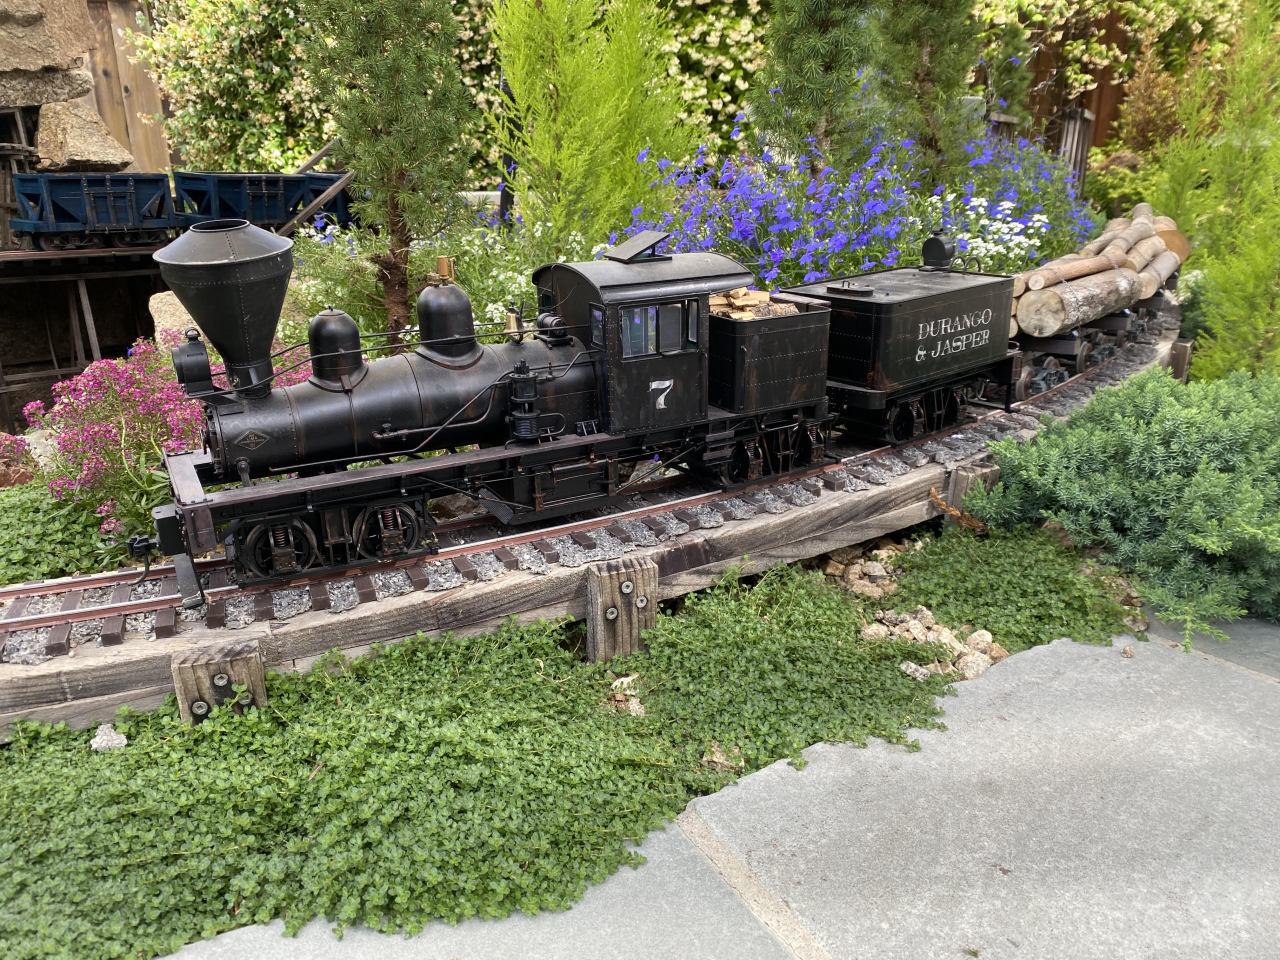
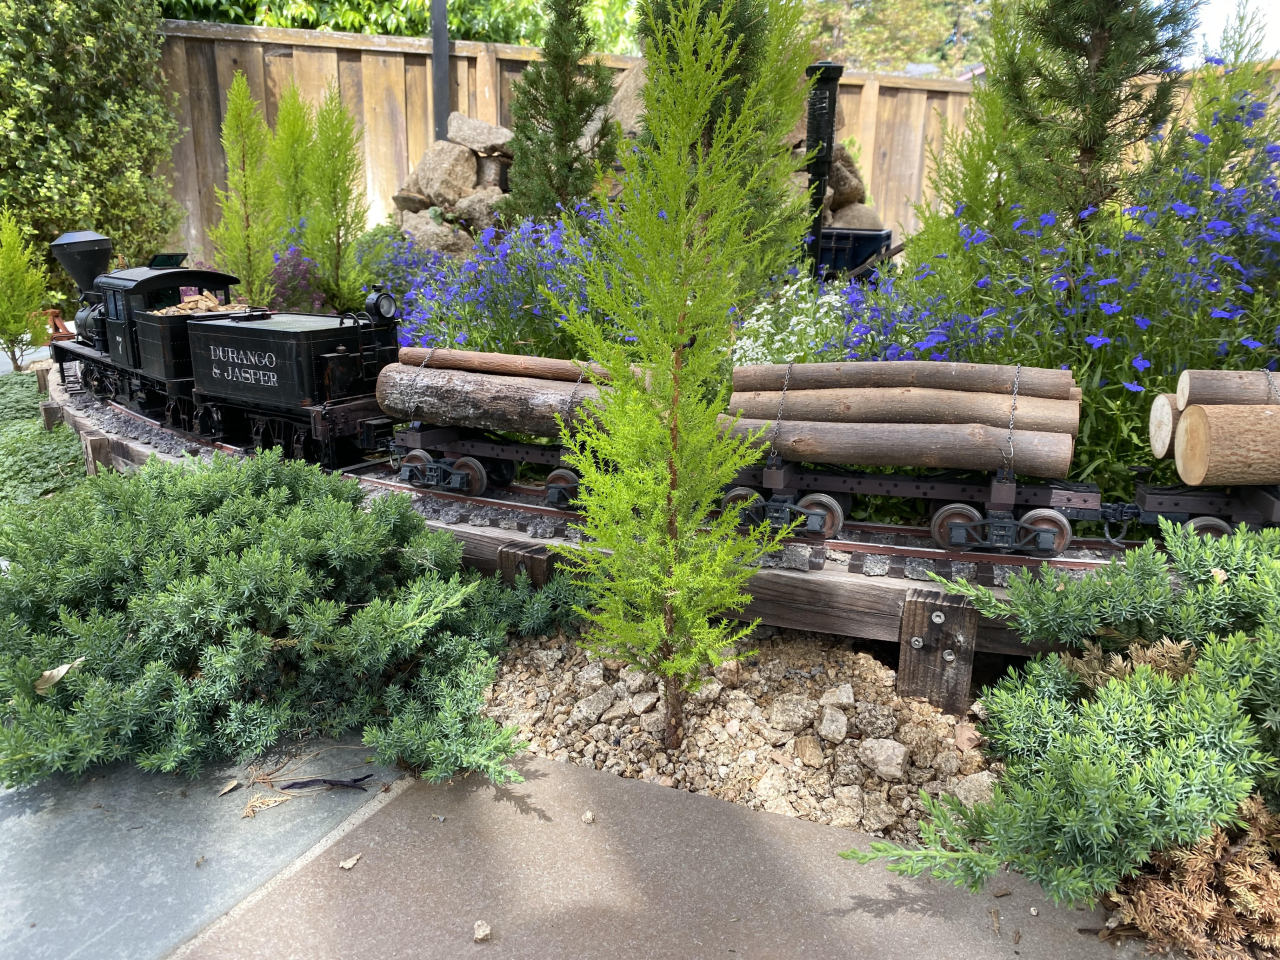
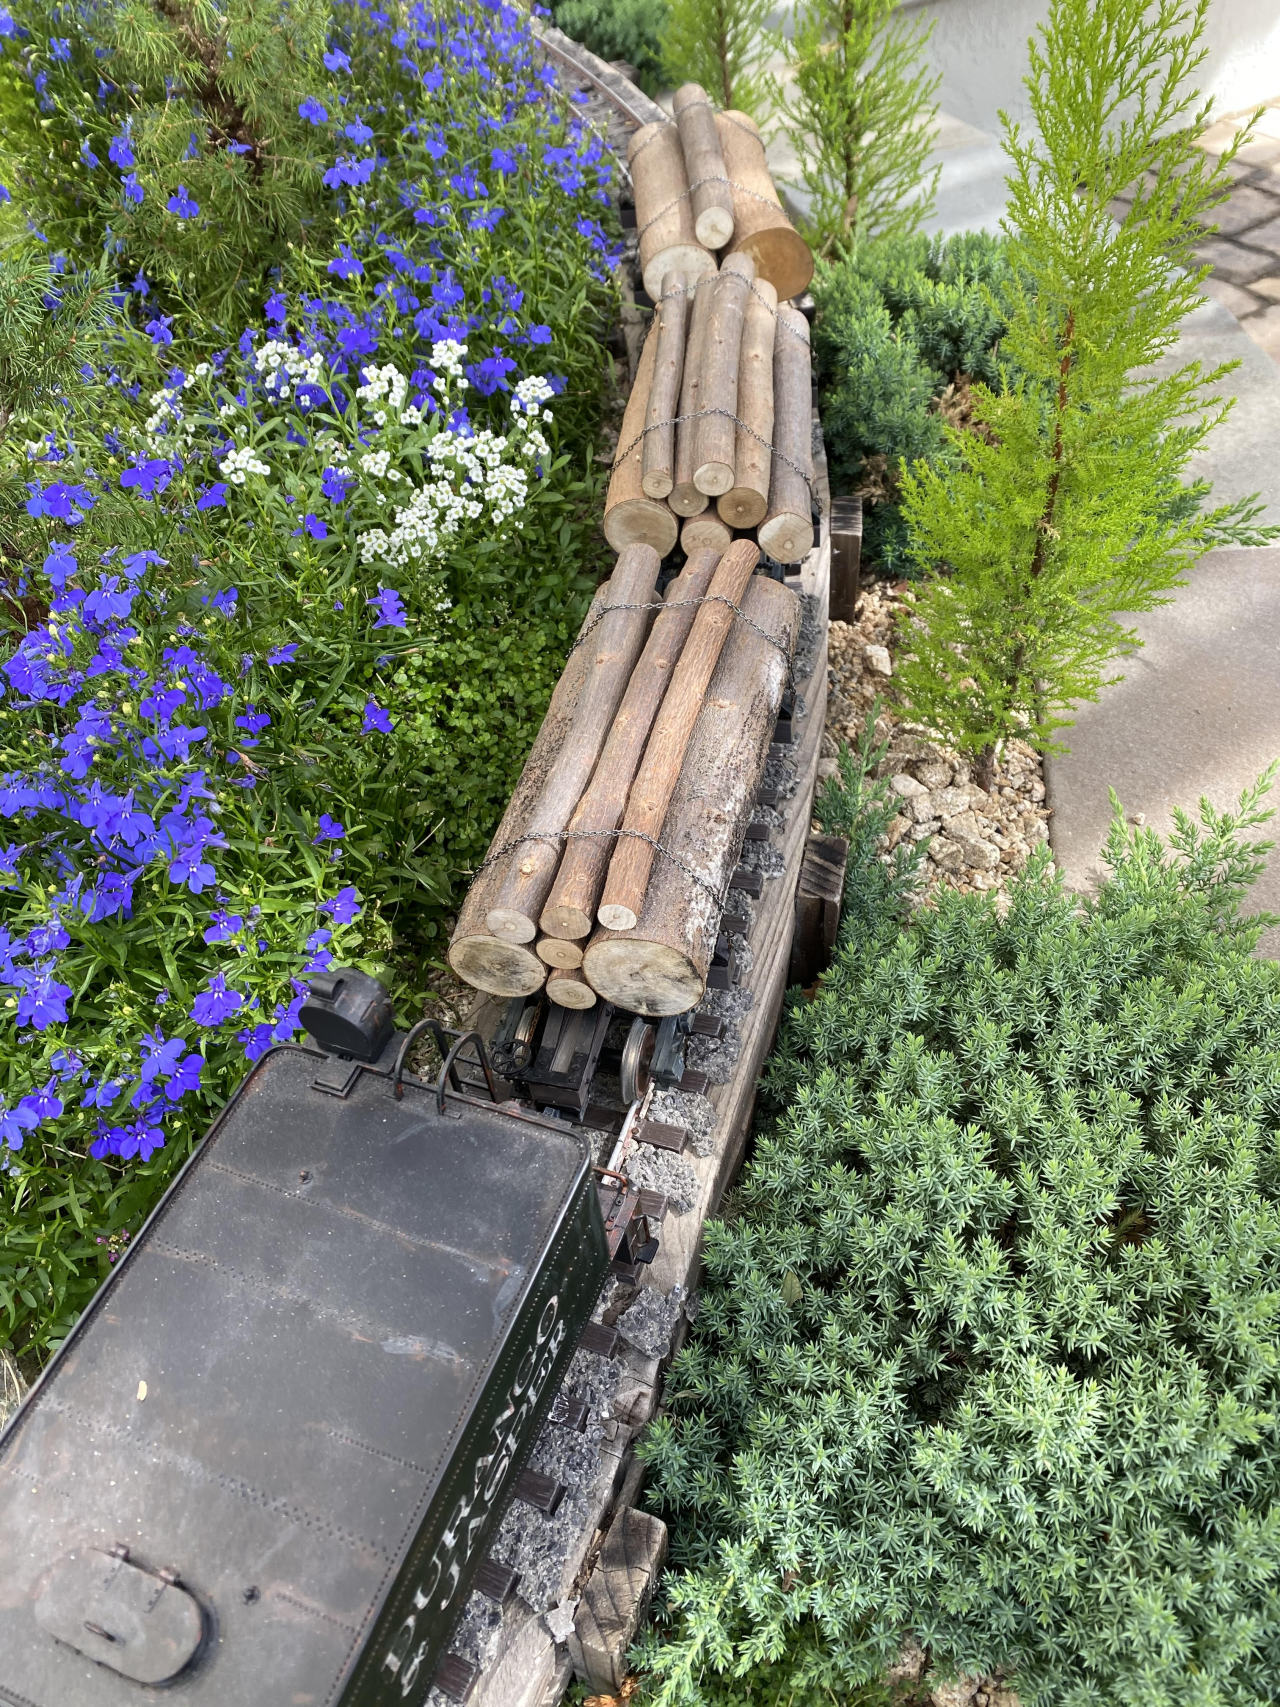
And a couple of short videos: