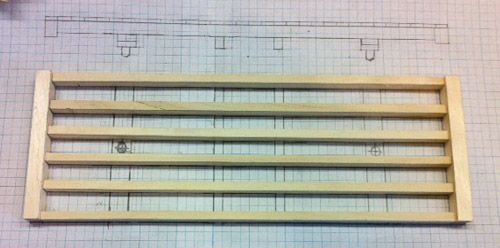
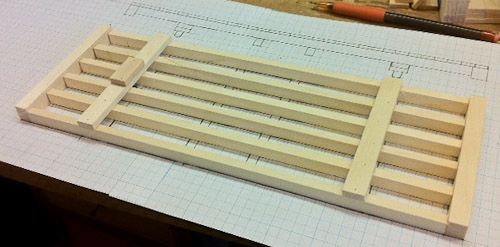
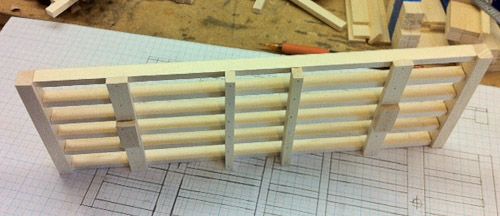
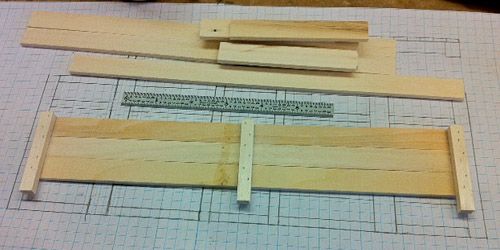
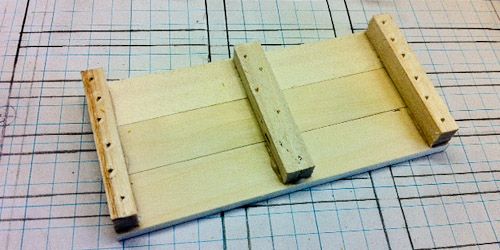
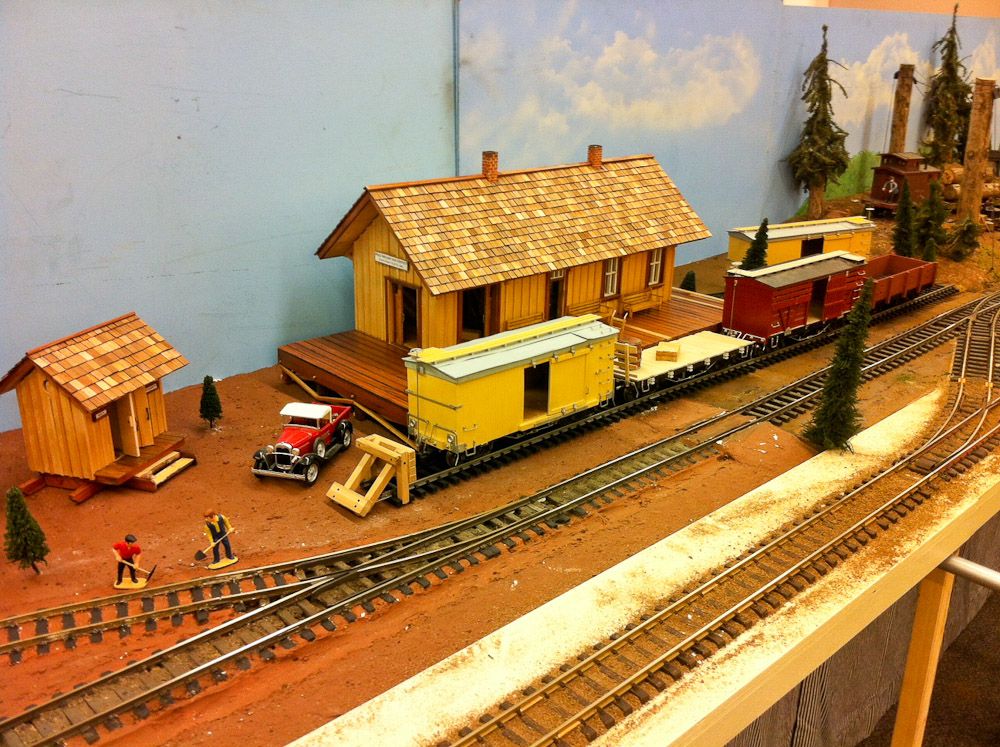
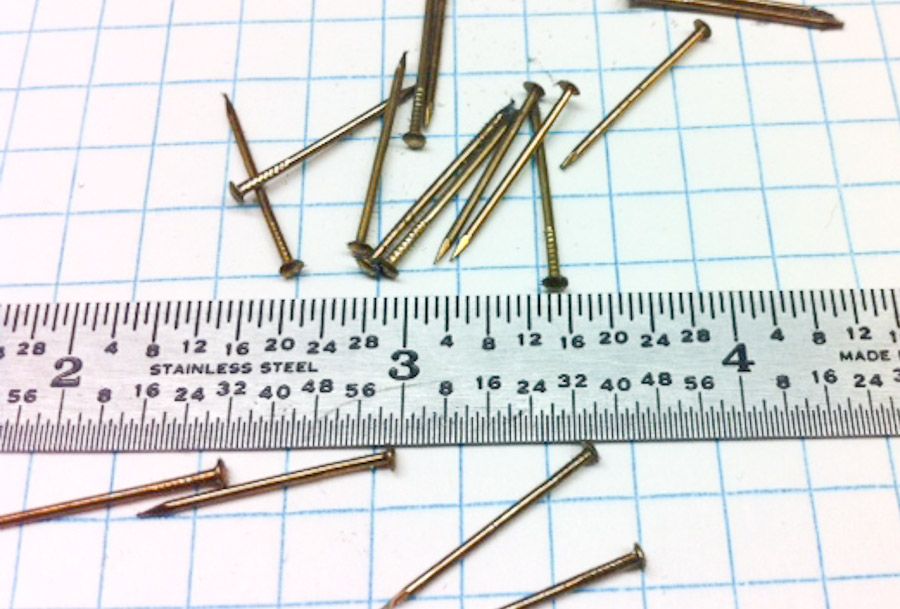
This will be a simple build of a Gondola car. All my rolling stock are “shorty” versions to help with tight corners and they look more at home in the confined spaces of my pike. The car is inspired by the D&RG 10 ton Gons from the turn of the century. This car is not intended to be a “craftsman’s show” model, but an every day runner that can take the abuse of a hard life on the rails. The basic form looks pretty good with out any added detail, but a few minor details does dress it up nicely. Tools I used: 23 gage pin nailer w/ 3/8, 1/2, 5/8, 3/4" pins, Tightbond III waterproof glue, 1/4" drill bit, 1/8" drill bit, 1/4" nut driver. Build time: 1hr 15min. for basic car. Laying out the pre cut pieces, I put the six beams and the end sills on the full size plans for registration and alignment. The bottom side will be UP. NOTE: the End Sills will be taller then the side beams. Put a drop of glue on the end of each beam and then align with the plans and pin using a 3/4" pin (one per beam). Repeat for the other end. Using the glue and the pins to hold in place, there is no need to wait for the glue to dry before moving on with the build, Be gentle and it will stay in square. Yes you could mess it up if you really try. Here is the basic sub frame:
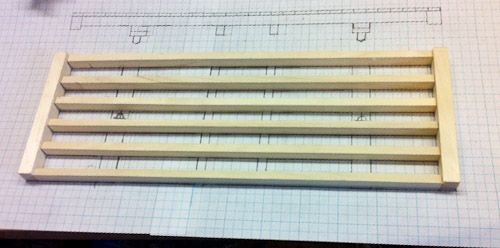
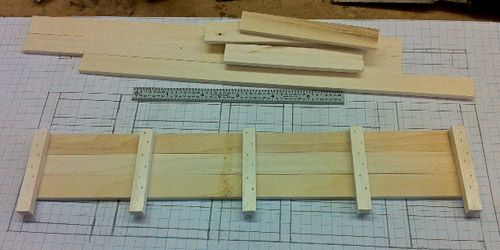
Using the planes for position, glue the bolster in place on each beam. Use 1 3/8" pin in each beam.
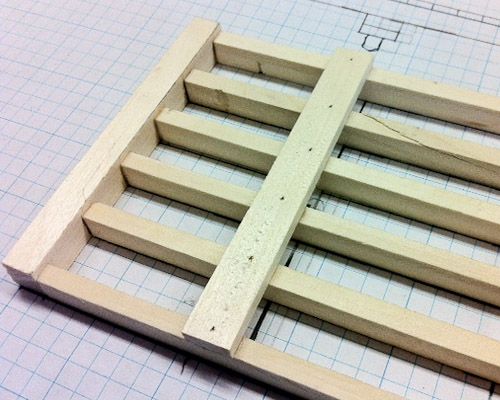
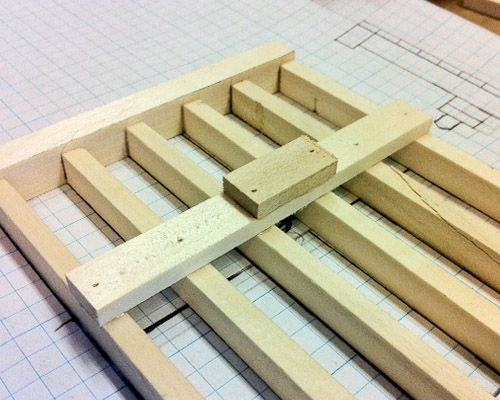
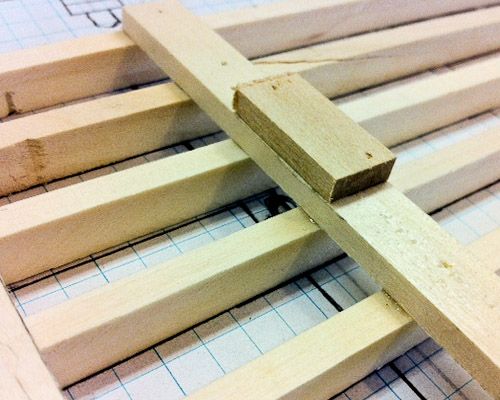
Glue the bolster block on the center of the bolster, and pin with 1/2" pins.
Repeat the bolster assembly on the other end.
And add the bolster block.
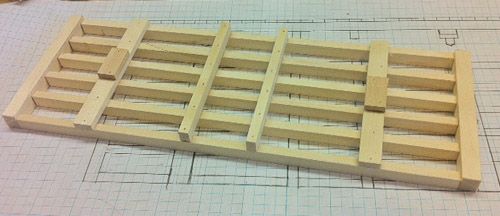
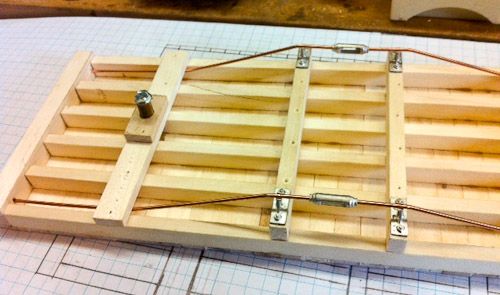
Using the planes for position, glue the a needle beam in place with a drop of glue on each beam. Use 1 5/8" pin in each beam.
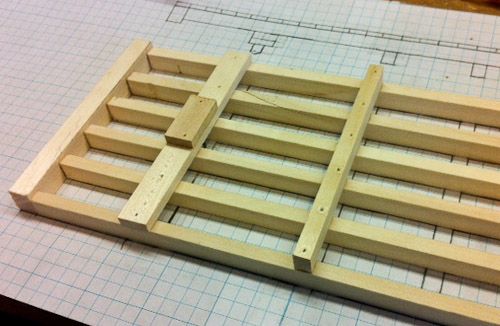
Repeat for the needle beam on the other end.
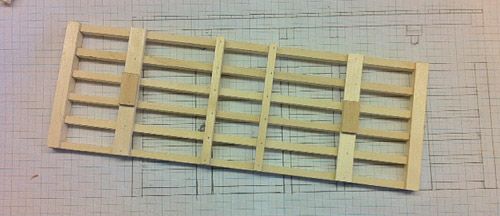
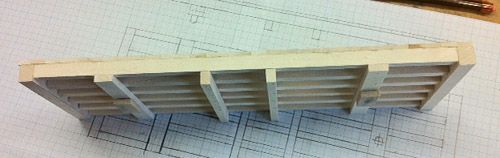
We now have a complete under frame for the car.
Flip over to the top side:
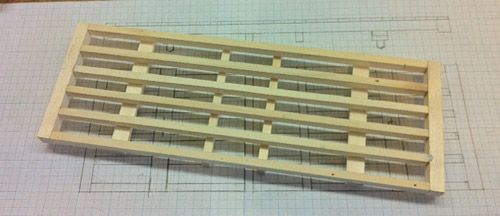
Now we will deck the basic frame. Put a small bead of glue on each beam starting on the end sill for about 2 inches (50mm). Place the decking on the frame, starting at the end sill for alignment, abutting each piece against the last one, and work down to the end of the glue. Place 1 each 3/8" pin into each beam, Six per board.
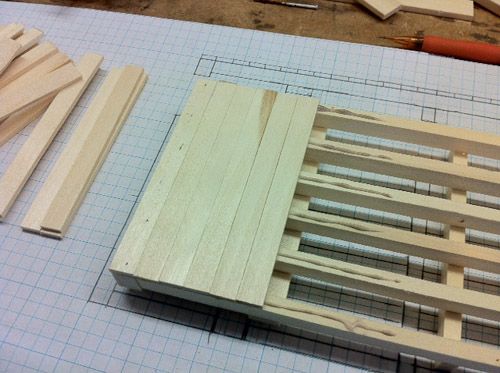
Continue decking the entire top in about 2" sections. The last board may need to be trimmed to fit the end of the end sill.
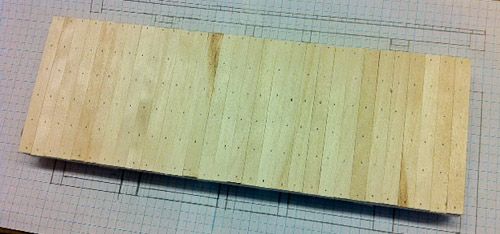
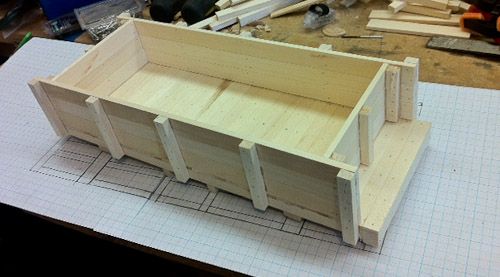
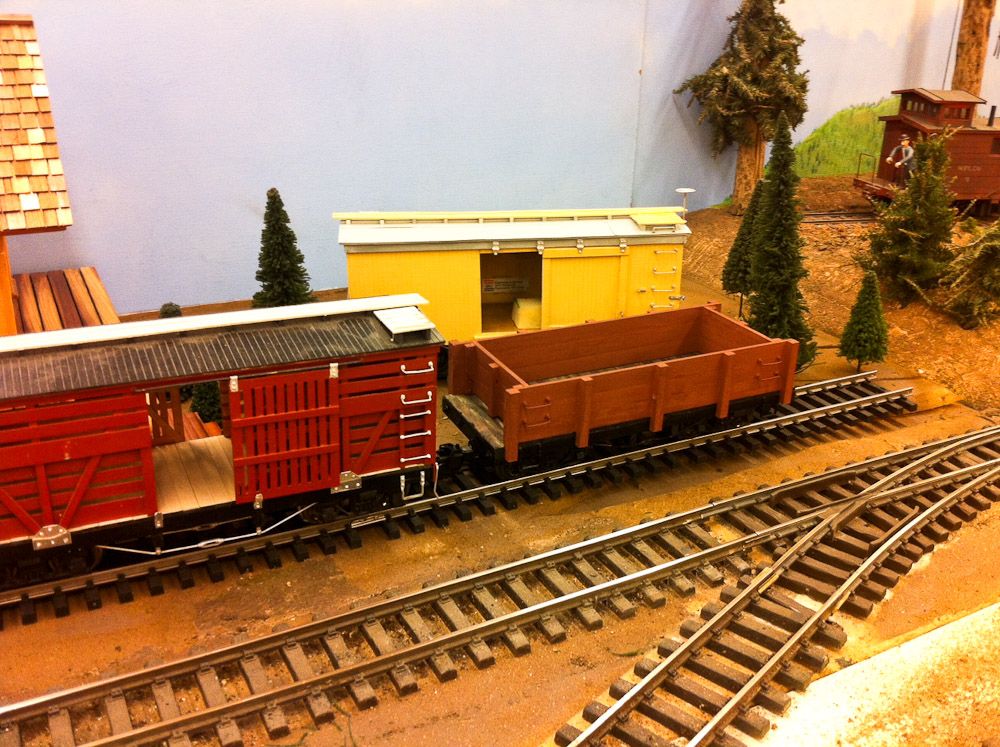
TA DAH… There is the basic Flat car if you wanted to stop right here. This Basic flat could be used as the starting point for any number of other projects build up from the flat, a idler car for pipe movements, a Caboose, MOW ties and maint, crane tender, Mow caboose and etc. Lets move on and turn it into a 36" Gondola. Using the full size planes as a guide, Working on the outside of the side boards. Lay out the three side boards and glue and pin using 3/8’ pins. One upright to each end, and the center, using 2 pins per board. Off set the pins diagonally on each board. There should be six pins per vertical board. NOTE: align the vertical supports with the top of the side board.
Add the 2 intermediate supports the same way as the end supports.
Turn the side over and add 2 ea. 3/8" pins in each side board into the vertical supports from the inside, staggering the pin placement. Repeat for the other side. You should now have 2 sides that are the same. Using the full size planes as a guide, Working on the outside of the end side boards. Lay out the three side boards and glue and pin using 3/8’ pins. One upright to each end, and the center, using 2 pins per board. Off set the pins diagonally on each board. There should be six pins per vertical board. NOTE: align the vertical supports with the top of the side board.
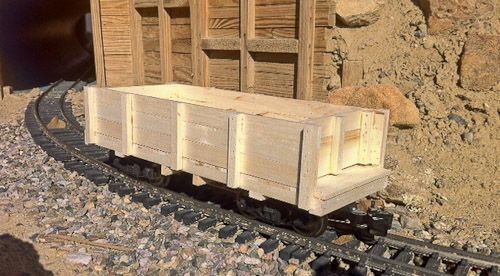
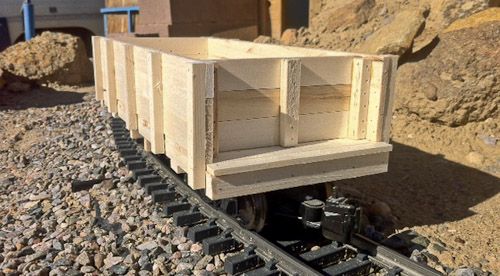
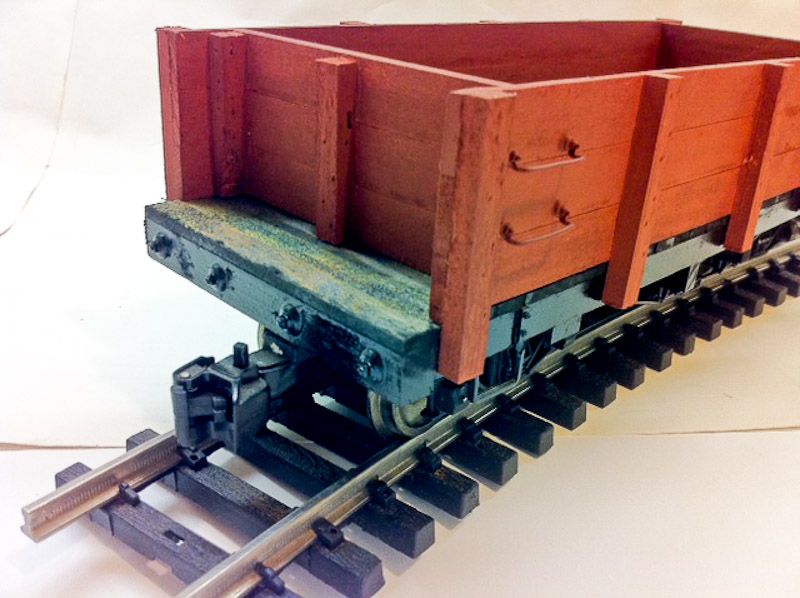
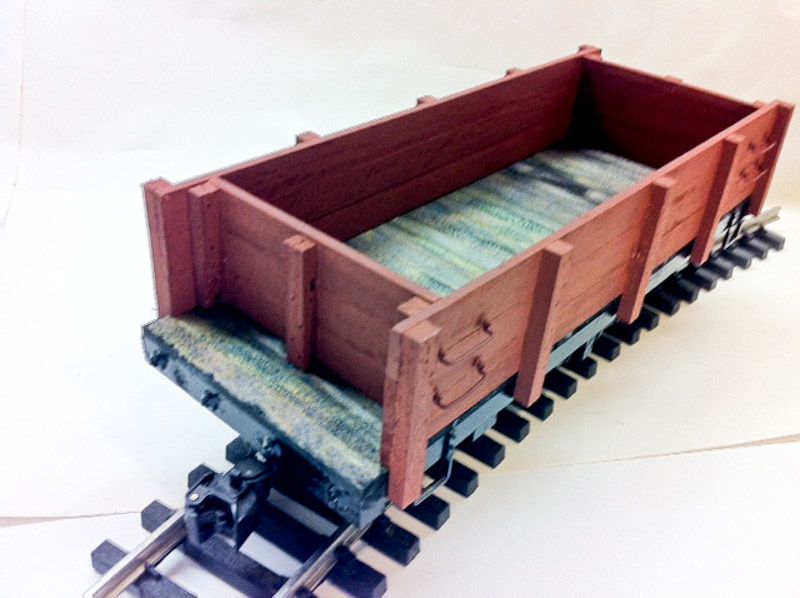
Turn the side over and add 2 ea. 3/8" pins in each end side board into the vertical supports from the inside, staggering the pin placement. Repeat for the other side. You should now have 2 end sides that are the same. Using the decked car base as a guide, assemble the two sides and the two ends over the car. Offset the ends inside the sides so the bracing on the ends is facing out and is off set so as to be just inside of the end bracing for the sides. Use glue the entire side of the bracing, and 2 3/8" pins per board ( six per side ) both inside and outside.
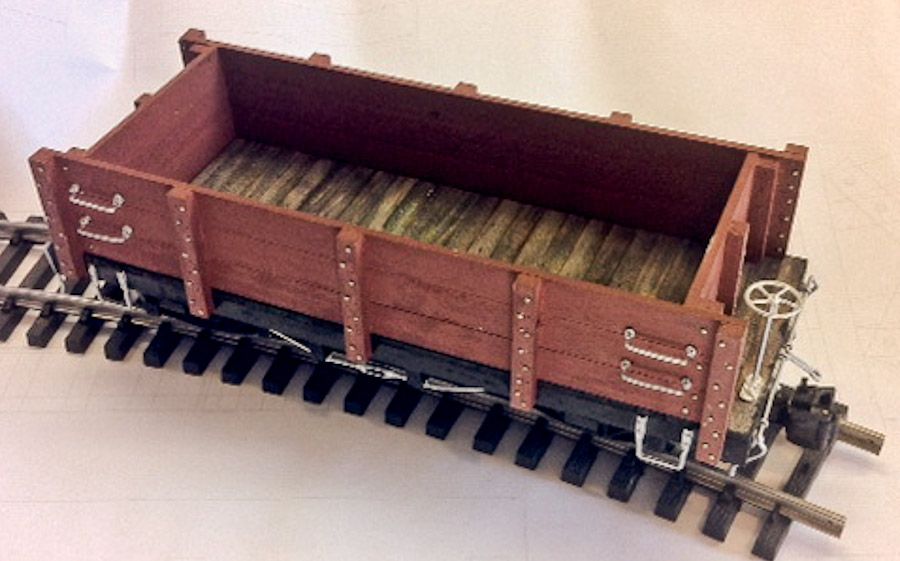
Repeat for the other end. NOTE: If you are going to paint the car, DO NOT attach the Gon sides until after painting. The Gon sides should be easily removable. And There you have it… the construction is done except for the trucks. As for the trucks… We all have our favorite. I use a basic Bachmann style truck. I cast my own metal side frames and resin telgo mounts to take Bachmann couplers, and metal wheels. It is what I have settled on as my standard, so I will show how I go About mounting my combination. You will have to make any changes to fix your trucks of choice. Standard Bachman freight trucks will mount to my bolster. Reminder this is just a everyday run it into the ground car! Start by drilling a 1/4" hole thru the center of the bolster block and the bolster. Don’t go thru the floor! Put glue into the hole and on the bottom of a 1" long 1/4" hardwood dowel, and insert thru the bolster until it touches the floor board. This should be a snug fit.
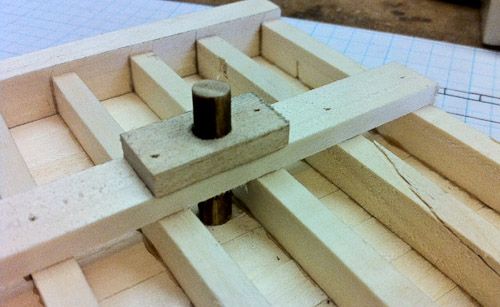
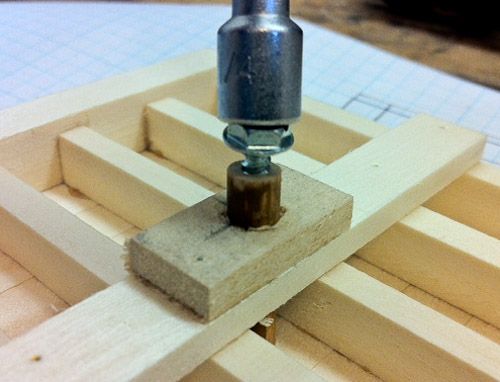
Using the 1/8" drill bit, carefully drill into the top of the bolster pin about 5/8 of an inch. Clean out the hole of any debris.
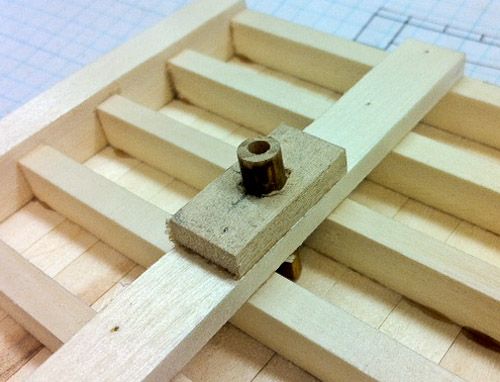
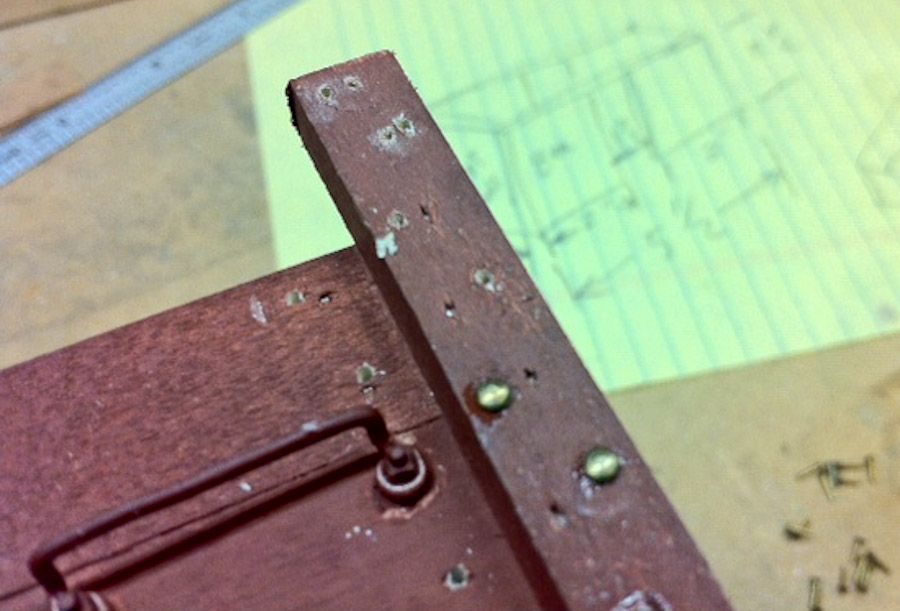
I use a 3/8" #6 “Tapping Screw Slotted” “Indented Hex Washer Head” screw. I carefully set the screw once into the hole, kinda like taping the threads.
Remove the screw, and mount the truck assembly.
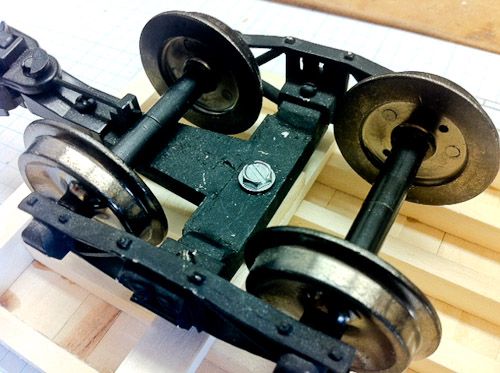
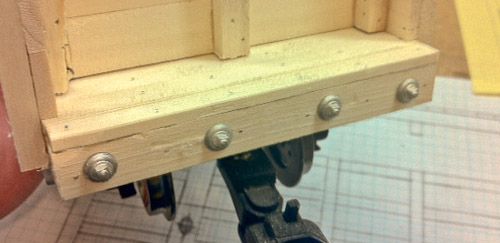
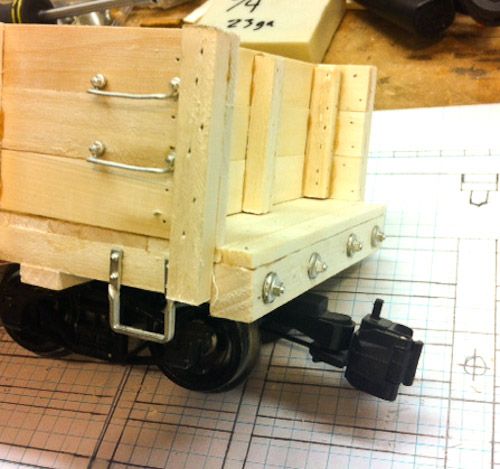
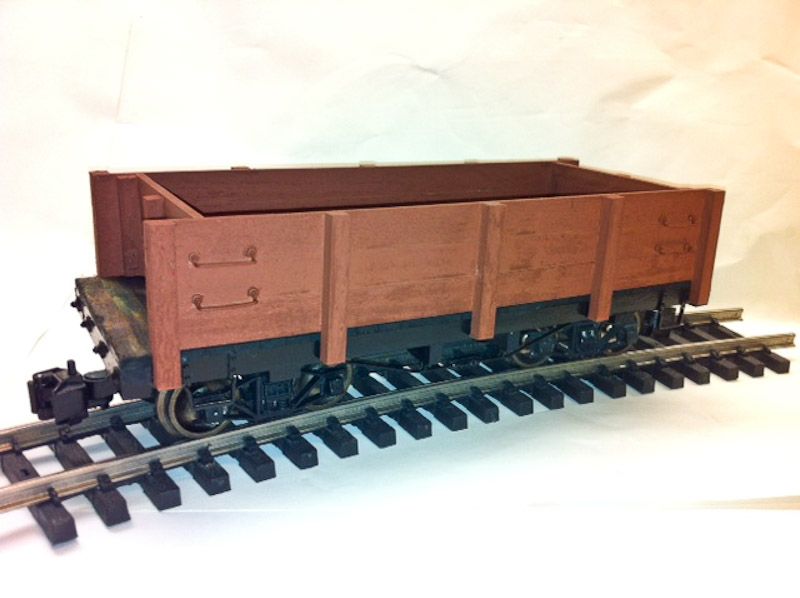
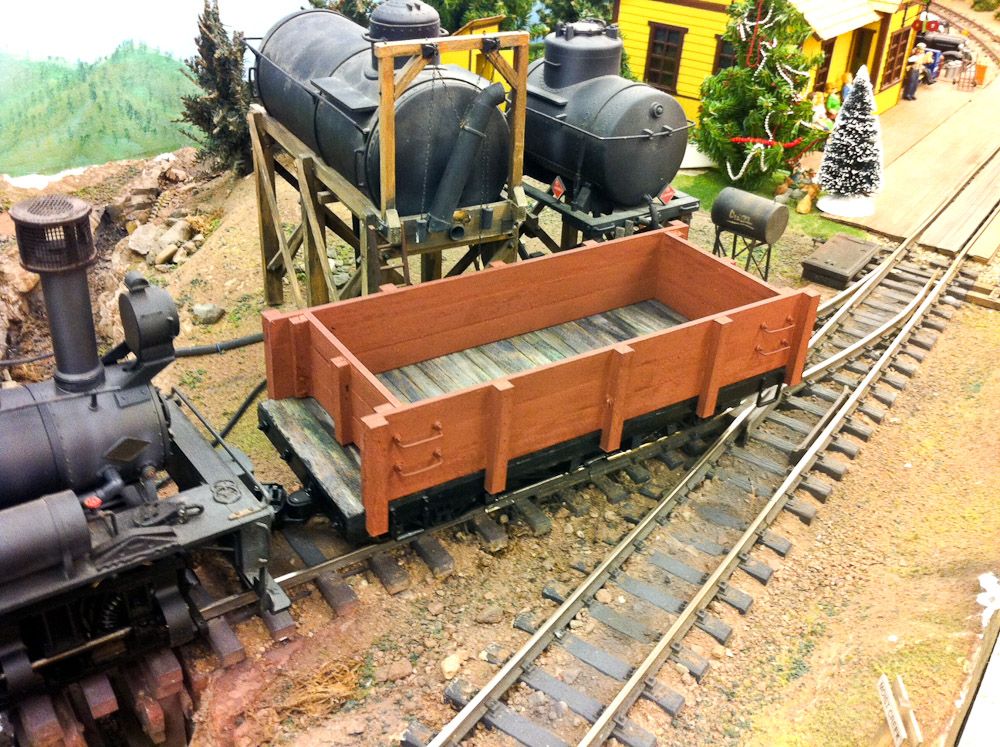
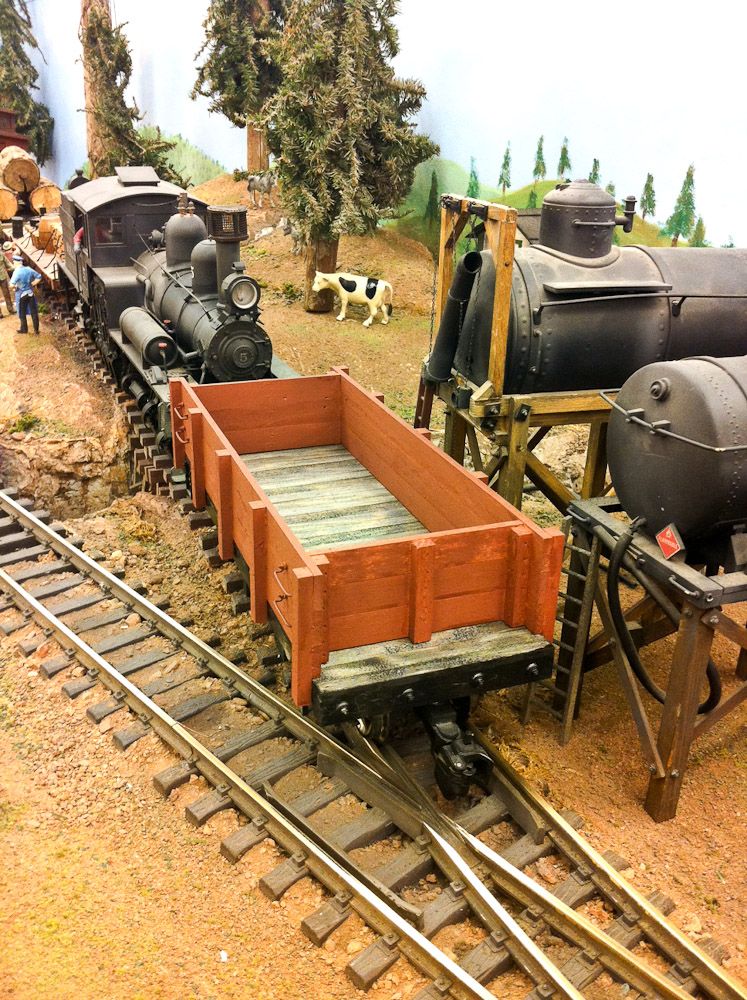
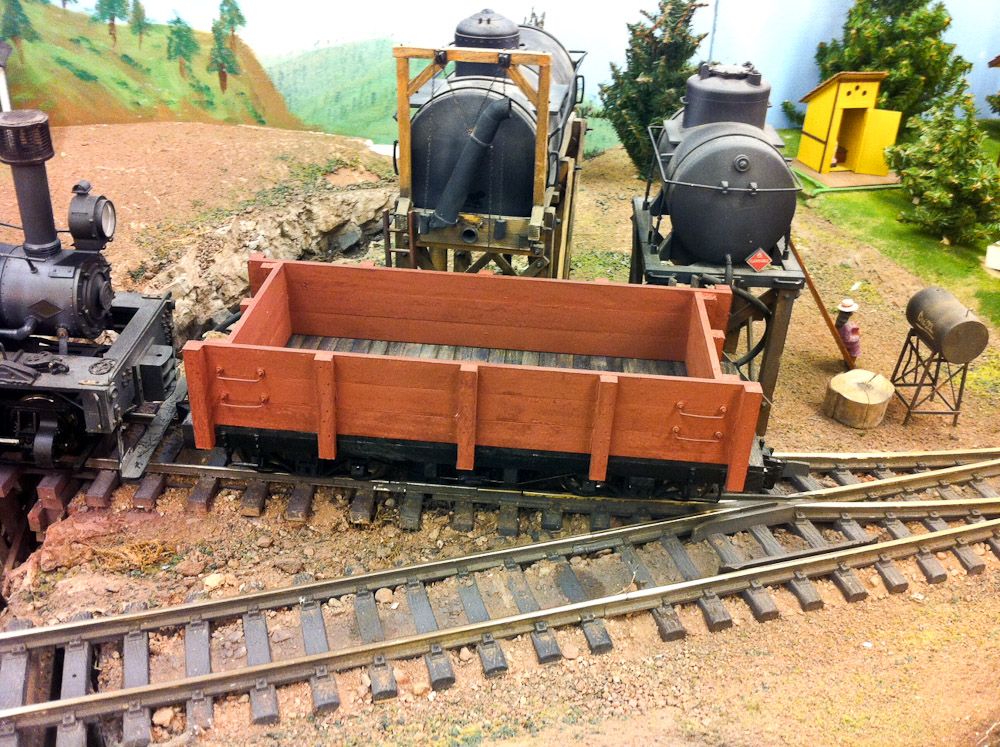
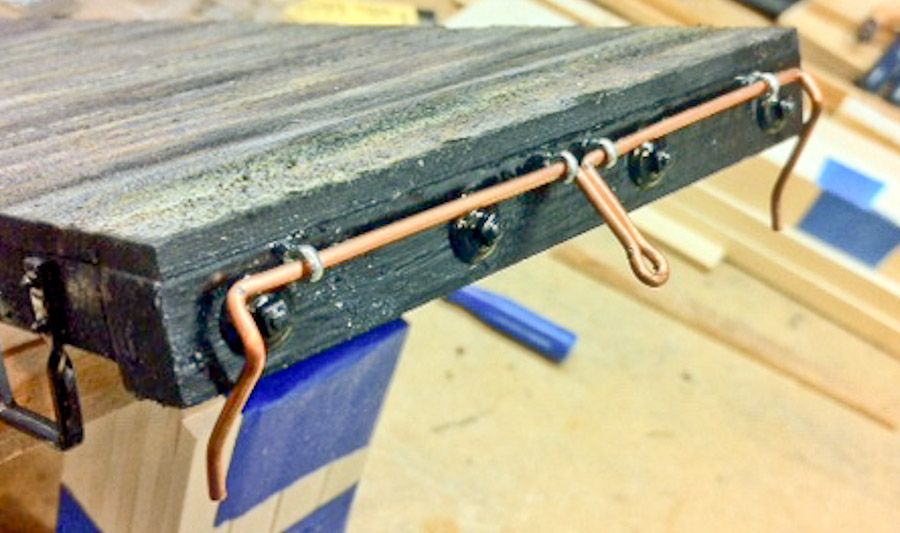
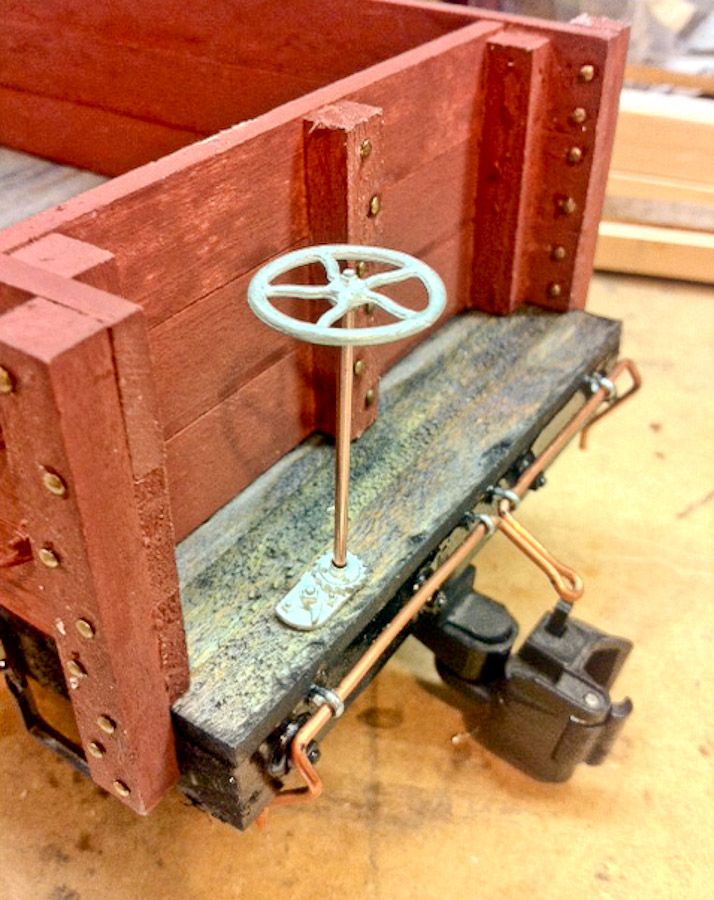
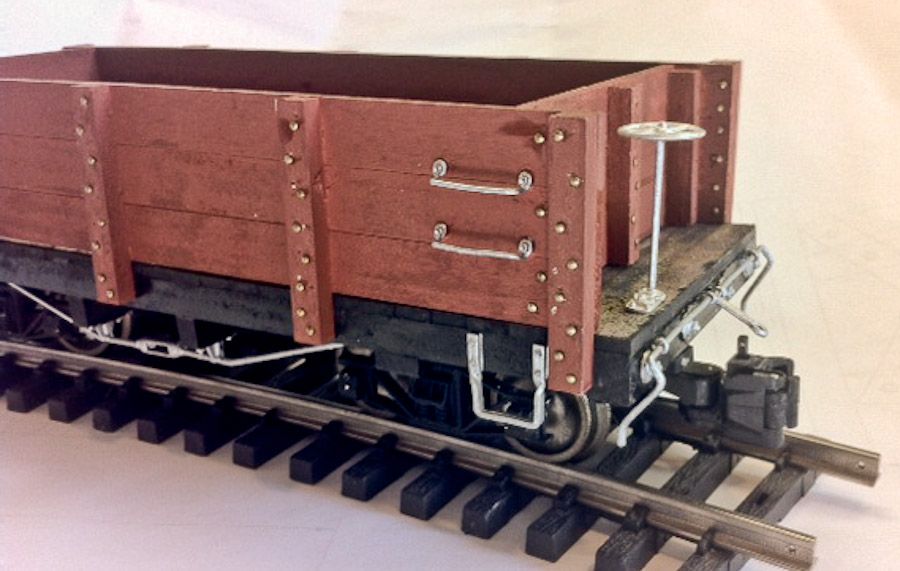
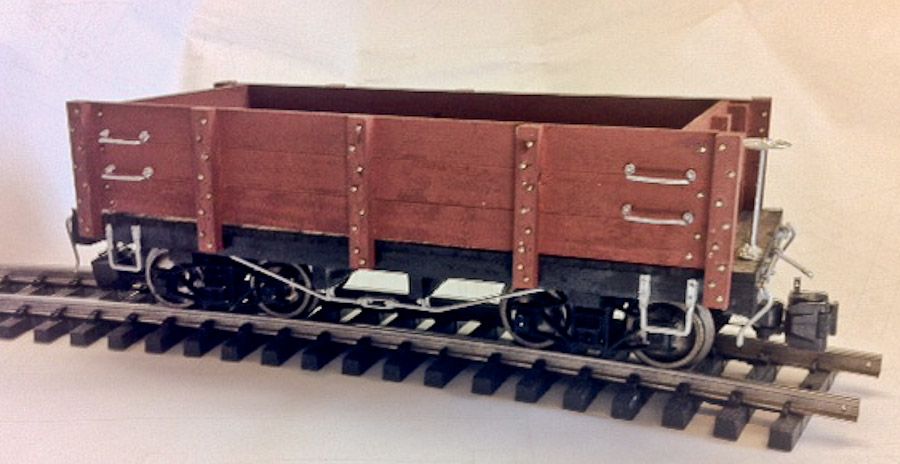
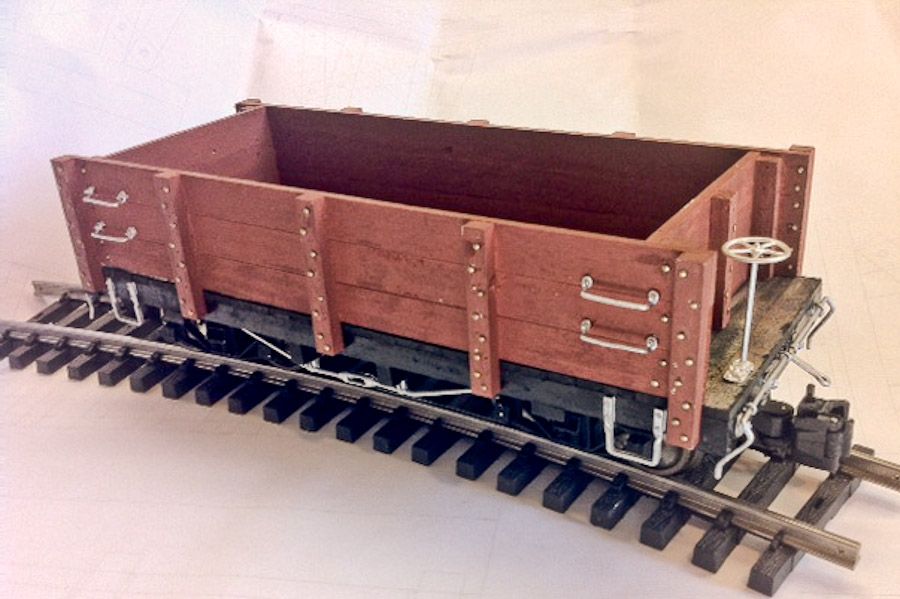
If you use body mount couplers you will have to mount to the under frame to fit your standard height. Notching the end sill may be necessary and you could add a sill support on the end if desired. Your millage will vary. Basic Car is done, and ready to roll. Or onto the paint shop.
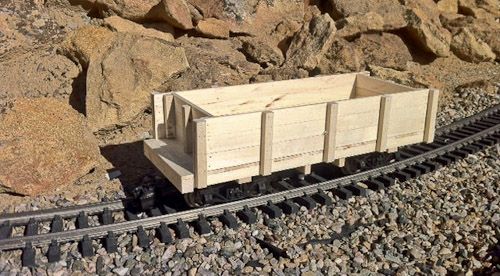
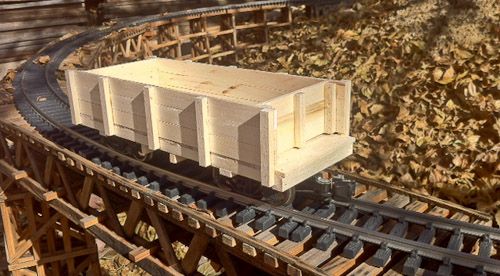
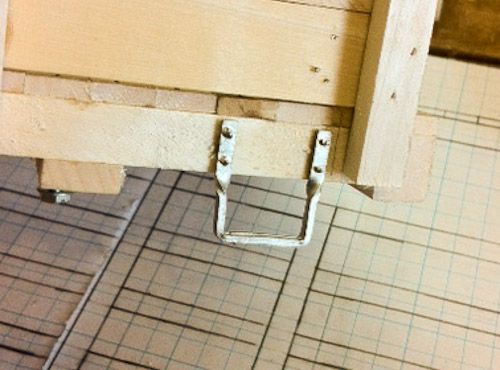
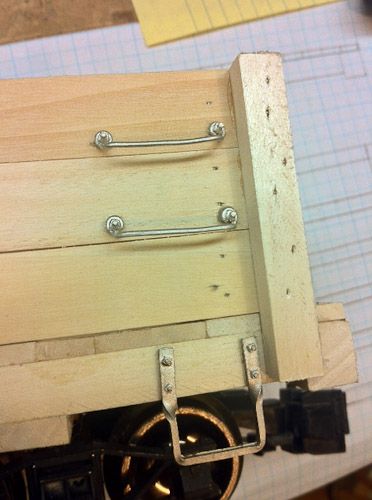
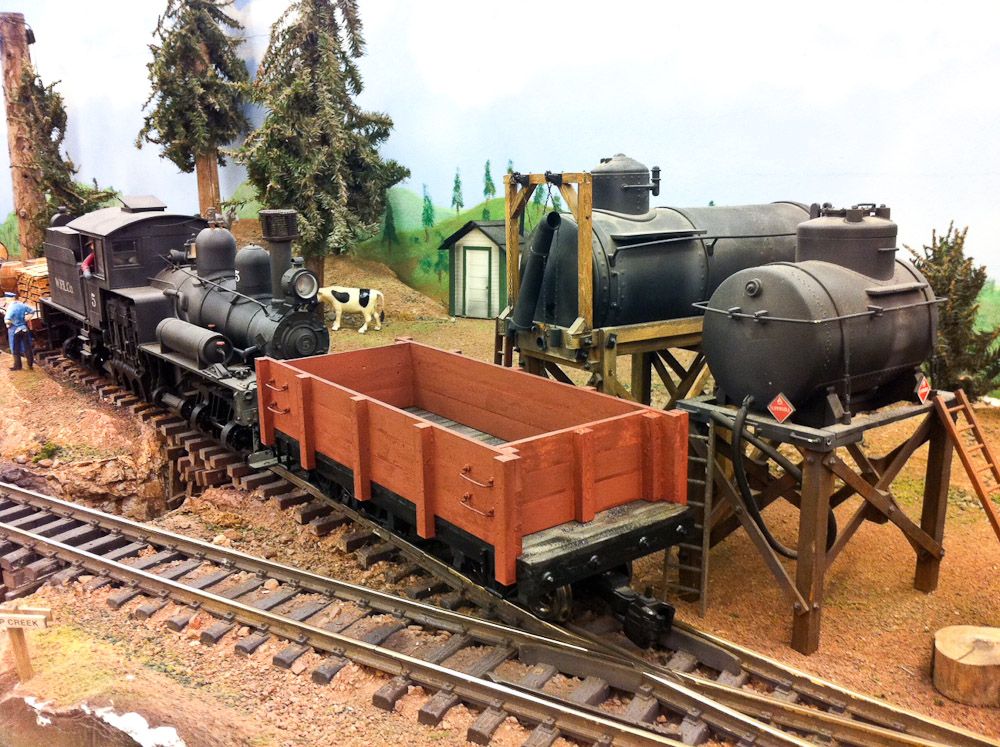
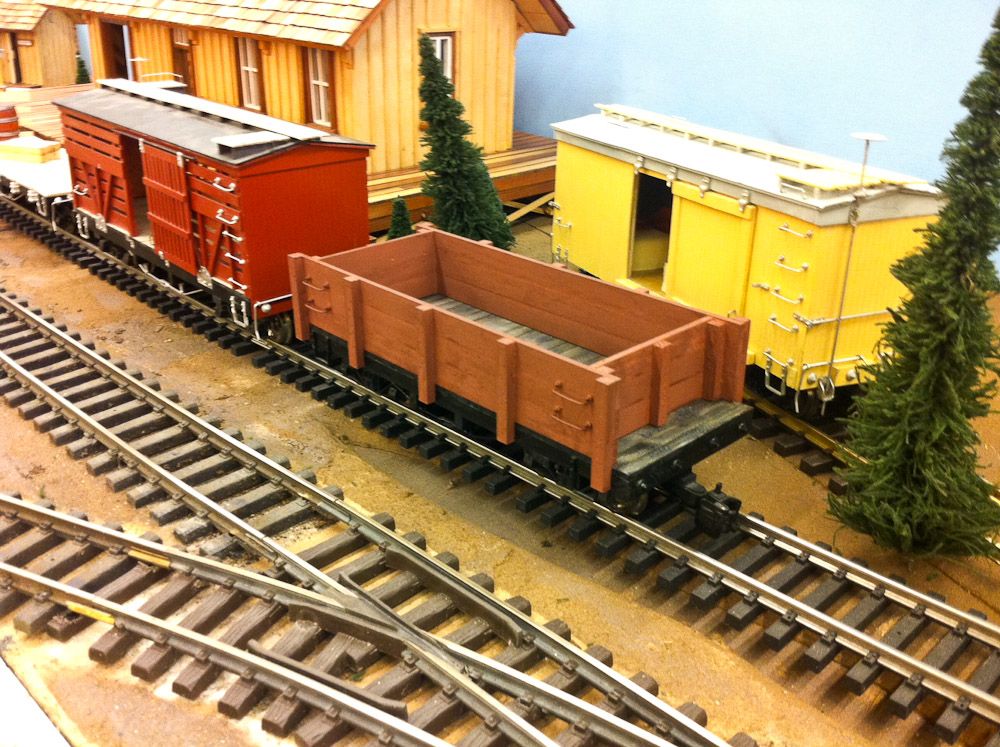
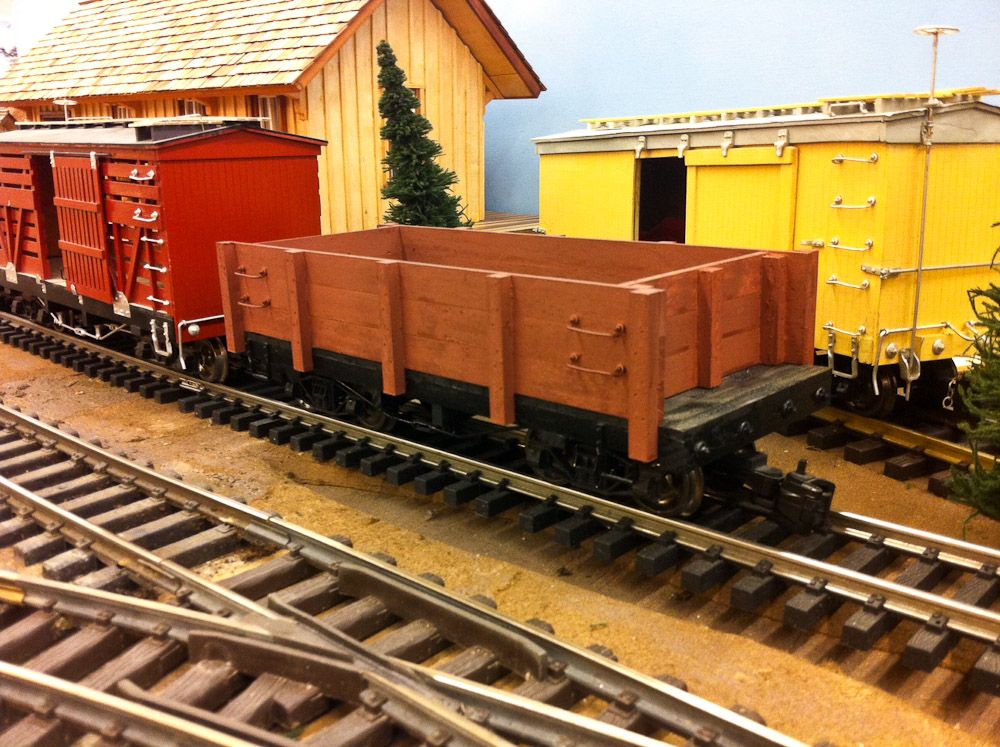
After painting you can leave it “convertible” or attach the sides to the frame. Up next: Add some basic detail parts.