Randy,
Looks like a good job on the boiler! What size pipe did you use?
Randy,
Looks like a good job on the boiler! What size pipe did you use?
Thanks Eric, For my first try I’ll take it. Hoping my second boiler won’t be so messy and The fittings will be soldered better. I almost melted some. Just take time to learn to solder with this high heat.
The Pipe is 2.125" od and 2" id. It came from an old hotel building my buddy bought. The chunk he gave me actually had a cast brass elbow in it.
Randy nice work on the boiler. I say you did an excellent job soldering. Casnt wait to see the next step.
Nice work on the Ruby. Man if I had the tools and skill I’d sure do one like yours. Later RJD
Thanks guys , It’'s pretty exciting seeing a project that’s been going on so long finally shaping up. Here she sits all plugged up save for one hole. Unfortunately I don’t have a die for that thread so I’m just going to buy a Goodall valve and solder it on to the line for my hydrostatic tester. Picture of testing will post when the vale arrives. Oh yeah, and I’m pretty sure that the testing is just a “formality” at this point. I’ve really gotten a better feel for silver soldering and now I can tell wen it’s a good joint when I make it. Or how to move the flame to make it right. Fun.

Time to get and order placed for all the detail parts that I’ll need to finish it up.
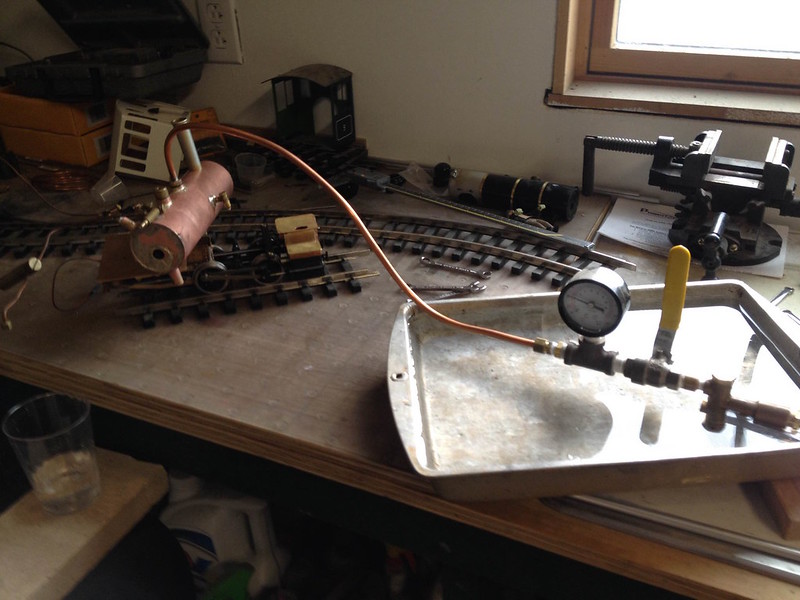
Huzzah! I submit the photo below to you all as evedence that this boiler is leak free, holds pressure and is ready for lagging. It was tested at 60 PSI since Ruby safeties are set to 30 PSI. Although at one point I did have it up to 90 PSI.
Well done Randy! It is always exciting to get the boiler pressure proof!
PS, I got something in the mail from you Thankyou Very Much! Love the graphic too!
You’re Welcome, And I shoul thank you. Being able to watch several of your builds was a big part of the inspiration to do mine.
Although not a live steam guy, very nice work. It is always nice to see ones efforts come to furition. I don’t follow this thread religiously, but look in now and again. I hope my following advice is received as a friendly safety tip and not a chastisement, which it is not intended.
This is strictly on observation, so please understand I am only commenting from a safety perspective. Judging by the pic you are using air pressure to test the integrity of your boiler. For future builds I would not recommend this practice. That small pressuer vessel, should it fail at thiat pressuer will go off like a shrapnell grenade. In the future I would recommend one of two other alternate procedures. One, submerge the boiler is a large bucket of water and then bring the pressure up. If the boiler fails, the water in the bucket absorbs the energy of the explosion. You may get wet, but most likely not injured. Second, if you have abailability to generating that high a pressure with water, use water. A water leak will not erupt in the same manner as air does, therefore making it safer.
I spent about 12 years of my career designing pressure vessels and my recommendations are founded in the safety rules that the ASME (American Society of Mechanical Engineers) have developed for testing pressure vessel. And certainly your small boiler is MUCH smaller than those I worked on. Other than somre very small ones, my vessels were filled with water (usually hundreds to thousands of gallons) and then tested, a few as high as 600 PSI.
Thanks Bob, And don’t worry, I whole hardheartedly agree with you. That’s why I do hydrostaticly test all my pressure vessels. If you look at the picture again, note that there is a 9x 13 pan under the pressure gauge. This is full of water. Just to the right of the ball valve is a water pump from PM Research . It’s handle is just out of the picture. So this pumps the water out of the pan into the boiler which is also pre-filled with water. I even used the throttle to vent the last few air bubbles into that plastic cup sitting below on the brick.
Thanks for looking out for me! (http://largescalecentral.com/externals/tinymce/plugins/emoticons/img/smiley-laughing.gif)
I was always told boilers of this size would never actually blow up. The seems would give out before it makes it to that point. I have never heard of a live steam boiler of that size doing such a thing. Seems will tear first.
Randy looks great.
The Australian steam guys have hydrostatically tested this type of boiler to failure. they hold up to about 1000 psi before failure. at this pressure the boiler inflates like a cooked sausage. Usually the failure was NOT at the silver soldered joint if it was properly done. often the flue would collaps or a crack develop in the copper near a bushing.
It is certainly possible to have a boiler explosion however. if the safety valve was not present or not sufficient, very high pressures could result. likely the failure would be on some fitting such as the waterglass or a banjo connection. such a failure would result in loss of pressure and probably not catastrophic failure of the boiler as a whole. it would however be potentially dangerous if you happened to be fussing around the back head at the time.
Generally the most likely damage to the boiler would result from running it dry and overheating the flue or other parts. this would not likely be dangerous except to the function of the model
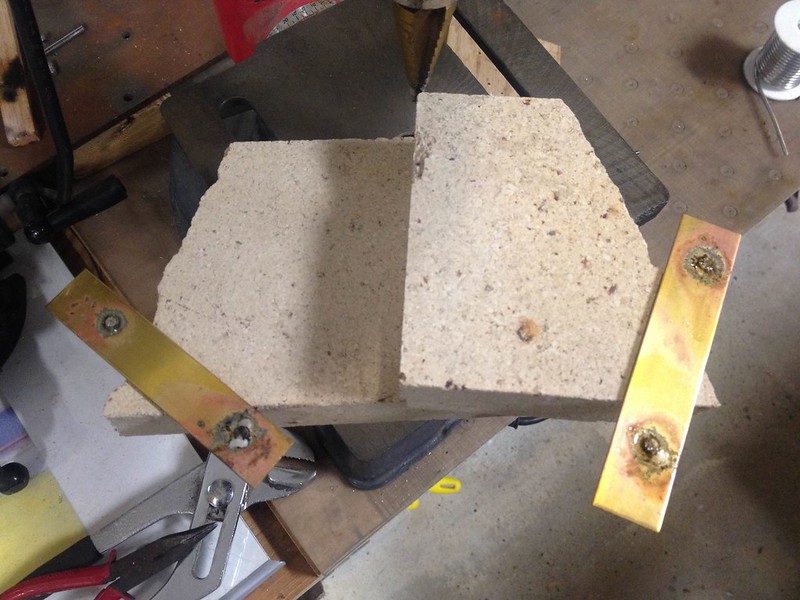
I think an up date is well overdue. I’ve mostly just been fitting things together. I made a pair of foot boards from some brass. I drilled taped and counter sunk to about half the thickness of the material. Then soldered in some flat head 2-56 screws and filed the heads flat.
I’ve also got the smoke box wrap ready with exception of builders plates that need soldered on. Next is the boiler wrap which will be fun, figuring out how I’m going to attach all the little details. I also need to get the smoke box front done too.

Well as a member of the Back to School Challenge club, I figured I had better get the lead out on my project. This is typical of my high school experience too. I always put off reports and such till the last minute.
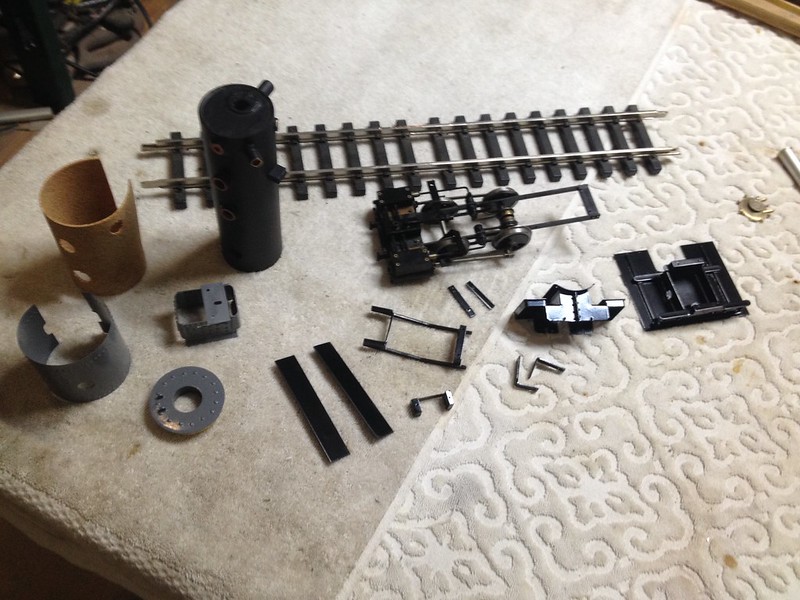
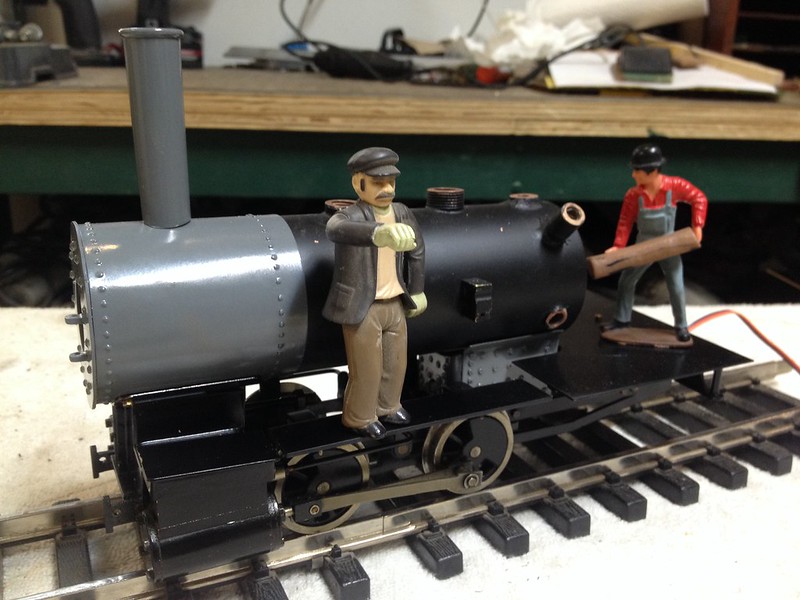
The thing has sat pretty much as it looked in the last photo since it was taken. I got the smoke box cover and door figured out and also finally fabbed a bracket for the nice lubricator disguised as an air pump the I got from Jason. This needed silver soldered to the boiler as did the number plate on the door and I think they were the culprits stalling the project. Having all this done now I thought that everything was at the point where it should disassembled and painted. This shot shows the only part of the ruby left (the chassis) surrounded by all of the “newly” fabbed and painted parts ready to start assembly.
Coming along nicely there Randy.
Looking good. I was wondering when you would start up again.
Thanks Sean & Shawn, Thing about me, I’m either on, or or very off with a project…
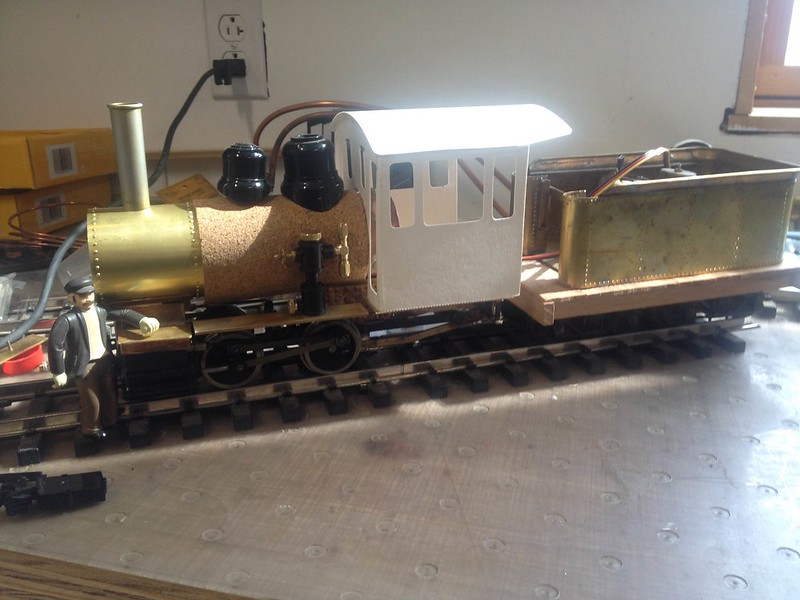
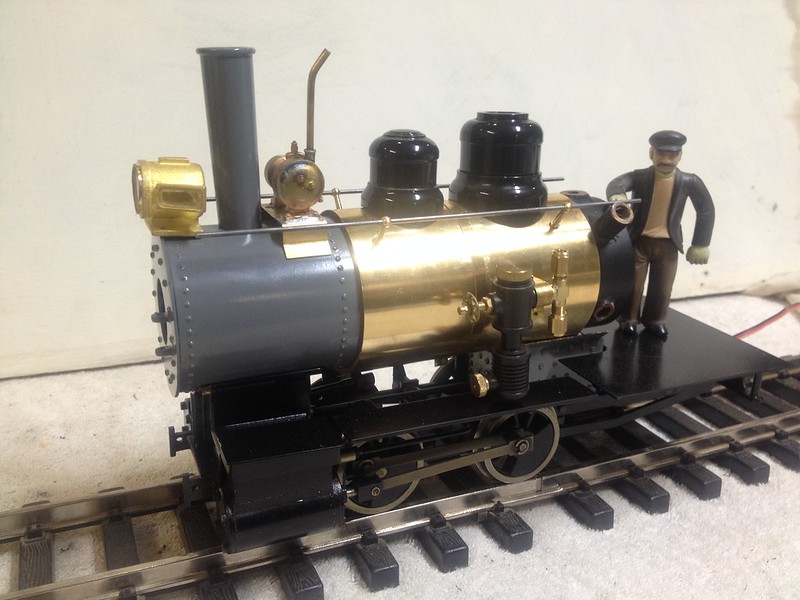
Things look so much better when their painted. Here is a picture of things before the cork and boiler wrap go on. I have a wrap that works but the one rectangle hole got too big so I’m going to remake it. I’ve also decided to make a poppet ball keeper to keep the smoke box door closed. I’ll have to silver solder that on to the doors back, then I can bolt that on too. Once the wrap is on I’ll be plumbing things and Starting the cab.
wow what a difference with some paint. Looking good…
Looking good Randy. Steel cab? I assume you are tying to get done for Cabin Fever? Moved back to January again but in the old location of Lebabon PA. I will not be there as I will be in Diamondhead. A place you need to get to. just don’t think to bring your wife. She wont like it, neither would mine!
Don’t forget when your don’t to get a photo to Vance Bass so he can add it to the Ruby bash log he has.
Thanks Shawn!
You guessed right Jason, Steel cab, I’m shooting for early modern with this. I probably won’t get to Cabin Fever. By then I’ll need to be getting back to some other projects. Ive done nothing but rail road for three months now. (http://www.largescalecentral.com/externals/tinymce/plugins/emoticons/img/smiley-laughing.gif)Actually, my wife is very into the idea of Diamond and it is on the list. She’s pretty supportive, I’m pretty lucky. I’ve gotten lots of inspiration on Vance’s page, so I’ll surely send him some shots.
Well progress has slowed a bit but I’m still moving forward. I got the boiler jacket finished and bracket made for the generator. I still need one for the head light.
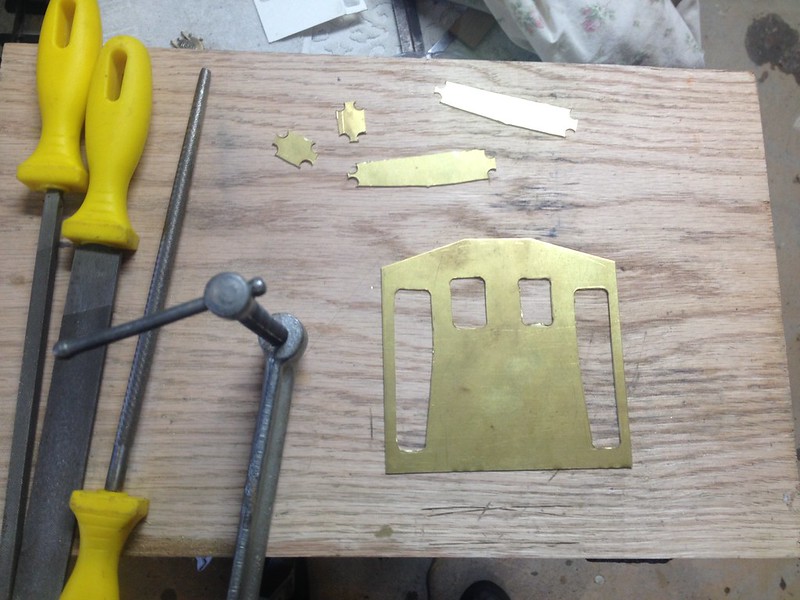
I also started on the cab front. I laid out the outline and windows on the .025" sheet brass. Next I center punched and drilled in each corner of the doors and windows. After that it was just a case of connect the dots with the Dremmel tool and clean up with a file. The photo shows the cut outs and the cab front with one door and one window finished. I have the front fully done now with the boiler hole cut and rivets embossed too. On to the sides…