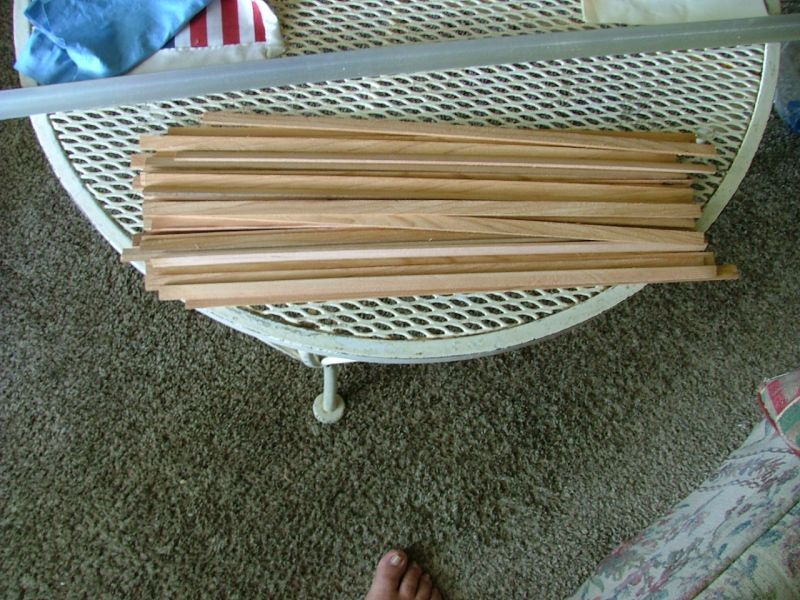
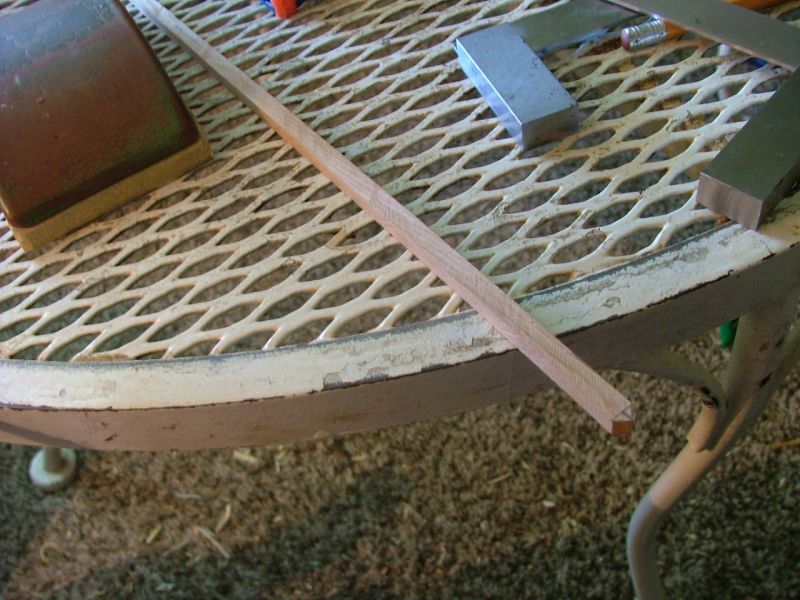
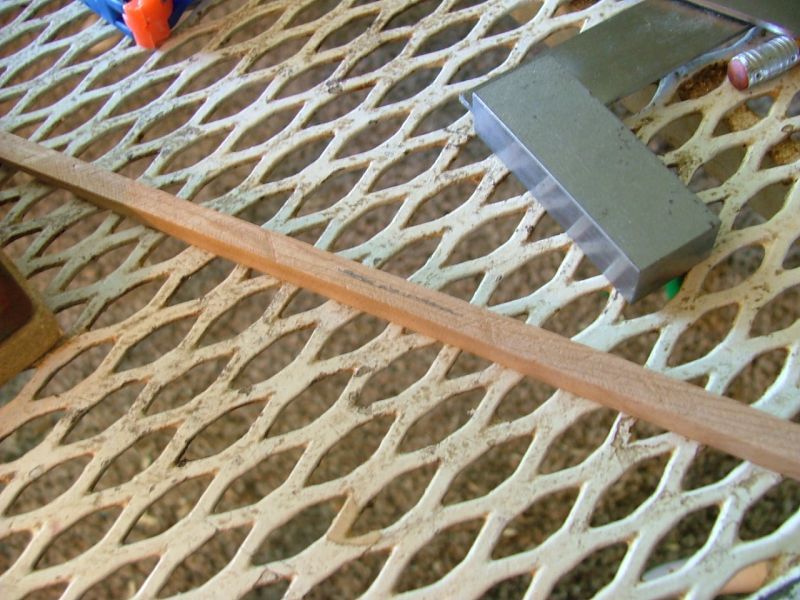
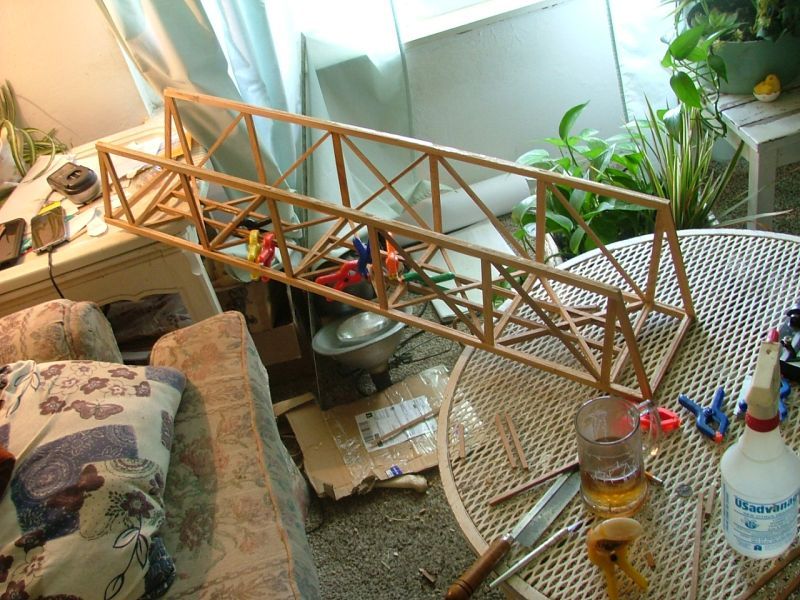
I started by taking an off cut piece from a cedar fence board, and ripping it into 1/2 by 1/8th strip-wood.
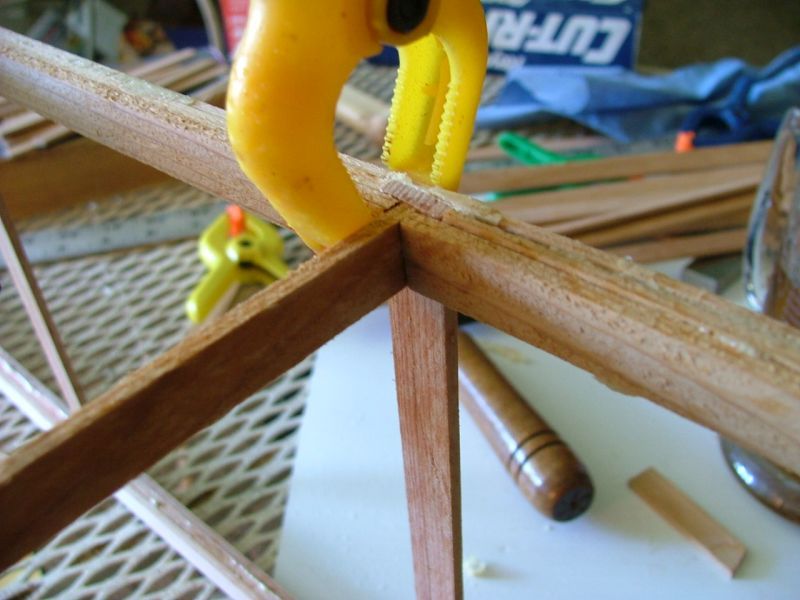
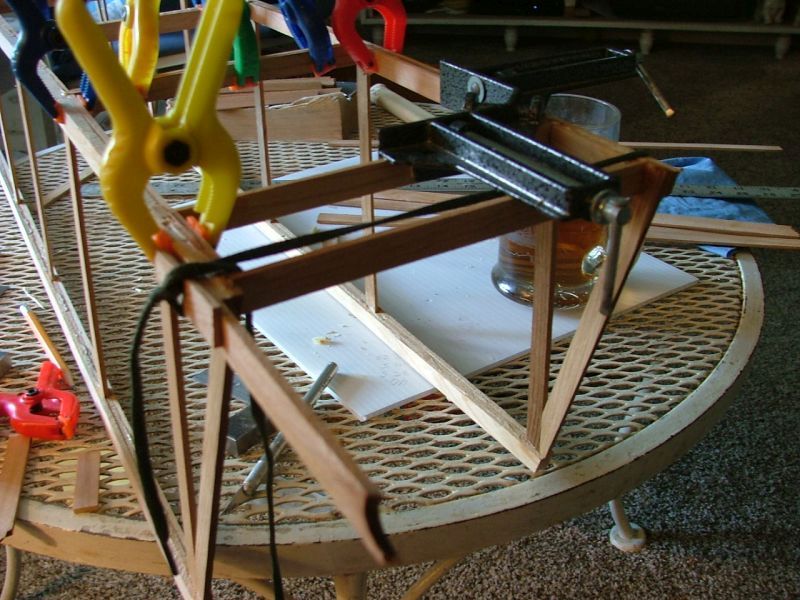
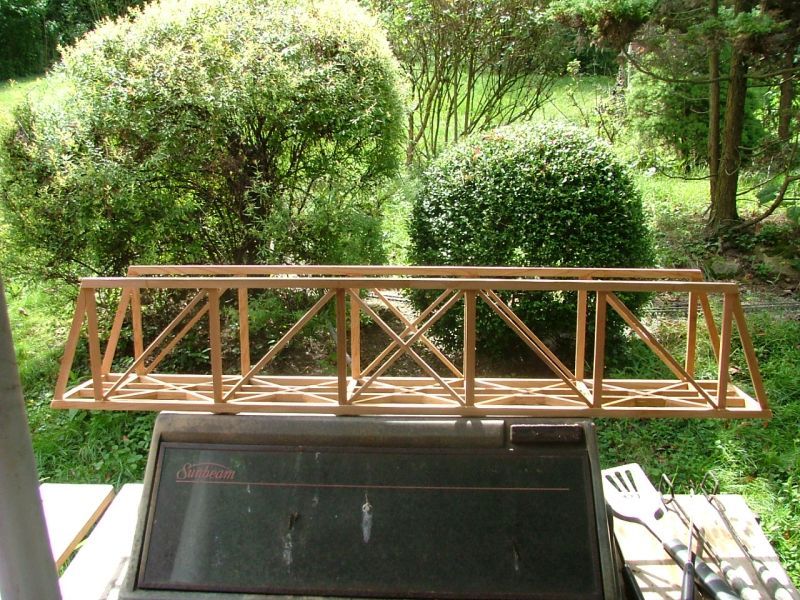
The boards that I would use for the vertical uprights I cut to 7 ½ inches long, and I cut spacer boards to 6 ½ inches long. Then I started assembling one side of the bridge in pieces of aluminum angle stock. By assembling the beams in pieces of angle stock, the beams ends up being straight and true. I learned a lesson the last time I used this technique, and I put a layer of wax paper between the aluminum angle stock and the wood beams that I was assembling. That way the beams didn’t end up glued to the aluminum.

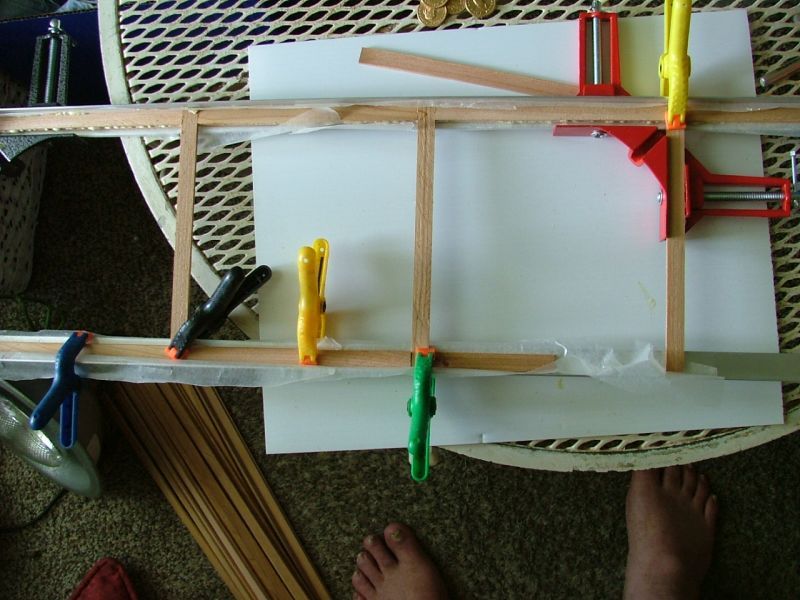
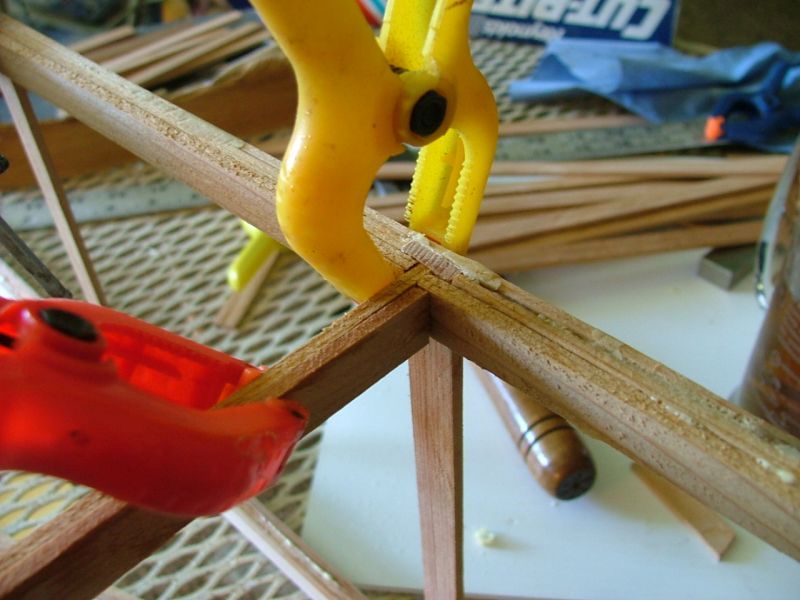
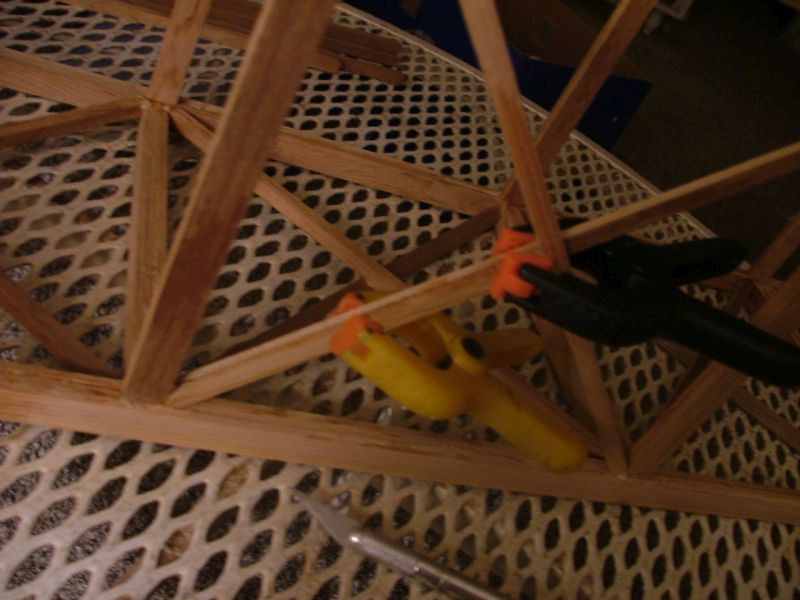
To keep my 90 degree angles, 90 degrees, I used my corner clamps.
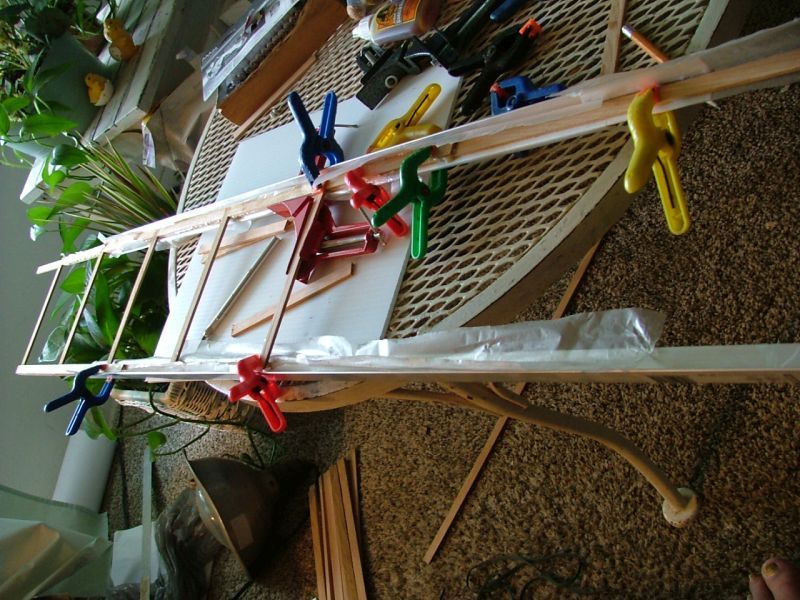
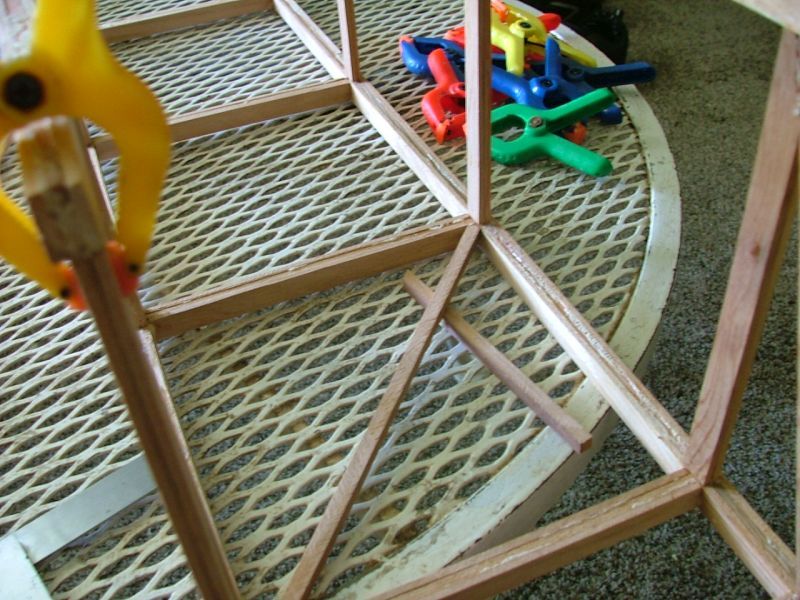
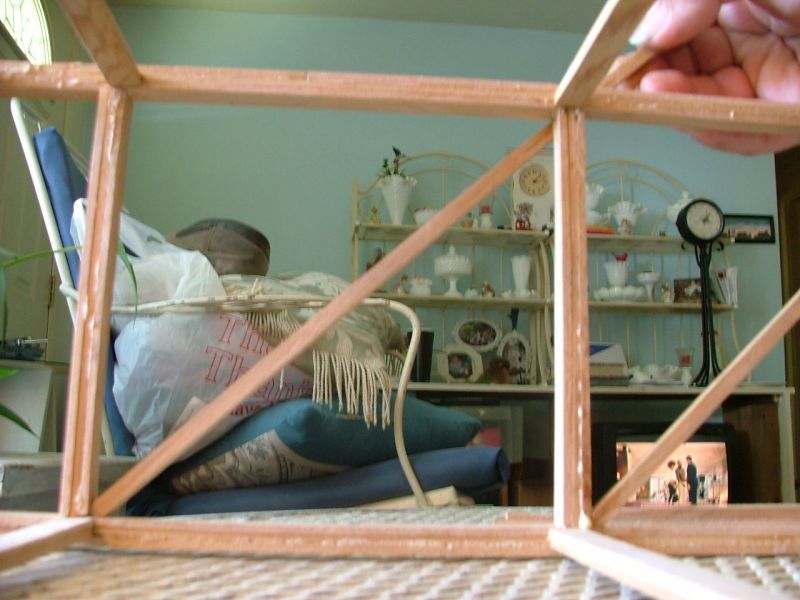
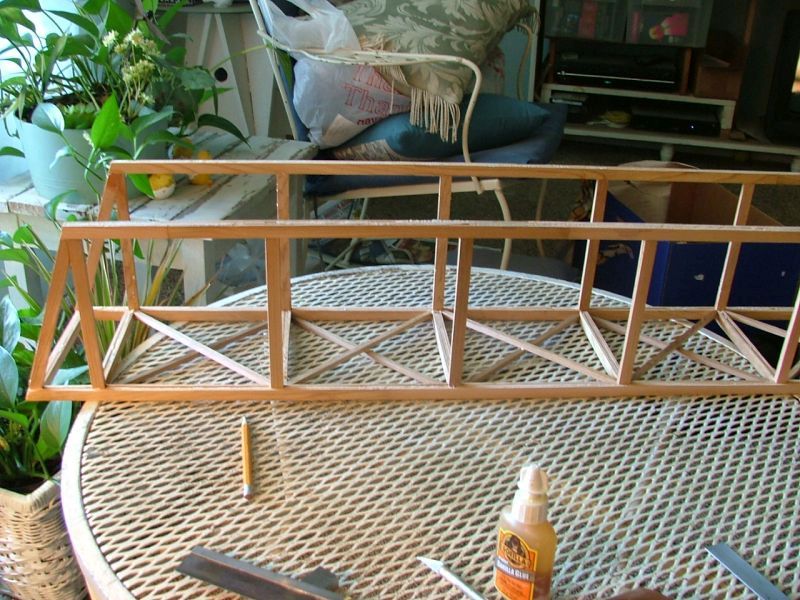
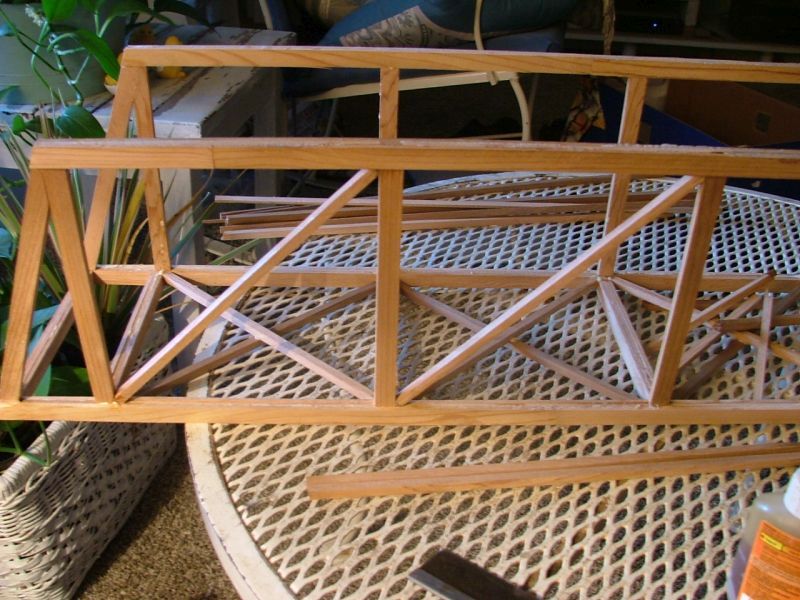
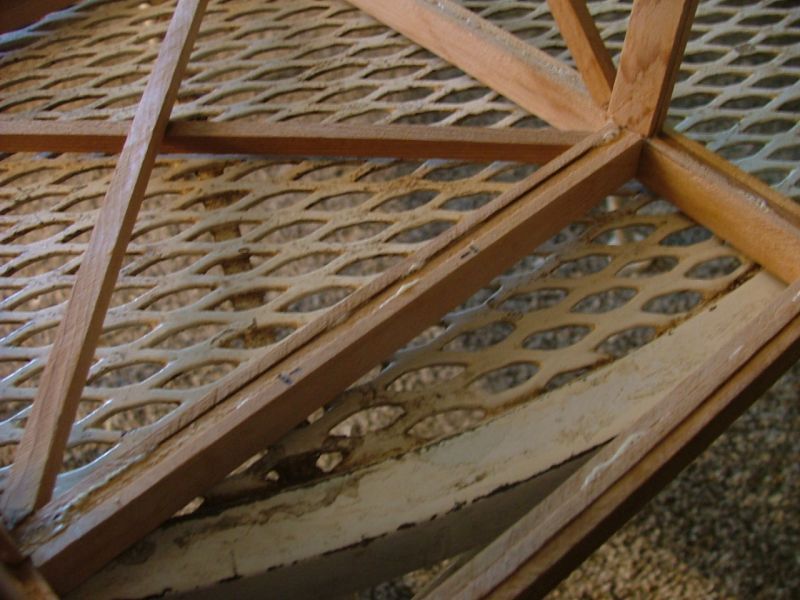
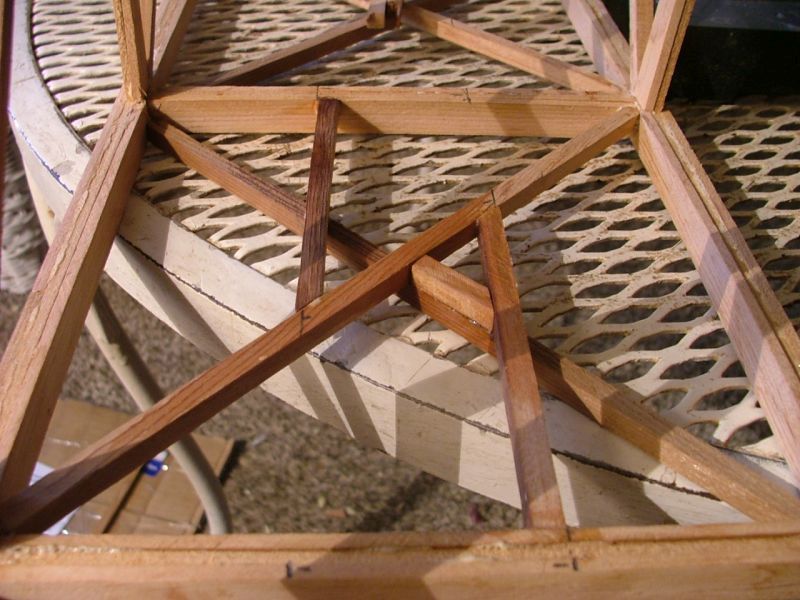
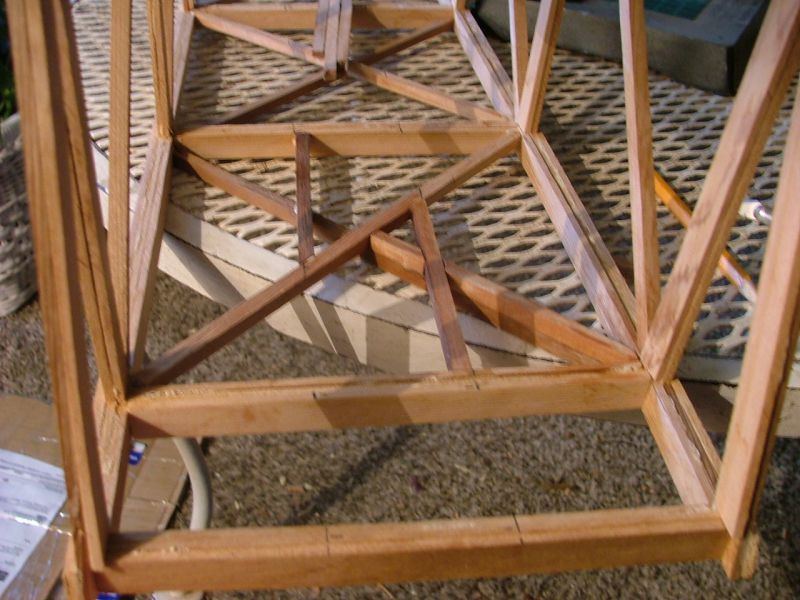
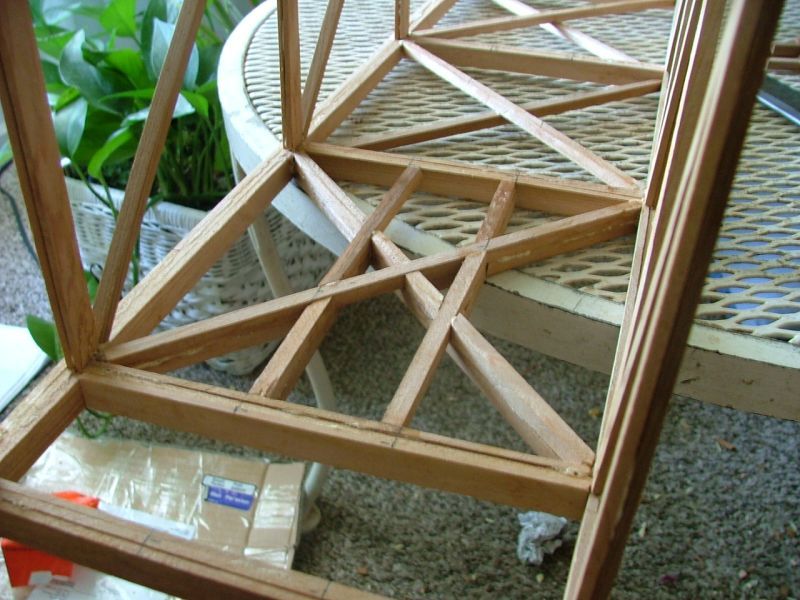
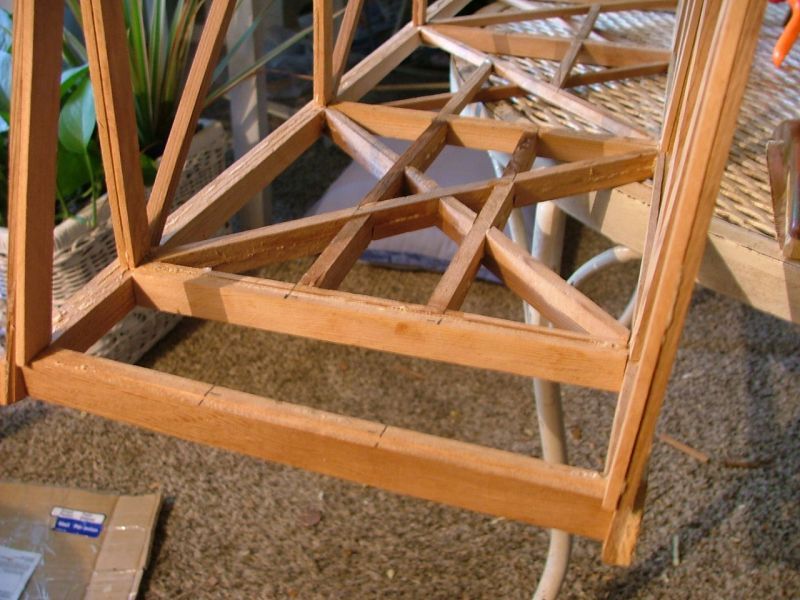
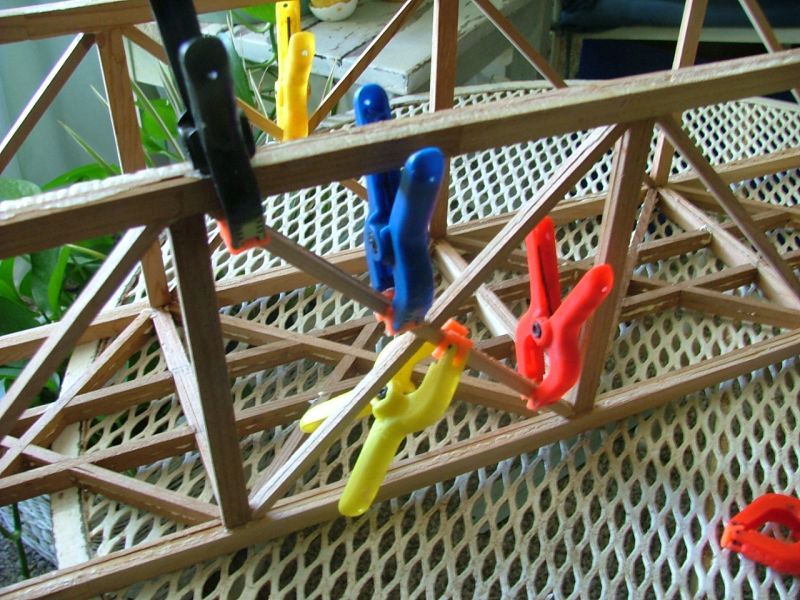
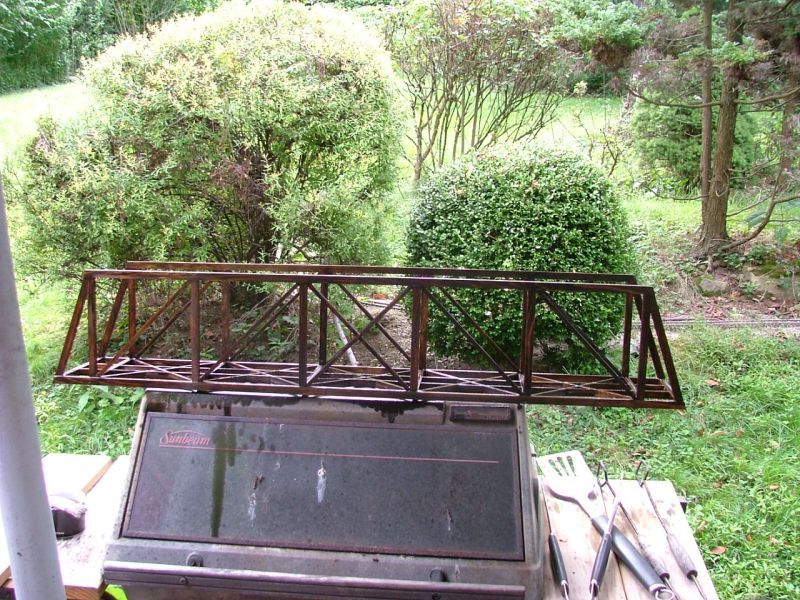
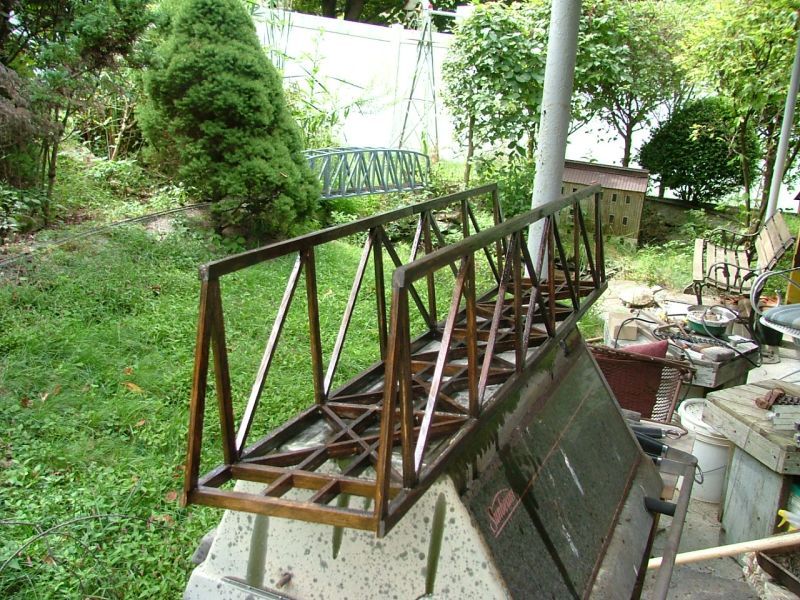
The beams are 3 layers thick, an outer layer, a middle layer using the vertical and spacer boards, and an inner layer using 6 15/16 inch long boards on the lower beam, this places a space in the center of the vertical uprights for the horizontal beams that run between the lower main beams of the bridge. By doing this type of construction, I am not counting on simple butt joint glue joints to hold things together. The top beam inner layer is just pieces of strip-wood butted end to end, since there are no horizontal beams running from side to side on the top.
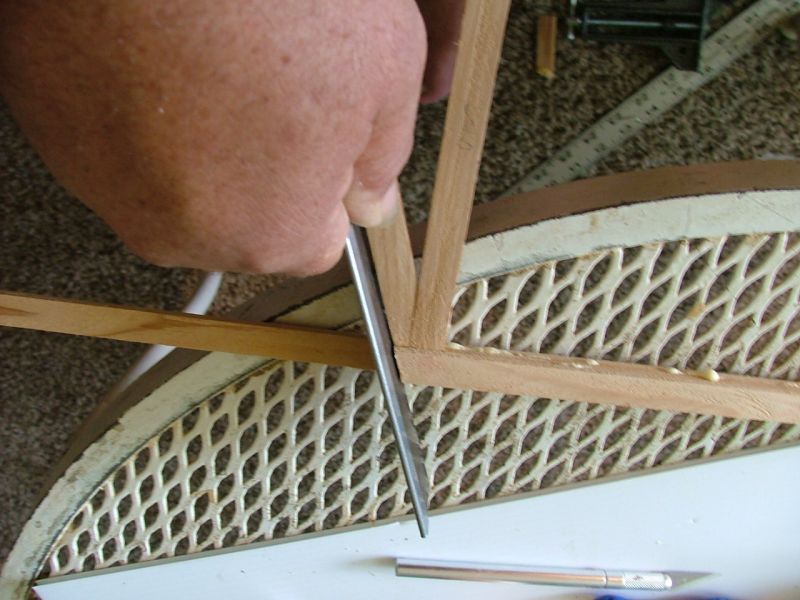
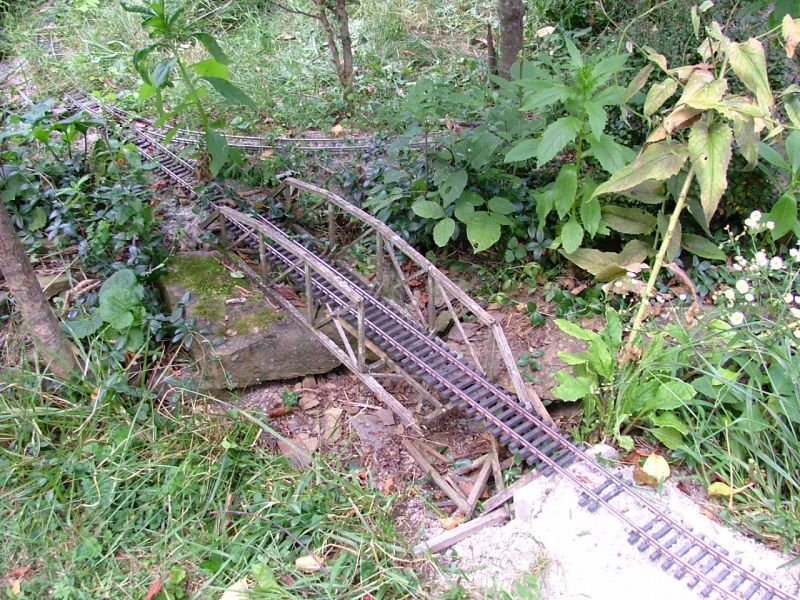
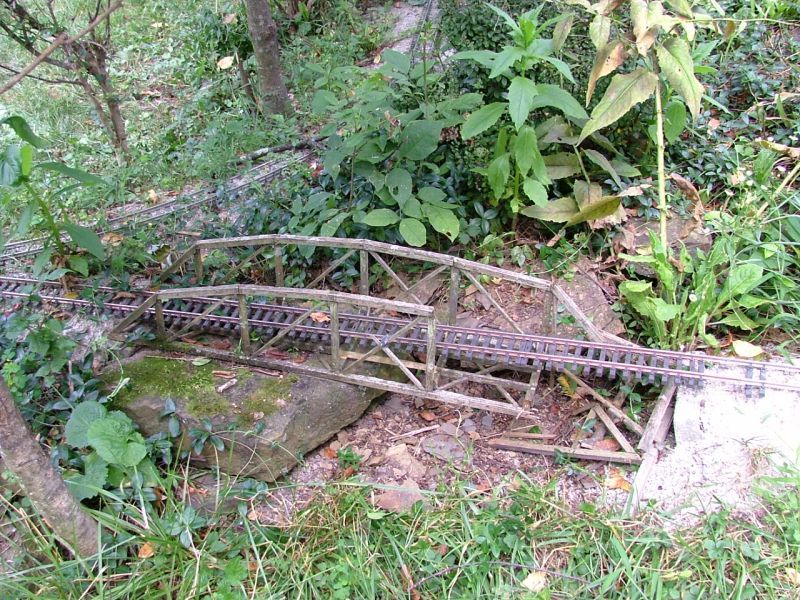
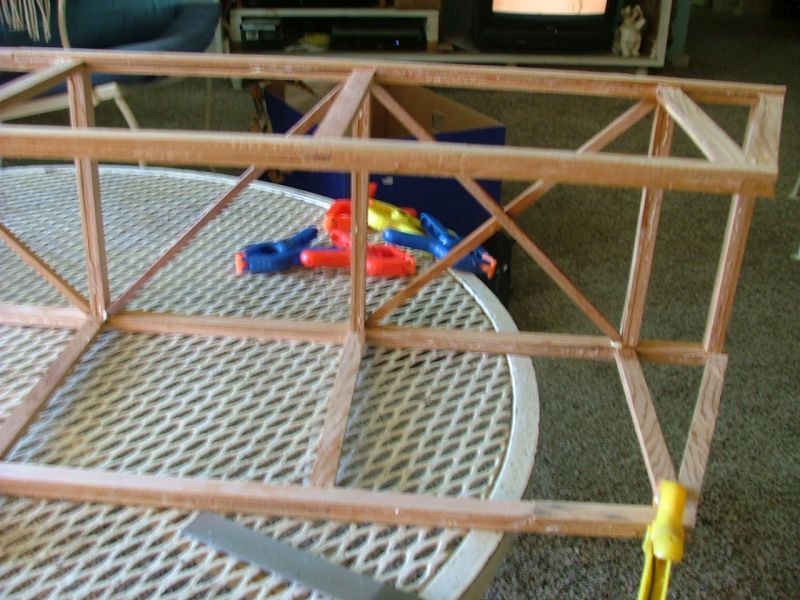
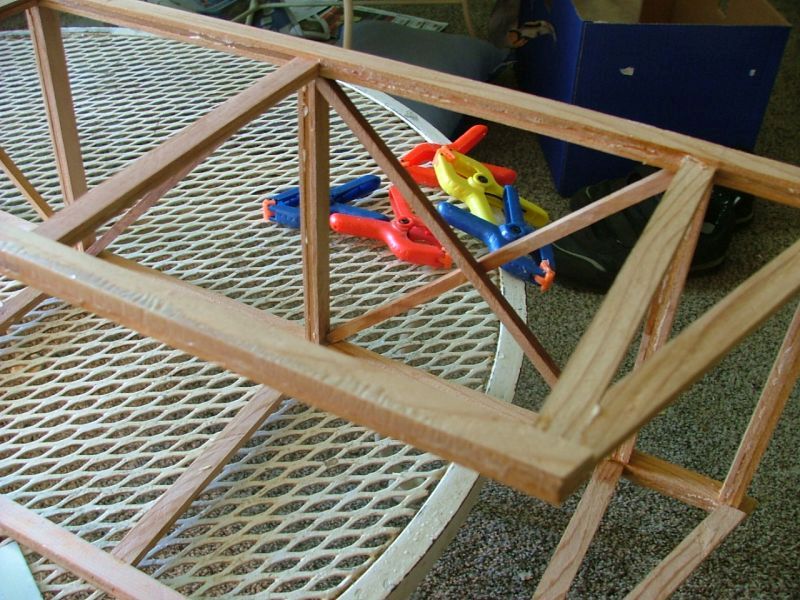
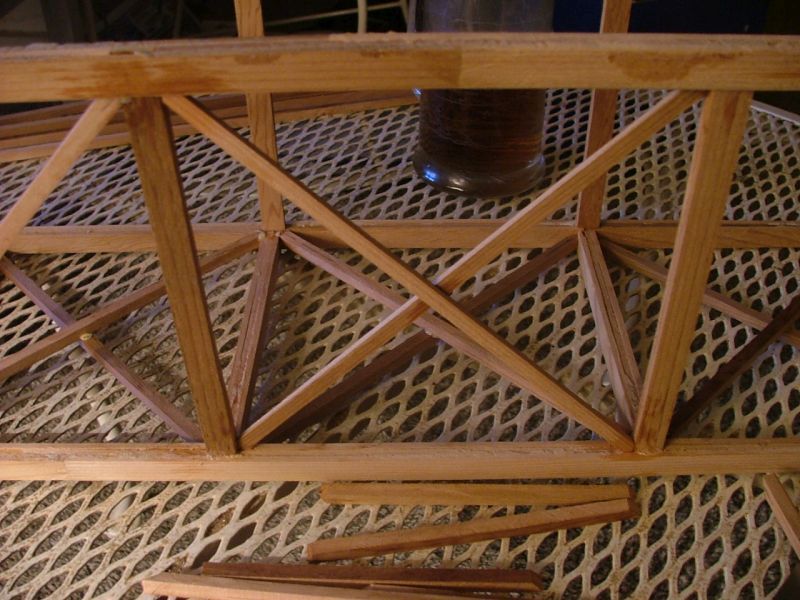
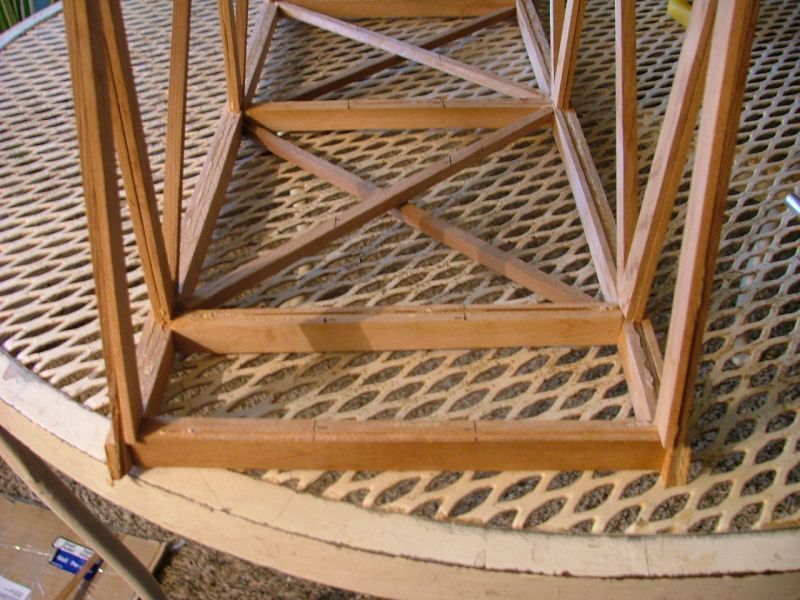
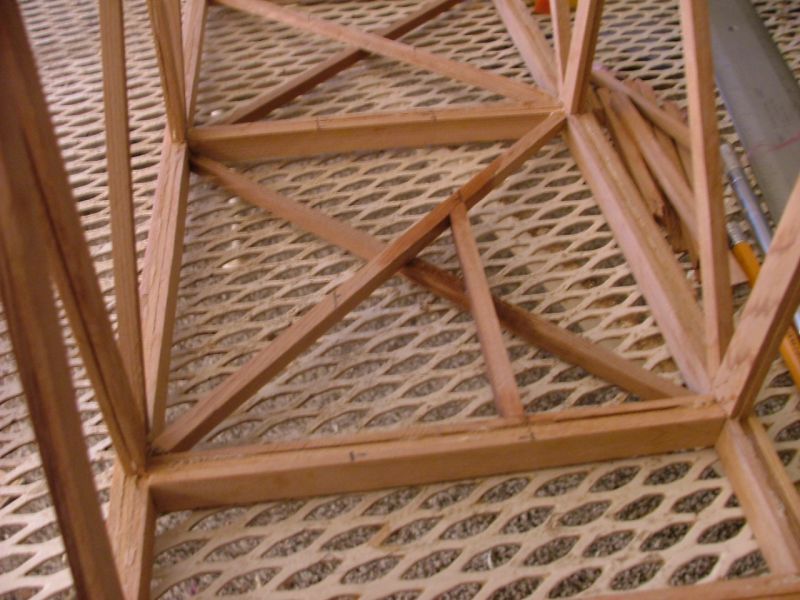
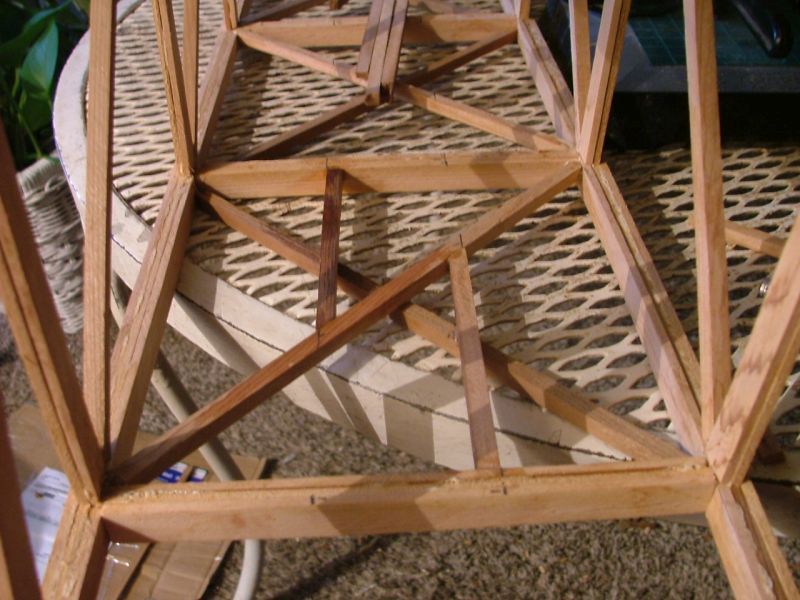
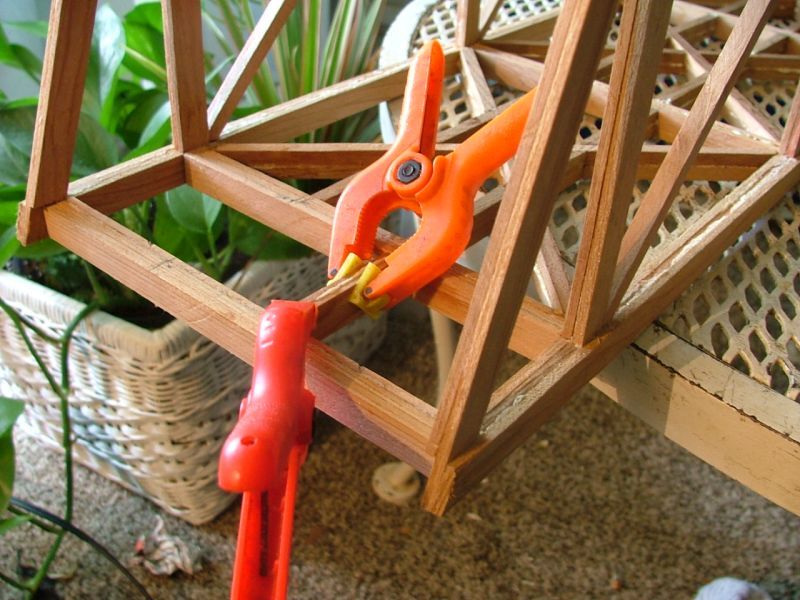
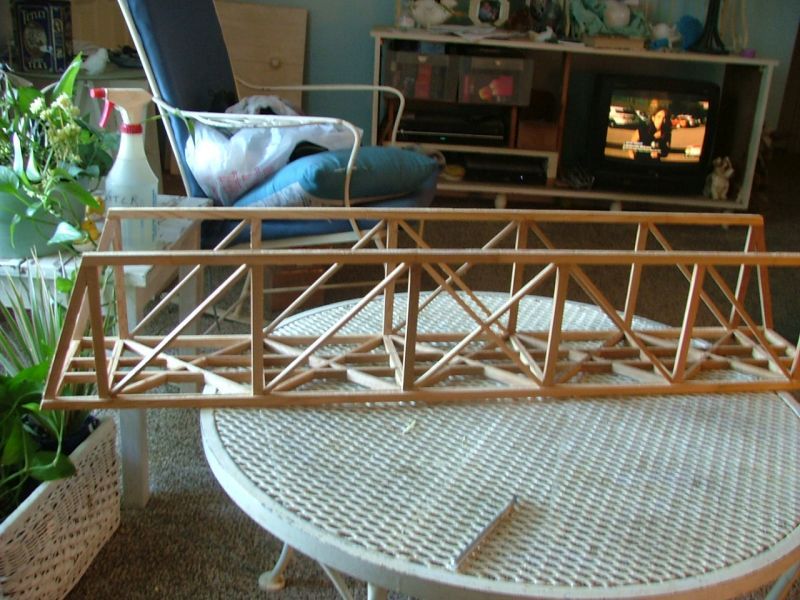
At the ends, I added some diagonal uprights to give the bridge a finished look, and to extend its length to 40 inches, the length I needed. The Upper beams were trimmed to match the angle of these uprights.

