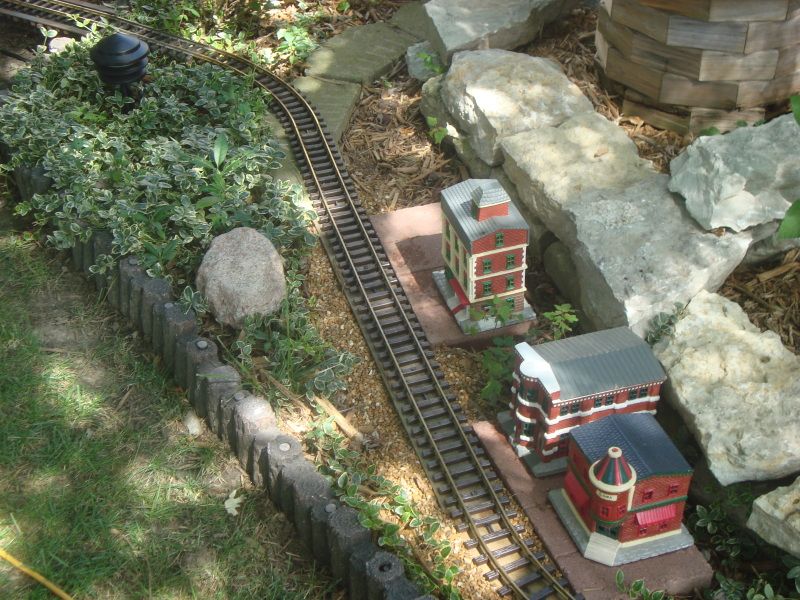
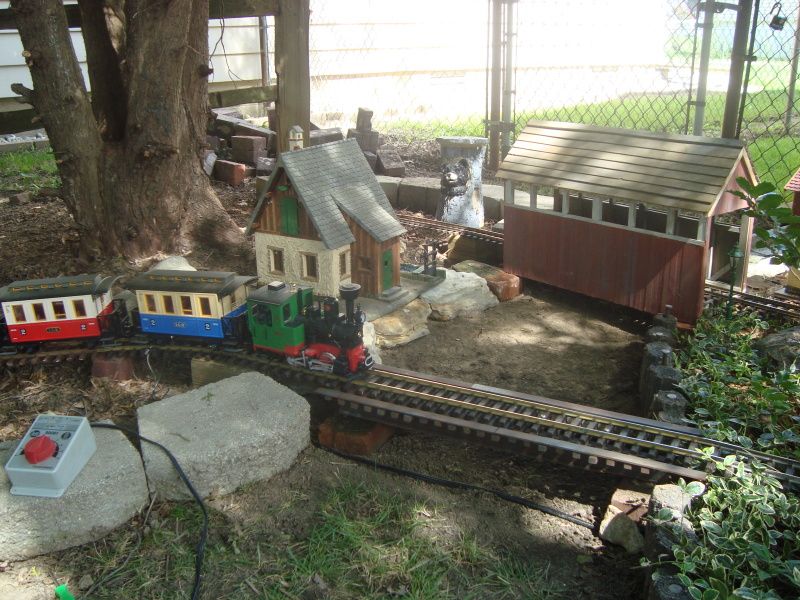
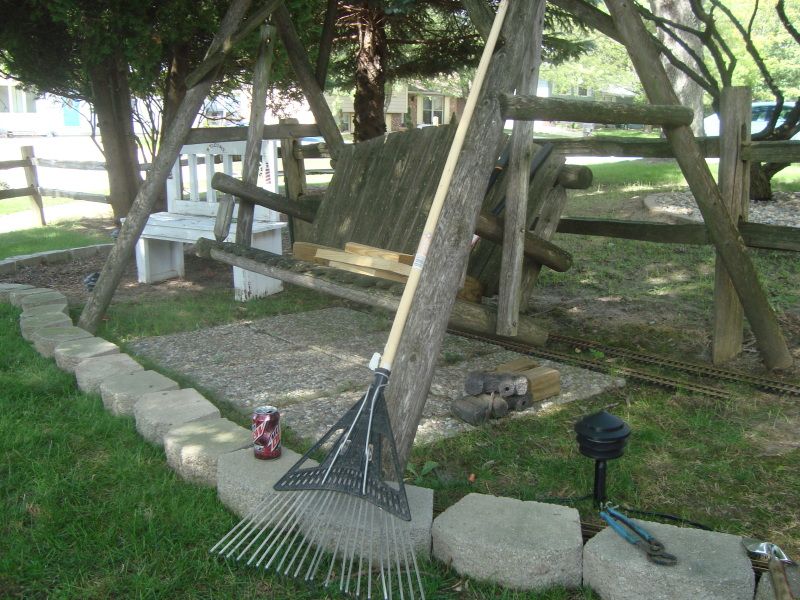
I came up a name using some clues from Paul Holt’s layout over in the UK. He has loads of Stainz locos. I used the same first name, the birth place in Austria of the little Stainz engine, built by Krauss in Linz, Upper Austria, then another name from the same area that began with the letter G, then Bahn. Anyhow, here are the progress pics. The first pic is of the south end of the layout where it loops near our pond, going thru a rock cut in the process. Second pic is the village area, I will replace the O scale ceramic buildings over time with a couple of small G scale ones, probably having to rework the rock retaining wall in the process. Third pic is of the two bridges, one covered in the rear, front one is a deck bridge, both are made from wood and came from a collection that was for sale down at Watts in Zionsville. You can also see the grist mill, the morning passenger train I was using as a test of the trackwork that is in place. On the right side of the picture you can see the switch tower, this controls the junction with the future line that will go thru the fence in the background and head toward our back yard and the town of Gmunden. Last pic is of the west end of the layout and future site of the town of Linz. I plan to add a smalll 1 stall engine house and service facilites along with a house or two down under that evergreen where the track will loop around. Both tracks will pass behind the swing along our split rail fence. All track is LGB other than a few pieces of REA 3 foot straights I got yesterday. Dave said the crossties dont deal with UV’s very well on the older REA straights, but my area is shade all day long, so it should be ok for several years. Once my additional R1 curves arrive early next week, I can complete the loop and work on the embankment going up to the bridges. The little Stainz doesnt like much of a load on the grade, so it will have to be an easy one so she can handle atleast 3 passenger cars. I am also planning a small industry near the pond and have a turnout laid in to serve it. Cheers Mike and Michele T


 Gotta ease the grade going up to the bridge, she doesnt like 3 passenger cars they way I temporarly have it! I am going to use a long piece of treated 1x4 with supports underneith to make the upgrade support, then back fill around it to make it look like an earthen embankment. I am also planning to use small squares of treated 1/4 screwed to the track at the joints and drilled between the ties, then spiked to the ground with a long metal spike to keep the track where I want it, once ballested, you wont see the wood blocks and only the spikes will get frost heaved and need tapped down in the spring when the line reopens. Although we dont get huge amounts of snow here normaly, so it really wont close down much unless its bone chilling cold.