Large Scale Central

Rainy day backdrop project

As a ‘parting gift’ when retiring from the sign shop 2 weeks ago my boss and colleagues cut and printed up a bunch of stuff for my railroad. Among them was a group of photos I sourced on Shorpy, enlarged and priinted on vinyl which they applied to foam core board.

Today, I took over the dining room table to cut them . Don’t worry, there is a self-healing mat underneath! Here are some shots taken halfway through the cut job…

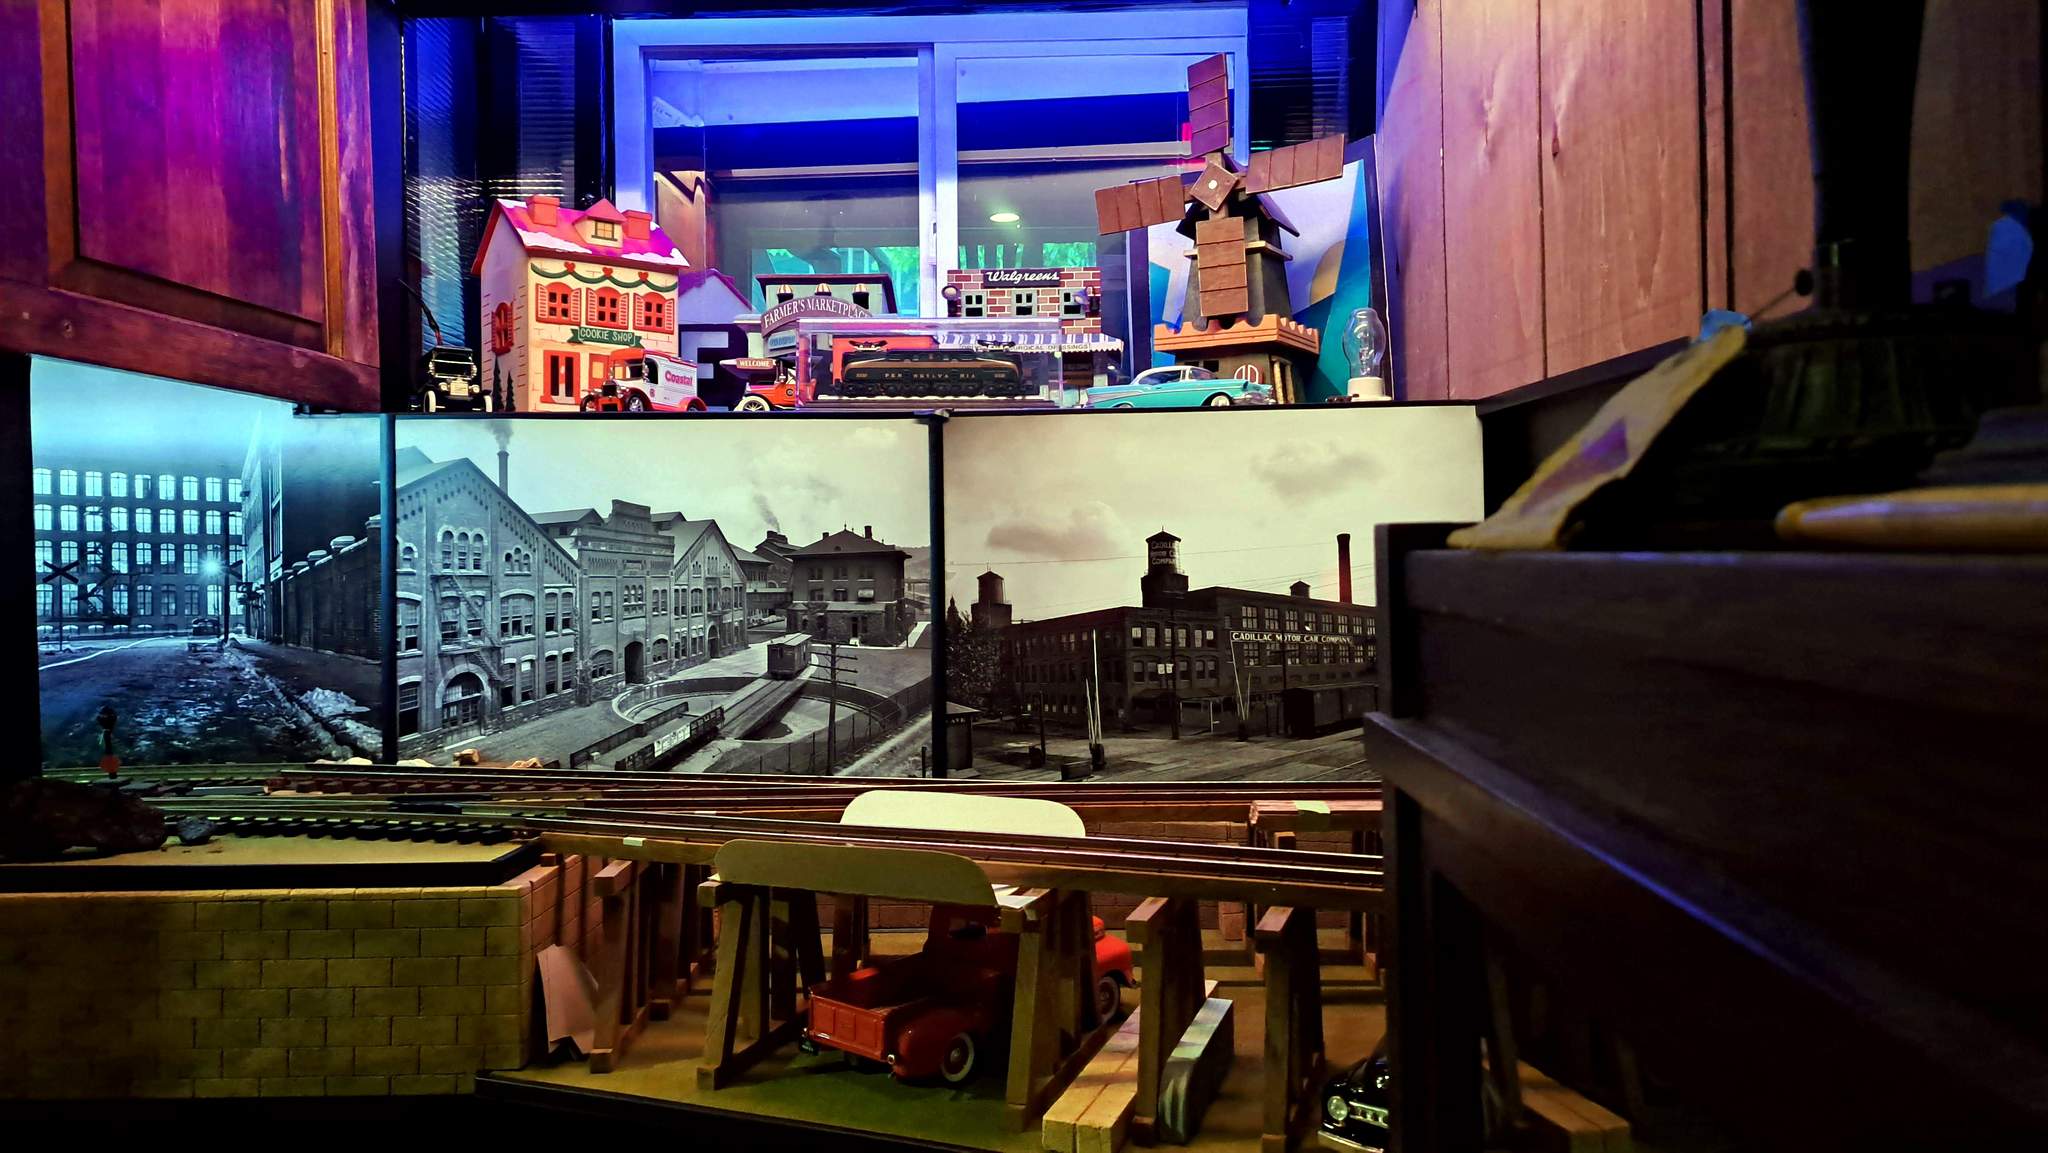
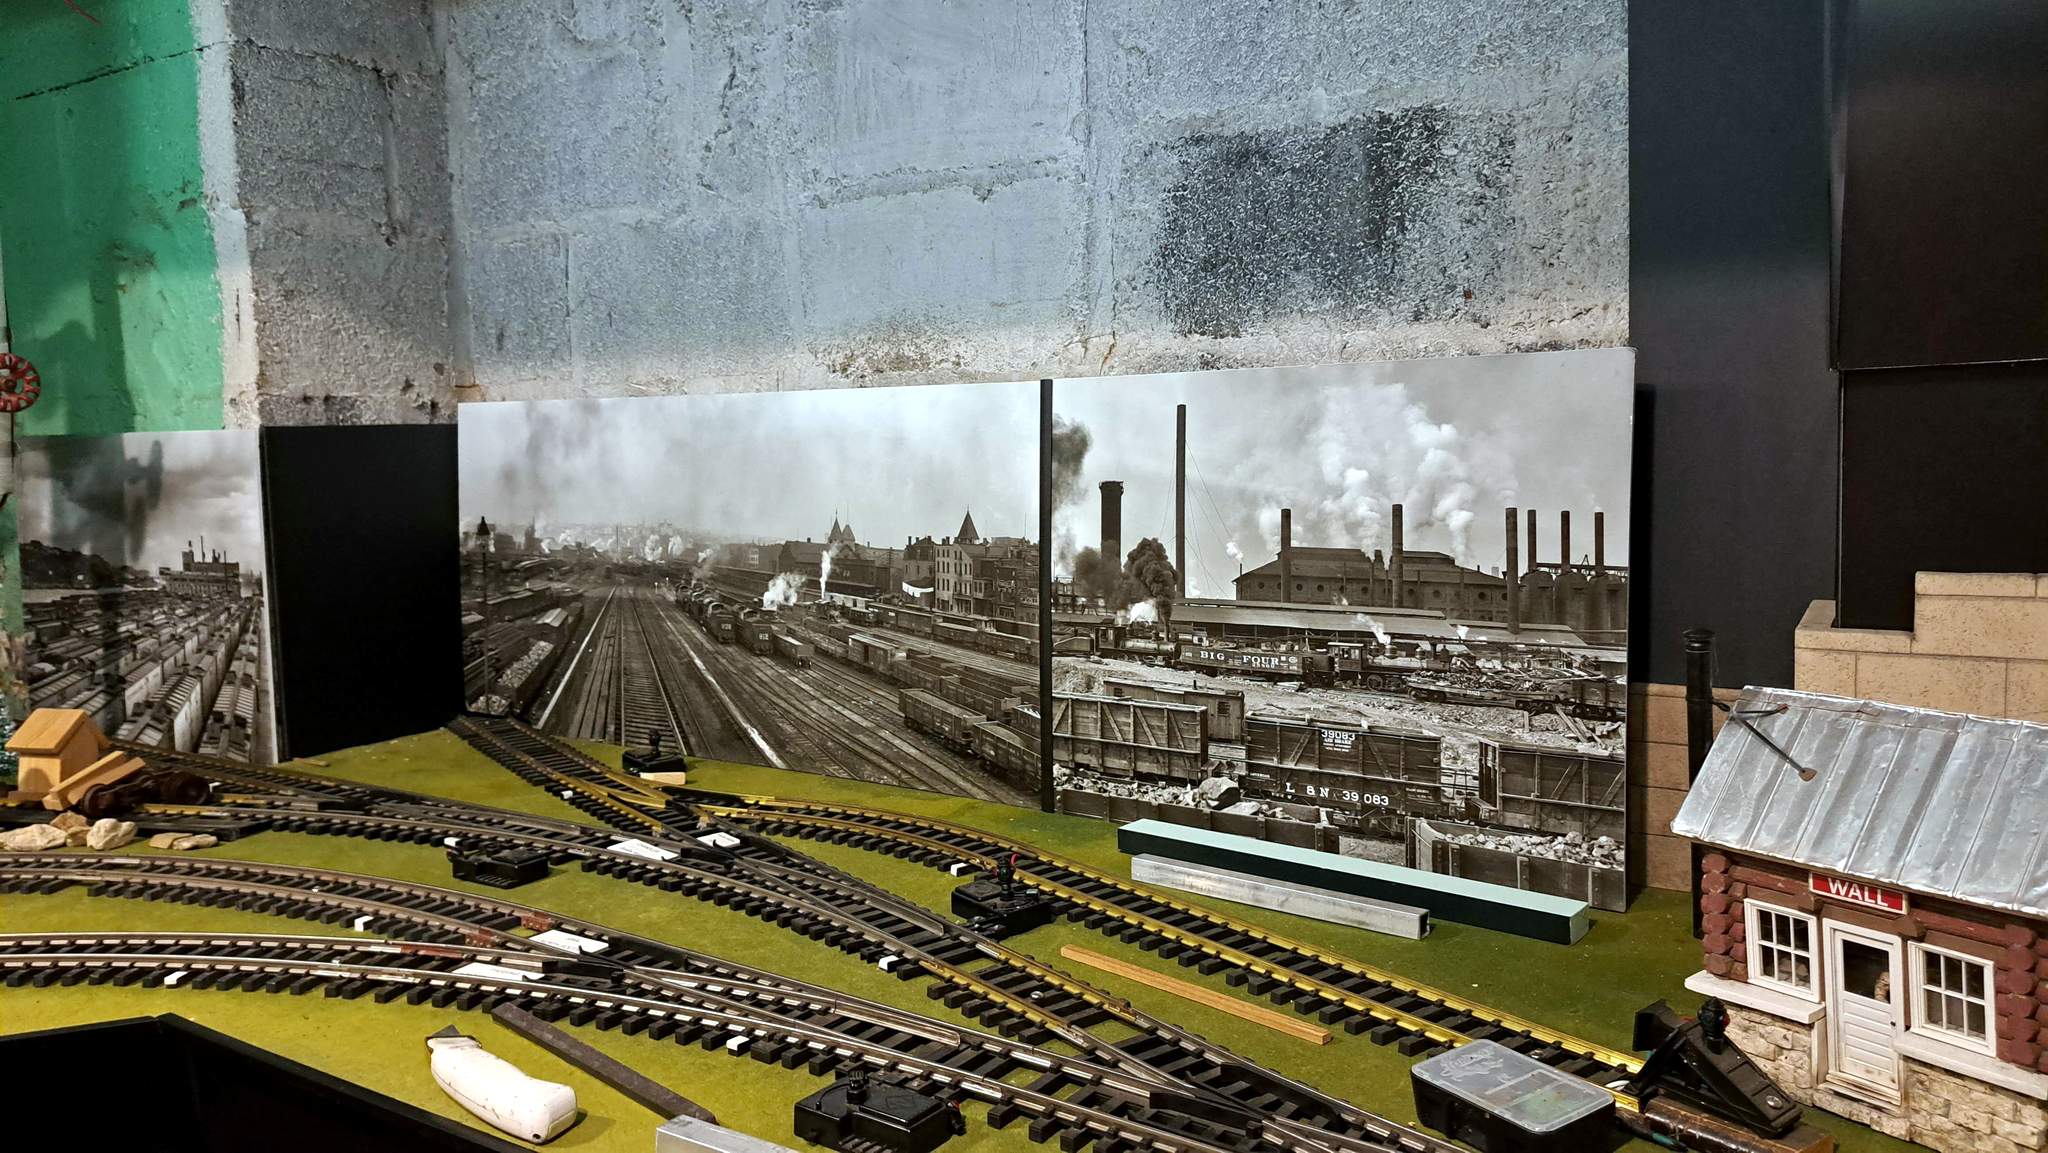
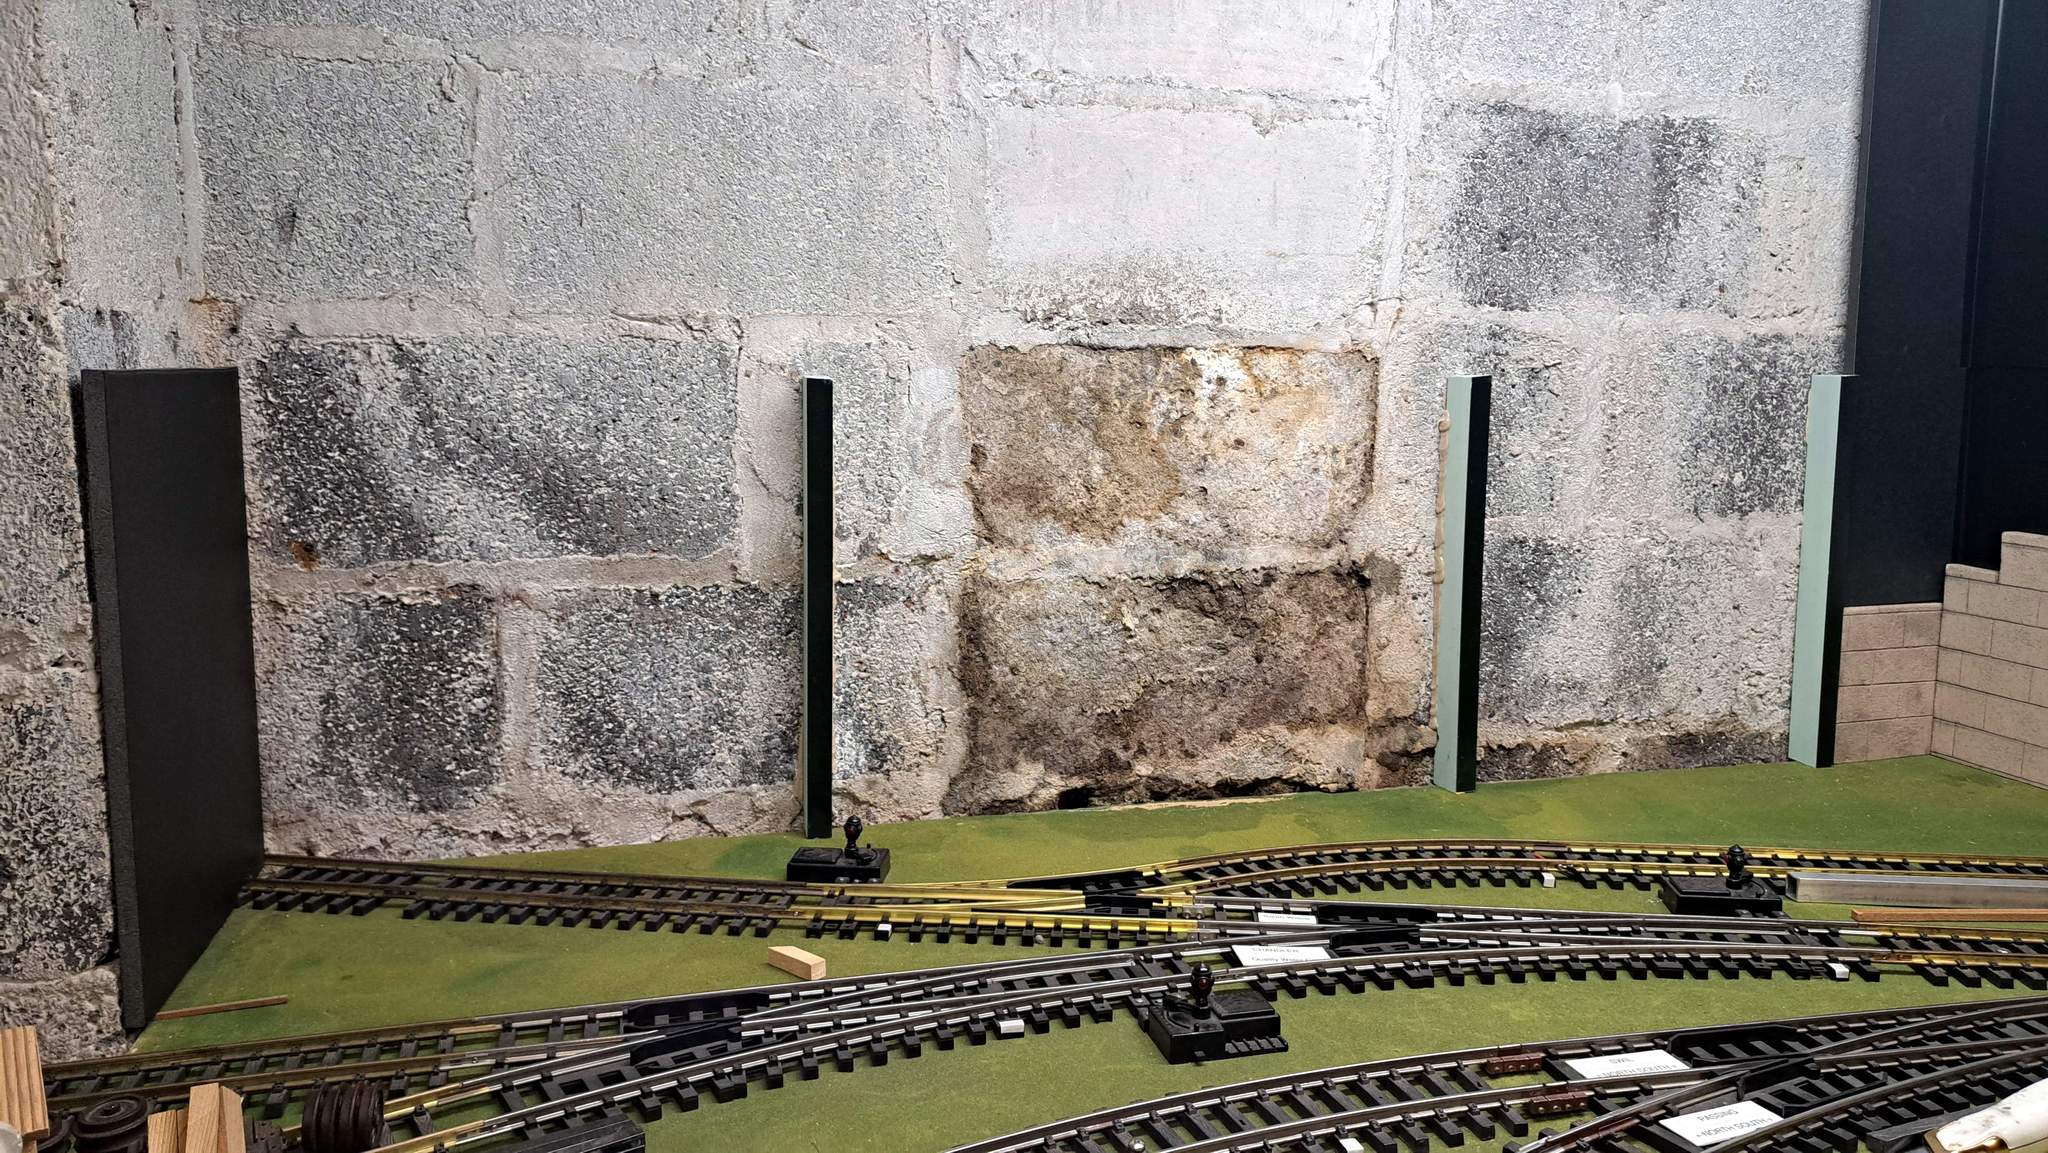
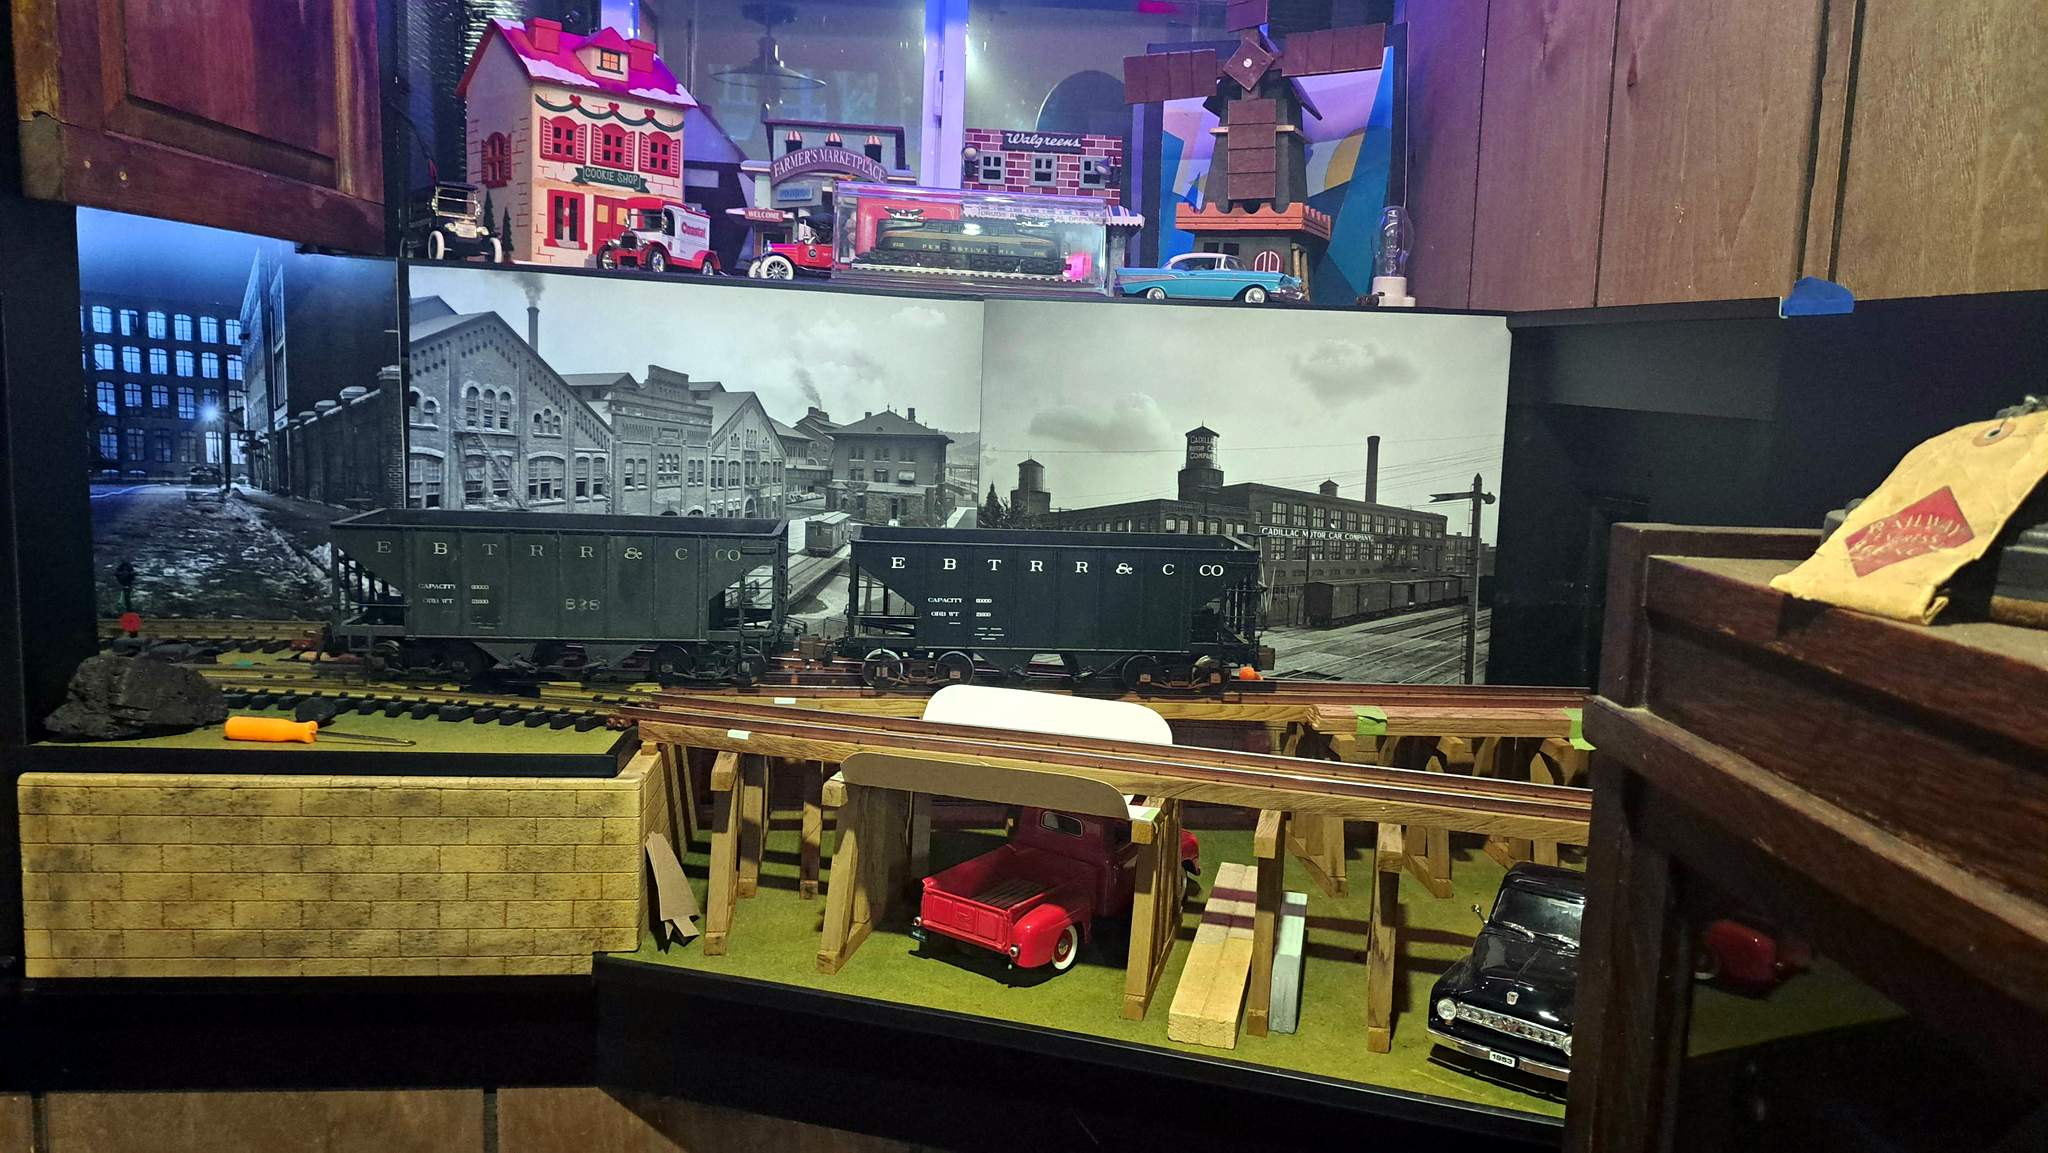
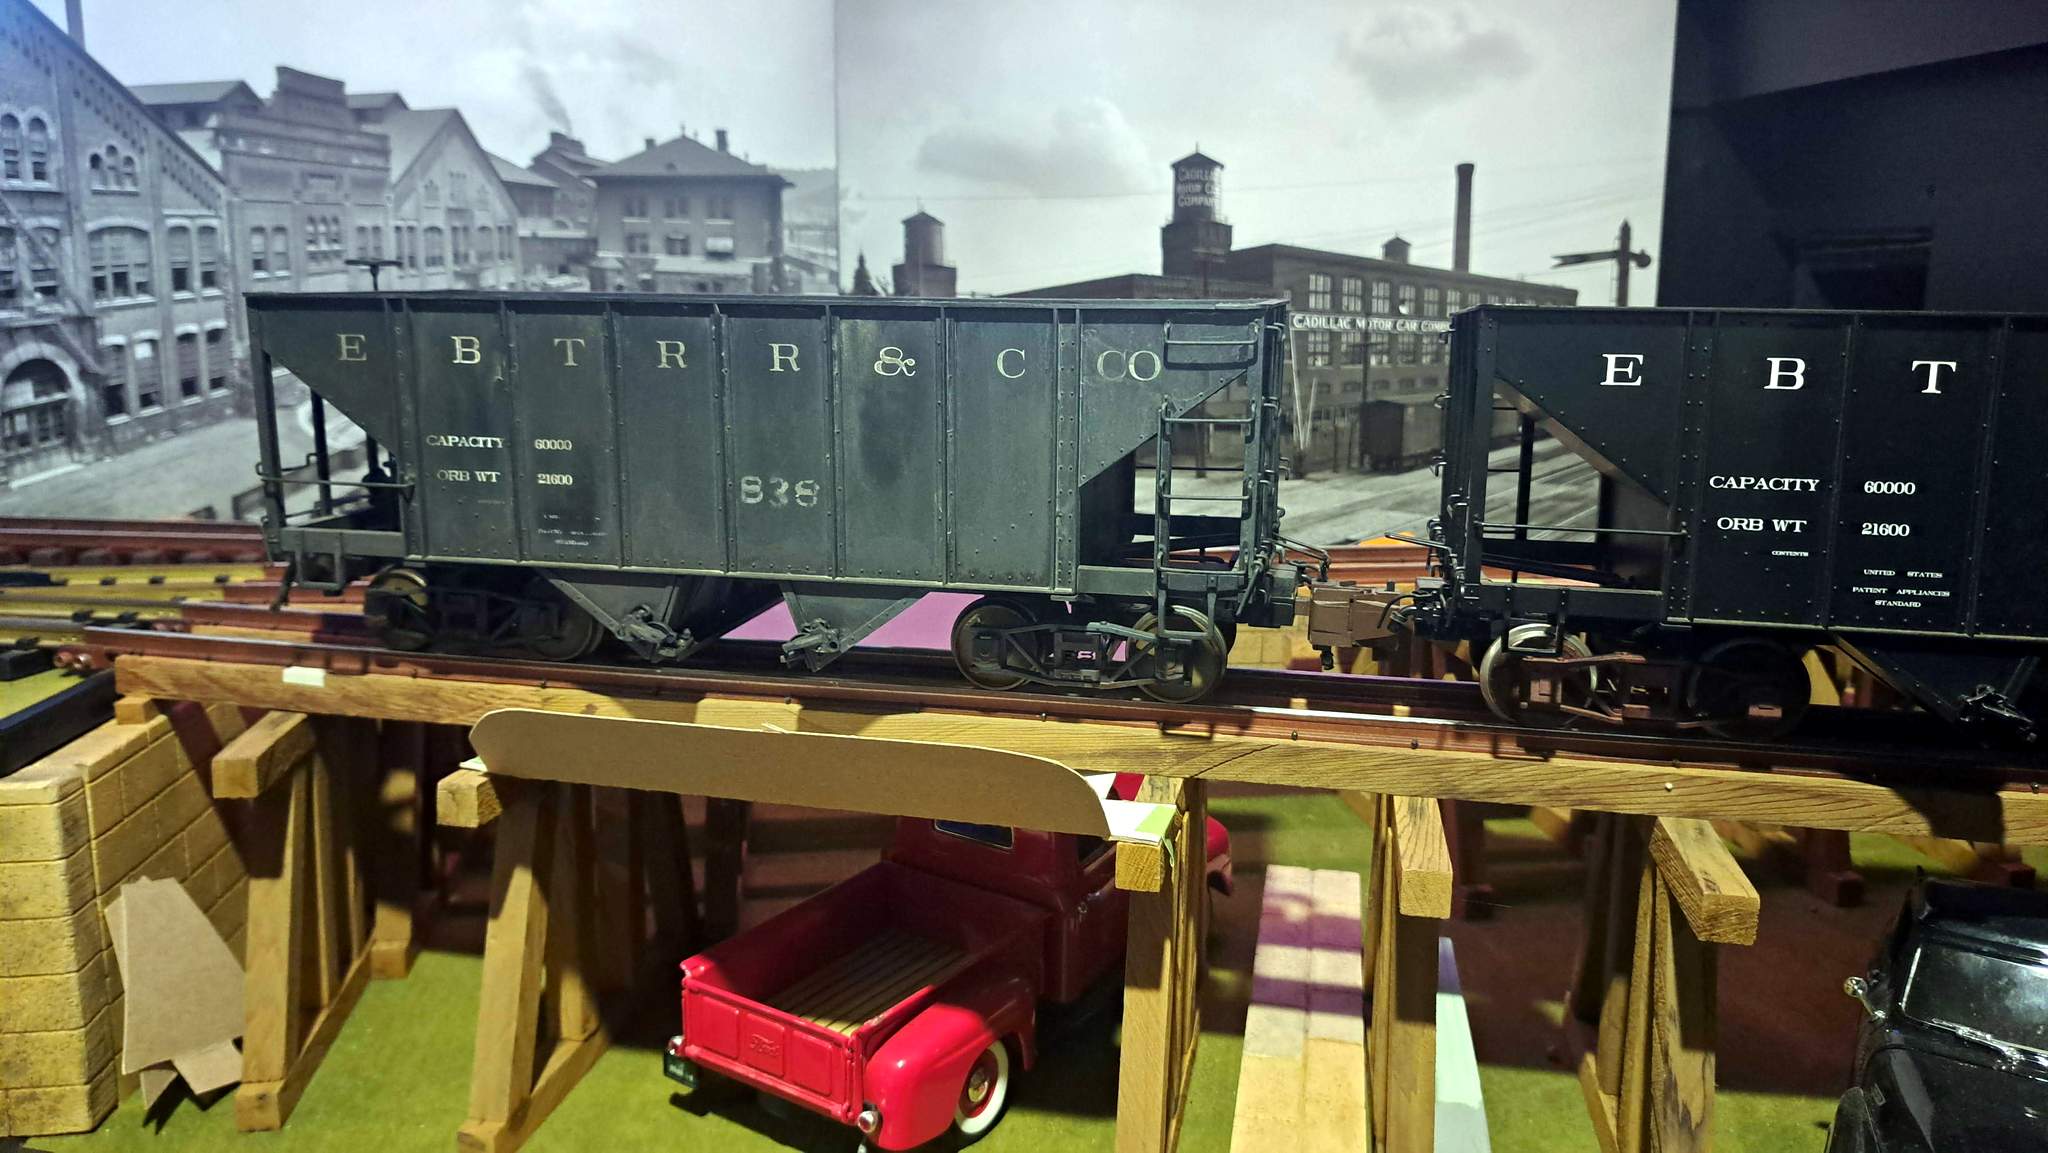
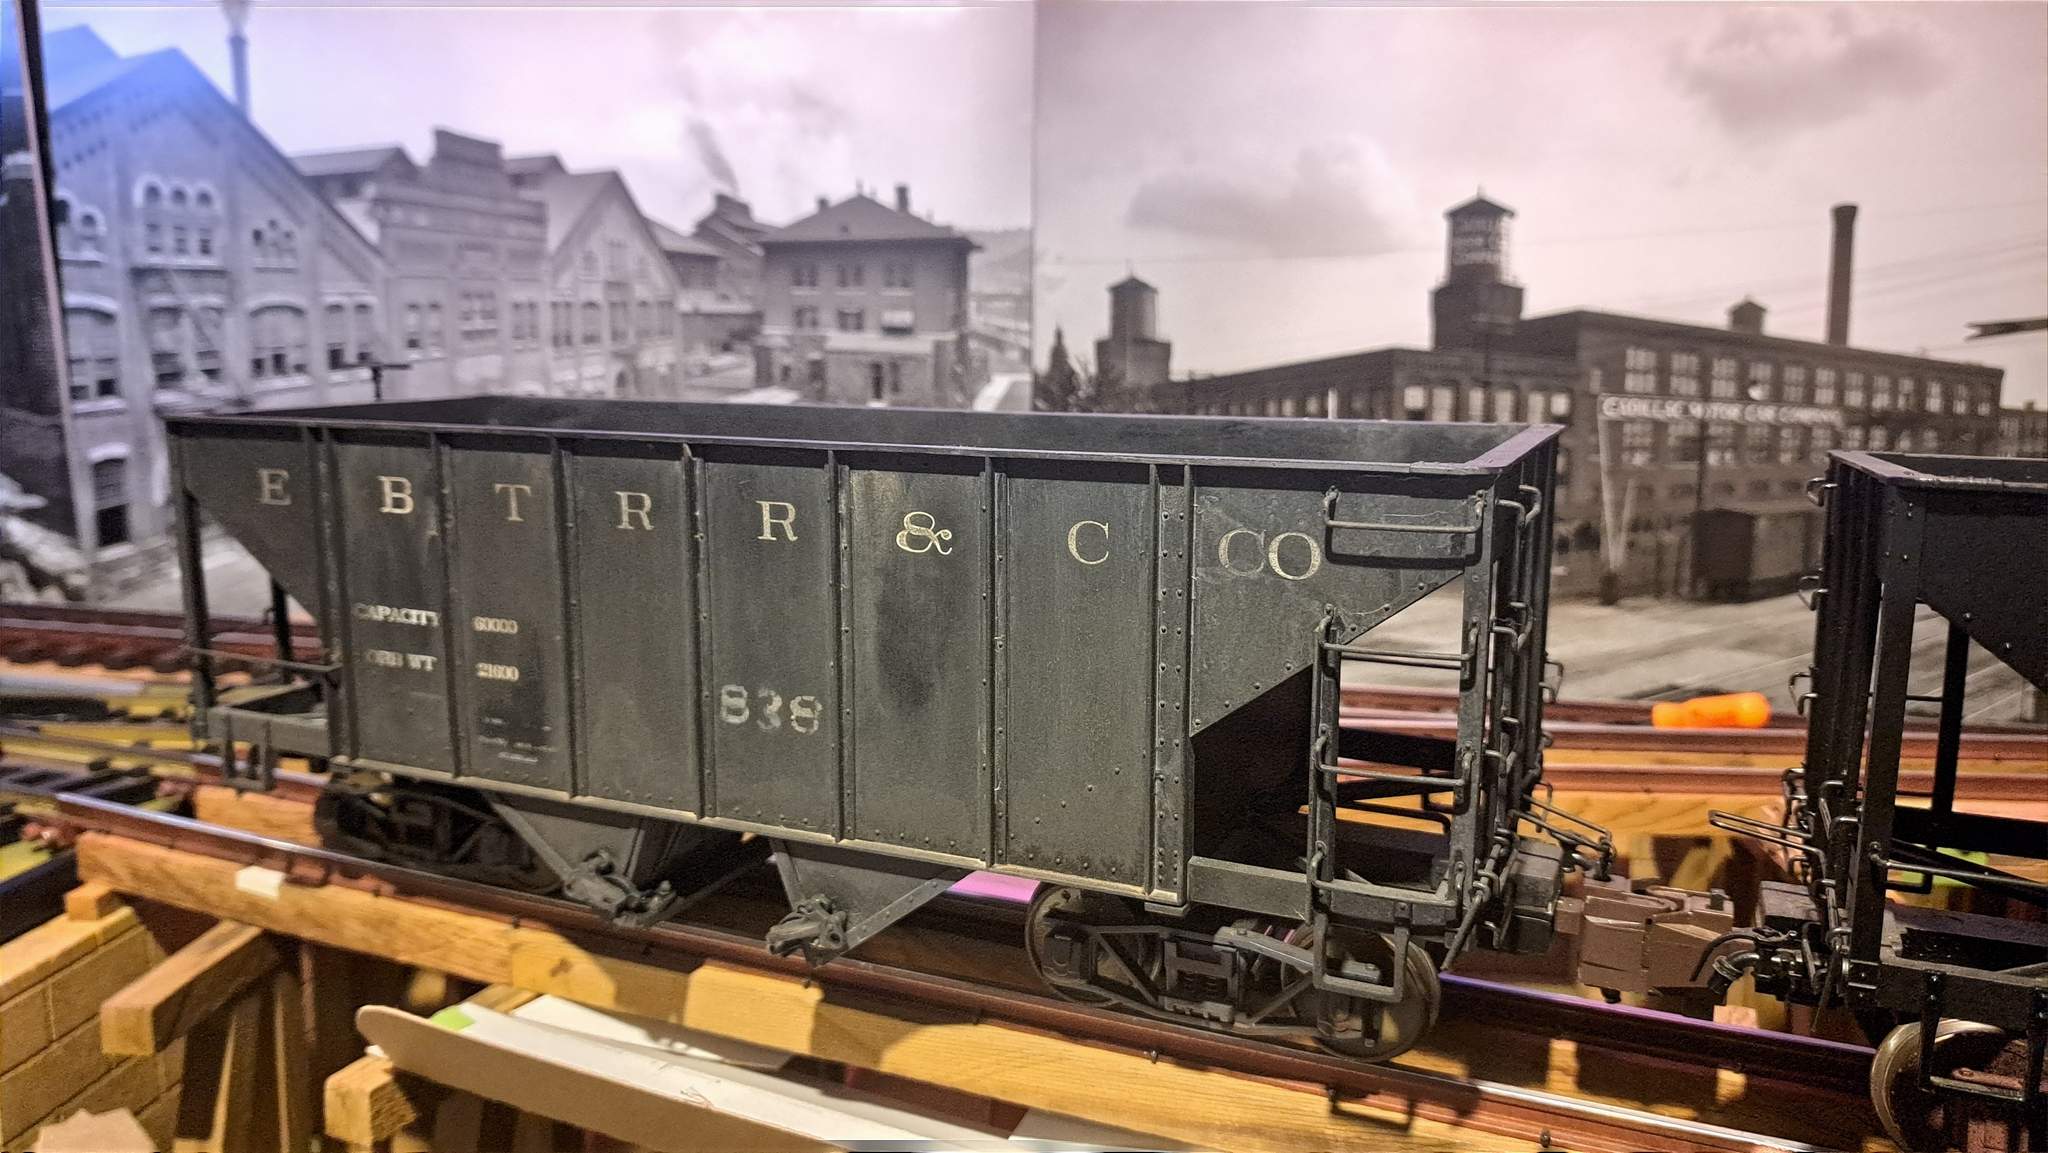
I will be using these as backdrops to hide the green block walls of my basement in areas where I’m not building flats such as South Willow Hill where this proof of concept was done several years ago…

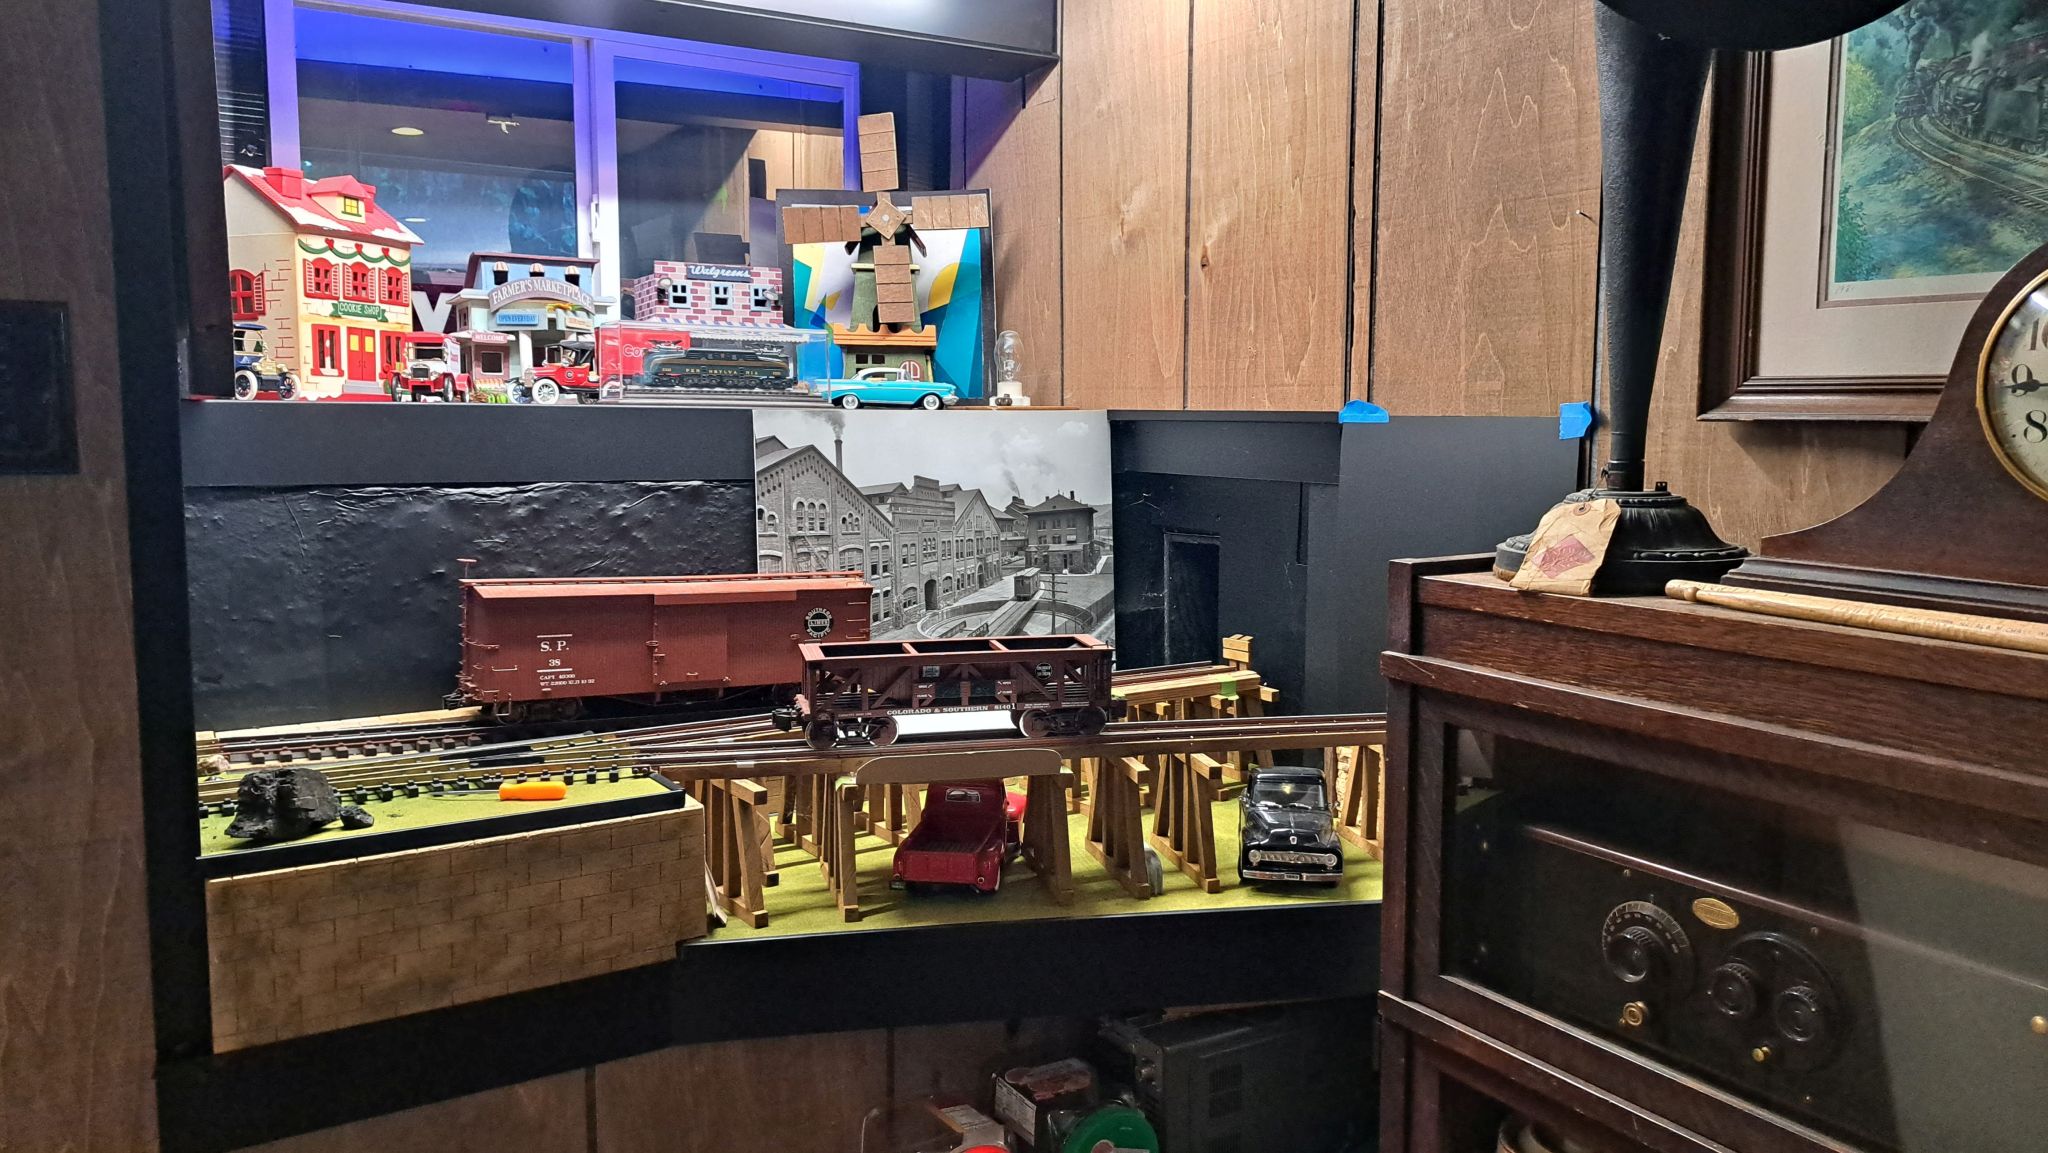
Once I have them placed, I’ll post more pictures.

3 Likes

Those are really going to set that area off Jon. Congratulations on the retirement. :sunglasses:

Congrats on the retirement Jon. Stay busy, don’t just sit down.

Congrats on your retirement Jon.
Your next stage is when you look around and say “How did I get that done when I was working?”

Ain’t that THE TRUTH!!!

I spent the afternoon coming up with a plan for the South wall which is the towns of West Willow Hill and South Willow Hill. I needed to make 6 more inches of my foam big block wall. I screwed up trying to match the color as I couldn’t remember the original method (should have searched LSC). I’m not too concerned as it will be behind foreground objects. I’ve ordered some black plastic H trim to connect the pictures and provide a border. Here are some shots at West Willow Hill. First, a long shot…

Then some close ups…

And one with no room lights, only the layout lighting…

South Willow Hill required a bit more work making a short section of block wall and filling in above it with black Gatorplast. The area of bare block above will get black Gatorplast as well as soon as I figure out a temporary attachment method…

And a close in shot…

I’m not sure when I’ll get back to this as I want to finish bringing my RV back on-line so we can get in some early season camping.

1 Like

Thanks all. It’s not a huge change, especially recently. I took a month of Paid Family Leave to take care of Marilyn while she recovered from shoulder replacement. (She’s doing great, thanks for asking :slight_smile: ) Then I barely worked for the final two weeks as there wasn’t much to do. For at least a year prior, maybe even since COVID, I’ve been partially retired, working 20 hours or less a week.

My brother (who will be 80 in September) said the same thing about time. So far I agree!

congrats(?) to less money, less usable time and more “Darling do”.

have you ever thought about using blobs of chewing-gum? that sticks to everything.

I don’t know if you can tell from the picture, but this wall often gets damp. Construction adhesive won’t stick to it. I think I have some small aluminum angle and some Tapcon concrete screws that will work. Will dig tomorrow.

congrats on your retirement, maybe you can stop by one afternoon to run trains

oh, oh.
covering a damp wall - doesn’t that create a fungus farm?

1 Like

Congratulations on retirement. I think I would try caulk as an adhesive first before going the aluminum angle and tapcon route.

It’s only damp occasionally - when we get heavy rains. I had a sheet of Gatorplast there previously for several years. When I took it down yesterday it was dirty on the back, but no mold or fungus.

That might work, but I want it to be easily removable. My idea is to rest the bottom of the black sheet on the angle and lean it back against the block. I have used FuzeIt in other areas with good result.

Congratulations on retirement. Enjoy it. :grin:

Jon, echoing all the congrats! And I hope Marilyn regains 100% functionality soon, and doesn’t have too much pain till then!

Super cool project. I jealous of your indoor layout portion! And you sure do so much with it, an inspiration for me.

Question… with full retirement, will you still have a channel for all that nice signage scrap? Just curious… :grin:

Hope to see ya at Bobs!

Thanks Cliff. This is Marilyn’s second replacement, right a few years ago and left a few months ago. She is doing really well. Hasn’t needed any pain killers for 3 weeks and is graduating to using the muscles at PT tomorrow. She had the “reverse” method on both. Reverse swaps the ball and cup around, putting the ball on the arm. This is to compensate for unrepairable rotator cuff damage. Once fully recovered, she will have almost full normal motion.

Re sign scrap. That ship has sailed, but I still have some stuff in the garage - mostly smaller pieces of various materials. I need to clean that out as we hope to sell and move within 2 years. So put together a shopping list for delivery to TrainOps.

Jon, glad to hear of the great progress. I kinda have to cringe a little though, after having rotator cuff / etc. surgery on both shoulders last year… Marilyn’s surgeries sound WAAAAY more involved than my paltry procedures, which were hard enough for me, so WOW, good on her, she must be really tough, or I’m just a wuss, not sure. :stuck_out_tongue_winking_eye:

Acrylic, 1/4" and thinner? And any hard foam outdoor rated signage board? :grin: :crazy_face: :smiley:

She had the rotator cuff surgery on her right a few years before the replacement. It didn’t really fix it, thus the replacement and why on the left they went directly to replacement. I wanted new knees from the same doctor, but he said they weren’t bad enough yet. So far the shots he gave me have them working pretty good.

I have some acrylic. The foam board I have I’m kind or hording for my own projects, but I can spare a little. Will small (8"x10"ish) pieces help you?

Jon, I have plenty, thanks. I just didn’t want you to suffer from landfill guilt if you had excessive amounts. Thanks though. Let me know if you need anything back that you gave me, haha!

Well, it’s raining again so back into the basement I go. The black H trim came in so I finished up West Willow Hill…

The photos are basically just leaning against the wall. A couple of small squares of vinyl keep them from tipping forward. Now I just need to finish the two flats on the right where the black is.

Over in South Willow Hill there is a lot more work to do. This is the rough mock up without the upper wall covering…

The pictures will still just be leaning against supports, but some components will be glued on with Fuze-it like this black piece. The 18V caulk gun saves my arthritic hands…

Next I glued some foam strips to the wall. They will keep the foam core board away from the damp block and also support a big black piece to cover most of the block…

I need to clean off the table saw to cut black pieces so this is it until the next rain delay on outdoor projects.