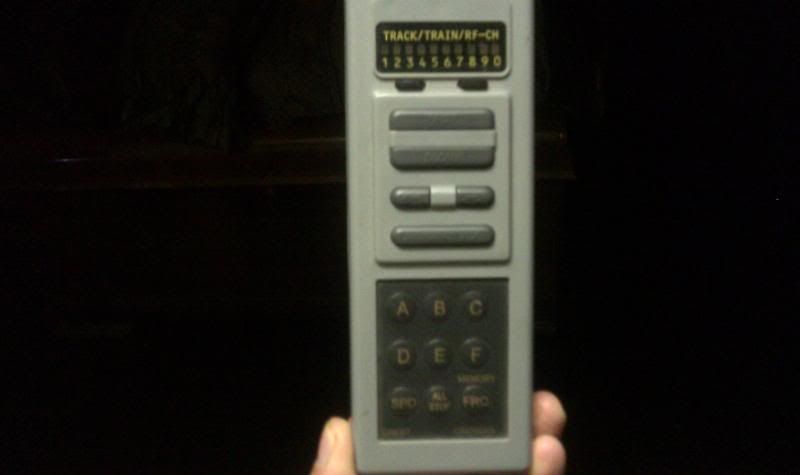
Everyone, It’s been a while since I had the time to do any serious modeling projects and seeing as I just received a Piko 0-6-0T Steam Locomotive, I now have a dedicated switcher. At first I thought I’m gonna have to insulate some tracks to run it around the yard, but I remembered I recently purchased an Aristocraft 75Mhz onboard TE with its own 10 channel transmitter and thought this allows me to run or let someone else run the yard while the main is running (even more fun right?) or run trains out from the yard out to the middle siding to drop and drag cars to and from the yard. Anyway the little switcher started its life out as U.P. 2904
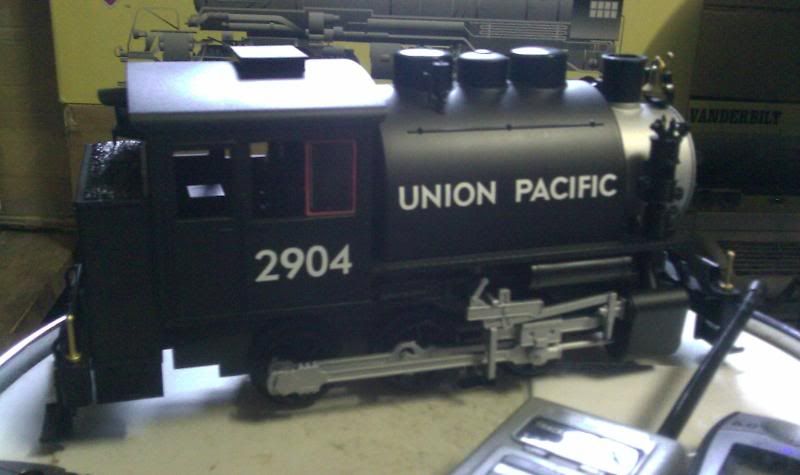
And we will be installing the 75Mhz 10 Channel Aristocraft onboard TE system
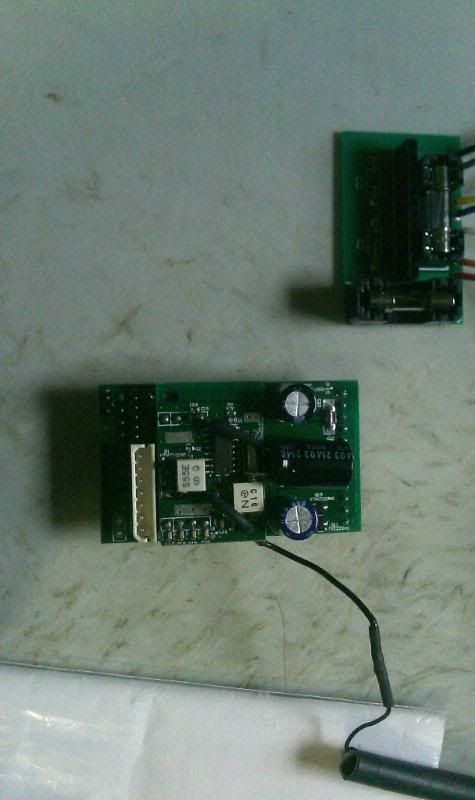
…
To Disassemble the locomotive you must first remove the front and rear pilots as this allows access to the one screw that holds the front of the boiler off of the frame, and the rear pilot removal allows for the cab and coal bunker to slide off of the firebox. Next the steps going into the cab are each held on by one screw each, this allows for access to the two rear screws that hold the cab and coal bunker on, then remove the two front screws this allows the cab to be removed off of the firebox, (be careful of the two seats in the cab as they are mounted on posts on the floor and can be easily snapped off, I have the fireman’s seat setting up now) after the Cab is off there are two screws in front of the firebox that hold the rear of the boiler to the frame floor and then you remove this little cover in front of the drivers by removing two screws this allows access to the one screw that hold the front of the boiler to the frame. Once those three screws are out you can lift the boiler from the frame. Once the Cab and Boiler is off you can see the wiring and lead weight used in the boiler.
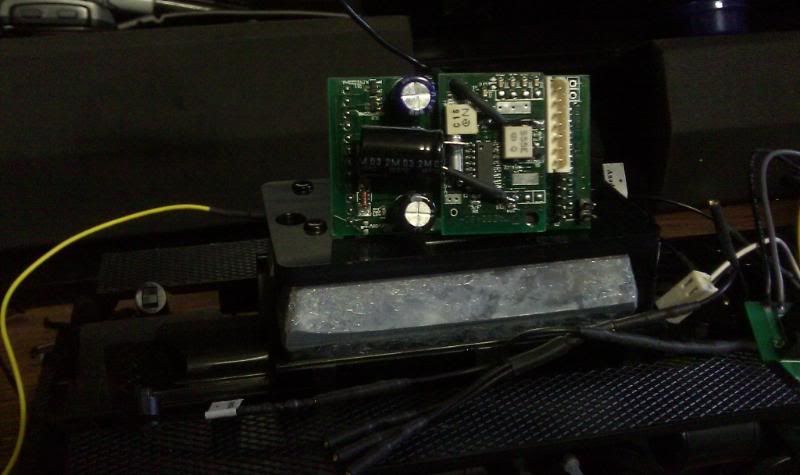
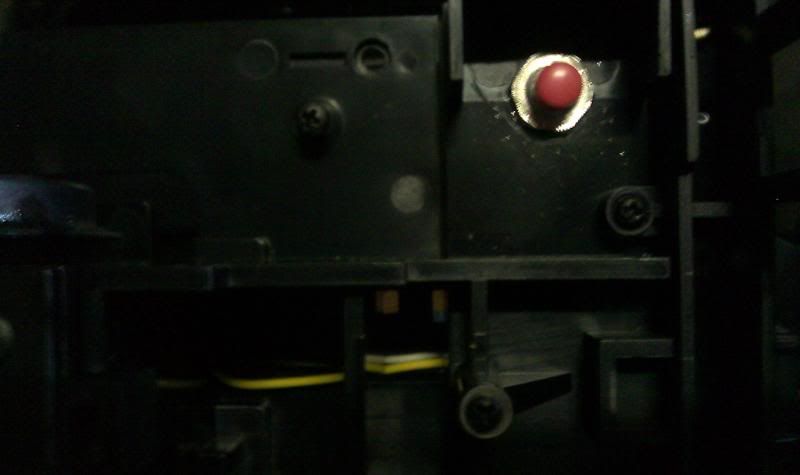
Next I drilled a hole in the floor in the cab for the link button to mount, good thing is there are little “tool boxes” mounted under the cab and I tucked away the button there
Next Up Wiring the TE…