Large Scale Central

Phils NG Boxcar Build

As I was cleaning my garage today I came across a Phil’s kit that I had apparently forgot about! So with an afternoon to spare, I built away. Here is the car as it sits. i still need to complete the coupler assemblies. I have to order some couplers… And I will get a coat of primer on it, followed by the final color which I still have not decided on yet.

A look at the B-end of the car

A look at the “very busy” A-end of the car

Thanks for looking. Matt

Very Nice!. Good job Matt!

Phil’s kits build up really nice - I have the same Kitchen Car. Have you ever tried dry brushing a wood kit car before. It’s not hard - take a regular bottle of Floquil paint and dilute it a small amount with laquer thinner to the point it flows into the grain of the wood with a flat tip paint brush. Suggest experimenting on a scrap piece of kit wood to get the feel of it. I used Floquil Primer Gray of my Kitchen Car.

For metal parts try this - purchase a bottle of gun bluing (I use Birchwood Carey, Perma Blue, Liquid Gun Blue). Before the parts are attached - pour an amount of bluing in a container and take all of the brass and white metal parts and let them soak for a half hour or so. Remove, let dry and brush with an old tooth brush. The result is a charcoal grey/dull black appearance.

Side Note - For Phil’s kits, I don’t use the aluminum truss rods provided. Replace them with 0.050" brass rod - they are much more stout and will not bend when handling the car.

You have some excellent modeling skills - keep up the great ‘work’!!!

Really nice. I love Phil’s kits, and I have a bunch of his grabs and nbw thingies that I got several years ago. Good stuff. One thing I do on the grabs, since I see yours do it too, is to bend them DOWN after installing them. Gives them a “been stepped on one too many times” look. You can see it on the grab on the left of my Hanrahan car

I really enjoy PNG kits, as well. (I think I’ve done 12 or so in the last two years.)
I really want to do more, but I’ve got to get some more buildings on the RR built.
It’s not that I collect them, it is the building of them I enjoy.
Either kit-bashed or straight out of the box.

A nice addition to your collection.

Good Job Matt!

Paul

Hey guys thanks for all the kind words. I am going to have to try the dry brushing method. Also, I have some gun bluing at home I wonder if brushing it on would work as well with a few coats. I like the idea with the steps, anything little detail to make it more “prototypical” helps. I will start working on the paint, I will definitely have to use a guinea pig car for it. Is it neccessary to wipe the brush in etween applications?

Glad to be of assistance Matt.

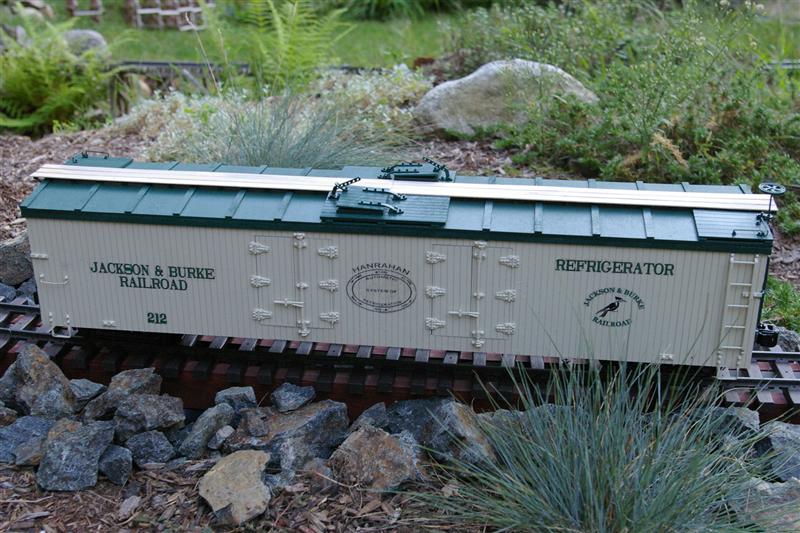
RE dry brushing - I like to use ~1/2" wide flat tip brush when applying paint to the large surfaces (i.e. car body sides, ends and roof). As a reminder - the roof walk and roof walk saddles were never painted (for safety reasons).

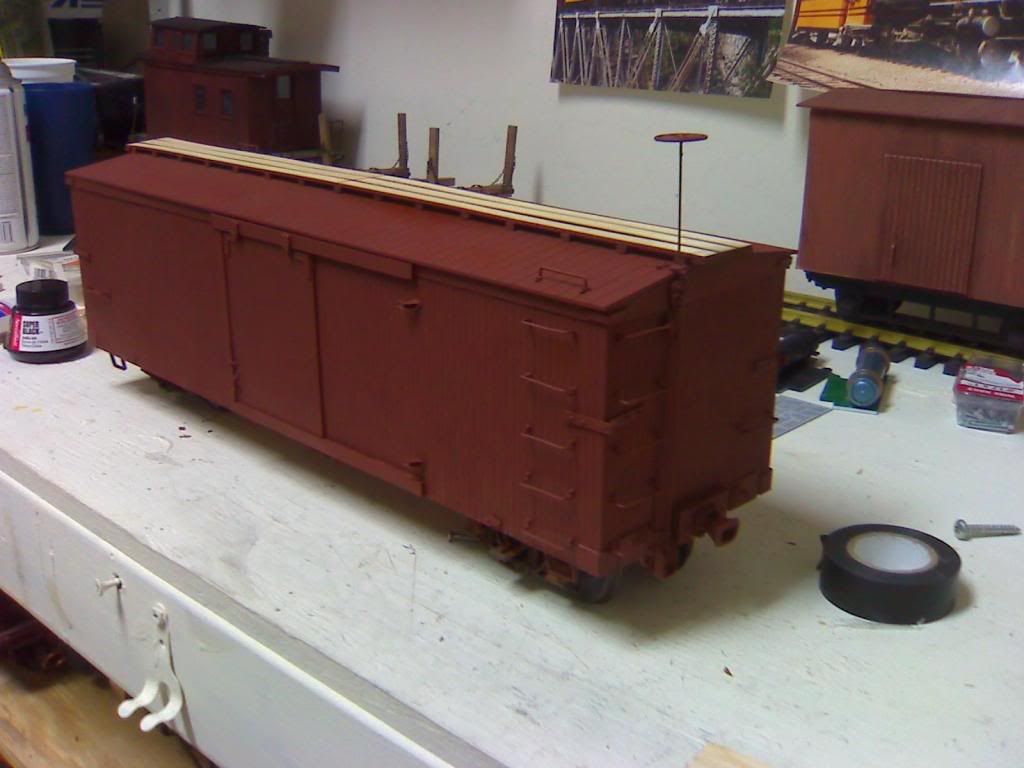
For unpainted areas such as the car underframe, roof walk and saddles, I prefer to use a diluted solution of black India ink and denatured alcohol (90%). This gives a nice ‘weathered’ wood appearance. Some folks like to use liquid black shoe polish and alcohol, but my experience is that it left the wood shiny.

RE applying bluing - be careful applying bluing to in place parts. If the bluing gets on the surrounding wood, it is not going to obsorb paint as well. I have never tried painting the car and then bluing the parts - it might work.

It is very refreshing to see a young adult showing interest in model railroading, much less garden railroading. I for one, will support you 100% all of the time. YOU are the future of garden railroading!

Jerry

Jerry, it is funny you mentioned the roof walks etc with the india ink mix because that is what I have used in the past.

(http://i1016.photobucket.com/albums/af285/GFDMZ/F%20SCALE/Almostdone.jpg)

It’s funny you mentioned me being young because there really are not that many people in their 20’s into railroading, period. It is nice to come onto a forum like this to keep the ball rolling and get the needed input for projects. And I have always been into railroading, of course catching the bug as a kid, then later working on a familiar 45 mile steam railroad in southern colorado for a spell and running 15 inch steam here in town for nearly a decade now. It’s a good way to step back from any kinds of stress and just have fun and relax. Thank you for the compliments, once again! Matt

In your 20’s? That is young. In my club I’m the young guy at 38.
That’s a nice looking build you did. I haven’t had the pleasure to build one yet but it’s on my list.

Terry

Hey Terry, sure am. I have always been the young guy, and still am around here. I have been running steam locomotives before I was driving on the road. Kind of crazy. Soon enough I will have been operating steam for more than half of my life.

By the looks of things from your previous posts of mixing work with trains, I believe we are in the same profession…

And thanks, it was a fun build. I need to get back to painting it. I just got 4 cars worth of decals from Stan to finish my MOW train.

I also need to finish the layout too lol. Ah the things that get put aside when priorities kick in…

Matt

I was told Phil will only do the kits for a few years more, then that is it.

Bob McCown said:
Really nice. I love Phil’s kits, and I have a bunch of his grabs and nbw thingies that I got several years ago. Good stuff. One thing I do on the grabs, since I see yours do it too, is to bend them DOWN after installing them. Gives them a “been stepped on one too many times” look. You can see it on the grab on the left of my Hanrahan car

(http://freightsheds.largescalecentral.com/users/bob_mccown/rollingstock/outside4.jpg)

(http://i45.photobucket.com/albums/f72/Shortybear/ECLSTS/march2010027.jpg)

Alright, the car is now done. Here are some shots of what is made up of my MOW train right now. Thank you Stan for the wonderful decals. They worked out very well. Did a quick weathering job and called it good. Sorry for the grainyness of the pictures…I will get some good shots out on the layout soon

(http://i280.photobucket.com/albums/kk184/GFDMatt/photo1_zps6b33a14b.jpg)

(http://i280.photobucket.com/albums/kk184/GFDMatt/photo2_zpsfdca4b4d.jpg)

(http://i280.photobucket.com/albums/kk184/GFDMatt/photo3_zps30d2d5b9.jpg)

(http://i280.photobucket.com/albums/kk184/GFDMatt/photo4_zps68a98301.jpg)

Thanks for looking! Matt

You are on your way to a nice MOW string.
AAAA+++

Looks good Matt

The finished MOW cars look real nice Matt. I give it a 2 thumbs up!! !!

(Got to see these cars live last weekend. We rode the Cumbres & Toltec Scenic RR from Chama to Osier and return. The aspens were 60% turned in the high country and the trip was really GREAT. Perfect fall weather…)

Next on my list of Phil’s cars to build are two 27’ boxcars.

Jerry