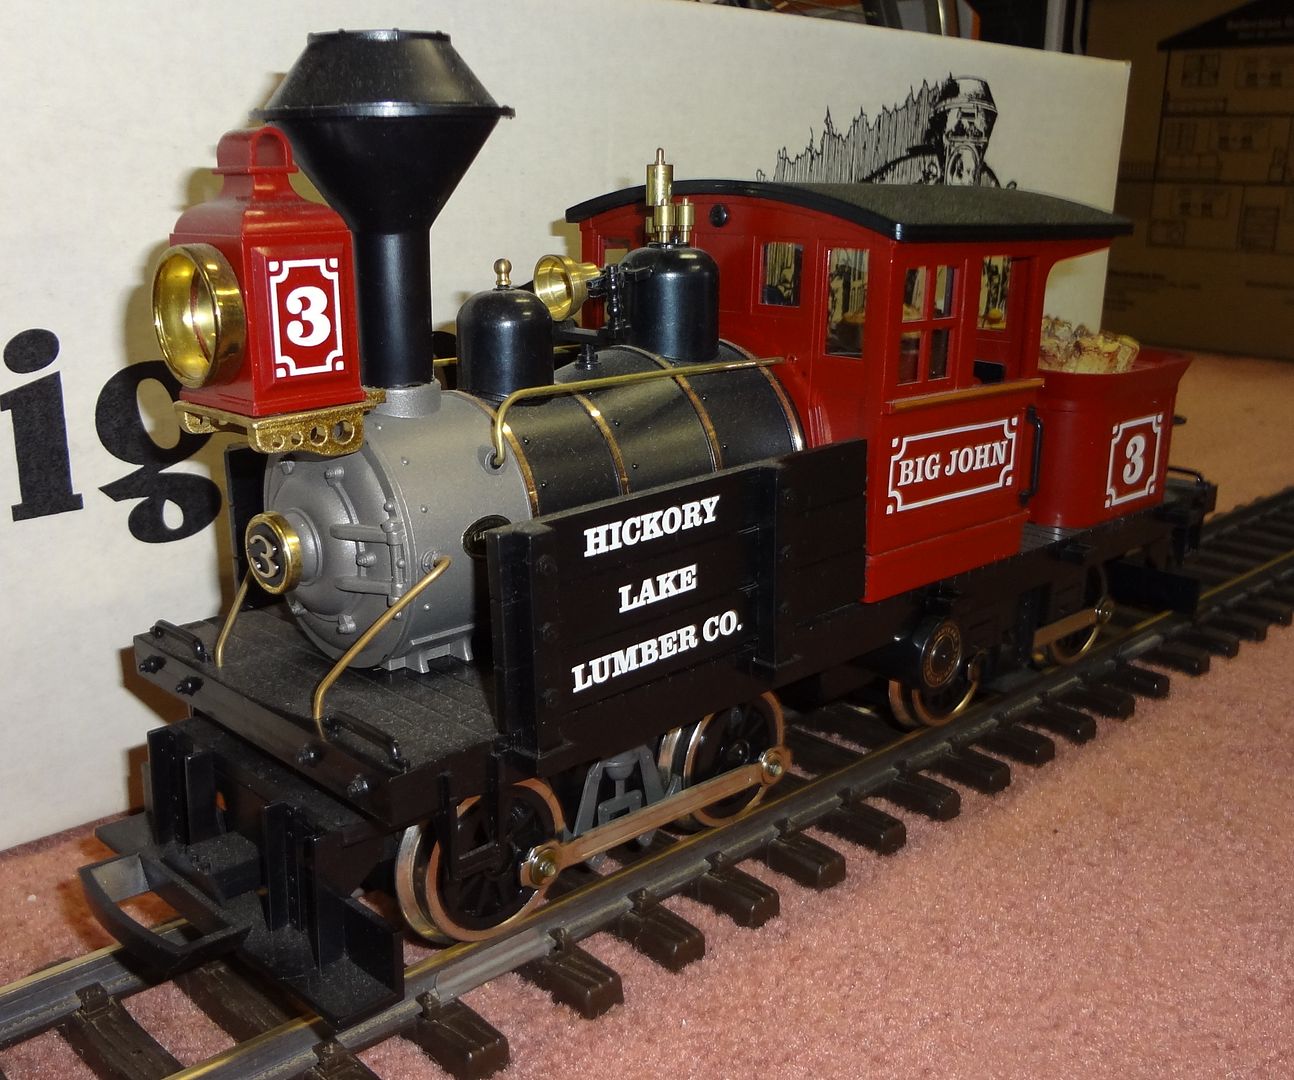
I have my Hartland Big John locomotive all taken apart and ready for a repaint.
The smoke stack is getting changed out to be just a straight stack, I am using a cut down light fixture rod for this.
The other change I want to make is to the headlight, I hate the lantern look, I want a more normal small round cylinder type. I plan on re-using the original lamp.
What can I use to make this out of? and where should I look for ideas?
Was going to check my local hobby shops and see what they have for round tubing stock, thinking I can cut a piece down and mount it somehow…
Any ideas would be appreciated!
Trackside Details makes brass large scale parts, Ozark makes white metal parts also, if you can get the headlight separated from the support bracketand the headlight bulb and wiring separated succesfully it should be a relatively straight switch.
The lantern is just screwed on to the brass piece, it’s already taken apart.
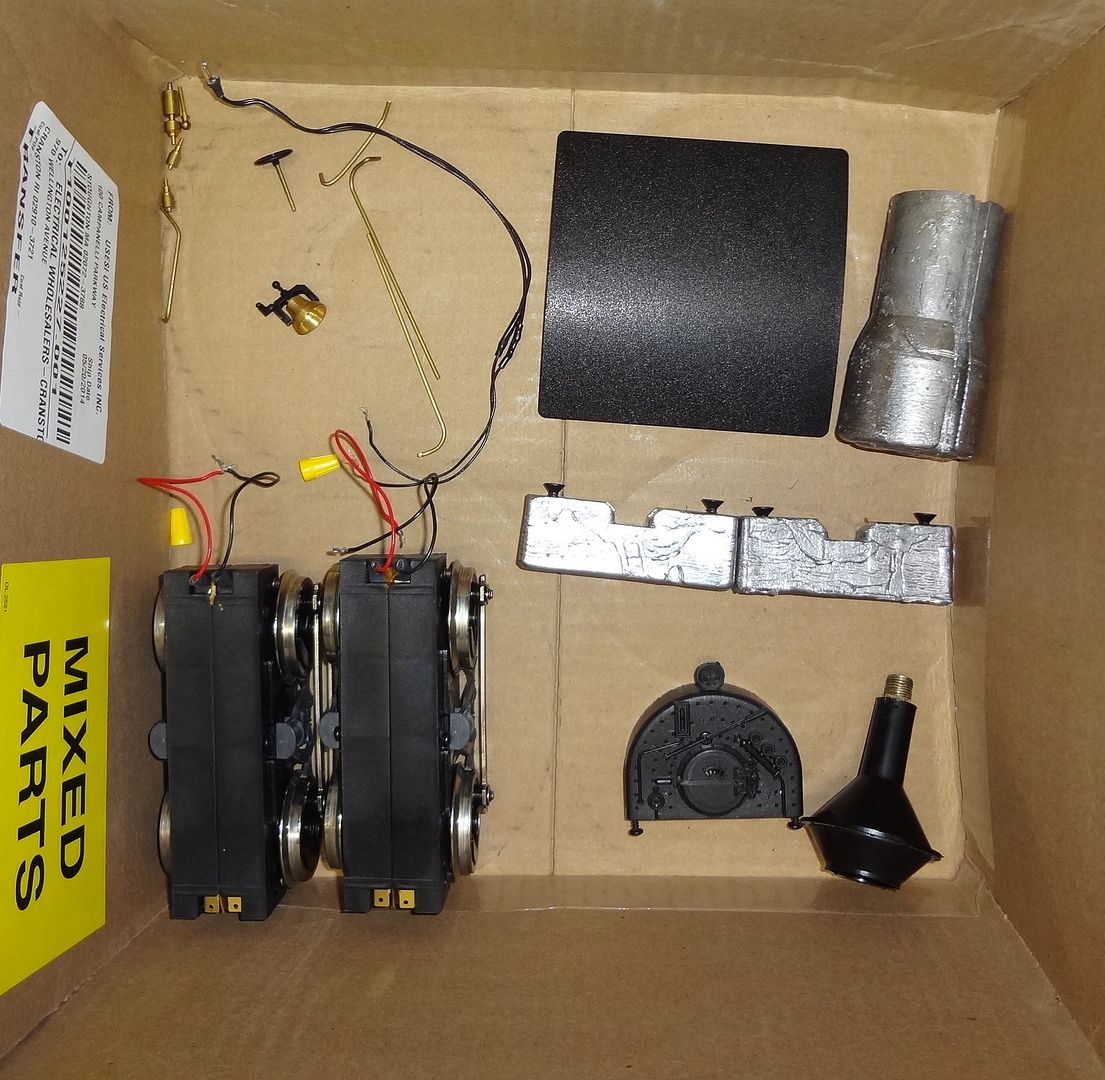
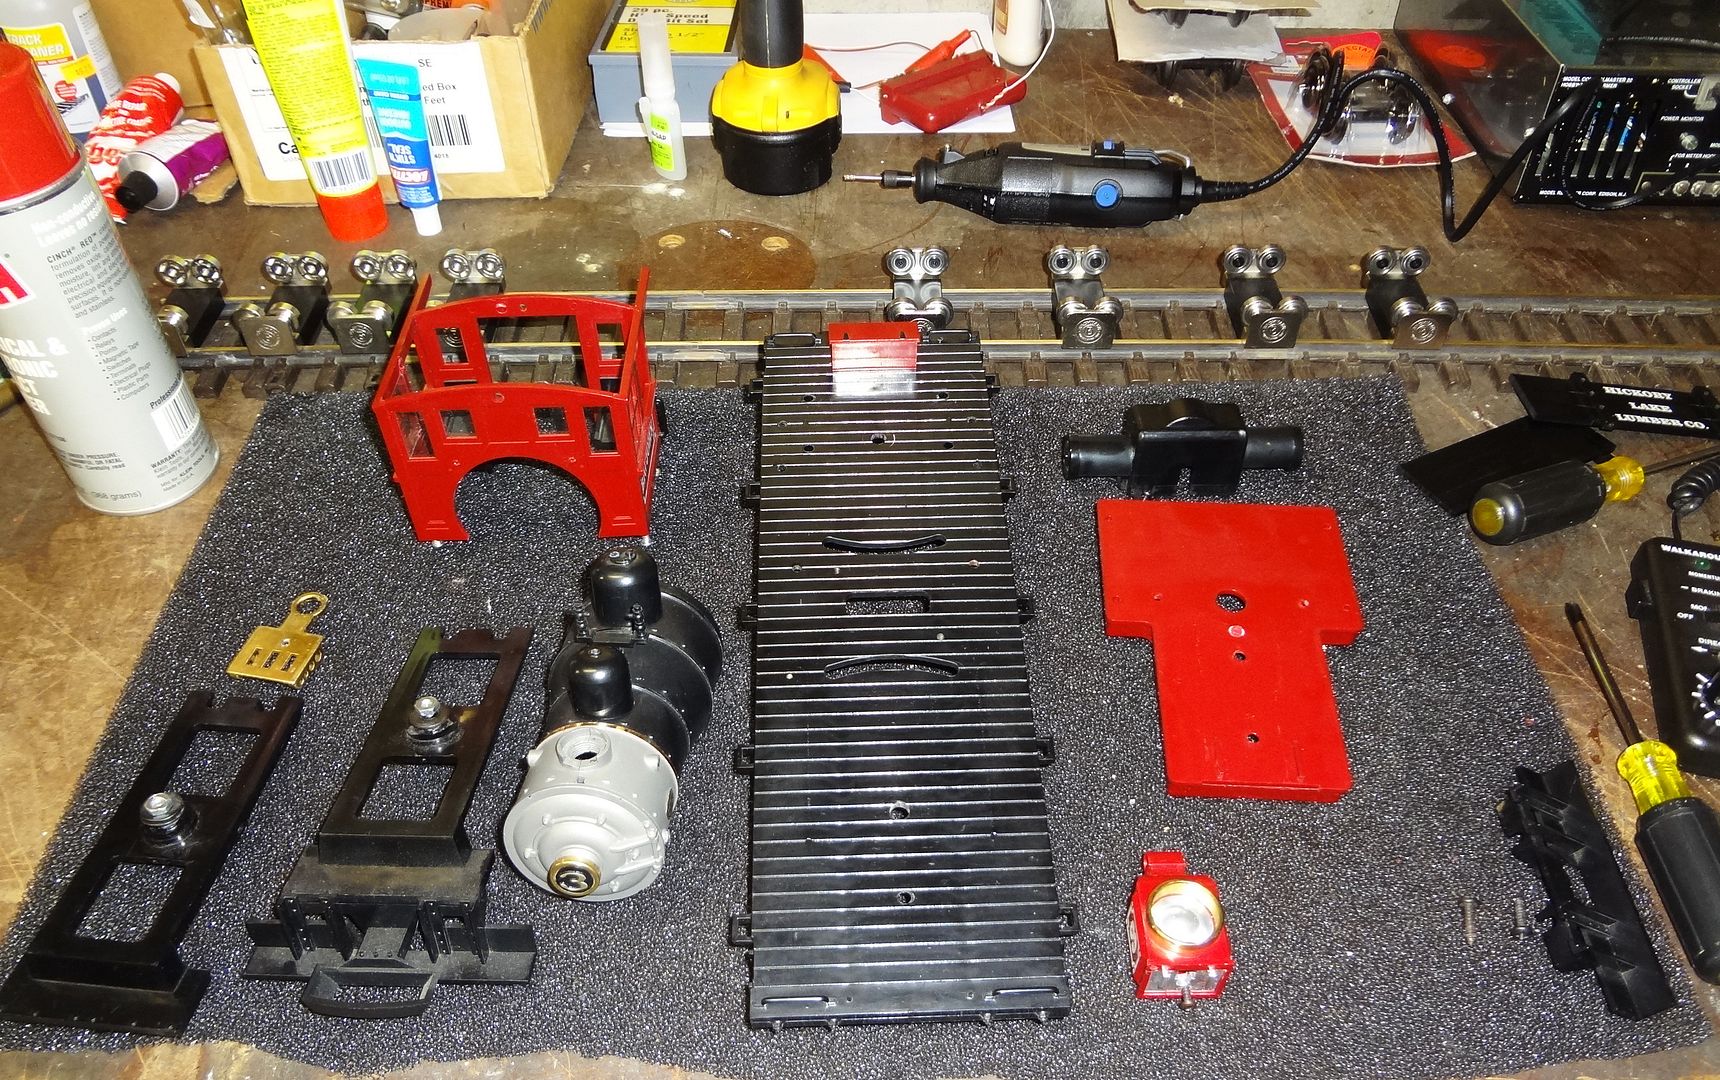
Here are all the pieces!
Lots of weight added to this engine.
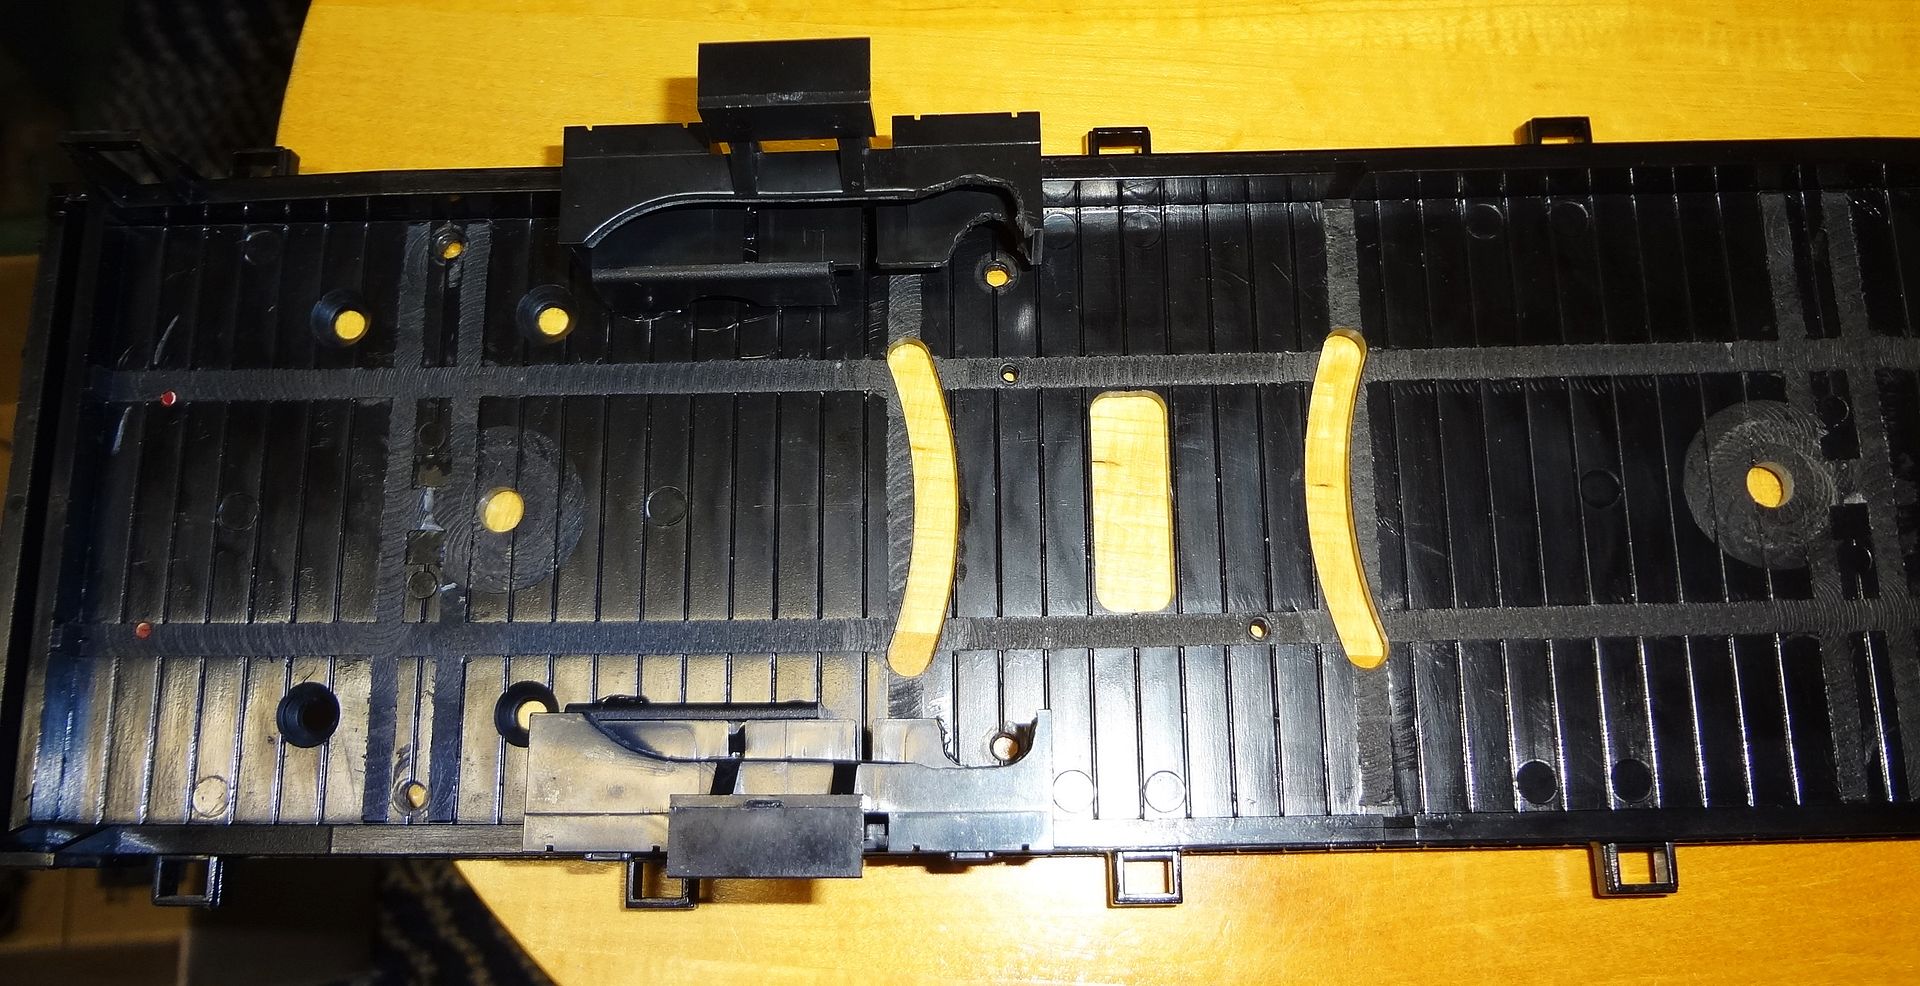
Here is the one modification I had to make on the underside of the frame to unassembled everything, used a dremel to cut out a bit of the tool boxes so I could access the screws that held on the cab… didn’t know how else to do this as the tool boxes are glued in place.
Won’t ever see it as it is on the bottom!
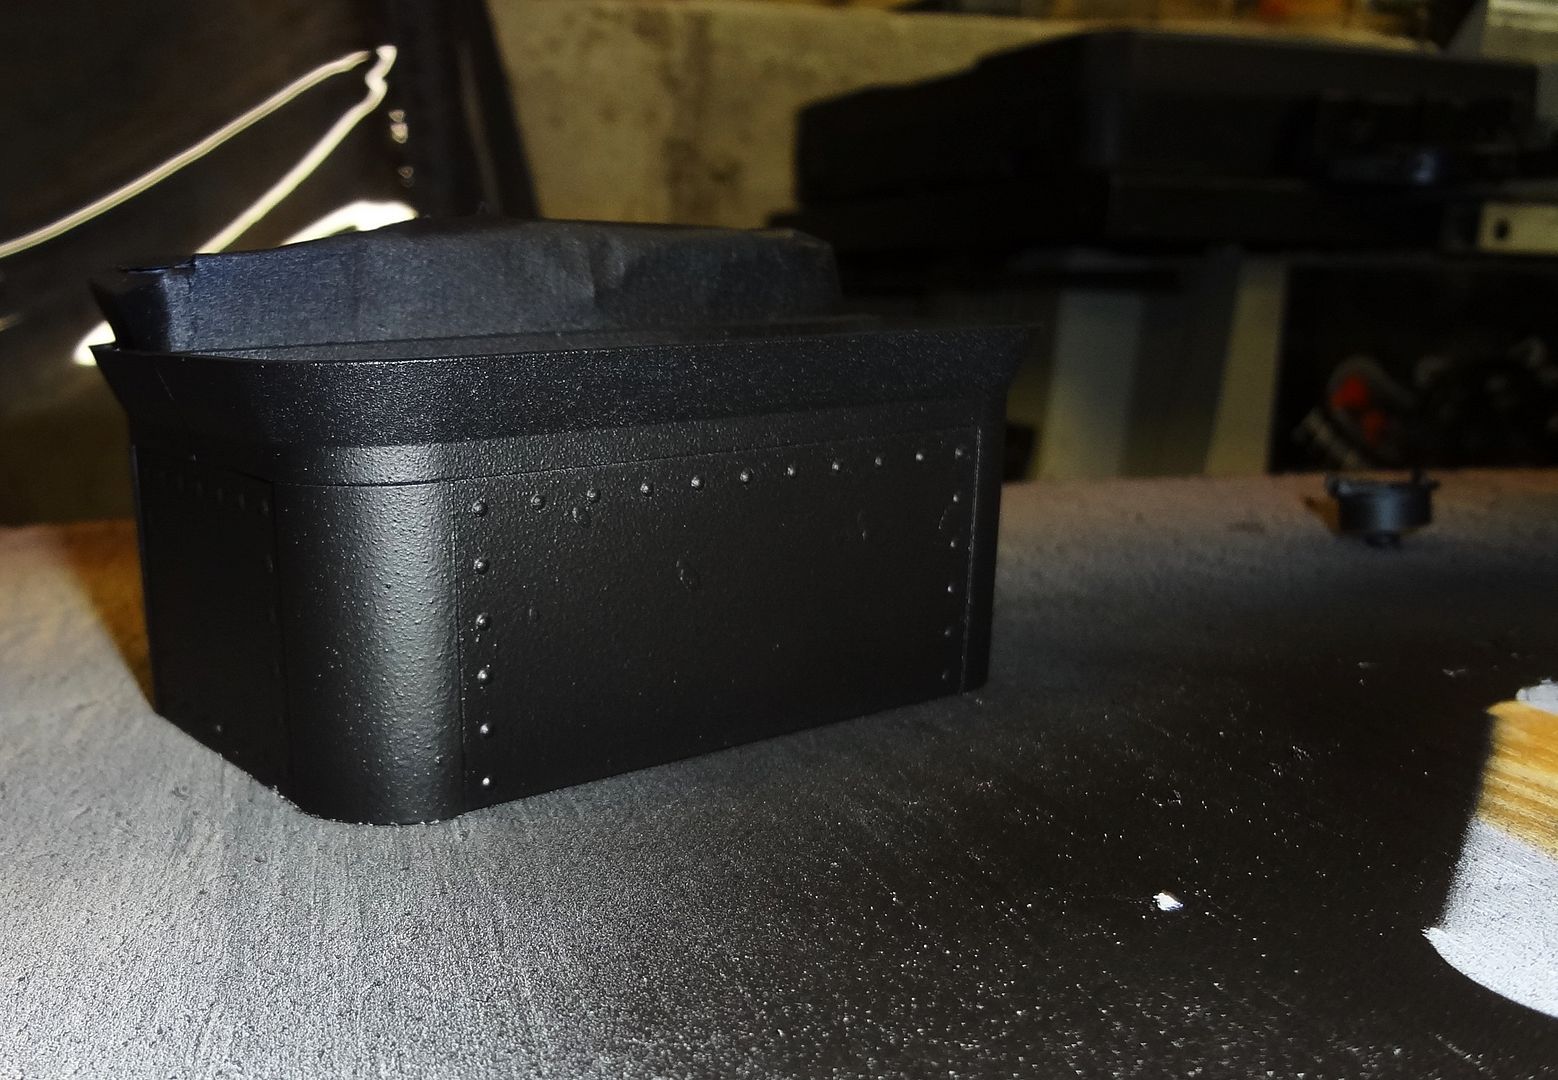
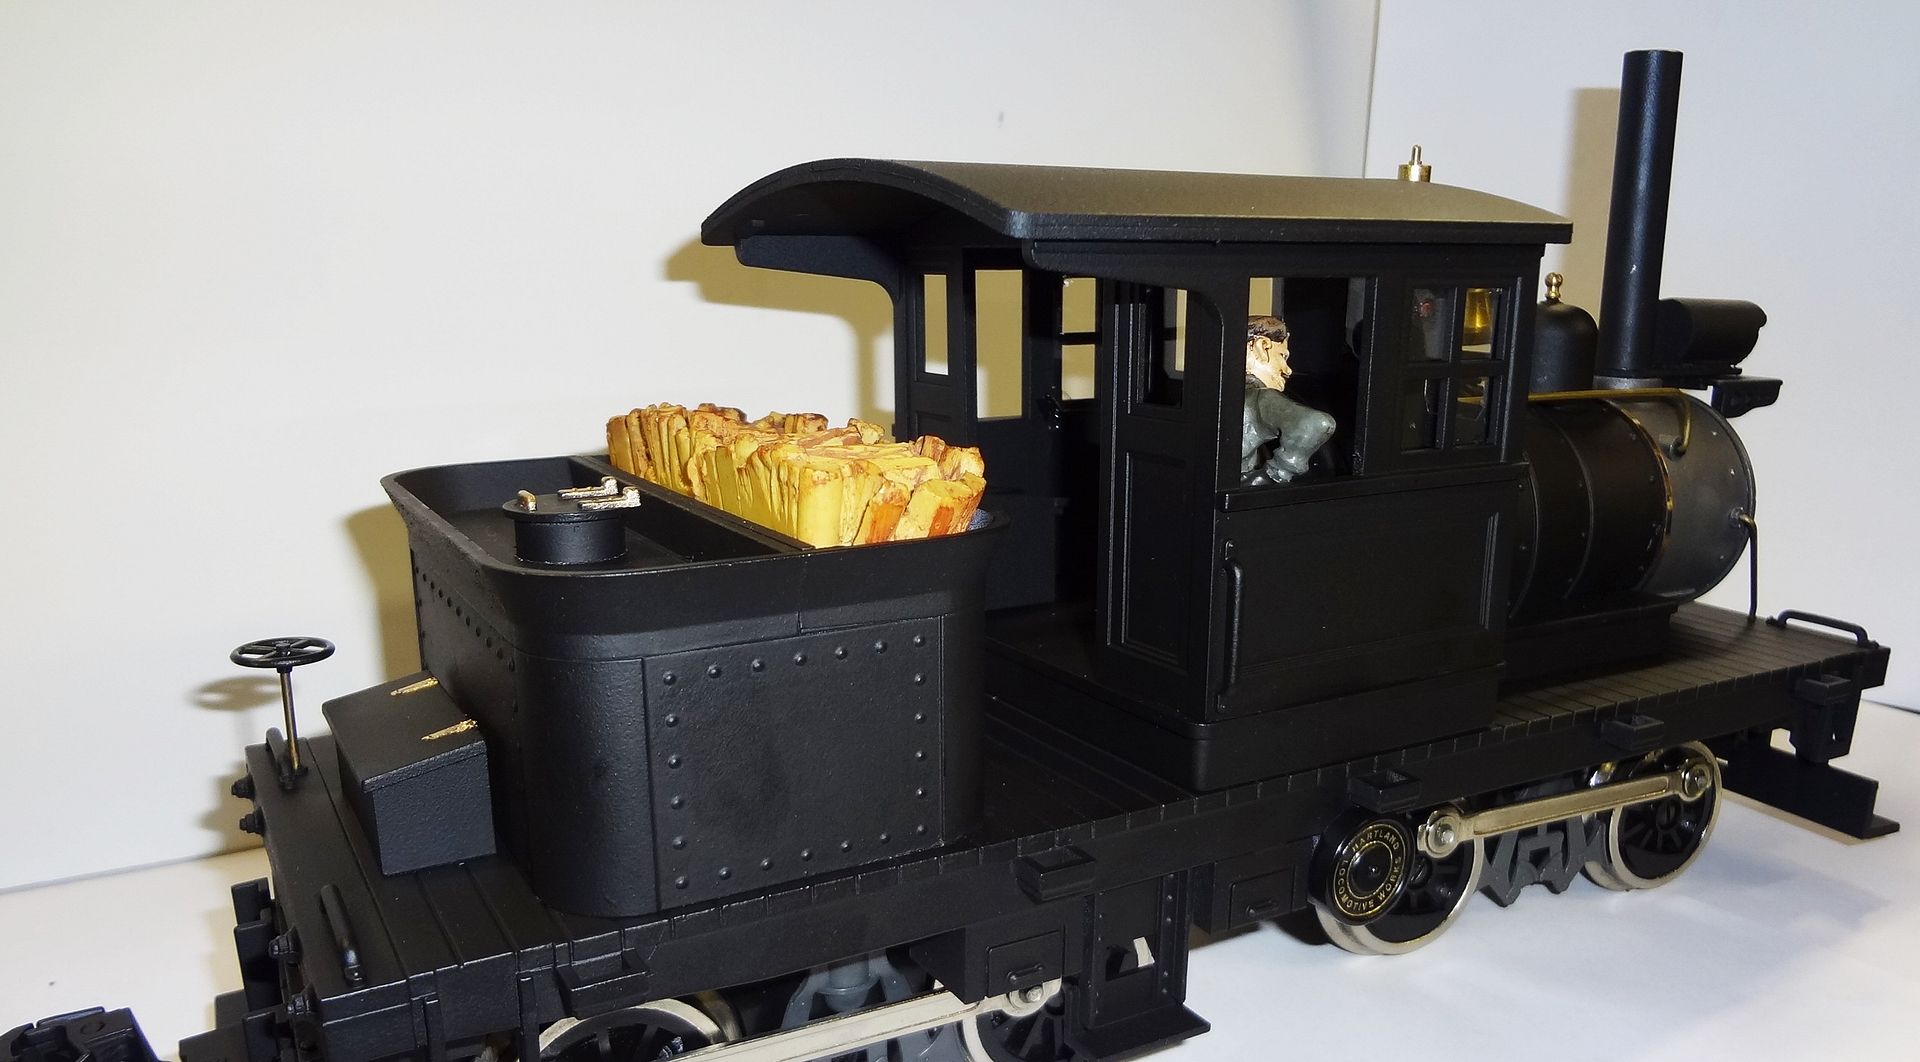
And my first coat of flat black on the tender piece, couldn’t figure out how to get the wood fuel load out as it is also glued in place so I just taped it up.
Used 2-coates of grey primer underneath.
This is only my first attempt at painting a train and doing any type of a modification, so don’t expect too much! I will be happy if I get it all back together and it runs.

I love these locos…
Looking good. I used a bachmann tender light for the rear light. I changed the front light on mine as well. If I remember I used a bachmann engine head light.
Those big ol Kerosene lamps are a bit weird looking and replacing it will really give a different look to that loco.
you can find headlights on Ebay but they are not cheap. Nabbing one from a bachmann tender is a good idea but they don’t usually light up. making one from a cigar tube, other tubing or even some plumbing bits is also doable.
If you had 2 headlites you could mount them on the deck infront of the boiler for a different look.
Today I decided I would take a chance on scratch building my first ever piece and try to make my own headlight assembly for the loco…
Went to my local hobby shop and picked up some brass round tubing and a piece of flat brass stock.
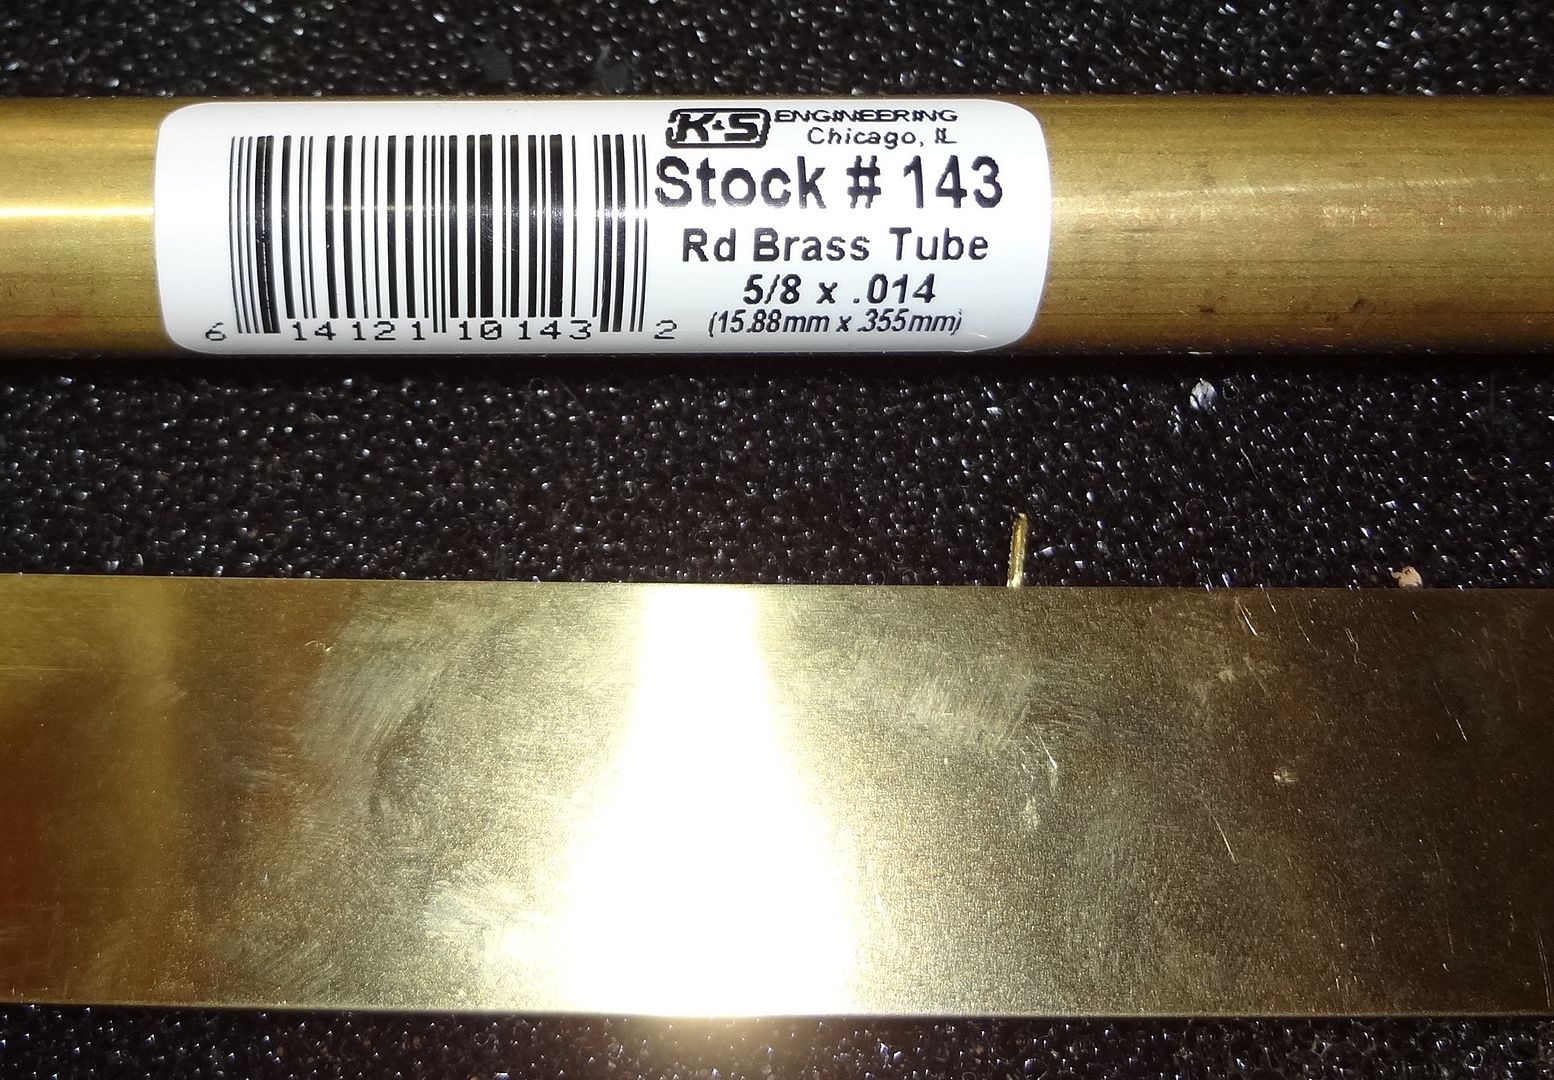
I cut a 1-1/4" length of the round and trimmed a visor into it using my Dremel.
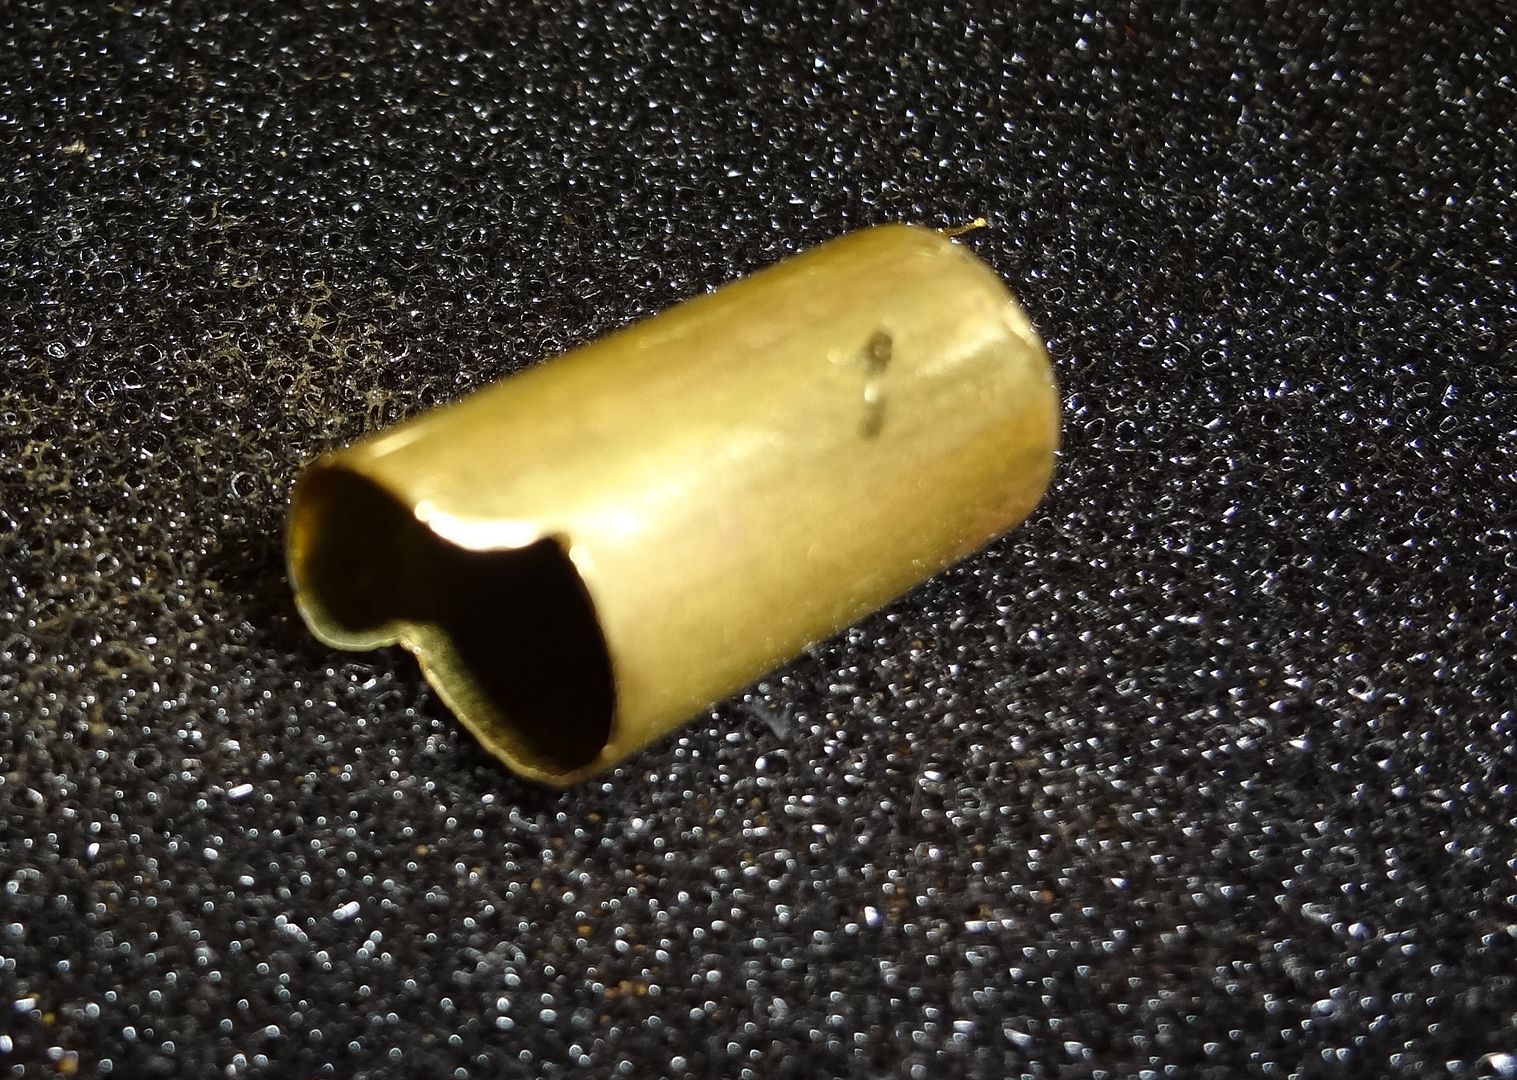
Then I cut a piece of flat stock a little larger then the diameter of the round tube and coated one side with solder… I had no idea how I was going to get a back plate on the assembly so I was just guessing.
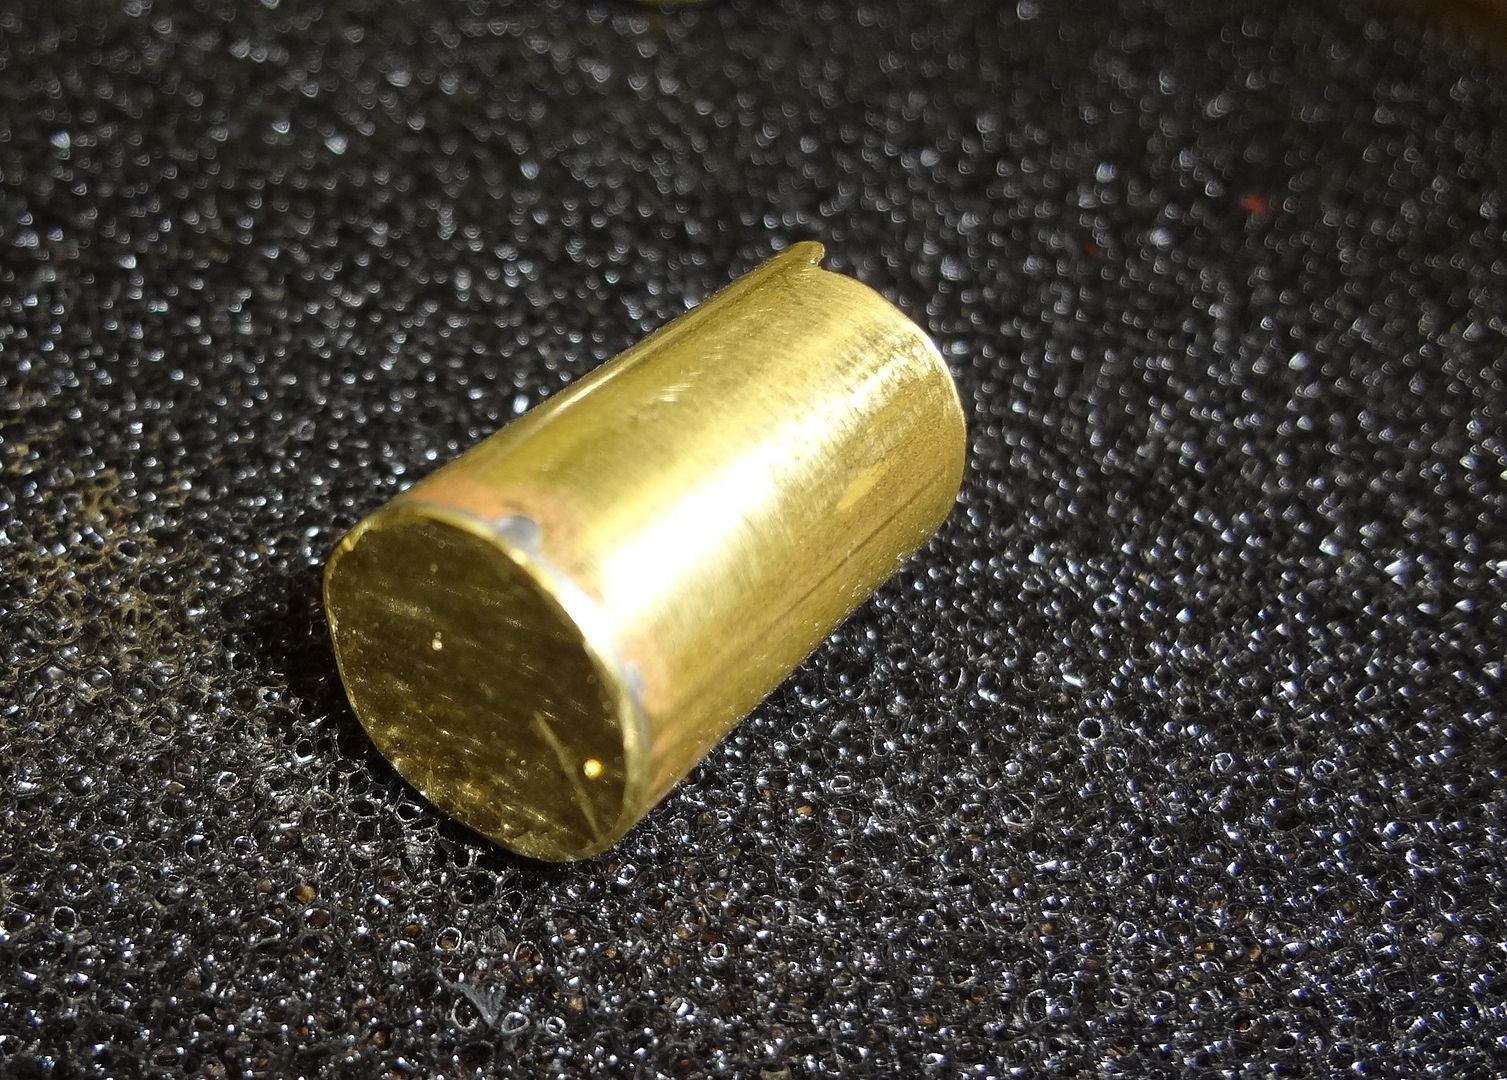
On the round headlight assembly I coated the inside lip with solder that was going to be against the back plate, then placed them together and added heat from the soldering iron and to my surprise… it worked!
I trimmed the excess brass from the flat stock and smoothened it out with the dremel and ended up with this.
Now I need to figure out a couple of things…
1 - How to mount it and bring the wiring inside
2 - How to mount a piece of clear plastic in the front for a headlight lens
I knew you had it in ya, Vinnie!
-
A brass nut and bolt with a separate hole for the wiring. Put some kind of plastic or silicon around the edges of the hole so the wire never frays.
-
While you have the clear silicon sealer out, use it to secure a clear round disc in the front. If you ever need to change the bulb, you can cut silicon. To make the round disk, you can get some clear plastic at Hobby Lobby, or look around at all of the clear plastic containers from recycle.
Keep up the good work!
My first attempt at mounting failed miserably… but I think I got what will work the second go around.
Went back to the hobby shop this morning and picked up another piece of flat stock brass, this time a bit thicker (I think it is 5/32")
I cut, trimmed, drilled, ground, sanded, cut some more… ground some more… sanded even more.
Came up with a flat piece with mounting hole to install underneath the smoke stack, soldered the headlight assembly to it and gave it a coat of primer.
Yes, Vincent… The Big John is great fodder for 'bashing… I have a number that have been through the transition…
I like the head light design… And the color of the locomotive now… My favorite color…
All locomotive parts have been primed and painted, going to let everything sit for a day before I start putting it all back together.
I test fit the new smoke stack and light assembly to the boiler, I will have to take it apart so I can add the wiring for the lamp and the headlight lens but I had to see what it would look like!
Pretty pleased with how it came out for my first scratch built pieces.
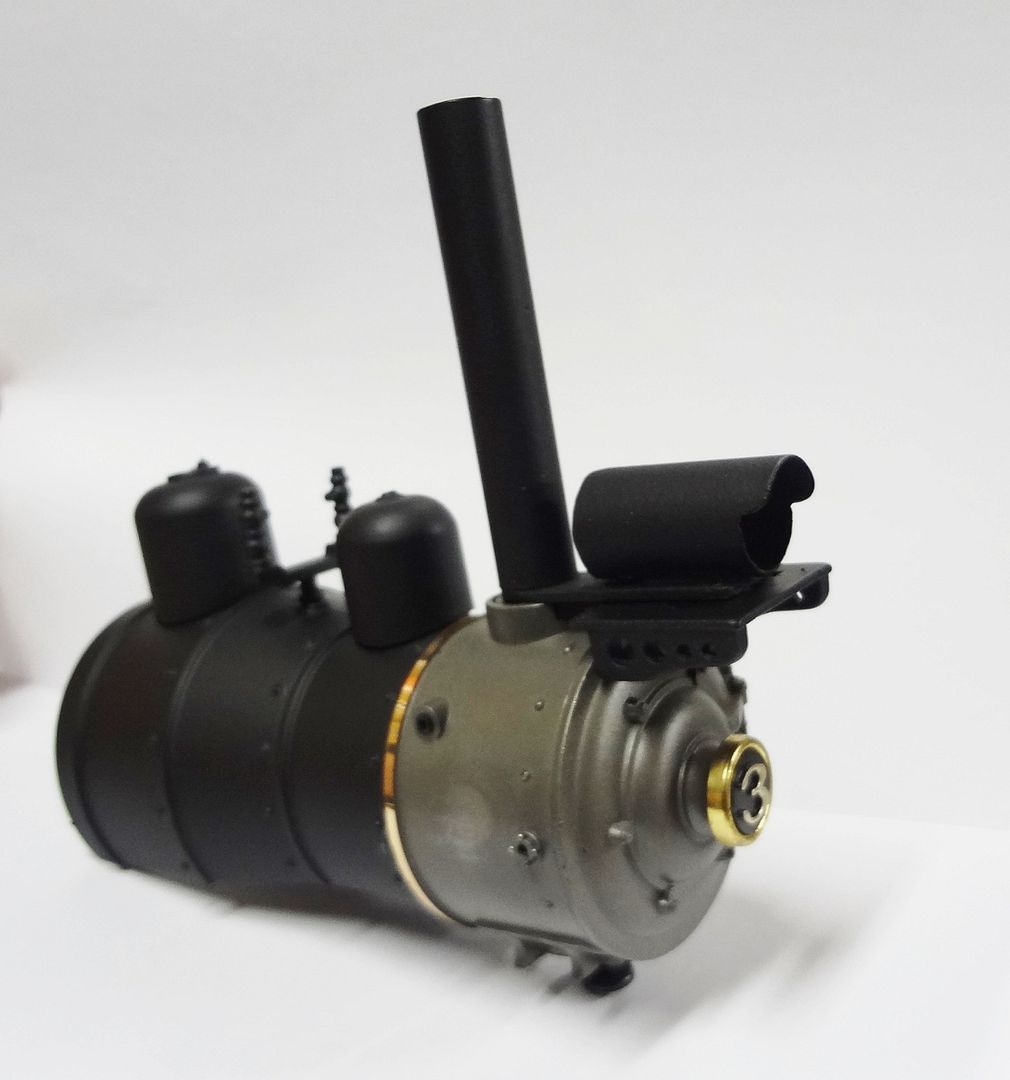
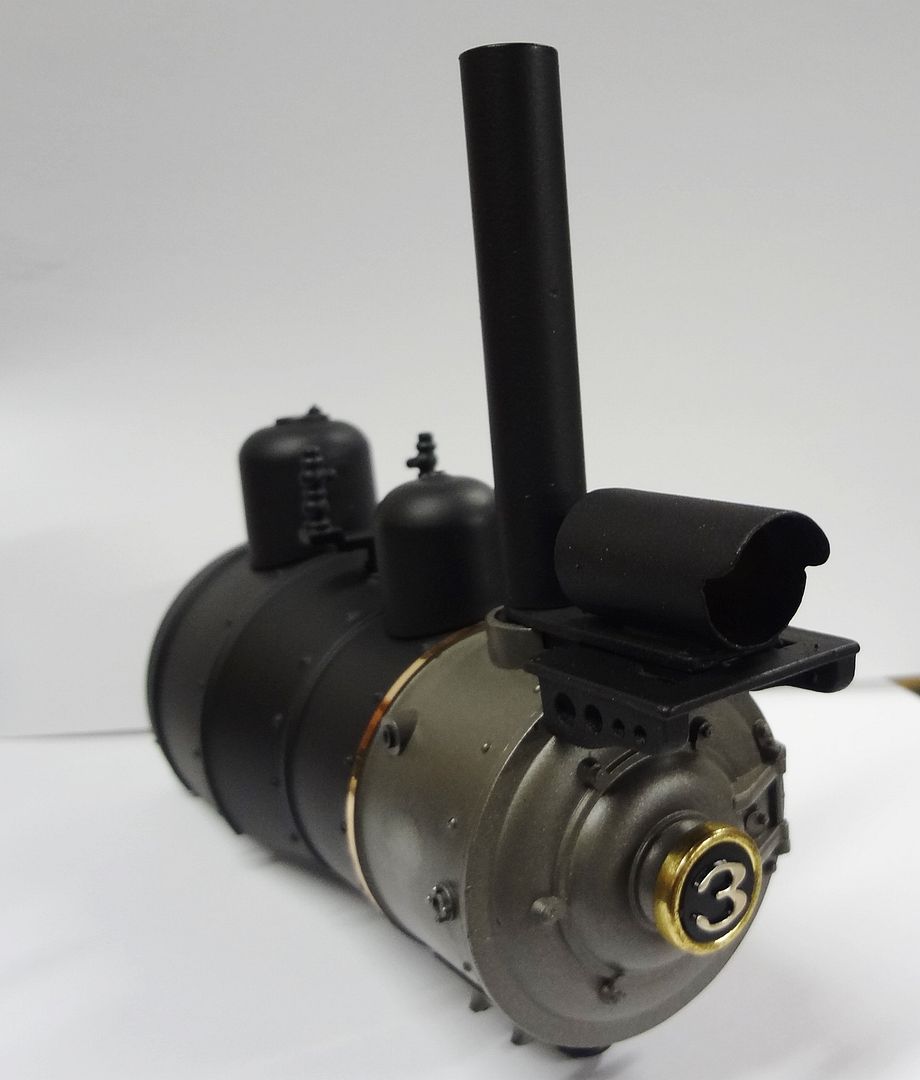
I left the front of the boiler the original color that it came from HLW, and left the one brass band… I liked how it looked.
Well done, Vincent. You should be pleased. Of course now you may be hooked on doing even more scratchbuilding…
Yup, nicely done… It’s looking very good, Vincent…
Vincent D’Agostino said:
Pretty pleased with how it came out for my first scratch built pieces.
Be awfwaid, be vewy afwaid…nothing on your twain shelf is safe anymore…
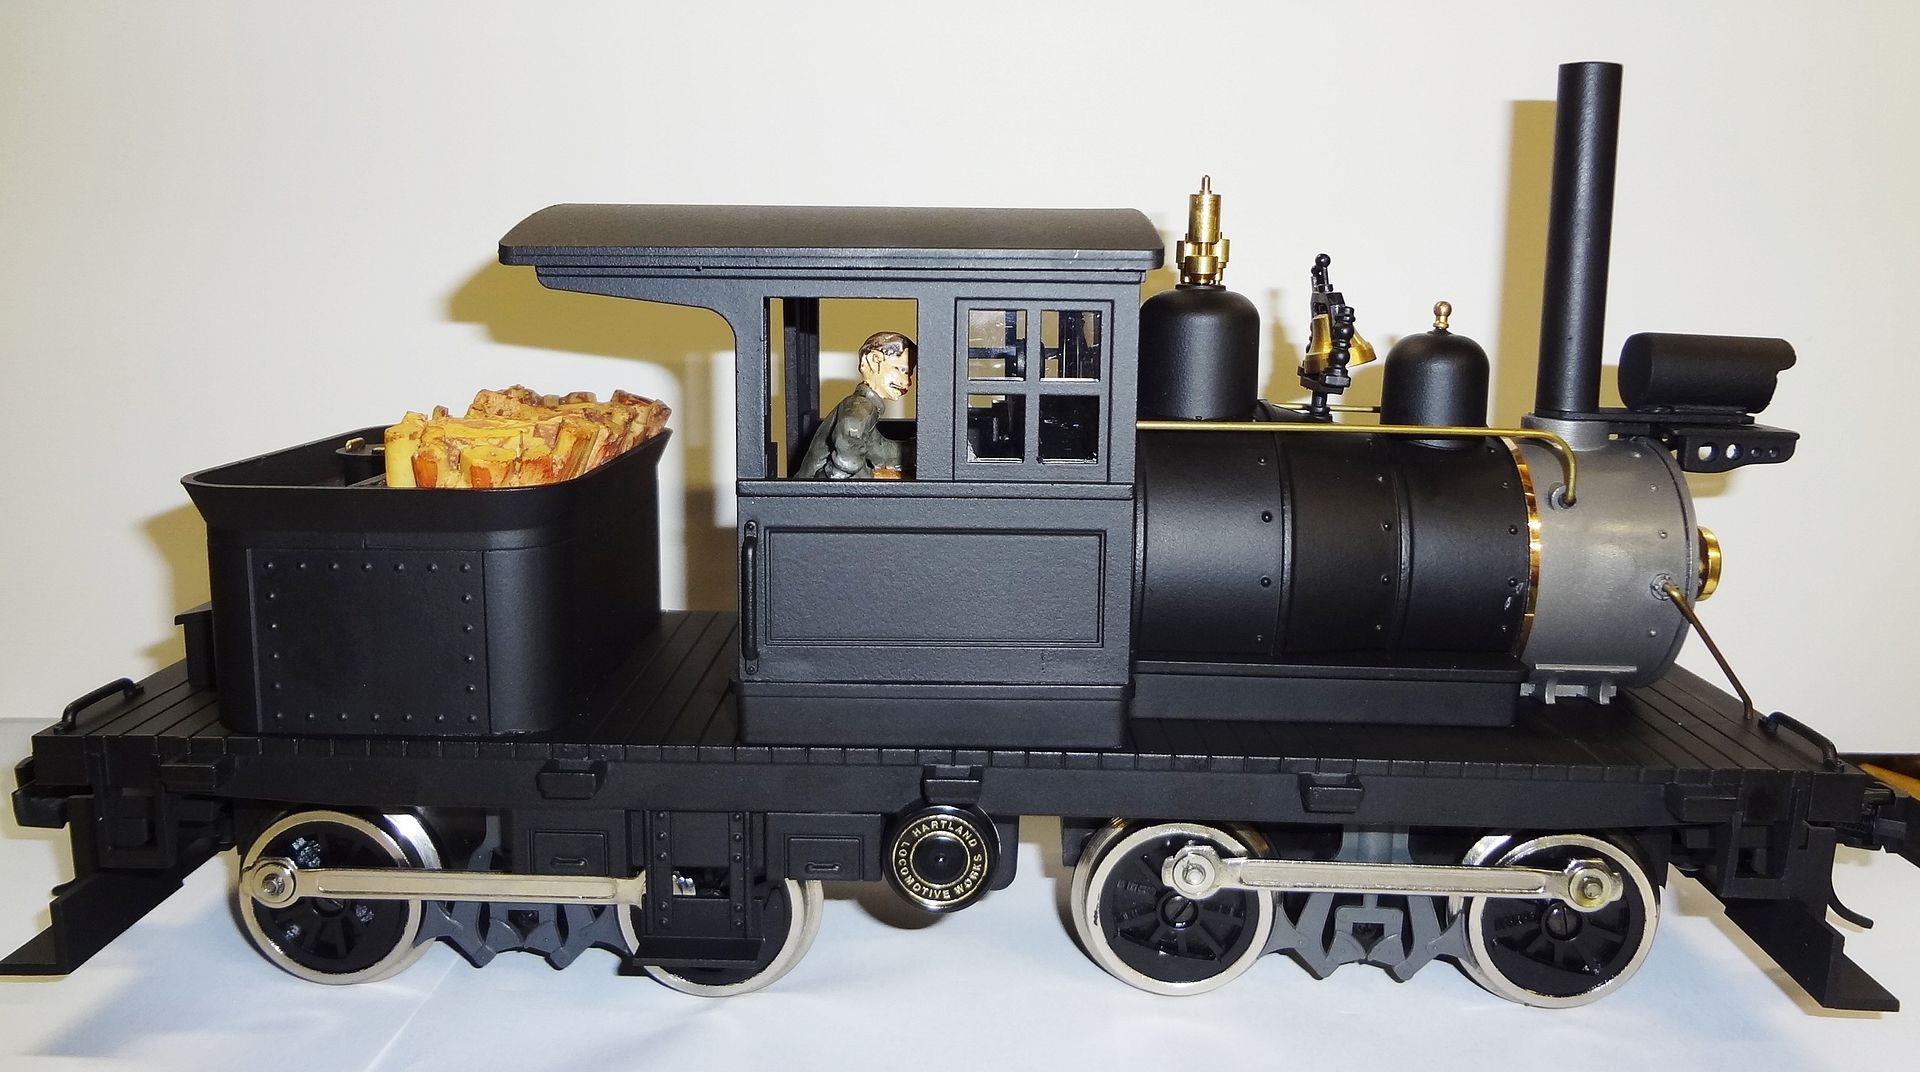
Everything seemed dry enough for re-assembly, so I gave it a try. Went pretty smooth, only had to pull it apart once for a screw mount that fell off in the boiler… a quick little dab of glue and it was back together in a few minutes.
Just waiting on some decals from Stan to arrive and I have to decide if I want to lower the height of the smoke stack or not. I put it at the height of the original, but I am thinking I can lower it to the height of the cabin roof and it may look a little better.

I may change the couplers out to body mounts as I now have wide enough radius curves to do so, the ones on the engine currently are what I had put on when I ran it on my old layout.
It looks really good. The new headlight really modernizes its look.
I would shorten the stack a bit, but I don’t think I would go down to cab height. Also the top of the stack should have some kind of rim to it.
Looks much better. Nice work on the headlight.
Who is better then Stan for shipping out decals right away!
I had to take a early exit from work to go um… check on a customer, yeah that’s it.
So seeing how I was out of the office I figured I would just make sure the decals came out ok
Here it is finished… I think!
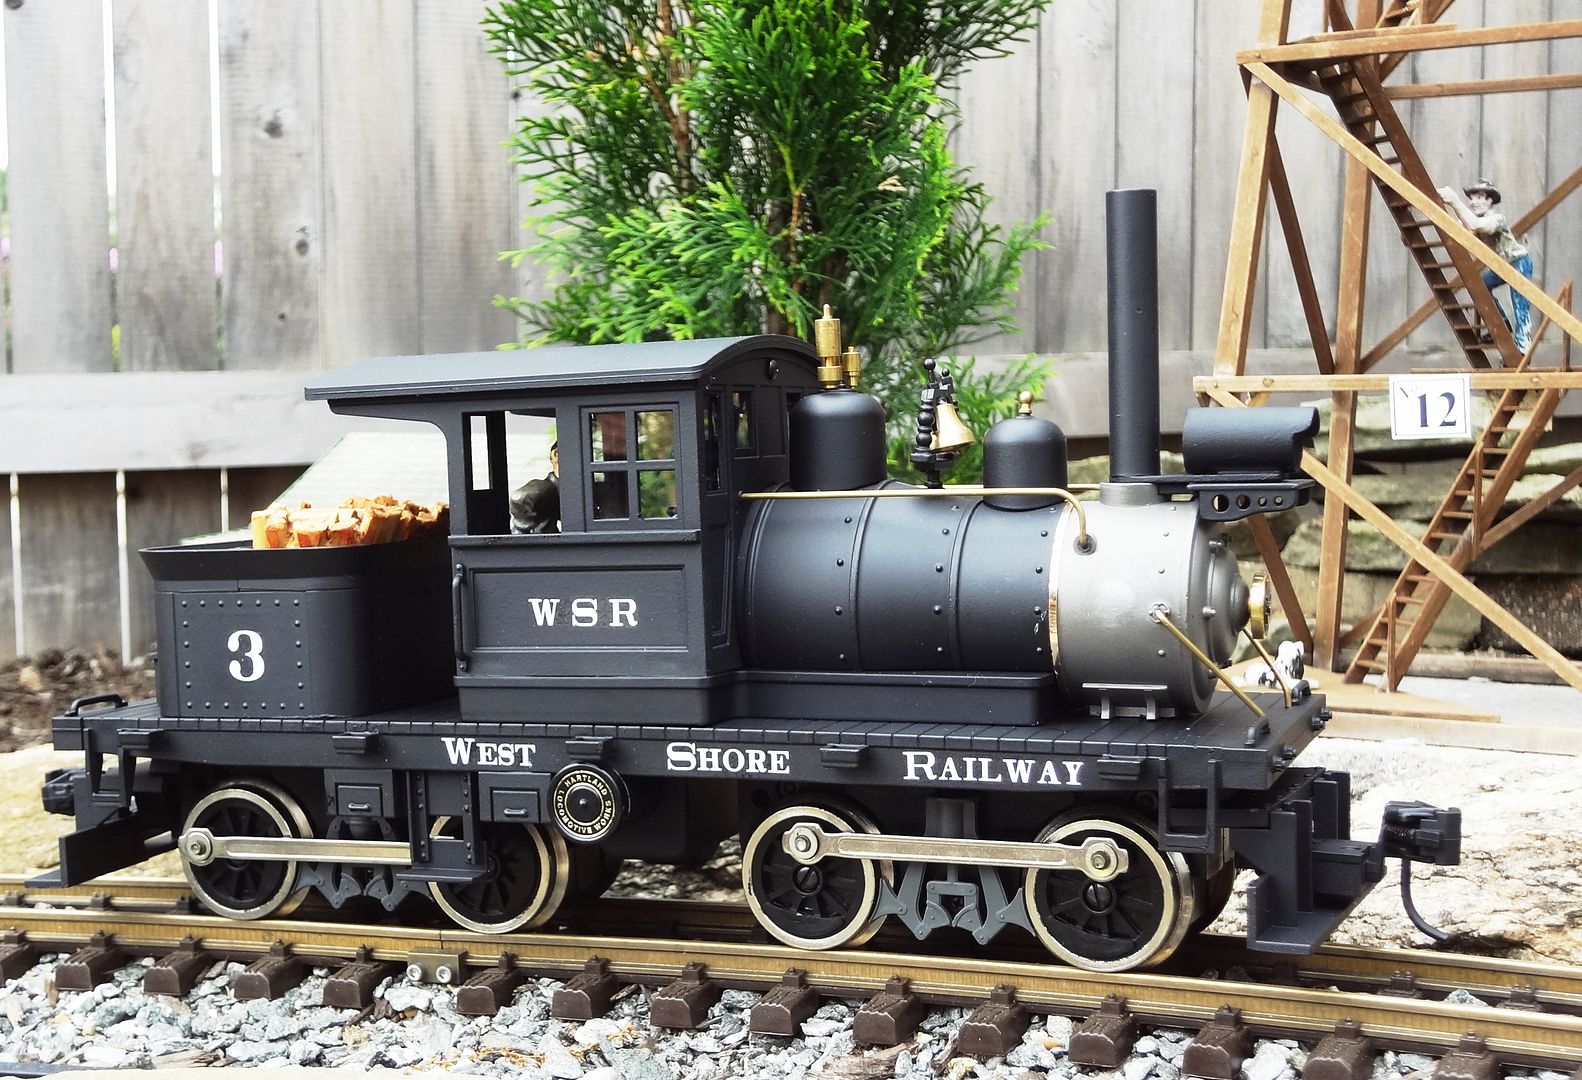
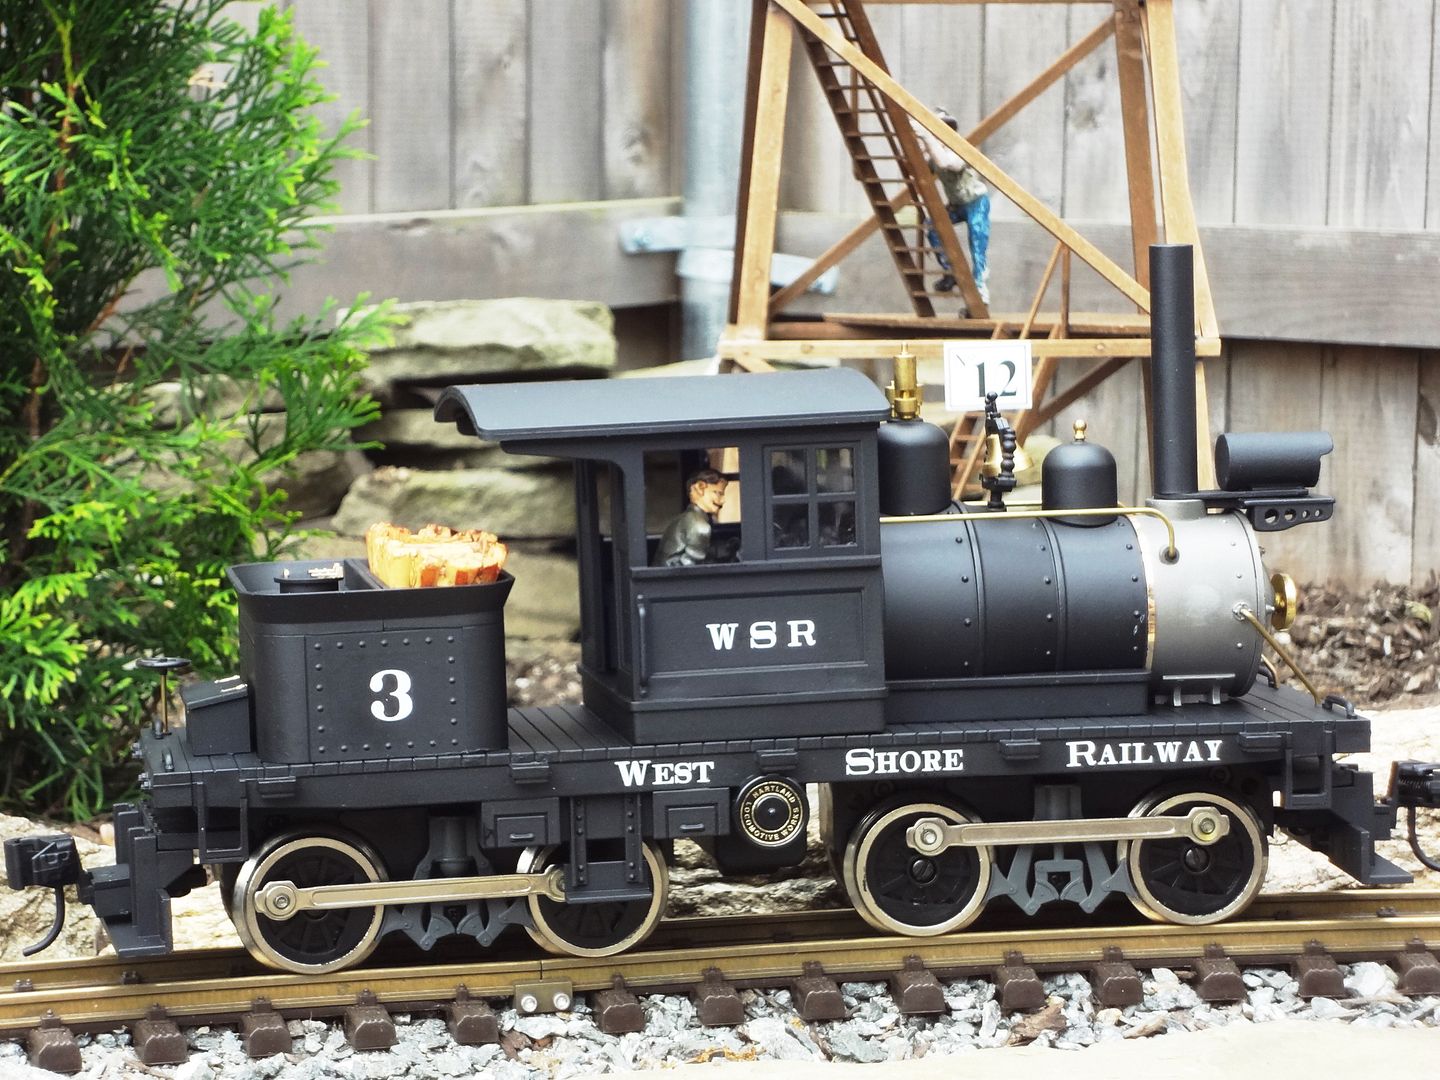
That’s a fine job you did there Vincent. It looks a whole lot better than it did in it’s stock configuration!