This is the story of an overly eager rail enthusiast who couldn’t wait to build his empire.
When I was about 12 I learned of the existence of 7.5" gauge railroading and have yearned ever since to have my own track and equipment. 30 years later I found my self and family finally moving to a property that could support such a pursuit. We took possession of the new house the last day February in 2017. It was a busy time trying to make all our things fit the new house, get our son started on his first year of school and get settled in at a new job with a significant learning curve. Yet in spite of all of this, I must not have felt challenged or busy enough. Or perhaps it was just knowing that it could finally happen that had me picking up my first 300 feet of 7.5" track in October. Shortly after I answered an add on Discover Live Steam and purchase a small electric loco and flat car.
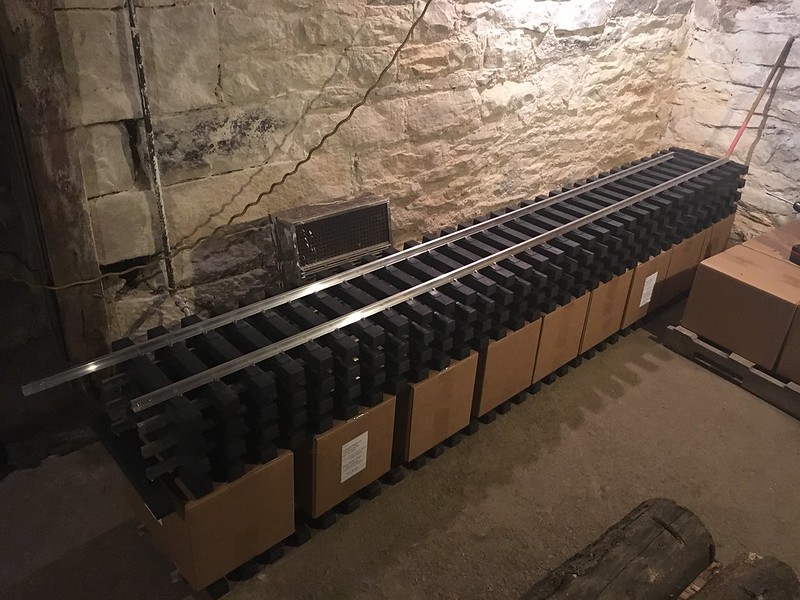
Well, winter was setting in, so I stored all of the boxes of ties and rail in the basement. It was the only free and unfilled space in our new home. The engine and car were crammed into the already full garage. The a fore mentioned ties I purchased were from Accutie Rail Systems. These are the awesome ties that have been well documented in Gary Armitstead’s thread, who also helped fan the flames of my indulgence. I used some of the full boxes of ties to set up a “build table” in the basement where I could assemble sections of track.
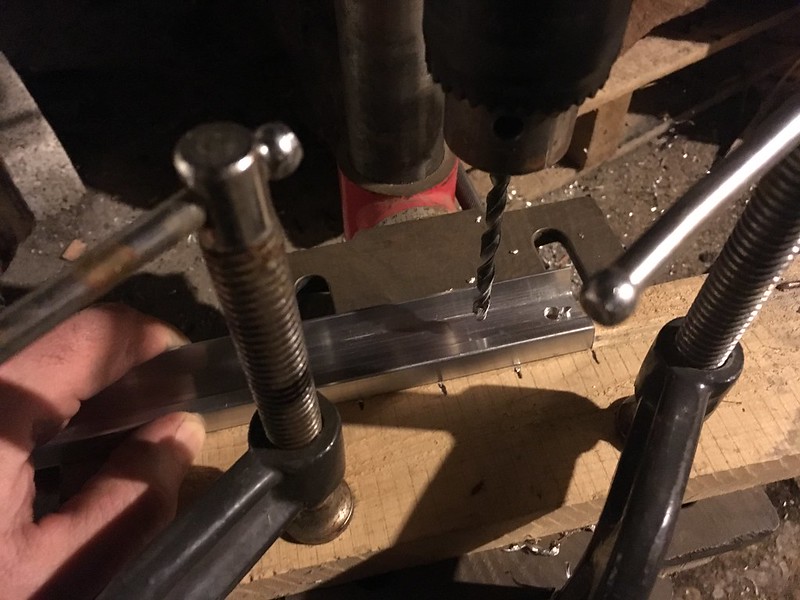
I brought in my bench top drill press and found a spot central in the basement where I could fit the 10" length of rail on either side of it. I set up a crude fixture where I could align the rail with one of two marks and drill the holes to bolt on the fish plates. Once one end was done I slid the rail to the other side and drilled the opposite end. This worked well and saved me spending the $50 dollars on those nice vise grip drill guides until later. I will be getting those at some point, They will be very useful when I am drilling track side on location.
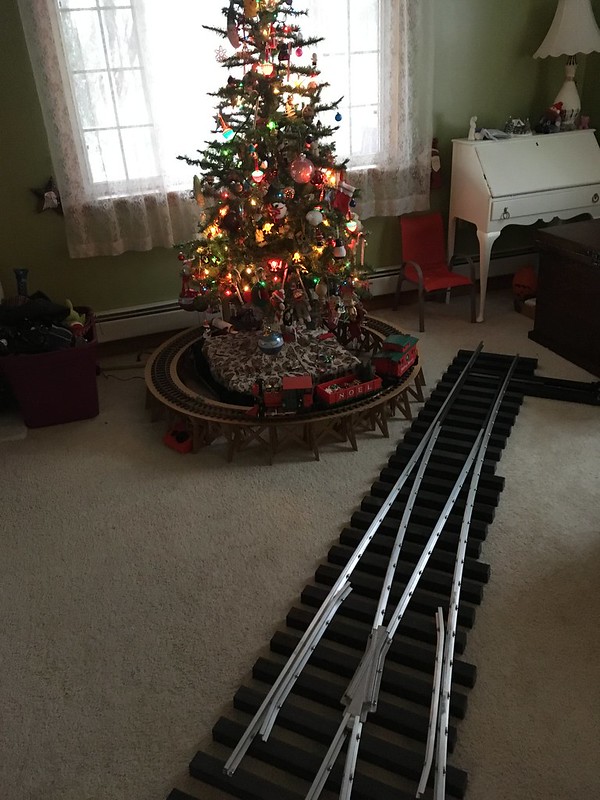
I also bought a rail bender but did not have the same great experience Gary seemed to have with his. I could never really seem to dial it in to the exact radius I wanted. It always came out too tight or too broad. I have plans to modify it with a screw adjustment feature that I think will turn it into a very handy tool. With all of my track sections now built I set about putting them in place out back. The only problem with this was that winter had now arrived, so I was braving the cold to bolt track sections up, or waiting for a day when the ground would thaw a bit to level the grade some what. Don’t let me fool you in to thinking I did that much grade work as you will see in the over all shot of things below. It was just after Christmas when I got to the point where I needed to invest in my first switch. I ordered a #5 kit from Acutie and it was delivered in short order. The kit was fantastic with everything needed, including very detailed instructions. All the ties were numbered so you just had to lay them out in order. They also had pre-drilled holes in them the corresponded to pre-drilled holes in the rail so you could just lay down the rail and start screwing things together. Within 90 minutes I had complete switch ready to go. This allowed me to finally complete the initial setup the way that I wanted as seen below.
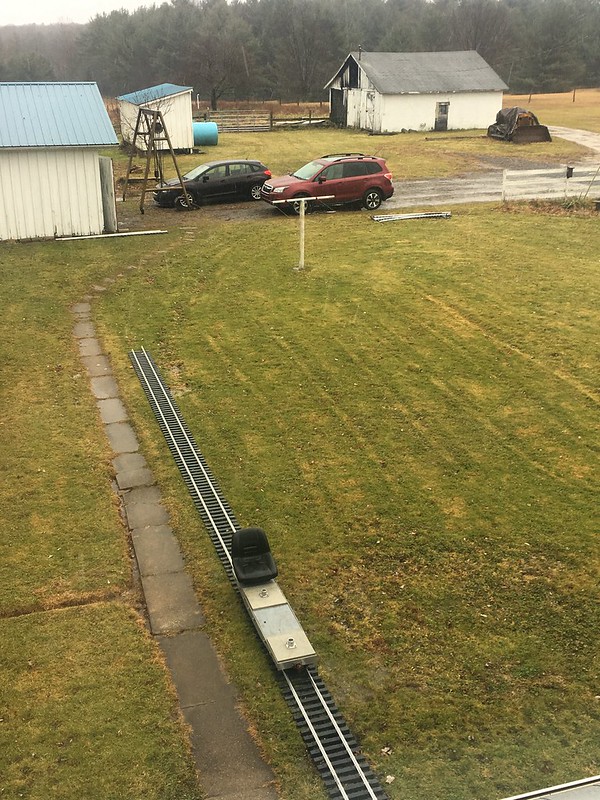
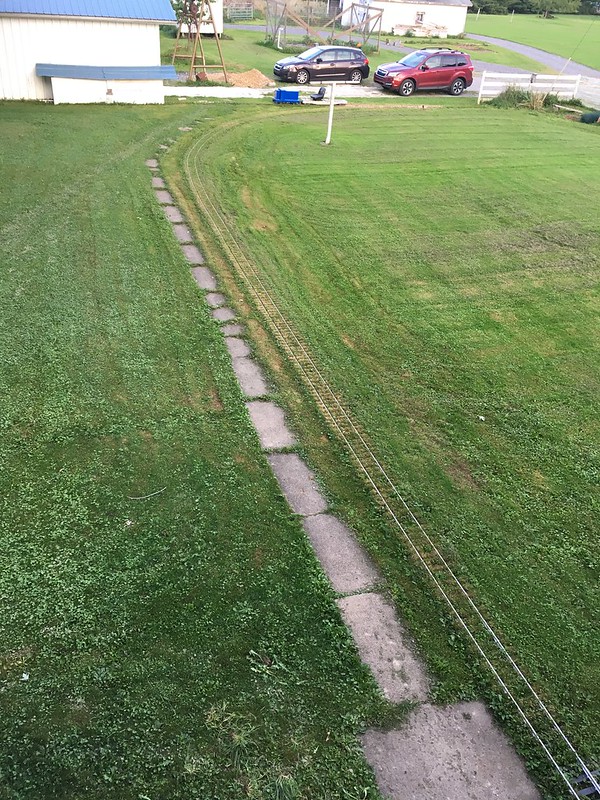
As I mentioned before, I did very minimal work in the way of preparing the road bed. It basically amounted to getting rid of humps and filling the holes in with them. The moving truck left some pretty deep ruts right along the sidewalk where the track now sits. I didn’t bother to do much more in the way of prep or proper road bed with ballast since this is really just a temporary set up to get something running. The idea was to be able to have a little place to ride and also have it serve a purpose to aid in getting car loads of things from the dive to the house. My wife really does appreciate having it there. As you can see in the photo the grass wasted no time growing right up between the ties. It hasn’t been to bad since I just raise the push mower up and set it right on the track and mow right down them. The train shed along side the garage was the former dog house I cut in half and re oriented the roof of. It serves well at keeping the rain and weather off the equipment.
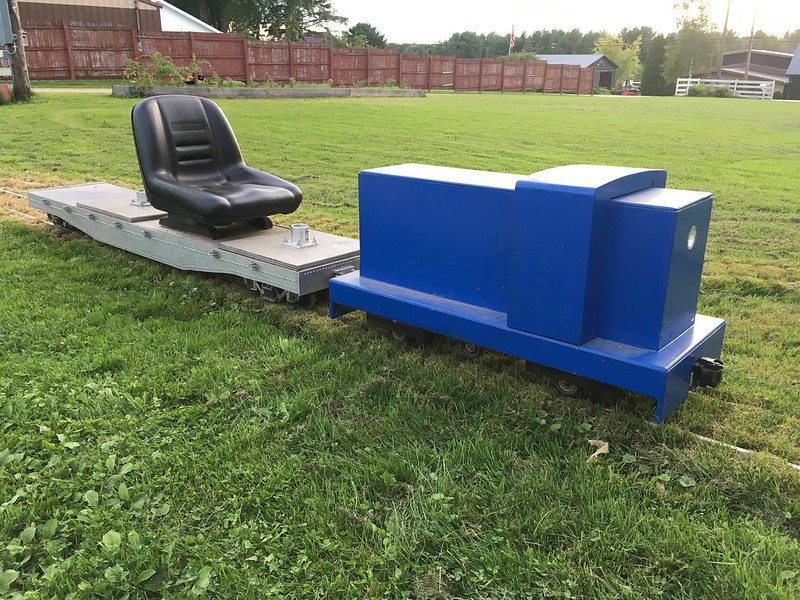
The picture above is of the locomotive and flat car I bought. The loco is just a little 2 axle 24 volt center cab freelance, that was built from scratch. The flat is very nicely detailed with hundreds of rivets and rust free aluminum construction. Eventually I would like to build narrow gauge equipment to ride the rails rather than the standard gauge starter pieces that I have, but I’m grateful to have these to get me going. I certainly haven’t had near the time I’ve wanted to play with this all at this point but I don’t honestly regret squeezing it all in any way. As for the future the current line will more than likely be pulled up in the spring of next year once some construction we are planning on the back of our house starts. After that I’m not entirely positive where or how it will go back in, but it will and in a much more permanent fashion. ![]()
