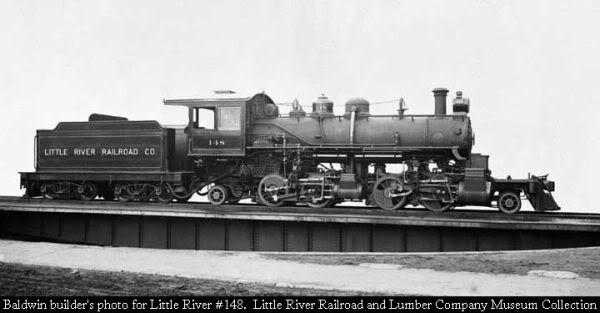
It started with a neat idea, a 2-4-4-x Mallet, similar to Skookum, but narrow gauge.
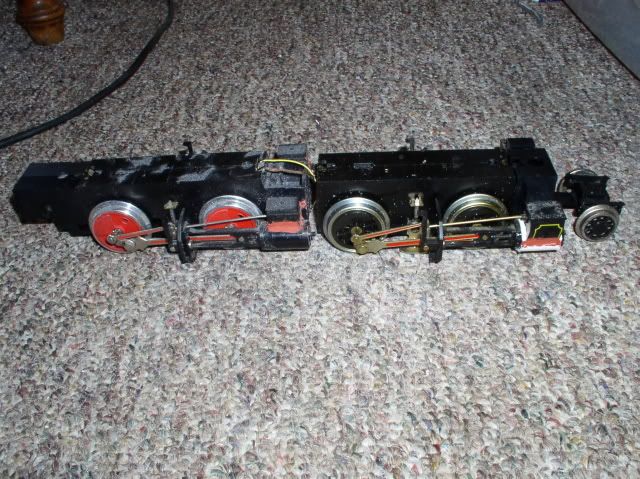
Kim said. “BUILD IT!!!”, even though the widest radius we have is her R-2 Christmas tree track. Bruce Chandler had a ‘spare’ LGB 2020, and I got a well loved 2017D with power tender off evilbay, sooo… It will have to be a meyerish quasi-mallet. In order to run on R-2 without a ridiculous amount of overhang the rear brick is gonna HAVE to be able to swing about 1/4" (I can hear the purists moaning already, don’t worry it WILL get worse!)
The Delton parts guy on ebay is very understanding and sold me a bunch of c-16 parts pretty reasonable… Good thing, too! Making this boiler took parts of 3 shells!
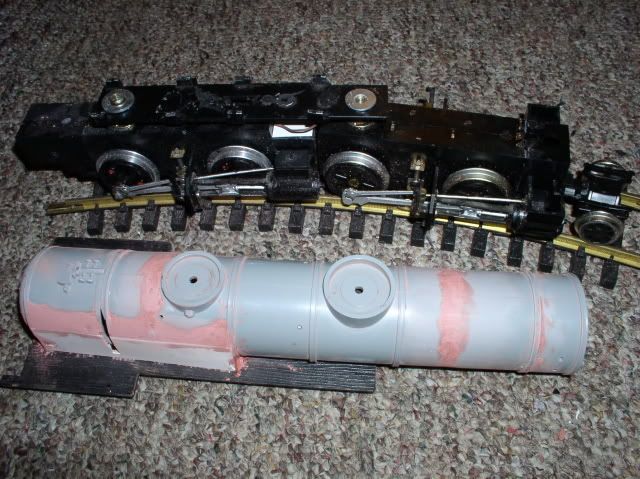
Domes are pvc pipe caps from Lowes. The steam lines were kind of spendy… They required four 1/4" copper ells from the refrigeration supplier to make – at $3.50 EACH! Here is the boiler sitting loose on the chassis. Yes, I know the original didn’t have the dynamo behind the headlight. It was the only place there really was room for it.
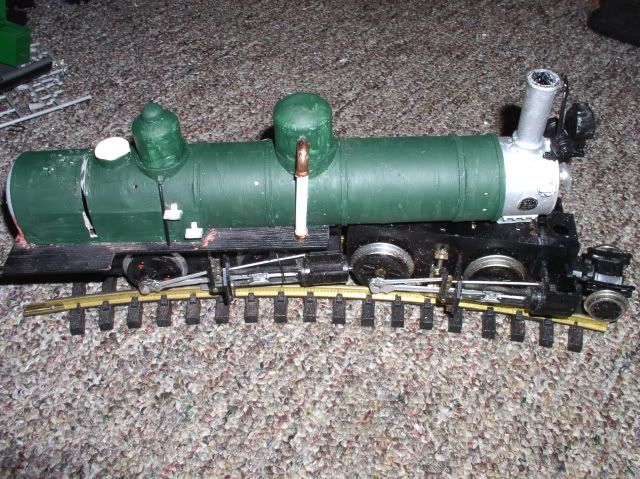
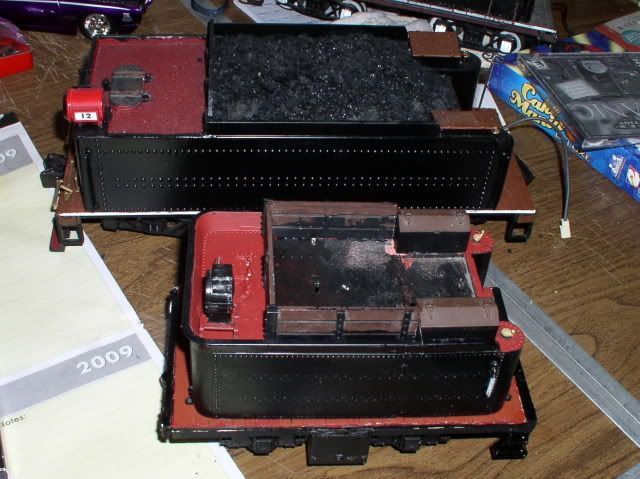
I keep looking at it and thinking it is HUGE, but the locomotive is actually only about 1-1/2" longer than an Annie with a much shorter rigid wheelbase. I’m probably gonna use the power tender brick as well, if I can shorten the c-16 tender shell to fit. 12 wheel drive ought to pull fairly well doncha think? So where does the “nickel and dime money pit” part come in? I decided it needed a few bits of “jewelry”… not much, just pop valves, a whistle, a johnson bar, a throttle, aaaaaand then I got carried away… Bill of materials so far: 1 LGB 2020 (power brick with cylinders, weight, and lights used) 1 LGB 2017D with power tender (both power bricks, cylinders, and weights used) 3 Delton c-16 boiler shells 1 Delton c-16 smokebox with straight stack 1 Delton c-16 firebox 1 Delton c-16 walkway 1 Delton c-16 cab w/ roof and ‘steel’ side panels 1 Delton c-16 bottom plate 1 Delton c-16 pony truck casting 1 Aristo c-16 tender shell 1 Bachmann ten wheeler pilot wheelset 2 1/4" blind nuts and bolts 4 1/4" flat washers 4 1/4" copper solder ells (these things are rather expensive and hard to find) 1 1" pvc pipe cap 1 3/4" pvc pipe cap 1 1/2" pvc pipe cap 1 Bachmann Annie dynamo 2 Ozark Baldwin builder’s plates modified from 1872 to 1912 2 Ozark smokebox cleanouts 4 Ozark boiler steps 4 Ozark boiler cleanouts 1 Ozark backhead throttle modified for boiler top mounting 1 Ozark Johnson Bar 4 Ozark drifting valves 6 Ozark loco springs 8 Ozark loco brake shoes w/ hangers 8 Ozark handrail stanchions 1 Ozark loco bell 1 Ozark domed whistle 2 Ozark pop valves 10 Ozark smokebox door dogs 1 Ozark square number board A bunch of basswood and Plastruct And I haven’t found a duplex air pump or a bunch of other things yet!