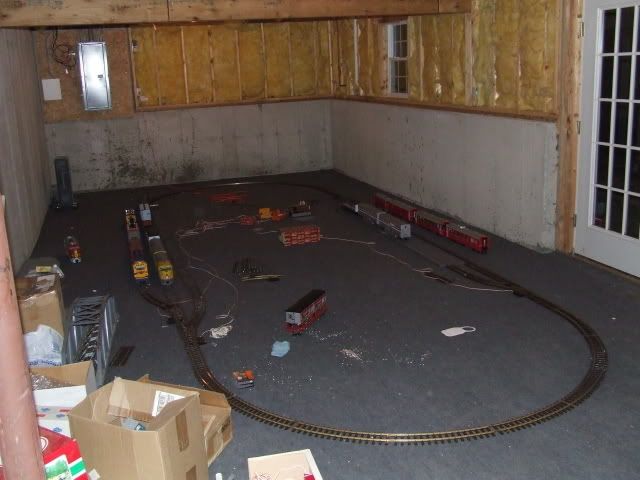
I posted this in another forum but I figured that I would share the info here. Last fall, I decided to build an indoor layout in my basement. I figured it would be a good fall/winter project. I quickly found out that it was quite a project! It has been a long, fun journey and I have been learning things along the way. I had these trains set up on a layout in my father’s basement about 15 years ago but they were just on plywood on saw horses. This one is much better. The demensions are basically 36 feet by 14 feet. One end is only 11 feet wide because I have to allow room for some french double doors that lead out to the back of the house. I’m basically using all LGB track except for the 9 foot and 10 foot radius Aristocraft curved track on each end and the Aristocraft extra wide turnouts for the crossovers between the outer loop and inner loop. The layout design is basically an oval with double track going all the way around. There is a yard on one side and a couple of sidings for passenger car storage. Below are a couple of pictures of what I had setup on the floor before I started building this layout. It’s was just a temporary layout. I put down some outdoor carpeting on the floor so I don’t have to walk on the bare concrete. That’s why the floor looks so dark. This picture shows the french doors all the way to the right of the picture.
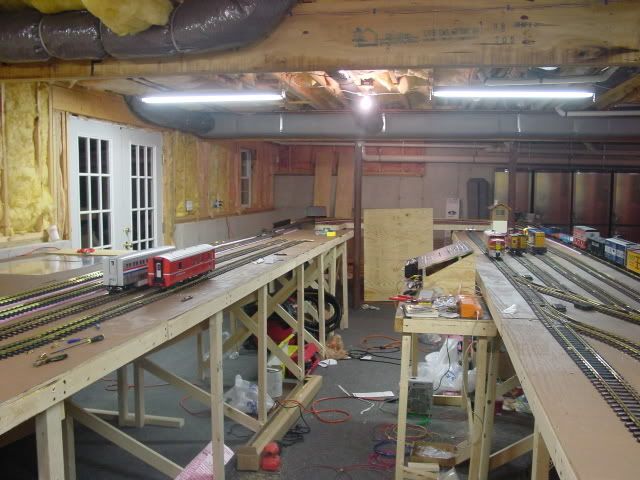
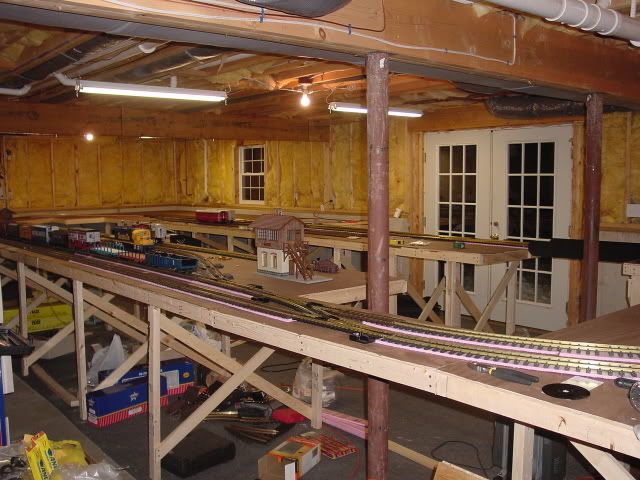
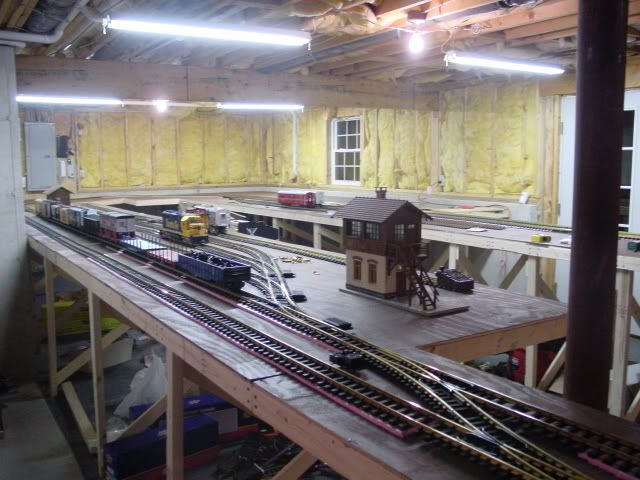
On November 11th, I received all the wood I ordered to build my tables. It was delivered to my house. I finished building the tables around mid-January. The tables are about 40" high which give me a good height of viewing the trains. Below is what they look like:
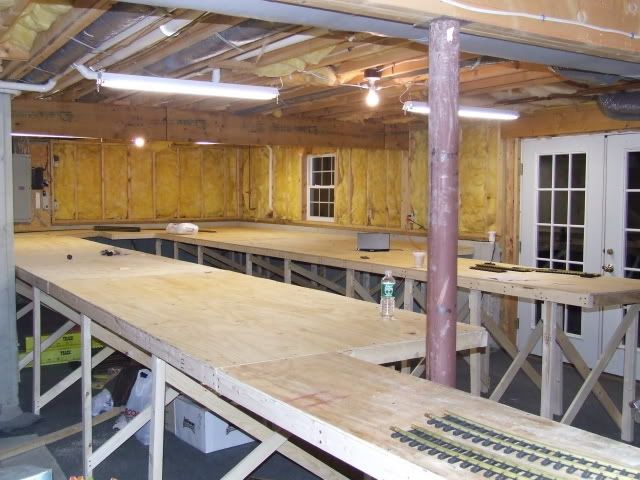
If you look on the right side of this picture, you can see the french doors that I was talking about earlier.
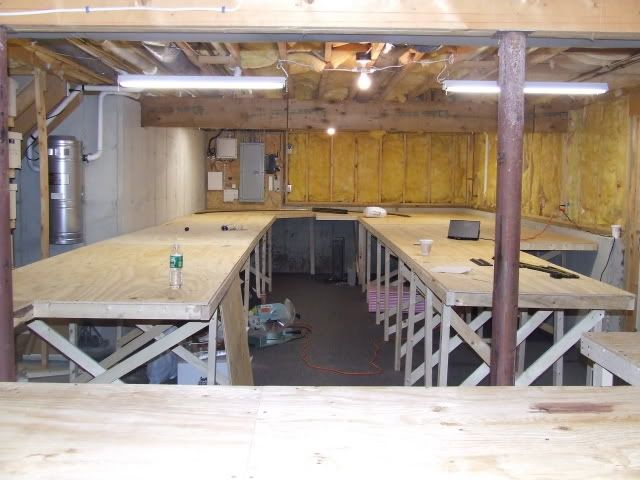
Taken from one side.
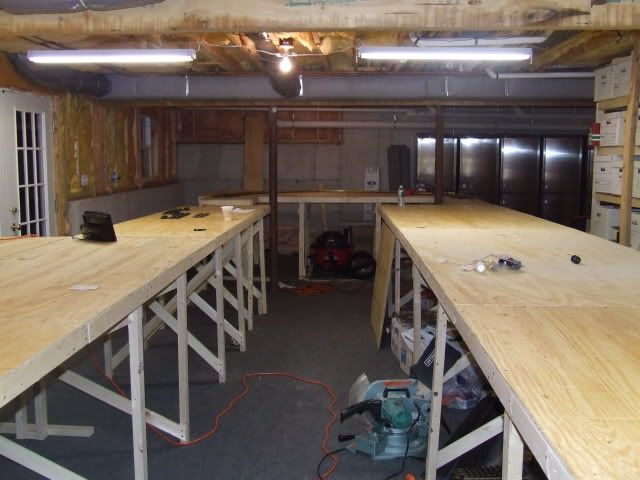
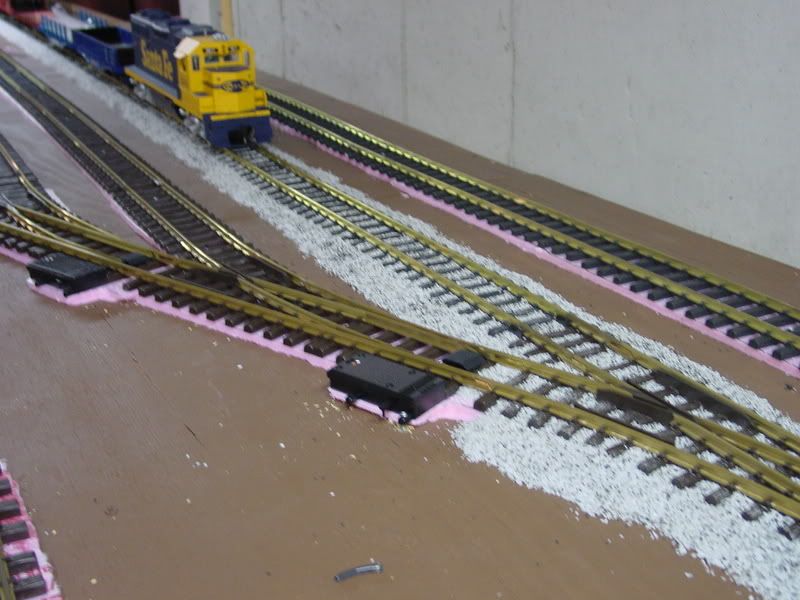
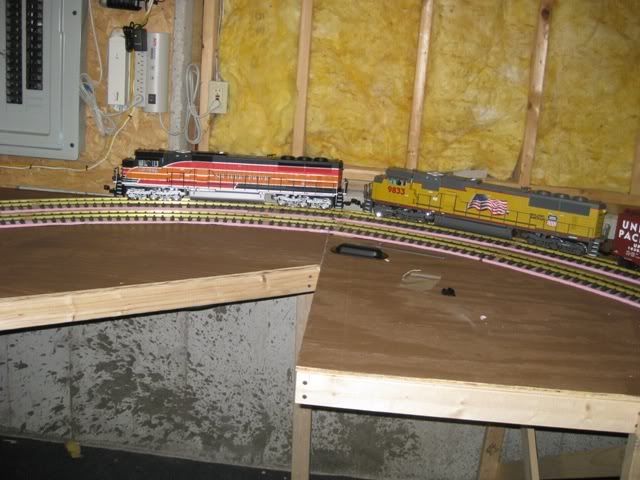
Taken from the opposite side. As you can see from the pictures, I put in some additional flourescent lighting. It’s so much brighter! After the tables were built, I painted them a flat earth color brown so that the bright wood wouldn’t show through the scenery. I layed down most of the track to see how everything fit. I had to cut a couple of pieces of track to make everything fit. I bought a Bridgewerks Magnum 220 RM. It’s soooo nice! It has two train controllers so that you can control two train independantly. Something happened to it right when I started using it and I had to send it back to Bridgewerks for repair. A couple of weeks later, I got it back and it has worked great since. I didn’t know how to build a control panel so I found instructions from the National Model Railroaders Association website. It’s basically a box with a wooden lid that’s on a hinge so I can get inside to do maintenence on the wires if I have to. Screwed on top of the lid will be sheetmetal. I painted the sheetmetal two coats of white. I then used thin tape to mark out the scamatic of the layout. I then painted it with two coats of black. I peeled off the tape and the white paint showed the scamatic. I then mounted my toggle switches on here. Eventually I will post pictures of the control panel. I first bought single pole, double throw, center off toggles. I found out that I needed double pole, double throw, center off toggles to keep everything isolated. Some people might think that this is reduntant but it works for me. The wiring of the track was tedius but needed to be done. Below are pictures of what the layout looks like with the track layed down. I’m using 3/8" pink foam padding under the track for sound insulation when the trains are running. Not all the foam is down yet. I will eventually add ballast (starter grit) so the foam won’t show.
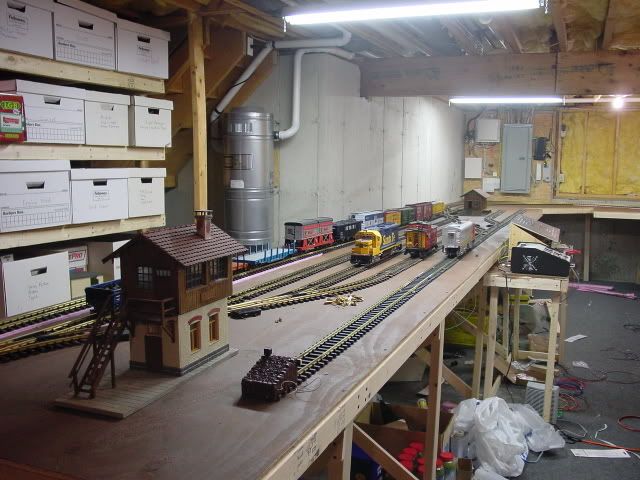
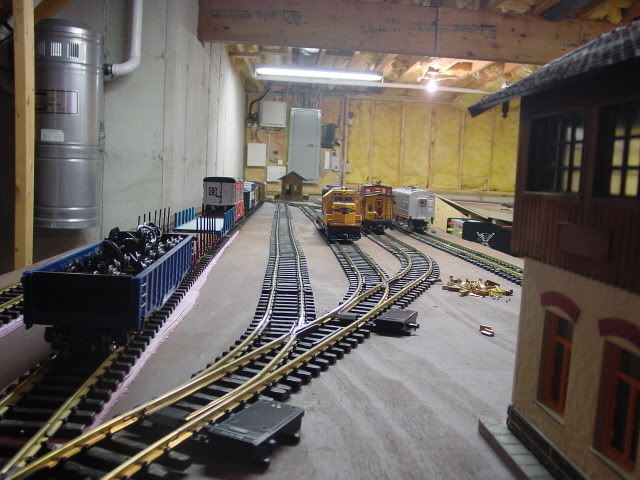
This is a picture of my yard. All the buildings that are on the layout (the yard tower and the freight depot) are building kits that I built for an indoor layout that I had in my dad’s basement about 15 years ago.
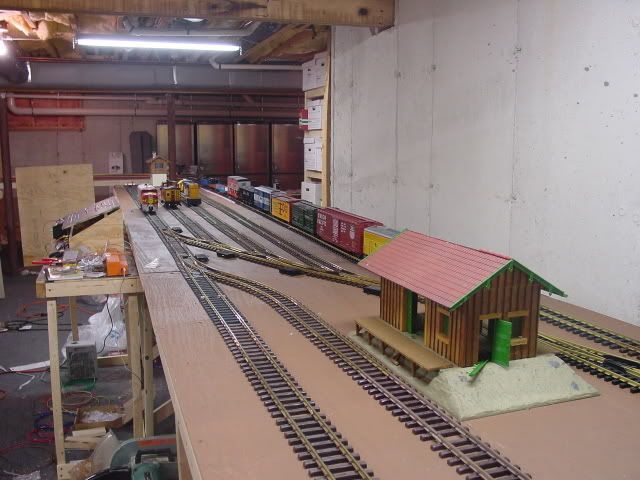
Another view of the yard.
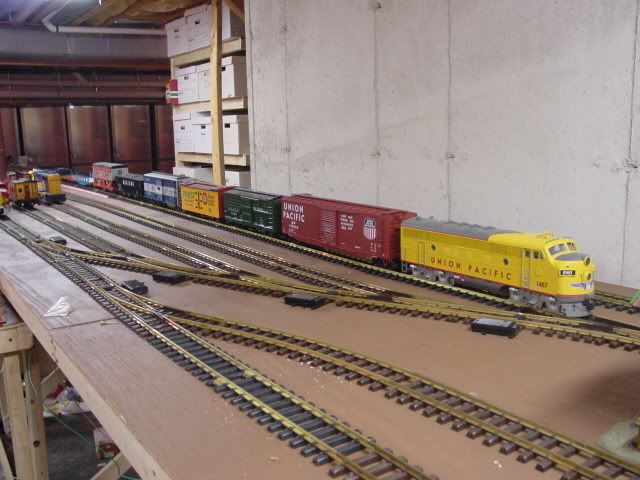
This is a freight train being pulled by my UP F3 (my favorite loco!). I also have a UP F3B unit too along with additional freight cars that are not on the layout yet until I’m finished with the track work.
The yard from a different angle.
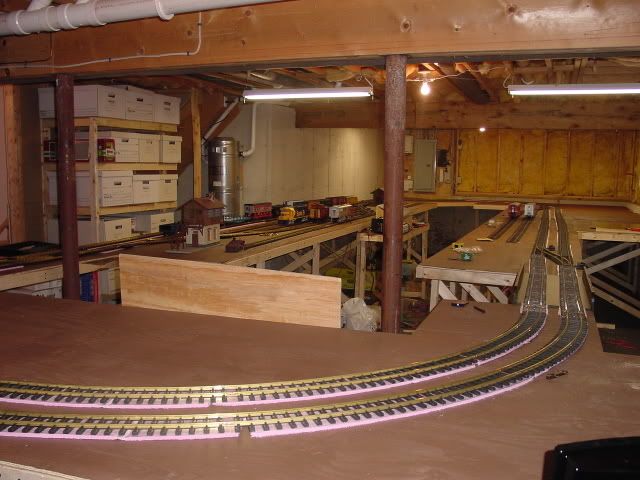
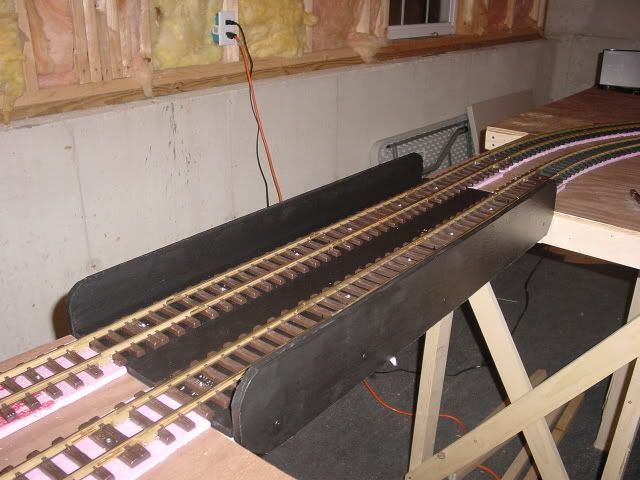
This is a double track bridge that I built out of wood. The sides are actually functional and not just for looks. There are cross braces that support the bottom part that the track is sitting on and these braces’ ends are screwed to the sides. The bridge is very sturdy. I painted it with two coats of flat black paint.
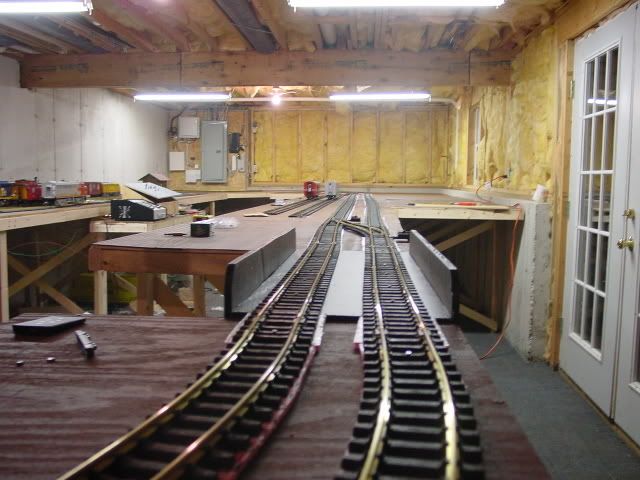
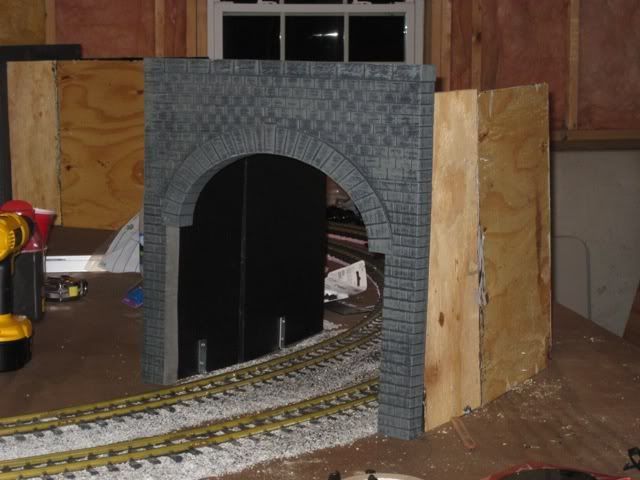
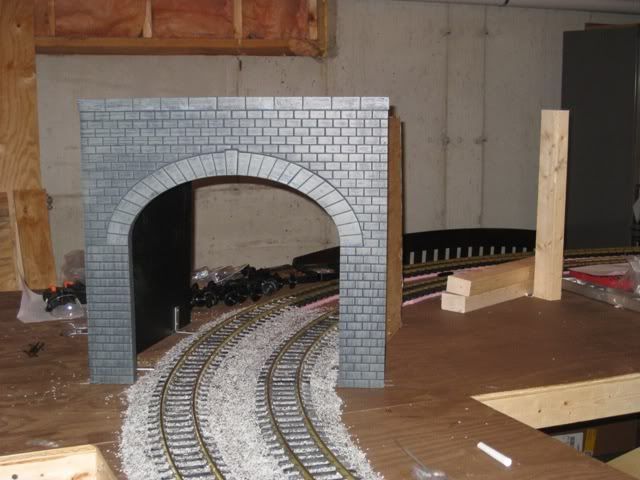
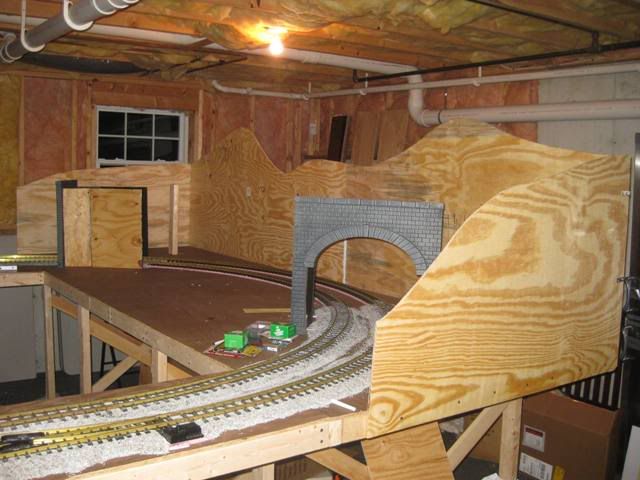
Off to the left side of this picture and in the background, you can see my Bridgewerks transformer and control panel that I built. I’m almost finished with the track work. I have to finish putting the foam under the track, screw/nail the track down, wire up the turnouts, and then put the ballast down. Then it’s on to scenery. I plan on putting in a mountain with a tunnel. I have never done this scenery thing so I guess I’m going learn as I go. I will keep everyone up to date with additional pictures. J.R.


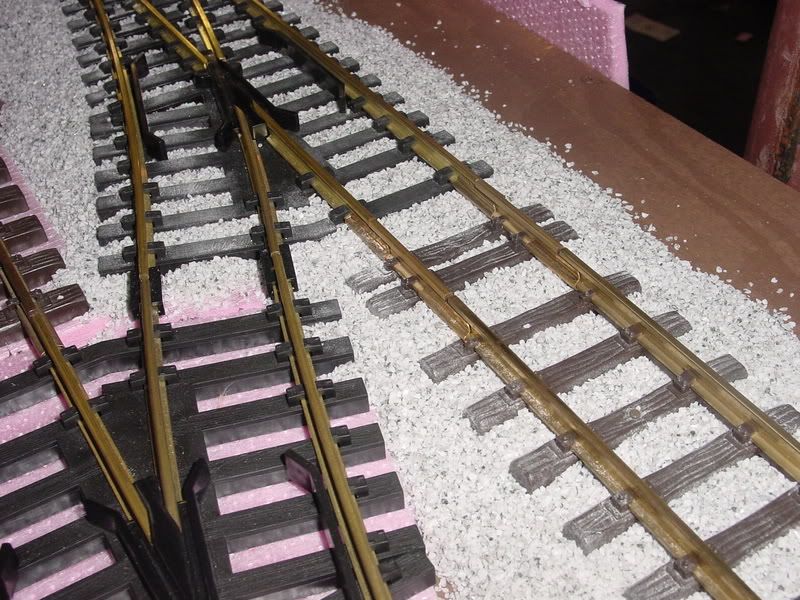
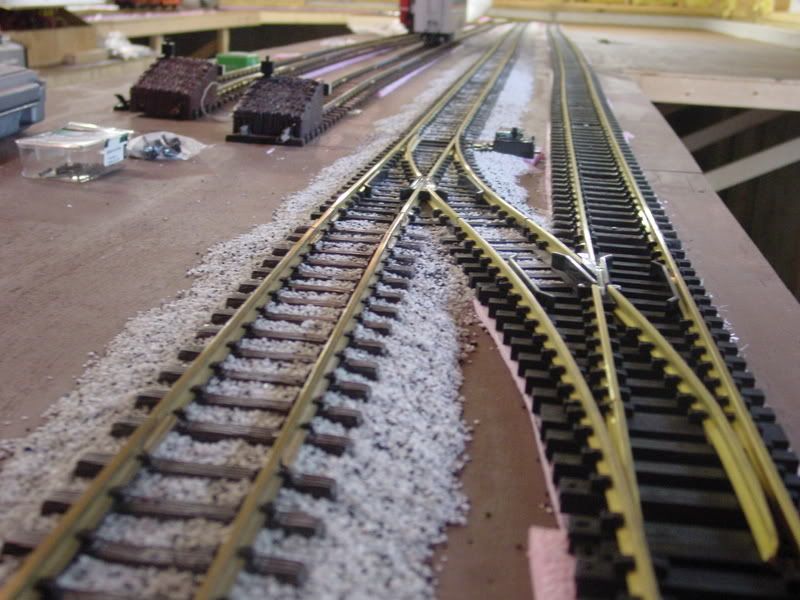

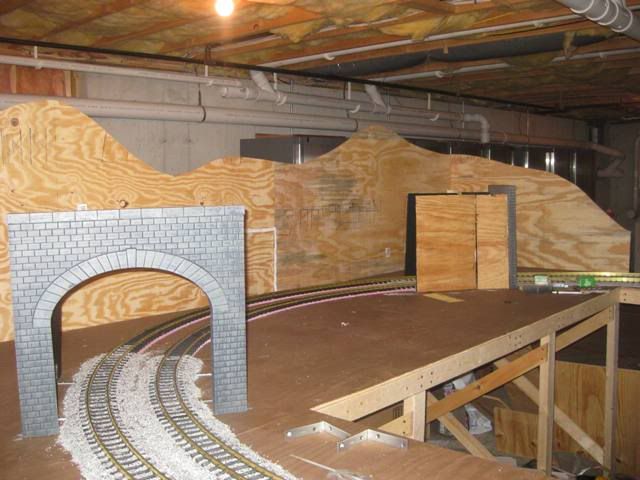

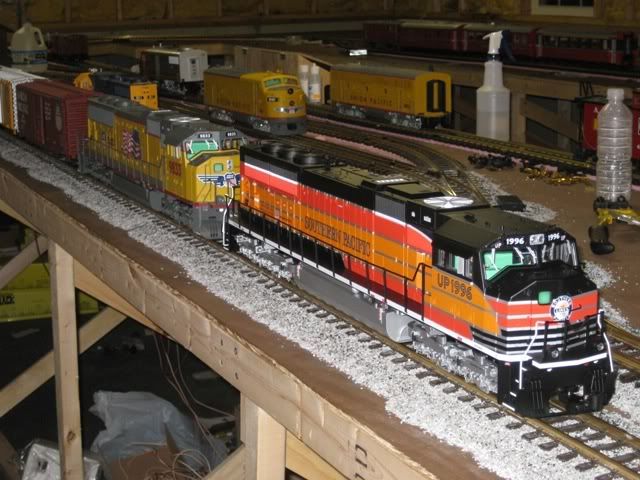
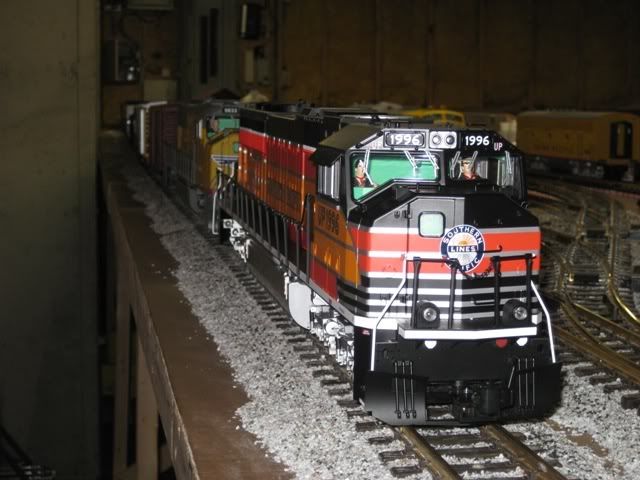
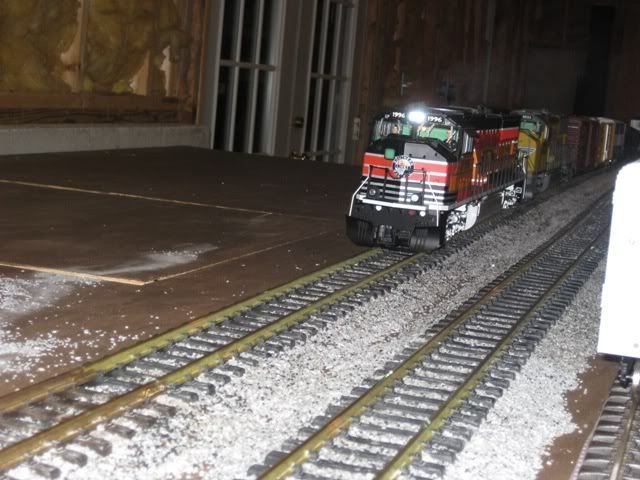
 I like the pink foam roadbed. I thought about doing that and cut a few experimental pieces, but never did it. I’m right on the plywood on my indoor division. I was also too lazy to paint the wood so I put down some grass mat. I have no scenery at all and most of my benchwork is just plywood on temporary supports. If I ever get motivated, I have a basement remodel in mind at which time I’ll build more permanent benchwork. I don’t have many pictures of the current indoor layout. All I could find on-line are these…