Large Scale Central

Mik's Build Challenge 2014, Post entry Photos here.

Mik would be proud of what you all have put together for this years challenge.

Post your photos in this thread of your build. Please keep the number of pics to a reasonable amount, but go ahead and show off your work. Make sure that there is a picture showing the “Door”. Write up any explaining of a special technique to go along with the pics.

Start your set of with you’r Name like “Dave Taylor’s build photos” so every one will know who’s work they are viewing.

The judging will be from these pictures.

PLEASE DO NOT POST COMMENTS about the build in this thread. Post them in the build logs. This thread is for everyone to look at the builds, and vote from.

Great work out there, so let’s show it off!

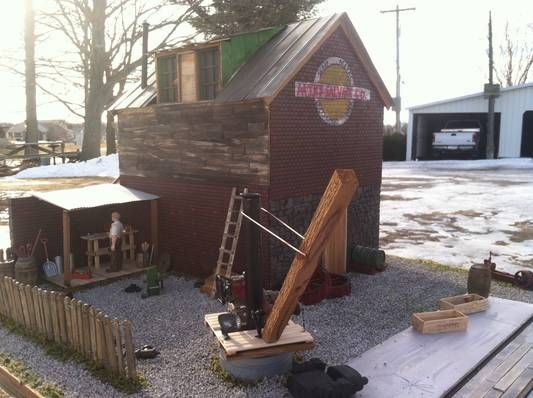
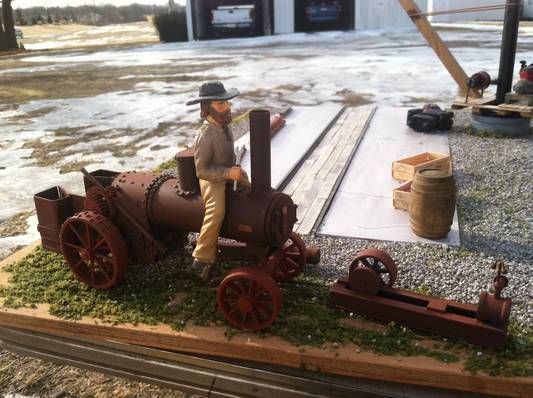
Cale’s NRA (Nelson Repeating Arms) Warehouse Build.

The kids and I (yep, they really helped) built a 3D ‘flat’ to be used on the NBRR v4.0.

http://www.largescalecentral.com/forums/topic/20599/-/view/page/1

The bulk of the model is built from a treated 6x6. The shed and roof ‘trusses’ are from the drops of a treated 4x4.

The construction was far from anything conventional, the entire substructure is Solid Wood. I haven’t weighed it yet, but it seems heavier than my 2y/o daughter.

The building was sheathed with Popsicle sticks and coffee stirrers. The roof is made from a piece of Aluminum that one would use to cover the trim on a house. The foundation was build from 2x6 treated lumber and the rock work is a blatant copy from another '14 Challenge Build.

The dock area was built up from Cypress and Popsicle Sticks.

Gray Primer, Gel Stain and Water-based Acrylics were used to decorate. A Brass Doorknob was added to enhance the door. Letters are the scratch-on type.

The construction method was inspired by a GRR article from 2006. Although a cabinet-builder by trade, this is the first structure I’ve built for our GRR since dipping into the hobby back in 2005-ish.

all finished photos can be viewed here:

http://www.largescalecentral.com/forums/topic/20599/-/view/page/3

I always enjoyed Mik’s threads, and have enjoyed getting myself ‘back to work’ on the RR with the Build Challenge.

Thanks Dave for opening the door for this opportunity!

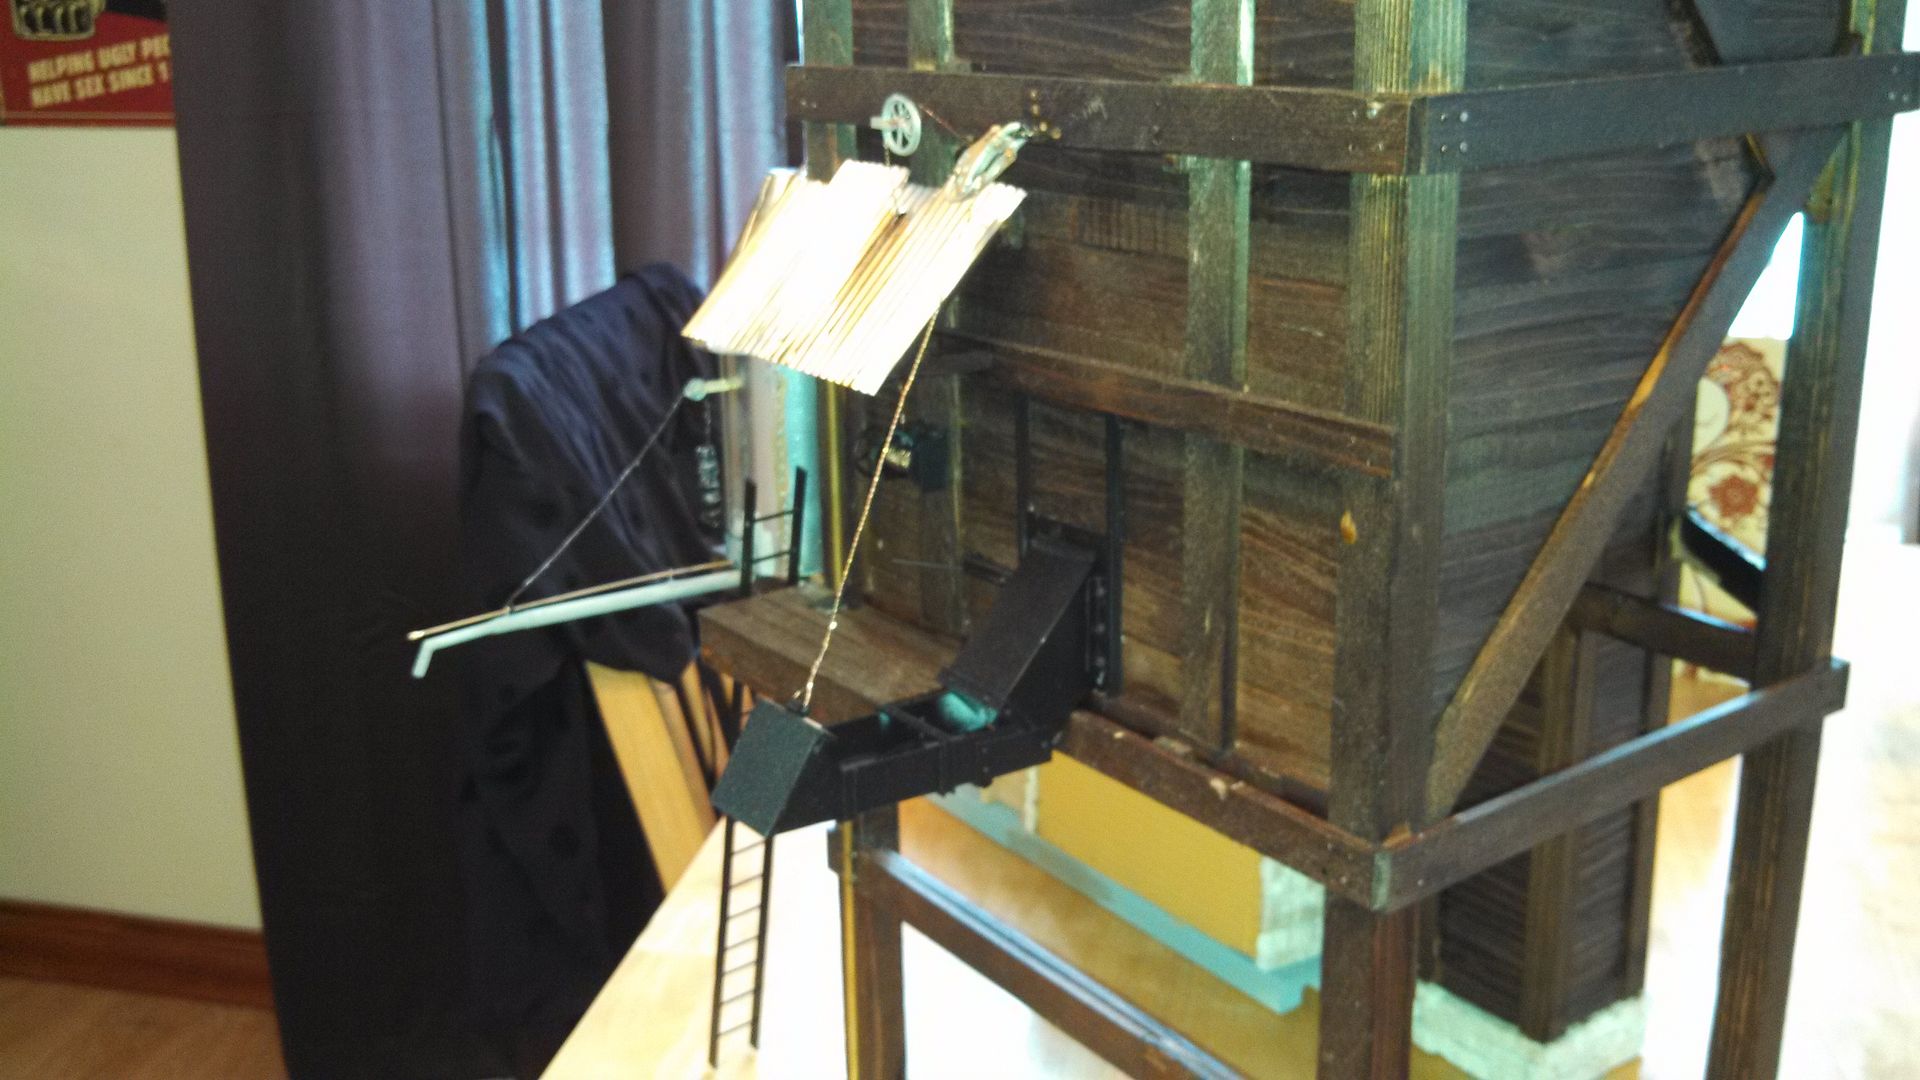
Terry Burr’s coaling & sanding tower.

It’s all built from scrap cedar fencing. The roofing material is a gift from a friend years ago. The sand bin is scrap pvc pipe, the top is a funnel from the wife’s utensil drawer. The walls of the hoist/sand house are left over from my station build. The base is left over from the station as well. Brass and styrene are stock I keep on hand. The stone was purchased.
The platform is lit so the crews can coal at night as well.

The front view…

(http://i73.photobucket.com/albums/i231/paintjockey/IMG_20140217_160906_232_zps40f99254.jpg)

(http://i73.photobucket.com/albums/i231/paintjockey/IMG_20140217_160821_086_zpsbb723bea.jpg)

(http://i73.photobucket.com/albums/i231/paintjockey/IMG_20140217_161108_685_zpsa77bf078.jpg)

(http://i73.photobucket.com/albums/i231/paintjockey/IMG_20140217_161121_630_zps3f85f0ba.jpg)

(http://i73.photobucket.com/albums/i231/paintjockey/IMG_20140217_160944_143_zpsee56fe71.jpg)

All in all a fun build. I didn’t think I would finish it. It was a huge project and I had a ton going on.

Terry

Another great build challenge!! A special thank you Dave for providing the start and for keeping Mik’s Challenge going!
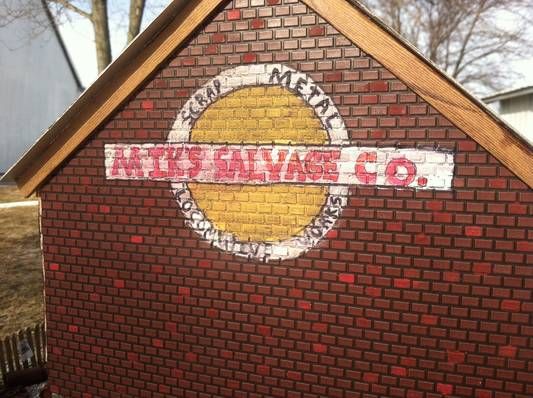
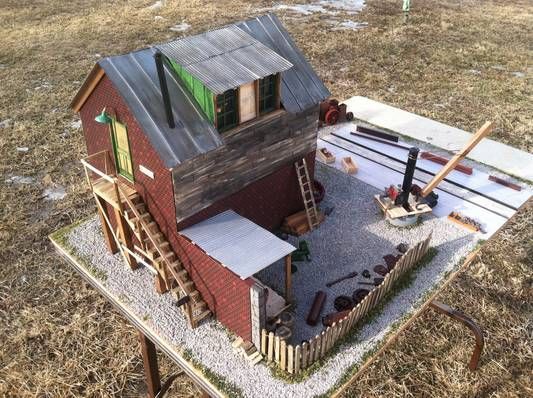
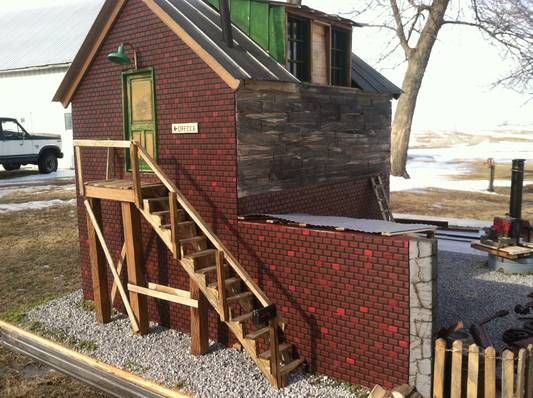
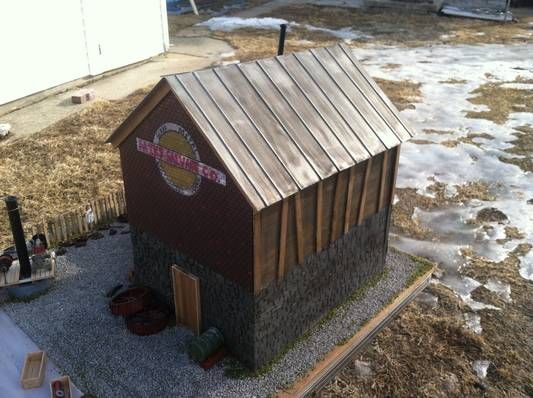
“Aaron’s Build Challenge 2014: Mik’s Salvage Co.”


More details of the build can be found here: http://www.largescalecentral.com/forums/topic/20711/2014-build-challenge-mik-s-salv/view/page/1 Thank you everyone for another fun challenge!

Vic Smiths 2014 Challenge Entry

Mik’s Waffle House and attached Hair Salon; two small Art Deco businesses circa late 1930’s

Materials: Foam-core board, basswood, plastruct pieces, cardstock, vinyl lettering

Purchased items: basswood & plastruct, scale waffles, chef figure, Tamiya paints,OSHspray paints, total $28

Remainder items, figures, adverts, chairs, bottles, hydrant were on hand, rooftop AC units and floors free from Jim’s printable miniatures printed on cardstock. Roofing was also on hand copied from a stock sheet from Paper Creek. Interiors are removable

Overviews:

Details and Interiors:

Eye level views:

Thanks for looking.

RIP MIK (just MIK)

Build thread for the curious…

http://www.largescalecentral.com/forums/topic/20601/tucson-freight-miks-challenge-2/view/post_id/236168

Ma saw I was fixin to use one of her fancies, grabbed the linen from my hand and kicked me outdoors… But Ma, I wanna be a napkin builder too! I wailed … to deaf ears. She looked at me with a scowl and laughed; ‘A stick in the dirt is good enough for you!’

The Door!

Next came gathering of the finest build materials grown locally …

Dirt shoveled and run through a double layer of Hardware cloth separates by size…

Instead of Adobe, the railroad ponied up some concrete, I chose Cemet-All for it’s low shrinkage properties, all twigs used in this production came from overgrown Sage plants, a woody look at half the weight.

An old politicks ad was my work desk surface, but all work was done outdoors and near the railroad.

Walls were cast, a single layer of stone in the form, hardware cloth for rebar and thickish cement poured and lightly tamped …

Window blocks were split to allow the wire cloth’s position in the middle of the wall. Timbers were located and held in place for the pours…

The first pours became part of the next pour for a continuous look and strength.

A 60 pound featherweight door stop…

I laid a board over the layout and half slid, half hoisted it into position…

My wood pile is 6 odd years old, salvged pecky cedar, I omit the pecks…

I built a floor and then some shelves…

It’s easiest for me to frame up in scale, then my pin nail hole locations are believable…

Shelves hide the gap…

Very casually I’m mimicking an Ocotillo cactus roof, my materials are critter proof, they don’t eat it.

Old speaker wire provided the tie downs…

The side door is hinged at the bottom and drop down as a ramp… I added a Pawn Shop behind The Door on the right.

Shot in today’s morning light. My old pc was broken for two days, everything shown was on time…

Glad to have been a part of this Diversity! All who built won … a structure for the layout, that fits right in!

John
Doc Tom’s (Tom Grabenstein) Fish Camp Company Store Challenge Build 2014.

(The full build log is at

http://www.largescalecentral.com/forums/topic/20598/fish-camp-co-store-2014-lsc-ch )

I started the build of the Little River Lumber Company’s camp store at “Fish Camp” using Black and White photos from 1913-1920. So I thought I would post the final shots in Black and White also. I tried to set up the same shots as 100 years ago as homage to those who worked so hard on this logging line. I hope you like the pictures.

For those of you that like modern day digital images here are the original final photos out on the layout in full color.

This has been an inspiring and fun “challenge.” Thanks to Mr. Dave Taylor for his organizational skills in making this enjoyable modeling experience happen. Big thanks to Mik also for believing in creative modeling and what can be done on shoestring budgets. Thanks also to you guys for all your words of encouragement. It means a lot.

God’s Peace and rest after a very busy several weeks.

Doc Tom

Well then here are pictures of John Passaro’s challenge build, a yard office and tower destined for my new mountain freight yard. I’ve had so much fun, and a few really really late nights. The only problem now is that I have to build up the rest of the freight yard to stand up to the office! The only things I had to buy were some extra clapboard siding for the tower, some dollar store lights (my Christmas tree light effort didn’t work at all), and some gel super glue. Everything else was laying around, and one of the best things about this challenge is that I dragged out boxes of parts and detail parts and found all kinds of stuff I could use.

Aside from finishing (!), what I enjoyed most about this challenge is the good-natured fellowship of all the other builders. And now it’s seriously time for me to get to my full-time job this morning, oh boy.

Here’s my log…http://www.largescalecentral.com/forums/topic/20647/2014-mik-challenge-st-francis

(http://freightsheds.largescalecentral.com/users/stfrancisconsolidatedrr/d2.jpg)

(http://freightsheds.largescalecentral.com/users/stfrancisconsolidatedrr/d3.jpg)

(http://freightsheds.largescalecentral.com/users/stfrancisconsolidatedrr/d4.jpg)

(http://freightsheds.largescalecentral.com/users/stfrancisconsolidatedrr/d5.jpg)

(http://freightsheds.largescalecentral.com/users/stfrancisconsolidatedrr/d6.jpg)

(http://freightsheds.largescalecentral.com/users/stfrancisconsolidatedrr/d7.jpg)

(http://freightsheds.largescalecentral.com/users/stfrancisconsolidatedrr/d8.jpg)

(http://freightsheds.largescalecentral.com/users/stfrancisconsolidatedrr/d9.jpg)

(http://freightsheds.largescalecentral.com/users/stfrancisconsolidatedrr/d10.jpg)

(http://freightsheds.largescalecentral.com/users/stfrancisconsolidatedrr/d11.jpg)

(http://freightsheds.largescalecentral.com/users/stfrancisconsolidatedrr/d12.jpg)

(http://freightsheds.largescalecentral.com/users/stfrancisconsolidatedrr/d13.jpg)

(http://freightsheds.largescalecentral.com/users/stfrancisconsolidatedrr/d14.jpg)

(http://freightsheds.largescalecentral.com/users/stfrancisconsolidatedrr/d15.jpg)

(http://freightsheds.largescalecentral.com/users/stfrancisconsolidatedrr/d16.jpg)

Todd Haskins Entry.
Thanks to Dave Taylor for providing us with the door which kicked off some imaginative, amazing and such varied builds.
My humble entry a 2 bay engine house. Luckily I was able to get out and chip away the ice and get photos before it started to snow again today. With this build I tried a new to me technique using a dado blade in my table saw to create the clapboard siding. It was many cuts to make the 3/8th wide boards but well worth it. Since this building was going to sit on top of my yard bench and far from the moisture of the ground I used backer board for the roof and base, hardboard for the walls, and plastic wood for the foundation. I used a dremel to carve in the rock look and 3 coats of shades of grey paint over black to make it look like stone. Every inch of the building has multiple coats of paint to help keep out water.
I made the roof removable just in case I need to get inside so in doing that I had to give the interior some structure. I will need to build my bench out a bit to accomadate this engine bay and add some track too.

I’m very happy with the way this came out. The total cost was about $26 including some pieces of trim I planned to use but didn’t.


. You can see some snow flakes in the photos.

(http://freightsheds.largescalecentral.com/users/capecodtodd/_forumfiles/EngineBayBack2.jpg)

I will need to extend the bench a bit and track.

(http://freightsheds.largescalecentral.com/users/capecodtodd/_forumfiles/EngineBayTrains4.jpg)
Thanks for Watching and Good Luck to all the participants.

Travis Dague Build challenge.

I have had a great time this year. This is my second year doing the build challenge. I decided My unfinished water tower needed a windmill and pump house to fill it up. All of the cedar, oak, and some pine that was used is scrap wood I had in the scrap box. The frame work for the pump house is made from some scrap pieces of our laminate flooring with plank siding attached.

Next came the windmill tower which was started 2 yrs ago and I tossed it into the scrap box with the intention of maybe finishing it as a stand alone windmill. The Fan is cut from a heavy duty pie tin with a copper wire ran thru it for strength and detail.

Learned at least one new technique for roofing and that is the masking tape to represent “tar paper”. It turned out better than expected and will be using this a lot more often. My total cost for the project was .59 for the gray paint for the fan.

Thanks to everyone for their help, encouragement, and nice comments on my build… Travis

link to my build log

http://www.largescalecentral.com/forums/topic/20615/travis-s-mik-s-build-challenge-2

I find research one part of project building that is part of the fun.

And the Undertaker and Furniture project was no different.

Some of the reading I did was about Bodie, Calif., a great ghost town. It had a high death rate due to it’s horrid weather, poor mining practices of the time, and loose guns due to who lived there and the incredible number of bars that were there.

I never knew Undertakers and Furniture Making went together until researching this project.

I found one building online that reminded me of my project and it was an undertaker and furniture maker building!

h

This is the back of the building and is home to one of Dave’s doors which fit right in to the project.

The board and batten siding was the most time consuming part of the project. Each board and batten was individually cut. It was a happy day when they were done!

The metal roofing on the building is Diet Dr. Pepper cans that are “corrugated” and sprayed with galvanized metal spray from Rustoleum.

They are attached with E6000. In the old West, many buildings were sided with metal and roofed with metal. It made for fast construction, something miners had little time to fool with, and helped slightly with slowing fires, a fate which claimed many mining towns. It also reduced the use of wood, which there was little of in the West.

And no building in the West is worth it’s weight in gold without a ghost! And Boomer made sure there was!

David A. Maynard’s Fairhaven gas station

http://largescalecentral.com/forums/topic/20611/mlk-fairhaven-gas-station/view/page/1

Sorry I didn’t post anything when I posted the pictures, but I was in the middle of a household problem.

Anyway, the only store bought parts of my build were the gas pumps and the cars I staged it with. The door was provided, and all other parts were made “in house” The clapboard siding is 3/16 x 1/16 ceder strips, glued onto the plywood walls, overlapping by 1/16th inch. The roof was made from empty drink cans. The windows were scratch-built in a home made jig. I made 5 windows, so I was sure to have 4 useable ones. The base is from a piece of found plexiglass and the paints used were all left overs. The red paint was left over because it doesn’t cover very well. Total cost $0.00. I didn’t do an interior, since few folks will get down on their hands and knees to look inside the building once its planted in its forever home.

Lou Luczu’s Adams Station

The complete build can be found here:

http://www.largescalecentral.com/forums/topic/20662/mik-s-build-challenge-2014-adams-station

I undertook this challenge to build a representation of the small station in Adams, New Jersey that my Grandfather work at. He was a Trackman on the PRR, Crossing Guard, and in charge of starting the fire in the station for the commuters to New York. In the build I will have a picture in memory of him.

Here is the North side of the station:

The South side facing towards Trenton:

Hmm. An impatient commuter waiting for the 6:10 to New York:

One more picture of the Trenton side:

I followed Mik’s Rule #1: Have Fun!

The only money spent was for the 2 cans of green spray paint which were marked down. The base is 2 leftover pieces of Trex-like material, with an old campaign sign on top. The walls are all old pieces of plastic bin dividers that I had no bins for. They got covered with the coroplast sign material. The “beams” and frame are made from plastic rods that were from the blinds we took down. That was the part you turn to open and close. You can see one rod on the back in the above picture. All of the corners and strips that ended up dark green were cut from plastic fence pieces that were “U” shaped. I did use one formed window that came from some show, and of course, the door. Signs were printed on the computer and taped to leftover clear plastic.

Please take time to look at the build, and have fun!

Lou

Tom & Cody Huisenga Big John Iron Mine Build

A big thank you for Dave on this, and everyone who participated, lots of great ideas for more builds for our RR, great father son project and what a great way to get up off our butts and get to work, cannot put it out on the RR 4-6 ft snow drifts in backyard, I cant wait till the summer when we can go through these to fill in our RR with buildings.

Everything came from me scrounging around to find things, in my job I have a lot of opportunities, only thing I bought was the glue to build styrafoam, had caulk and old grey paint around.

We start with the build

(http://freightsheds.largescalecentral.com/users/sanitation_engineer/mine%201.JPG)

Carving done

(http://freightsheds.largescalecentral.com/users/sanitation_engineer/mountian%20unpainted%20carved.JPG)

work on mine cabin also

(http://freightsheds.largescalecentral.com/users/sanitation_engineer/frame%20mine%20cabin.JPG)

All done but for some spray paint and laying rocks out on it in the spring when we put it outside

And lay the tracks through the tunnel and mine tunnel

(http://freightsheds.largescalecentral.com/users/sanitation_engineer/mine%20cabin%20done.JPG)

Thanks for the opportunity to participate, great way to get my son involved, and he likes looking at all the other builds to get new ideas, thanks to EVERYONE who built something!

Tom n Cody

Craig’s Build Challenge.

As expected I couldn’t find time to complete the project as the ‘fun’ things in life got in the way ie; work and school :frowning:

Here’s the plan and prototype. Hopefully some of the sketchup drawings helped someone along the way! I really enjoy using sketchup to draw out models so that I can visually see where everything is going. :wink:

This is as far as I got.

Here’s the build thread that I’ll complete when the building gets done. Hopefully sooner than later. Overall when I had the time to work on the project it was a fun build, and it motivated me to get of the armchair chair and start modeling again!

http://www.largescalecentral.com/forums/topic/20603/craig-s-build-challenge-2014

Ron’s build challenge 2014, Magnolia Gas Station

This is the photo that was the inspiration for the build

And here it is,

First are pics of the interior taken with the roof off as there are no lights in the building.

And the exterior

The building is scale 38 ft long by 21 ft wide for a L+W of 59 ft. Total items purchased were one cedar fence board and one can of black spray paint, $21.22 . All other items used were already here. Some of them for a long time.

Congratulations to all who participated. All of the builds are outstanding and everyone is a winner.

Ron

Here’s my newsstand. A couple of pictures show the roof off, so the interior is visible. It’s small, as many of these builds seem to be, just about 90 square feet.

It’s made from a number of materials, none of them purchased. Great door, rest in the junk pile. Glad to be able to participate again (last year was my first).

interior, no roofHere’s my newsstand. A couple of pictures show the roof off, so the interior is visible. It’s small, as many of these builds seem to be, just about 90 square feet.

A new Ozuakee Tower for the Oliver And North Fork Railroad, by Alan Lott

I took two of these pics early this morning as I guessed it would be raining again when I got home. It was!

The total cost of this project to me was nothing as all items for the build were all ready to hand. There was a cost, however, that being the postal charge to kindly send me a door as it was the essential part of the project. For that I am most grateful. I don’t profess to be a good modeler but this Challenge has been a great thing to be involved in. I did not know Mik (Allan) but everyone has done him proud with their modeling achievements.

Dave Taylor’s 48 hr. build for the 2014 challenge.

I started this build on Sat @ 5:00 and finished it up at 4:00 pm on Monday.

As my corrugated roof rolling machine was finally putting out good looking panels I wanted to build something. So I came up with a track side storage building all covered in corrugated metal.

Built entirely from leftovers, mostly from trestle building.

One of the thing that I have very little of is the fiddley things that really bring a scene to life. Something to look forward to.

Quick and simple 2 day build.

BTW: I went over allocated budget by more then $100.00.

PLEASE NO Votes for this build. Built just for rule #1, and for Mik.